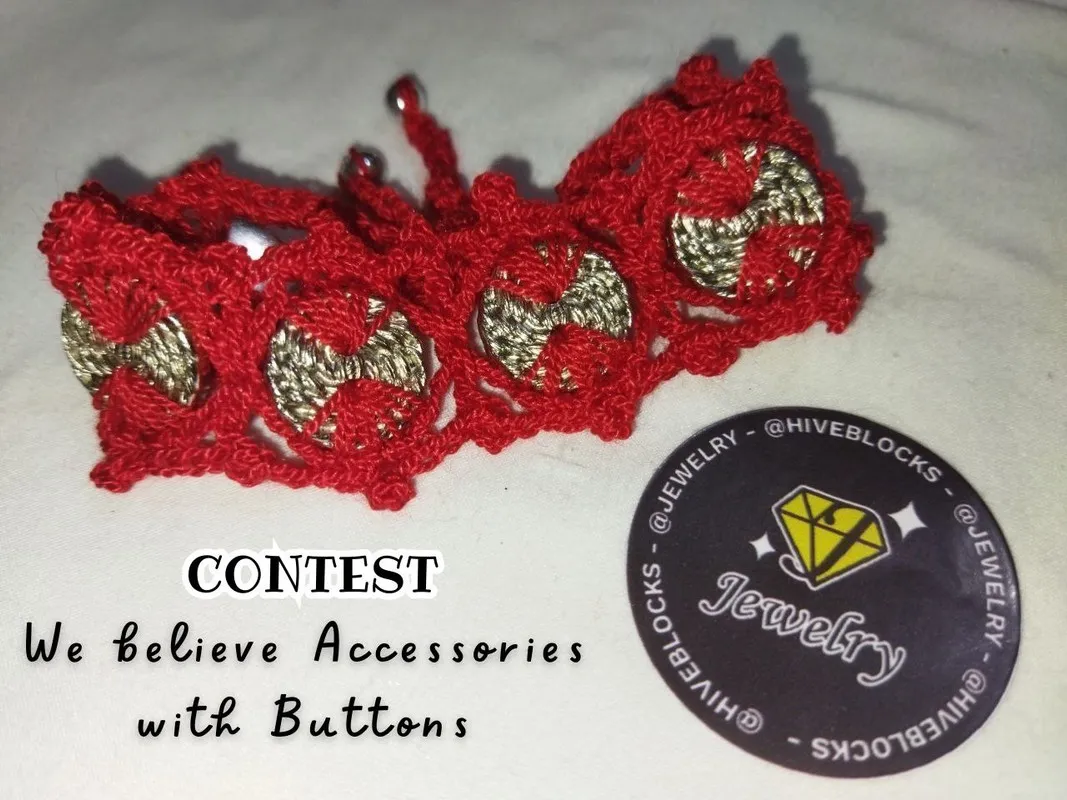
Un saludo mi querida comunidad @Jewelry feliz día 💜 Esta vez animada en participar en este interesante concurso que nos invita a crear un accesorio con botones, una propuesta que me encanta ya que pone nuestra imaginación y creatividad a millón. Estos botones color plata con los que elabore este lindo brazalete los había comprado desde hace algún tiempo para colocarlos en una blusa, pero en realidad no me acordaba de ellos y cuando me entere de este concurso comencé a buscar entre mis materiales de costura y mi mayor sorpresa fue encontrar estos botones tan hermosos que llegan como anillo al dedo para elaborar este lindo brazalete color rojo tejido a crochet y en el centro estos botones de metal parecidos a una moneda que le añaden el brillo que necesita este tipo de prenda. Ahora materiales en manos que comenzamos con nuestro paso a paso
Greetings my dear community @Jewelry happy day 💜 This time encouraged to participate in this interesting contest that invites us to create an accessory with buttons, a proposal that I love because it puts our imagination and creativity to a million. These silver colored buttons with which I made this cute bracelet I had bought them some time ago to place them on a blouse, but actually I did not remember them and when I found out about this contest I started looking through my sewing materials and my biggest surprise was to find these beautiful buttons that come as a ring to the finger to make this cute red crochet knitted bracelet and in the center these metal buttons similar to a coin that add the shine that this type of garment needs. Now materials in hands we start with our step by step

- Estambre acrílico perlado
- 6 botones
- 2 cuentas plateadas
- aguja para crochet
- Pearlized acrylic yarn
- 6 buttons
- 2 silver beads
- crochet needle

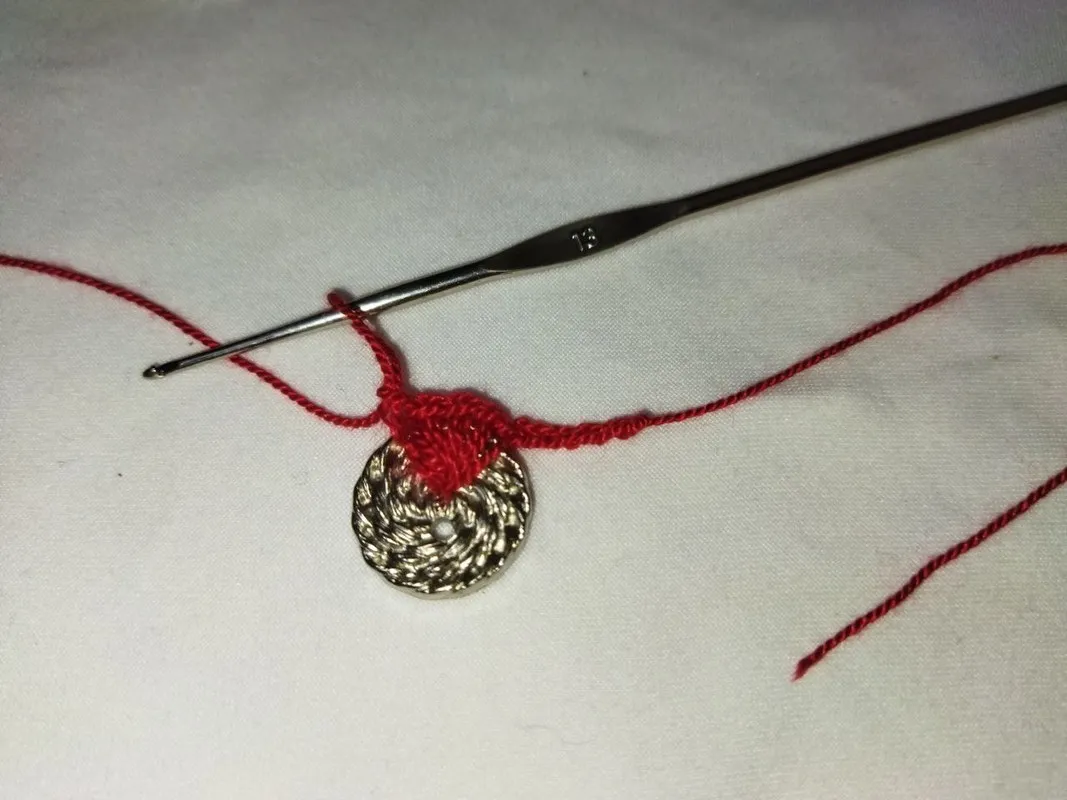
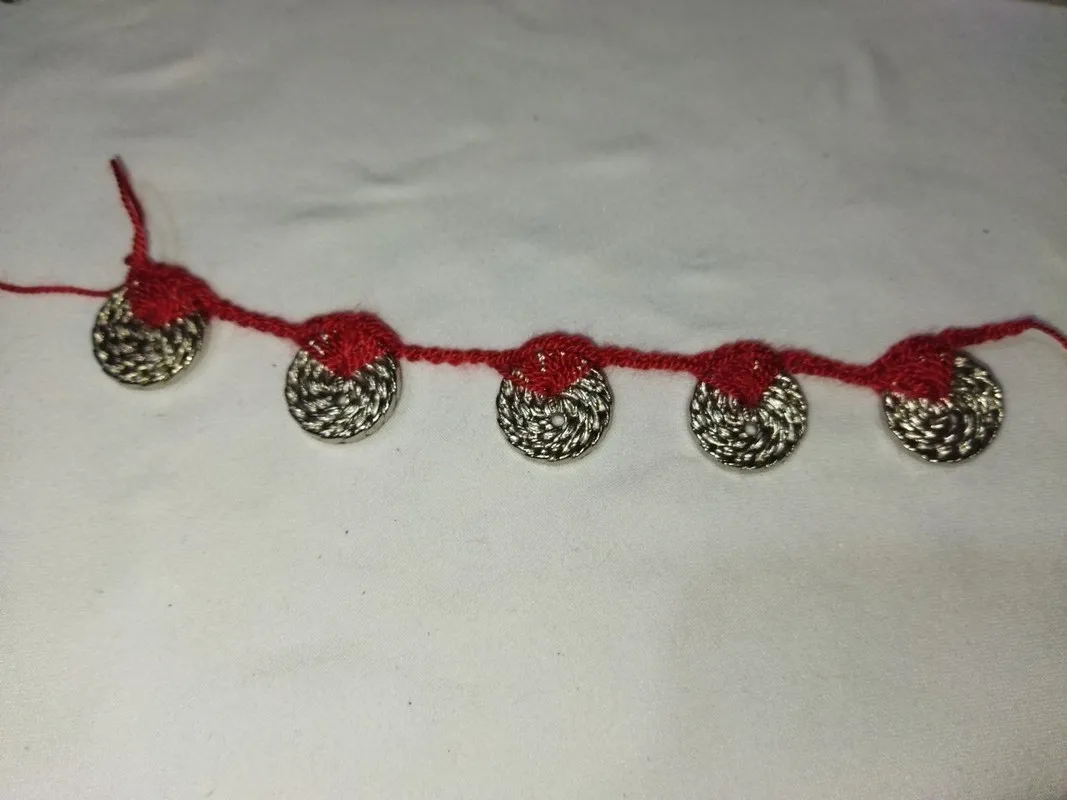
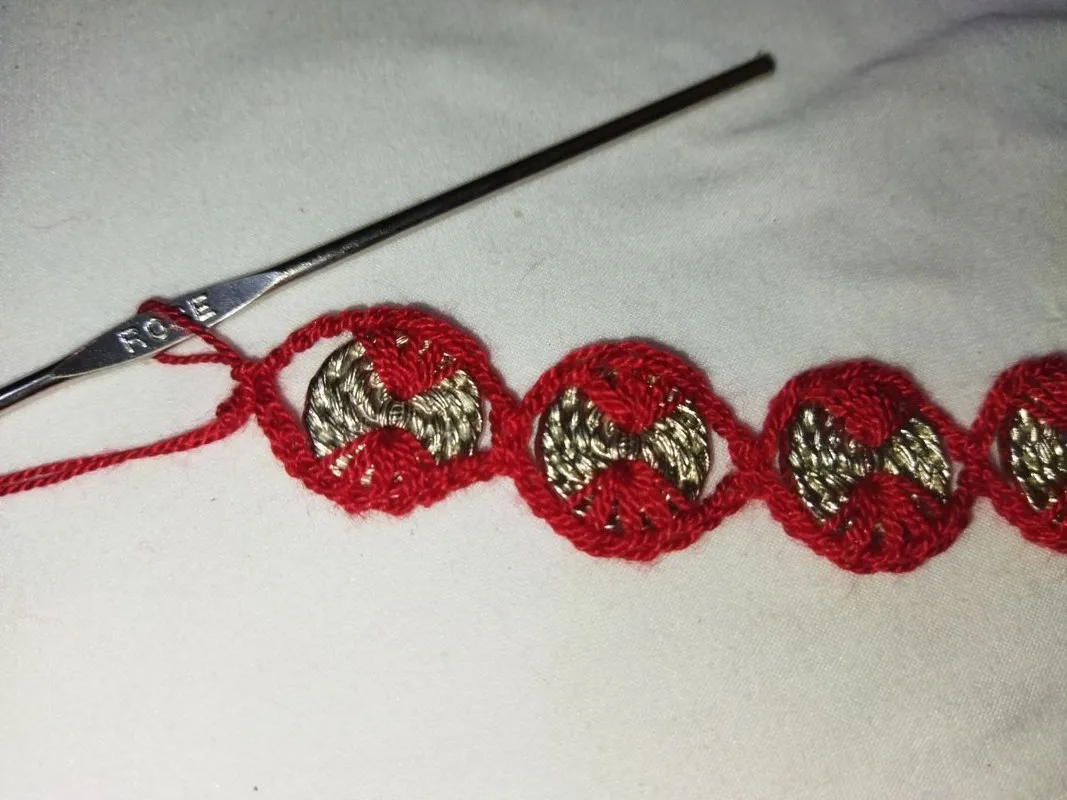
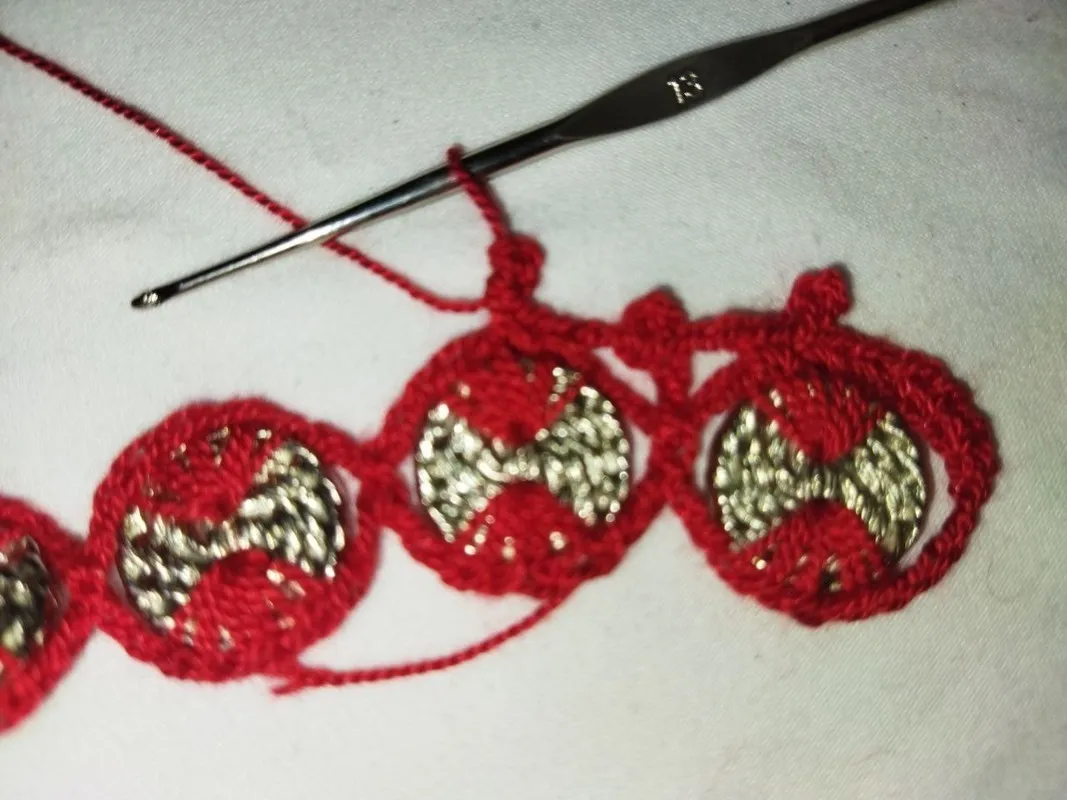
Iniciamos con este lindo proyecto que ademas me encanta ya que incorporar materiales que su verdades uso para nuestras prendas de vestir pero que también con ellos podemos realizar un accesorio como el que les comparto hoy el cual se trata de un brazalete. Comenzamos primeramente haciendo una cadena de 4 puntos, en esta ocasión los botones deben tener solo dos orificios, para esta primera vuelta insertamos la aguja por uno de ellos y elaboramos 5 puntos bajos seguidos de una cadena de 5 puntos y así seguimos añadiendo el siguiente botón y repetimos 5 puntos bajo entre cada uno elaboramos una cadena de 5 puntos hasta tener los 6 botones. Pueden ser mas o menos botones todo depende del grueso de la muñeca de cada quien
We start with this nice project that I also love because it incorporates materials that we really use for our garments but also with them we can make an accessory like the one I share with you today which is a bracelet. We start first making a chain of 4 stitches, this time the buttons must have only two holes, for this first round we insert the needle through one of them and we make 5 low stitches followed by a chain of 5 stitches and so we continue adding the next button and repeat 5 low stitches between each one we make a chain of 5 stitches until we have 6 buttons. There can be more or less buttons, it all depends on the thickness of the wrist of each person.
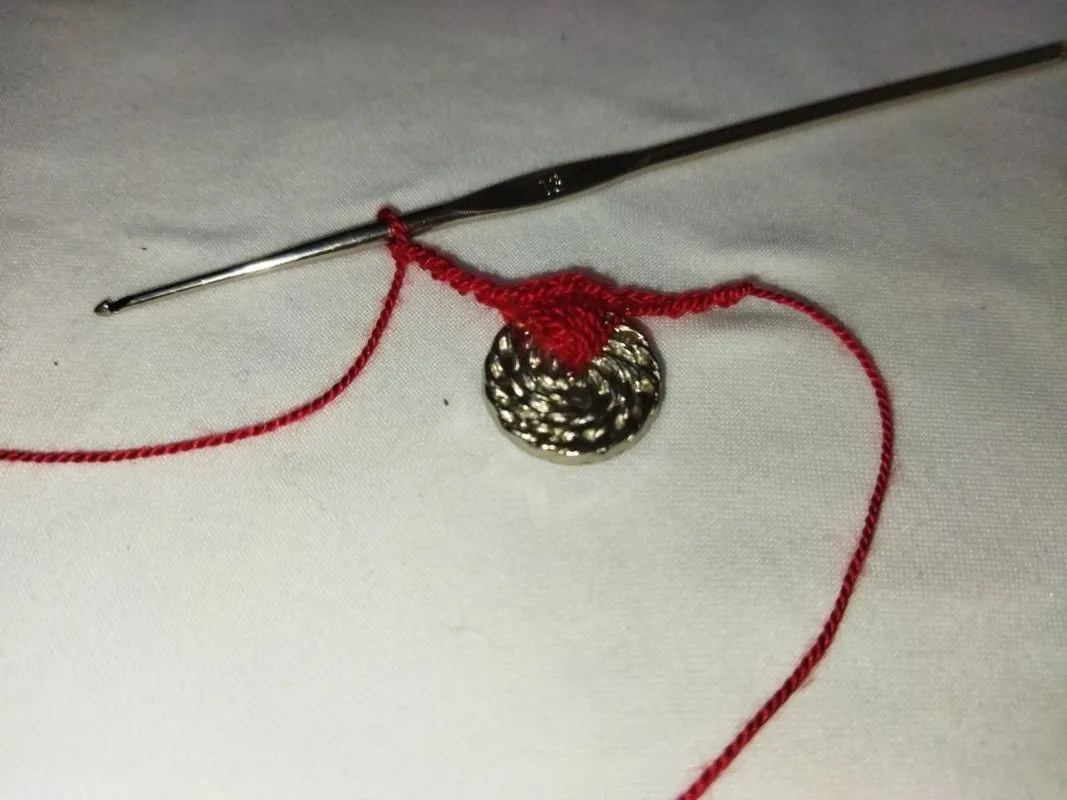
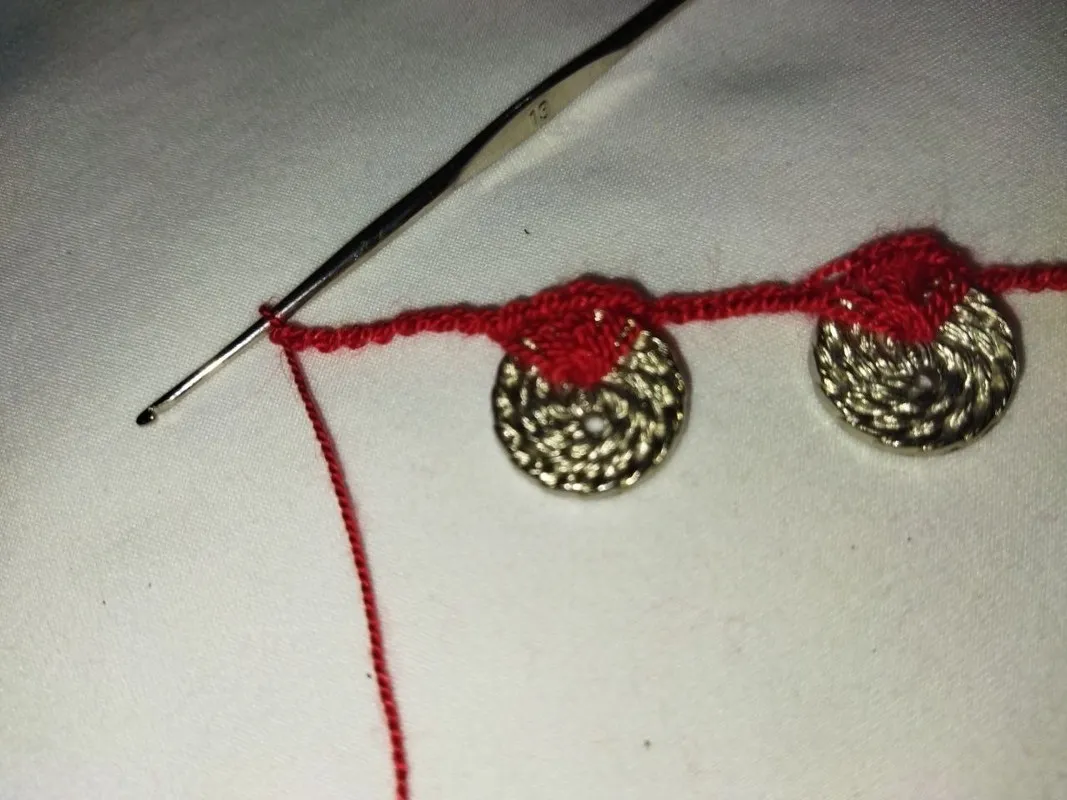
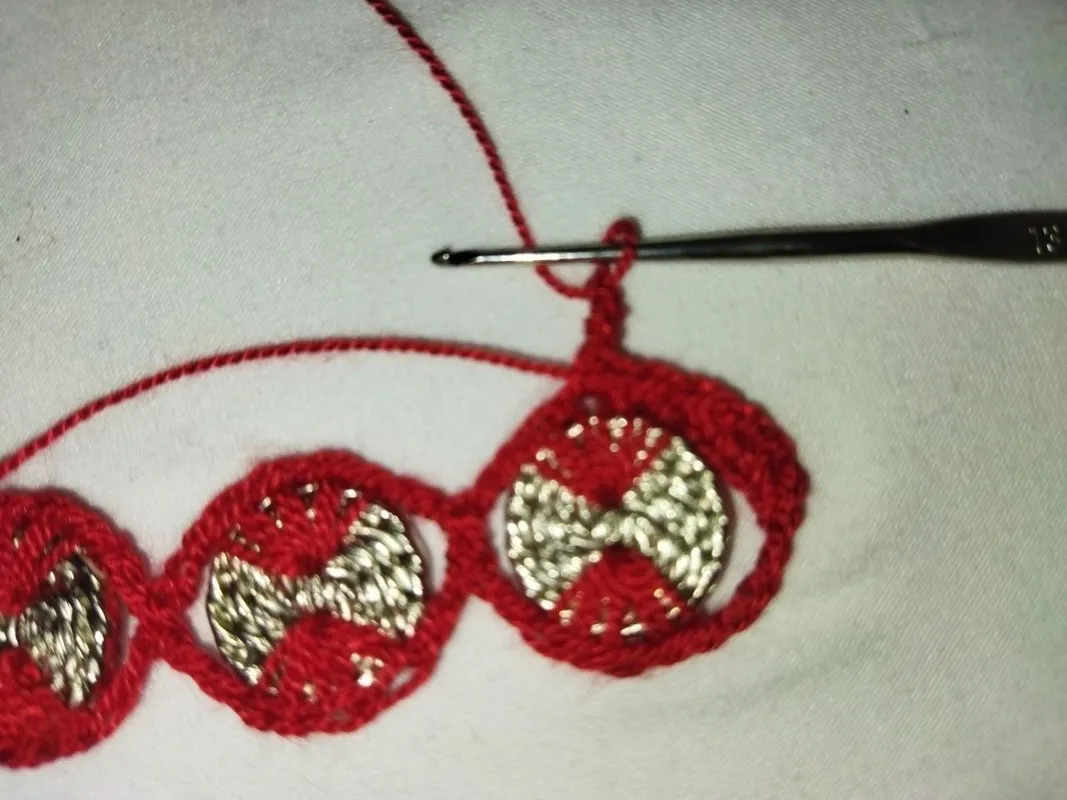
Como les comente los botones tienen 2 orificios ya en la primera vuelta trabajamos con uno. Para trabajar por el otro costado comenzamos haciendo una cadena de 8 puntos para girar y realizamos la misma secuencia del otro lado que es 5 puntos bajos en el orificio del botón separado por una cadena de 5 puntos, al finalizar hacemos una cadena de 4 puntos y unimos con la cadena de inicio con un punto deslizado
As I mentioned the buttons have 2 holes and in the first round we work with one of them. To work on the other side we start by making a chain of 8 stitches to turn and we make the same sequence on the other side which is 5 low stitches in the hole of the button separated by a chain of 5 stitches, at the end we make a chain of 4 stitches and we join with the beginning chain with a slipped stitch.
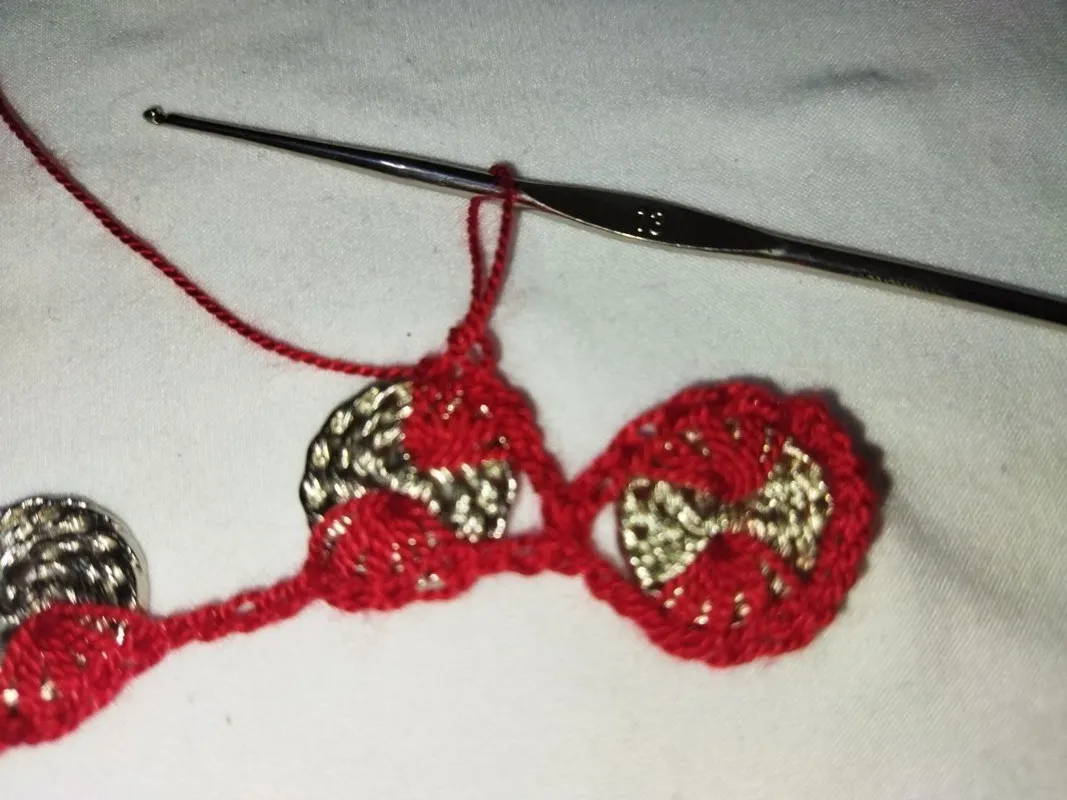
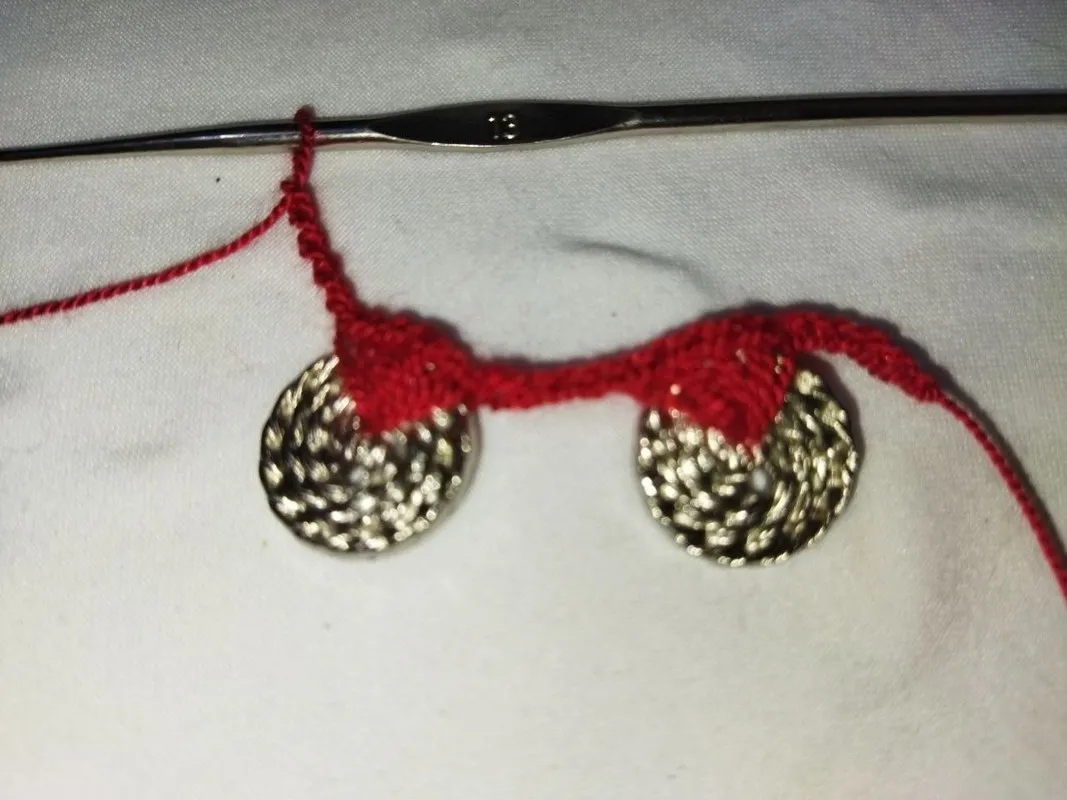
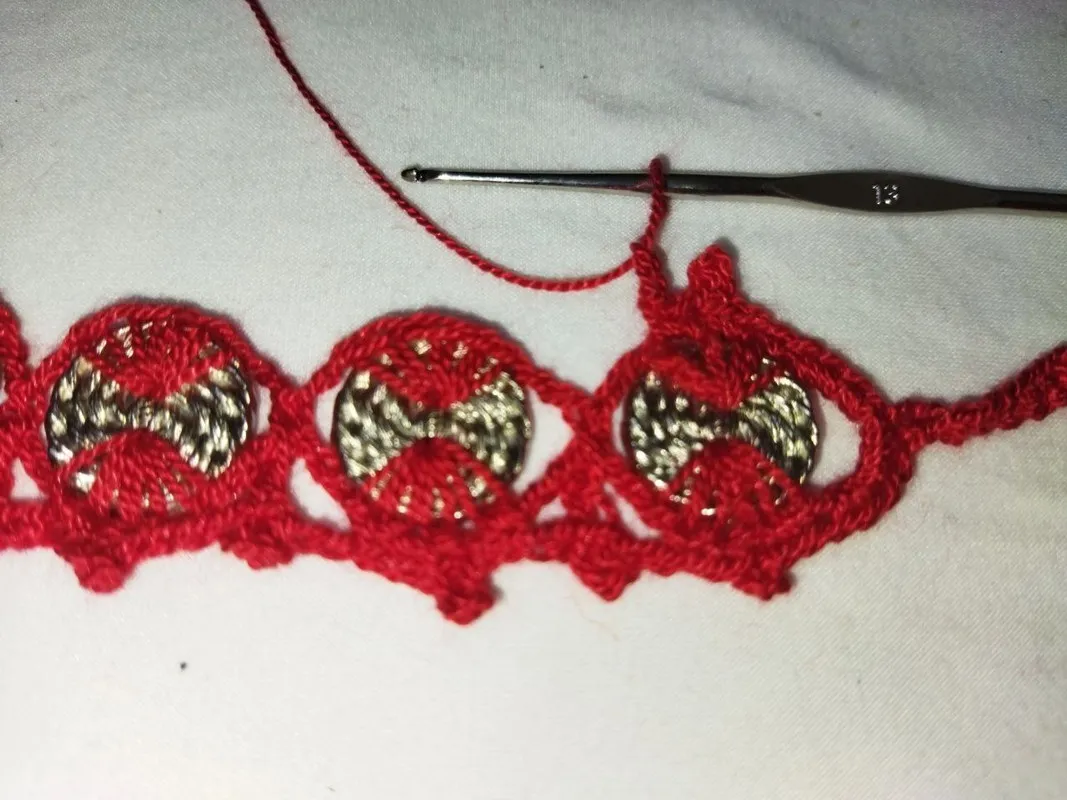
Para la segunda vuelta iniciamos haciendo 4 puntos bajos en la cadena como también tres encima de los puntos bajos que realizamos en el botón, luego elaboramos una cadena de tres puntos y lo insertamos en el punto de inicio de la cadena con un punto deslizado a este lo conocemos como punto picot y continuamos elaborando los otros 2 puntos bajos restantes
For the second round we start by making 4 low stitches in the chain as well as three on top of the low stitches we made in the button, then we make a chain of three stitches and insert it in the starting point of the chain with a slipped stitch, this is known as picot stitch and we continue making the other 2 remaining low stitches.
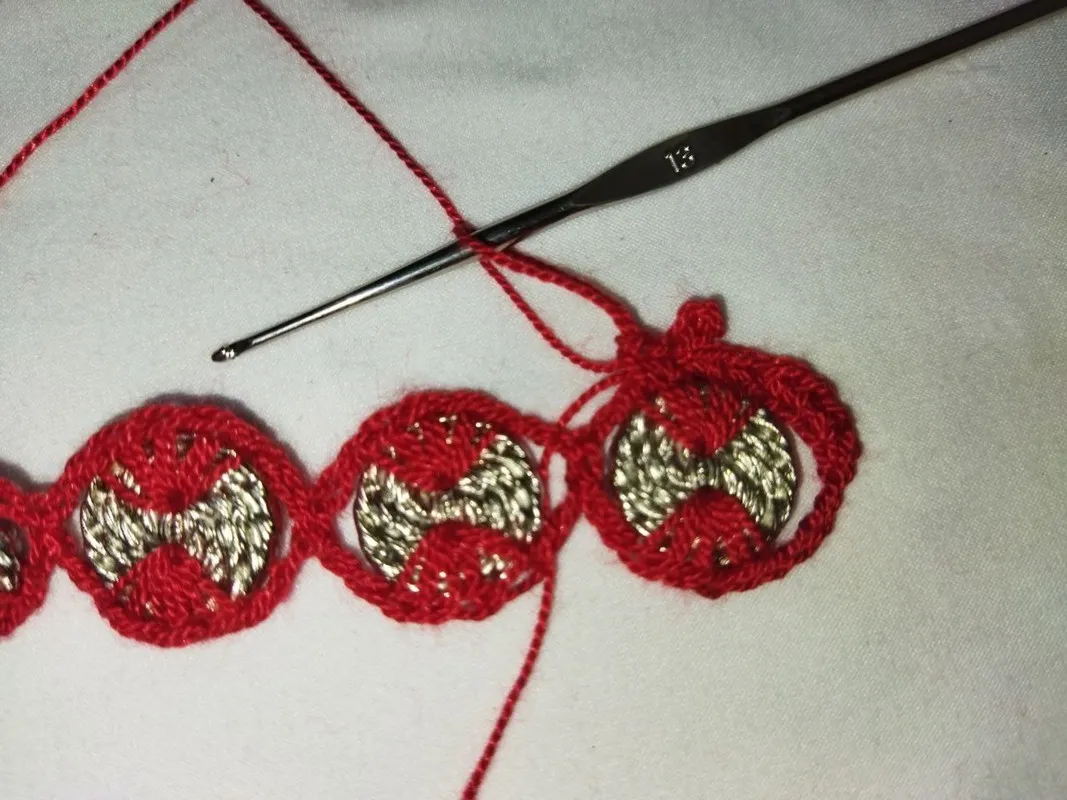
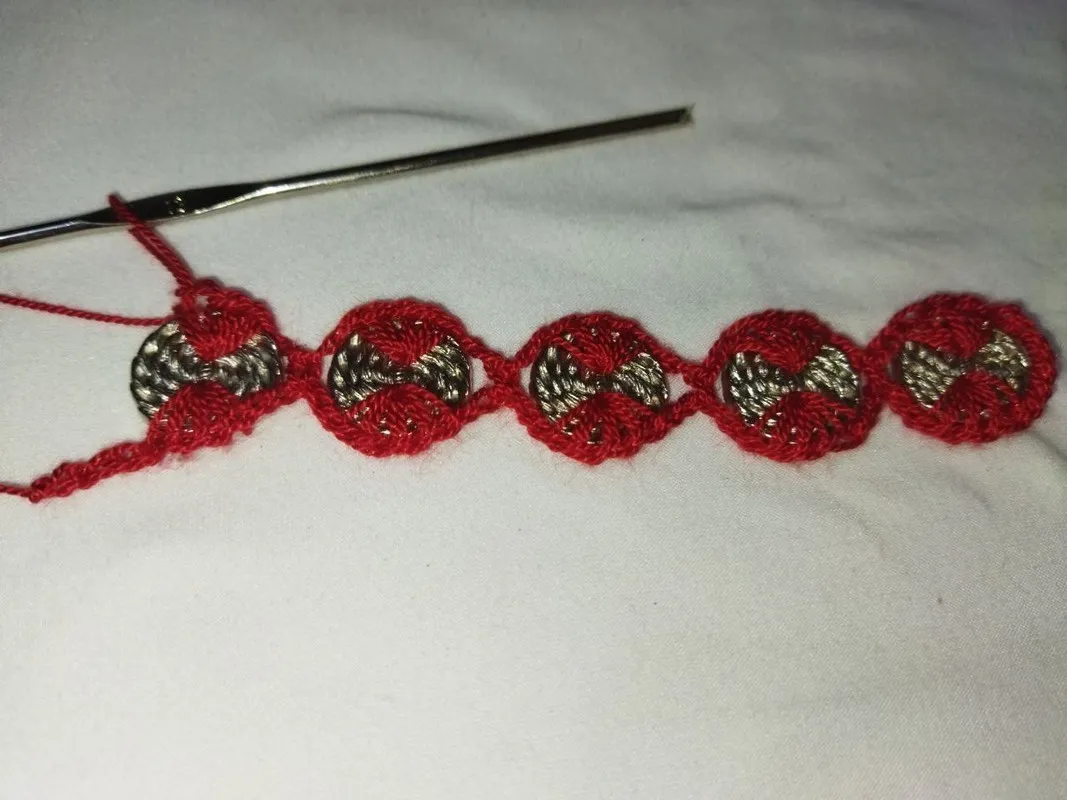
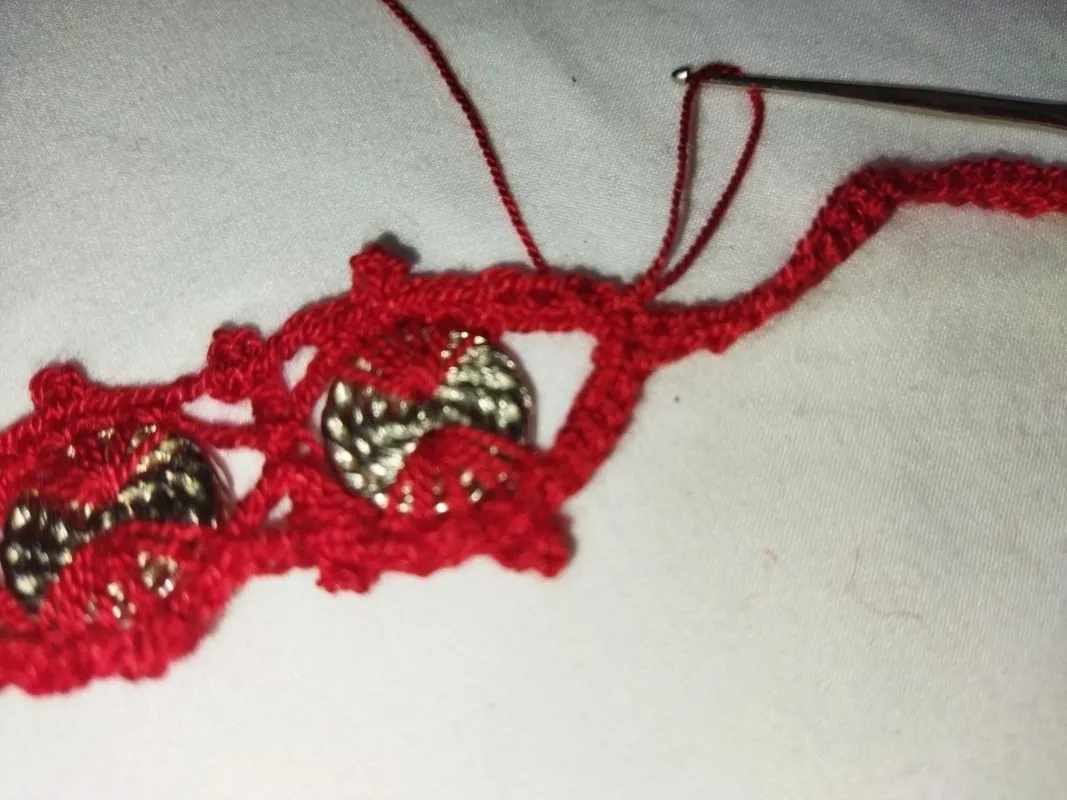
Para terminar la secuencia de toda la vuelta hacemos una cadena de 2 puntos y en el centro que divide los dos botones hacemos un punto alto seguido de una cadena de 2 puntos. Esto lo vamos a repetir hasta terminar en el sexto botón
To finish the sequence of the whole round we make a chain of 2 stitches and in the center that divides the two buttons we make a double crochet followed by a chain of 2 stitches. We will repeat this until we finish on the sixth button.
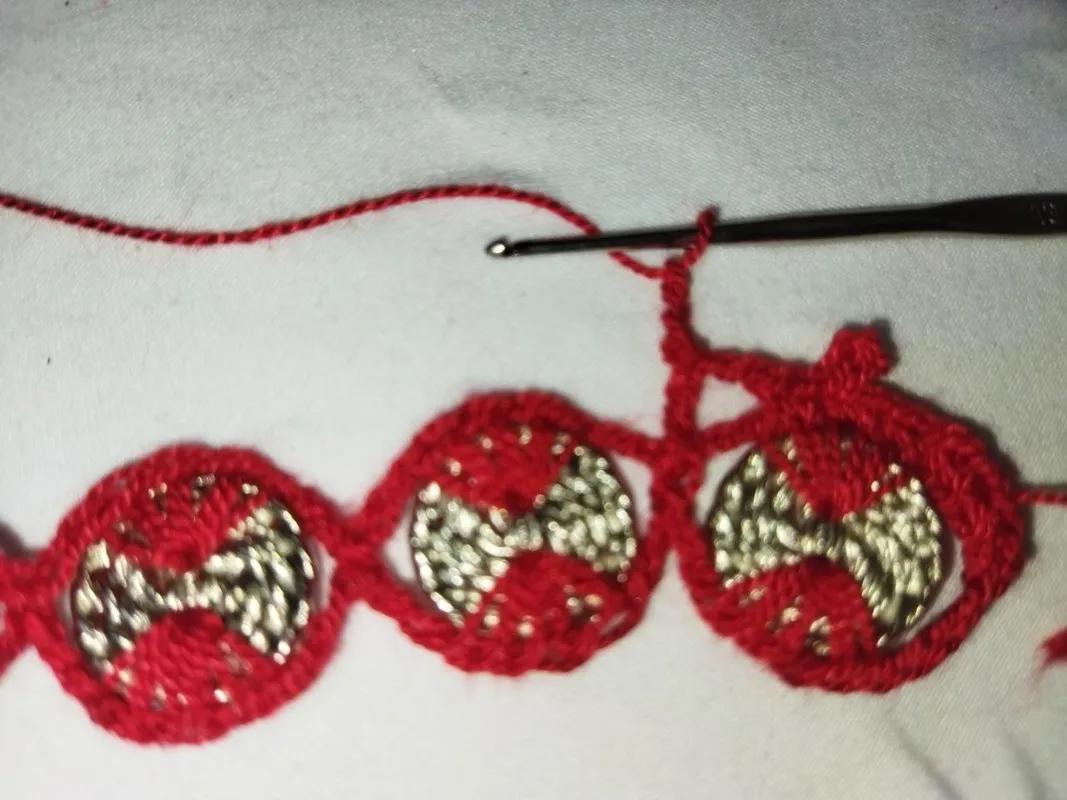

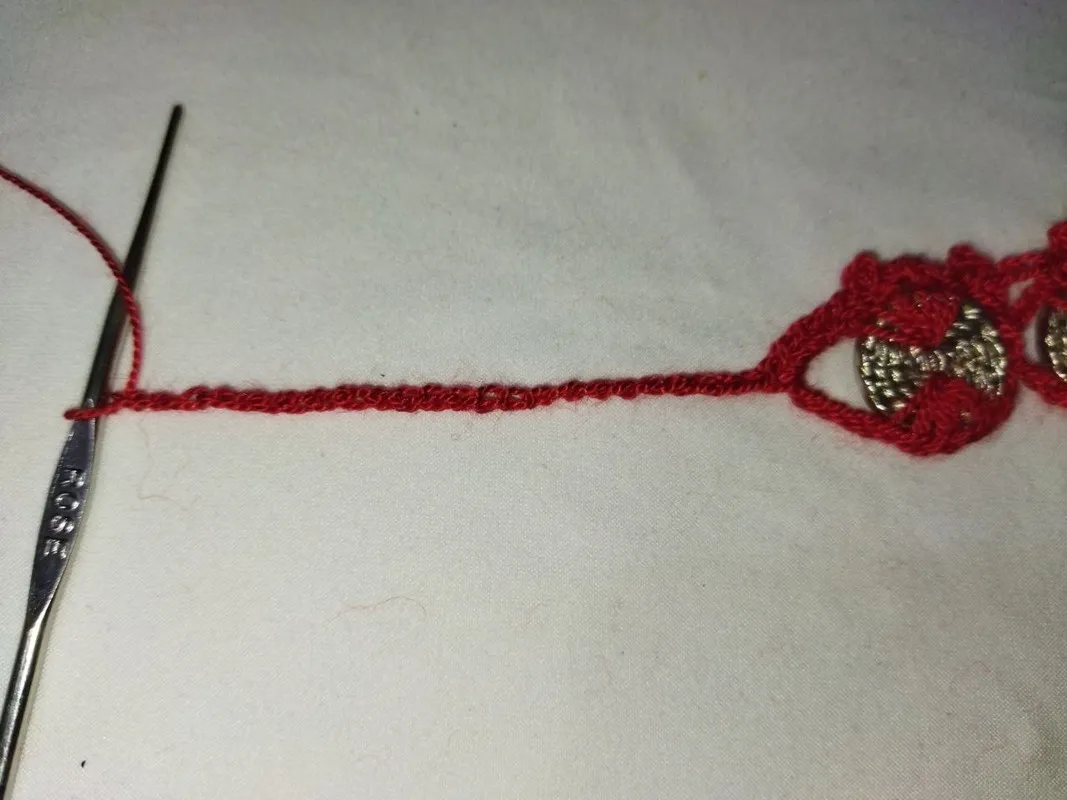
Ahora hacemos una cadena de 24 puntos y en el siguiente punto colocamos una perla plateada y retornamos realizando puntos bajos en cada punto de la cadena. Continuamos realizando la misma secuencia de puntos por el otro extremo hasta llegar al final para elaborar nuevamente la otra cadena de 24 puntos con la perla y en cada uno nos regresamos haciendo puntos bajo hasta terminar con un punto deslizado
Now we make a chain of 24 stitches and in the next stitch we place a silver pearl and we return making single crochet stitches in each stitch of the chain. We continue making the same sequence of stitches on the other end until we reach the end to elaborate again the other chain of 24 stitches with the pearl and in each one we return making low stitches until we finish with a slipped stitch.

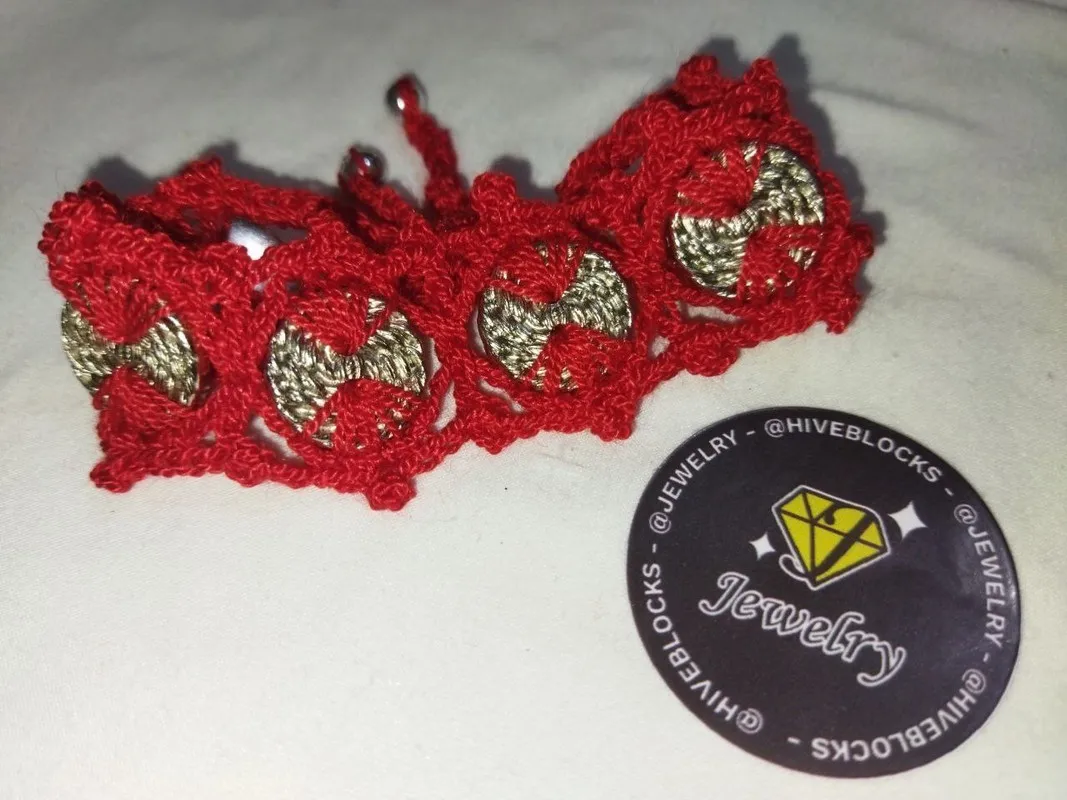
Ahora si Listo!!! ya culminamos con este hermoso proyecto como fue elaborar un lindo brazalete con botones ademas tejido a crochet, este diseño me dejo sorprendida el resultado ya que utilizando un material que tiene otra utilidad podemos realizar un hermoso accesorio y en este caso como utilice unos metalizados parecen unas monedas de plata. Espero que sea de su agrado y se animen a realizarlo. Con esmero y dedicación podemos lograr muchas cosas que nos proponemos
!! Un saludo y nos vemos en una próxima oportunidad!!
Now if Ready!!! we have finished with this beautiful project as it was to develop a nice bracelet with buttons also crocheted, this design left me surprised with the result because using a material that has another utility we can make a beautiful accessory and in this case as I used some metallic look like silver coins. I hope you like it and I encourage you to make it. With care and dedication we can achieve many things that we propose.
!! Greetings and see you in the next opportunity!


| Pueden seguirme en 💙: | You can follow me on 💙: |
|---|---|
| eveyese1312 | |
| Discord | eveyese1312#6211 |
Las fotos y el contenido son de mi autoria tomadas con mi teléfono POCO M3
Imágenes editadas en PowerPoint Canva y PicMonkey
Para la traducción usé el traductor: DeepL
The photos and content are my own.
Images edited in PowerPoint Canva and PicMonkey
For the translation, I used the translator: DeepL