
Good evening friends of Hive and Jewelry receive my greetings and congratulations for each of your posts, so useful and fun as you always present them to us. Earrings can never be missing in our look. Earrings undoubtedly play an important role in our outfits, they are part of our personality and therefore of our style.
Elegant, daring, modest, that and much more can say our earrings just by looking at them and so we can adjust them to our outfit. In this Christmas season I bring you an alternative to set a trend this Christmas, applying a basic technique of macramé, stones and lace. Thus totally highlighting the elongated piece.
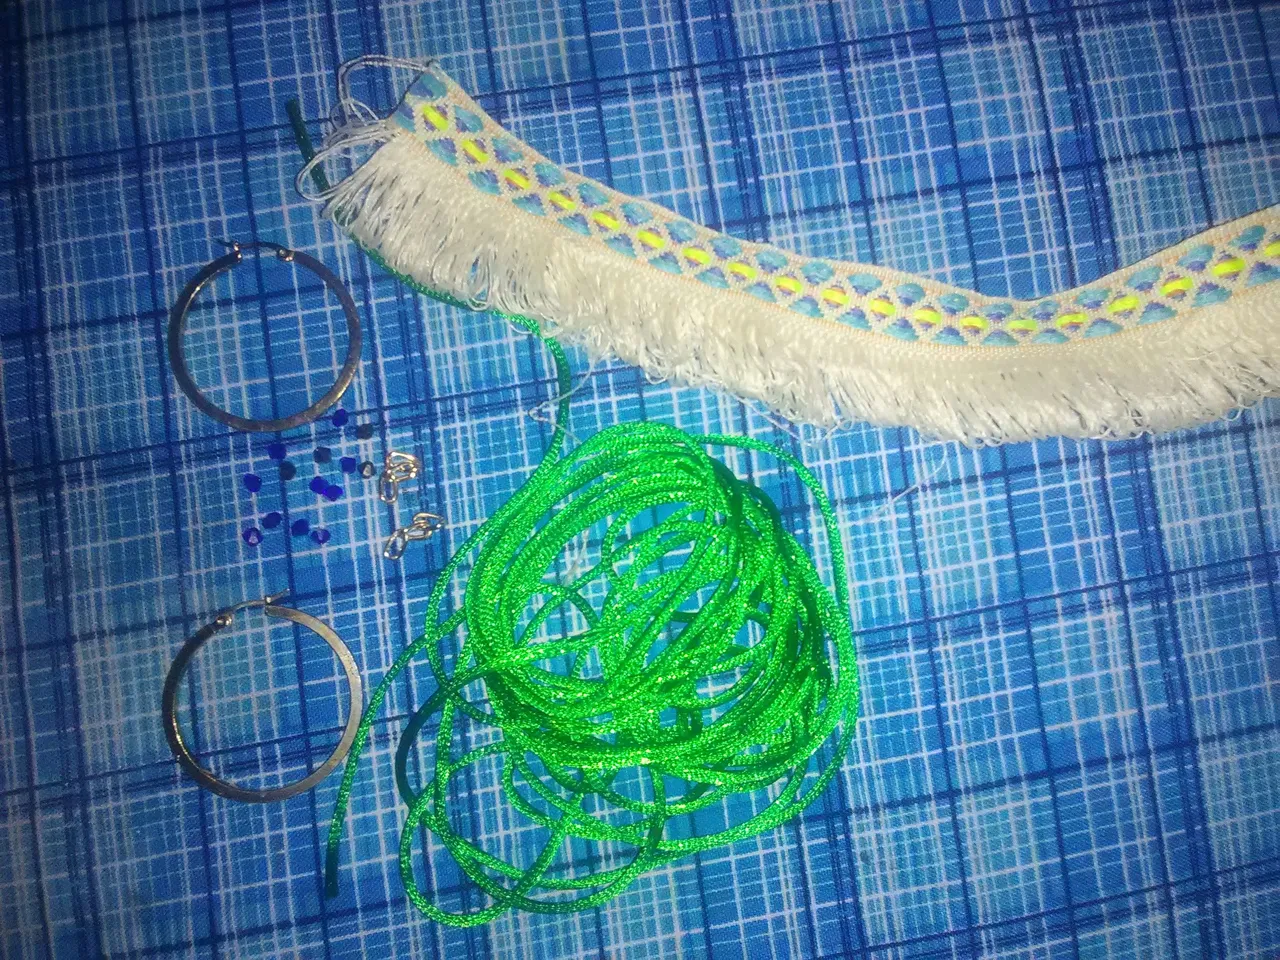
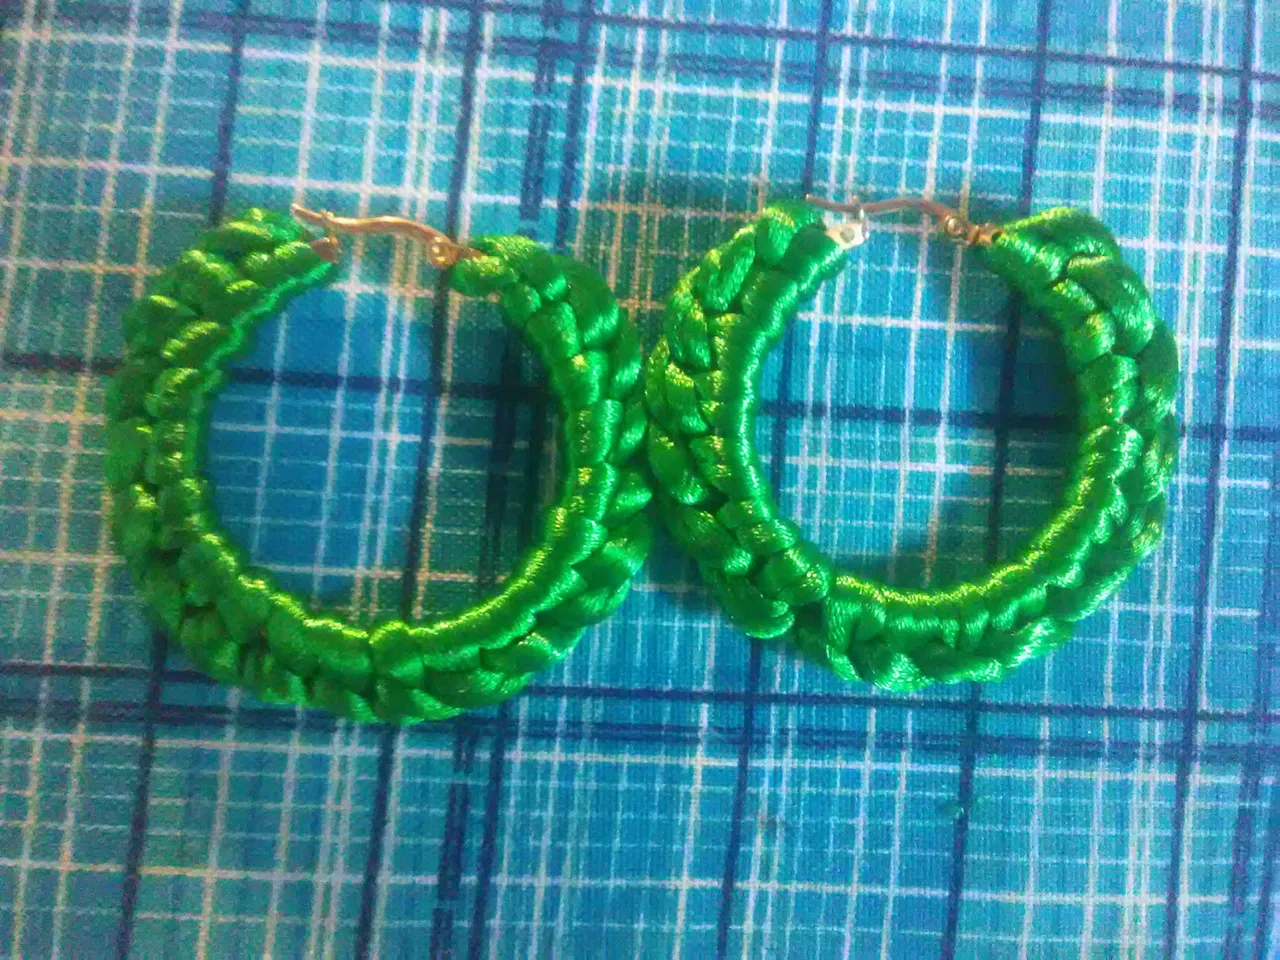
- Hoops
- 2 meters of mouse tail thread
- Small stones (10 blue and 4 brown).
- 8 cm of lace.
- 2 chains of 2.5 cm
- Needle and sewing thread.
First step
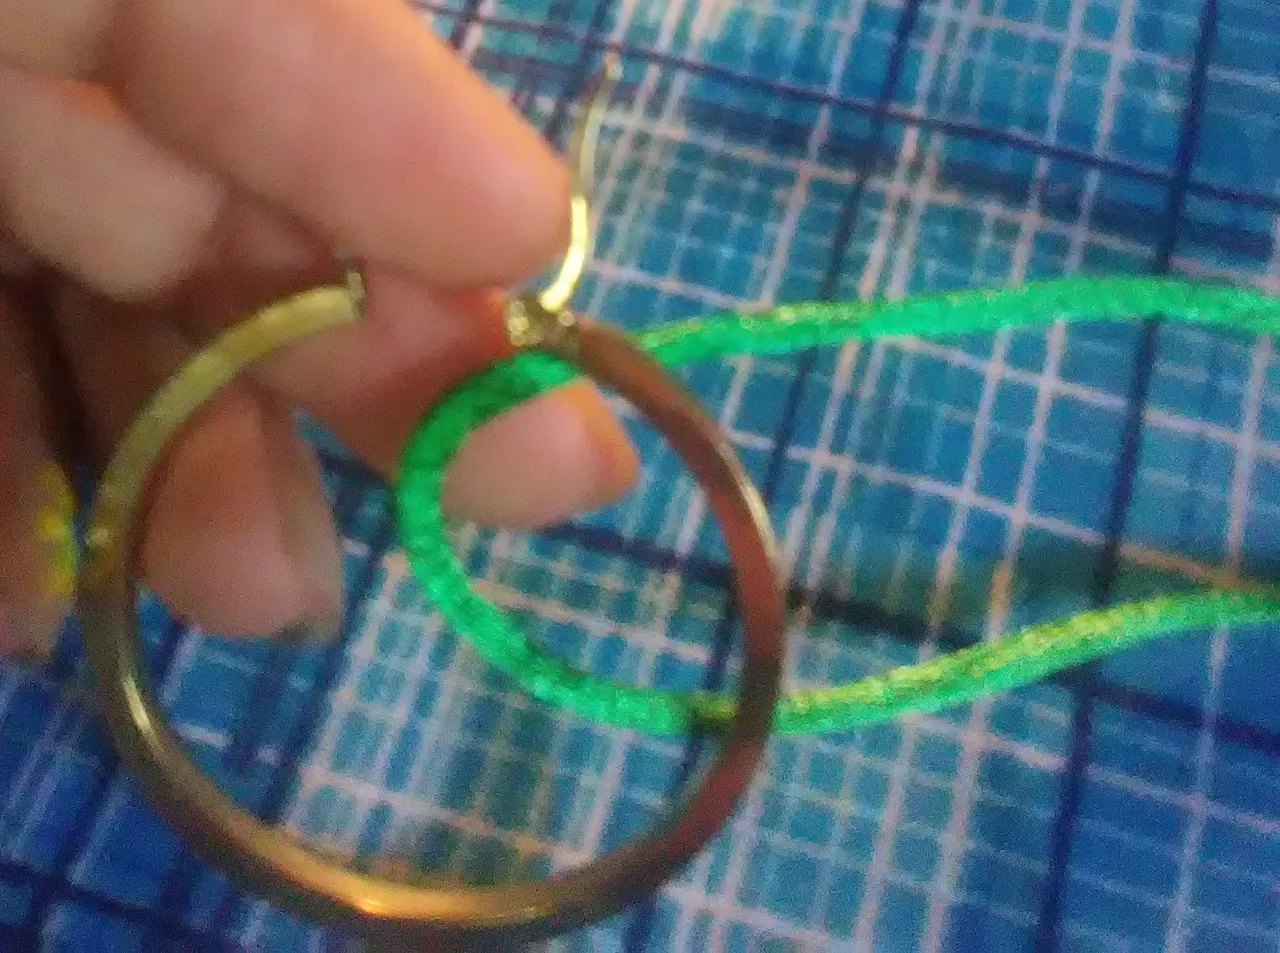
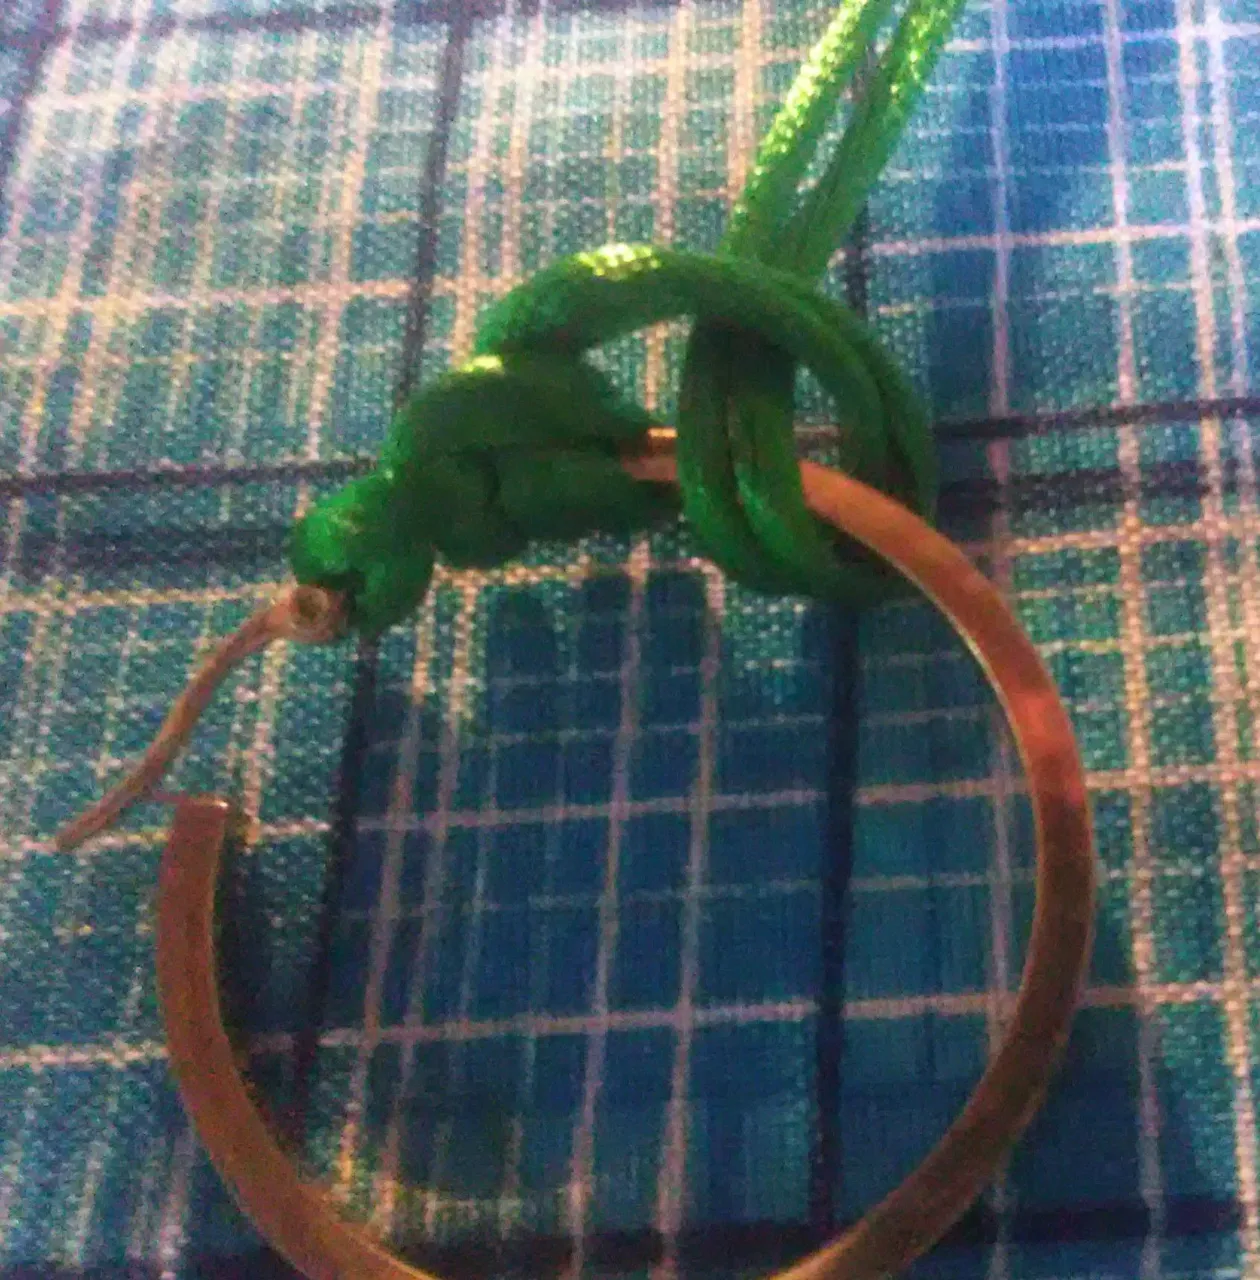
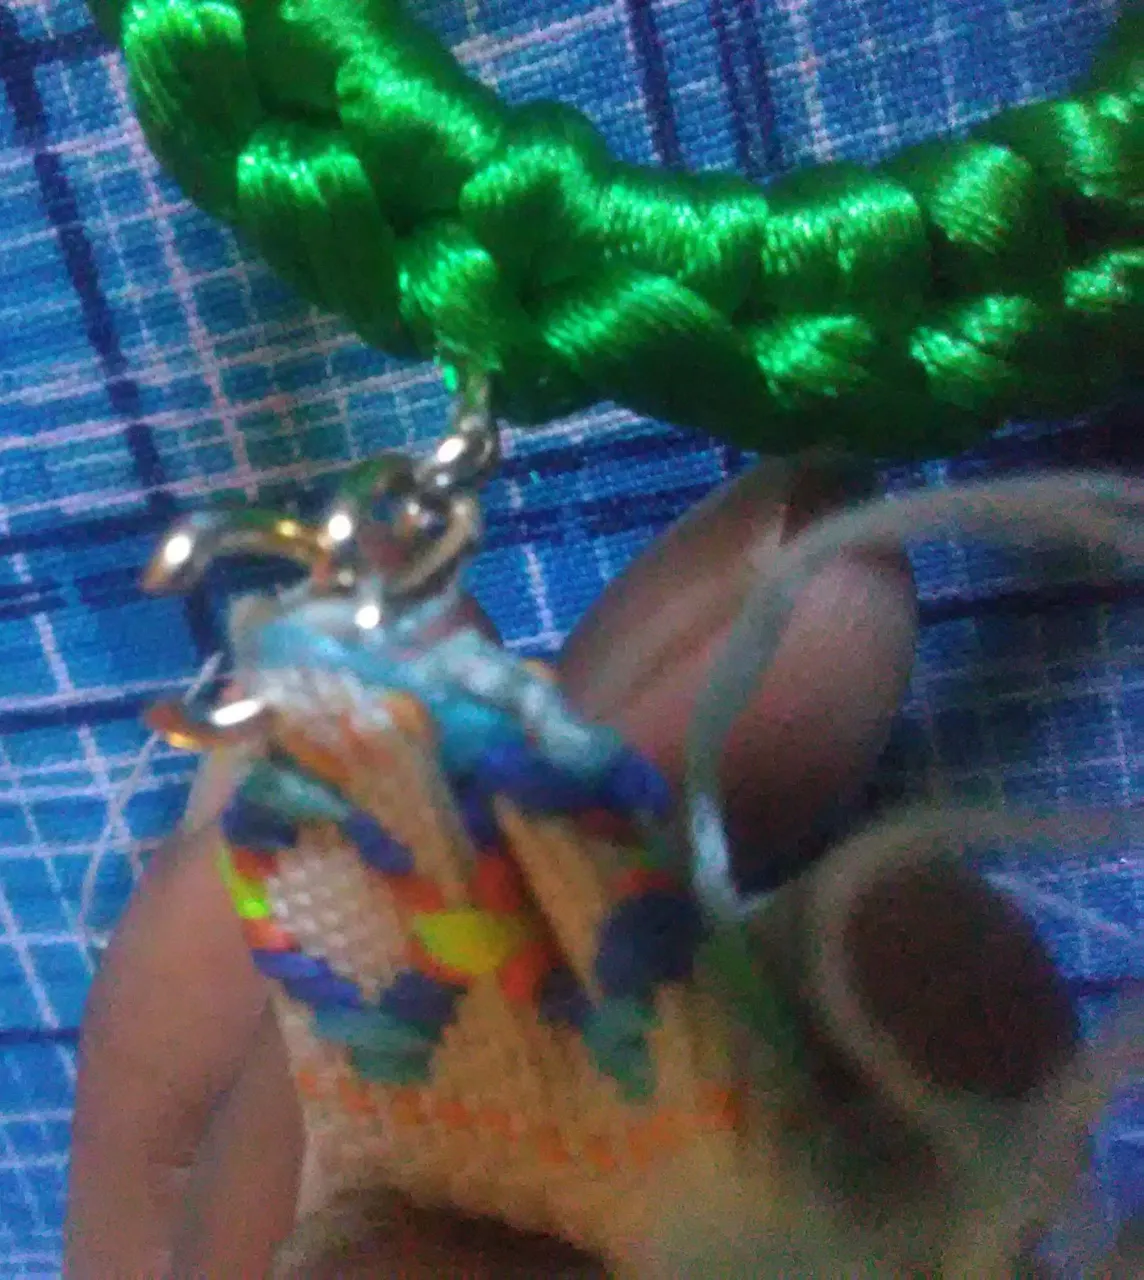
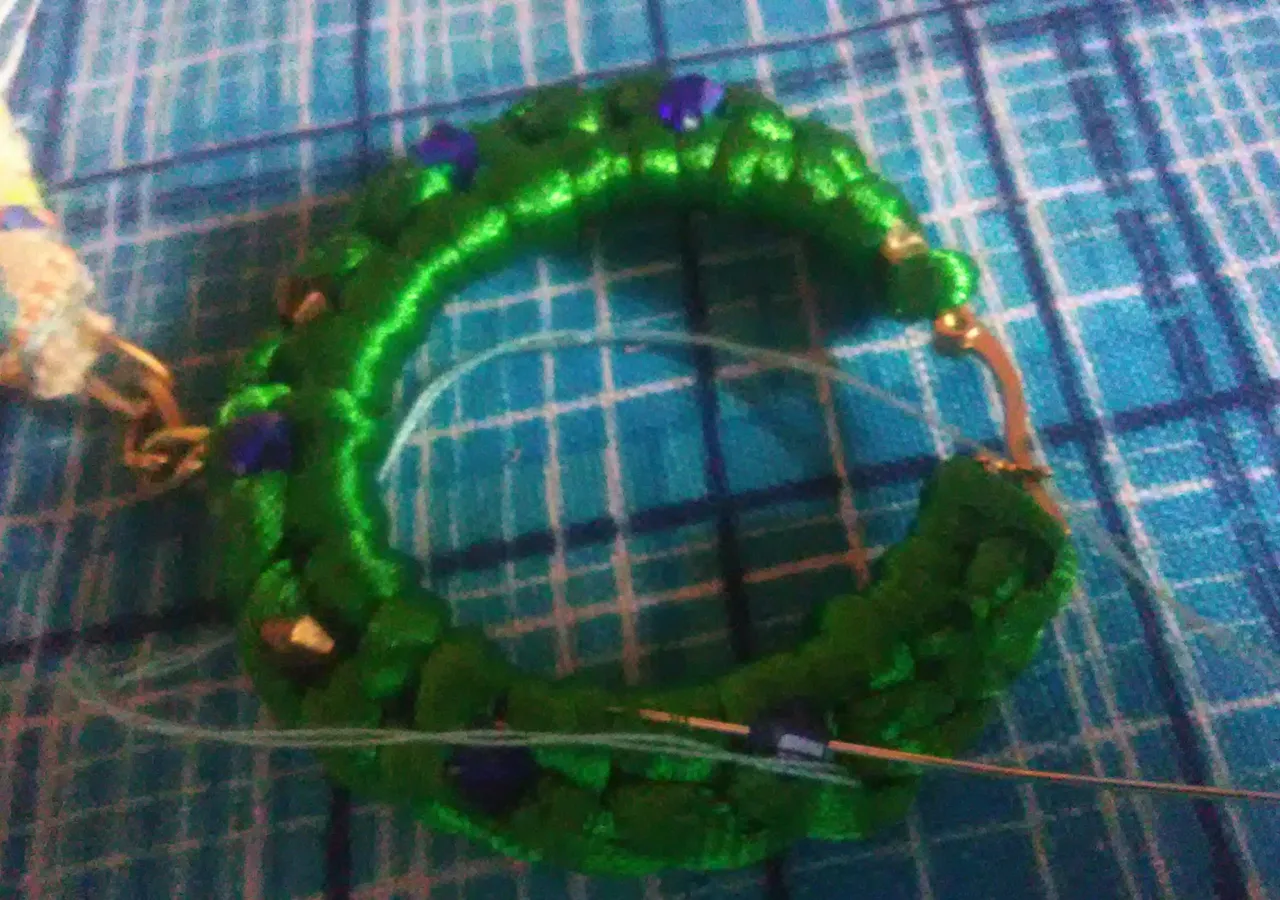
Take the ring and make the first knot in our ring. This step is the main one in the weaving of our ring, since this same procedure will be repeated.
Take the mouse tail thread and fold it in half. Just in the marte where the thread material is folded, the curve that can be seen in the image will be formed. This curve will be passed behind the ring.
Second Step
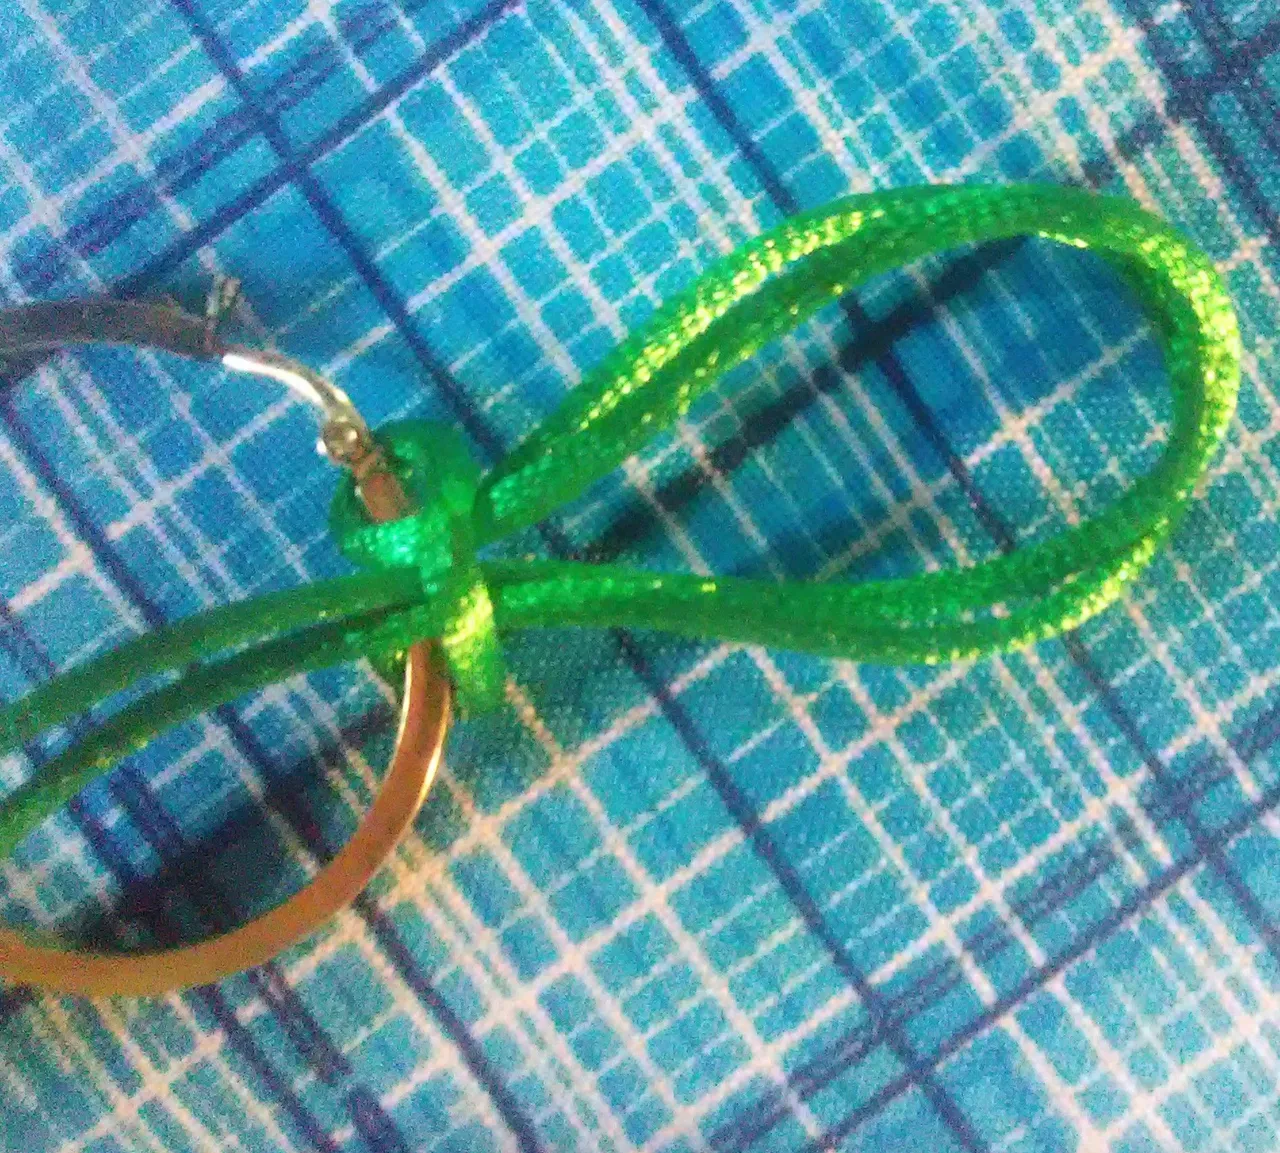
Then insert the two ends of the thread between the curve that has formed behind the ring. Then force and pressure is applied from the tips of the mouse tail thread.
This is our first knot. This is how all the knots around our rings should be tied.
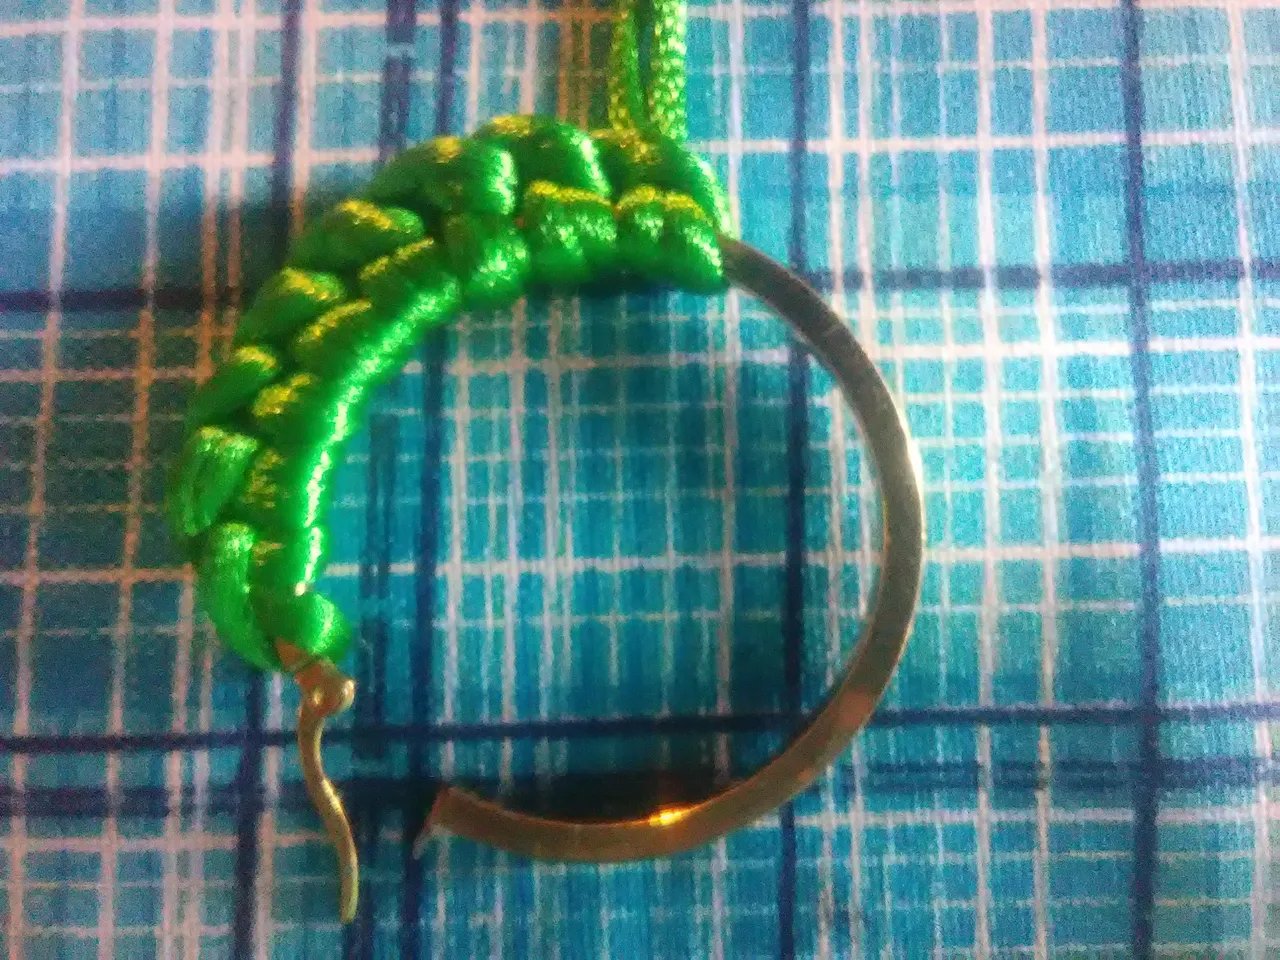
Here I show the progress of the technique on the rings.
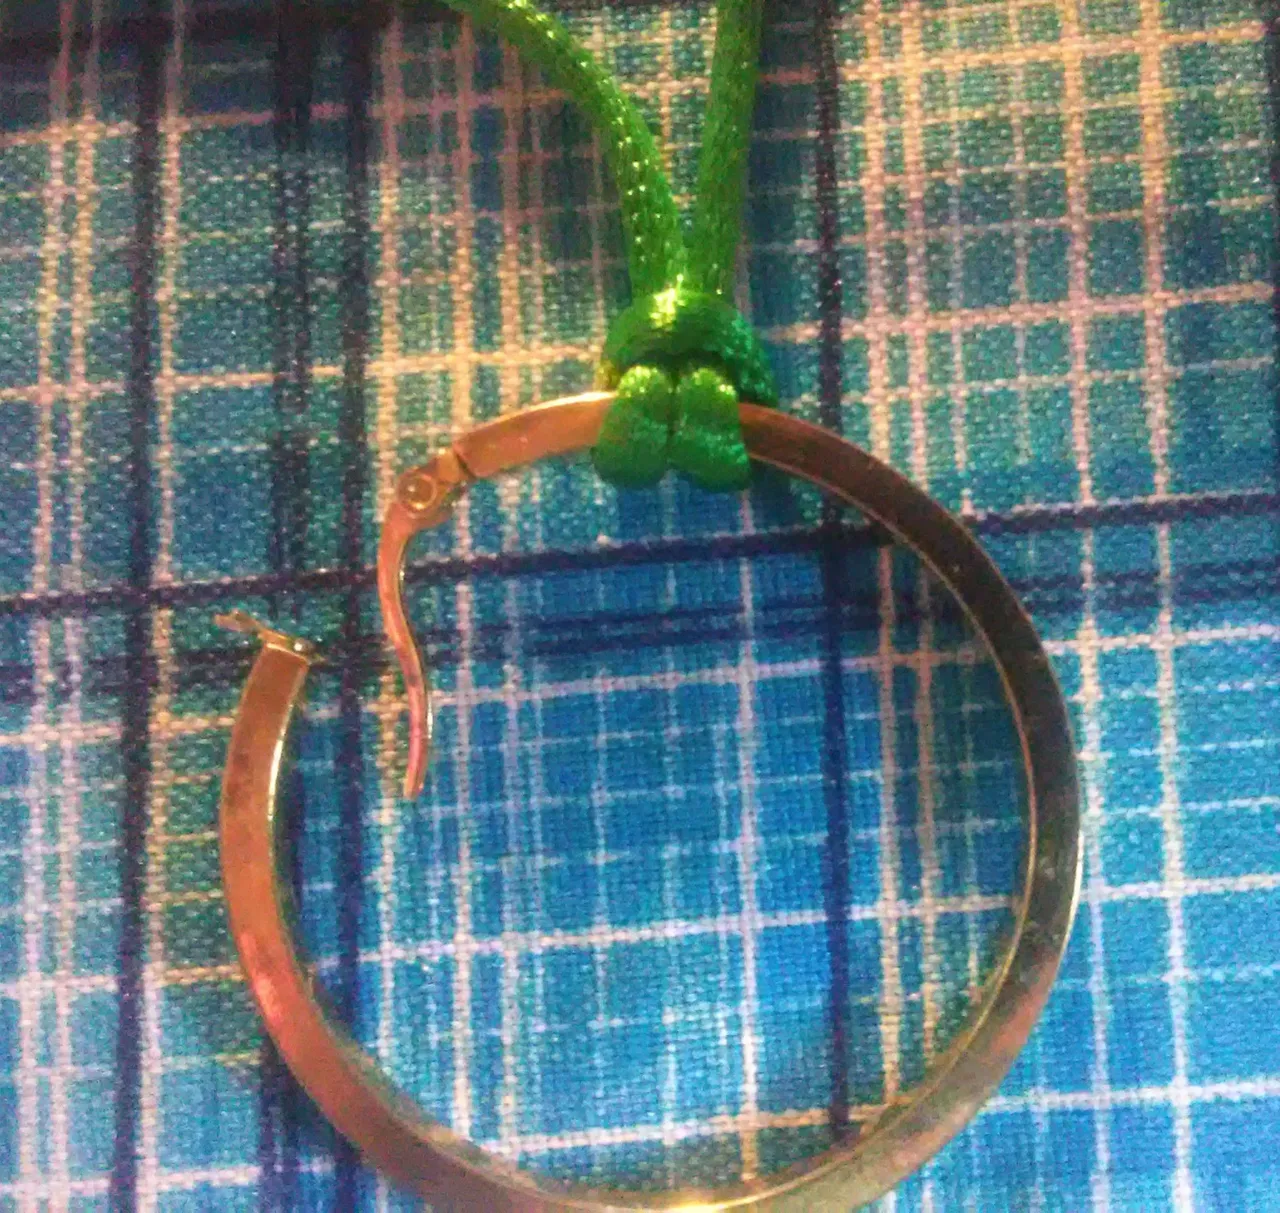
Third Step
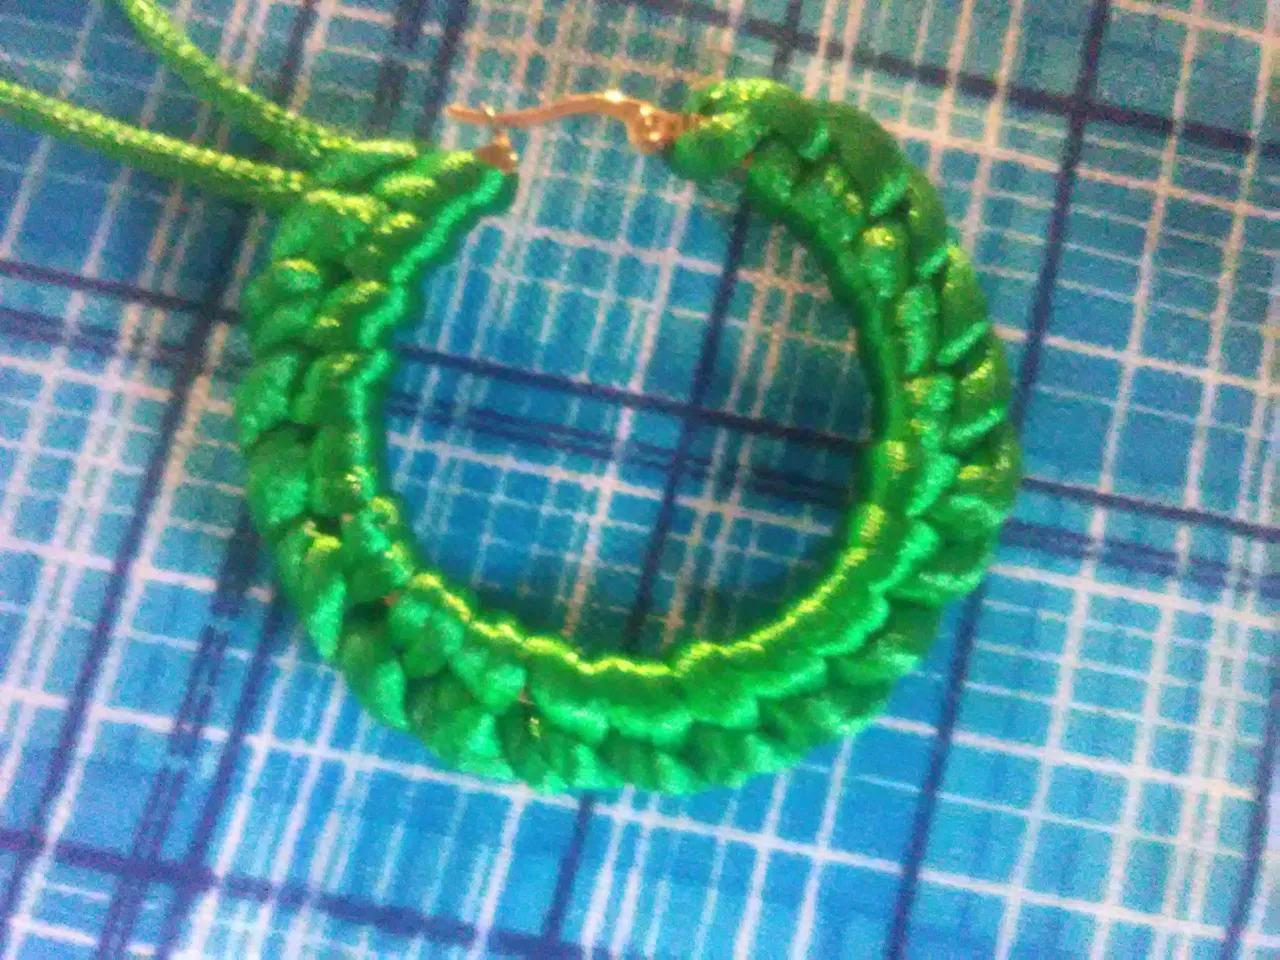

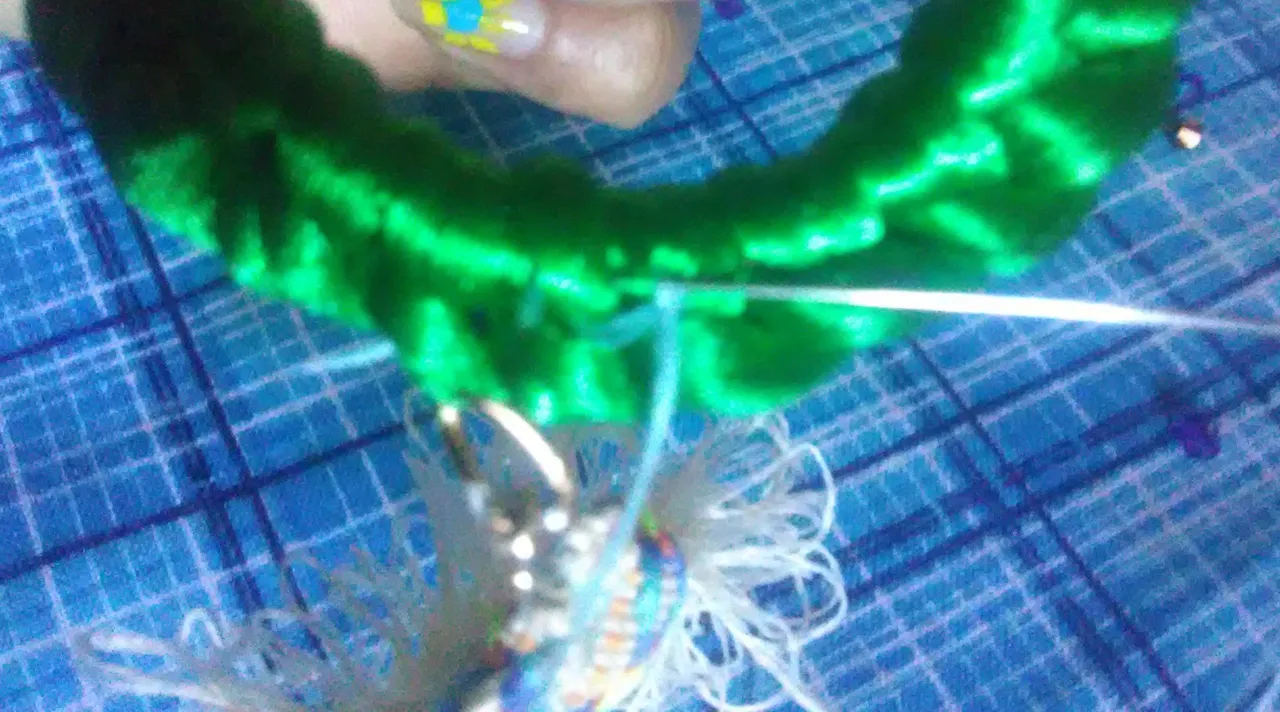
A knot is made at the end of the weaving. it must be pressed so that it remains tight.
Fourth Step
Then the lace is taken and this is folded in half and sewn on the reverse side of the lace.
Fifth Step
After stitching, turn the lace right side out.
Sixth Step
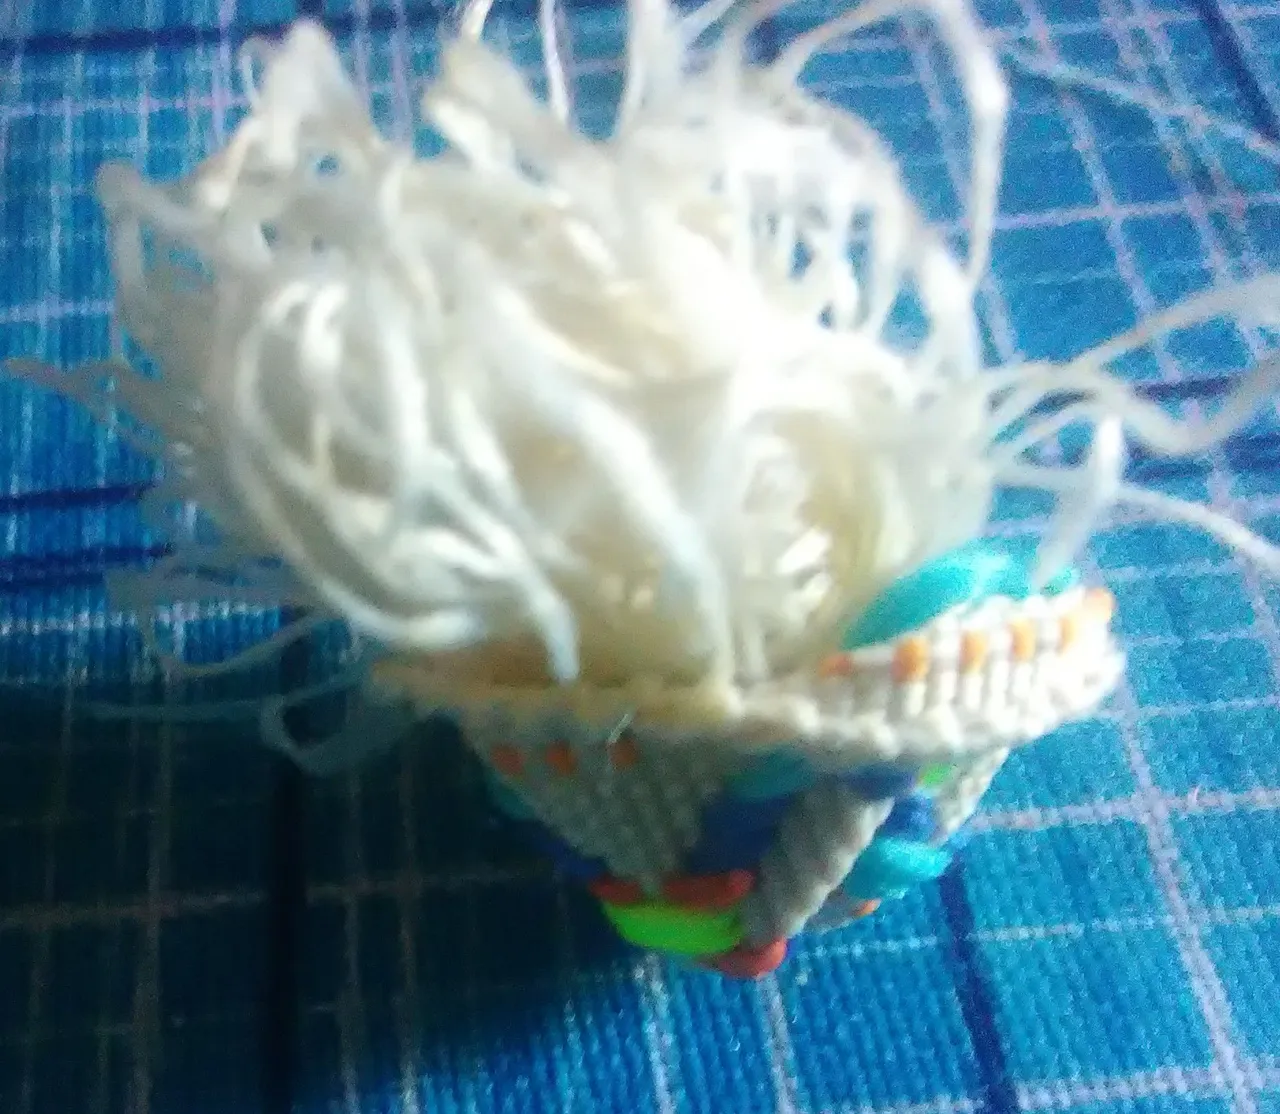
Then at the top of the lace, gather the lace a little.
Then insert the rings into the mouse tail thread. Open the mouse tail so that it can be inserted into the thread.
Attach the others to the first ring and insert the lace.
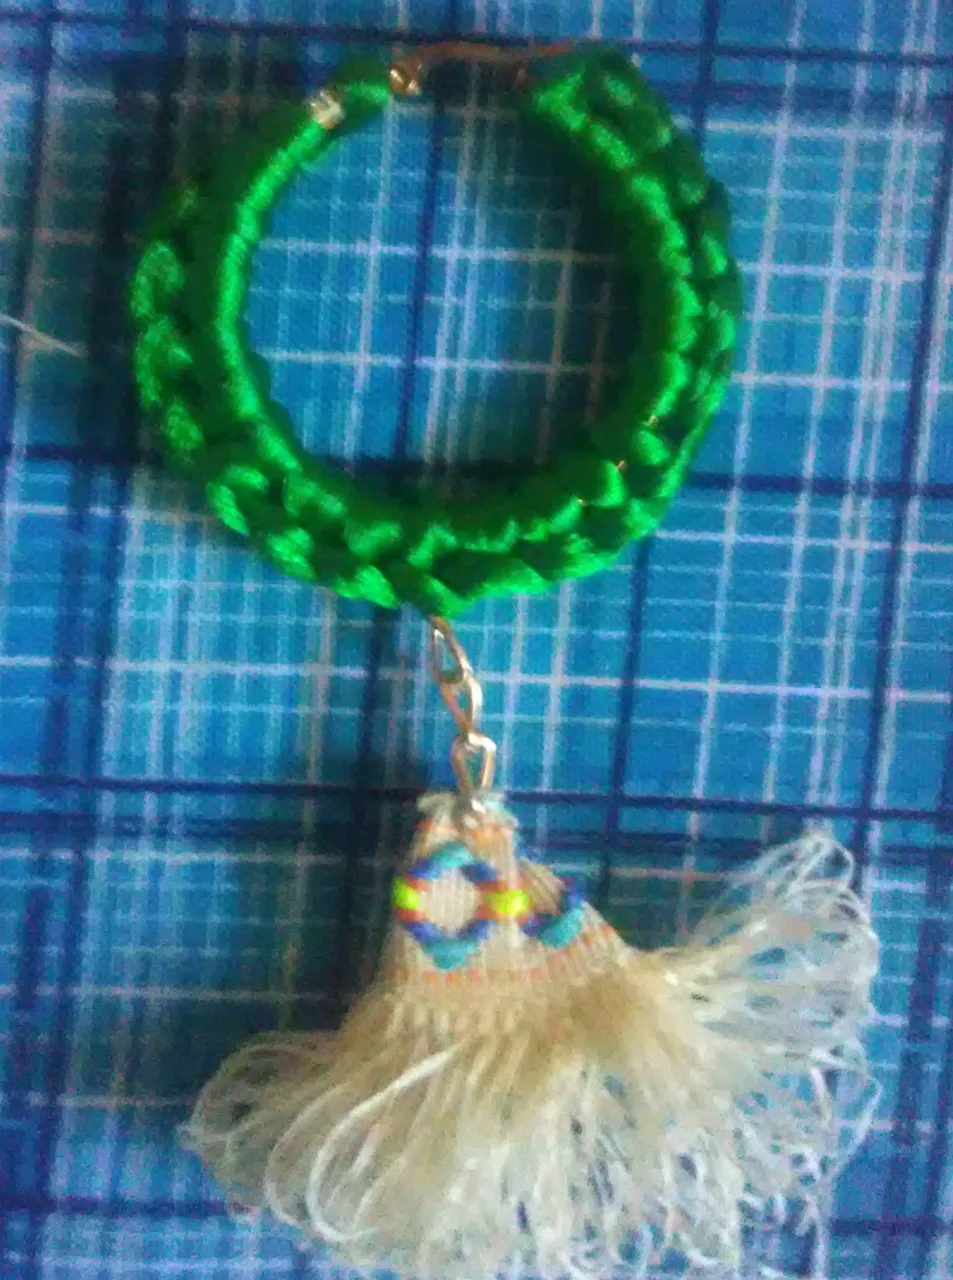
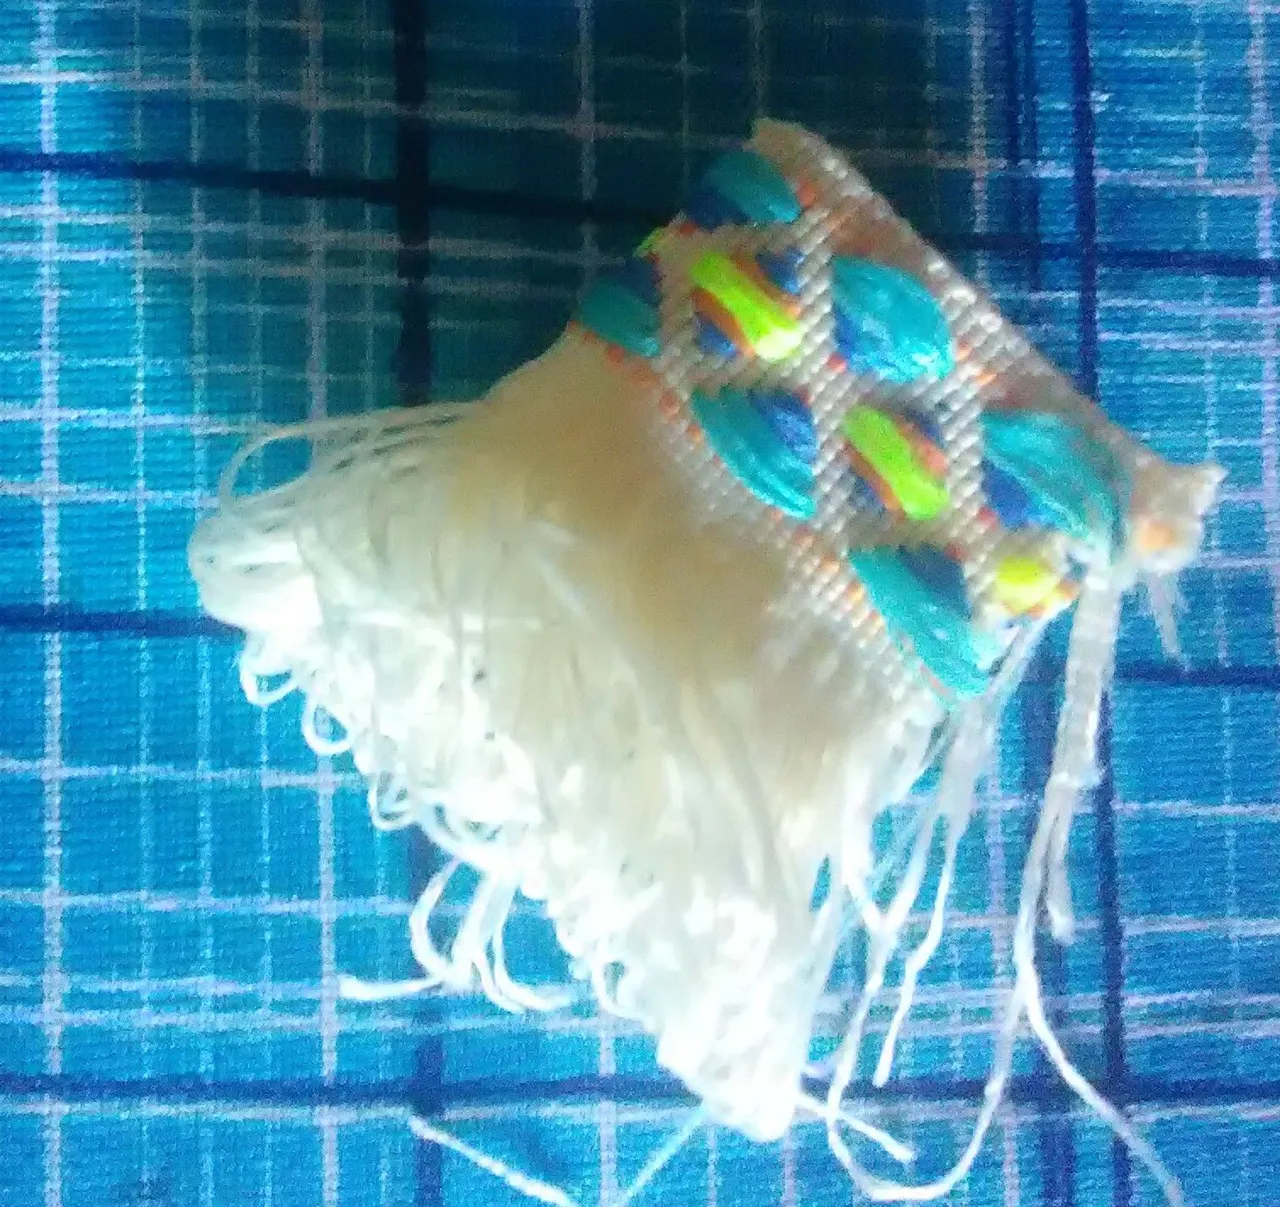
This way the design of our rings is ready.
Seventh Step
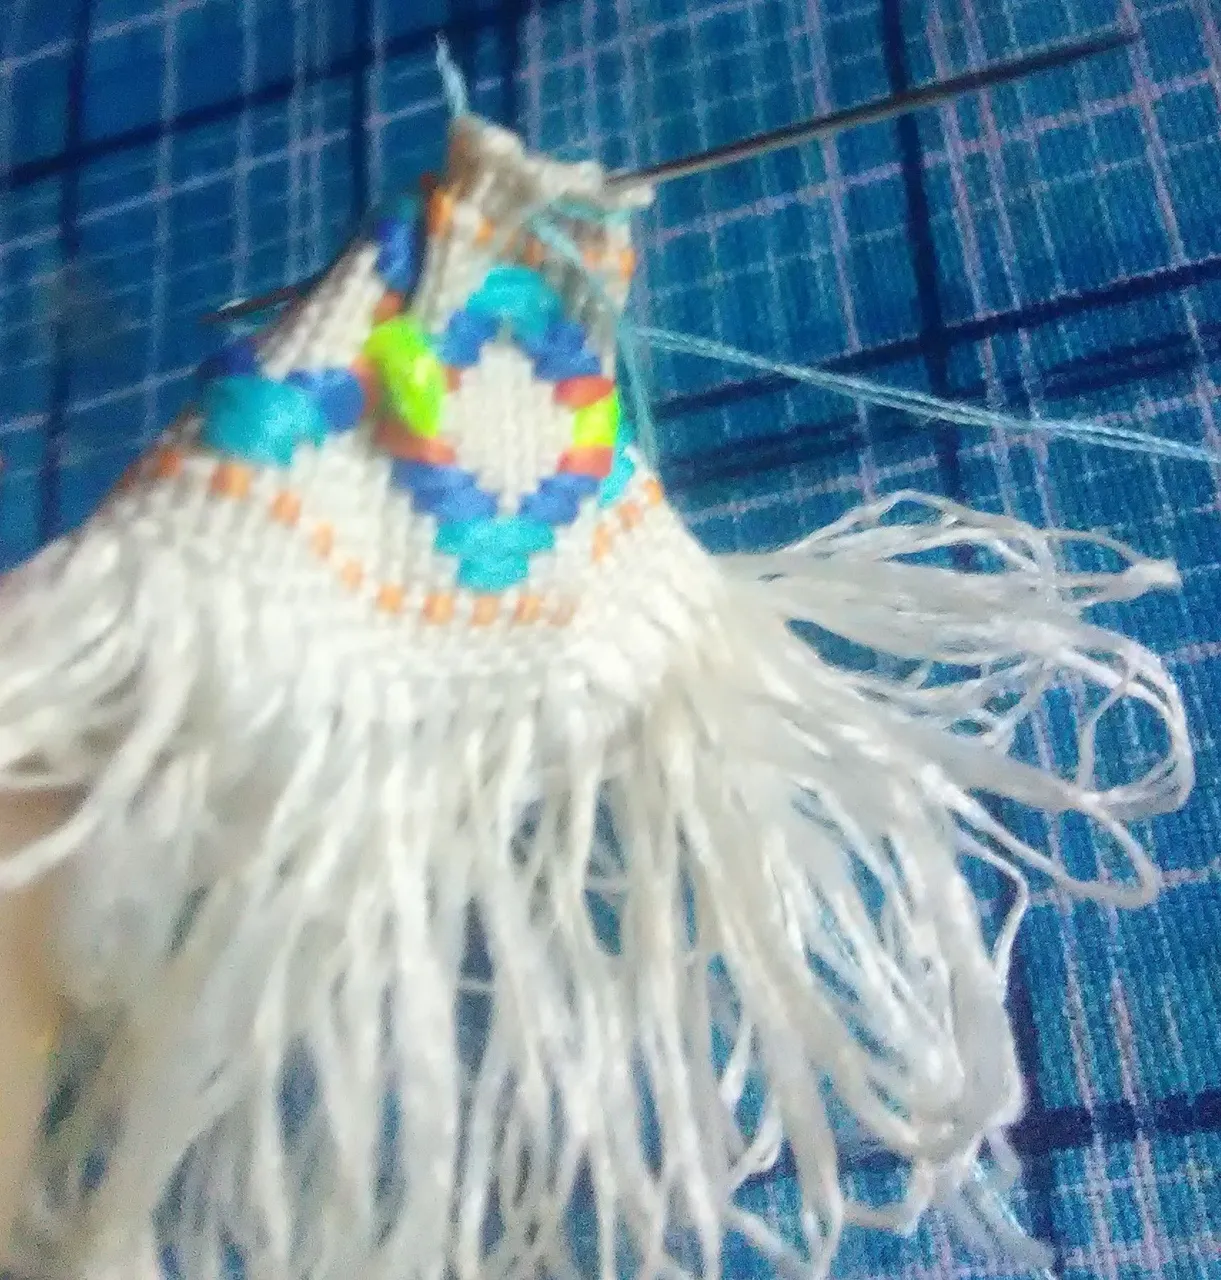
Finally small crystals are inserted into the mouse tail thread.
First insert a blue crystal in the middle area of the design.
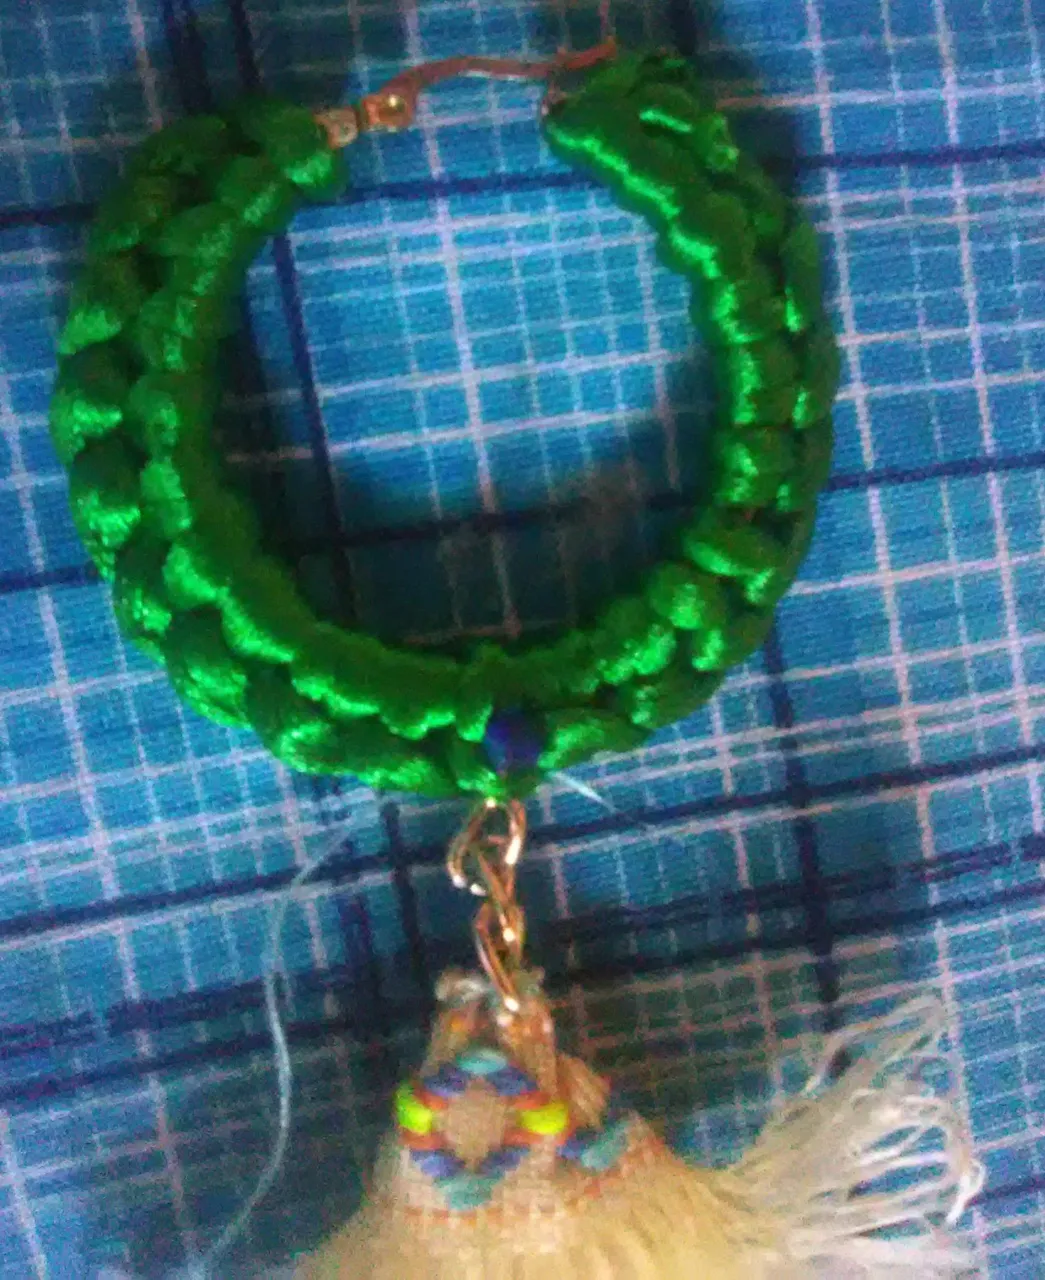
then insert two brown pearls on either side of the central blue stone and finally the blue crystals.
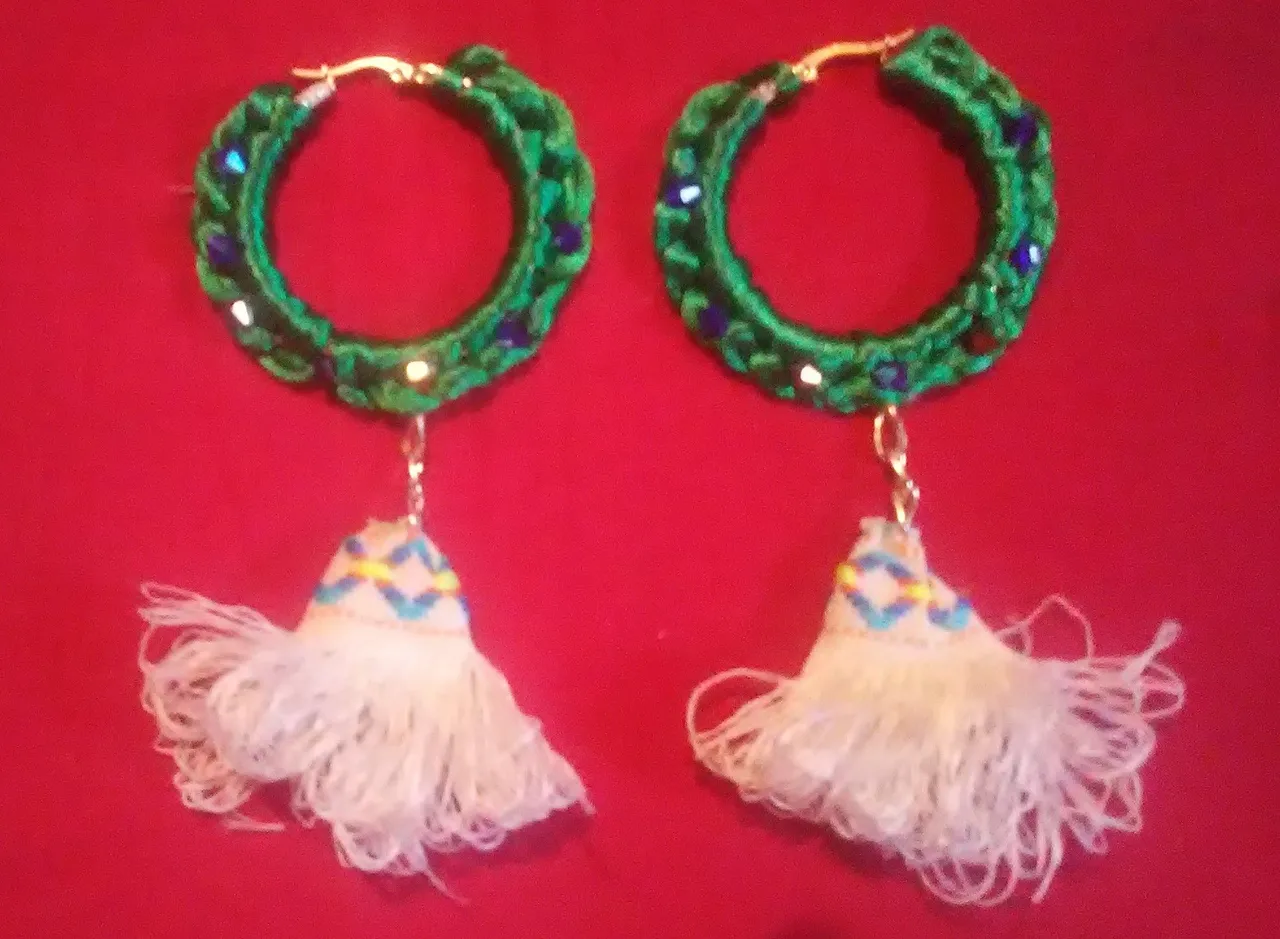
In this way these beautiful tendrils are created to have a unique style, be on trend and look beautiful.
I hope you like the proposal, greetings! I say goodbye wishing you all the good vibes of the universe.
The images are my own and were taken with a ZTE BLADE phone.
Translator utilization: Deepl
The editing of the photos was done using the Polish Photo Editor application and separators were edited in canva.
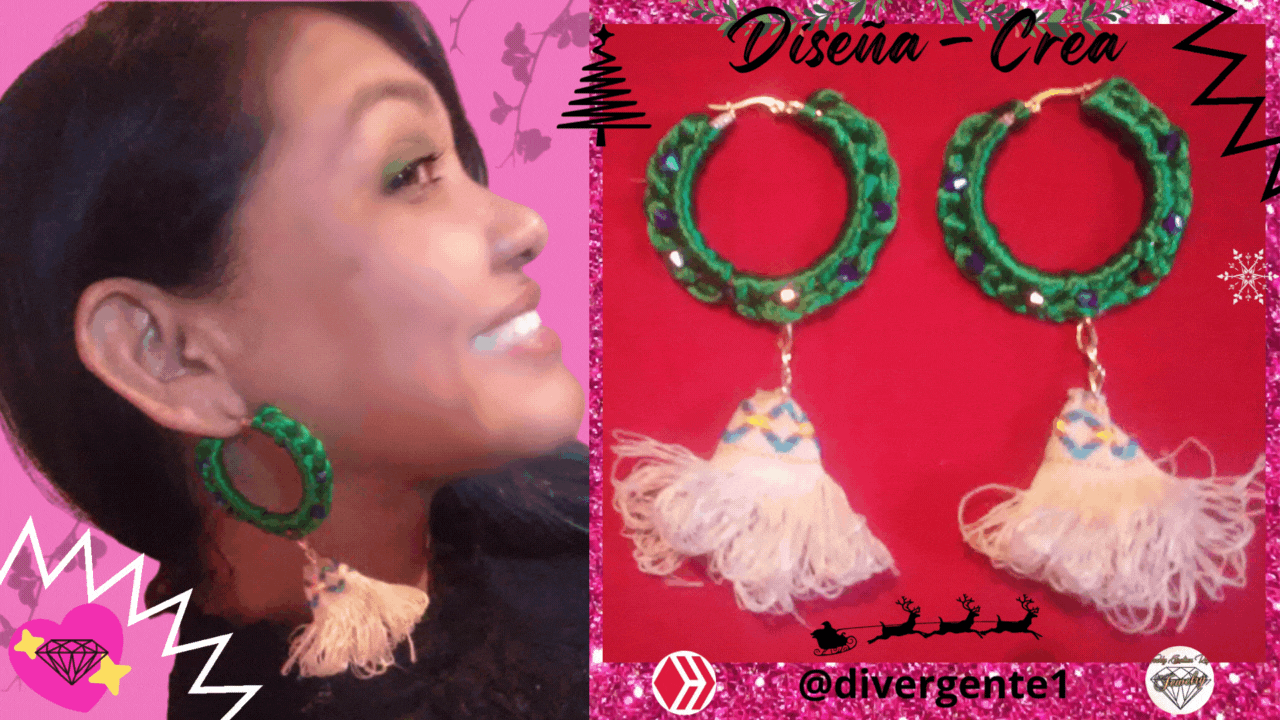
I thank my beautiful mother; Esther Nohemi for being the beautiful model who presented us with the earrings.

Buenas noches amigos de Hive y Jewelry reciban mis saludos y felicitaciones por cada uno de sus post, tan útiles y divertidos como siempre nos los presentan. Los aretes nunca pueden faltar en nuestro look. Los zarcillos sin duda alguna juegan un papel importante en nuestros atuendos, forman parte de nuestra personalidad y por ende de nuestro estilo.
Elegantes, atrevidos, modestos, eso y mucho más pueden decir nuestros aretes con tan solo mirarlos y así poder ajustarlo a nuestro atuendo. En esta época de navidad les traigo una alternativa para marcar tendencia en estas navidades, aplicando una técnica básica de macramé, piedras y encaje. Destacando así totalmente la pieza alargada.
- Argollas
- 2 metros de hilo cola de ratón
- Piedras pequeñas ( 10 azules y 4 marrones)
- 8 cm de encaje.
- 2 cadenas de 2.5 cm
- Aguja e hilo de coser.
Primer Paso
Se Toma la argolla y se va a realizar el primer nudo en nuestra argolla. Este paso es principal en la realización del tejido de nuestra argolla, ya que se va a repetir este mismo procedimiento.
Se debe tomar el hilo de cola de ratón y se debe doblar el mismo a la mitad. Justo en la marte donde se dobla el material del hilo se va a formar esa curva que se puede observar en la imagen. esta se va a pasar por detrás de la argolla.
Segundo Paso
Posteriormente se introduce las dos puntas del hilo entre la curva que se ha formado por detrás de la argolla. Luego se hace fuerza y presión desde las puntas del hilo de cola de ratón.
Este es nuestro primer nudo. De esta manera se deben realizar todos los nudos alrededor de nuestras argollas.
Aqui muestro el avance de la técnica sobre las argollas.
Tercer Paso
Se hace un nudo al terminar el tejido. se debe presionar para que este quede pequeñito sobre el trenzado que se ha realizado.
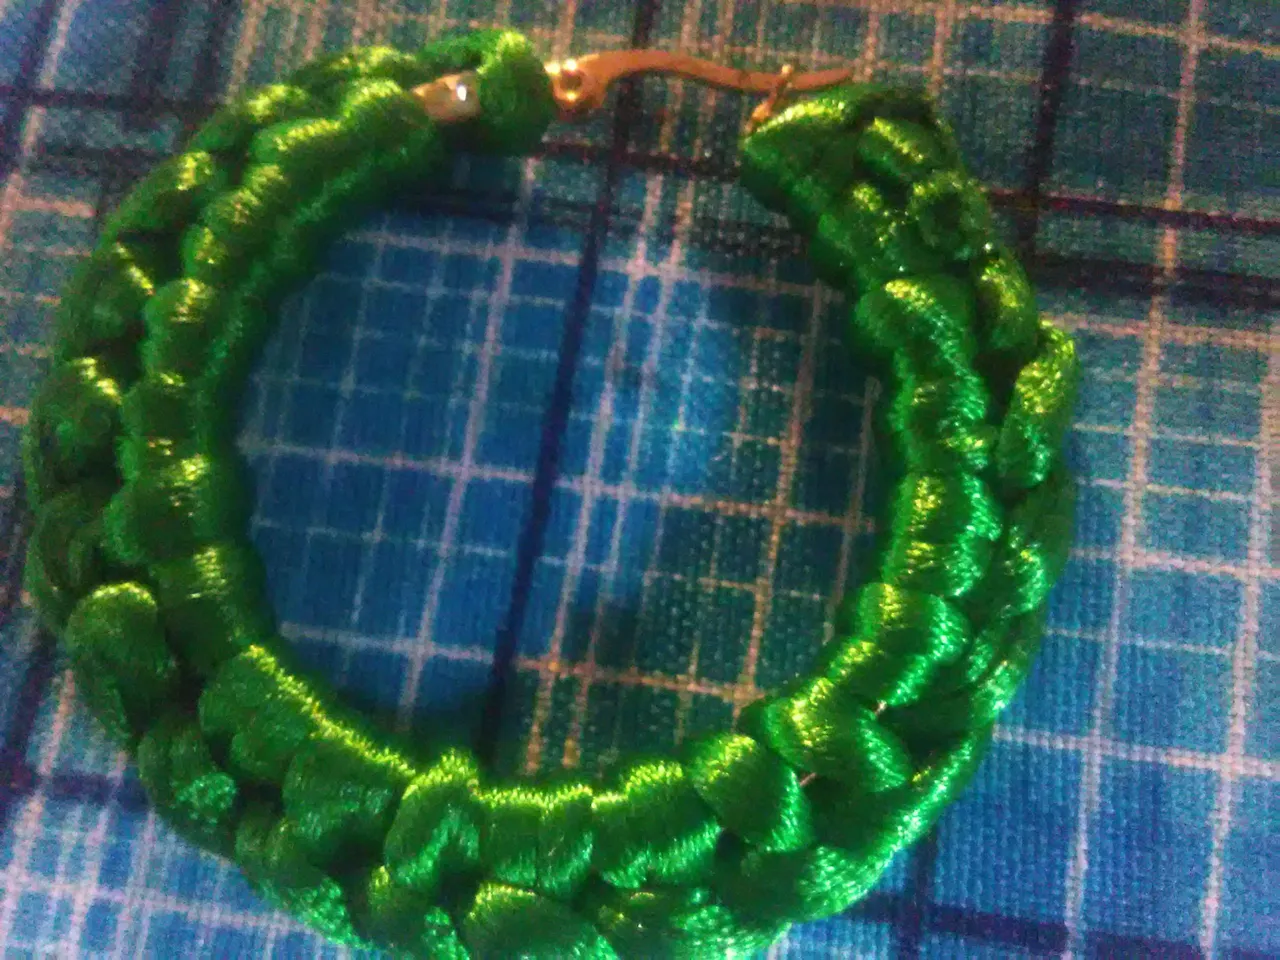
Luego se corta el material sobrante con la tijera.
Posteriormente repetí el mismo paso en la otra argolla.
Cuarto Paso
Luego se toma el encaje y este se dobla a la mitad y se cose del lado revés del encaje.
Quinto Paso
Luego de haber cosido se debe voltear el encaje del lado derecho.
Sexto Paso
Luego en la parte superior de debe fruncir un poco el encaje.
Posteriormente se inserta las argollas en el hilo de cola de raton. se abre esta para poder insertarla al hilo.
Se unen a esa primera argolla, las otras y a su vez se inserta el encaje.
De esta manera queda el diseño de nuestras argollas.
Septimo Paso
Finalmente se insertan cristales pequeños en el hilo de cola de raton.
Se insertar primero un cristal azul en la zona media del diseño.
posteriormente se inserta dos perlas marrones a ambos lados de la piedra azul central y por último los cristales azules.
De esta manera se crean estos hermosos zarcillos para tener un estilo único, estar en tendencia y lucir hermosa.
Espero les guste la propuesta, saludos! me despido deseandoles toda la buena vibra del universo.
Las imagenes son de mi autoria y fueron Tomadas a traves de un Telefono ZTE BLADE.
Traductor utilizado: Deepl
La edicion de las fotos la realicé mediante la aplicaciones Editor de Fotos Polish y los separadores se editaron en canva.
Agradezco a mi hermosa Madre; Esther Nohemi por ser la linda modelo que nos ha presentado los aretes.