Hello everyone... ✨
Hello to my dear Hivers and the dear community of artists #Jewelry, as always very pleased and excited to be here again, showing you my work made with love and especially for you.
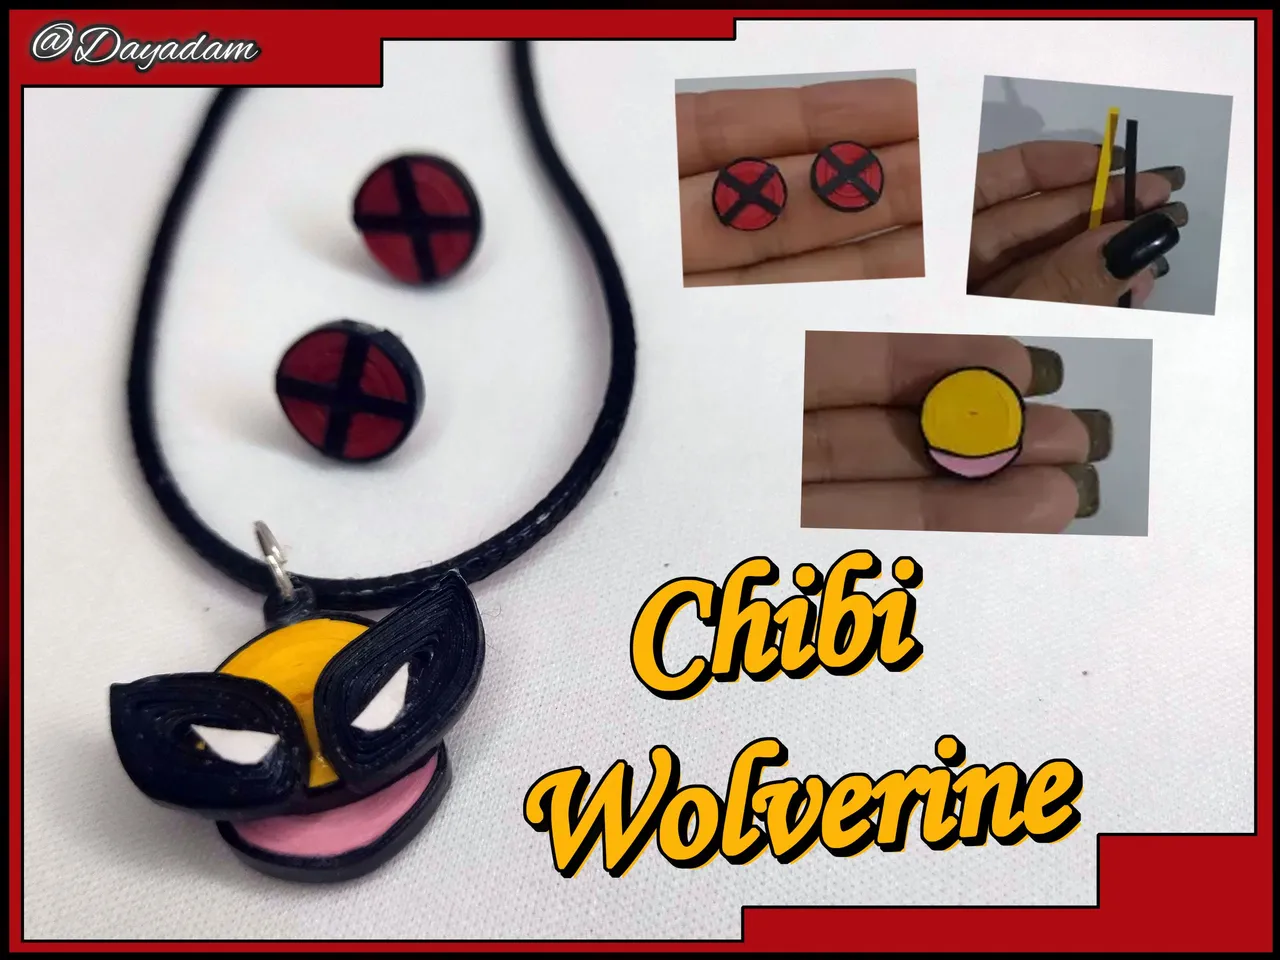
For today it occurred to me due to my taste with everything related to Marvel and the boom that there is with the upcoming release of the movie Deadpool and Wolverine, make a set of fixed tendrils and I said to necklace allusive firstly to “Wolverine” but in its Shibi version, in 3D in the quilling technique, I hope very soon also to give you something of the other character.
Hoping you like my work, without further ado, I leave you with my creative process.
Let's start:😃

Hola a Todos...✨
Hola a mis queridos Hivers y a la querida comunidad de artistas #Jewelry, como siempre muy complacida y emocionada de encontrarme por acá nuevamente, mostrándole mi trabajo hecho con mucho amor y especialmente para ustedes.
Para hoy se me ocurrió debido al mi gusto con todo lo relacionado con Marvel y el auge que hay con el próximo estreno de la película Deadpool y Wolverine, realizar un conjunto de zarcillos fijos y dije para collar alusivos primeramente a "Wolverine" pero en su versión Shibi, en 3D en la técnica de quilling, espero muy pronto también regalarles algo del otro personaje.
Esperando les guste mi trabajo, sin más preámbulos, les dejo mi proceso creativo.
Comencemos:😃

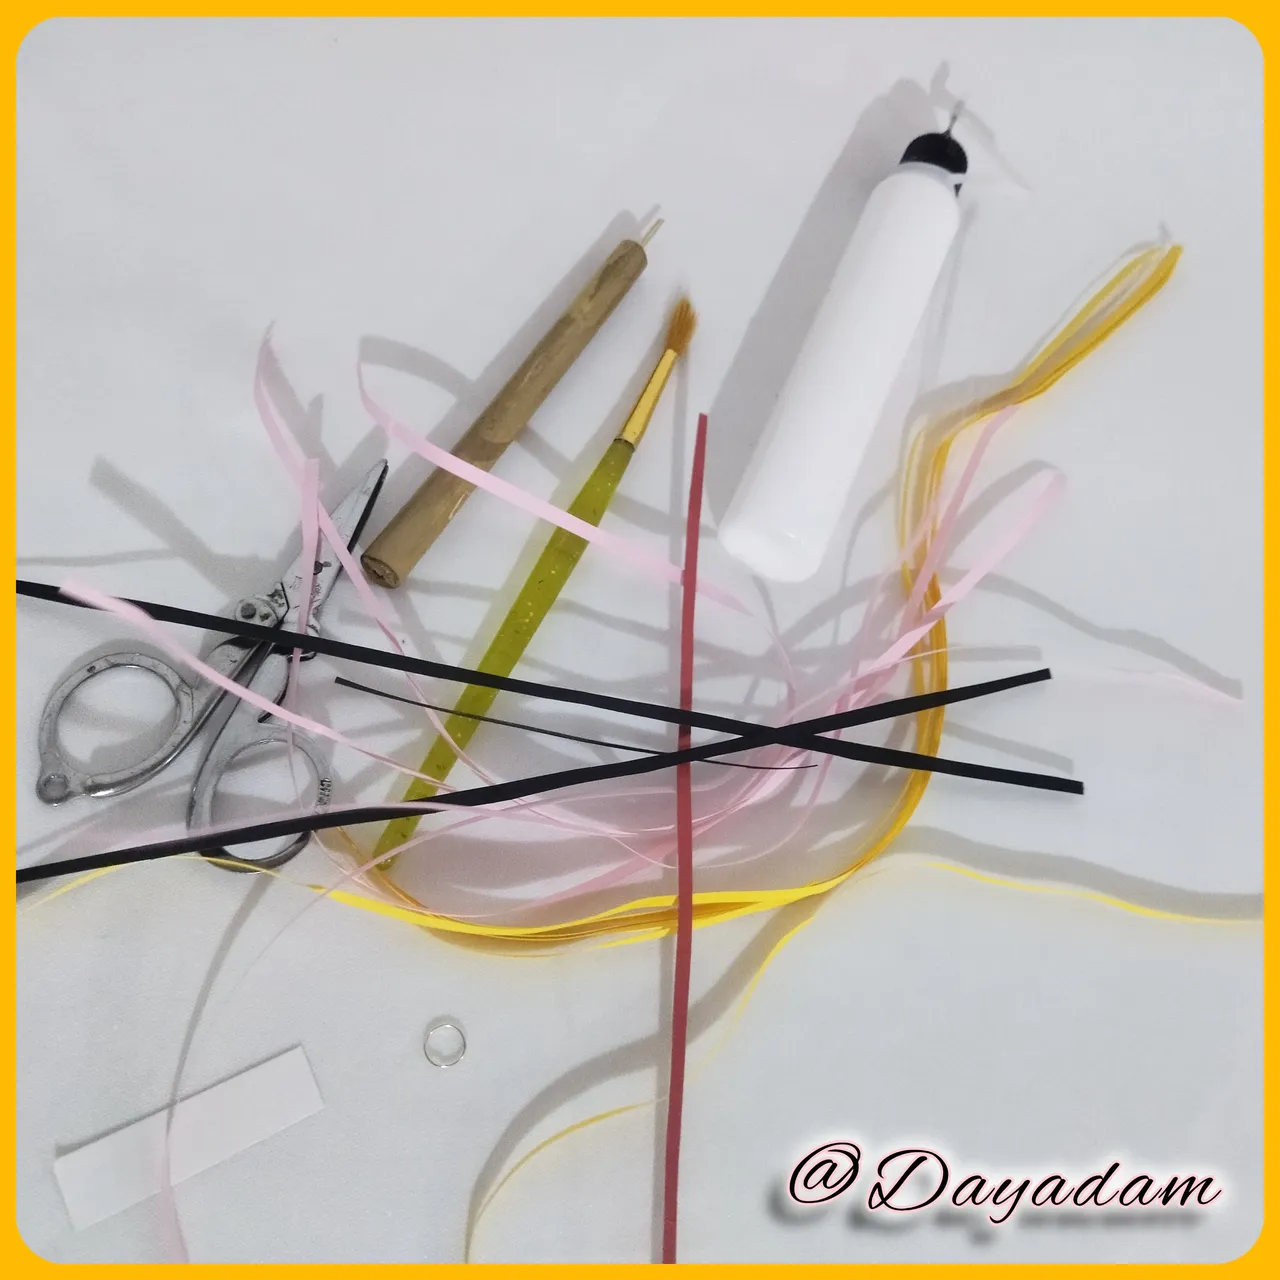
• Cintas de quilling.
• Aguja para quilling.
• Argollas de bisutería.
• Base para zarcillos fijas.
• Pega blanca extra fuerte (de carpintería).
• Tijera.
• Pincel.
- Quilling ribbons.
- Quilling needle.
- Jewelry earrings.
- Base for fixed tendrils.
- Extra strong white glue (carpentry glue).
- Scissors.
- Brush.

Necklace pendant:
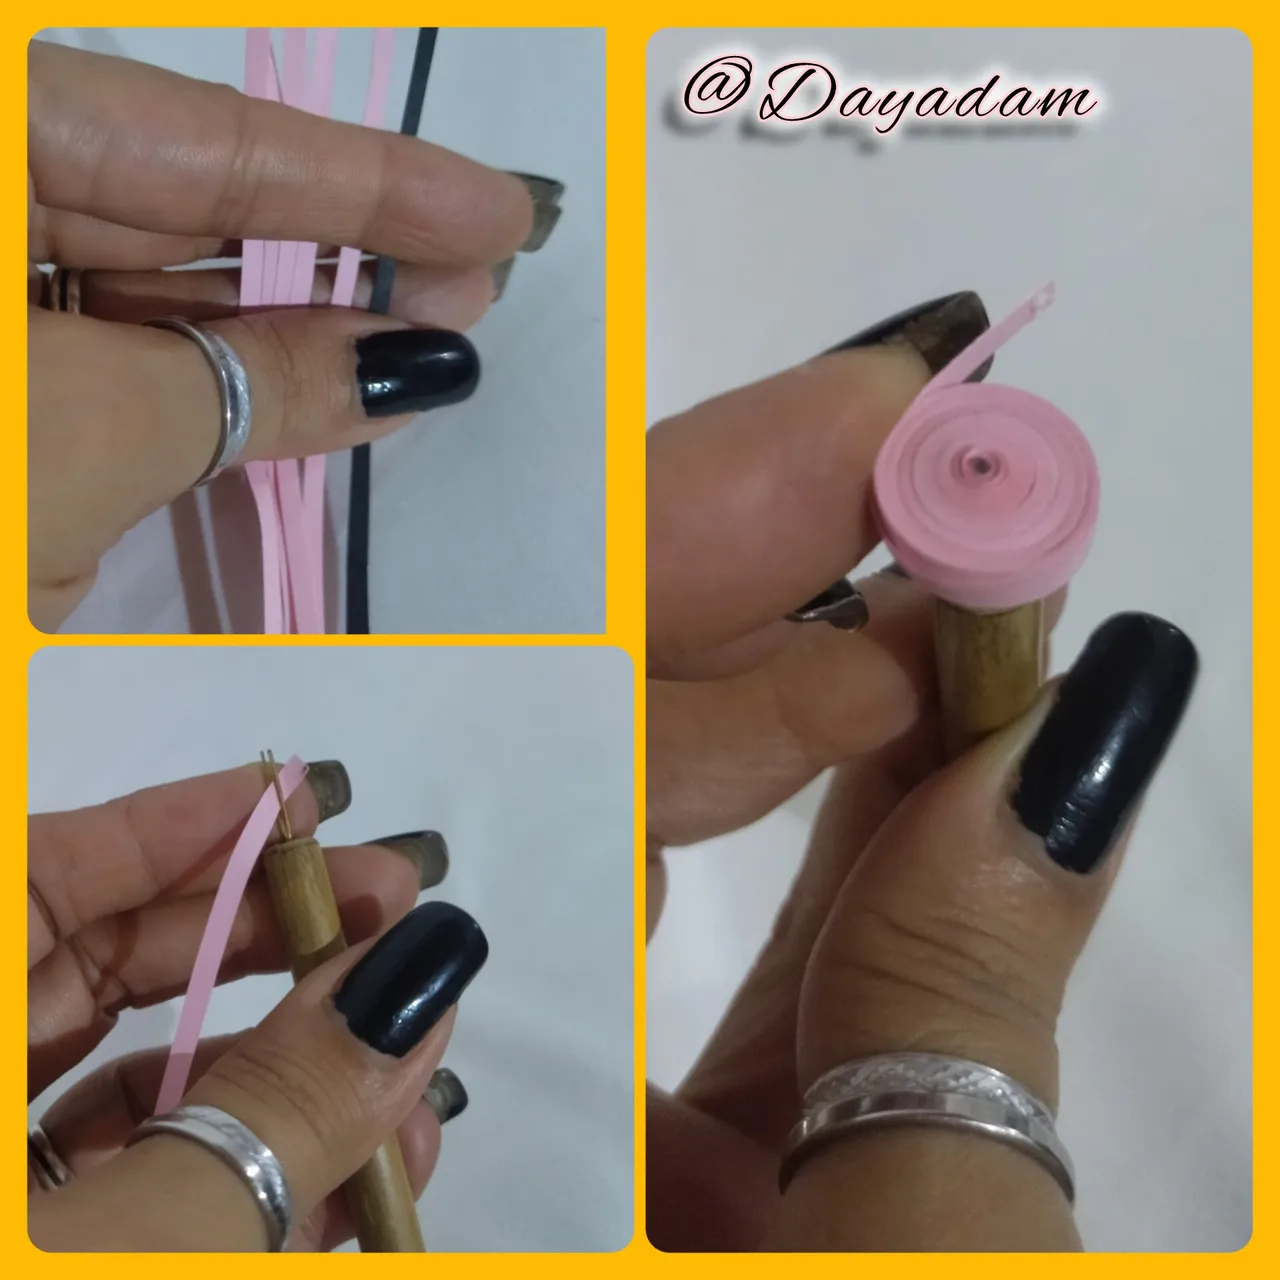
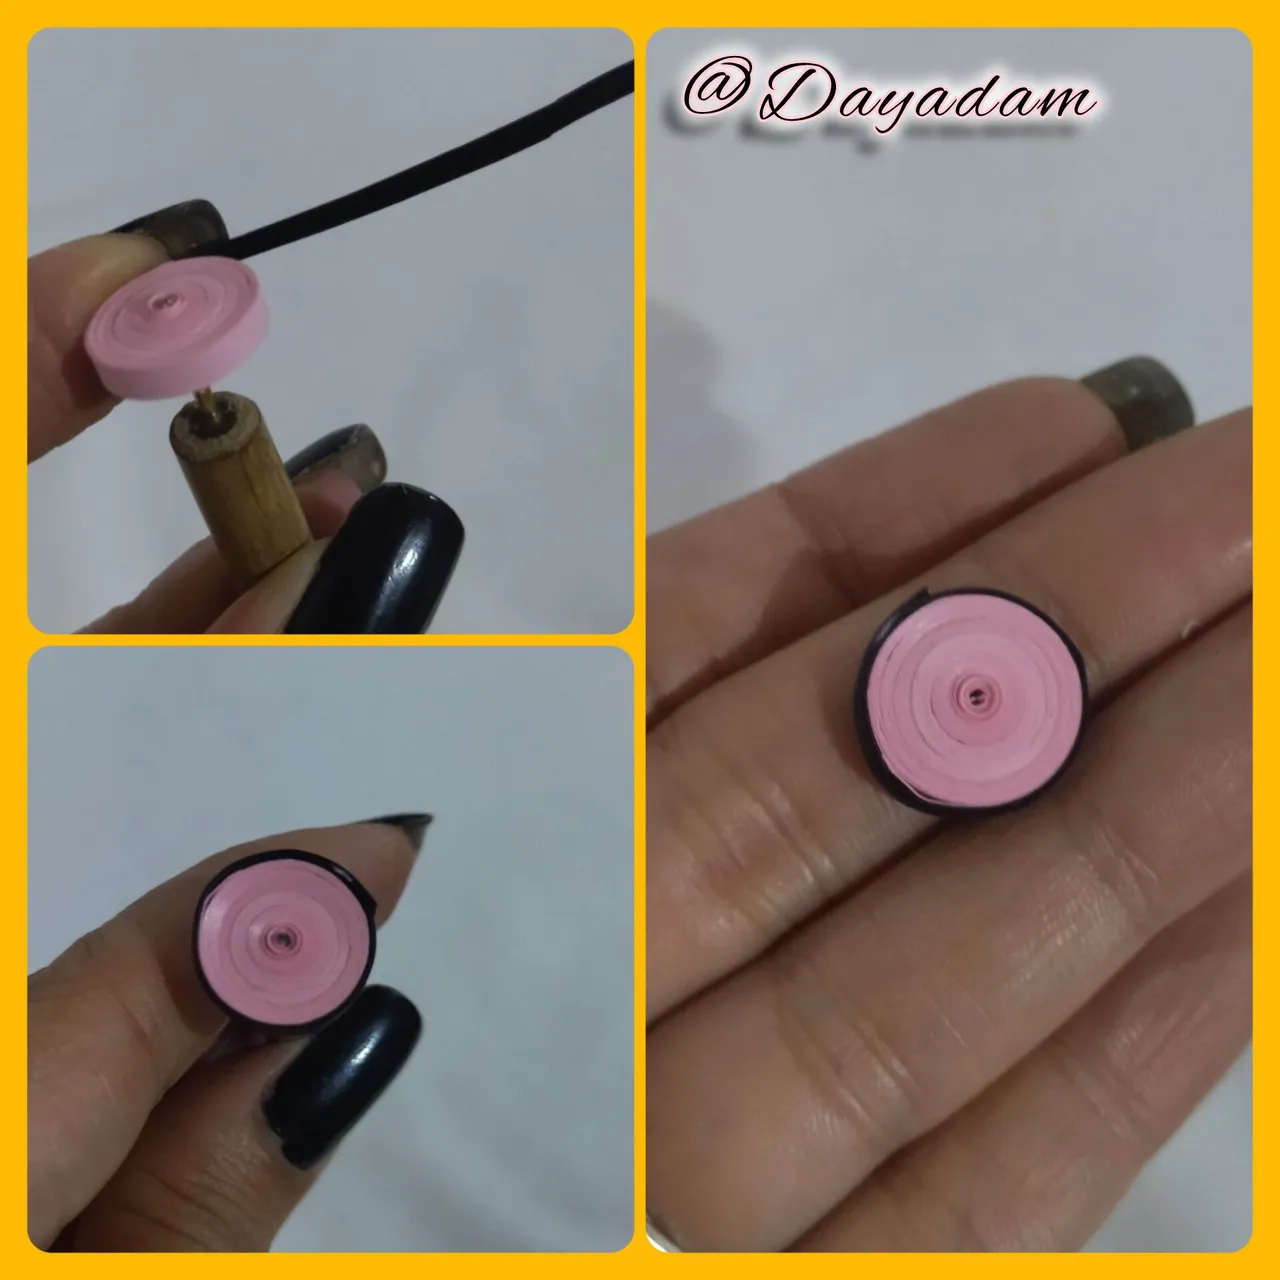
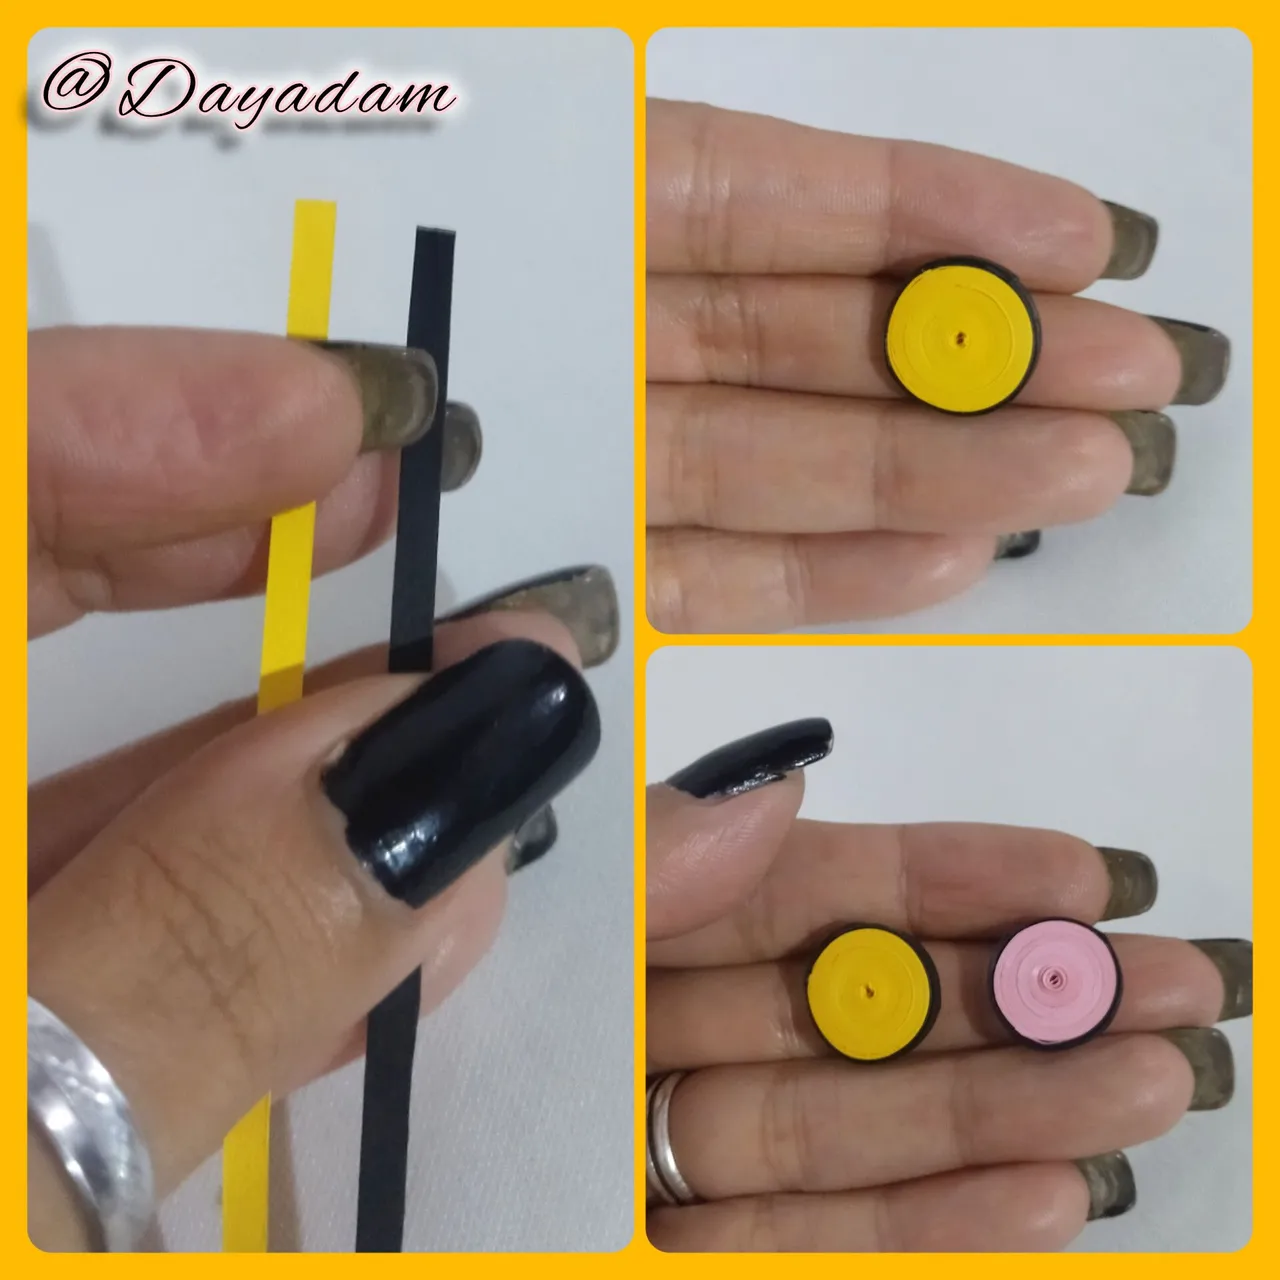
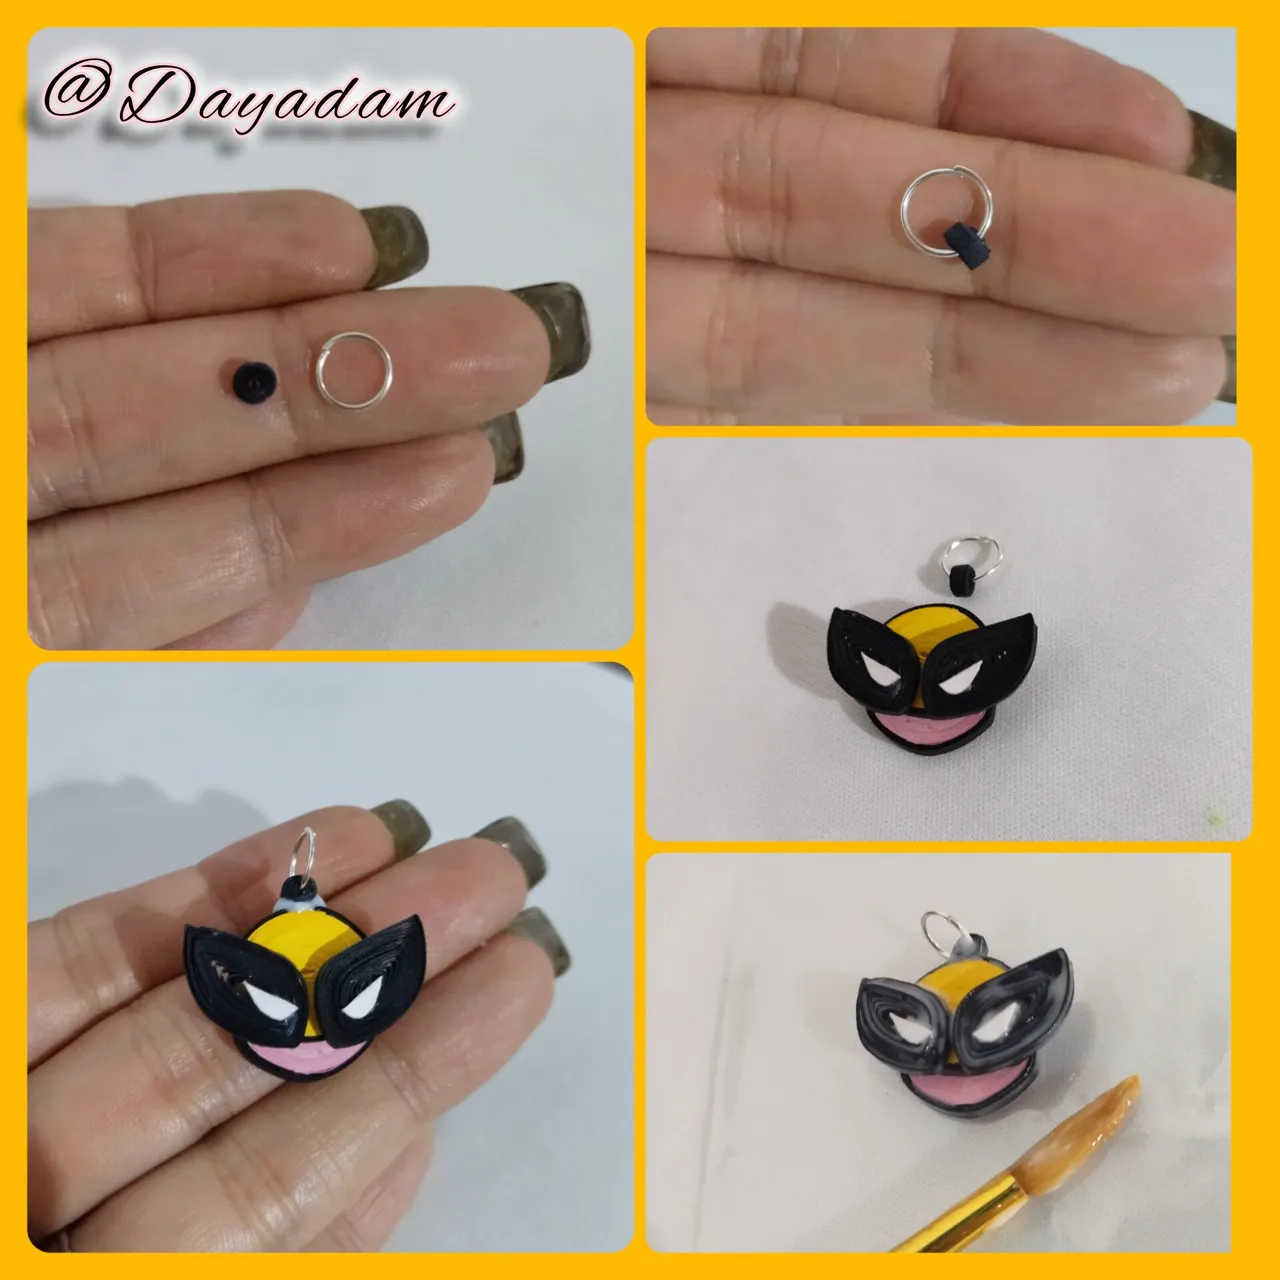
- Let's start by taking quilling ribbon of pink and black color of 3mm wide, with the quilling needle we are going to roll up starting with the pink one until we finish with it, we place a piece of black ribbon and roll it up to form a border, we will obtain a closed circle.
- Under the same previous parameters we will make a closed circle combined a little bit bigger, but this time with 3mm wide yellow and black quilling tape.
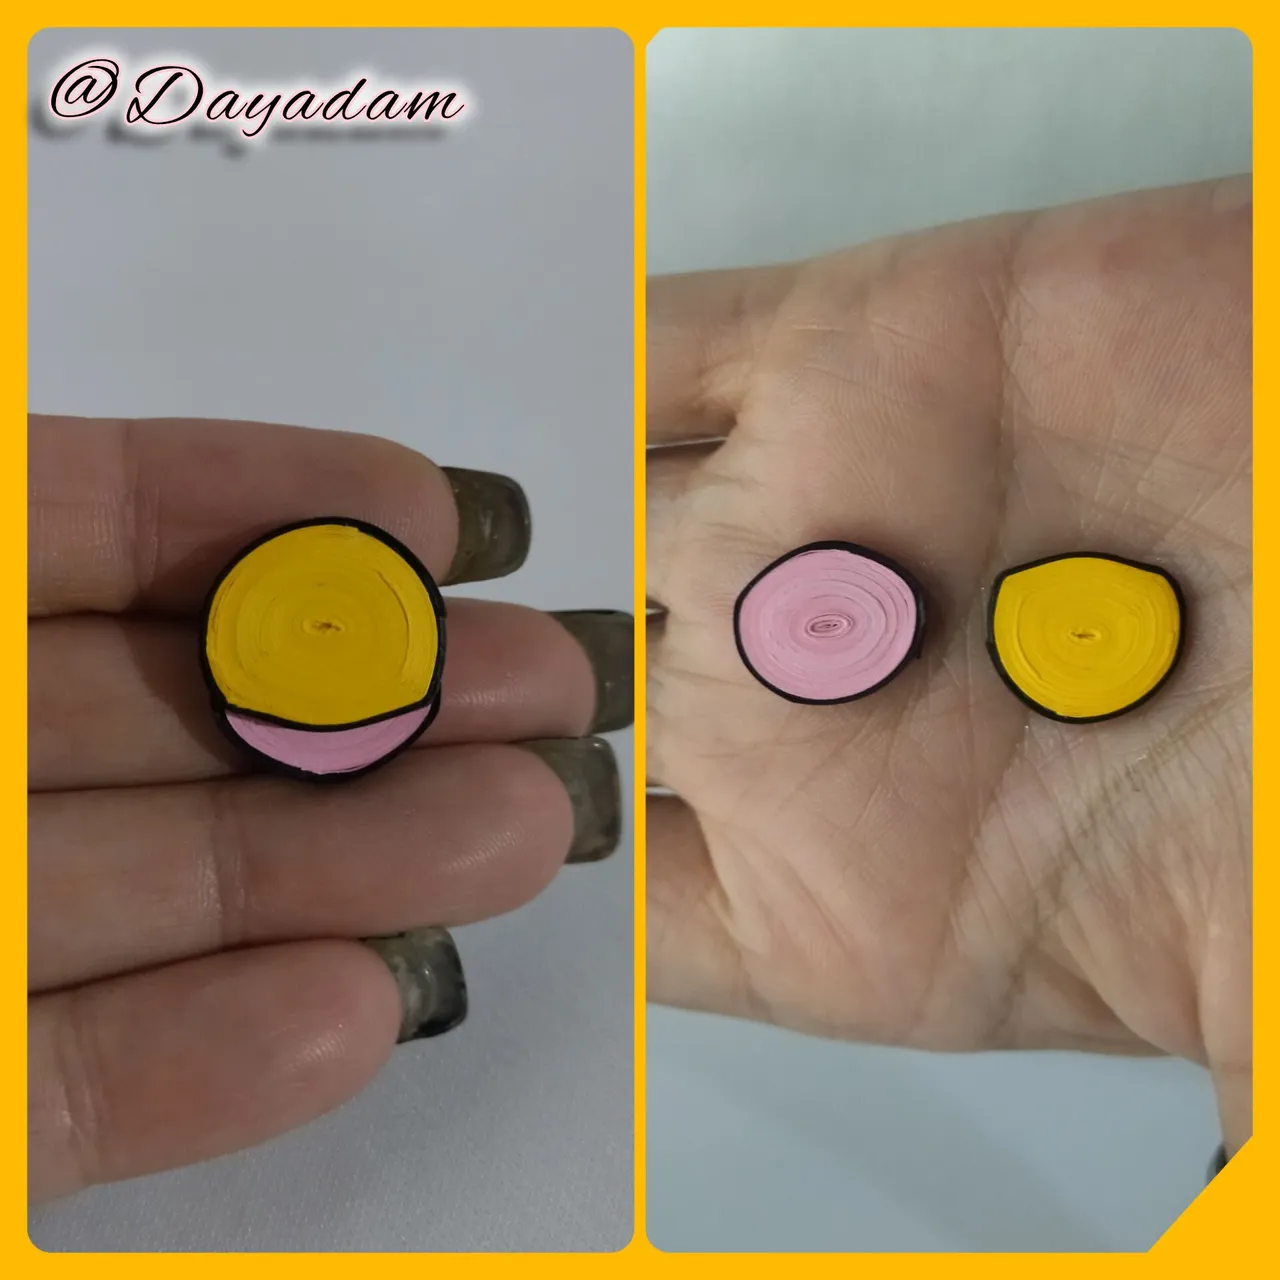
- Once both circles are ready we are going to mold them as you can see in the image, then we glue one on top of the other.

Dije para collar:
• Vamos a comenzar tomando cinta para quilling de color rosada y negro de 3mm de ancho, con la aguja para quilling vamos a enrollar empezando con la rosada hasta finalizar con la misma, colocamos un trozo de cinta negra y enrollamos para formar un borde, obtendremos un circulo cerrado.
• Bajo los mismos parámetros anteriores realizaremos un circulo cerrado combinado un poco mas grande, pero esta vez con cinta para quilling de 3mm de ancho color amarillo y negro.
• Una vez listos ambos círculos vamos a moldearlos tal como pueden ver en la imagen, luego pegamos uno encima del otro.
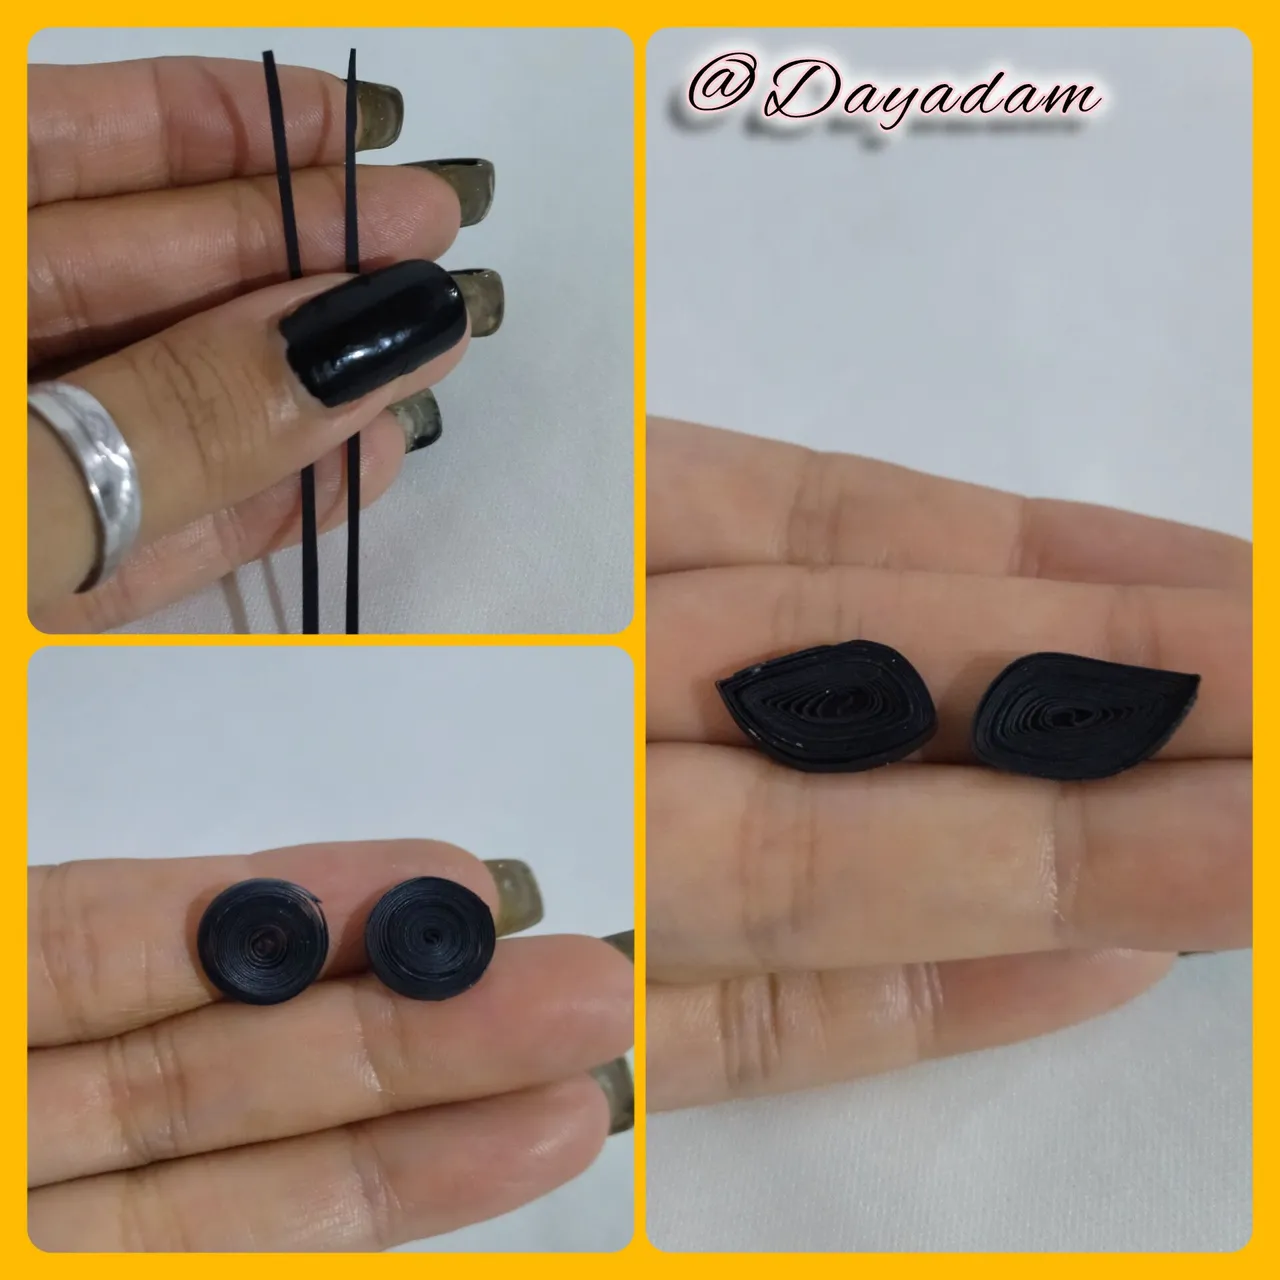
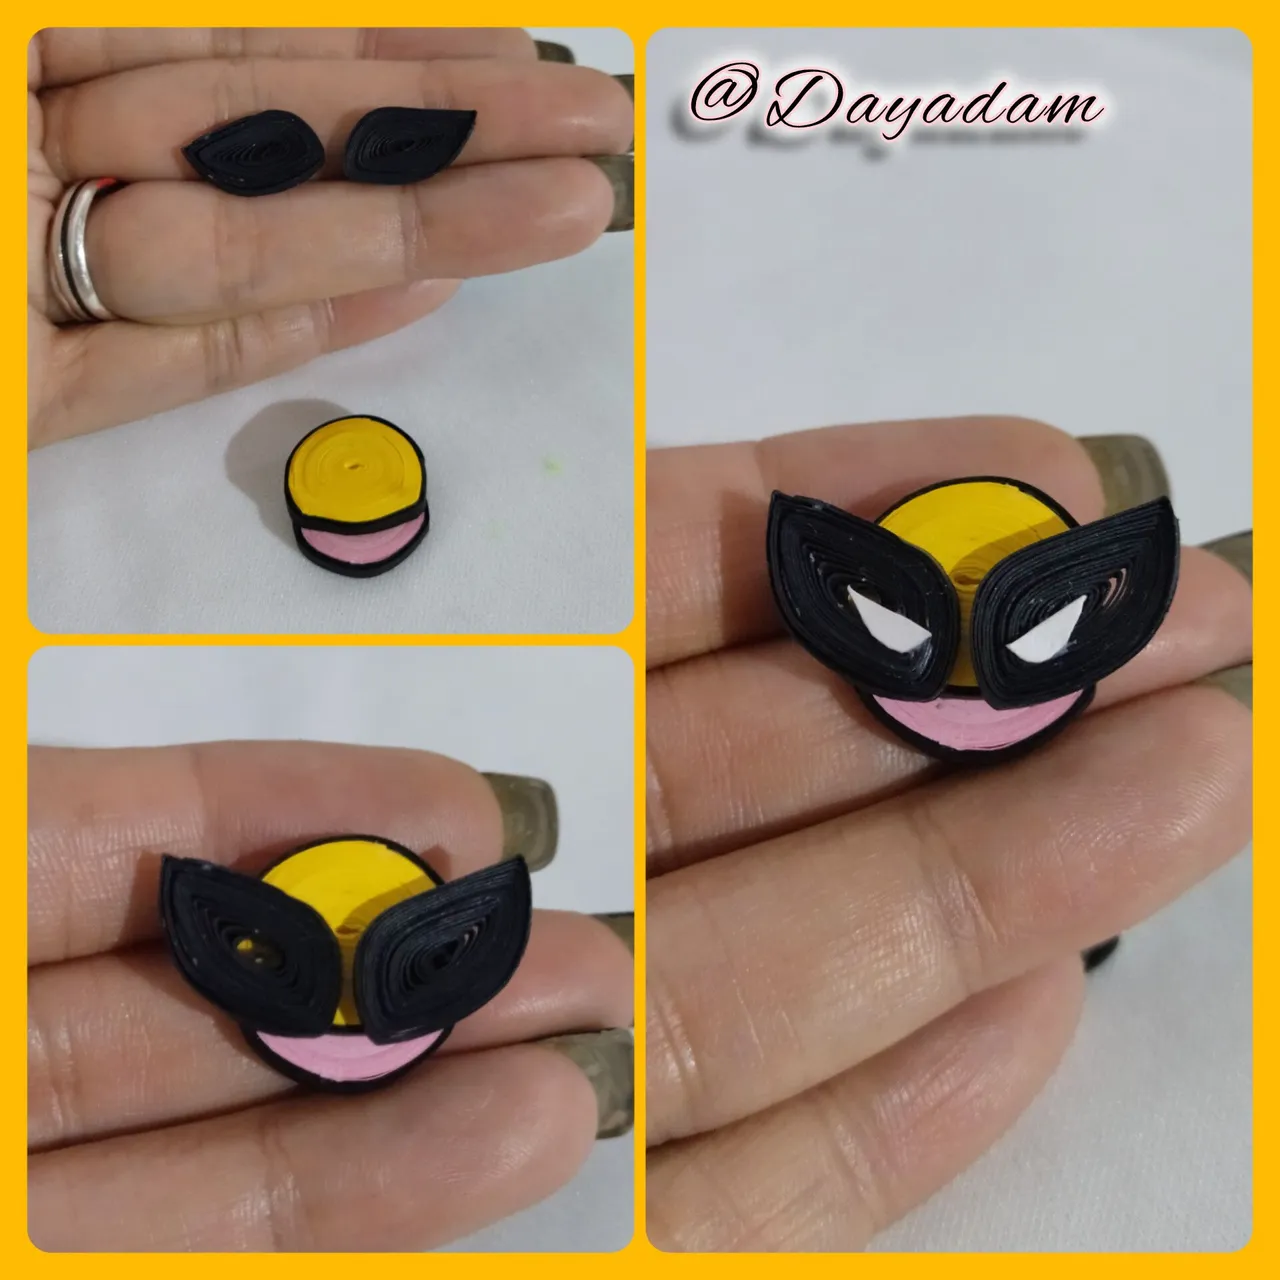
- To make the mask, we will take 1mm wide black quilling tape, we will make 2 open circles of the same size, once ready we will mold them in the shape of a kind of leaf, we will glue both of them from the piece we made previously.
- For the eyes we will cut out 2 small drops from a piece of white cardboard or leaf, we will glue them in the middle of the mask.
- We will make a small closed circle of black color to which we will place a costume jewelry ring, we will glue this piece on top of the pendant with extra strong glue, we will let it dry very well.
- Once the pendant is ready, we will apply several layers of extra strong white glue to give it plasticity, shine and protection.
• Para realizar el antifaz, tomaremos cinta para quilling de color negro de 1mm de ancho, haremos 2 círculos abiertos del mismo tamaño, una vez listos moldearemos en forma de una especie de hoja, ambas las pegaremos de la pieza que realizamos con anterioridad.
• Para los ojos recortaremos de un trozo de hoja o cartulina blanca 2 pequeñas gotas, las pegaremos en el medio del antifaz.
• Realizaremos un pequeño circulo cerrado de color negro al cual le colocaremos una argolla de bisutería, esta pieza la pegaremos arriba del dije con pega extra fuerte, dejamos secar muy bien.
• Listo el dije, aplicaremos varias capas de pega blanca extra fuerte para darle plasticidad, brillo y protección.
Fixed tendrils:
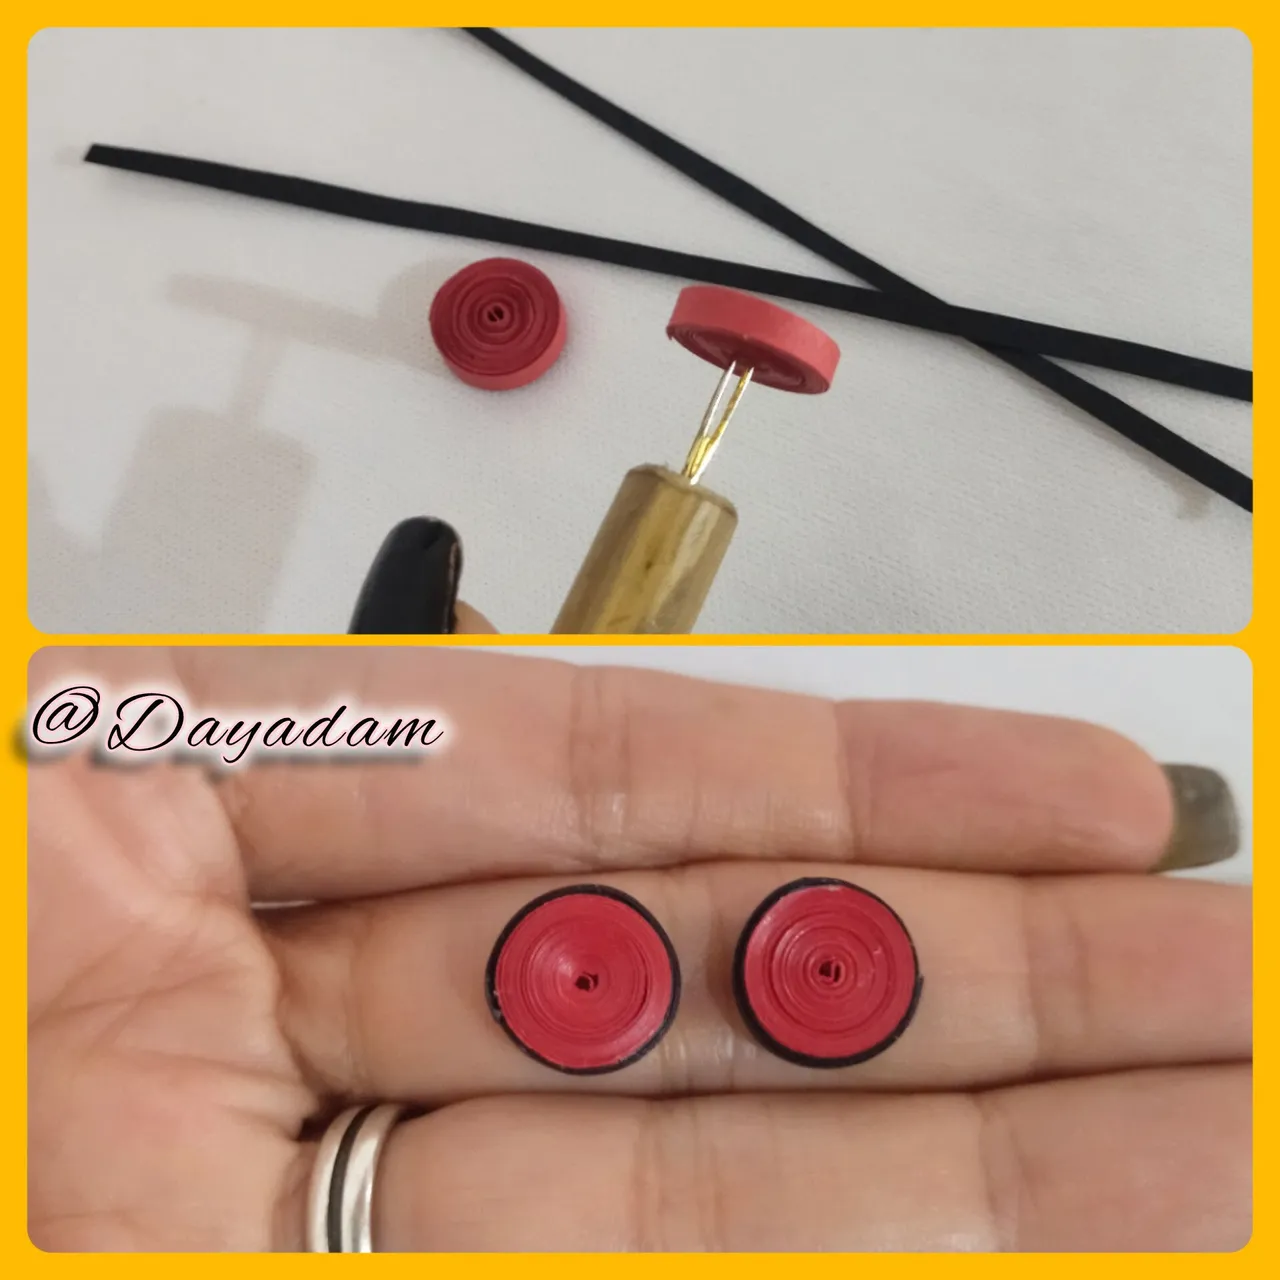
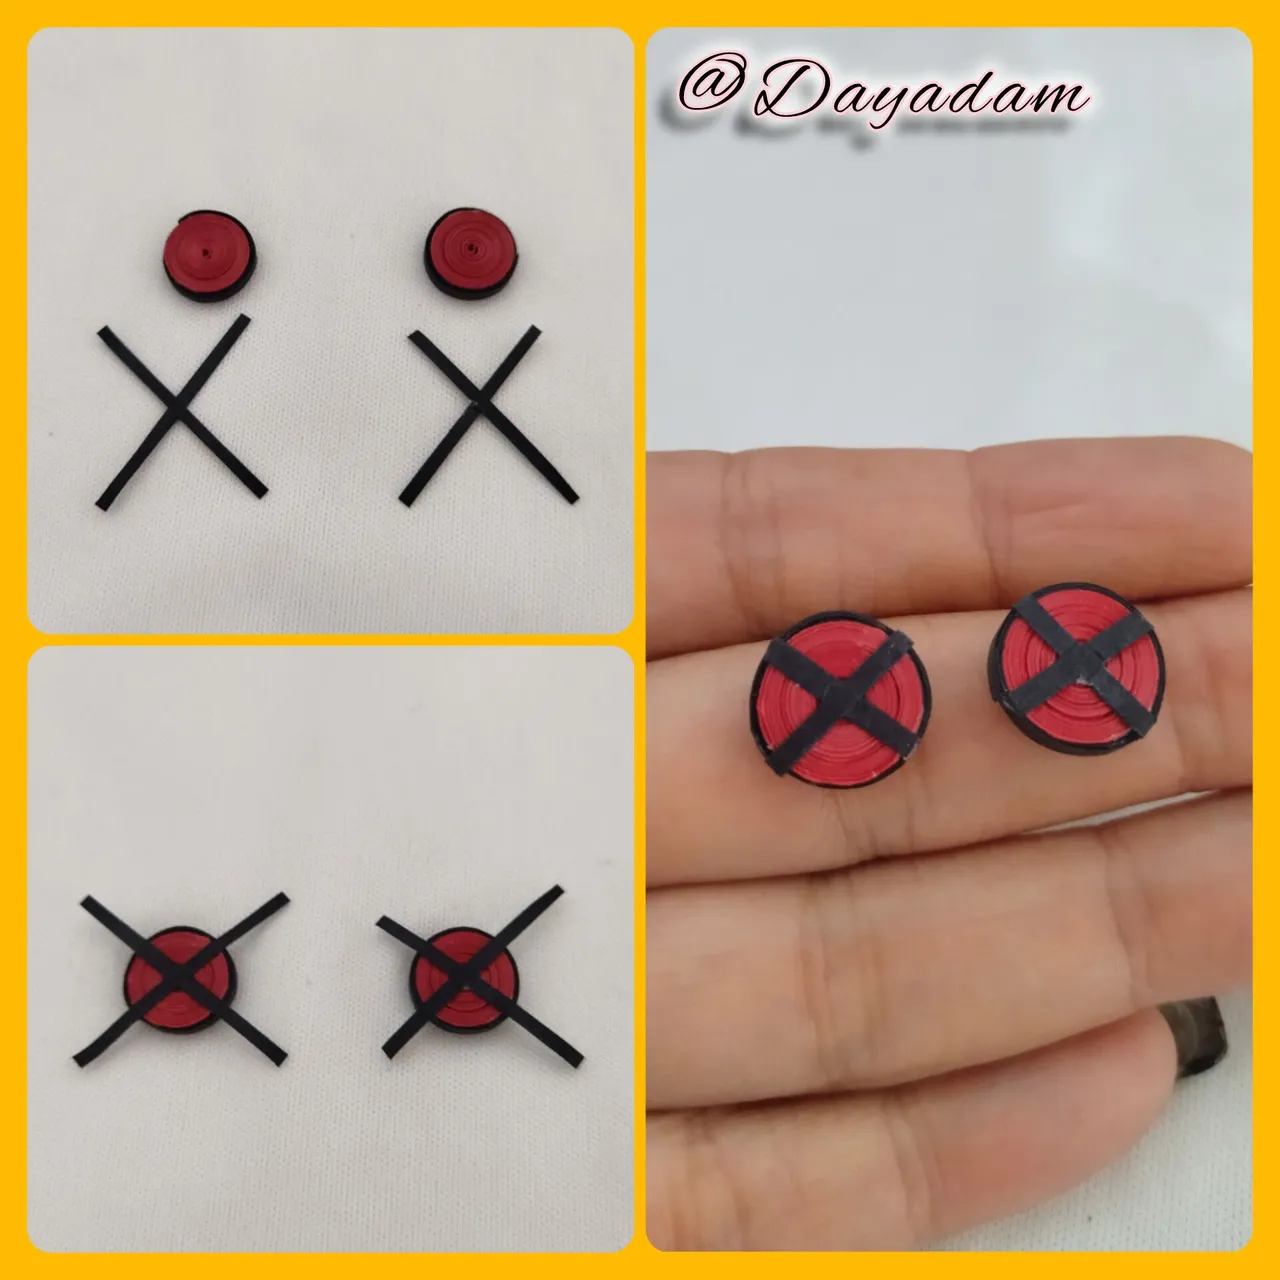
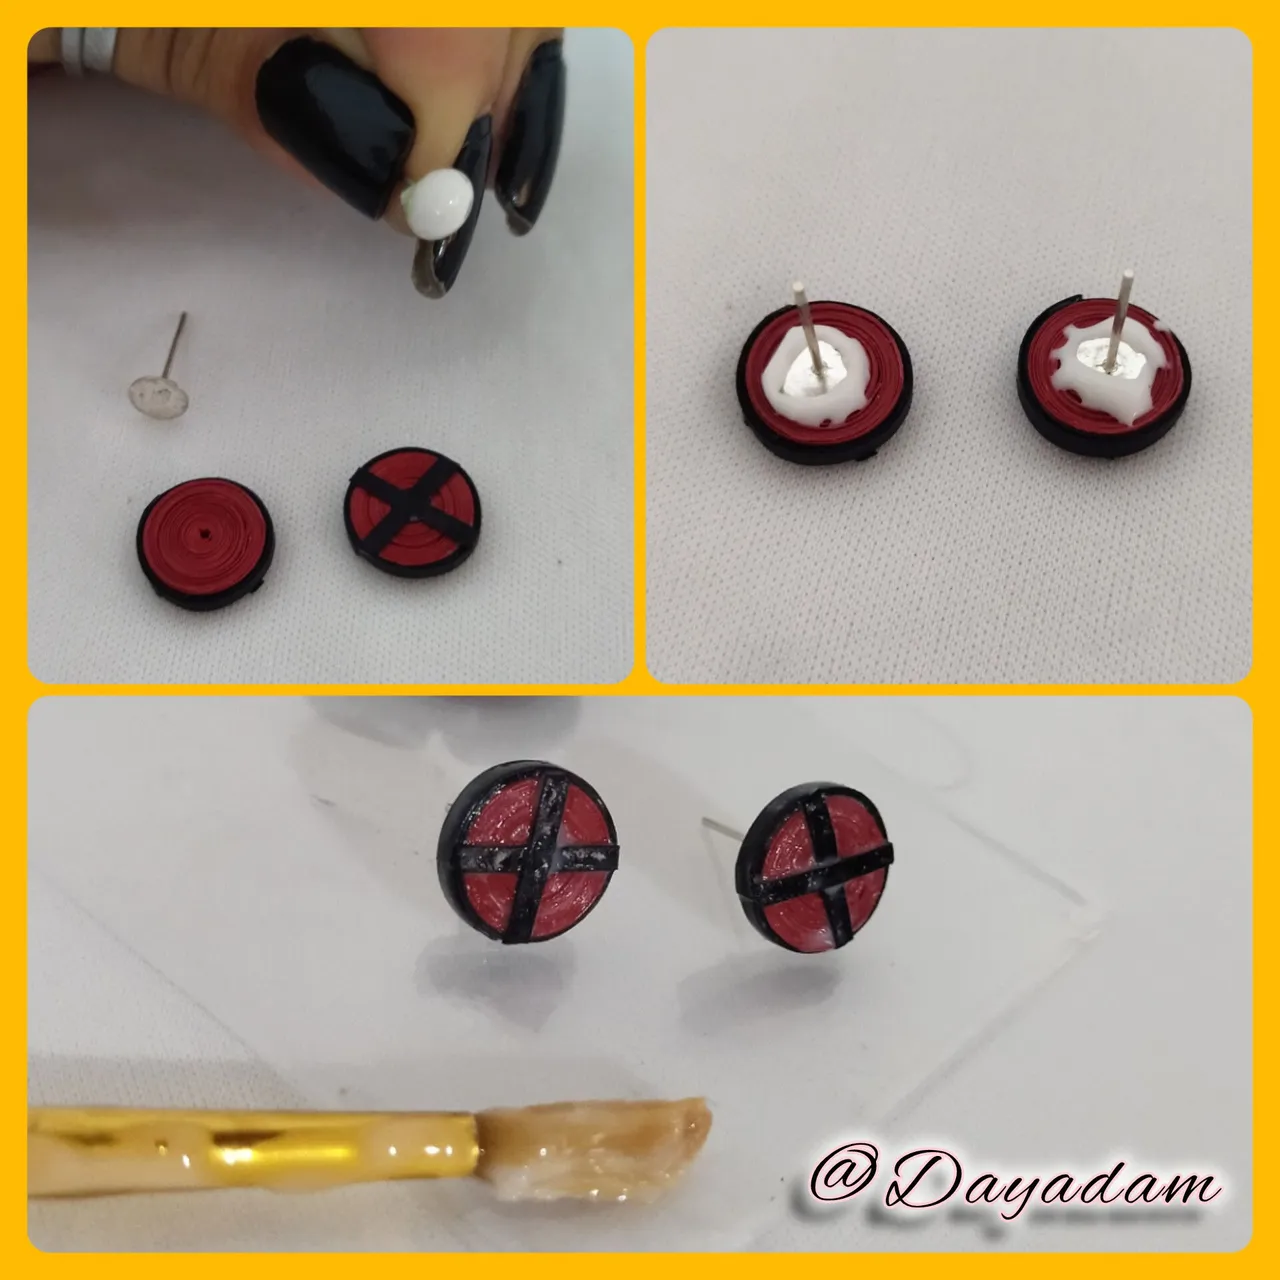
- As a complement I wanted to make some simple tendrils, for these I made a closed circle combined red with black border, take 2 pieces of black ribbon 1mm wide with which I made an X and glue from the top of the circle trimming the excess.
- Finally take the fixed bases for tendrils and glue from the back of the circles let dry well and finally apply several coats of extra strong white glue letting it dry between coats.
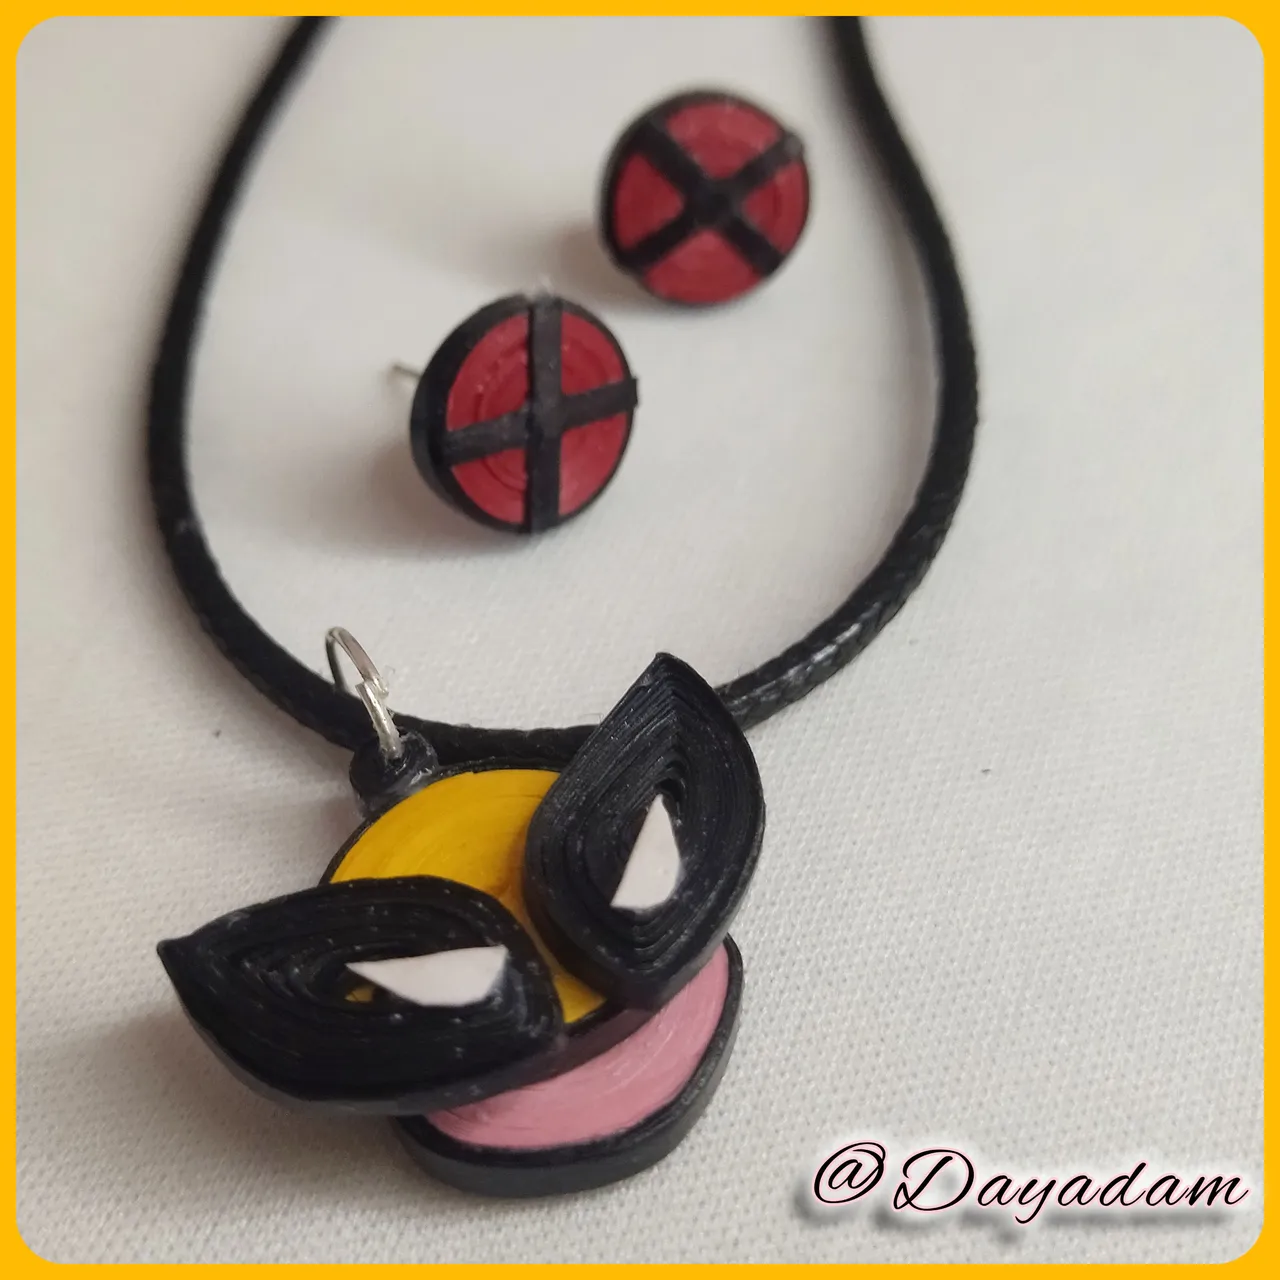
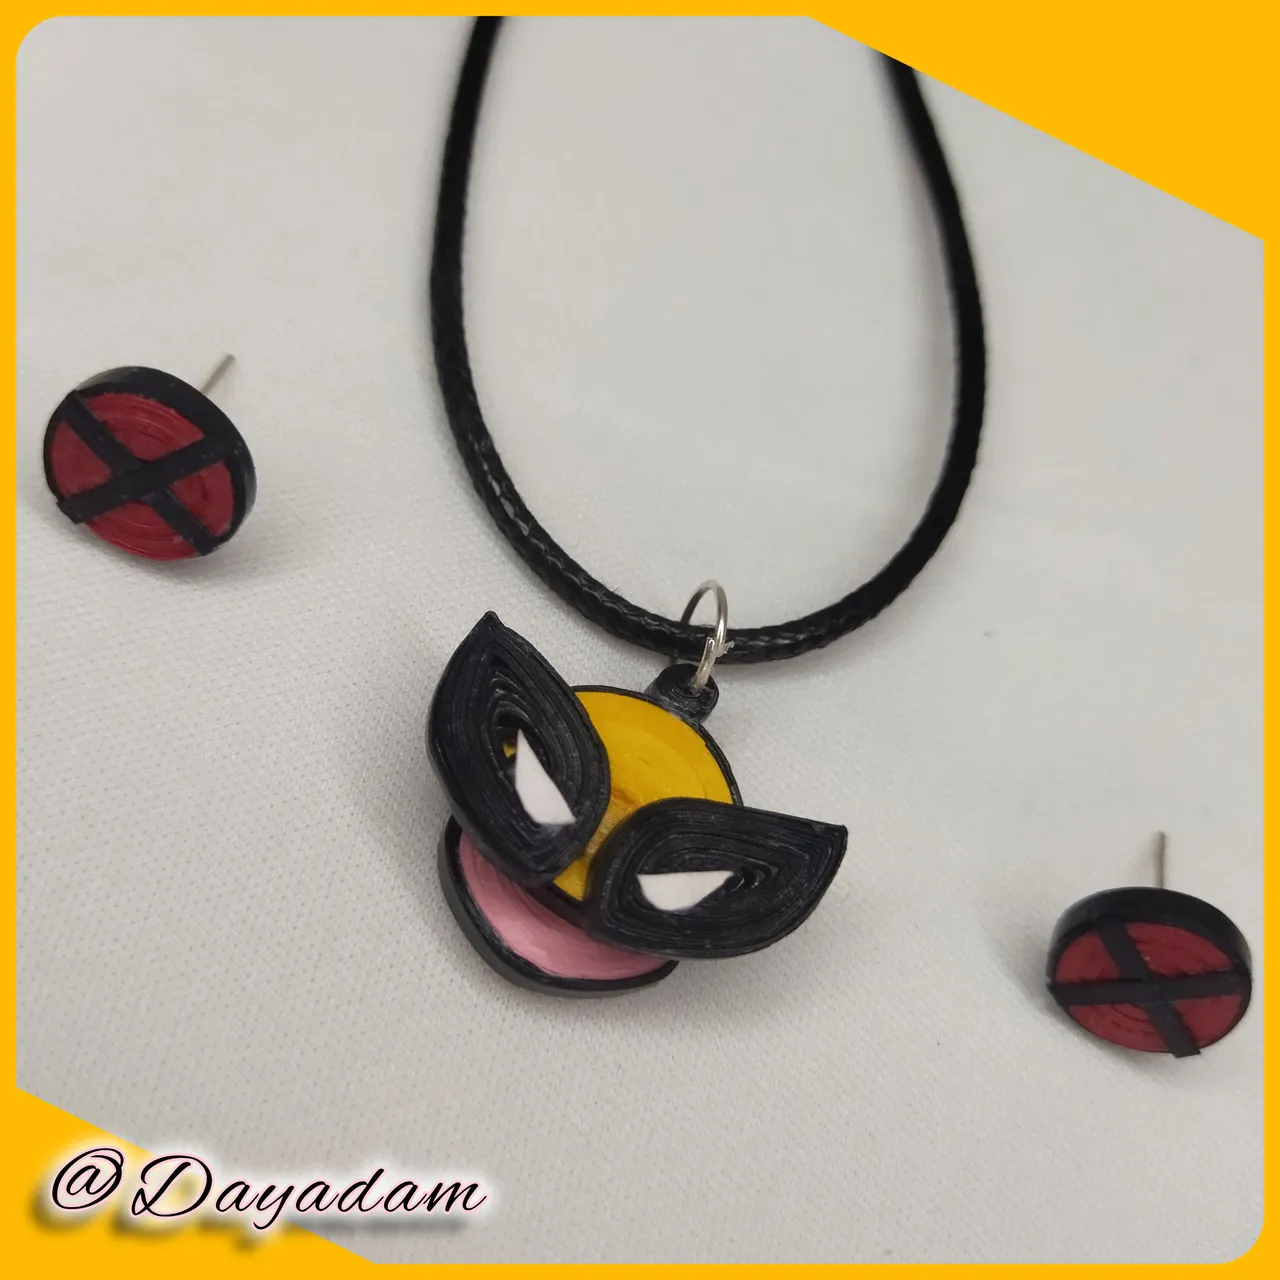
This way we have ready this set of earrings and pendant for "Wolverine" necklace Chibi version.
Zarcillos fijos:
• Como complemento quise realizar unos sencillos zarcillos, para estos realice un circulo cerrado combinado rojo con el borde negro, tome 2 trozos de cinta negra de 1mm de ancho con la cual realice una X y pegue de la parte de arriba del circulo recortando el sobrante.
• Para finalizar tome las bases fijas para zarcillos y pegue de la parte de atrás de los círculos deje secar bien y por ultimo aplique varias capas de pega blanca extra fuerte dejando secar entre capa y otra.
De esta manera tenemos listos este conjunto de zarcillos y dije para collar de "Wolverine" versión Shibi .


What did you think, did you like it?
I hope you did, I hope you liked my explanation, procedure and photos, I made them with love for you.
"Let out that muse that inspires you, and let your imagination fly".
Thank you all, see you next time.
¿Qué les pareció, les gustó?
Espero que sí, que les haya gustado mi explicación, procedimiento y fotos, los hice con mucho cariño por y para ustedes.
"Deja salir esa musa que te inspira, y deja volar tu imaginación".
Gracias a todos, nos vemos en la próxima.
