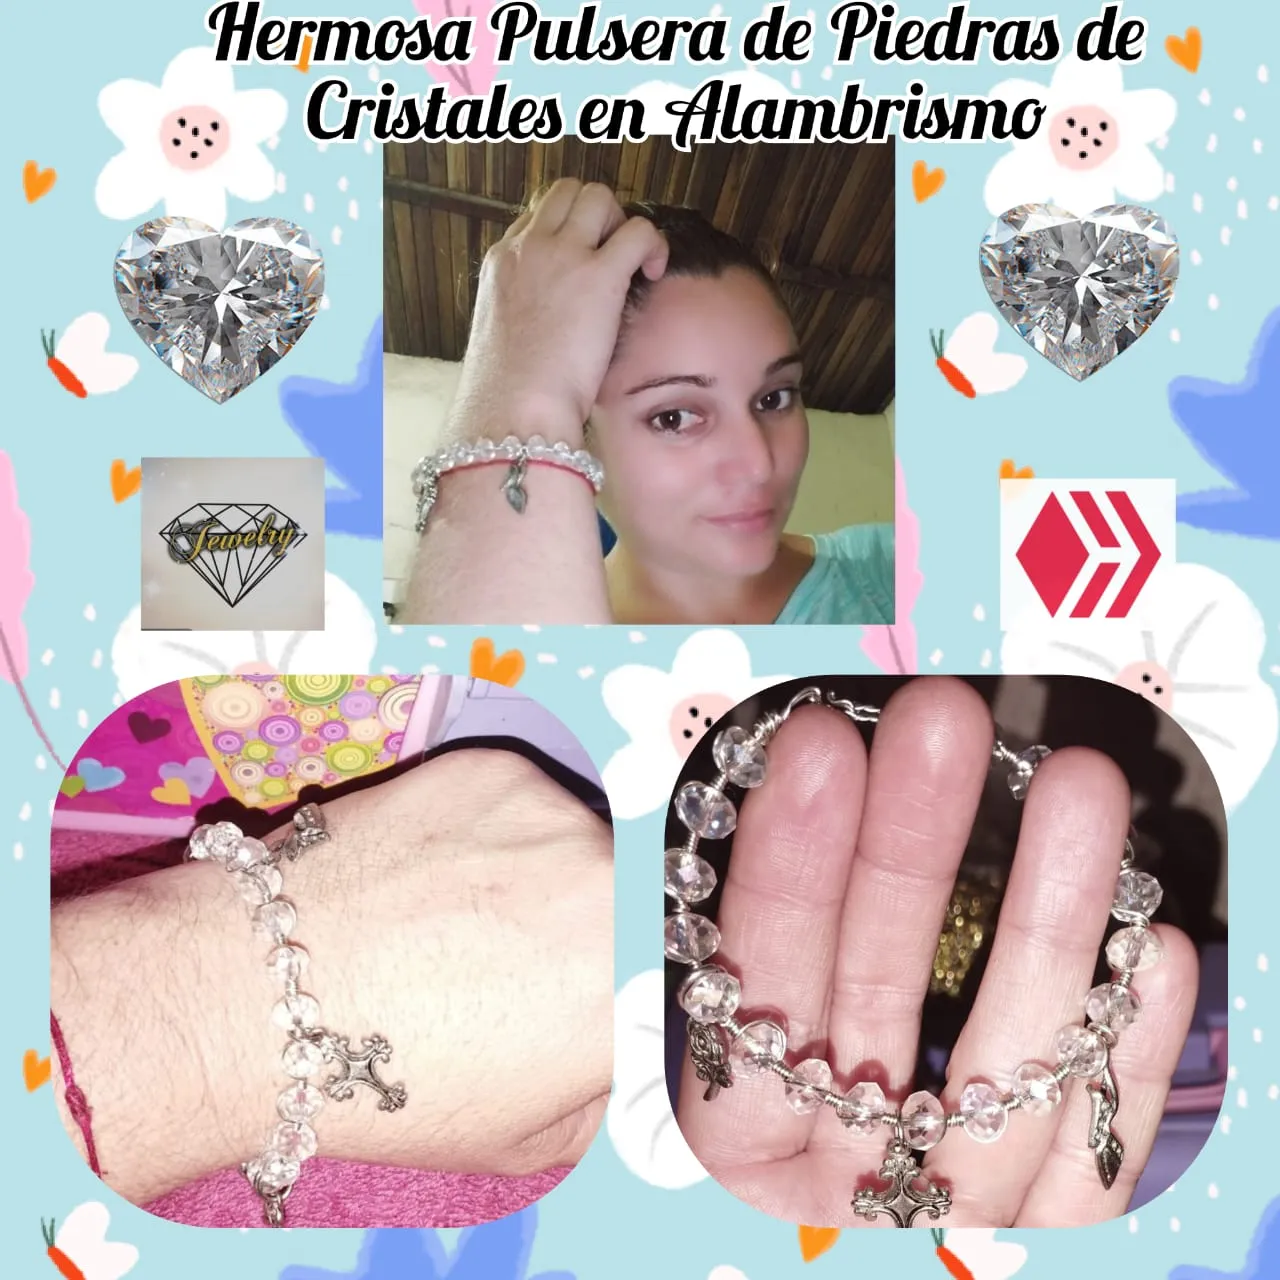
Hola mis queridos amigos Hivers y de está bellísima comunidad de @jewelry, En está noche quiero compartirles una hermosa y delicada pulsera que elaboré en alambrismo y unos dijes resaltando la delicadeza de todas nosotras mujeres bellas.
Para mí es muy importante, seguir conociendo los detalles de elaboración de joyas y cada dia me entusiasmo mucho más. En esta oportunidad no pensé mucho ahora ya mis dedos tienen algo de práctica y elabore esta bella pulsera.(gracias a Dios en esta oportunidad no me lastime mis deditos).En fin ya cuando se tiene algo de conocimiento todo es mucho más fácil para manejar el alambre.
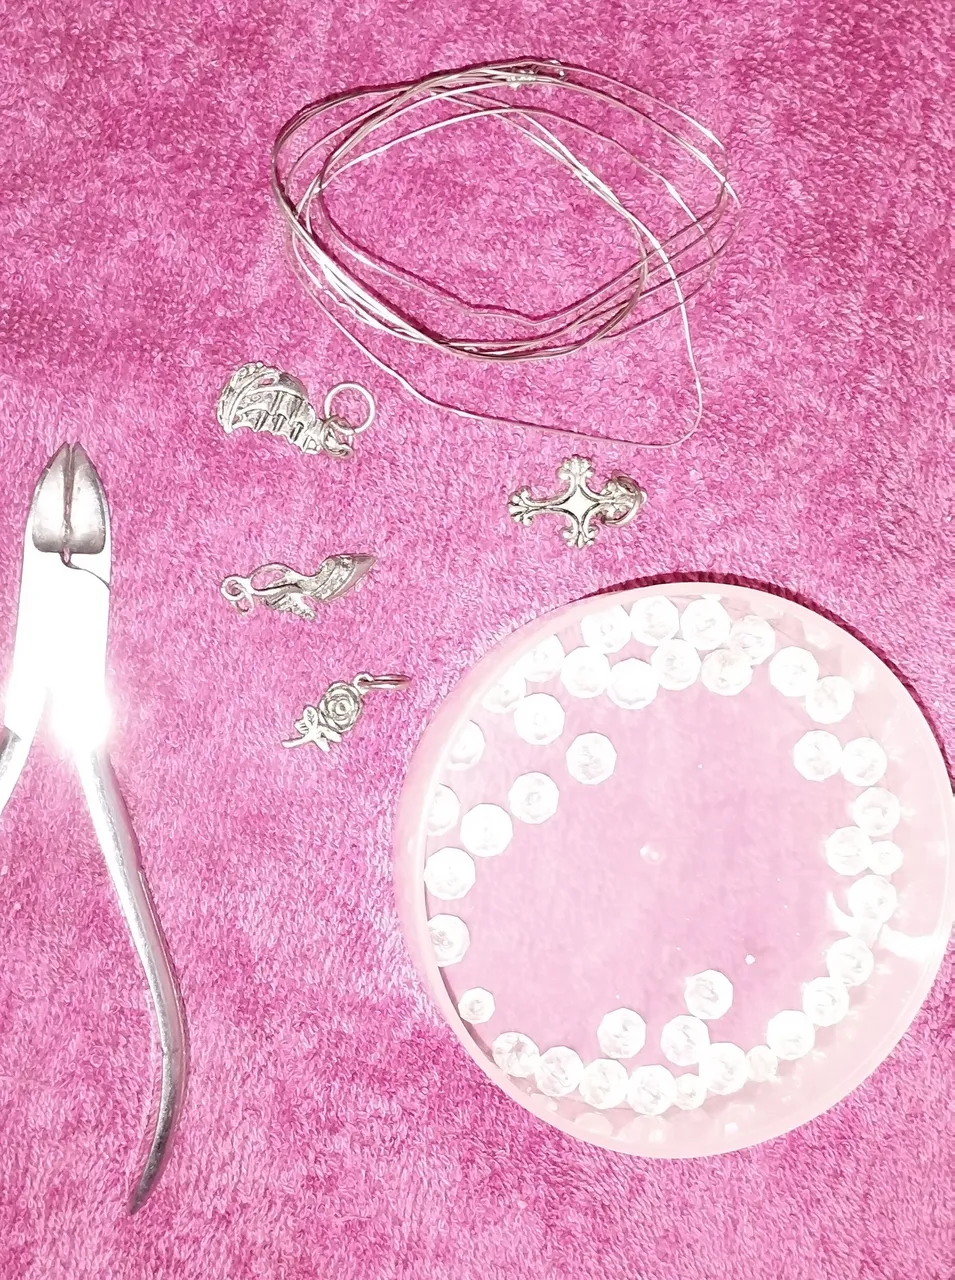
Les dejo los materiales que utilice en esta oportunidad.
MATERIALES:
✓ ALAMBRE.
✓ PIEDRAS DE CRISTALES.
✓ PINZA.
✓ DIJES (EL QUE PREFIERAS).
✓ BROCHES.
PASO A PASO
PASO 1:
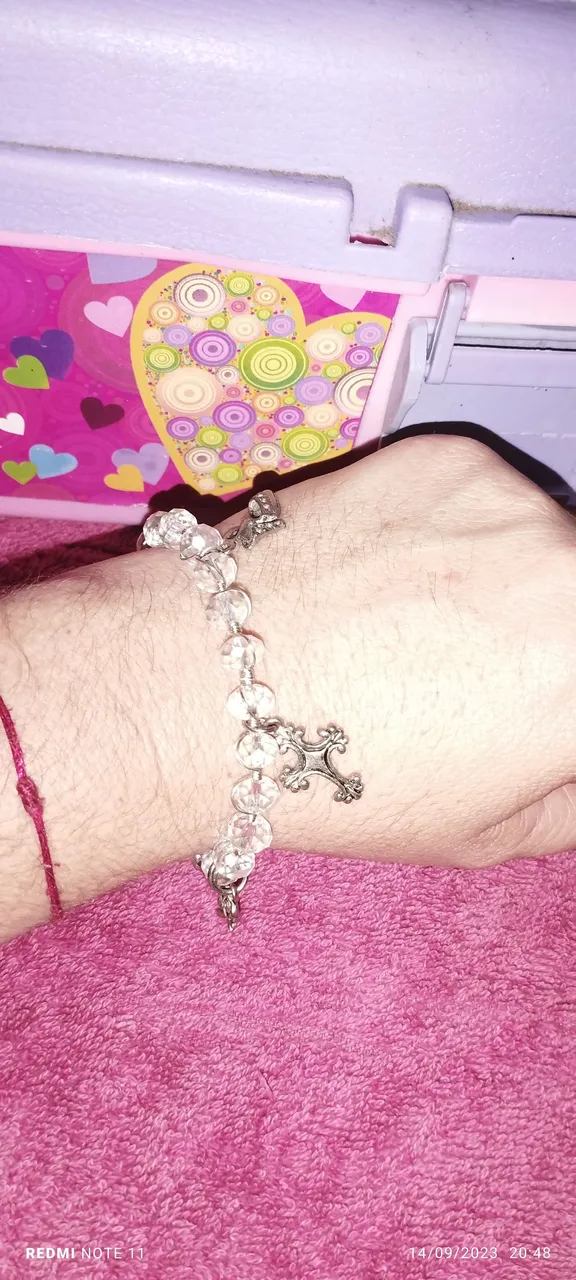
Lo primero que haremos es medir el largo como vallamos a querer la pulsera. Yo lo hago directamente con mi muñeca porque la quiero a la medida.usteded pueden hacerlo con lo que les sea más fácil medirla pueden utilizar una regla, una taza, vasos, entre otros. Esos son ejemplos.
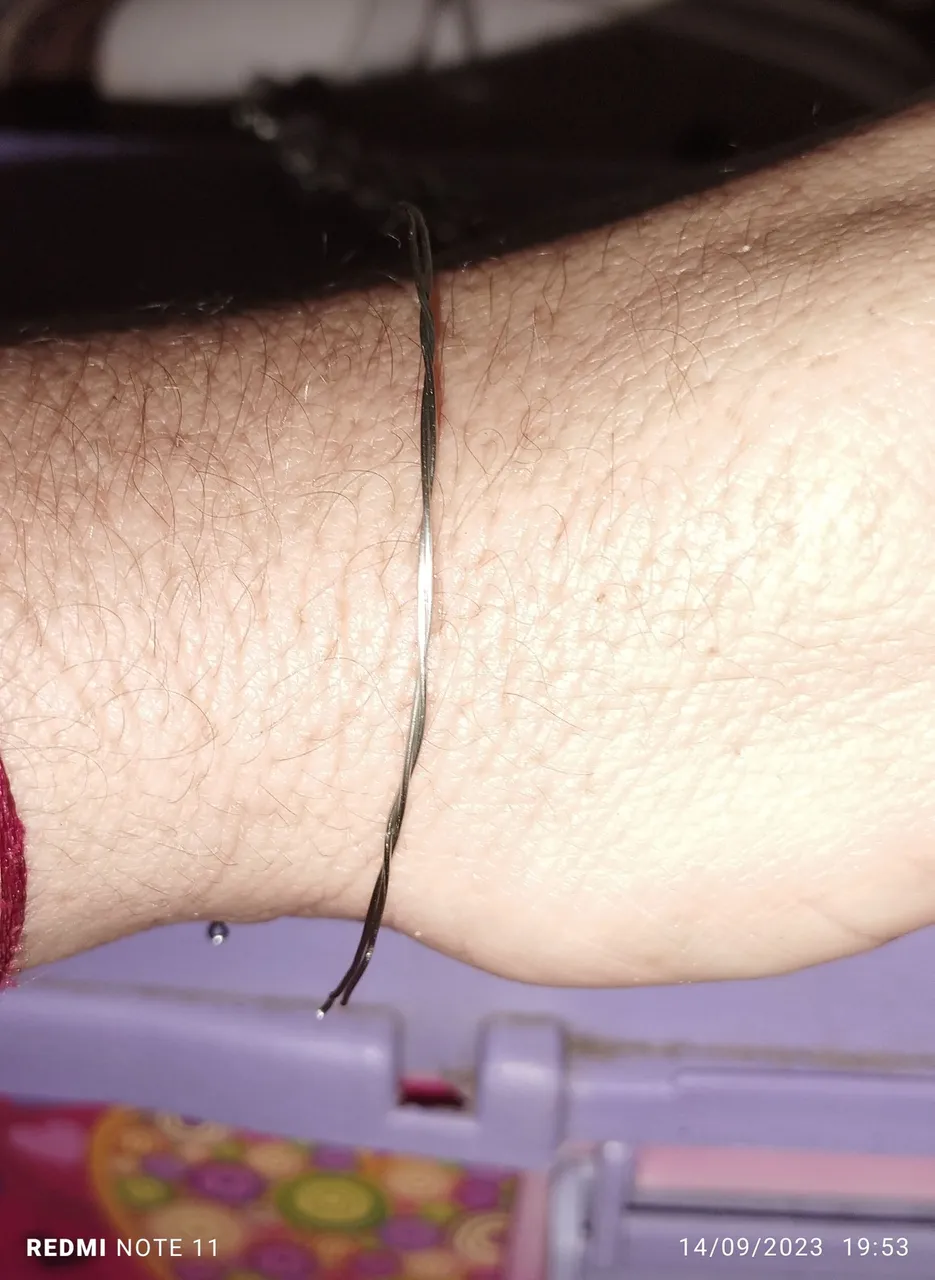
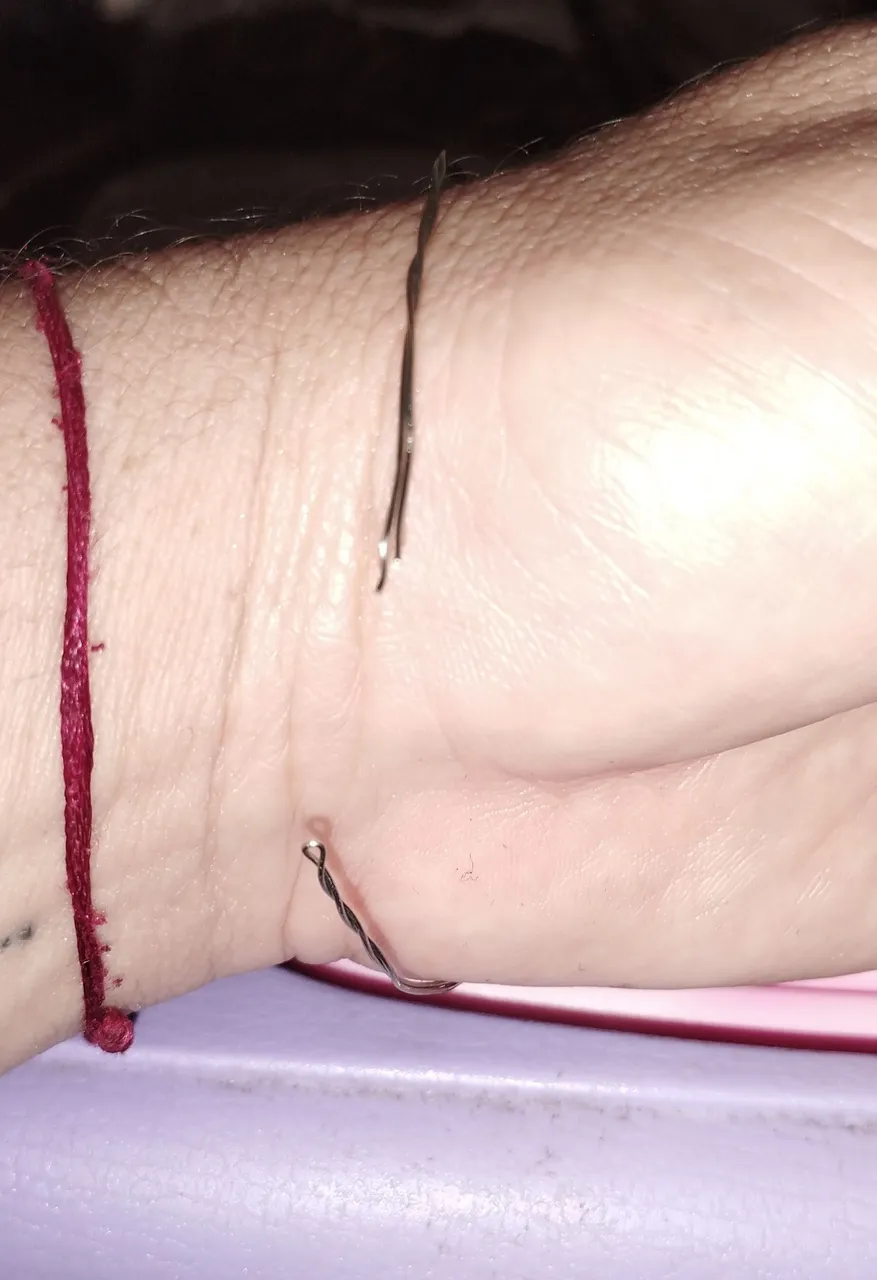
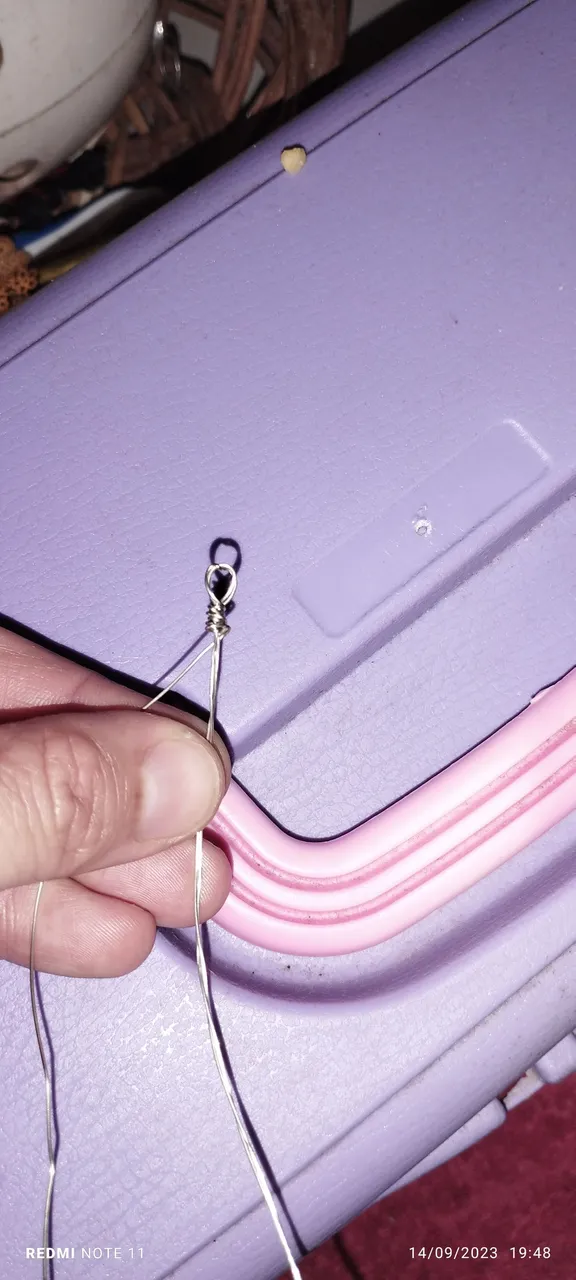
PASO 2:
Le damos vueltas al alambre para que tenga mejor resistencia. Y hacemos una argolla interna para colocar los broches y las argollas que serán su complemento.
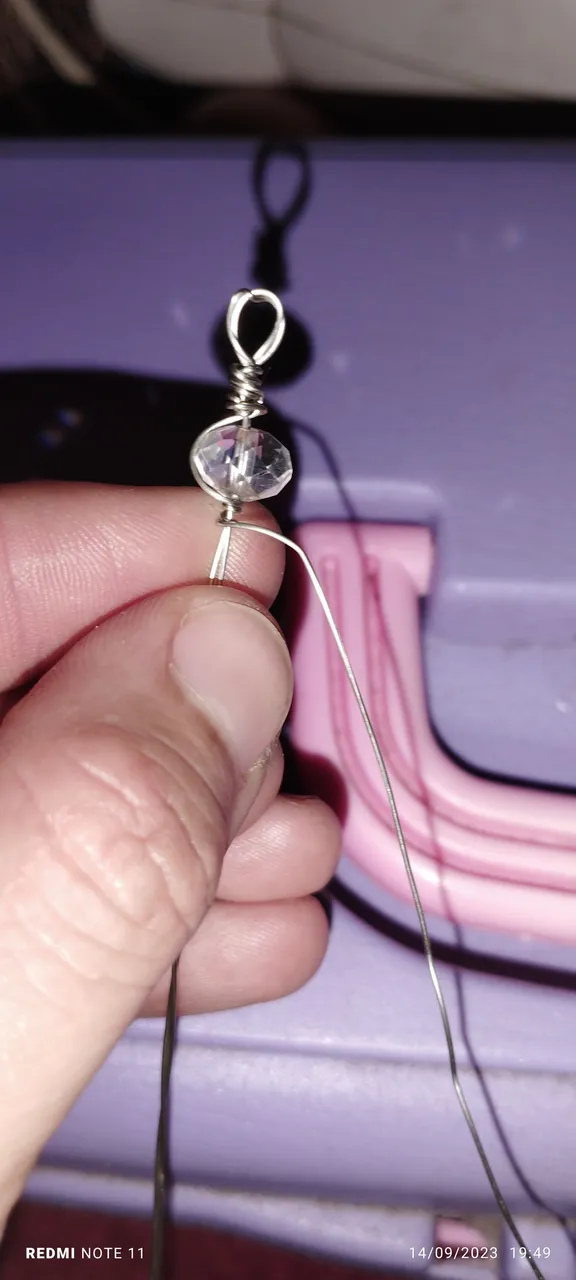
PASO 3:
Vamos colocando las piedras la rodeamos una vuelta en cada piedra y luego damos cuatro vueltas sobre el alambre para ajustarla de esta manera las piedras quedarán fijas, Es decir no se moverán con facilidad.
PASO 4:
Repetimos el proceso hasta culminar el largo deseado.
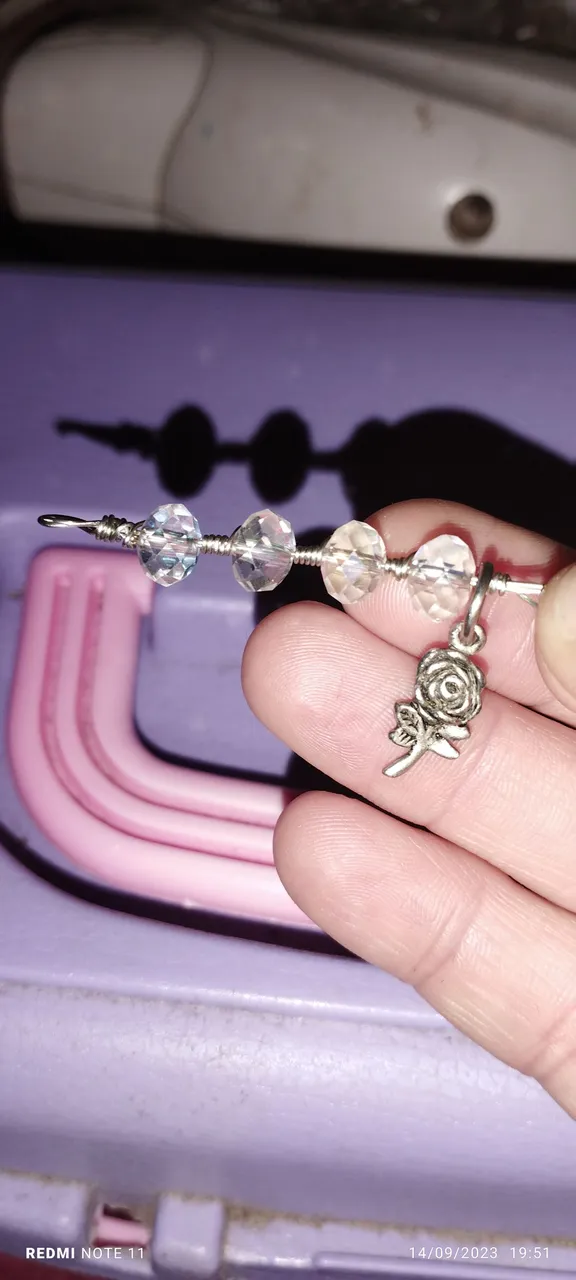
PASO 5:
Le vamos colocando los dijes que elegimos. Y así va tomando forma nuestra hermosa pulsera.
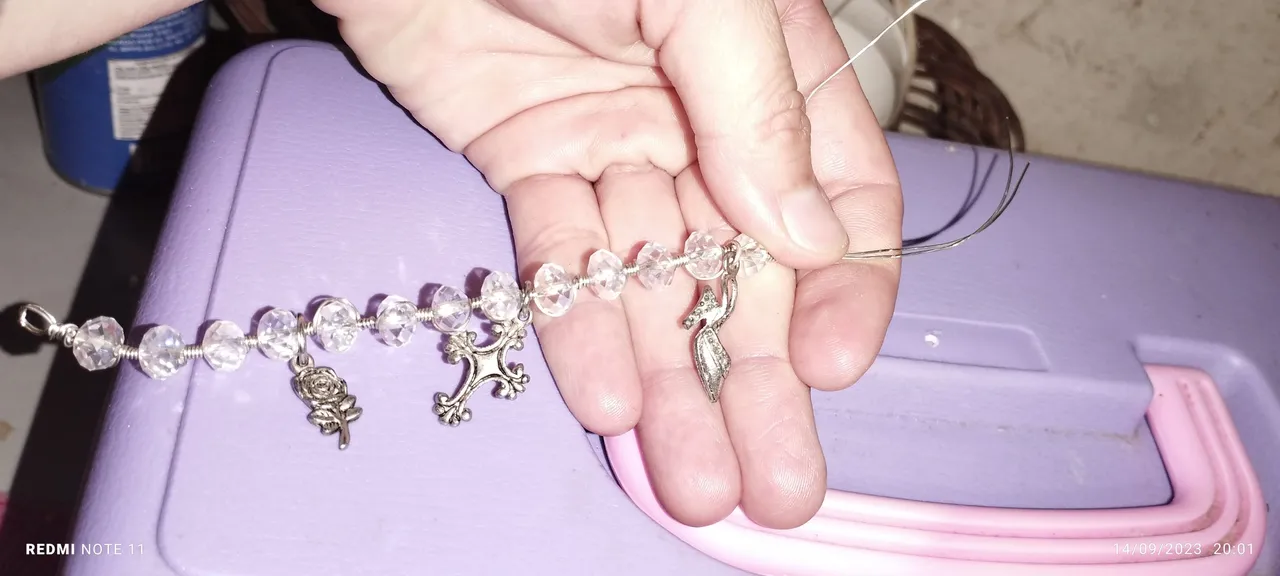
PASO 6:
Ya culminamos el proceso le colocamos los broches y tenemos lista nuestra hermosa pulsera.
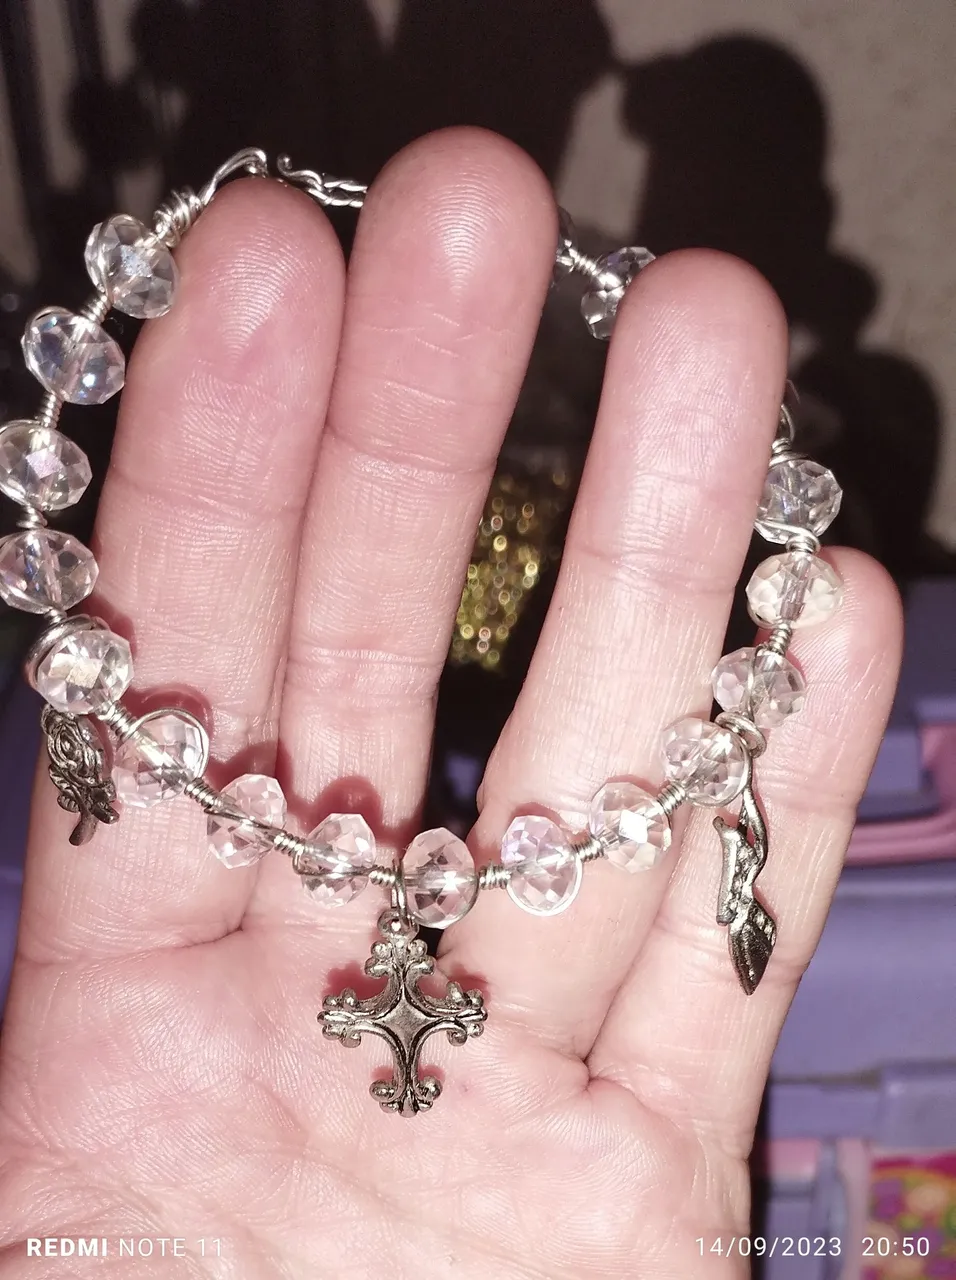
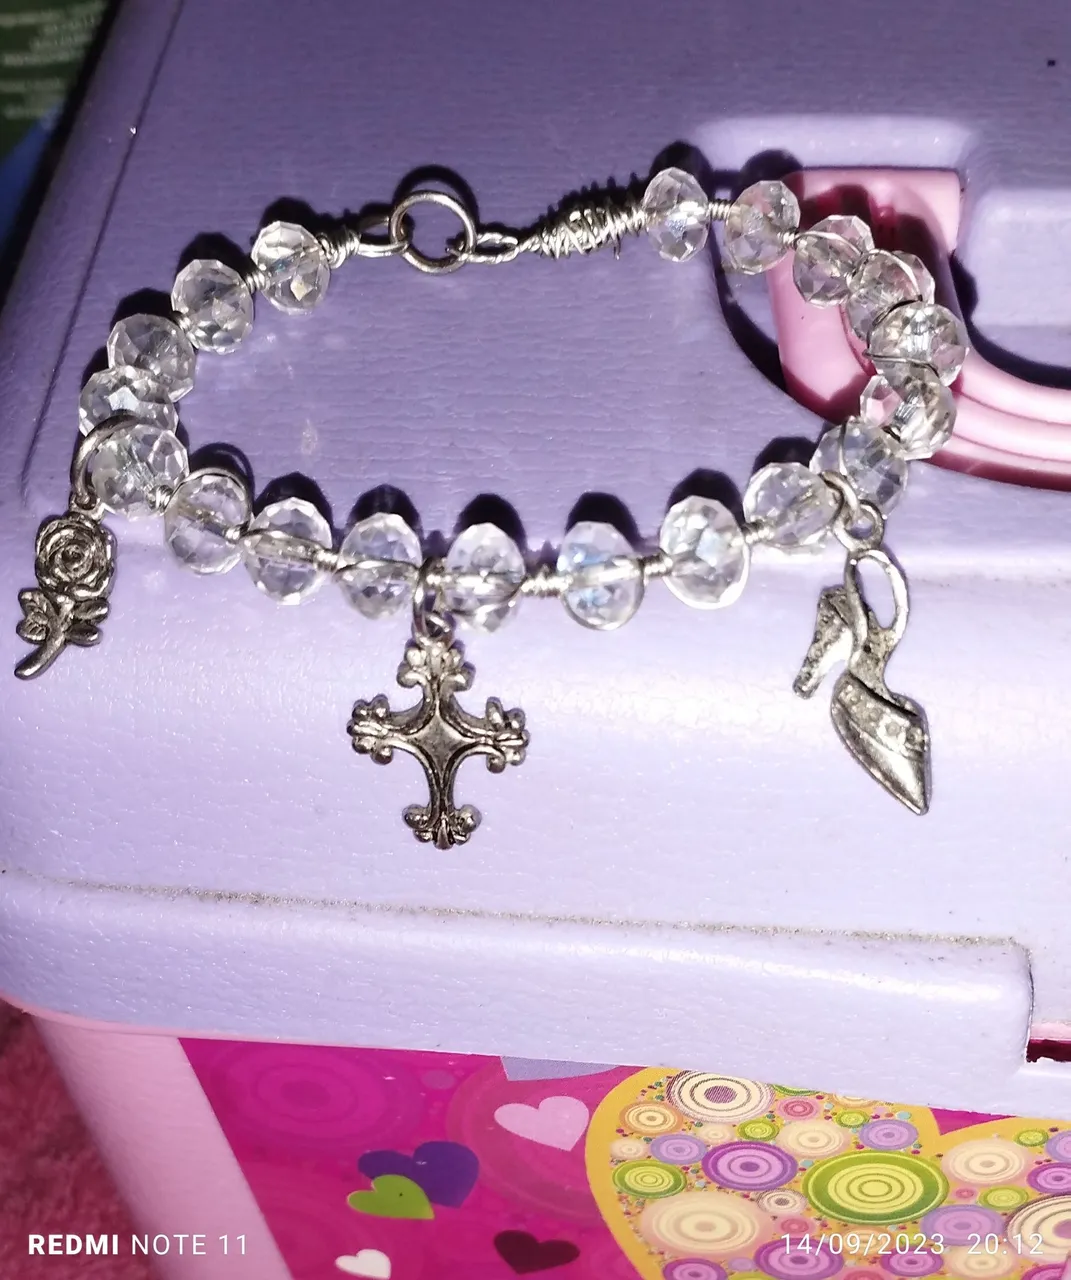
De esta manera culmine mi bella pulsera. Cómo ven es muy fácil y sencilla de elaborar. Es muy sutil y muy delicada para toda ocasión.
La elaboración de esta pulsera me traslada al mar Sus cristales son muy hermosos imagino cuando el sol se refleje en los cristales debe ser muy bello. Espero que pueda ir pronto a la playa y obtener ese resultado.
Me gusta mucho el cristal porque simboliza la transparencia, y el deseo de alcanzar la inmaterialidad a través de un material.te genera paz, armonía y elegancia en cuanto de joyas se trata.
Tengo muchas ideas en mi cabeza esperando que pronto las pueda ejecutar todas y así poder compartirlas con ustedes.
Espero que les halla gustado mi nueva creación y que pronto vuelva por acá mostrando lo que poco a poco voy aprendiendo.
Gracias por leer mi post, que Dios les bendiga y los llene de mucha vida.
¡Saludos! 🤗😉✨
Las imagenes me pertenecen, fueron tomadas de mi teléfono Redmi Note 11.
Las fotos fueron editadas por el programa editor de fotos polis.
traductor: Deepl Traslator.
Hello my dear friends Hivers and this beautiful community of @jewelry, Tonight I want to share with you a beautiful and delicate bracelet that I made in wire wrap and some charms highlighting the delicacy of all of us beautiful women.
For me it is very important to continue learning the details of jewelry making and every day I get more and more enthusiastic. This time I didn't think much, now my fingers have some practice and I made this beautiful bracelet (thank God this time I didn't hurt my fingers), and when you have some knowledge everything is much easier to handle the wire.
Here are the materials I used this time.
MATERIALS:
✓ WIRE.
✓ CRYSTAL STONES.
✓ PIN.
✓ CHARMS (WHICHEVER YOU PREFER).
✓ PIERCINGS.
STEP BY STEP
STEP 1:
The first thing to do is to measure the length as we are going to want the bracelet. I do it directly with my wrist because I want it to measure. you can do it with whatever is easier for you to measure it, you can use a ruler, a cup, glasses, among others. Those are examples.
STEP 2:
We twist the wire so that it has better resistance. And we make an internal ring to place the brooches and the rings that will be its complement.
STEP 3:
We place the stones around each stone and then we make four turns on the wire to adjust it in this way the stones will be fixed, i.e. they will not move easily.
STEP 4:
Repeat the process until the desired length is reached.
STEP 5:
We are placing the charms that we chose. And so is taking shape our beautiful bracelet.
**STEP 6
Now we finish the process we place the clasps and we have our beautiful bracelet ready.
This is how I finished my beautiful bracelet. As you can see it is very easy and simple to make. It is very subtle and very delicate for any occasion.
The elaboration of this bracelet takes me to the sea. Its crystals are very beautiful and I imagine when the sun reflects on the crystals it must be very beautiful. I hope I can go to the beach soon and get that result.
I really like the crystal because it symbolizes transparency, and the desire to reach immateriality through a material.It generates peace, harmony and elegance when it comes to jewelry.
I have many ideas in my head hoping that soon I will be able to execute them all and share them with you.
I hope you like my new creation and that soon I will be back here showing you what I am learning little by little.
Thank you for reading my post, may God bless you and fill you with lots of life.
Greetings! 🤗😉✨
The images belong to me, they were taken from my Redmi Note 11 phone.
The pictures were edited by polis photo editor program.
translator: Deepl Traslator.