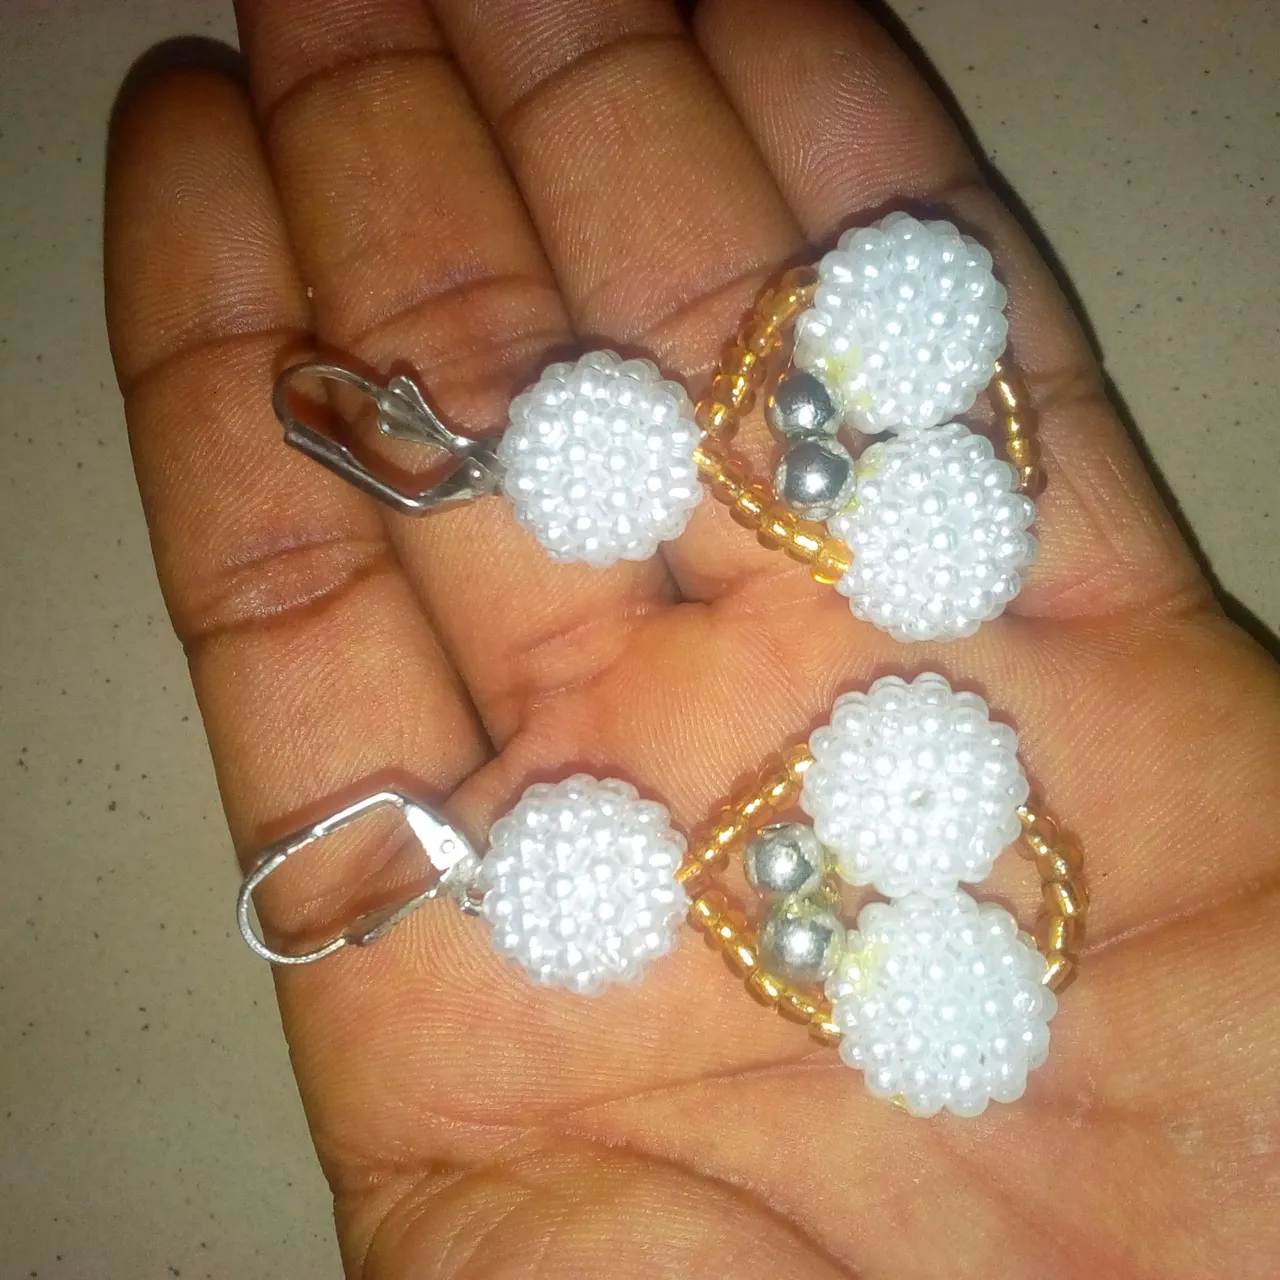
Hello, great and wonderful people of the Jewelry community. I want to start by congratulating the community for making a year of existence. I have also seen a contest placed for the anniversary, but I will participate soon. Today, I want to talk about how I made earrings for a lady close to my house.
I was shocked by the lady's type of earring description. I said so because the earring was very common and local based on my own view. But after I made the earring, I still didn't see it to look nice but people who were passing by saw it and commented positively about how simple it seemed.
I have seen that even when one is a professional over a particular skill like jewelry, the person needs to give room for people making orders of the product to make their request, and a description is needed. Even as a professional in a particular skill l, you still don't need to condemn any of your customer's desires except on the issue of low-quality materials. This is because some customers may come up with an idea that doesn't suit you as a professional, and if you condemn or ignore the idea, you may not learn new ideas.
You must understand that most of the things we reason and build must not be limited to our personal thinking but others will be important. Other people's ideas when it comes to creativity will give us the avenue to know more about what people want or even the latest in the labor market. Just look at me today condemning and looking down on the type of earrings a lady close to my house requested that I should make for her. But after I made the earring and people loved and commented on them, I was able to understand that people living within the area will love to wear such earrings. At least this will give me the opportunity to create more earrings.
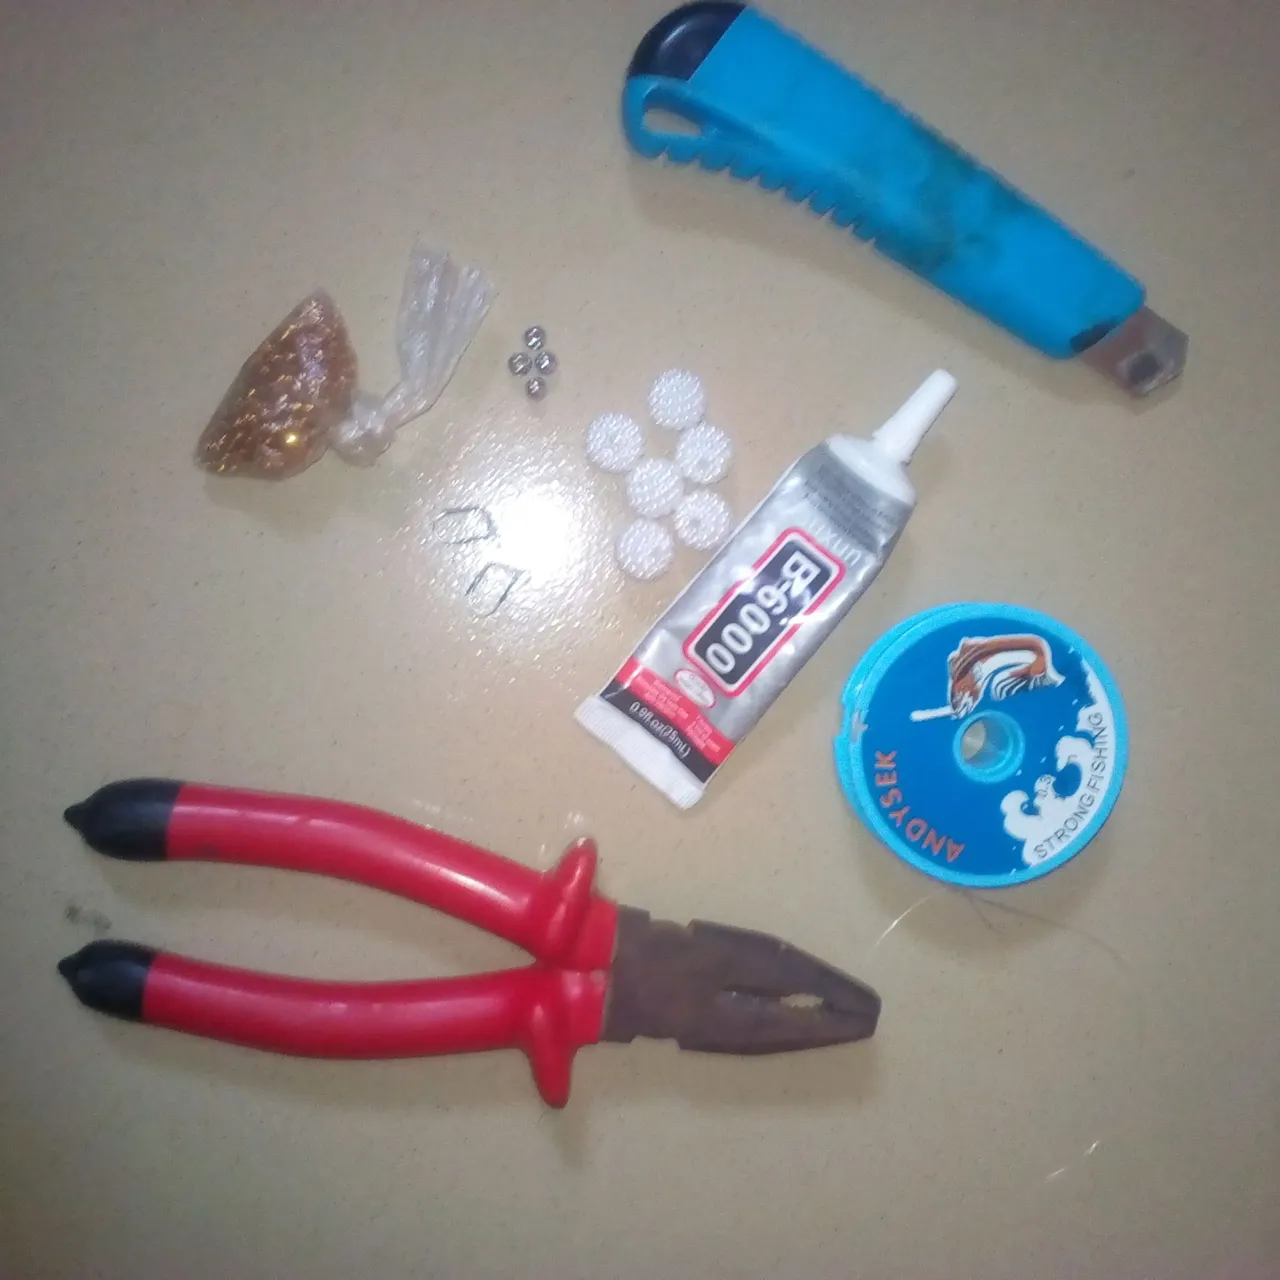
I will have to mention below the materials used for the making of the earring:
0.35mm nylon line.
36 pieces of gold color sand while 12 out of the 36 were used for each side of the two ears.
6 pieces of white pearl bead while 3 pieces will be used for each side of the two ears.
Earring hook.
Bead stopper.
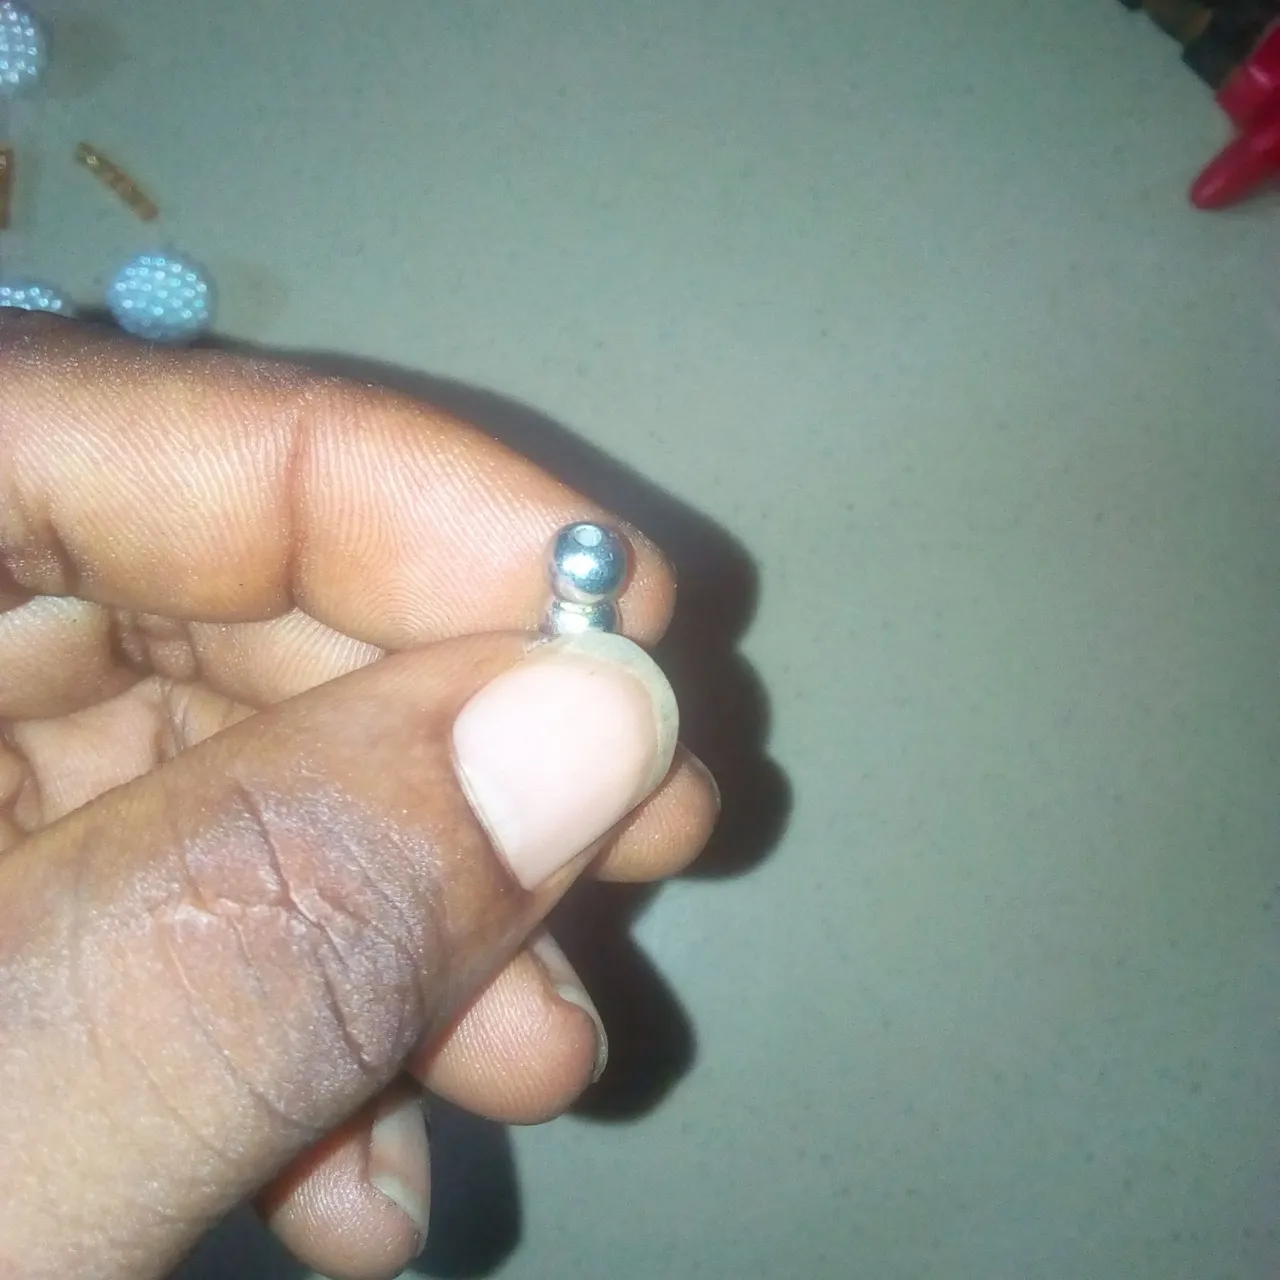
4 pieces of aluminum pearl bead while 2 pieces will be used for each side of the ear.
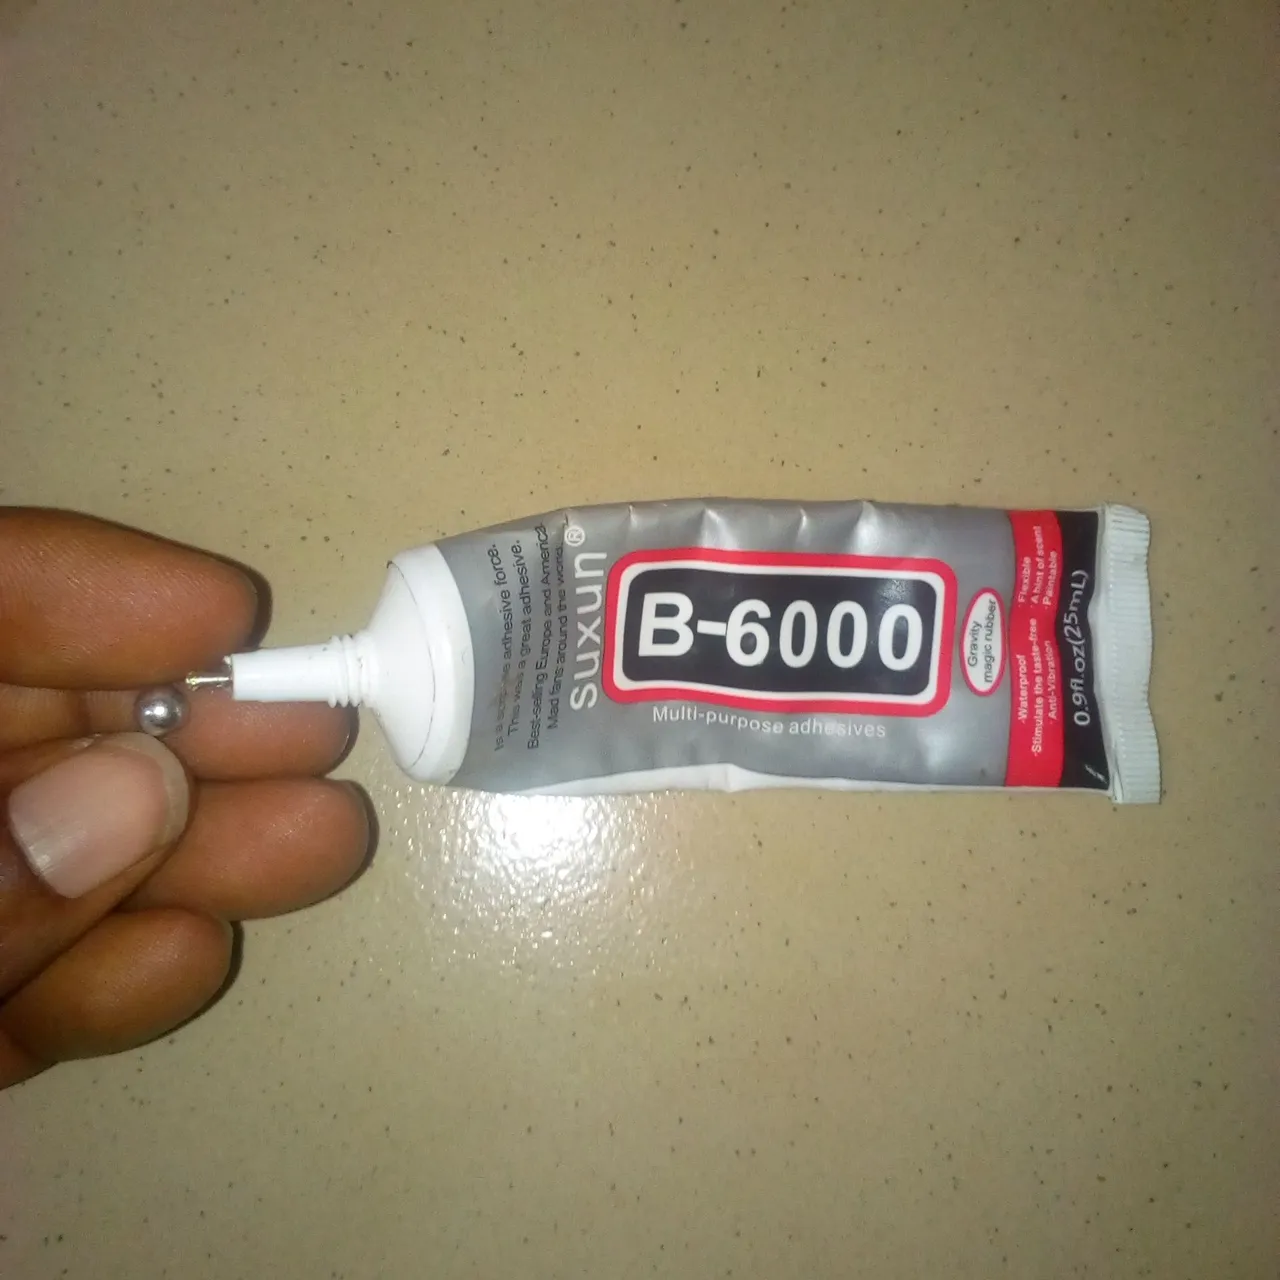
Gum.
The process used for the making of the earring will be discussed below:*
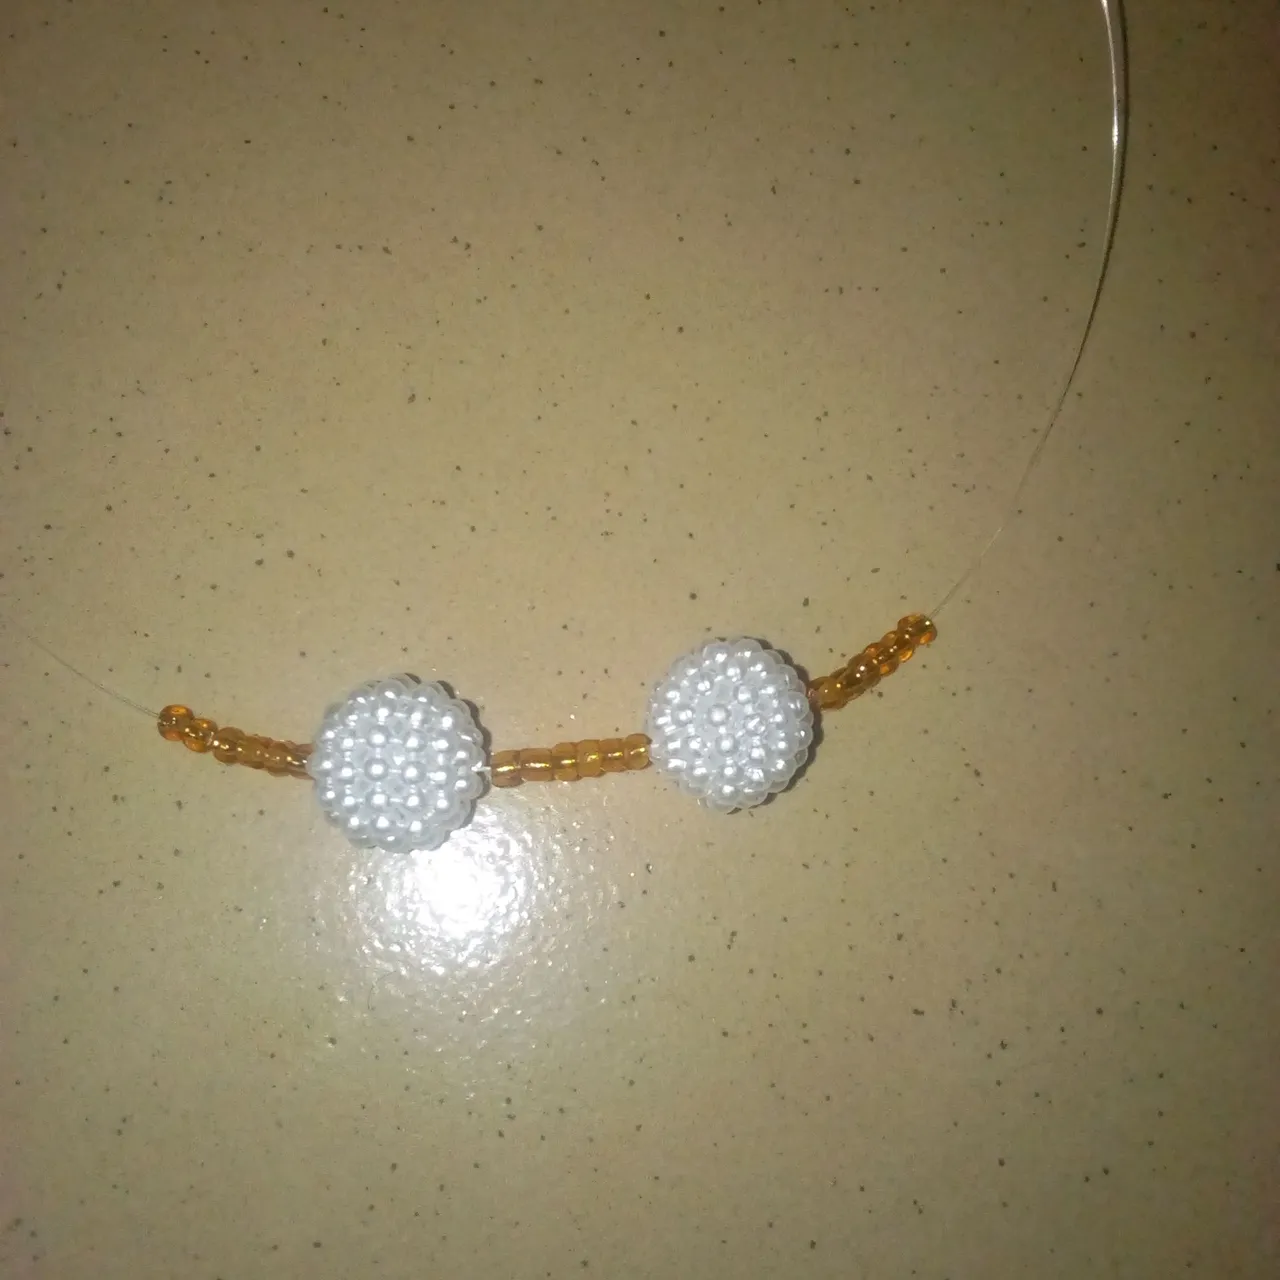
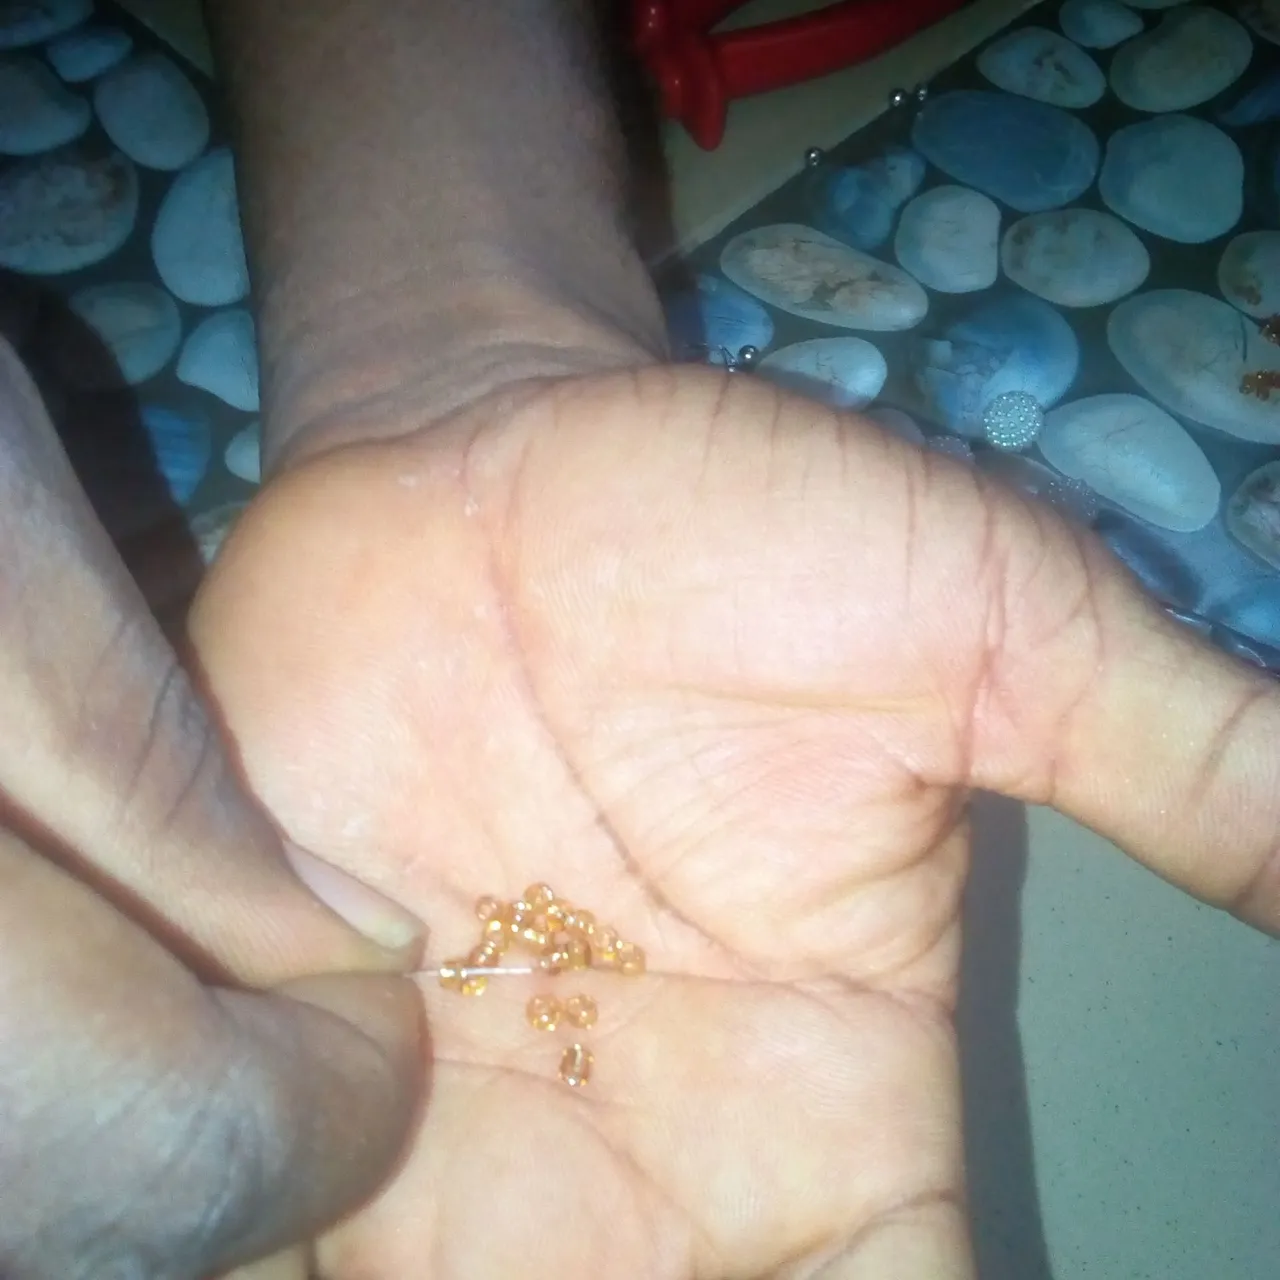
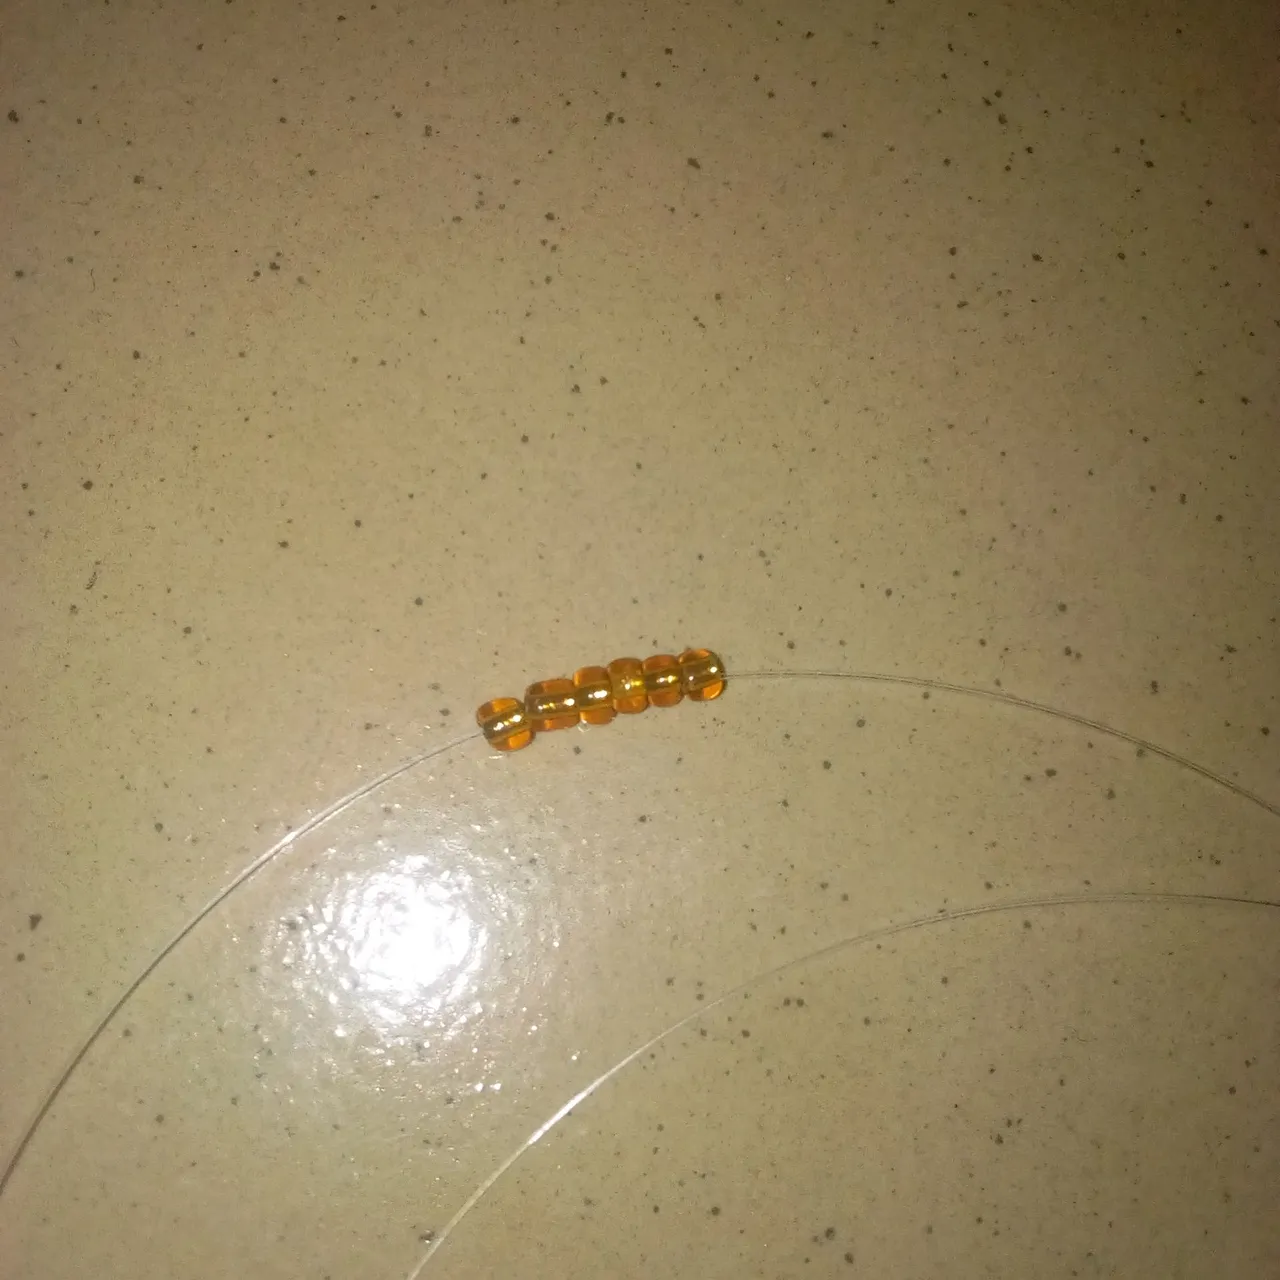
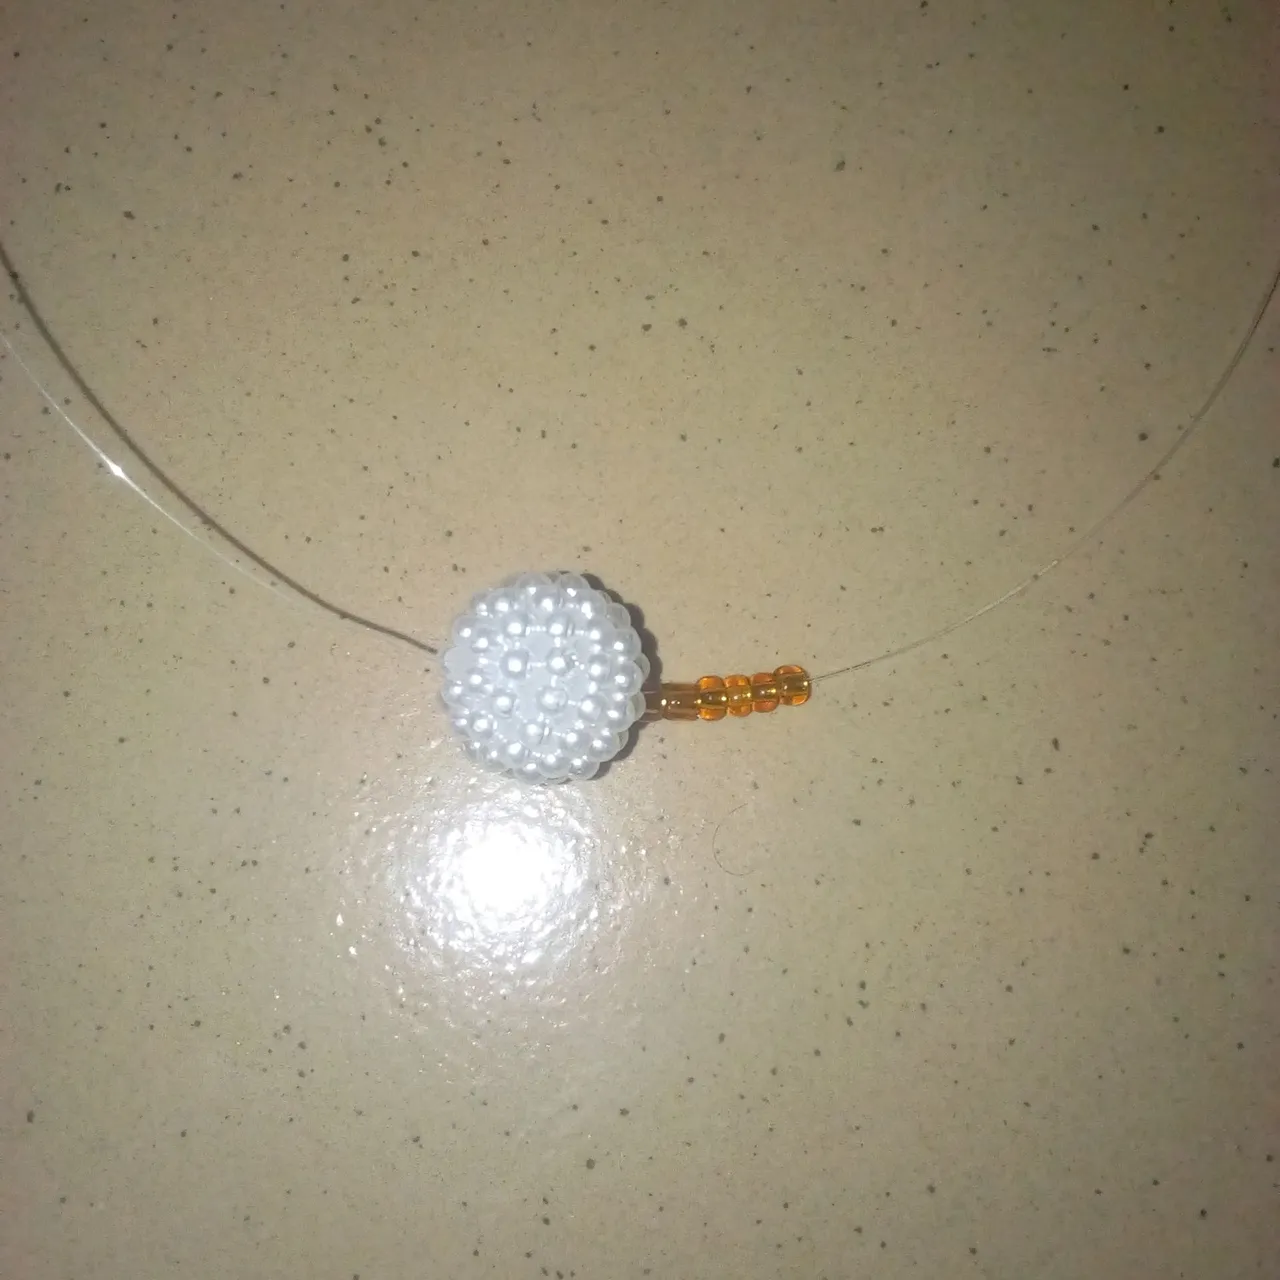
The first thing I did was to use a cutter to cut a nylon line before I was free to count 6 pieces of the gold color sand bead and insert them into the nylon line.
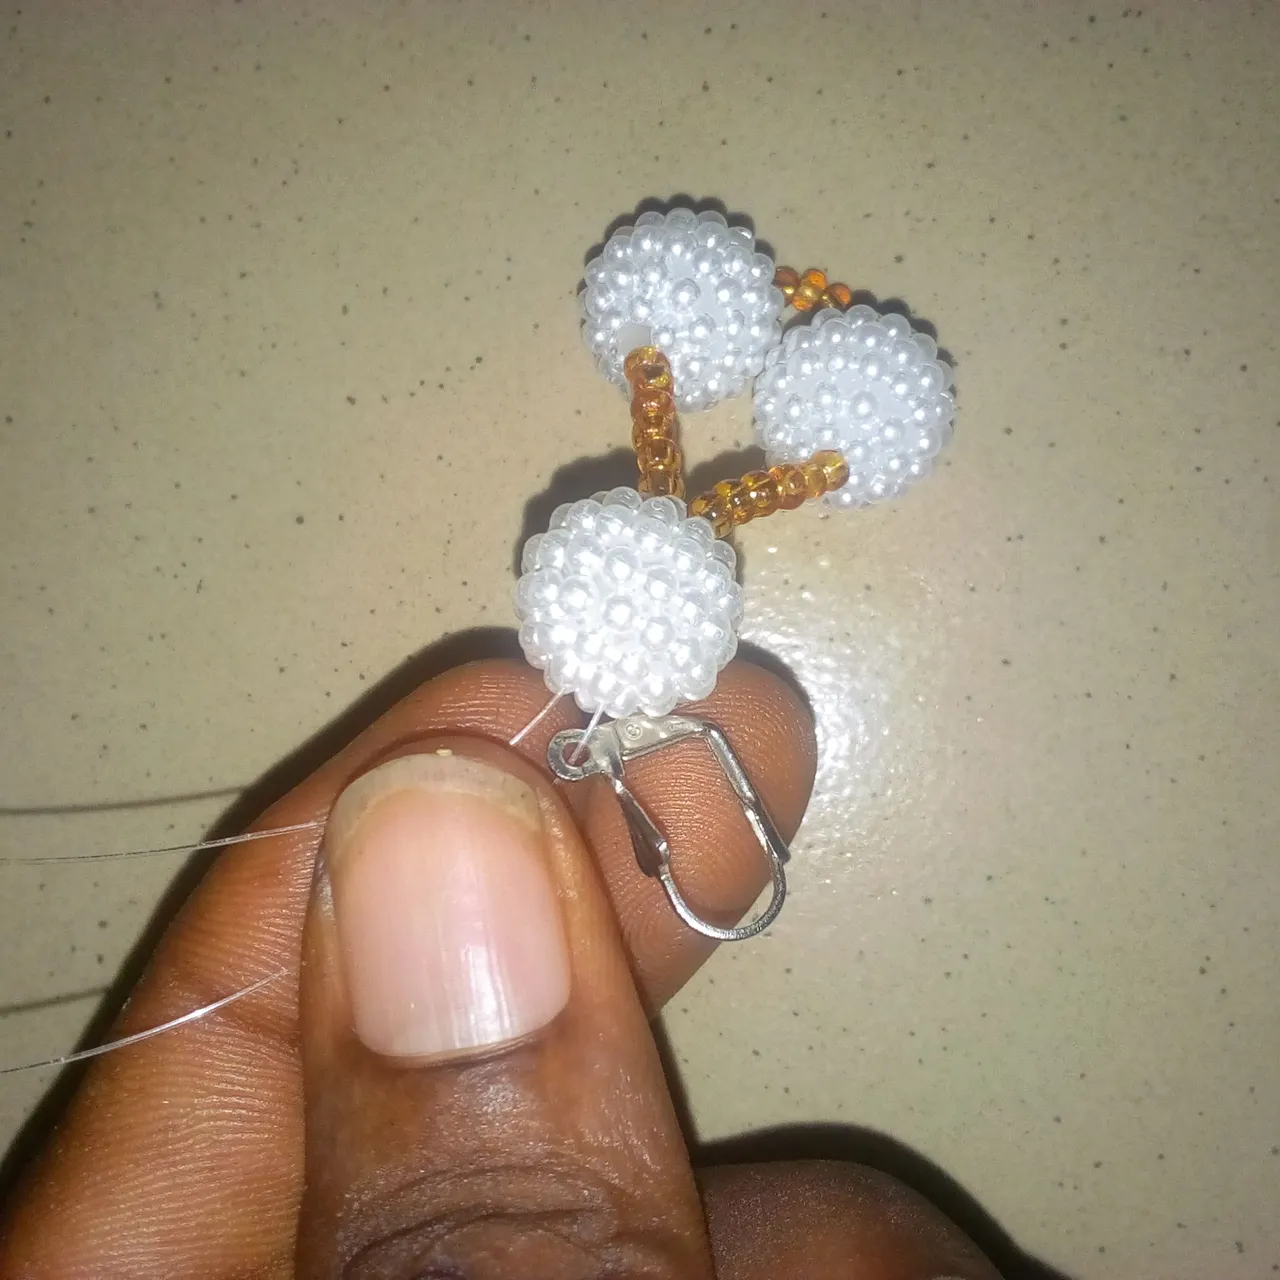
The next thing I did was to insert 1 piece of white pearl bead into the left side of the nylon line. I also inserted another 1 piece of white pearl bead into the right side of the nylon line.

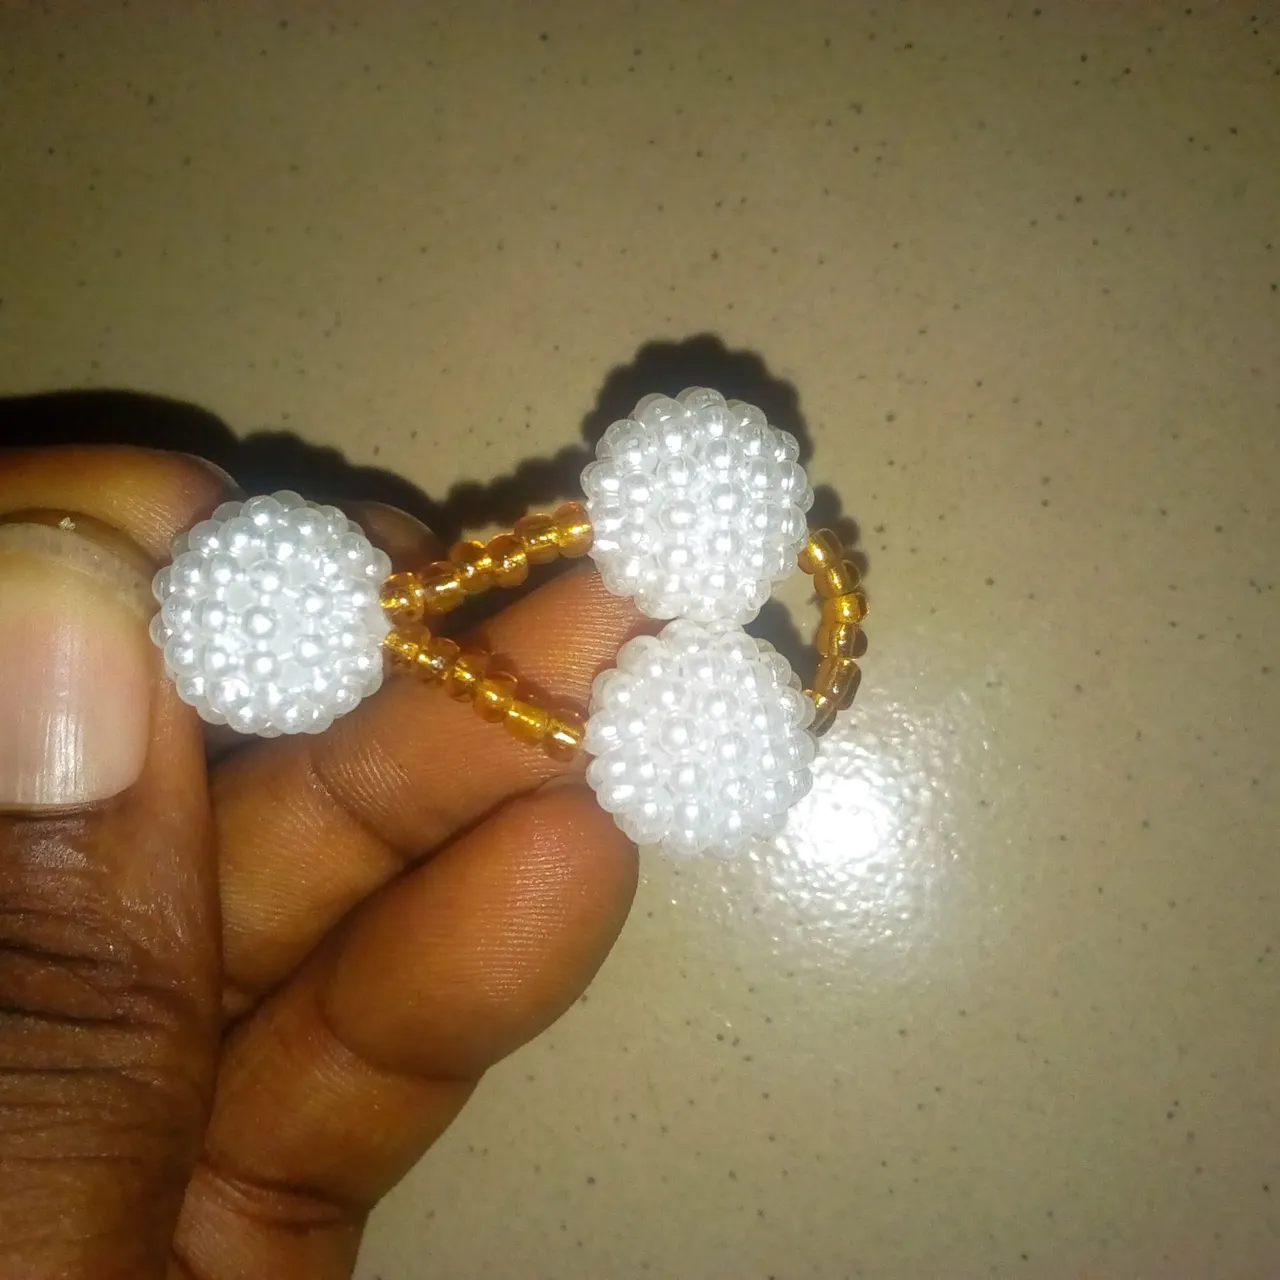
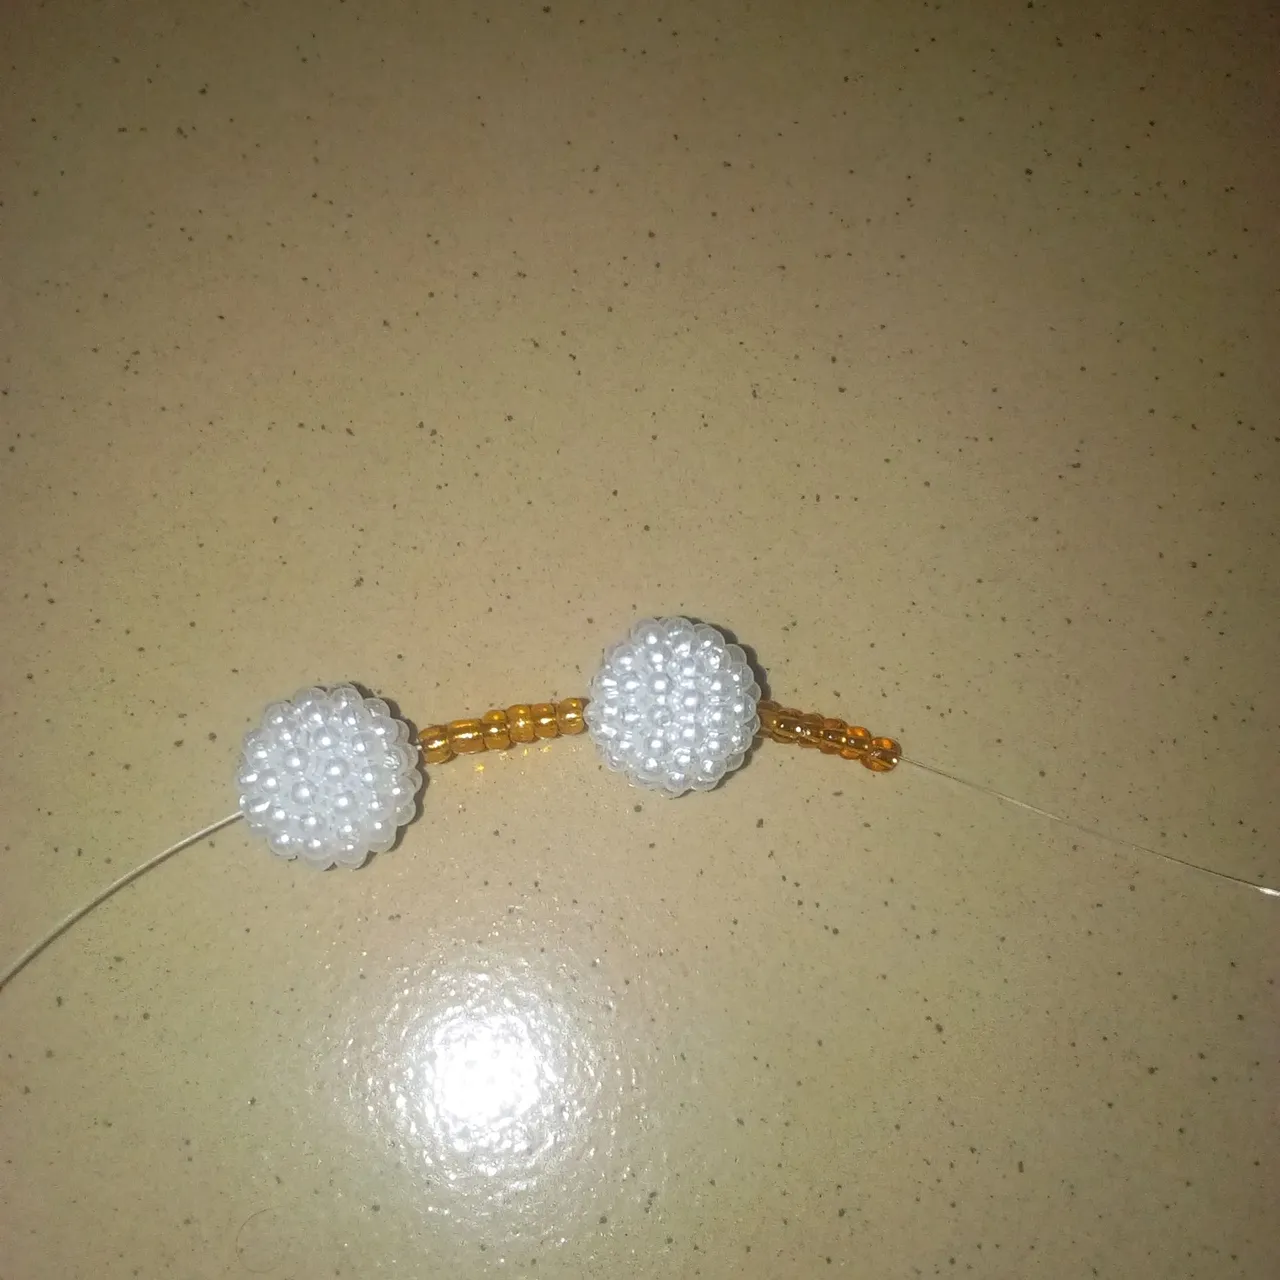
The next thing I did was to Insert 6 pieces of gold color sand bead into the right side of the nylon line. I also inserted another 6 pieces in the left side of the nylon line. After that, I joined the left and right sides of the nylon line together and inserted them into 1 piece of white pearl bead.
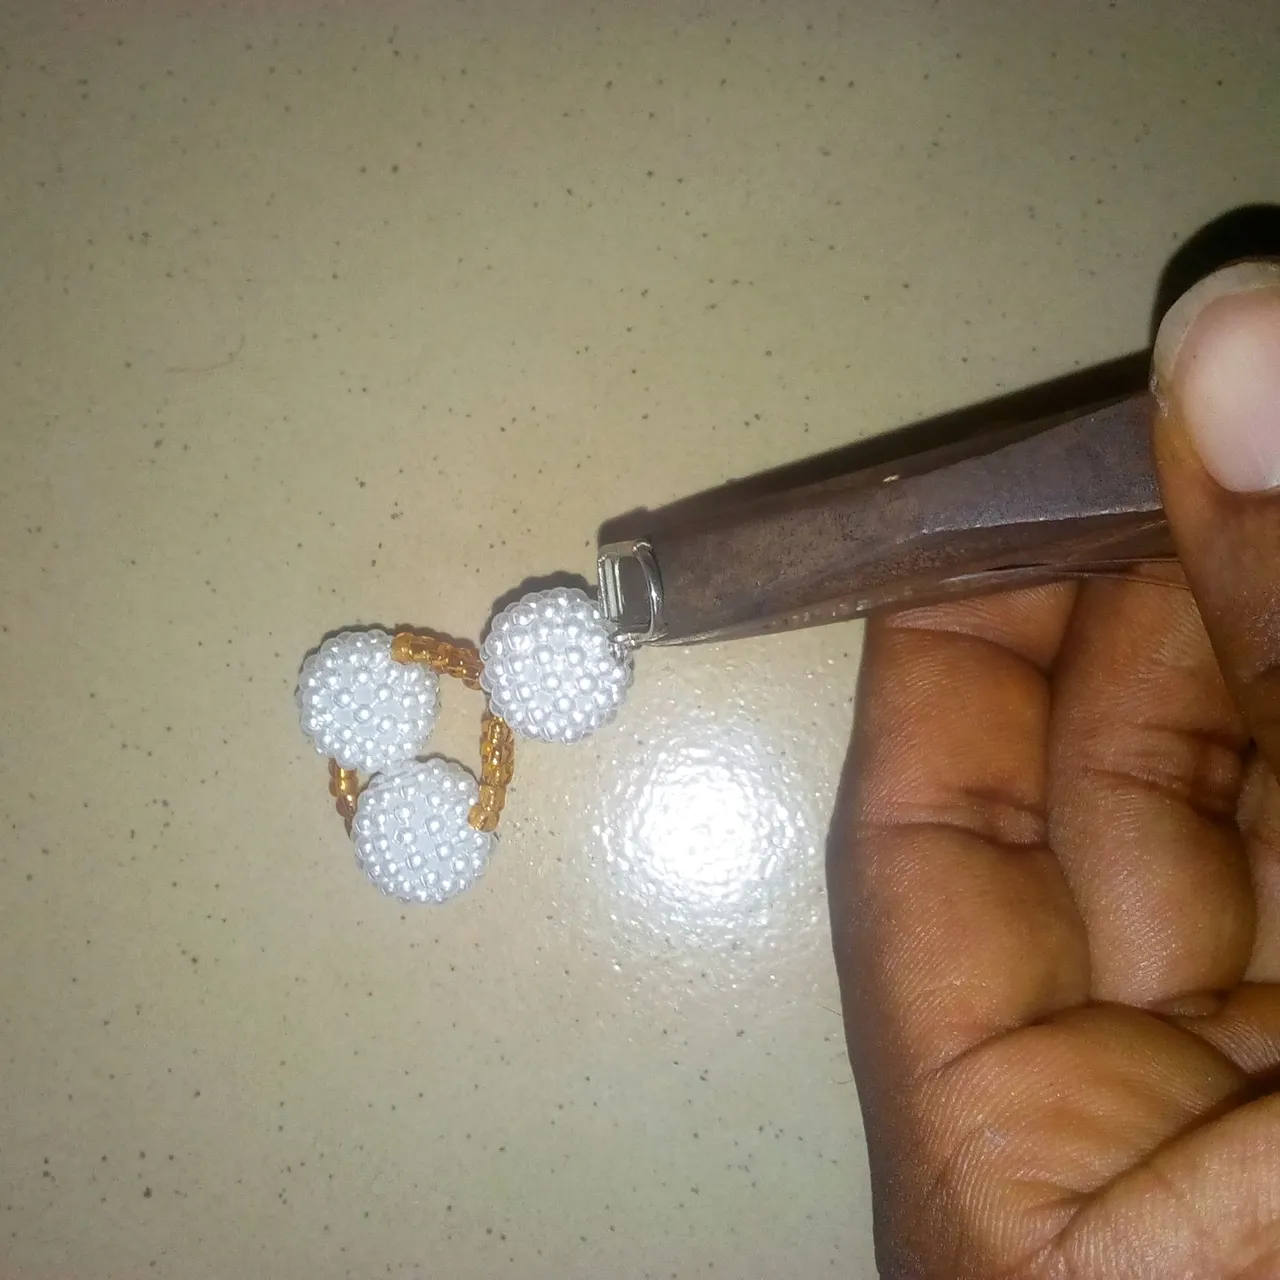
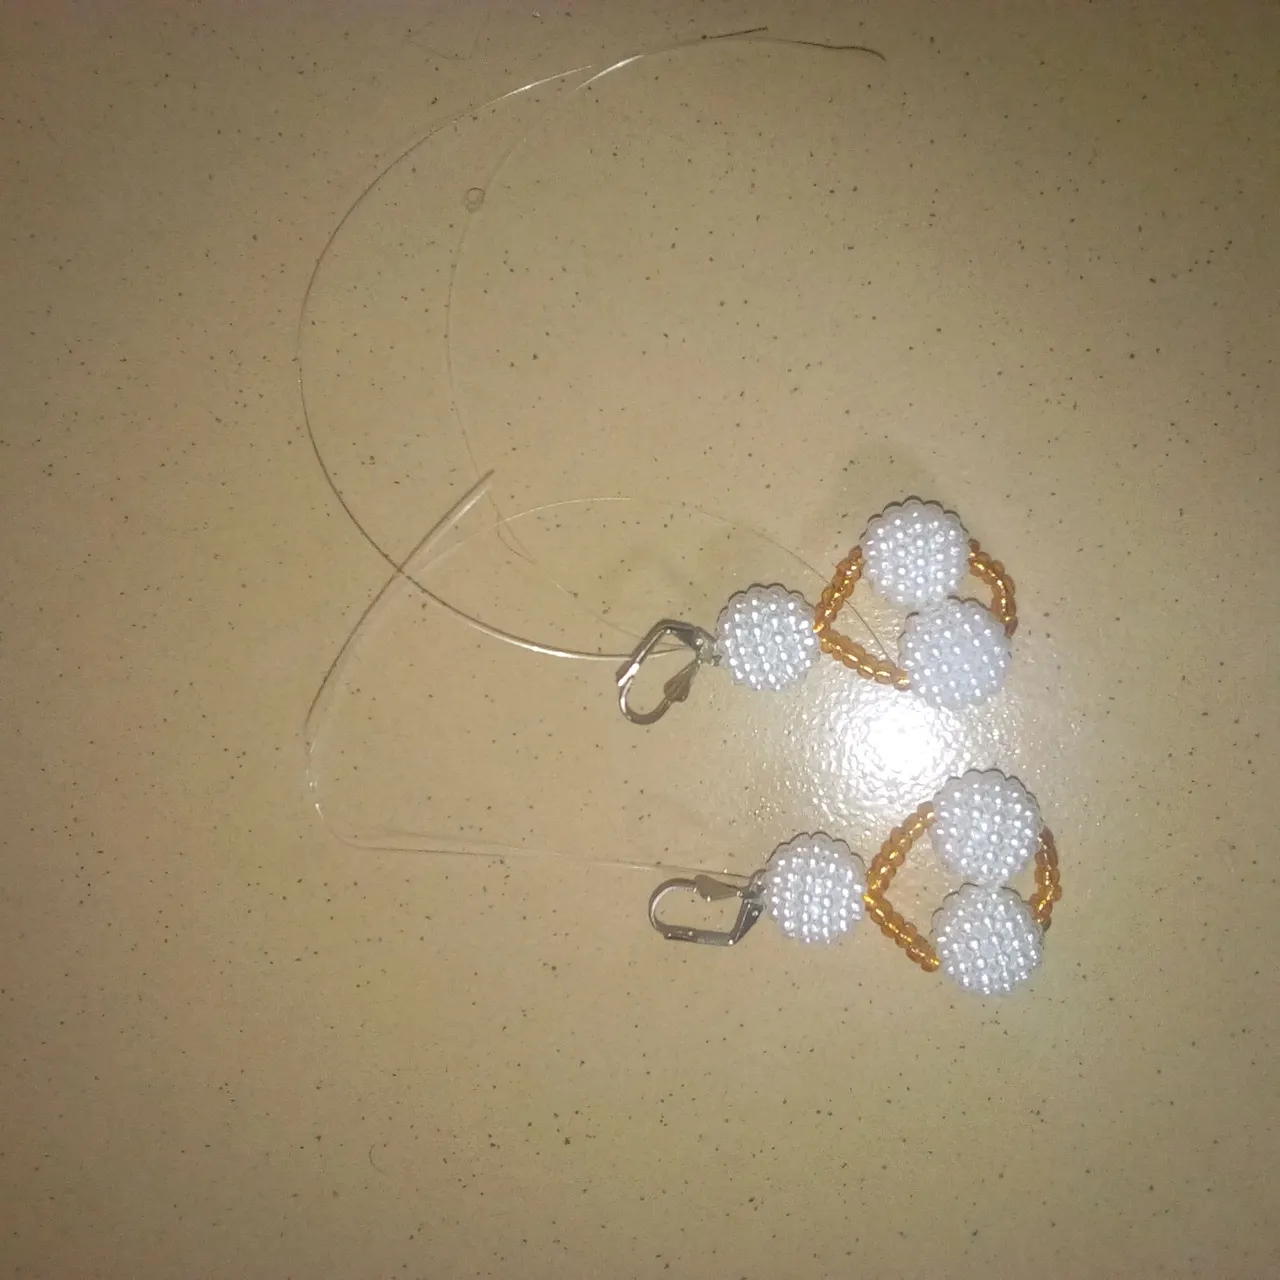
The next thing I did was to insert an earring hook in one of the nylon lines and tie it.
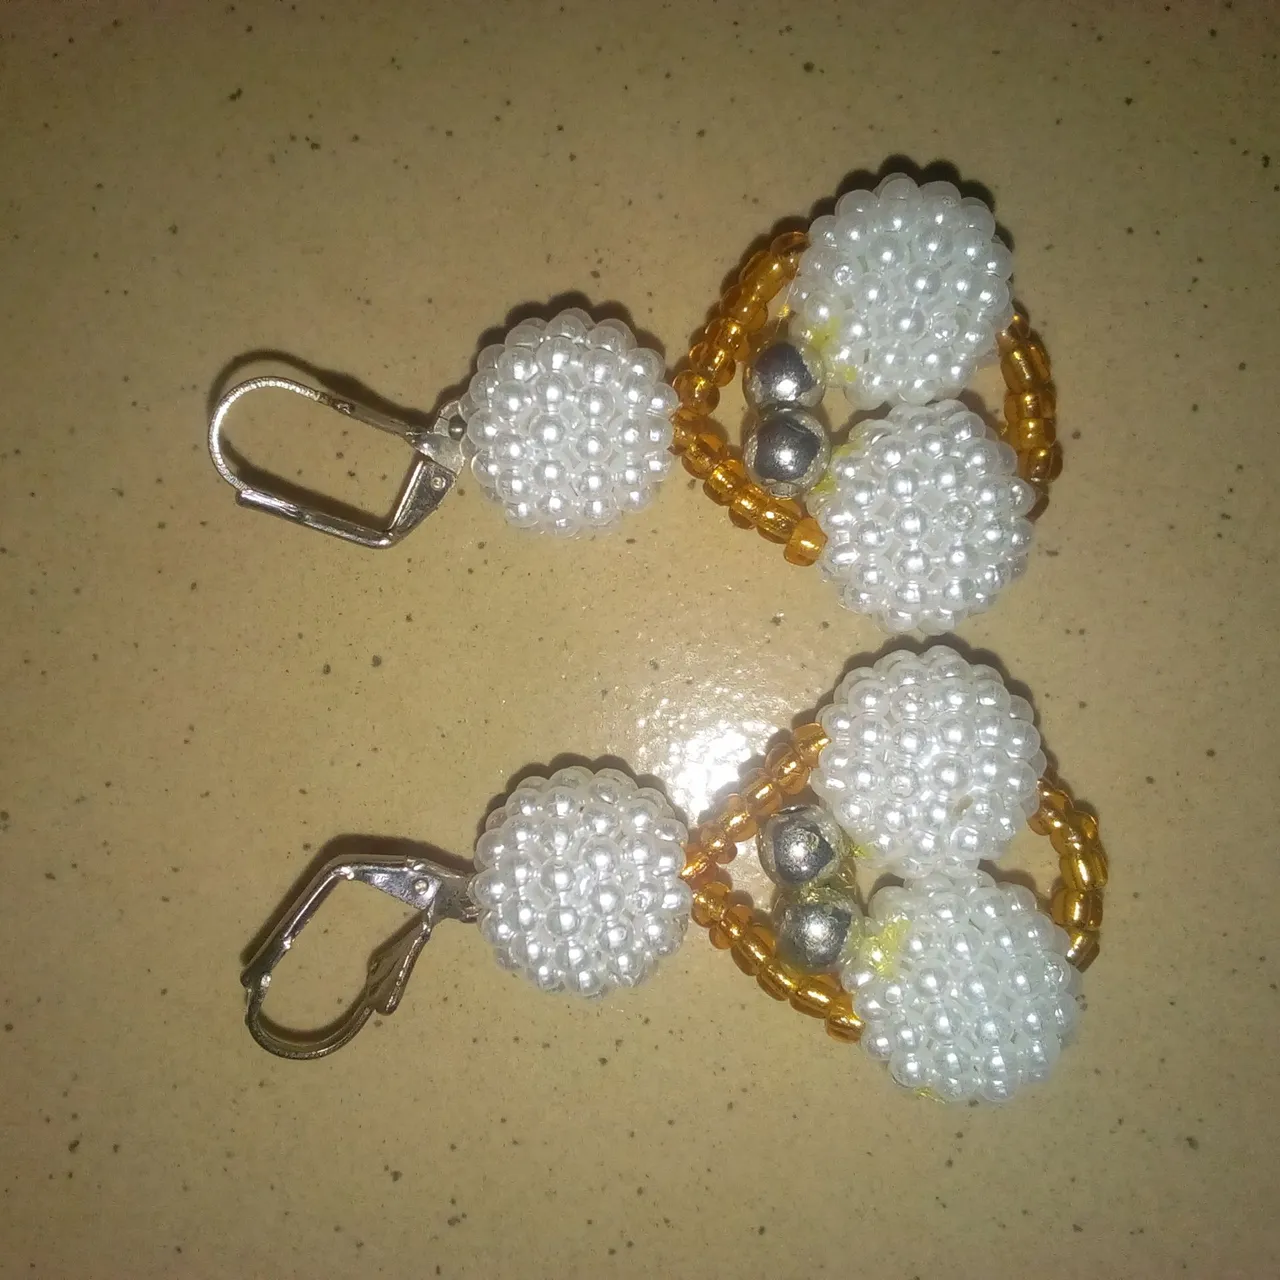
Lastly, I have to count 2 pieces of aluminum pearl beads and used gum to hold them together. After, I gummed the aluminum pearl bead on the two white pearl beads.