Hello and good evening to all jewelry lovers. The month of March is almost over and I believe that you are doing well with your family, friends, and business. Today, I made earrings to celebrate a cousin's birthday. As I proceed, I will provide you with the materials and procedures adopted in making the earring a reality. But before I will be able to provide you with more details about the earring-making steps, I will like to give you a little gist about what brought the idea of making the earring.
Today, I almost forgot that it was a cousin's birthday because I left for work very early in the morning. When I returned from work this evening, my wife informed me that my little cousin just left our house and she brought a birthday cake for us. When I saw the birthday cake brought by my cousin, I was astonished and didn't know what to utter, because I didn't wish her a happy birthday. Since my cousin was born, I'm always the one who mostly wishes her the first happy birthday before the parents and others will do. Well, family and business problems took my attention away.
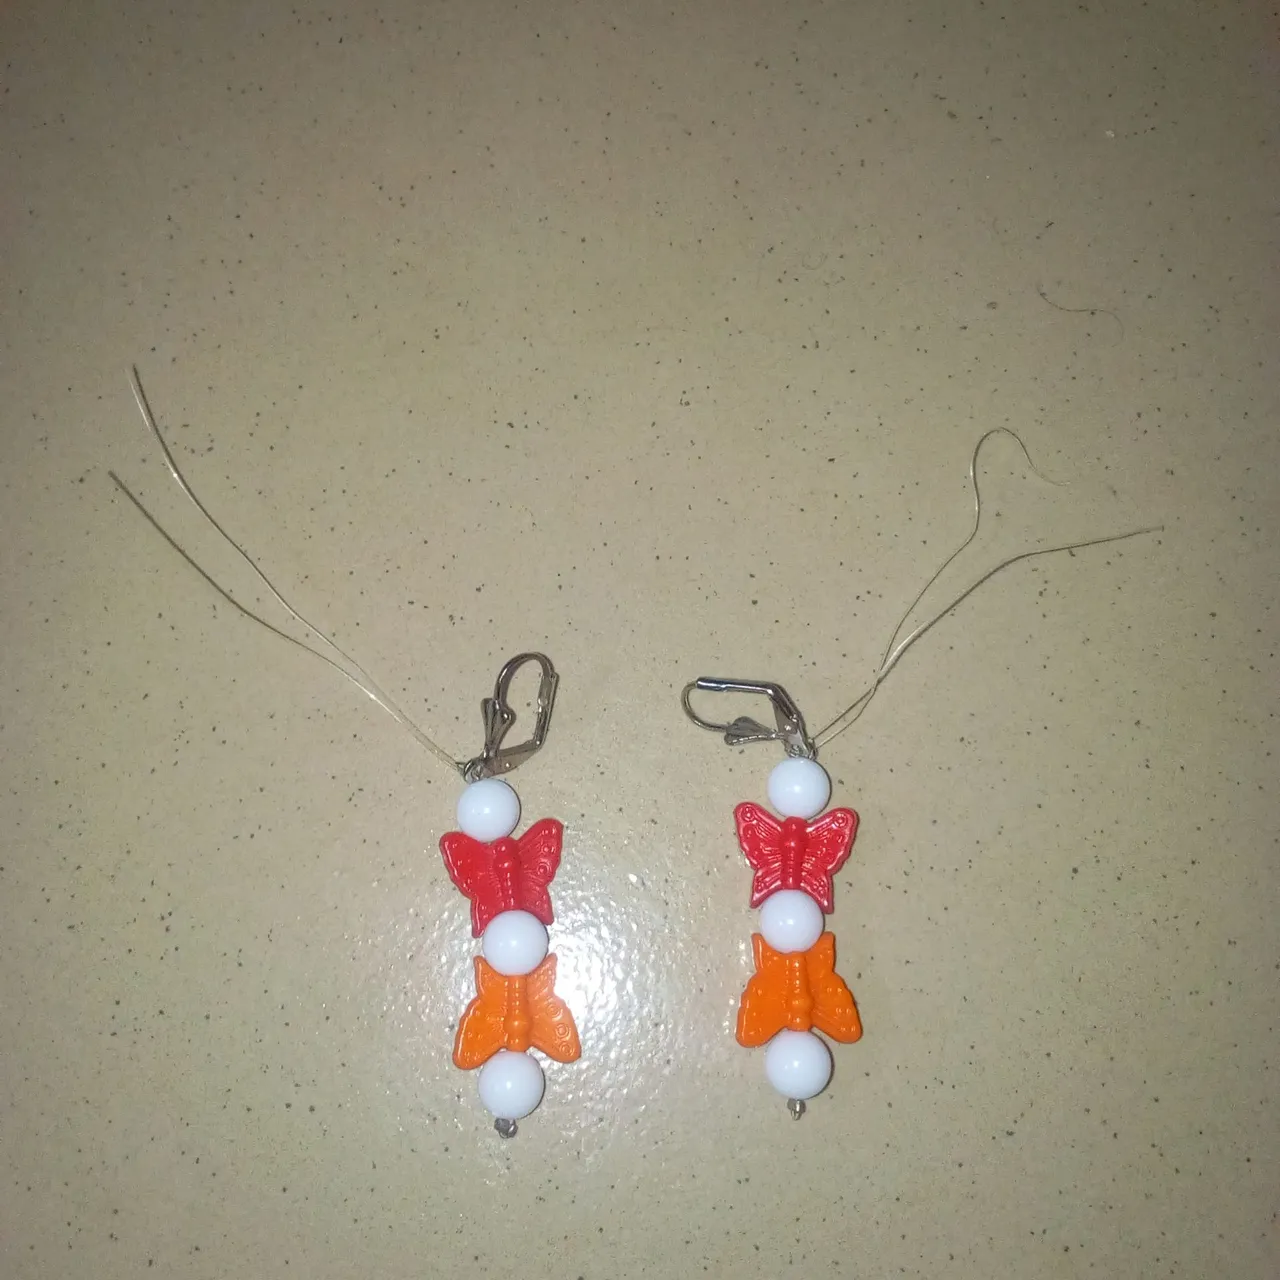
Since I was unable to be the first person to wish my cousin a happy birthday this year, I quickly remembered that she values and love wearing earring made by me especially when I gave them to her as a gift. Knowing all that, I have to make earrings for her, at least to wish her a happy birthday not minding it was already late.
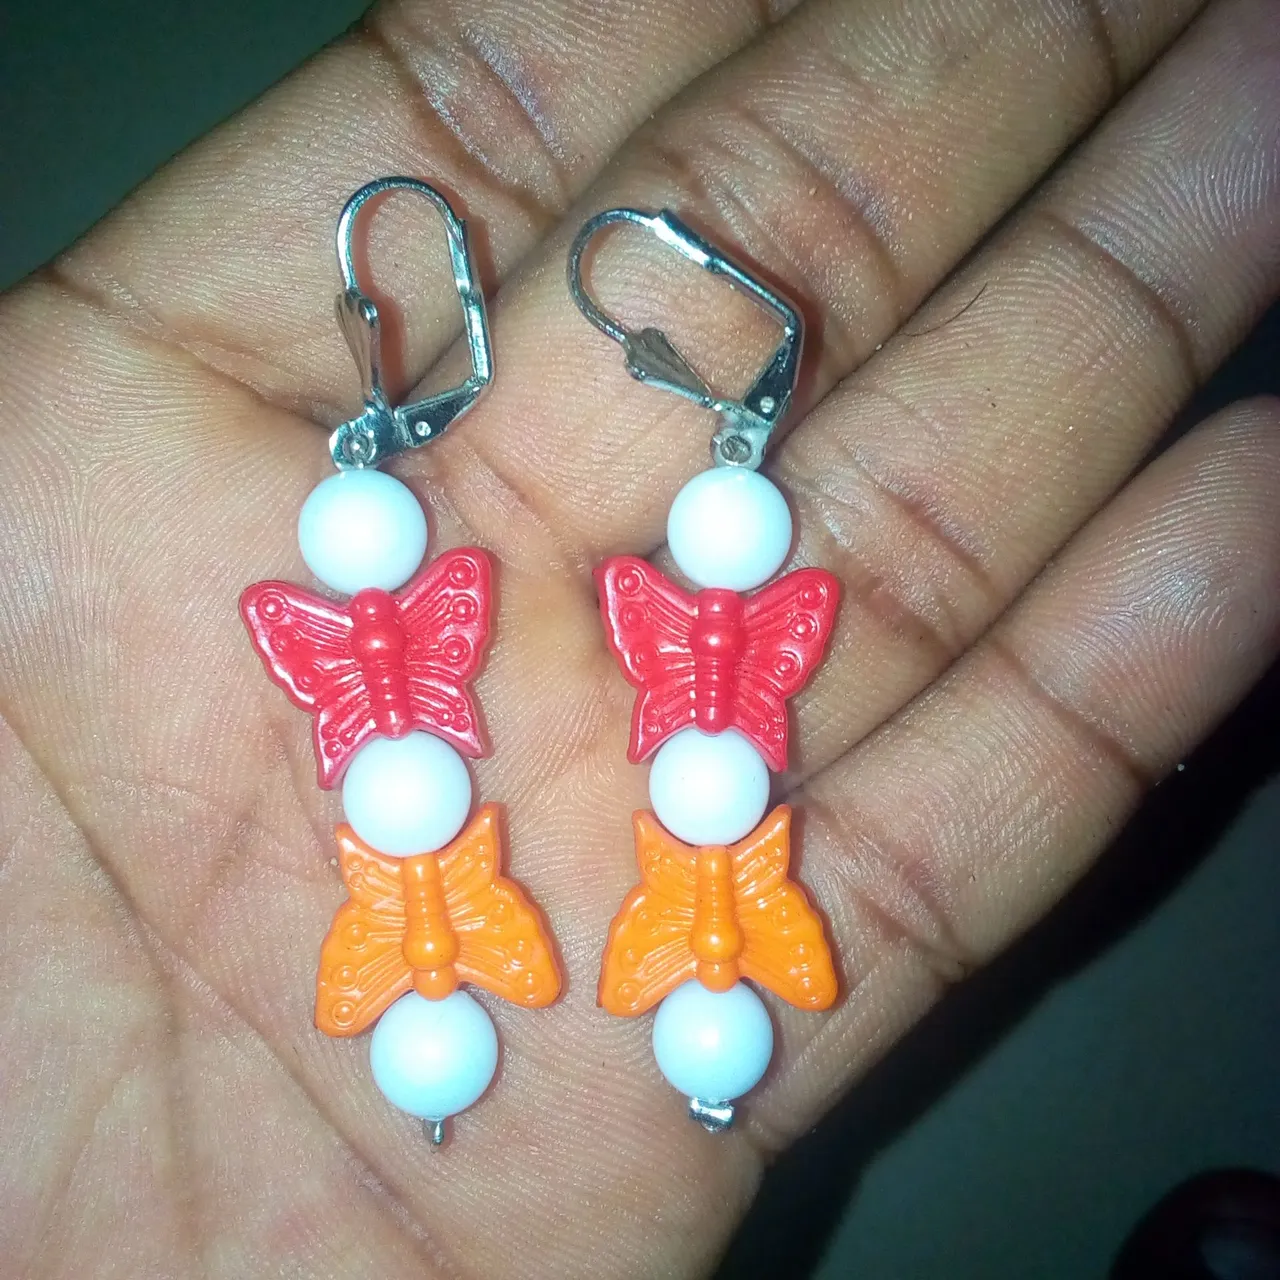
Since the earring is to be made for a birthday gift, I have to choose to combine red beads with others. This is because red is mostly used for celebration especially when it's full of love.
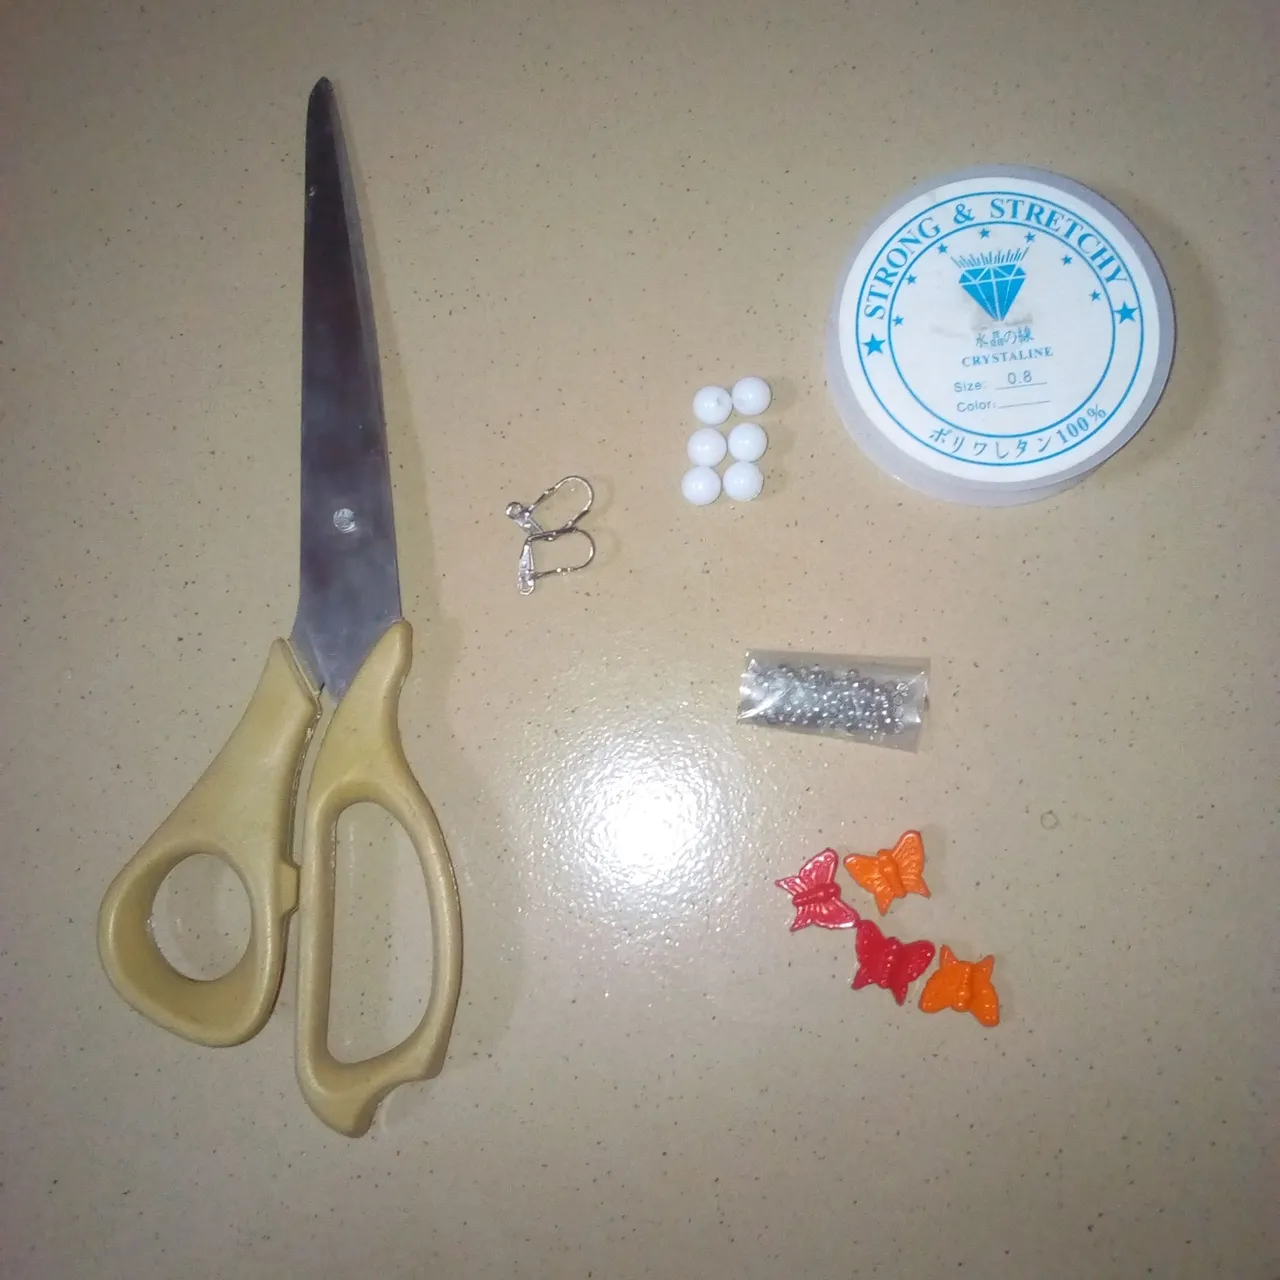
Materials that were used to make the earring a reality has to be highlighted below:
0.mm nylon line.
6pcs of white pearl bead.
4pcs of butterfly beads.
Bead stopper.

Scissors.
Procedures used for the making of the earring have to be explained below:
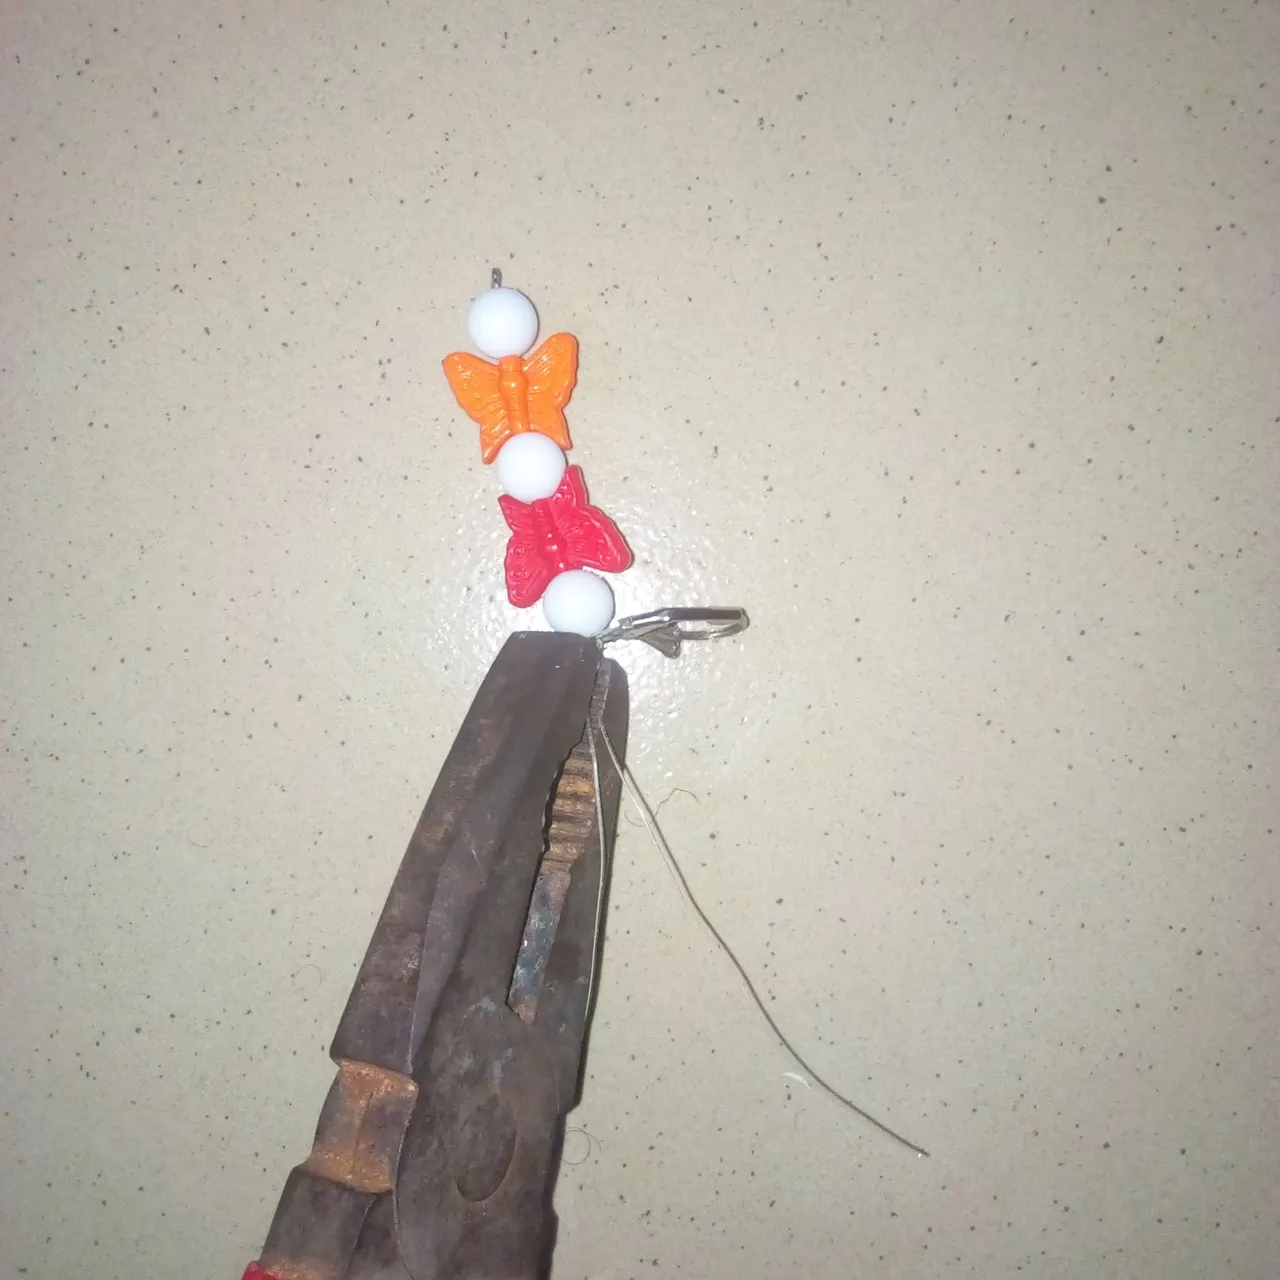
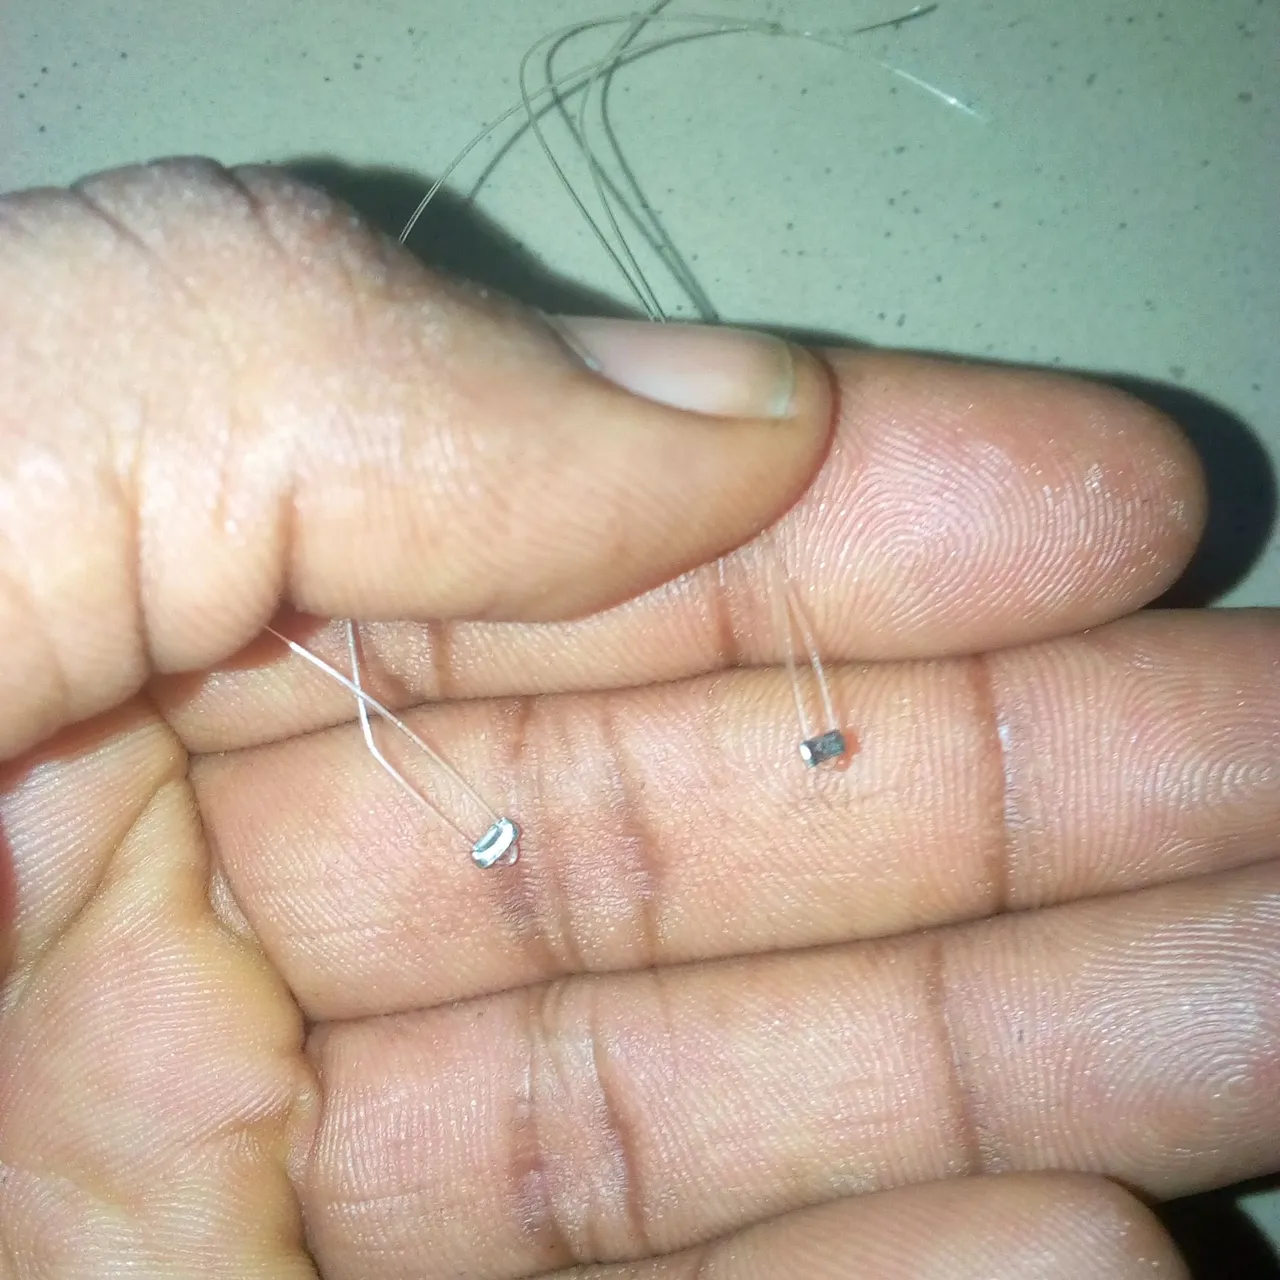
I used the scissors to cut the nylon line from its row, after the cutting, you have to fold the nylon line into two. From the two nylon lines folded, insert 1 piece of bead stopper and then use the plier to draw the bead stopper to the last edge joint of the nylon line, then use the plier to clip the bead stopper to hold the nylon line.
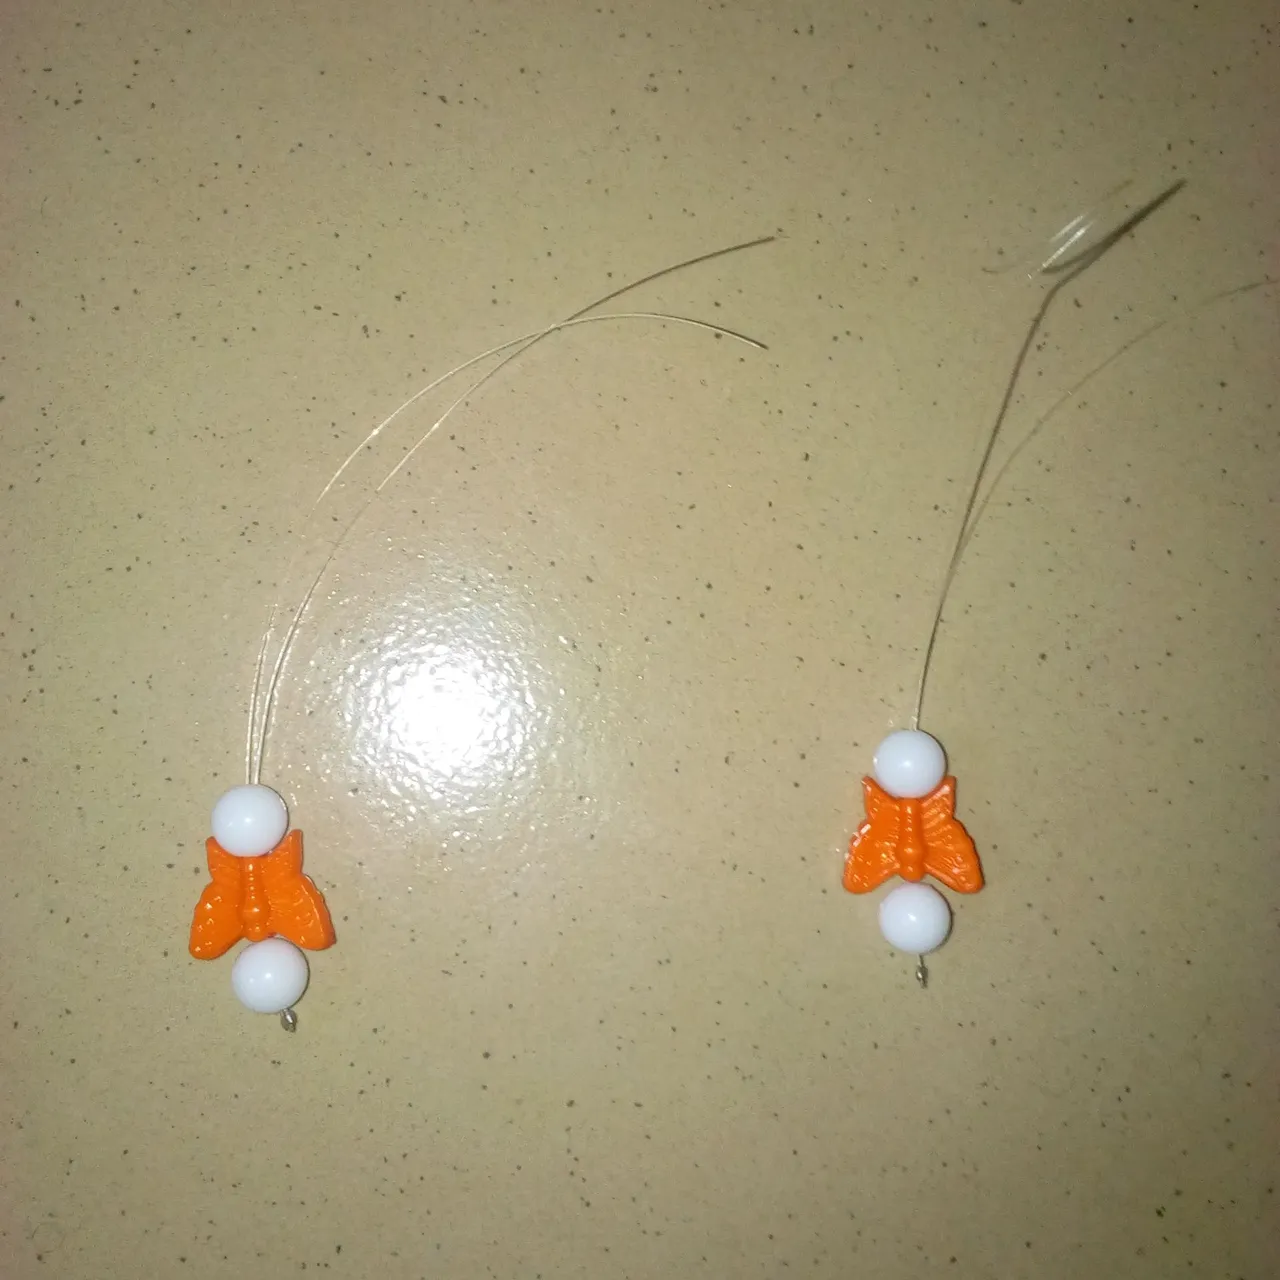
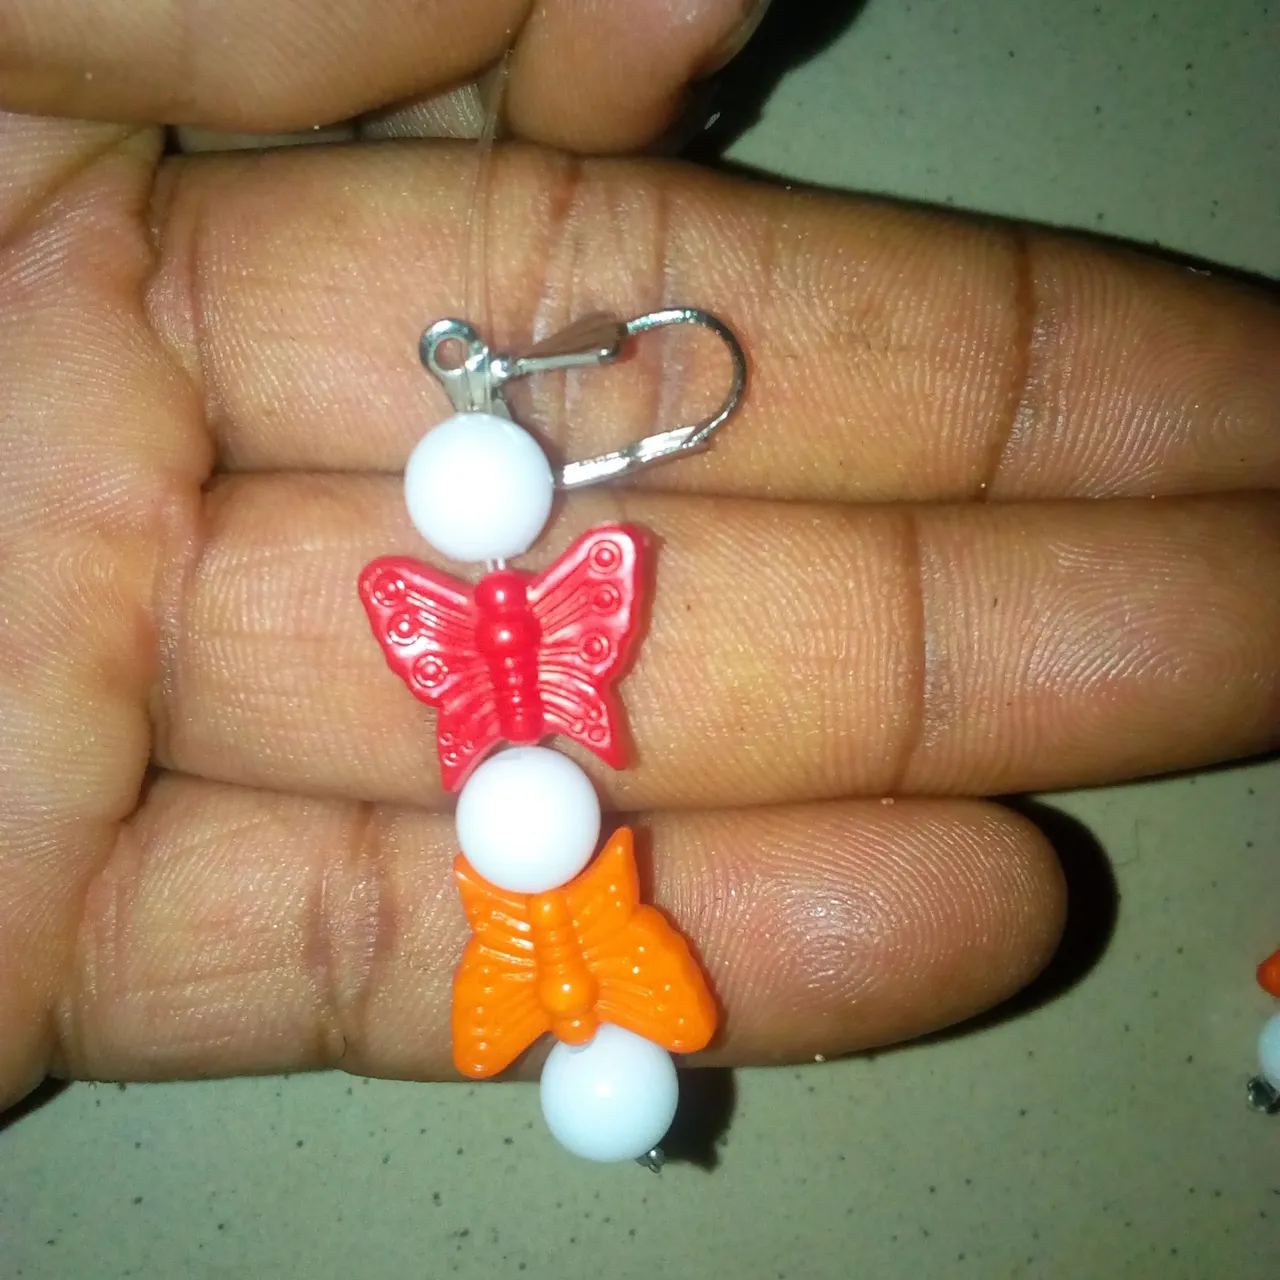
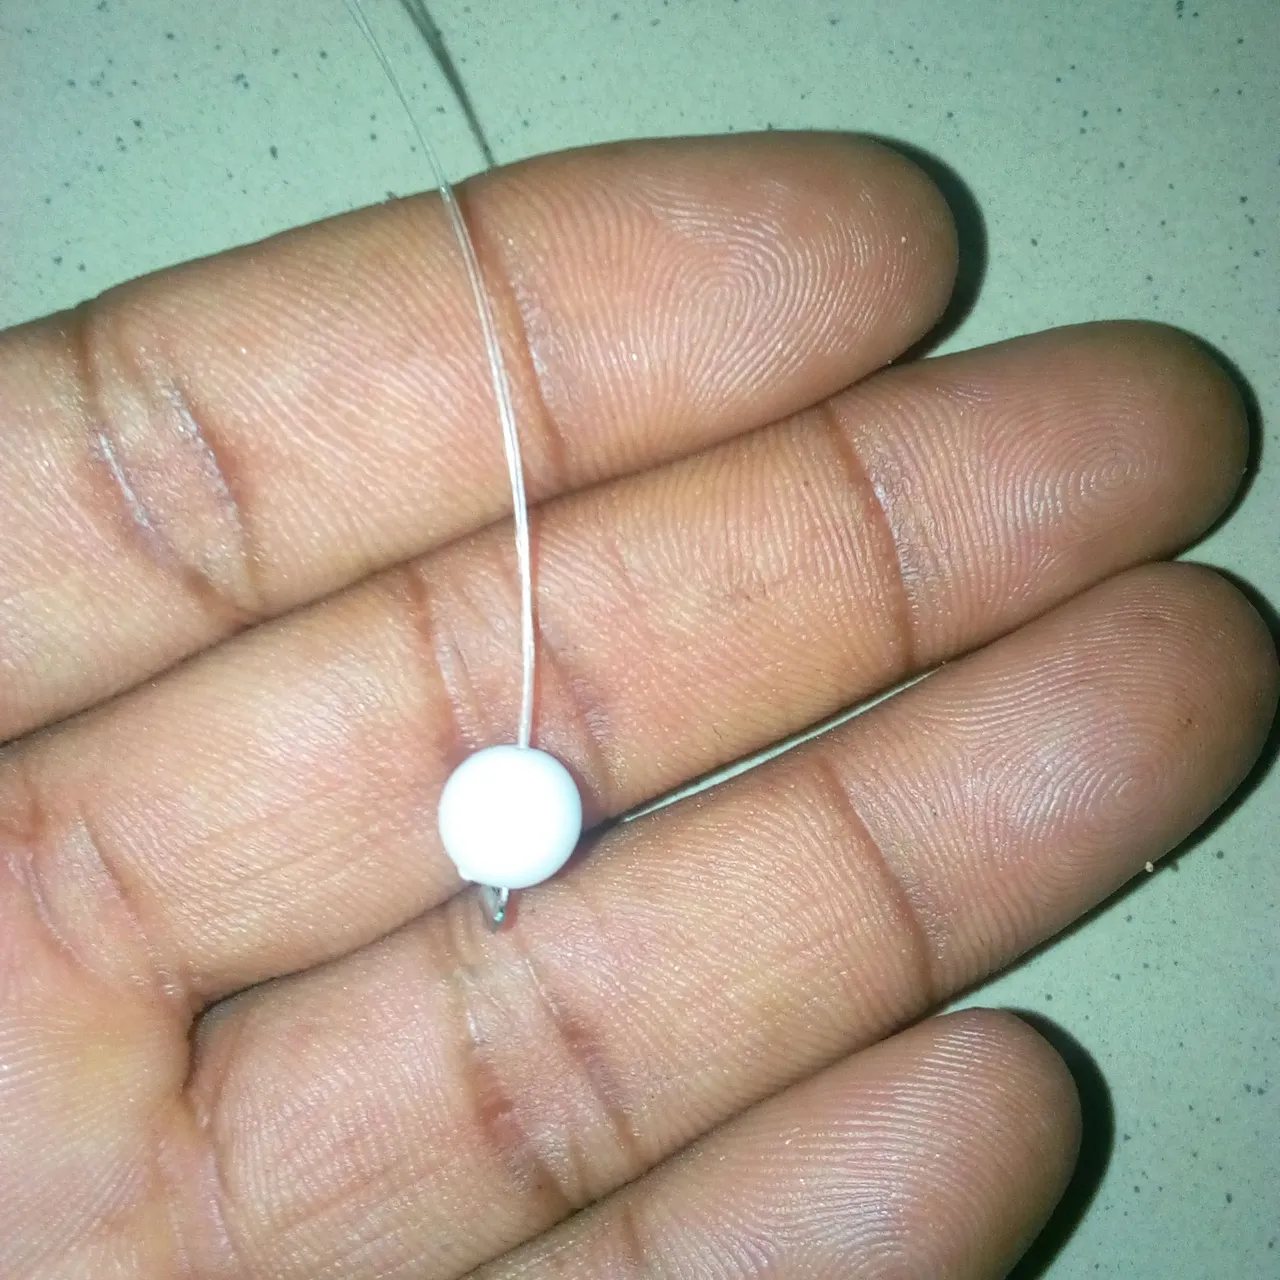
After that, you will have to insert 1 piece of white pearl bead into the nylon line, it will have to go down where it'll be touching the bead stopper. Insert 1 piece of brown butterfly bead into the nylon line, but you will have to turn the brown butterfly bead upside down.
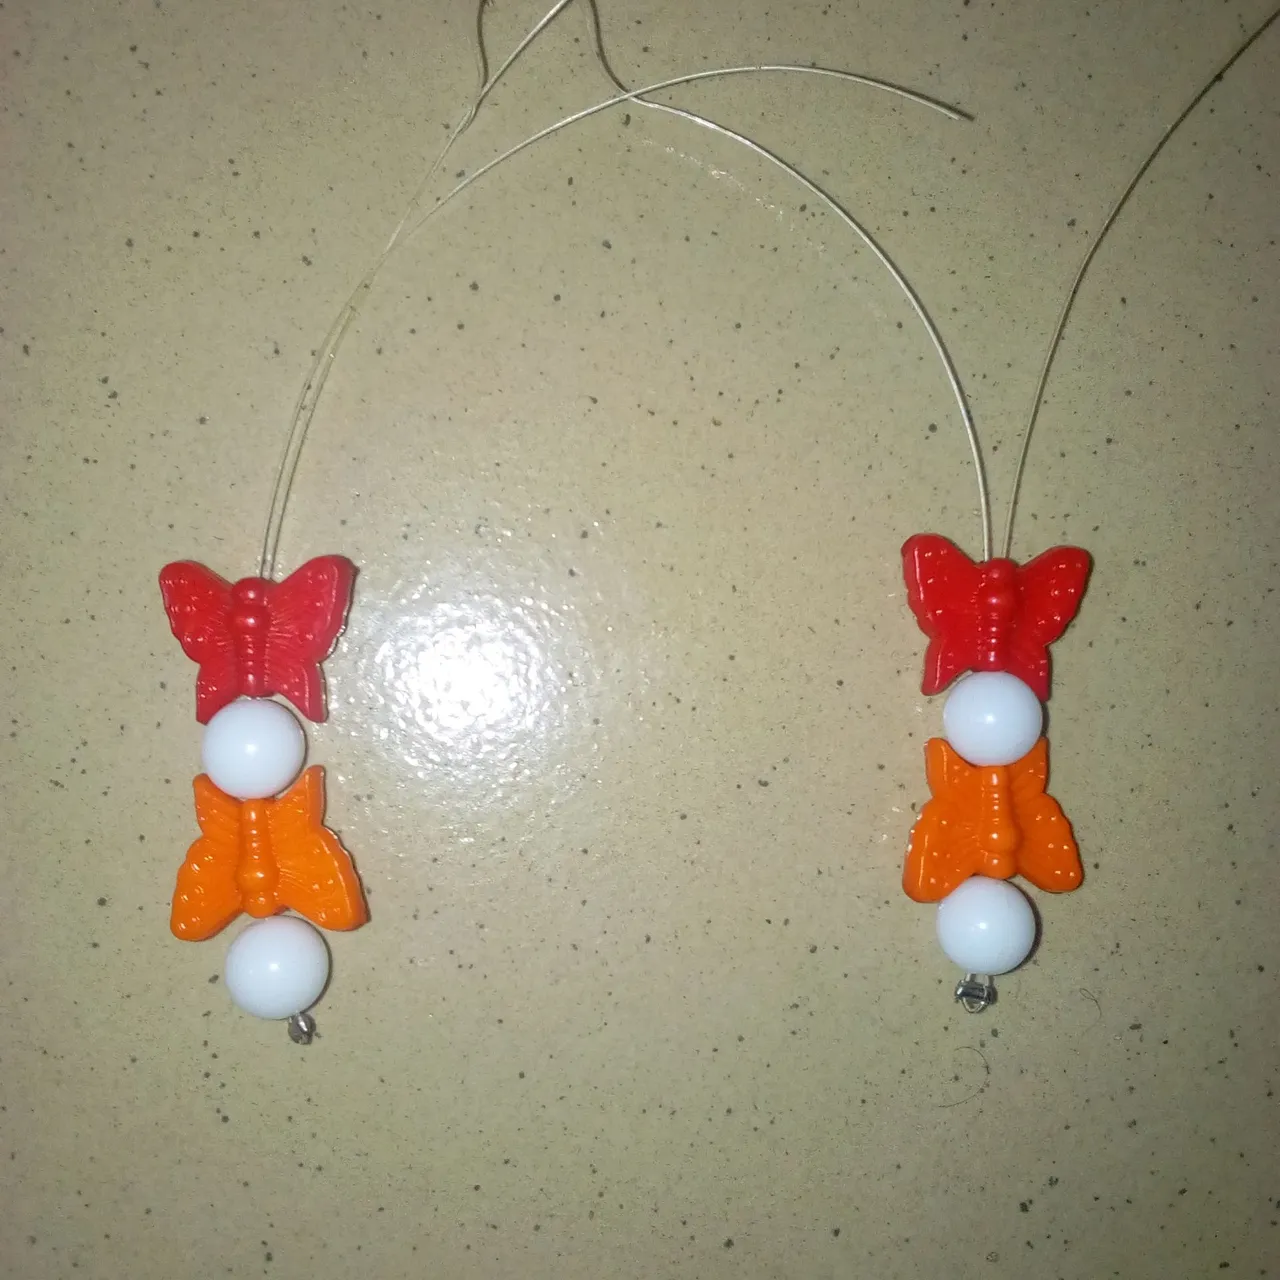
Insert 1 piece of white pearl bead into the nylon line. Insert 1 piece of red butterfly bead into the nylon line, but the top has to be facing up. Insert 1 piece of white pearl bead.
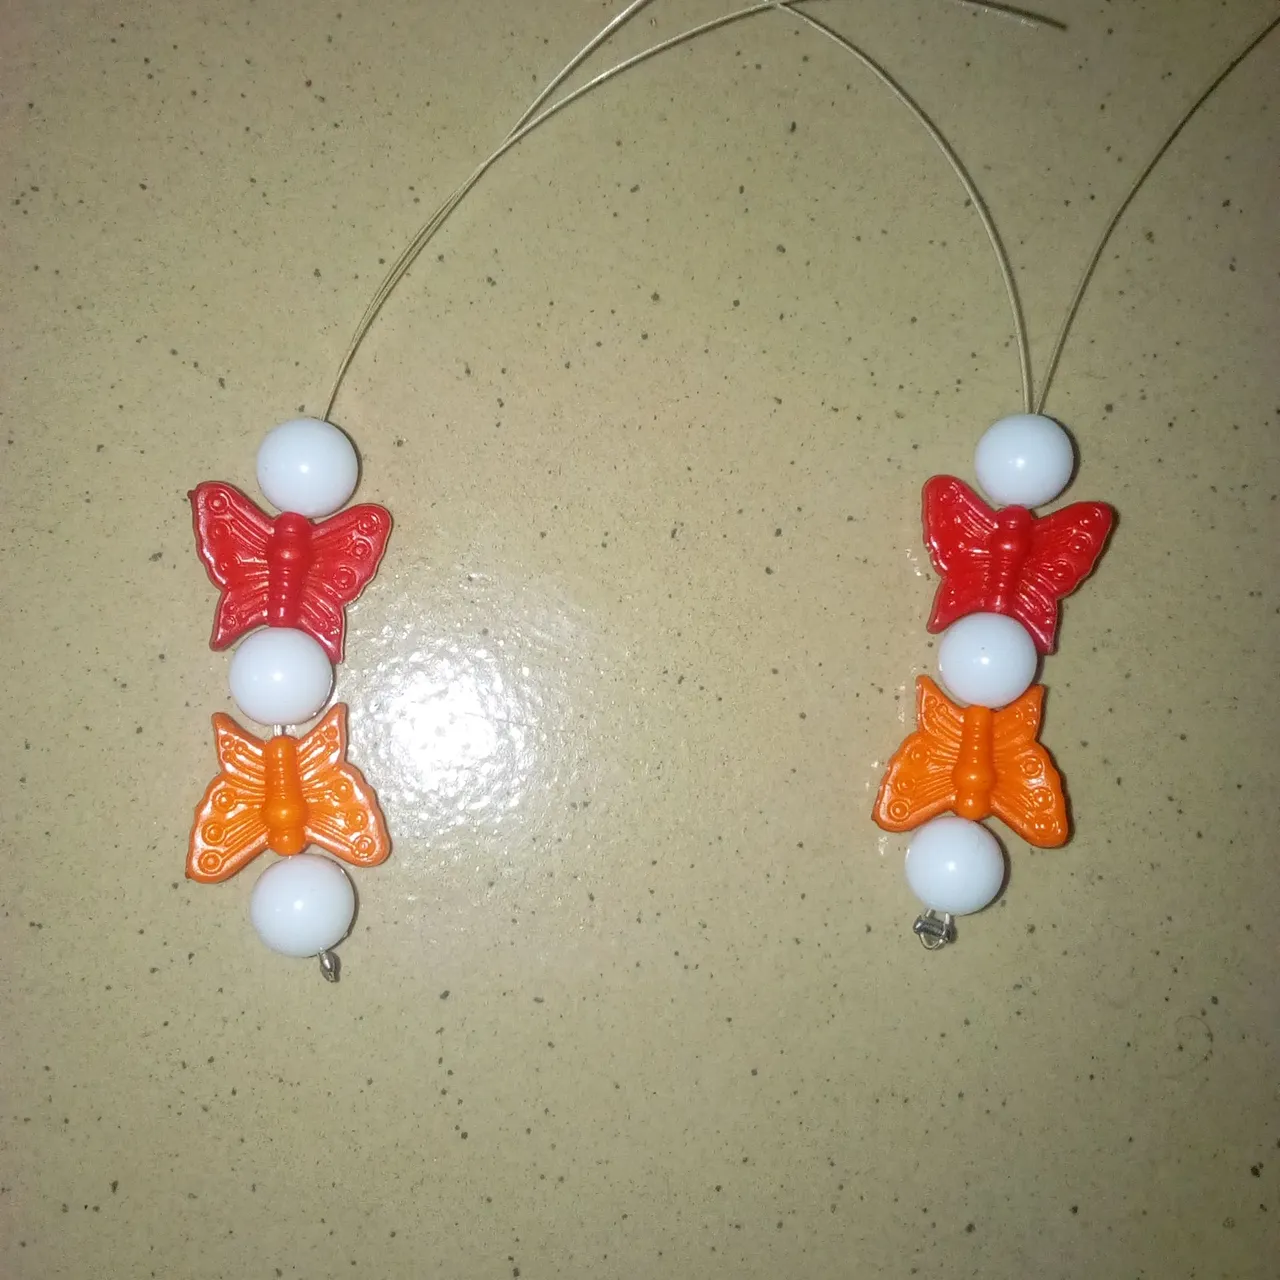
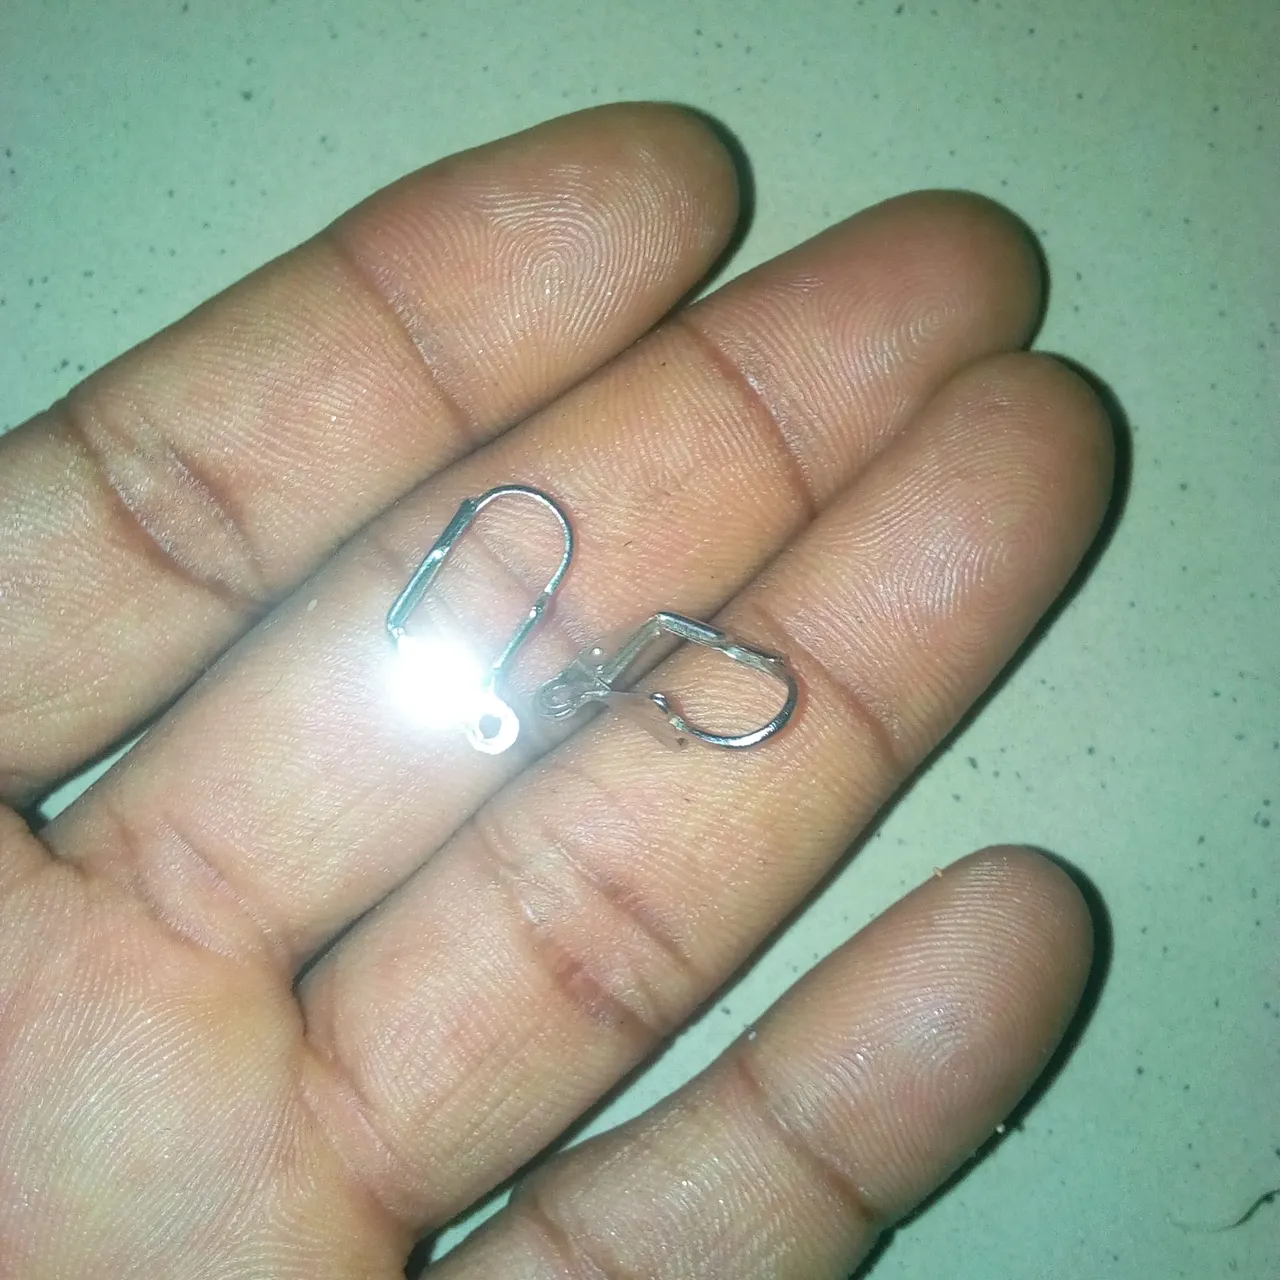
After the insertion of the beads, insert 1 piece of earring hook into one of the two folded nylon lines covered by white pearl beads, and then use the second one to tie the earring hook to hold. After that, use the bead stopper to hold it. After the making of the earring is completed, use matches to trim the mouth of the nylon lines.