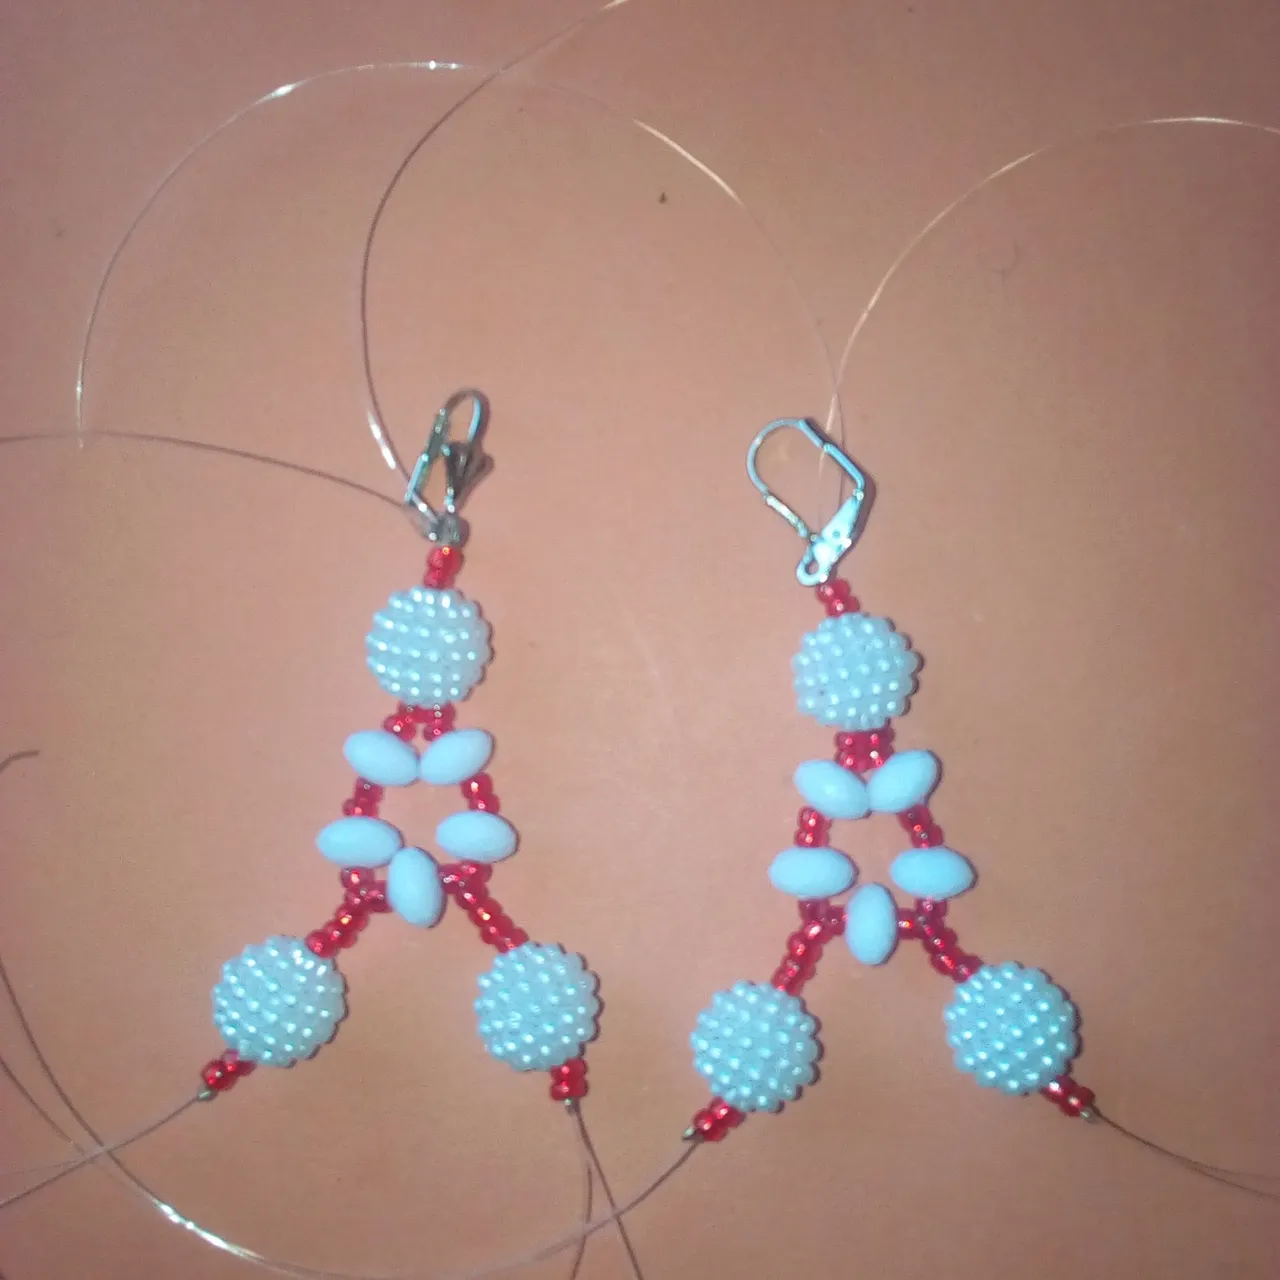
Hello Jewelry lovers, I’m very much excited to be with you again after a long period without keeping you updated about my skill in bead making. I hope you are okay with family, friends, and business as well. Today, I’ll be sharing with you how you can make a simple earring for yourself or your loved ones in terms of pressure using beads.
I’ll like you to understand that earring-making using beads requires enough passion, creativity, time, and energy just like how I was able to come up with the idea of how you can make simple beads for yourself.
Do you know that when I and my wife went for a traditional marriage event today near my house, there was an emergency on who to make earrings using beads for the celebrant? Luckily for me and my wife, I was given the opportunity to make the earring as it was urgently needed. How it happened was that according to tradition, a bride will have to be ushered in for a dance twice. When the bride finished dancing for the first time and was about to be out from the public, her earring got cut. The reason why the earring was cut was the result of using rust metal in constructing the earring, the pressure from the bride's dance made the earring cut.
Immediately the earring cut from the bride's ear as she was about to leave the public to get prepared for the second dance. A good number of people pointed at me that I should try and help by making a simple earring that the bride could use to match her necklace. Here, I was confused and at the same time, I felt whether to charge the bride a higher price but I felt bad if I take such a decision. I quickly went to my house and made a simple earring which I later gave to the bride for free without collecting any money for it.
It’ll be good if I leave you with the materials, tools, and processes that I used in making the earring.
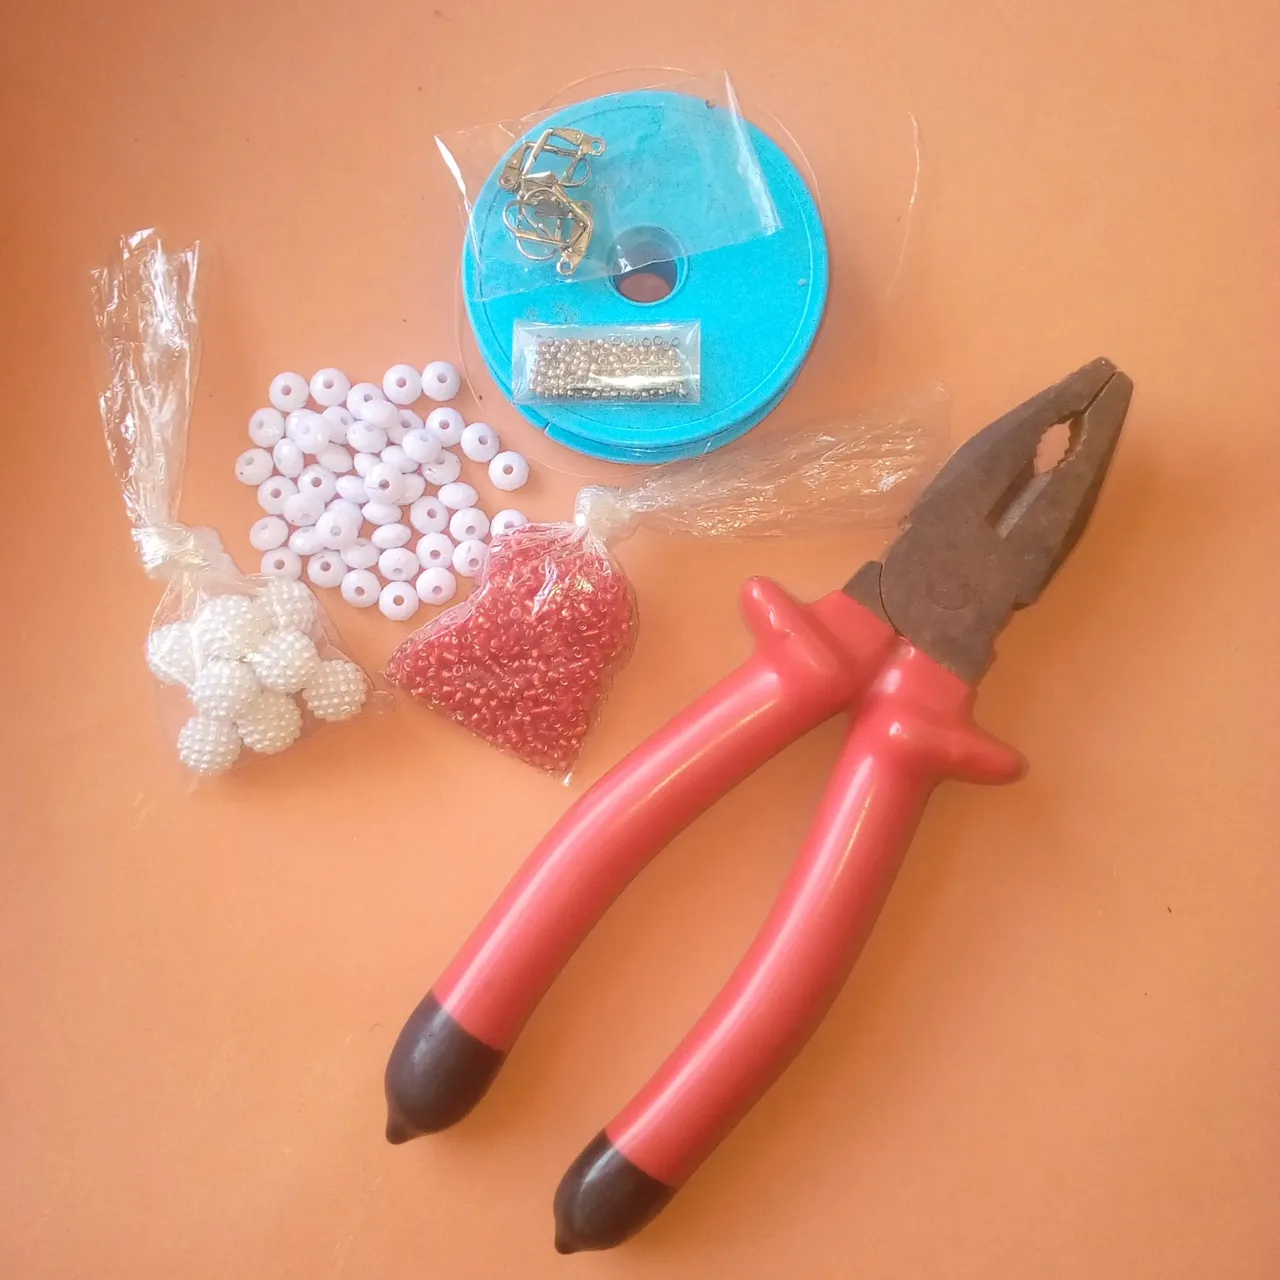
Materials that I used to make the earring are as follows below:
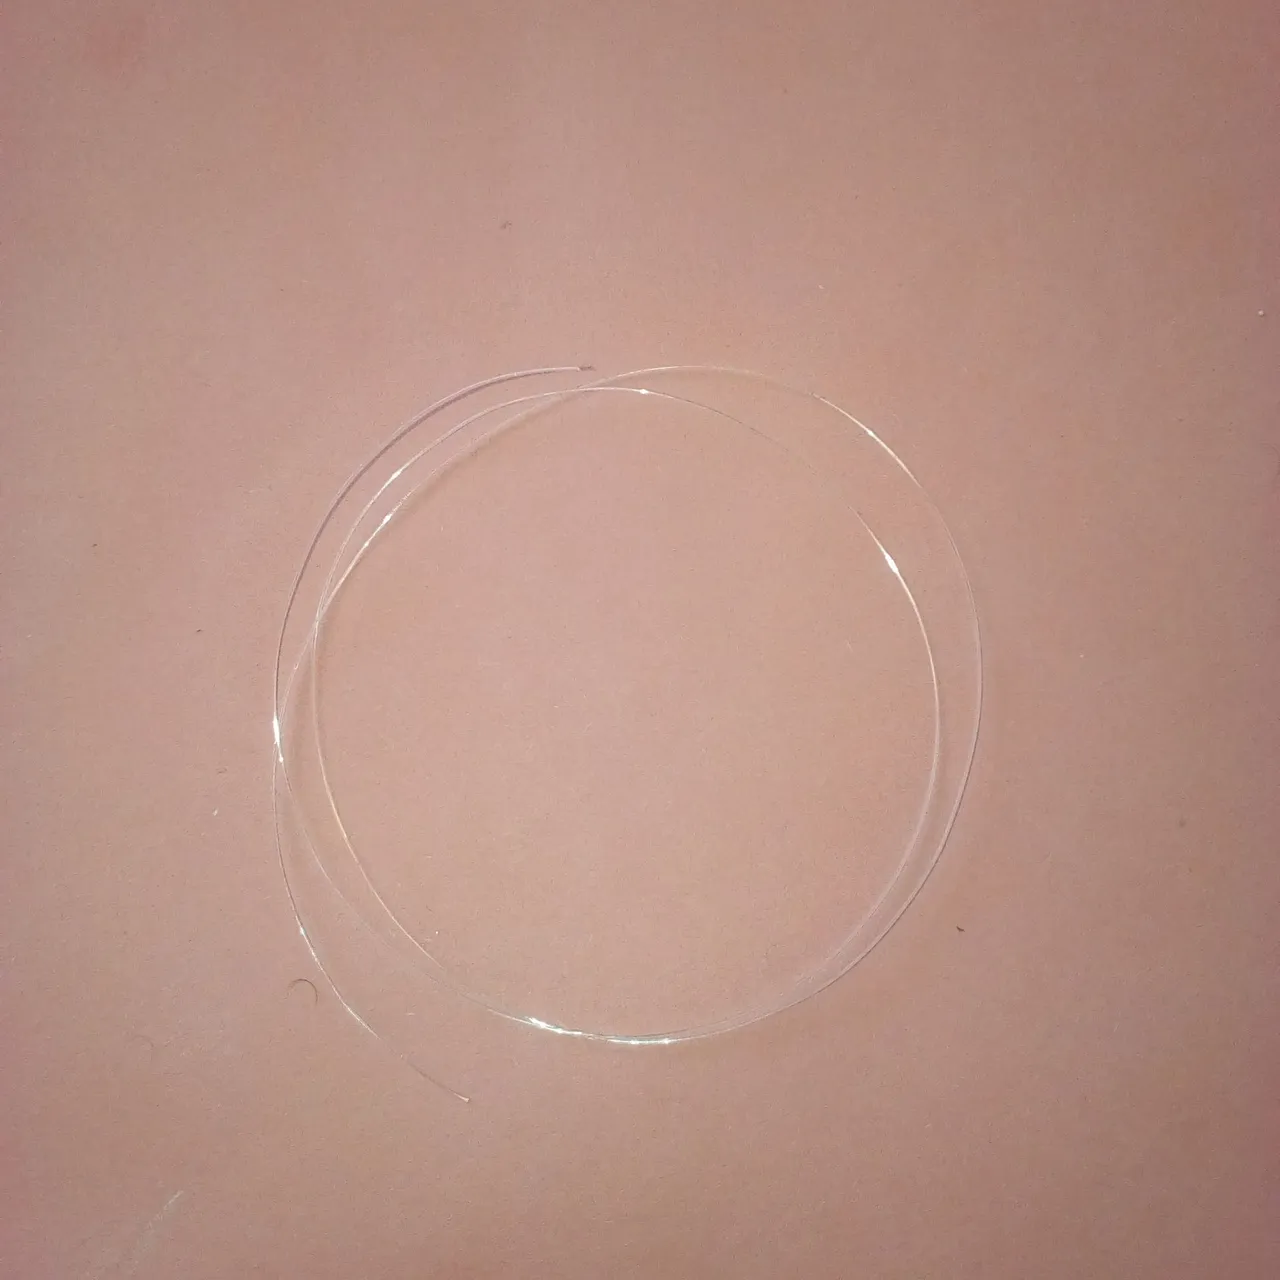
1.5mm fishing line.
Earring hook.
Beads stopper.
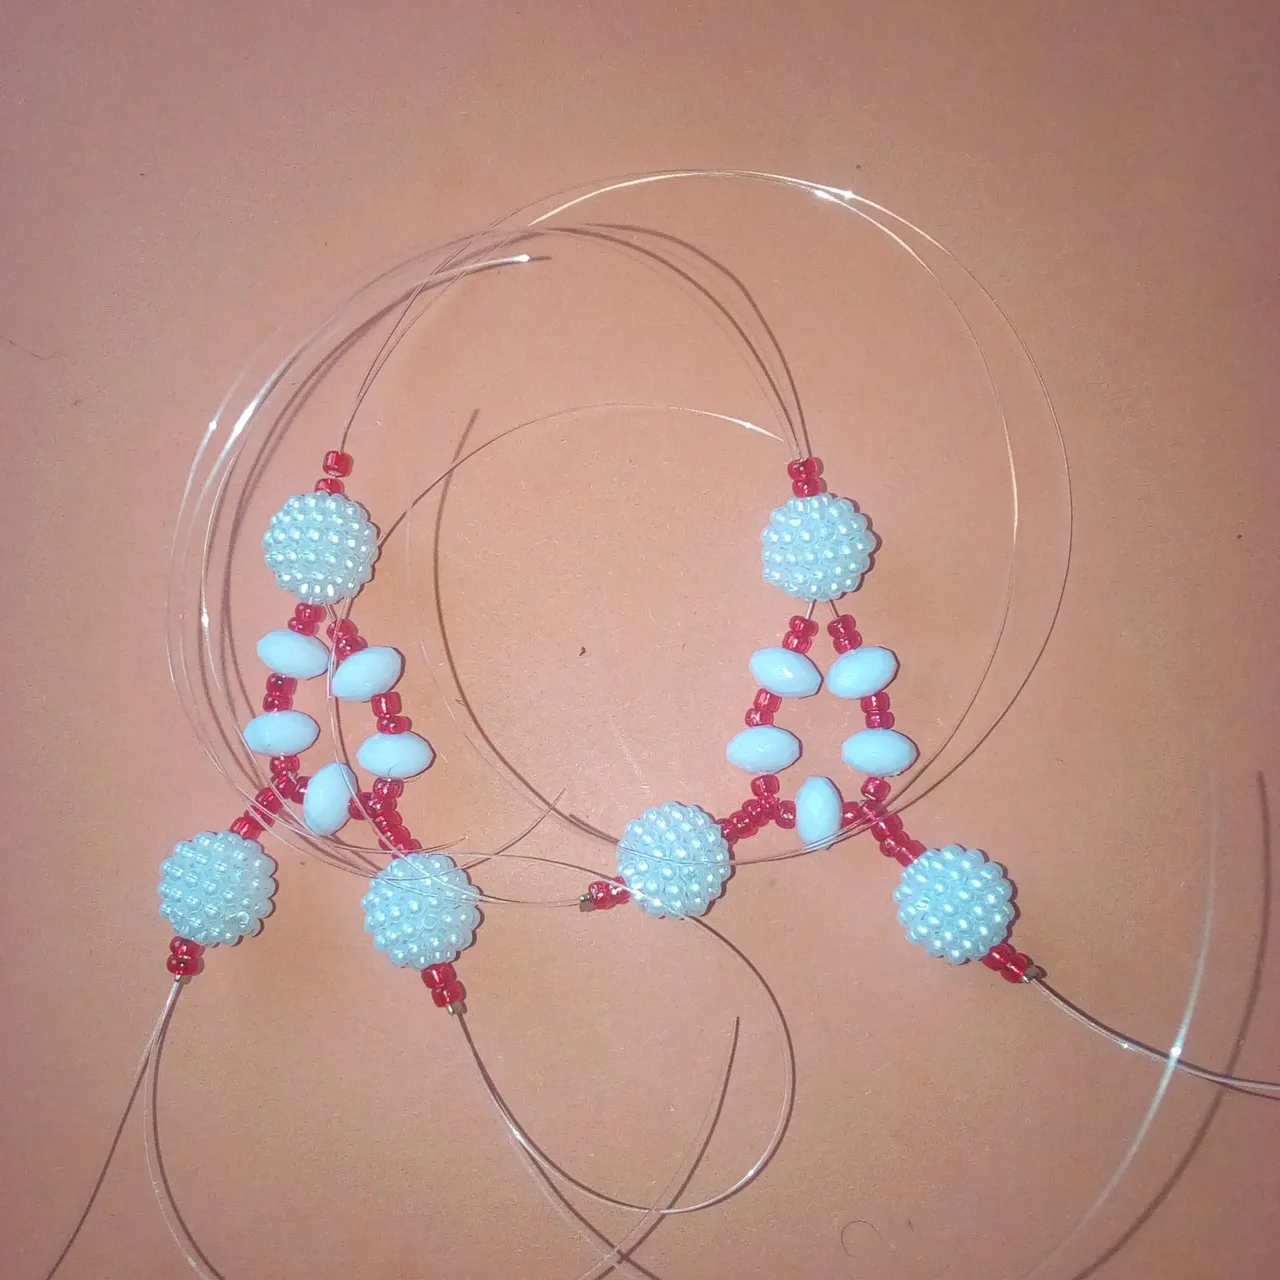
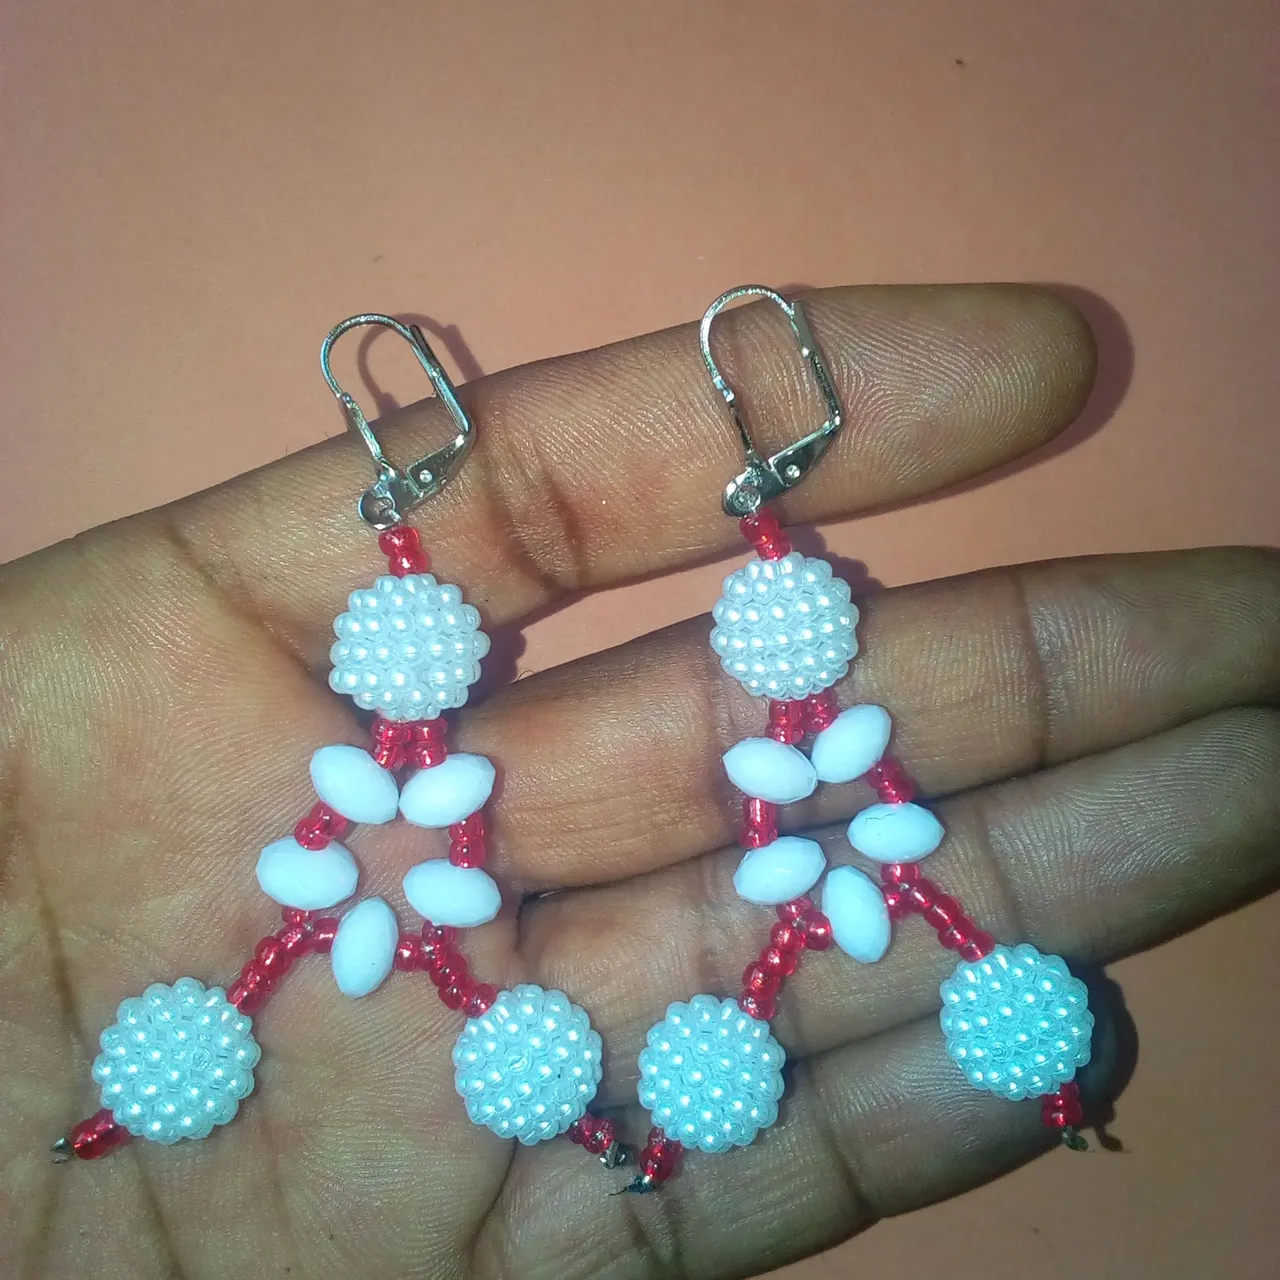
A total of 6 pieces of white pearl were used while 3 pieces were for each ear.
A total of 10 pieces of white diamond shape bead were used while 5 was for each ear.
A total of 52 pieces of red sand bead were used while 26 pieces were used for each ear.
A tool that was also applicable in making the earring is as follows:
Plier for the pressing of bead stopper.
Cutter.
Matches.
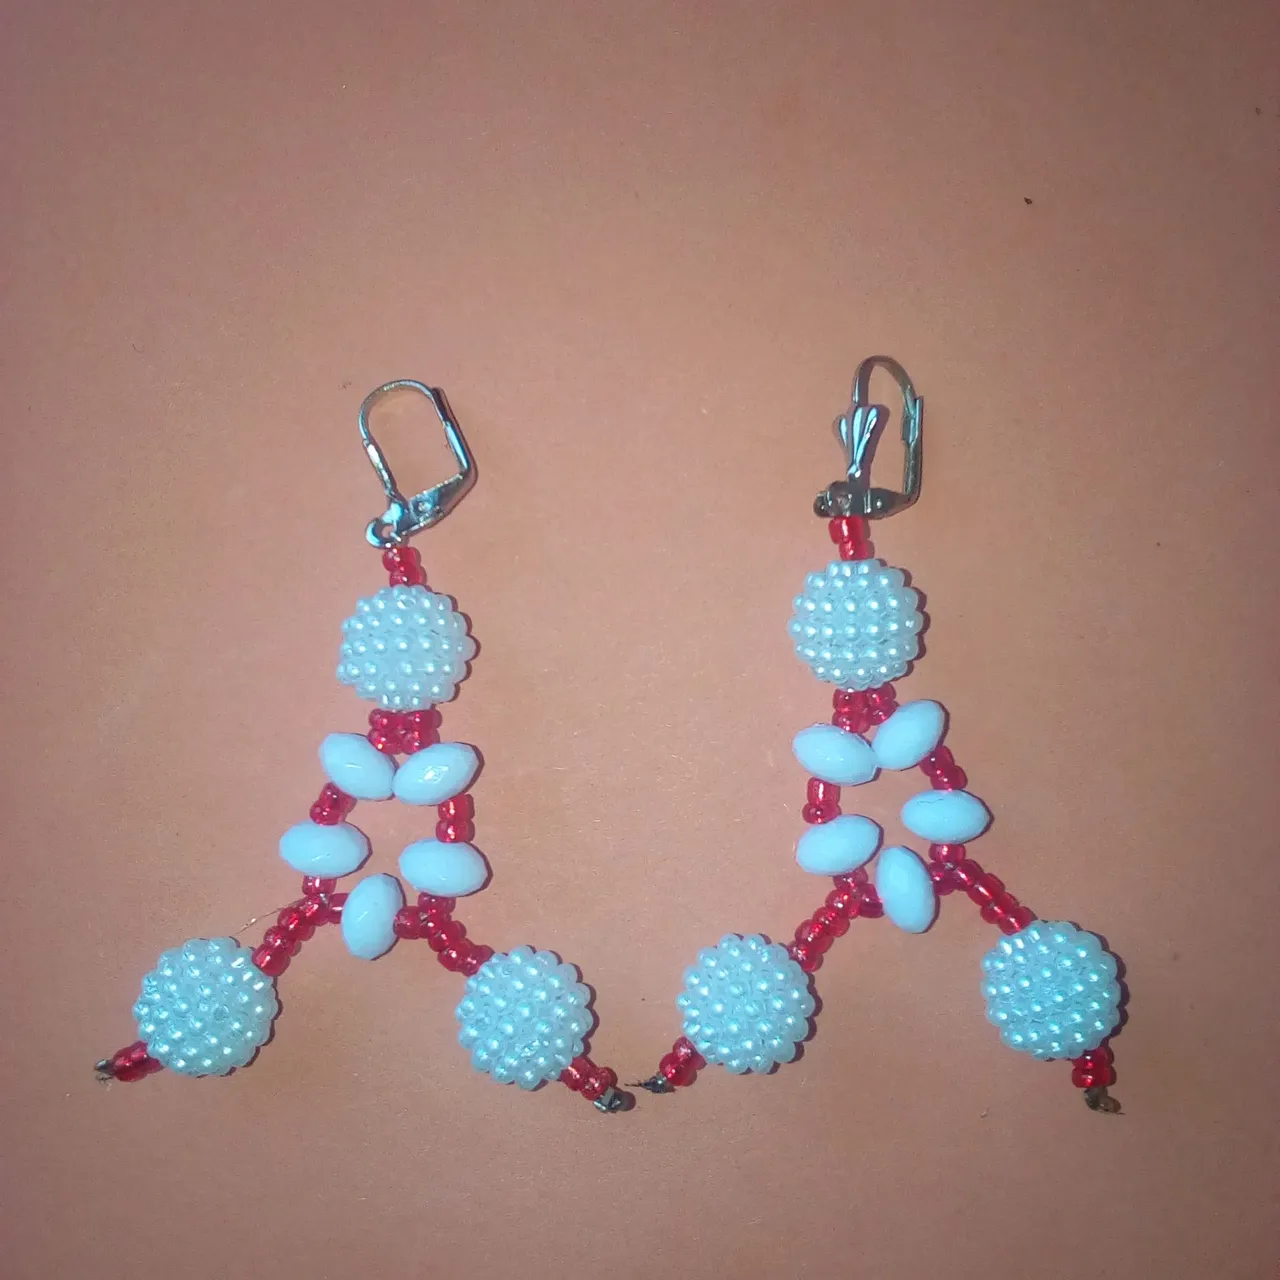
We’re now going to be looking into the process used in making the earring:
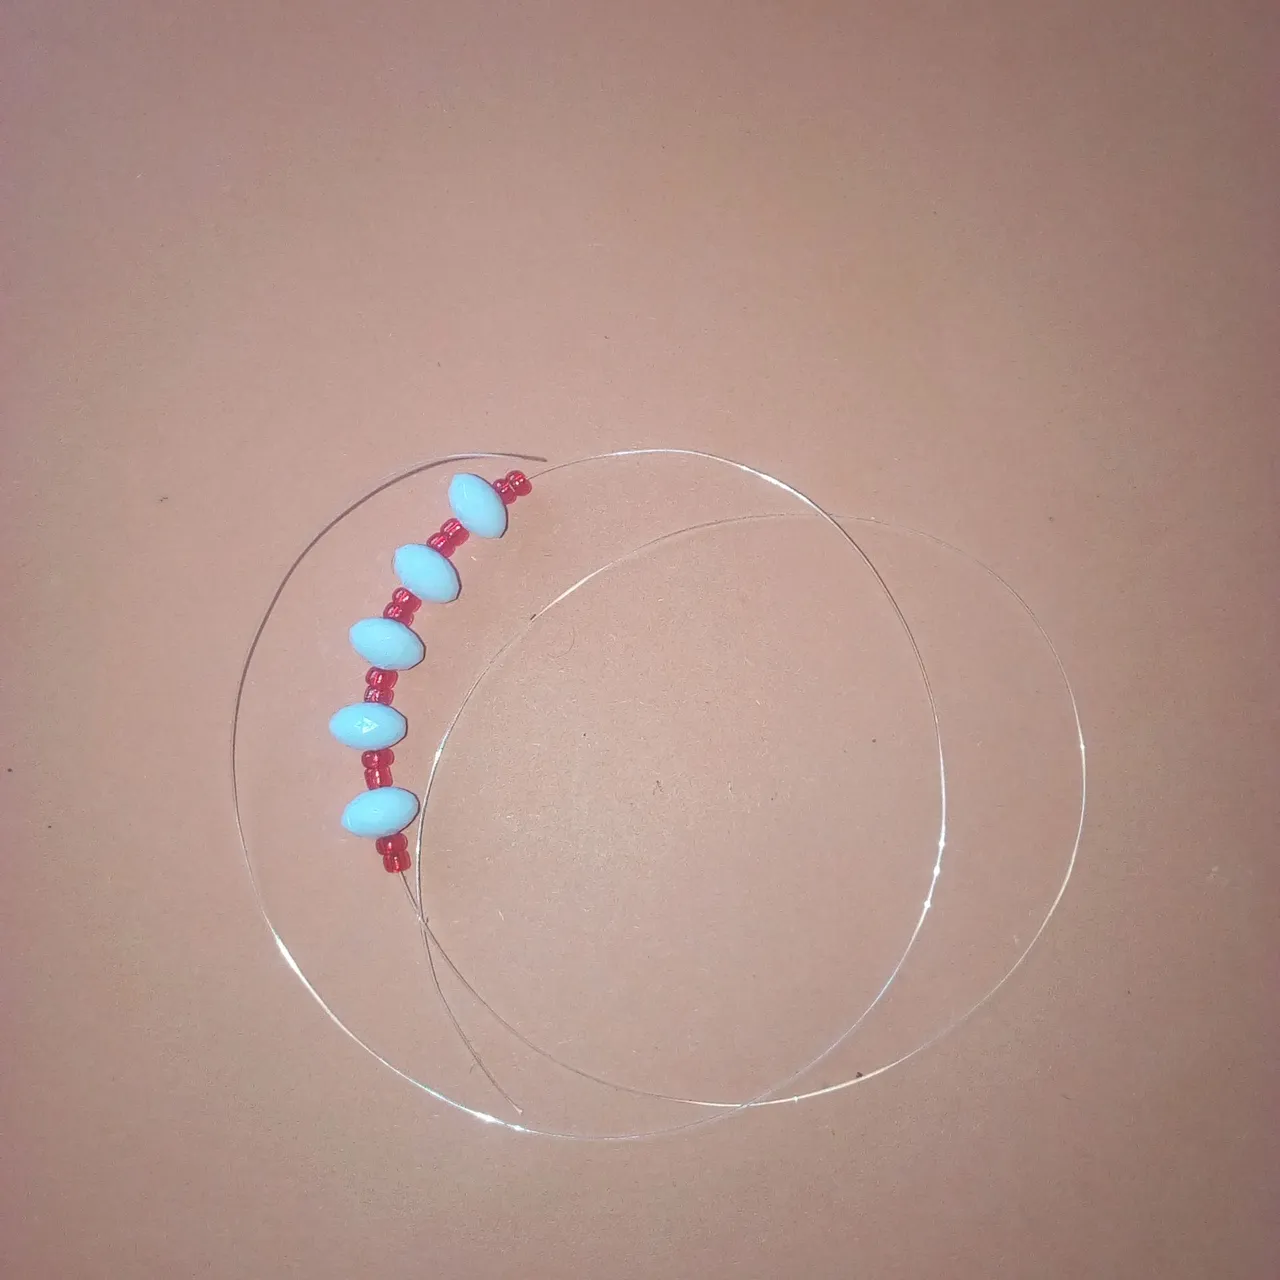
Cut some fishing line out from the row.
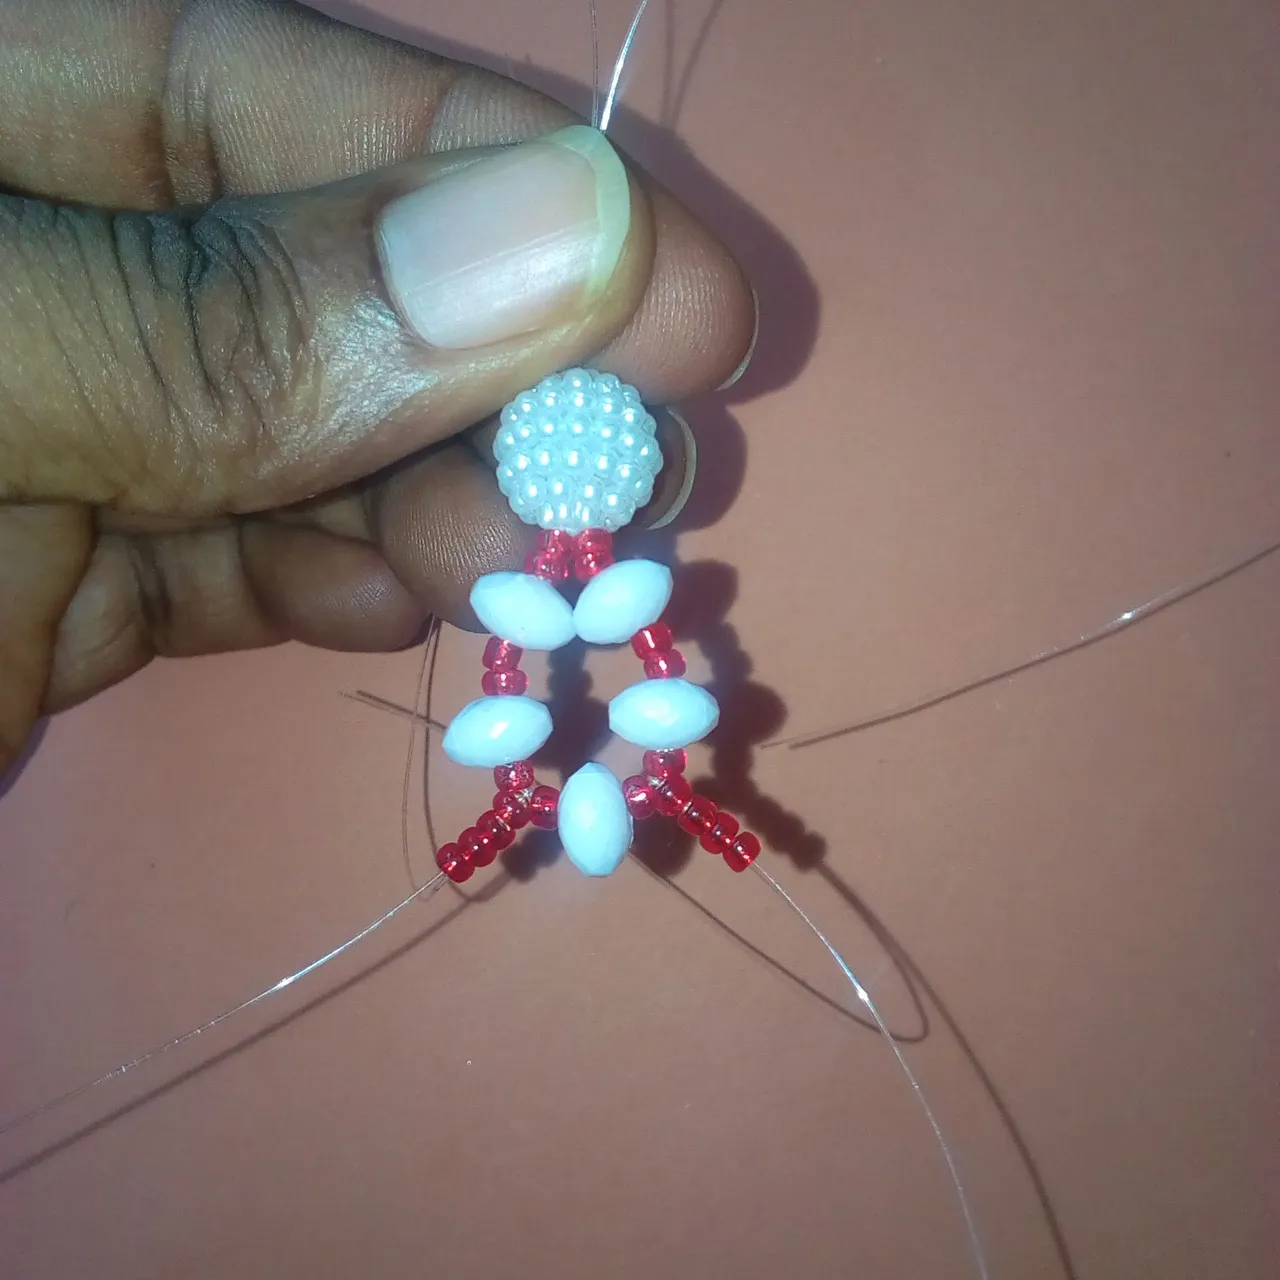
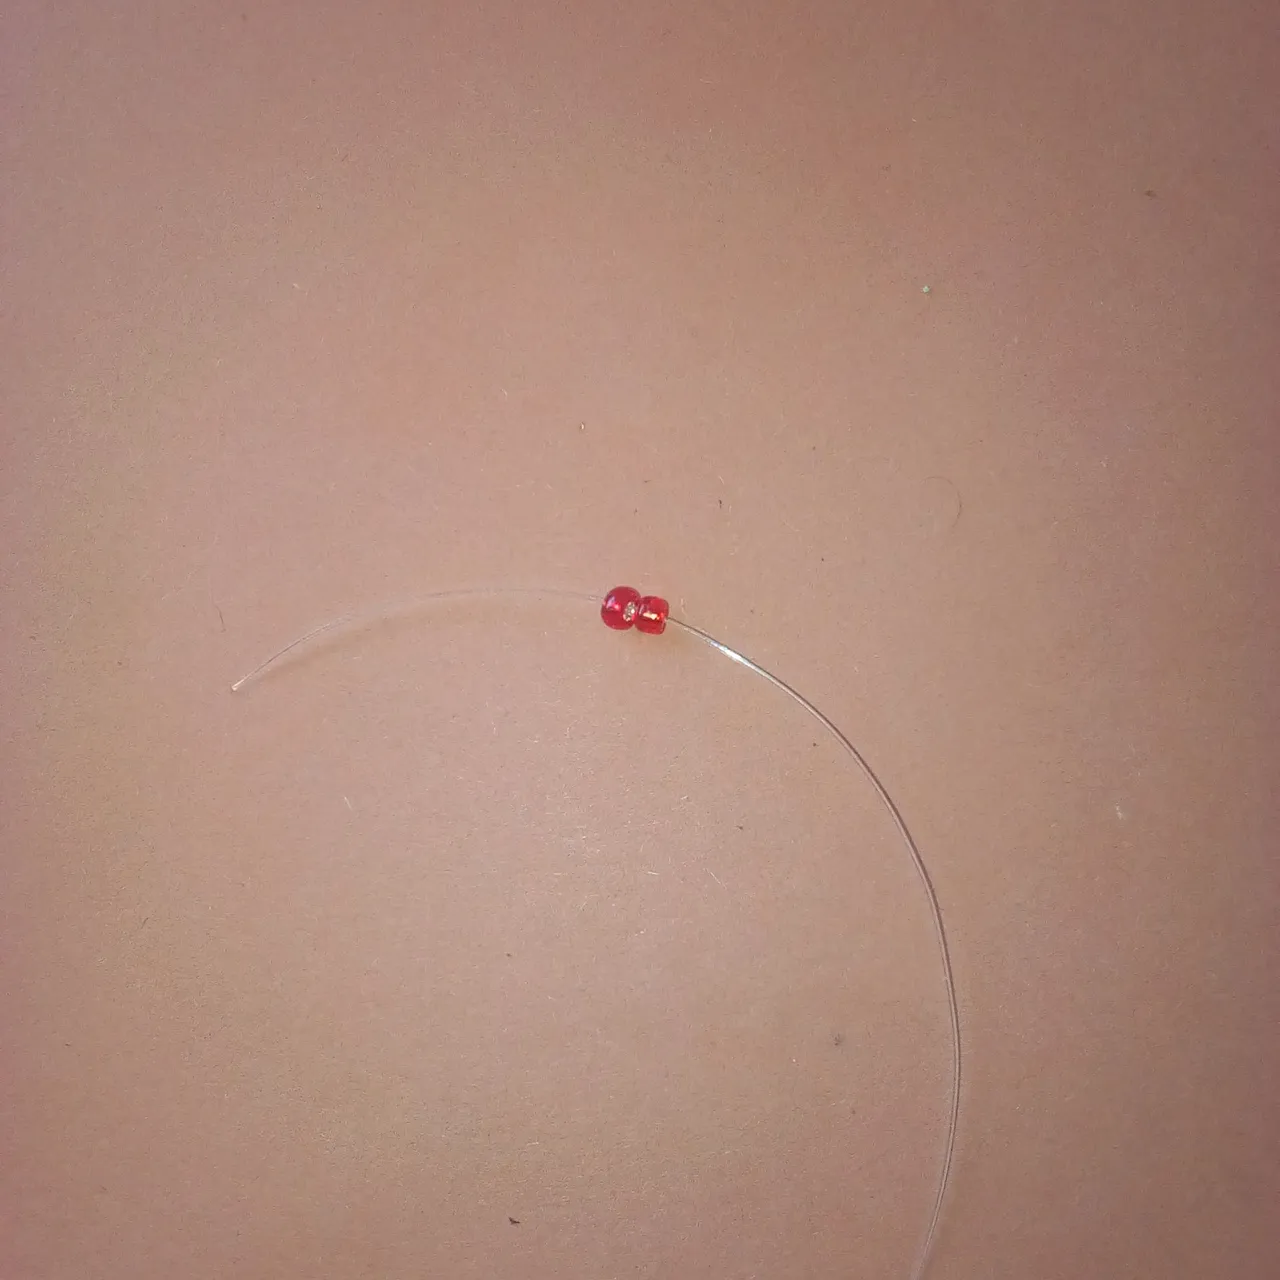
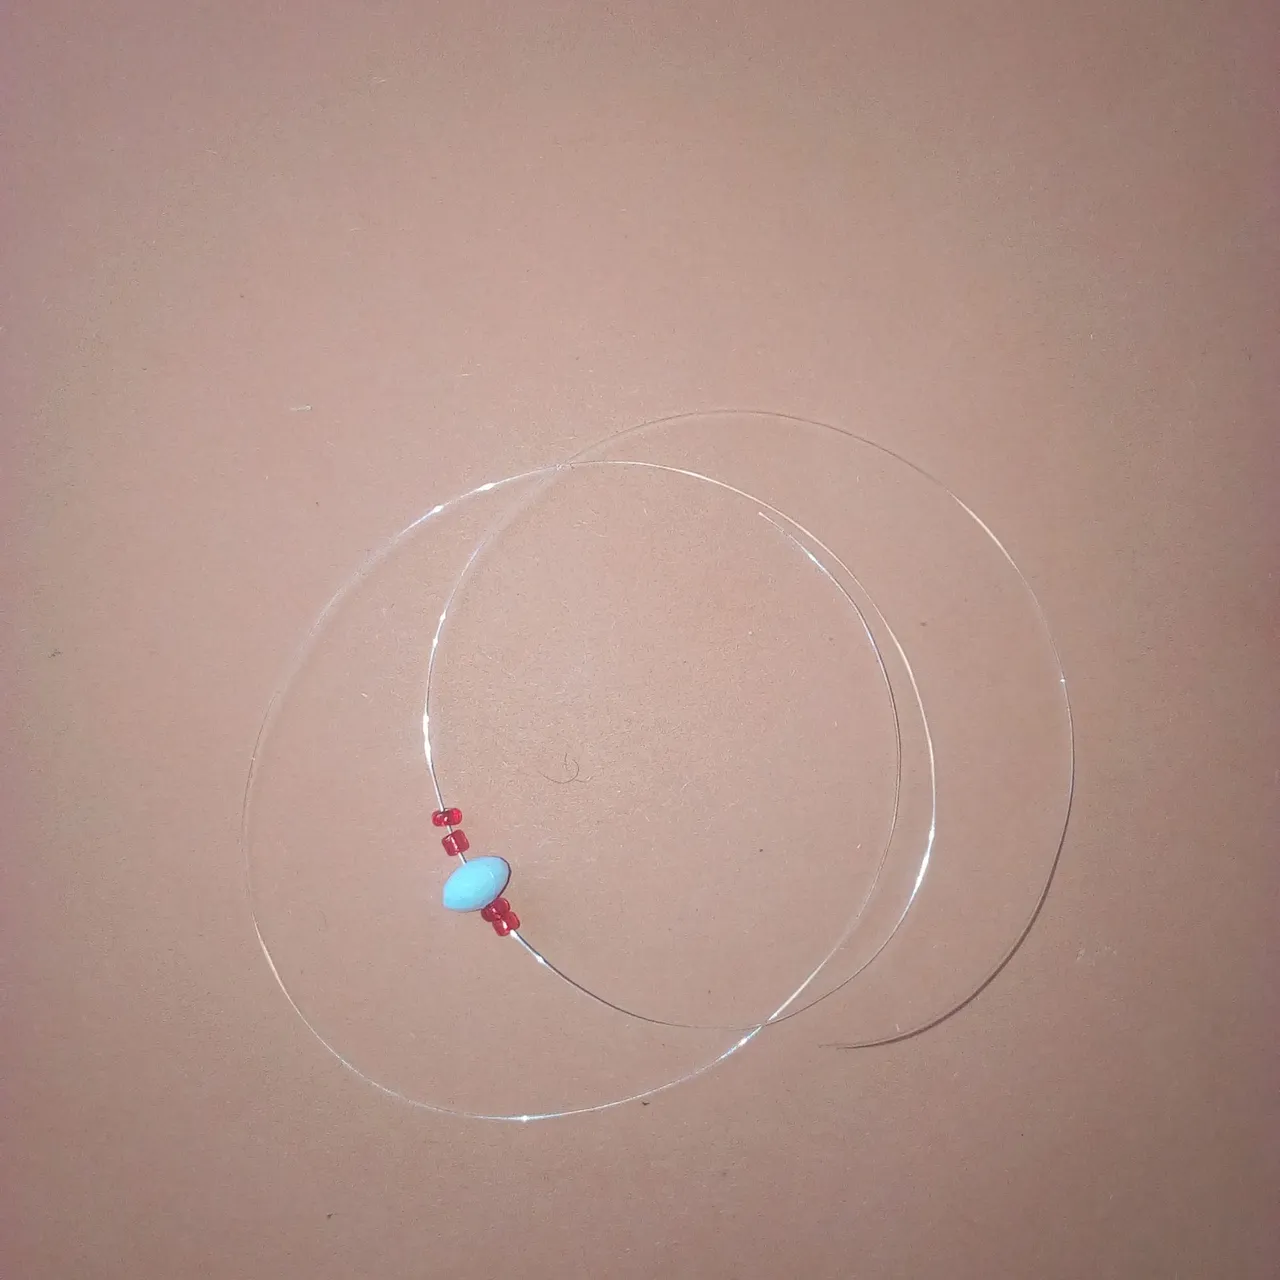
Insert 2 pieces of red sand bead, 1 white diamond shape bead, 2 red sand beads, and 1 white diamond shape bead. You’ll follow this procedure till you finish inserting about a total of 5 diamond shape beads and 12 pieces of red sand beads.
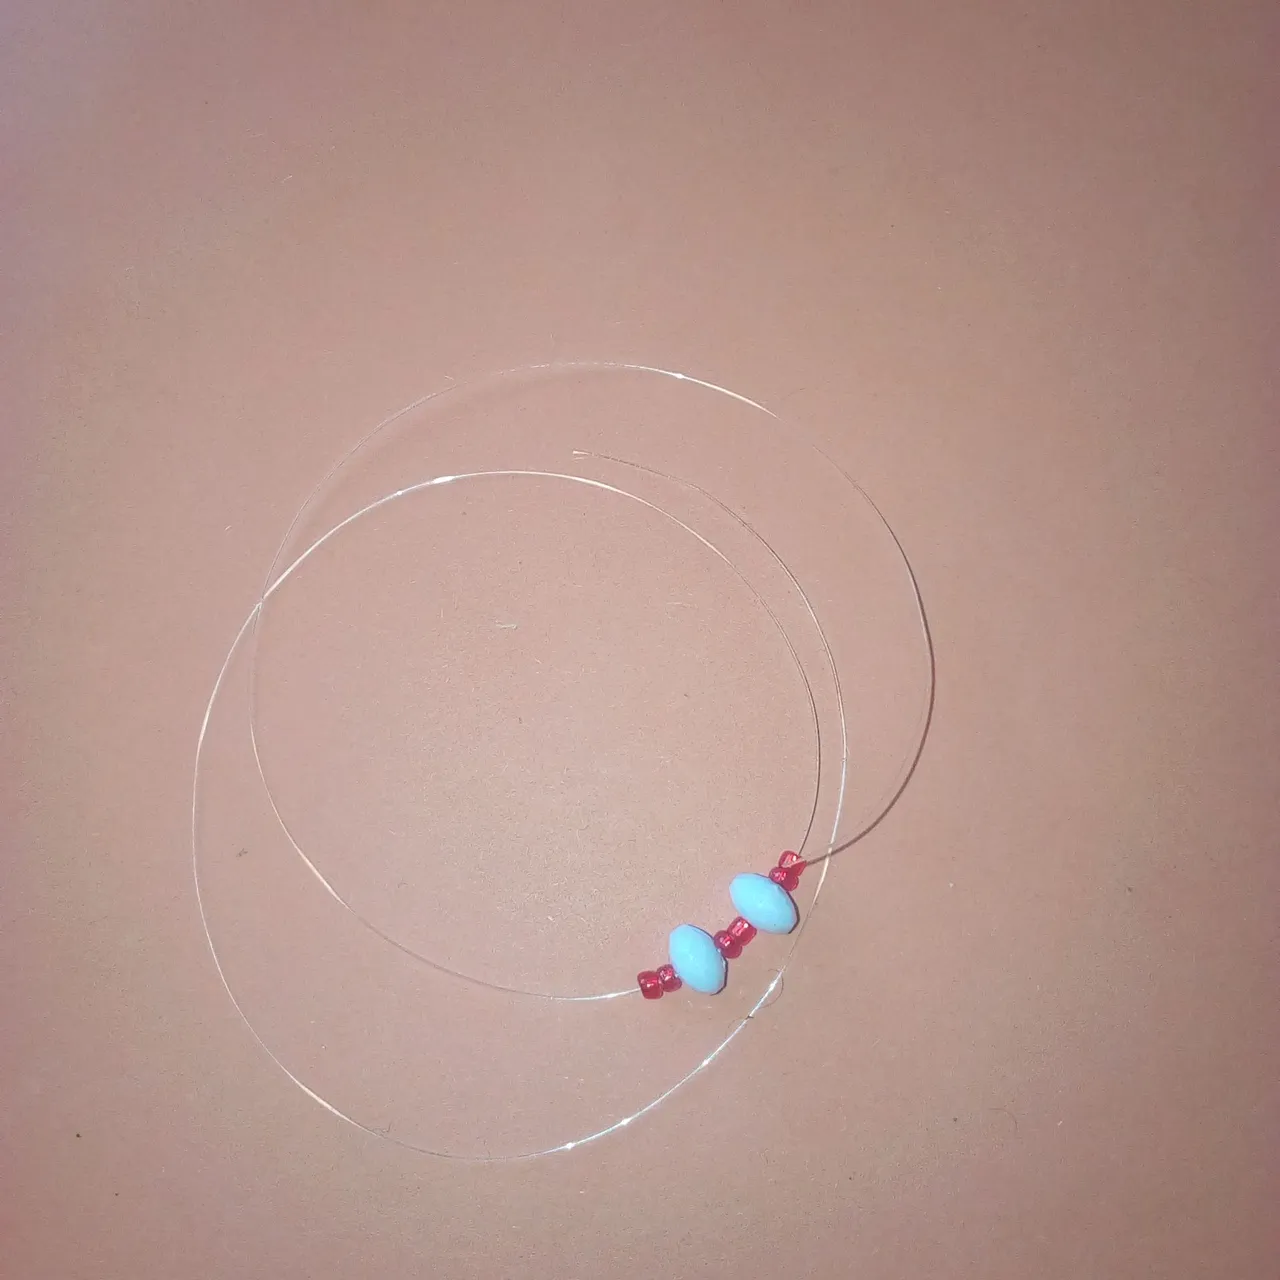
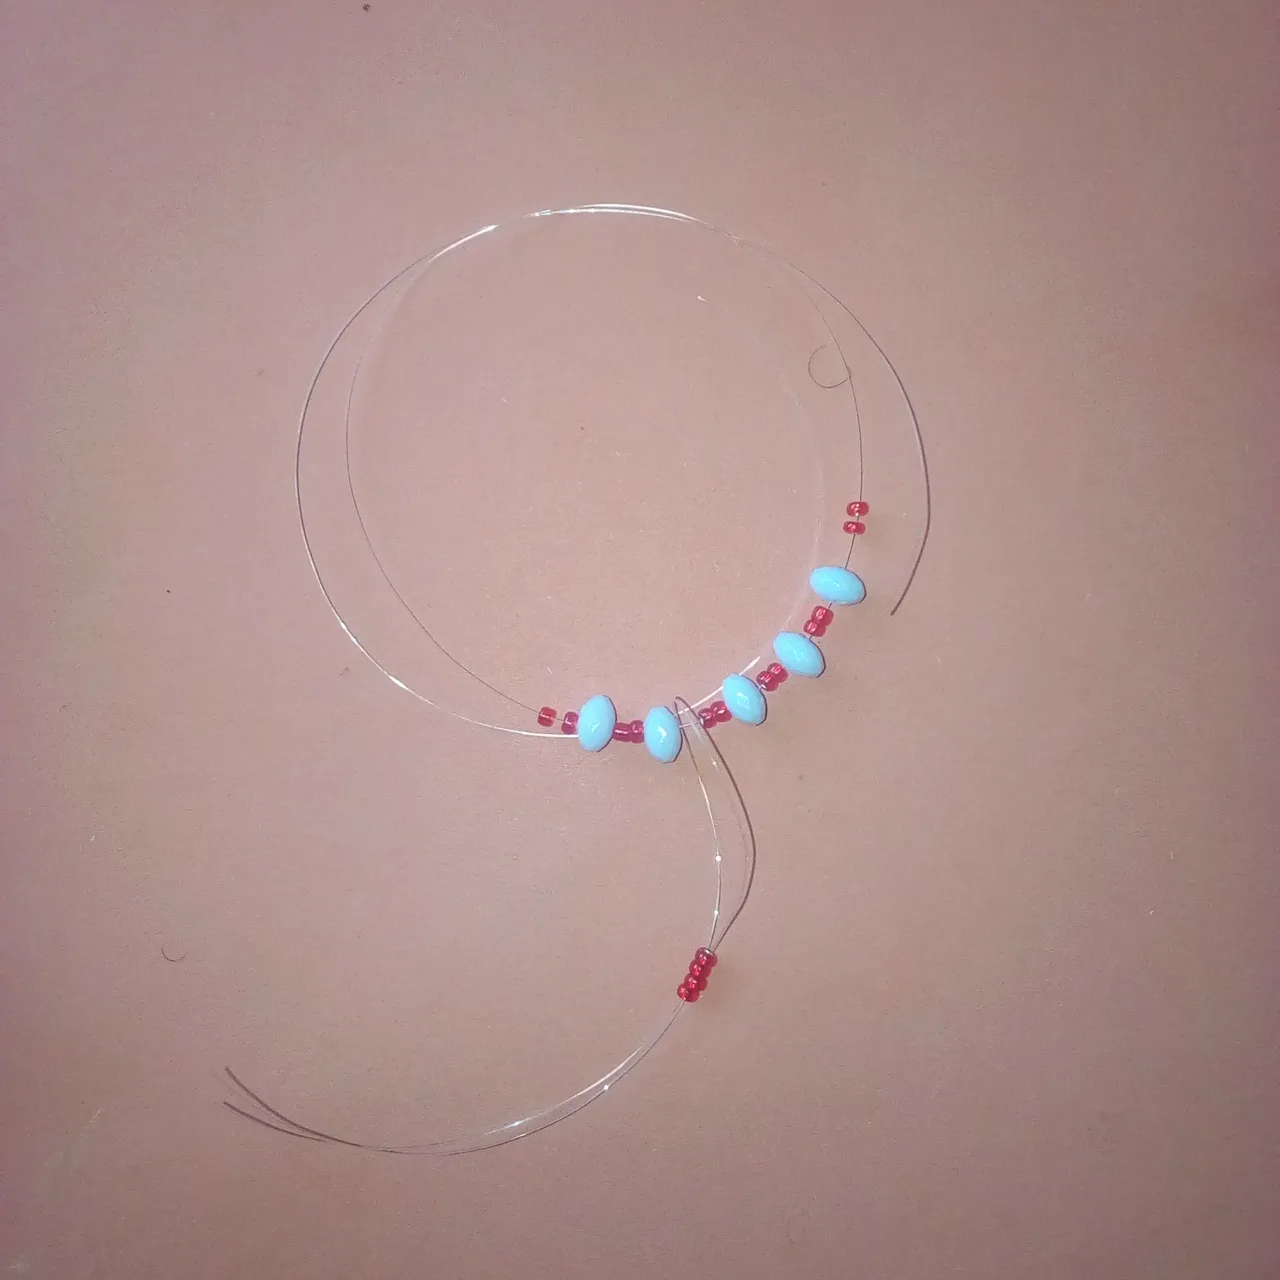
Now, you’ll have to fold the fishing line with the beads inserted. Insert 1 white pearl and 2 red sand beads from the top.
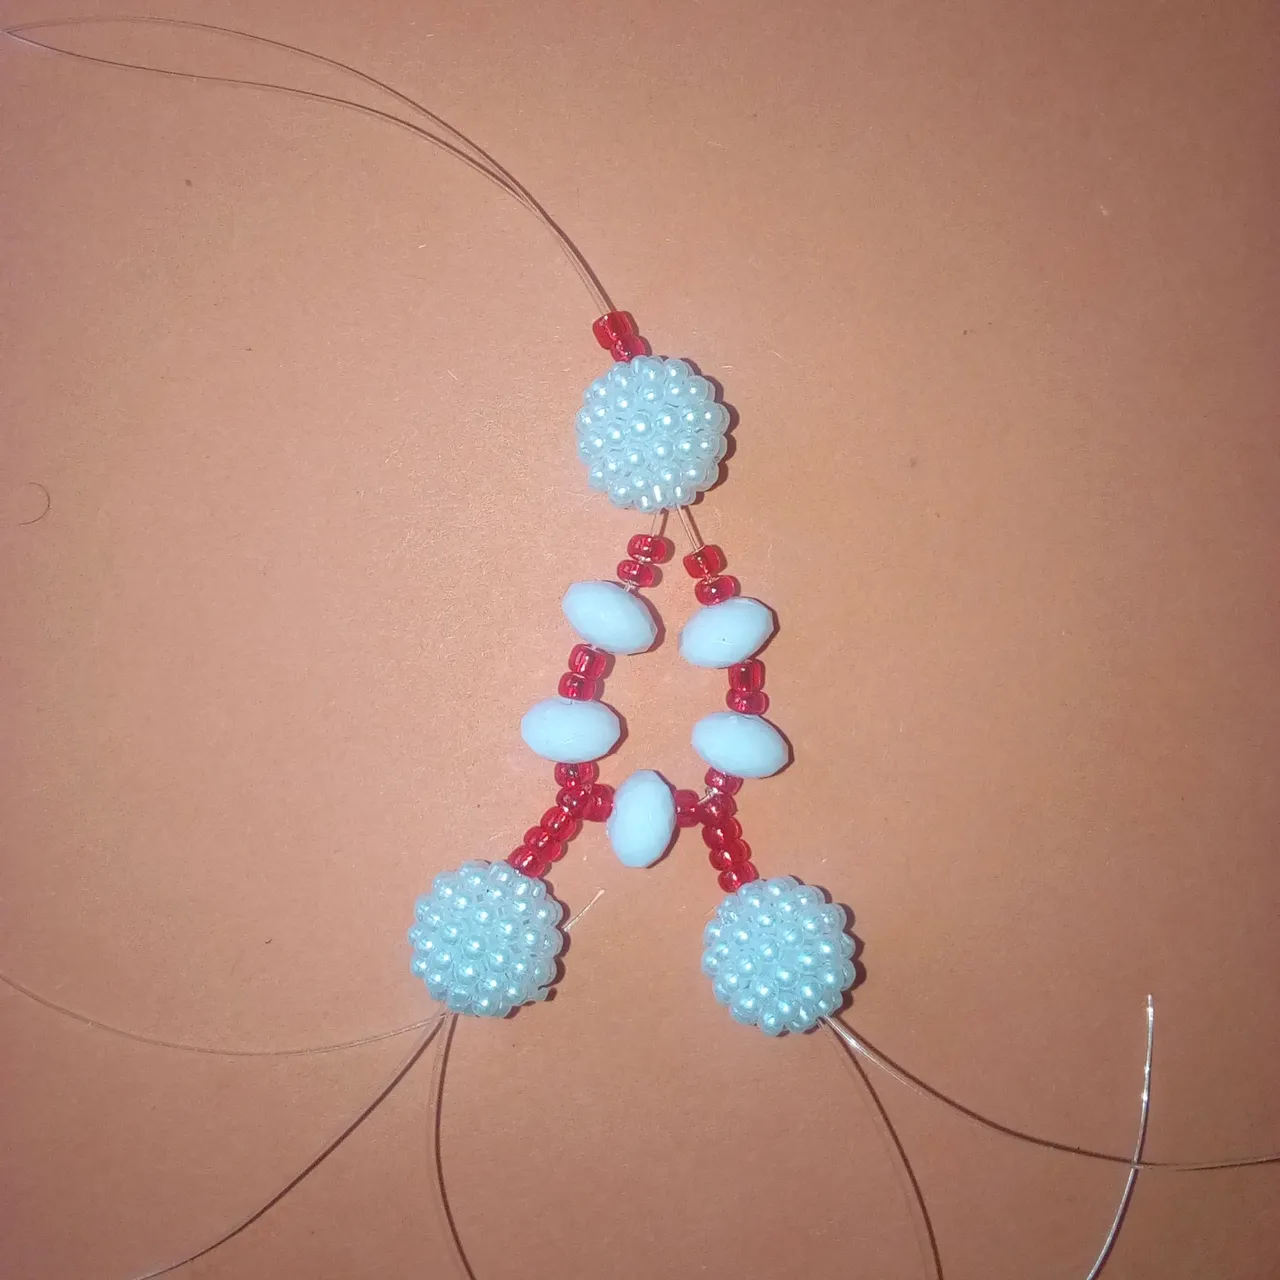
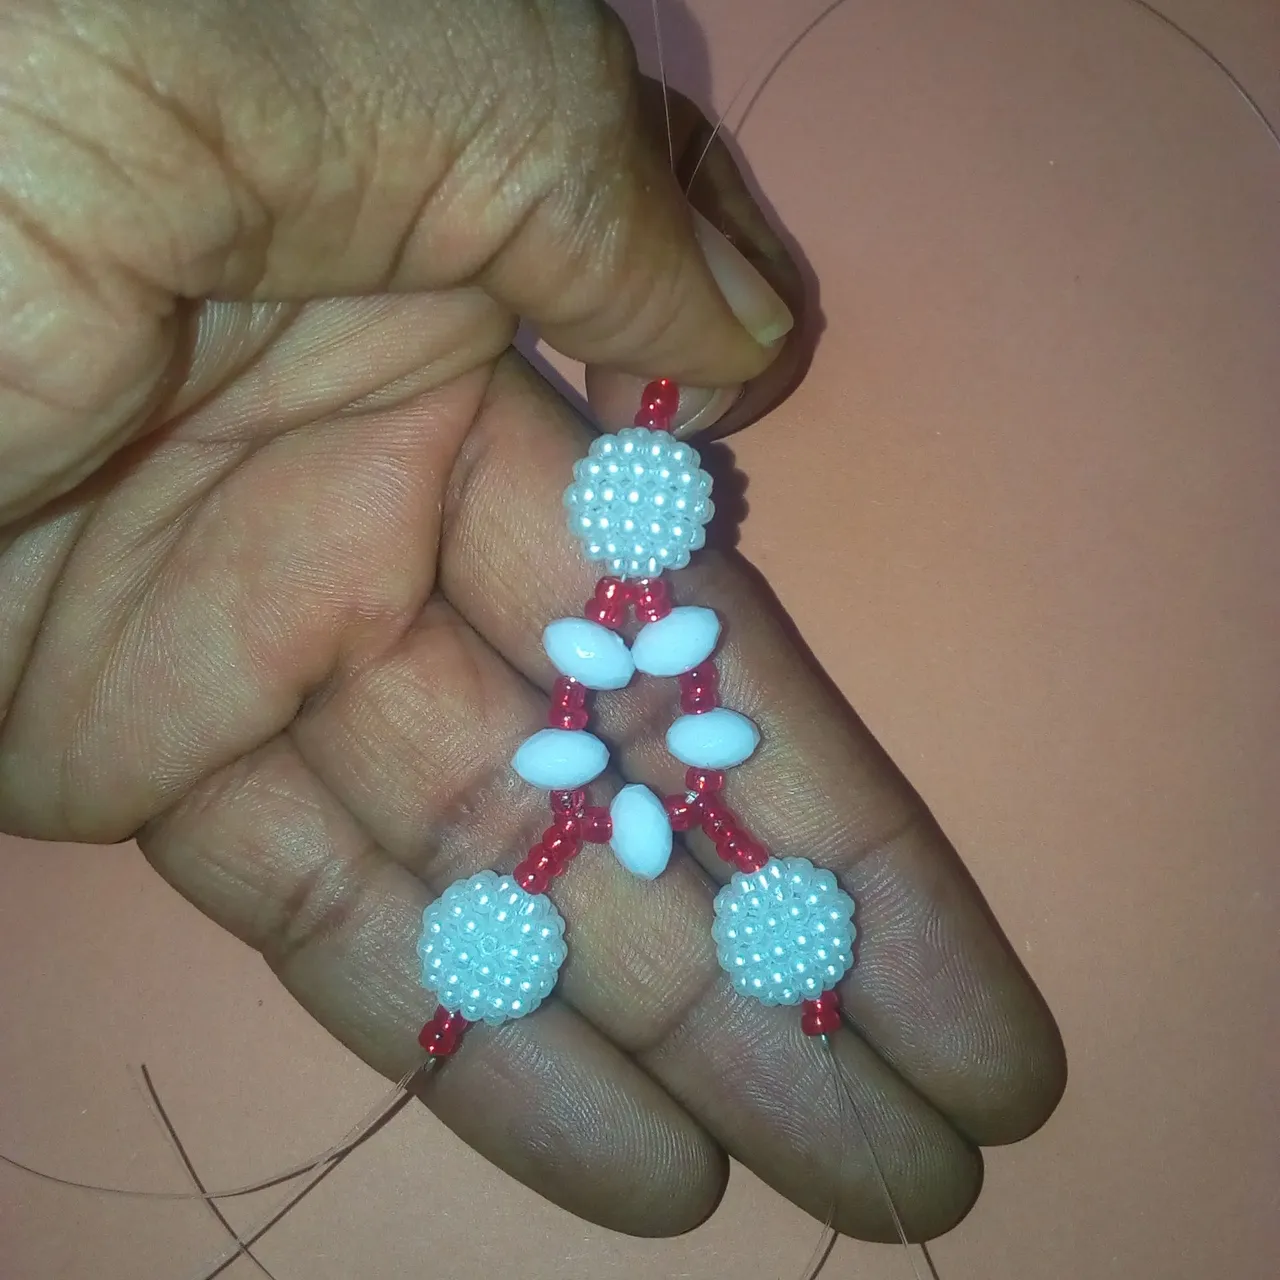
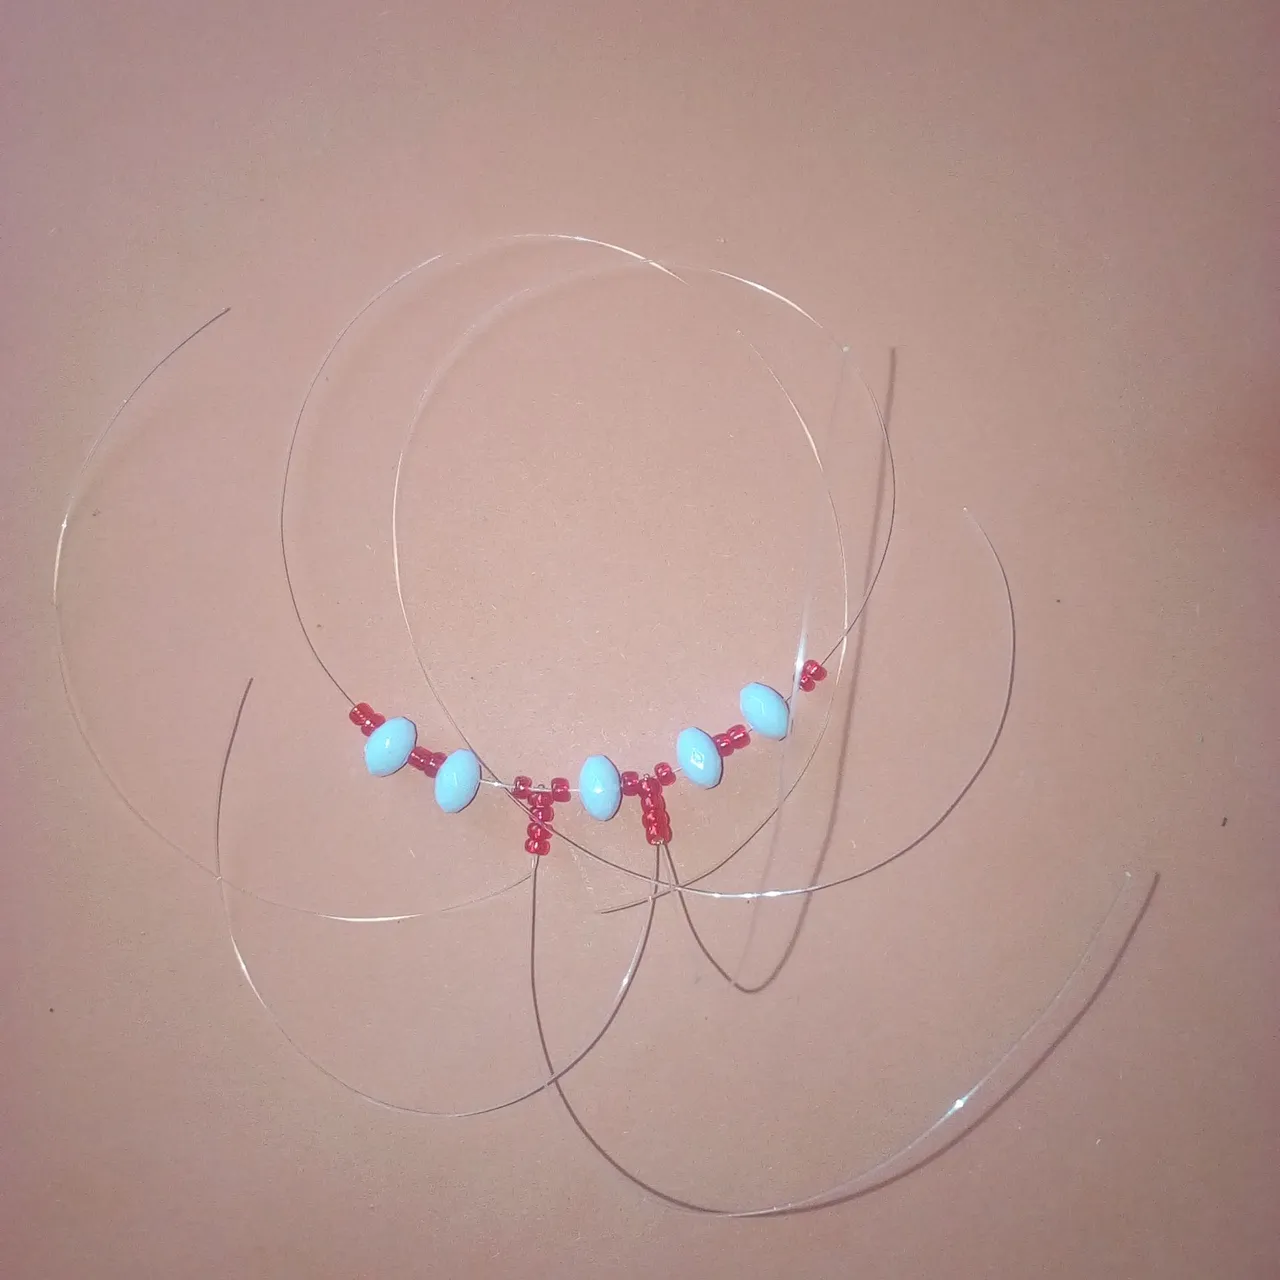
Now again, you’ll have to go down to the last white diamond shape bead, cut a fishing line, and cross it to the center of the 2 red sand beads close to the center of the white diamond shape bead. With the same fishing line, insert 4 pieces of red sand bead, 1 white pearl, and 2 pieces of the sand bead. Now, use a stopper to hold it.
From the top of the earring, insert your earring hook and use a stopper to hold it.
Finally, you’ll have to use matches to burn the fishing line to get to the stoppers used.