Hello to you beautiful and creative #jewelry community lovers. I hope all is well with you, your family, and your business. Today, I made a tendril as a means of suggesting to my customer to see if she'll love to buy it from me. I'll provide you with the details of what made me make the tendril and after, I'll also leave you with the materials and procedures I followed to make the tendril.
From observation, things are very costly in Nigeria and it has made many of my jewelry customers not to patronize me as usual. You know when there's no money in a country, people only struggle to feed rather than buy material things. This is in my own case where many customers are no longer patronizing my jewelry work.

For about days now, I was in lack of money because my business didn't move well this week. Today, I checked myself and said I can't keep being idle waiting for customers I have not seen for days. In order for me to make a move to see if I will be the one to look for customers who can buy tendril from me. This was how I came up with the idea to make a tendril of my choice. My major aim in making the tendril was to take it outside and meet some of my old customers so that they could buy them from me.
When I finished making the tendril, I took it to one customer who told me she didn't even have any intention of buying a new tendril because there was no money for her. I kept checking my customers till I met with the fifth customer who saw the tendril and told me that she loved the design and the color of the beads used to make it. This was how I could sell my tendril to a customer and then make some money.

Materials used for the making of the tendril will be highlighted below:
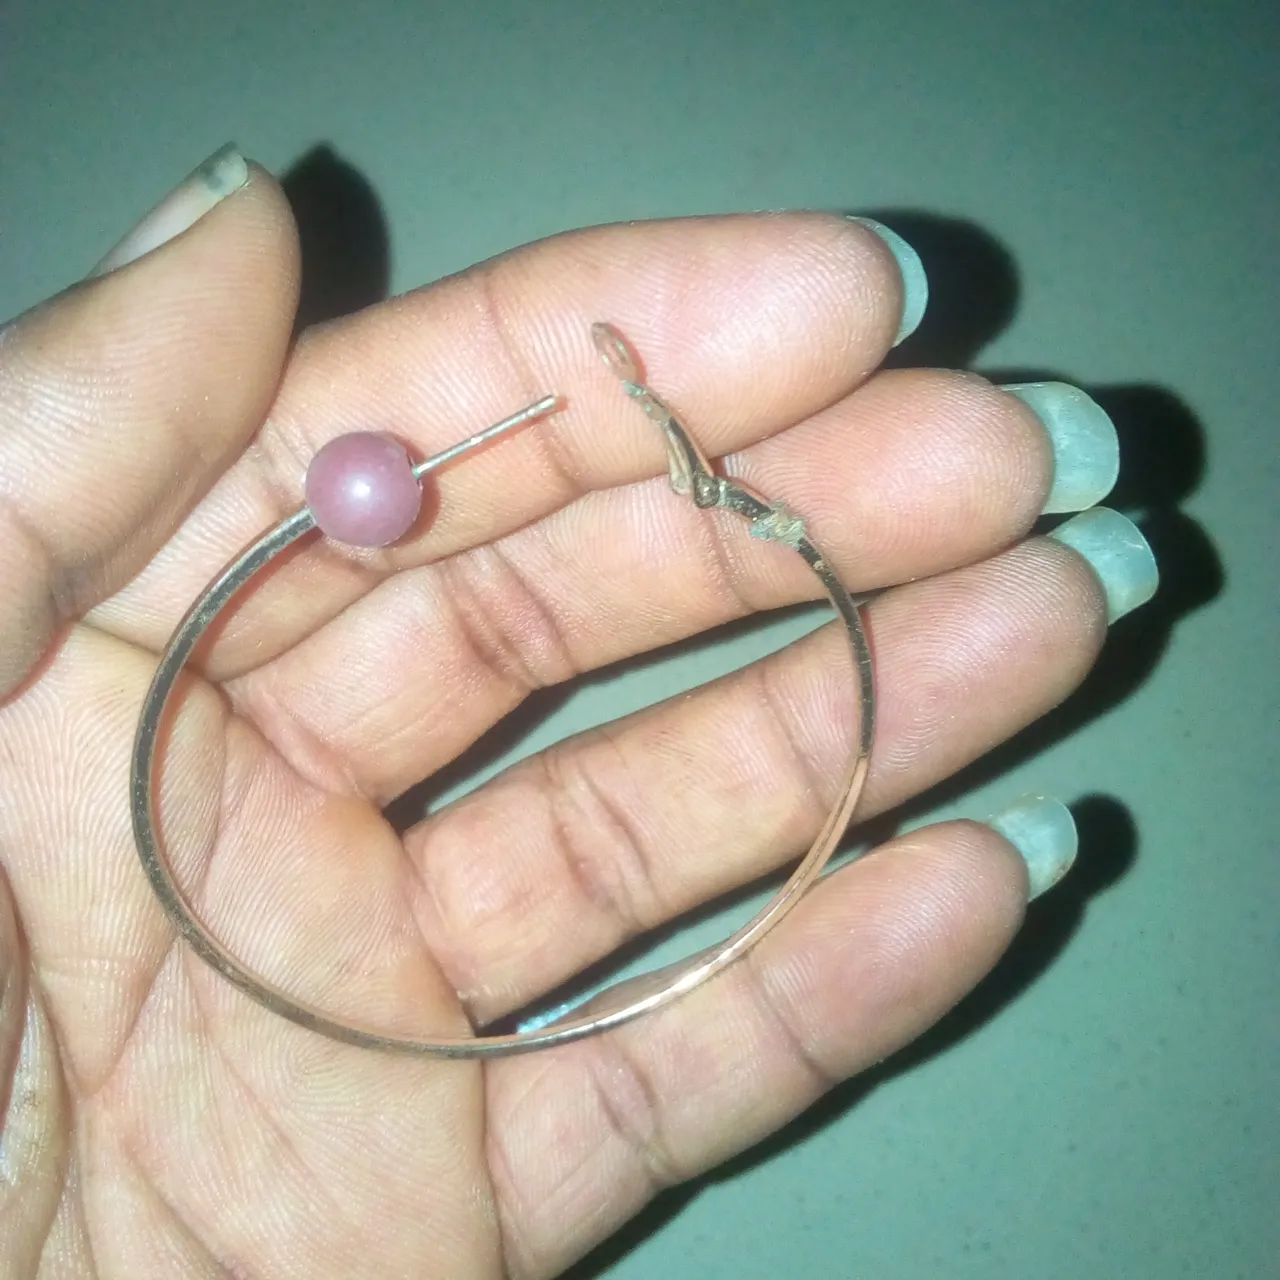
Earring skeleton.
Nylon line.
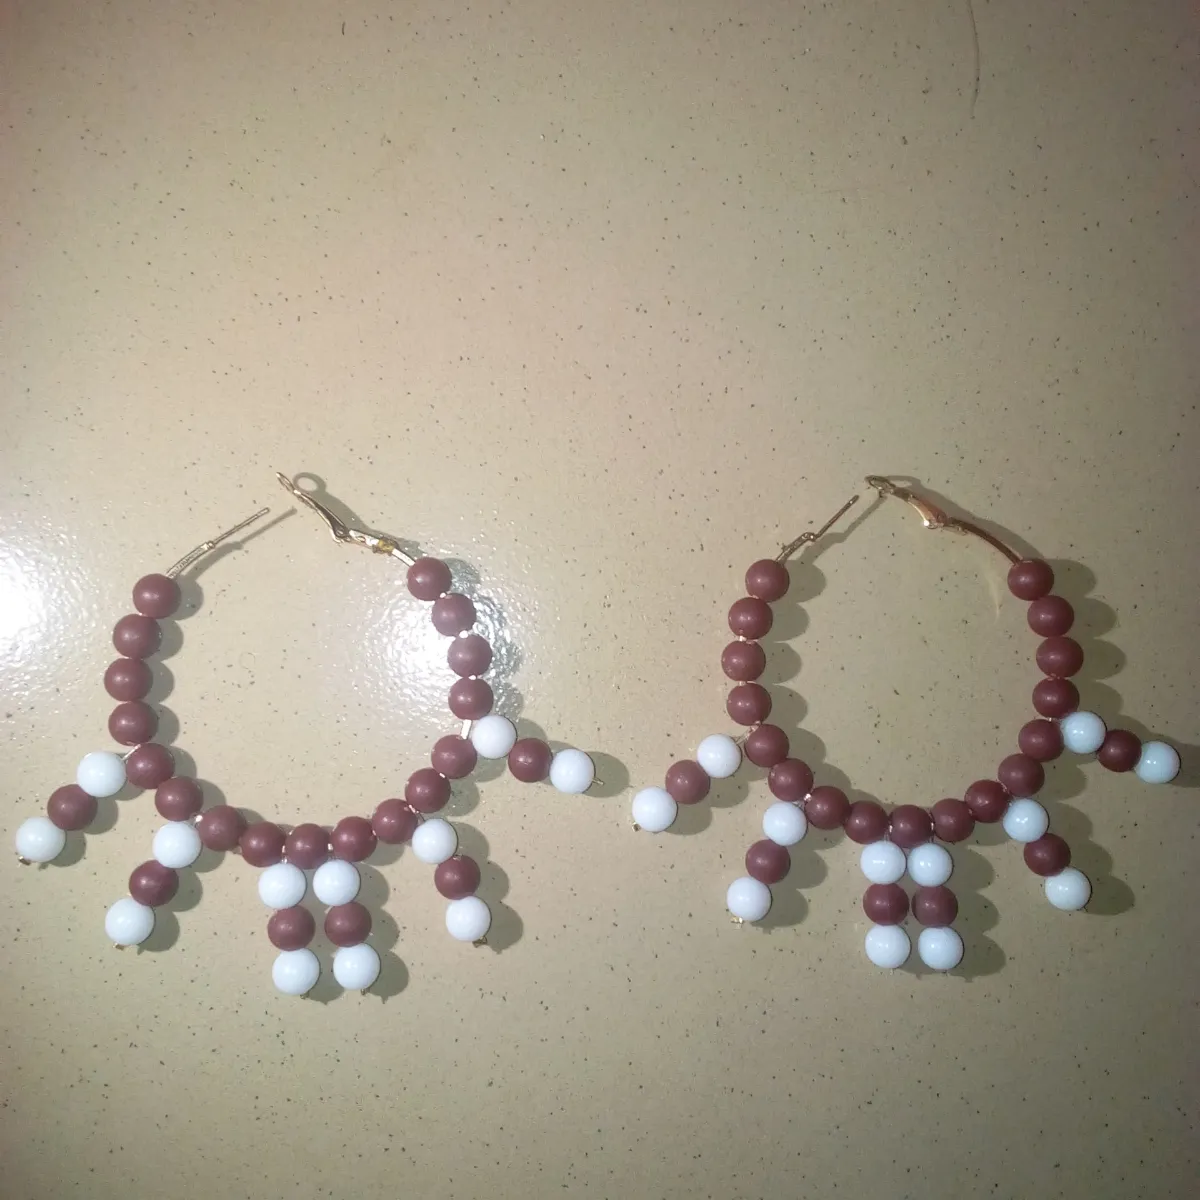
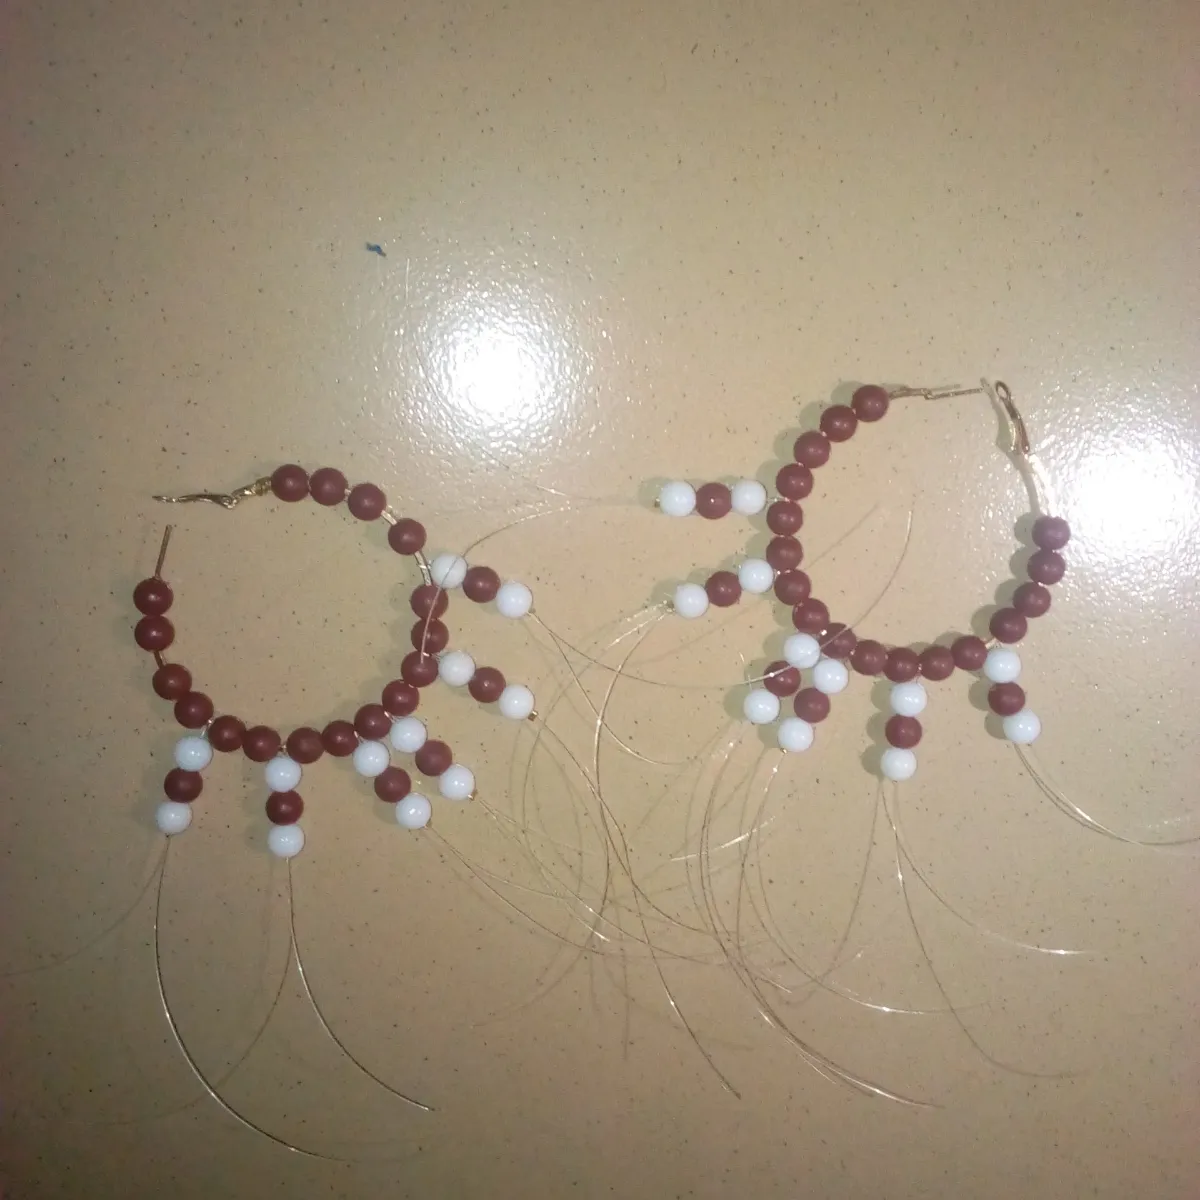
46 pieces of brown color pearl bead while 23 pieces were used to make each side of the tendril.
24 pieces of white color pearl bead while 12 pieces will be used for the making of each side of the tendril.
Bead stopper.

Procedures I used to make the tendril will be discussed below:
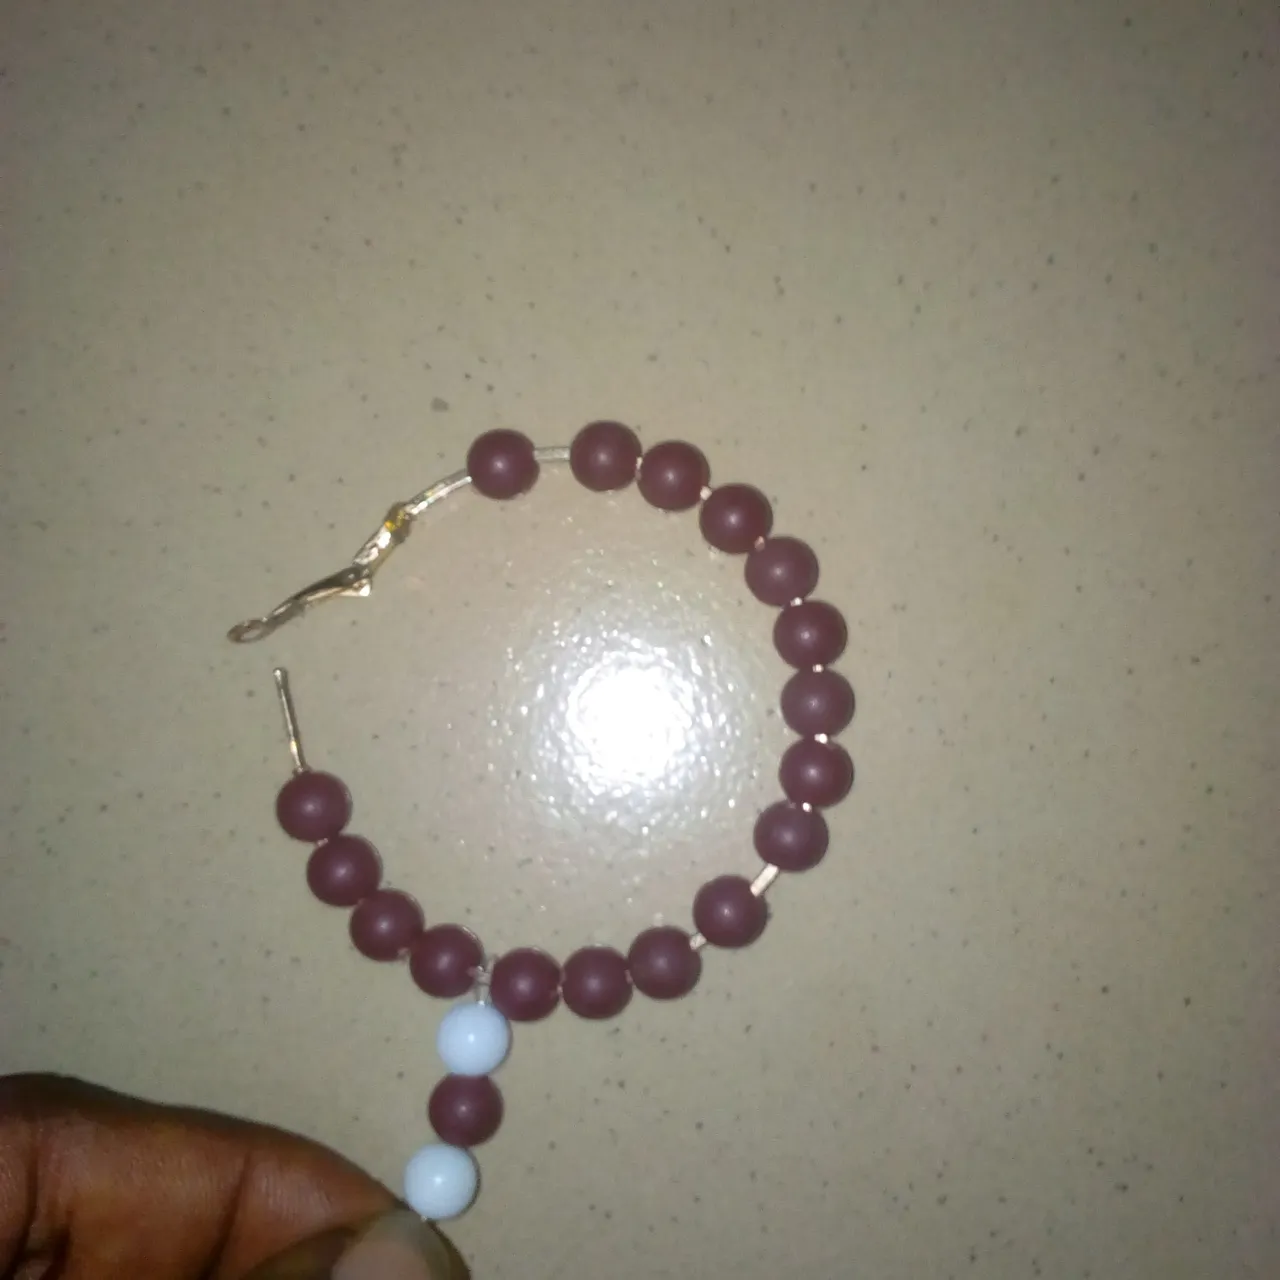
I have to gather all the materials to be used for the making of the tendril in one place to make the work easier.
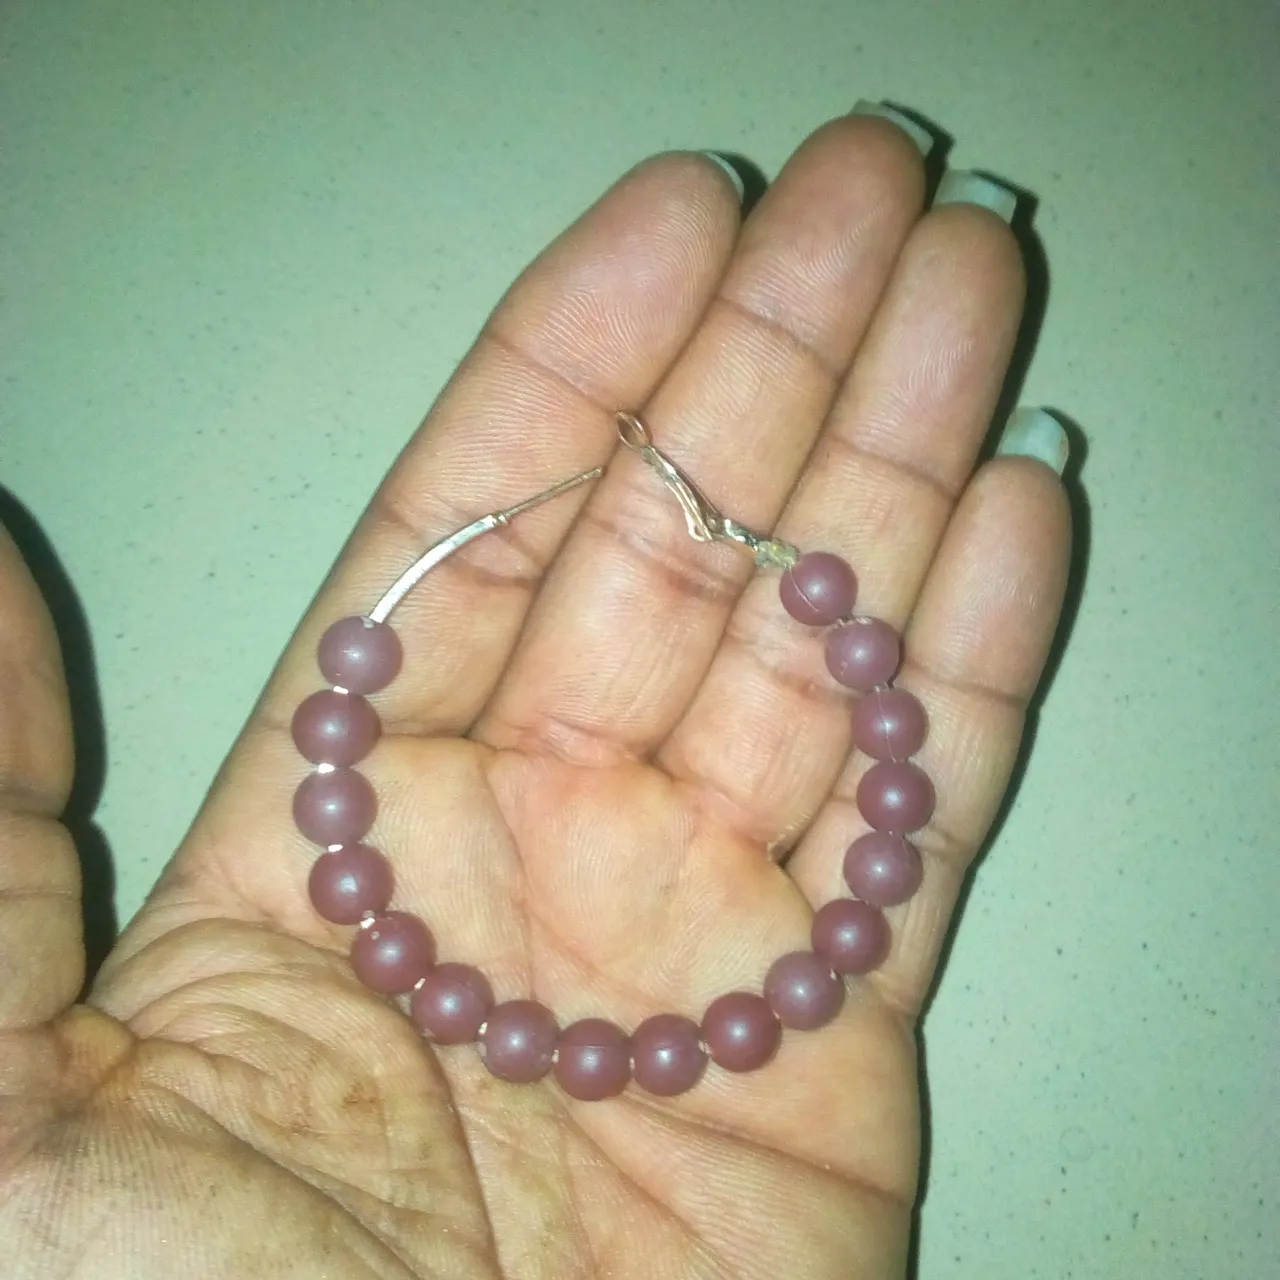
I have to bring the skeleton earring and then insert one after the other 17 pieces of brown color pearl bead.
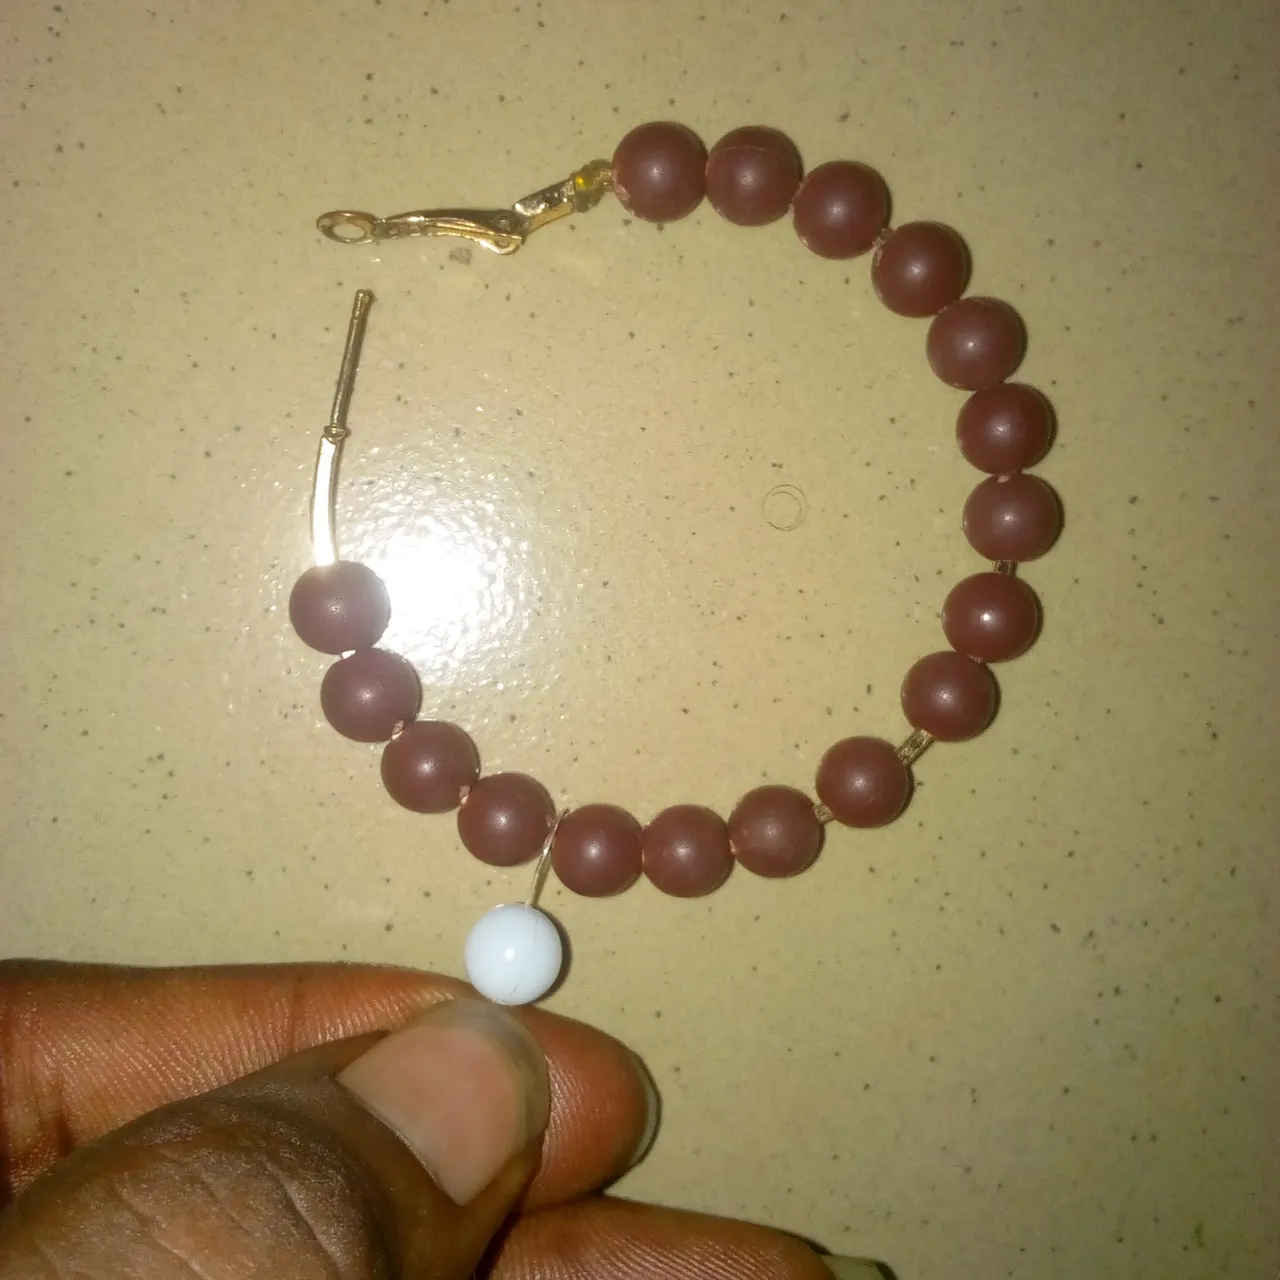
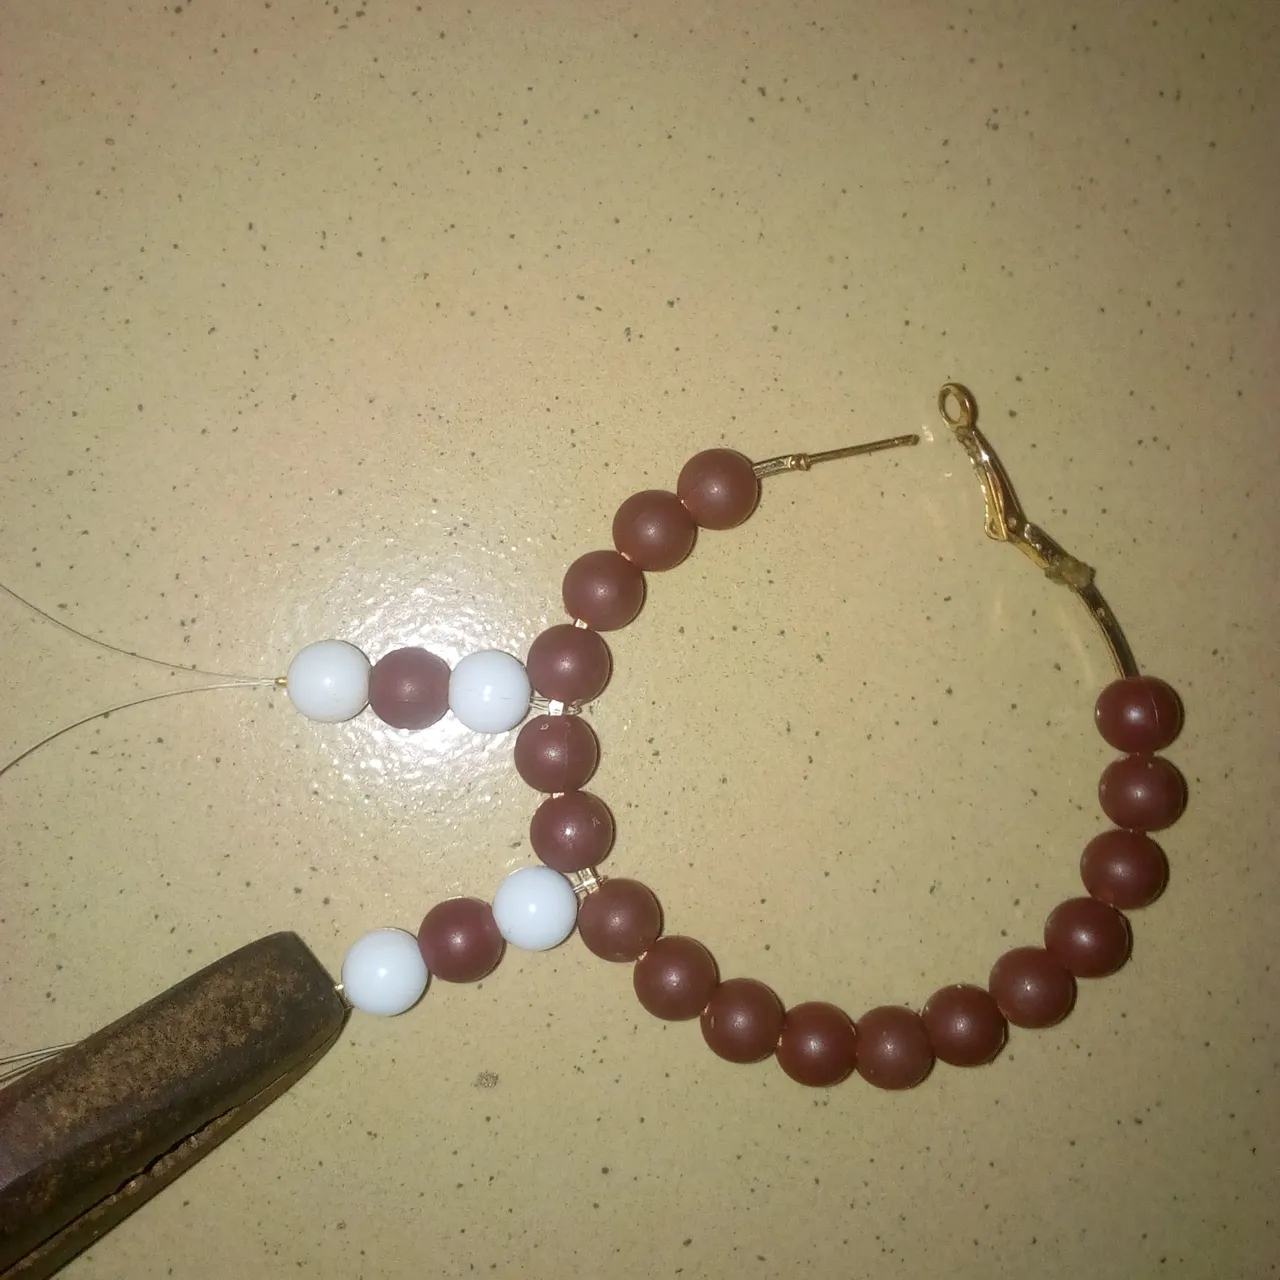
After I was done inserting 17 pieces of brown-colored pearl beads, I cut a nylon line and then counted 4 pieces of brown-colored pearl beads inserted into the earring skeleton, and then bent the nylon line. From the nylon line, I inserted 1 white, 1 brown, 1 white color pearl bead and then used a bead stopper to hold it through the plier.
I have to count two brown beads inserted into the earring skeleton and then add a nylon line to it. From the nylon line, I inserted 1 white, 1 brown, 1 white color pearl bead.
I have to count another two lines of brown color pearl beads inserted into the earring skeleton and then add a nylon line. From the nylon line, I inserted 1 white, 1 brown, 1 white color pearl bead and then used a bead stopper to hold it.
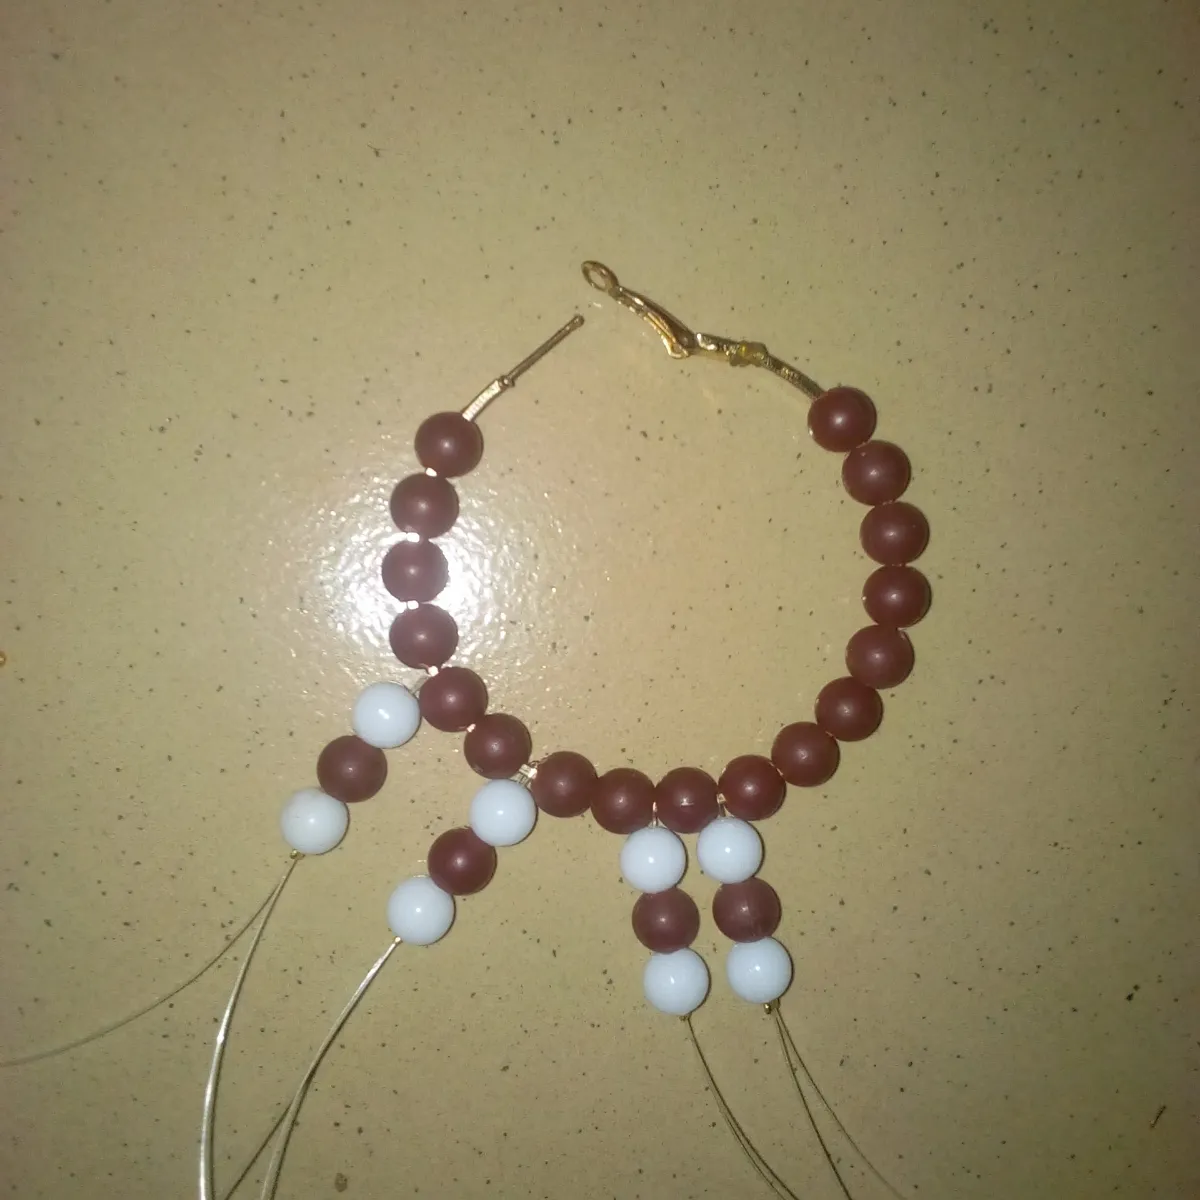
I have to count one line of brown pearl beads inserted into the earring skeleton and then add a nylon line. From the nylon line, I inserted 1 white, 1 brown, 1 white color pearl bead and then used a bead stopper to hold it.
I have to count two lines of brown space inserted into the earring skeleton and then add a nylon line. From the nylon line, I have to insert 1 white, 1 brown, 1 white color pearl bead. I used a bead stopper to hold it through plier clipping.
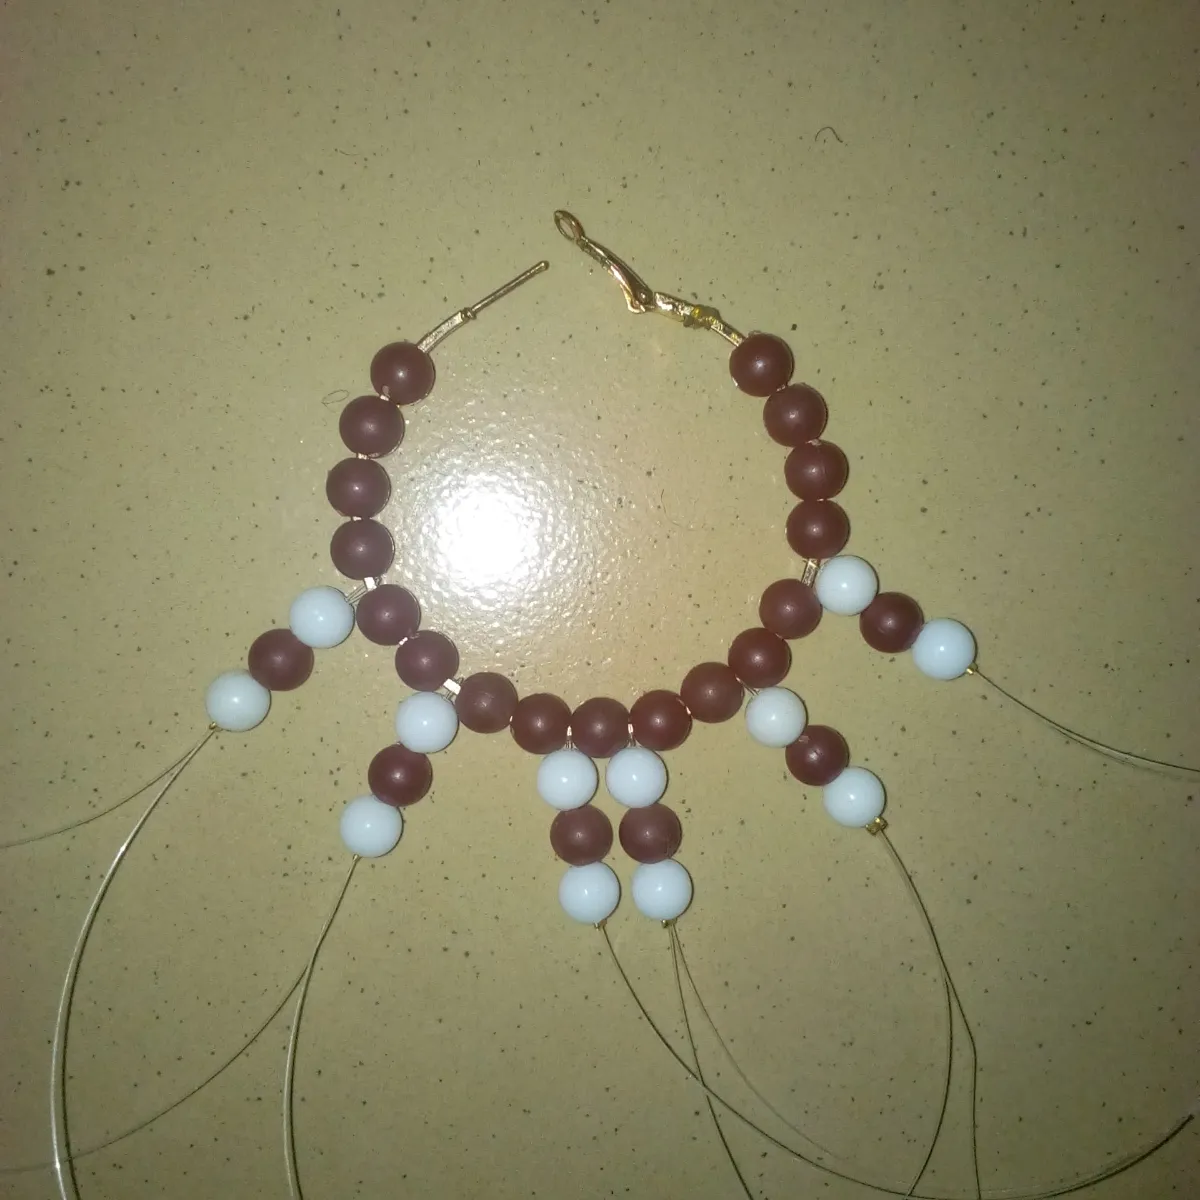
I also have to count to the right two-line brown color pearl bead inserted into the earring skeleton and then add a nylon line. From the nylon line, I inserted 1 white, 1 brown, and 1 white color pearl bead and then used a bead stopper to hold it.

After the whole work, I used scissors to dress the mouth of the nylon lines to make the tendril look neat and clean.