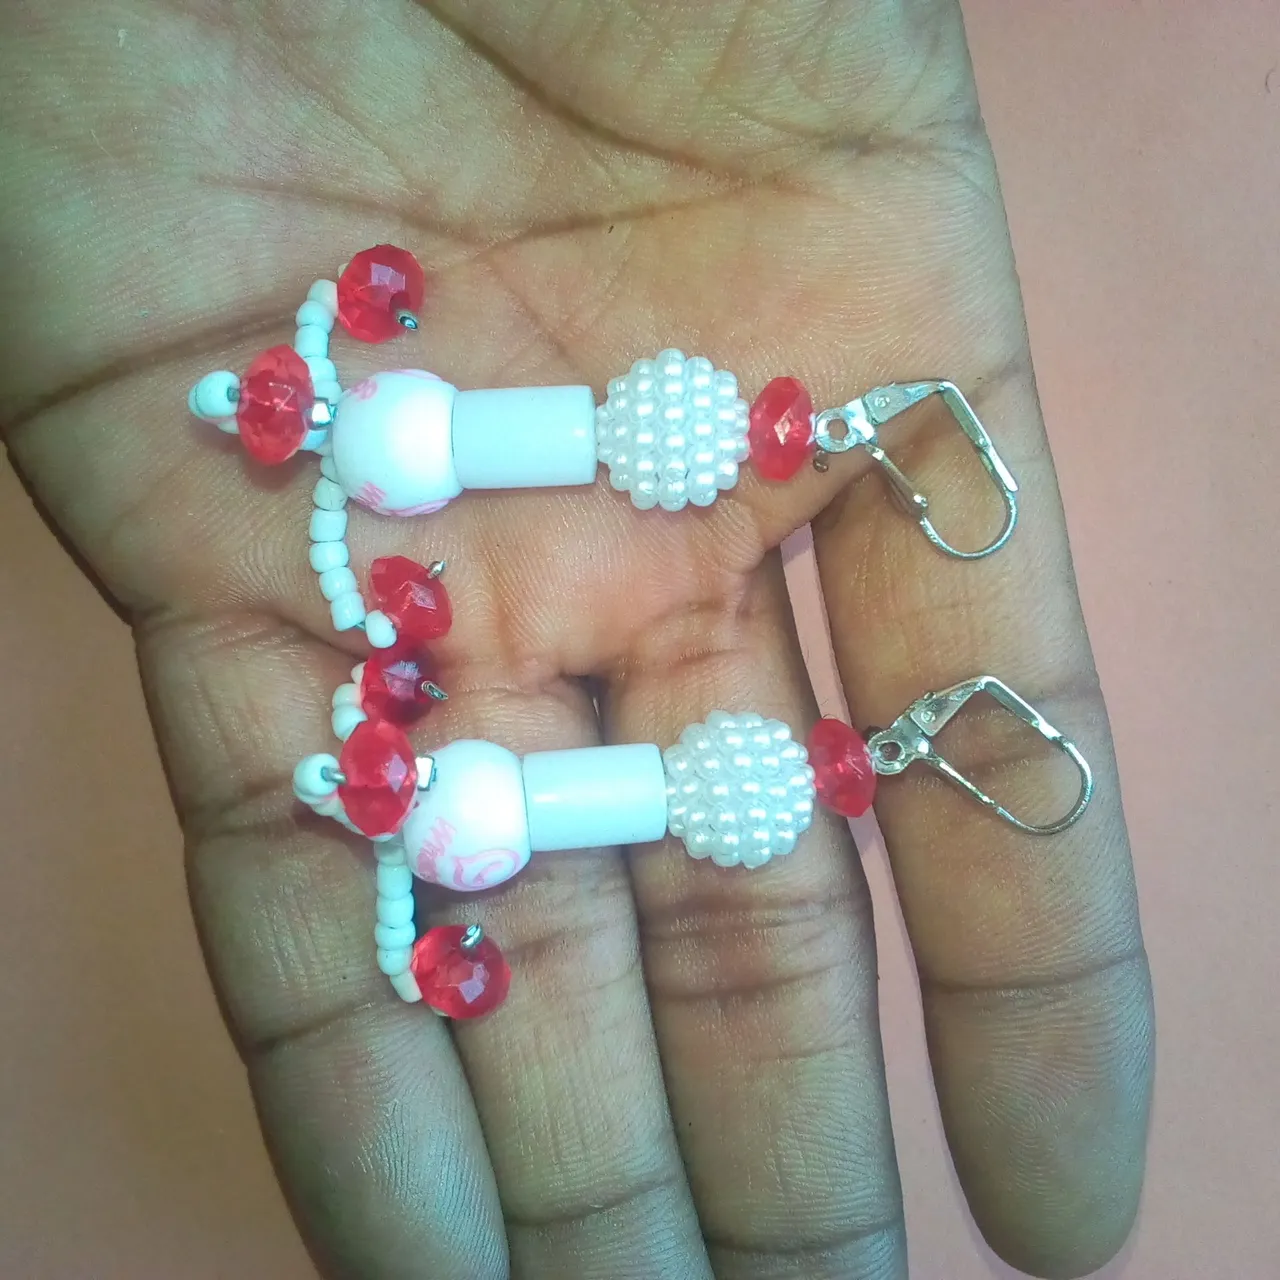
Hello to all my fellow @jewelry lovers. I join the community to welcome you to the month of November. Today, I just remembered that I’m supposed to make a unique post this November with my bead-making skills but I was somehow confused about the type of project to carry out. I needed to make a unique jewelry work for the community which was the main reason I was confused. I later came up with the idea to make an earring that looks like a chandelier.
The inspiration for making a chandelier earring was gotten from the experience when I visited a friend’s family house. They have a big chandelier light hanging on the ceiling in their house. I just hope that you will love the outcome of the chandelier earring I made.
Without much delay, I would love to show you below the materials, tools, and procedures that I used in making the earring. I believe that the steps I will assist you to make some of the earrings for yourself or even for your close ones wanting to be appreciated as a gift.
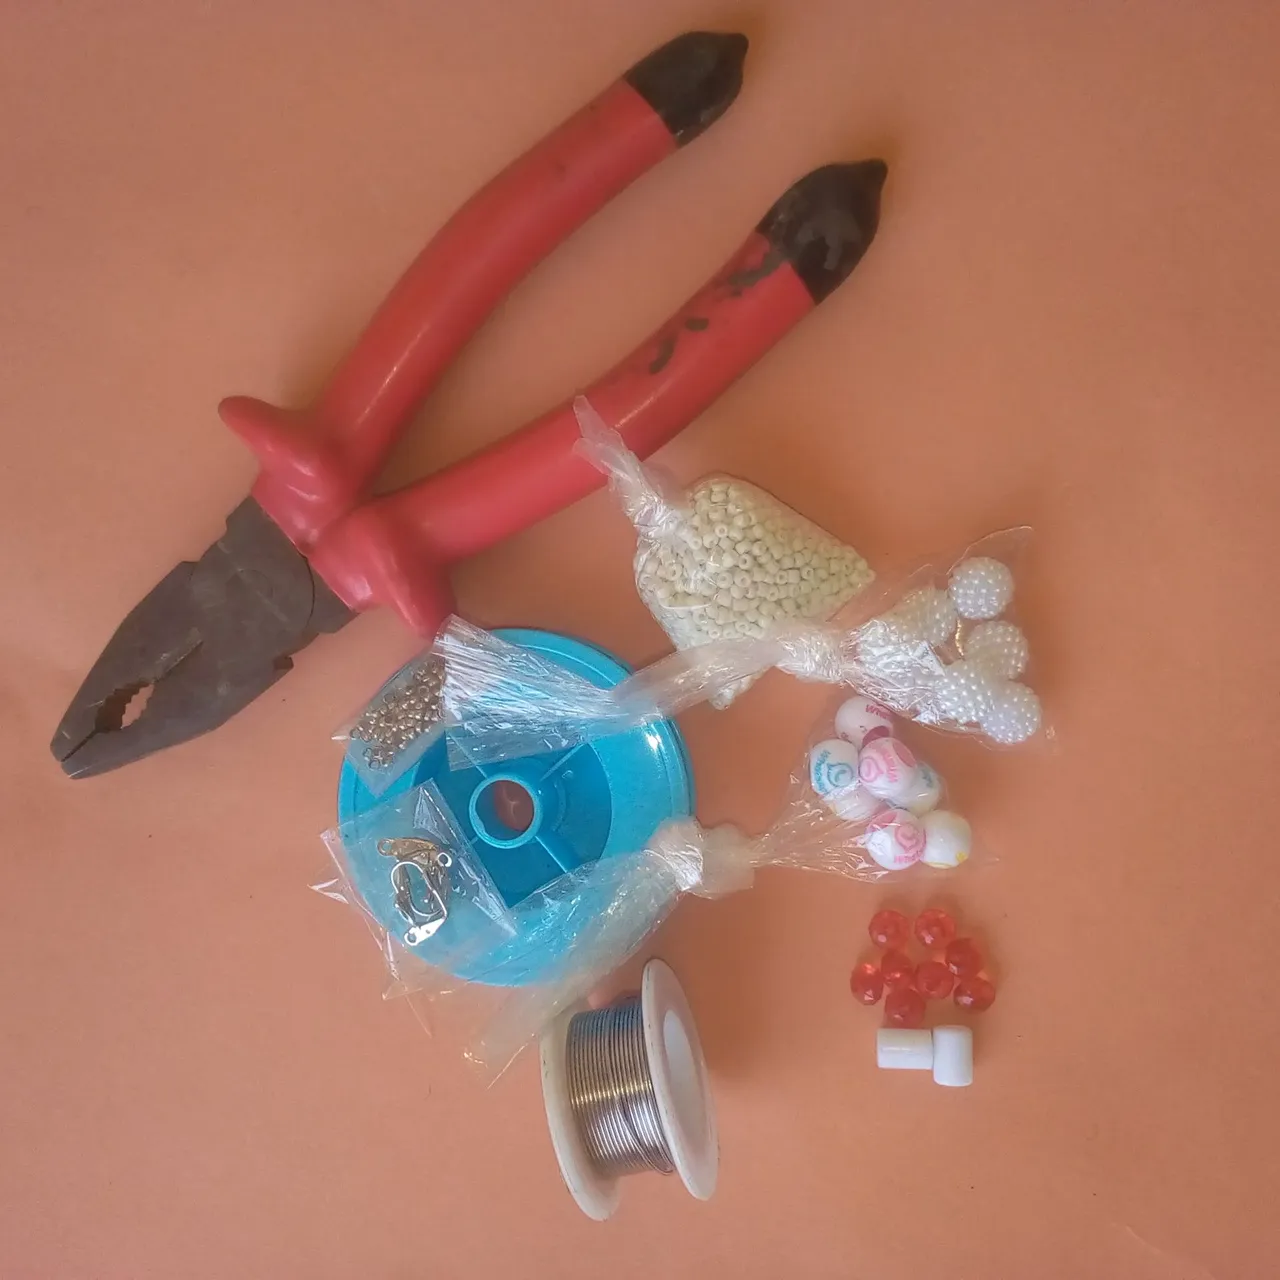
Materials that were used in making the chandelier earring are highlighted below:
0.8mm wire.
1.5mm fishing line.
Earring hook.
Bead stopper.
42 pieces of white sand bead were used while 21 pieces were used for each side of the ear.
2 pieces of traditional straw beads while 1 was used for each side of the earring.
8 pieces of red diamond shape beads while 4 pieces were used for each side of the earring.
2 pieces of hair beads while 1 was used for each side of the earring.
2 pieces of white pearl bead while 1 was used for each side of the earring.
We are now going to be looking into the tools that were used in making the chandelier earring:
Plier.
Ruler.
Matches.
Without any further delay, let now focus on the procedures for the making of the chandelier earring:
It’ll interest me to inform you that all the materials were acquired from the market.
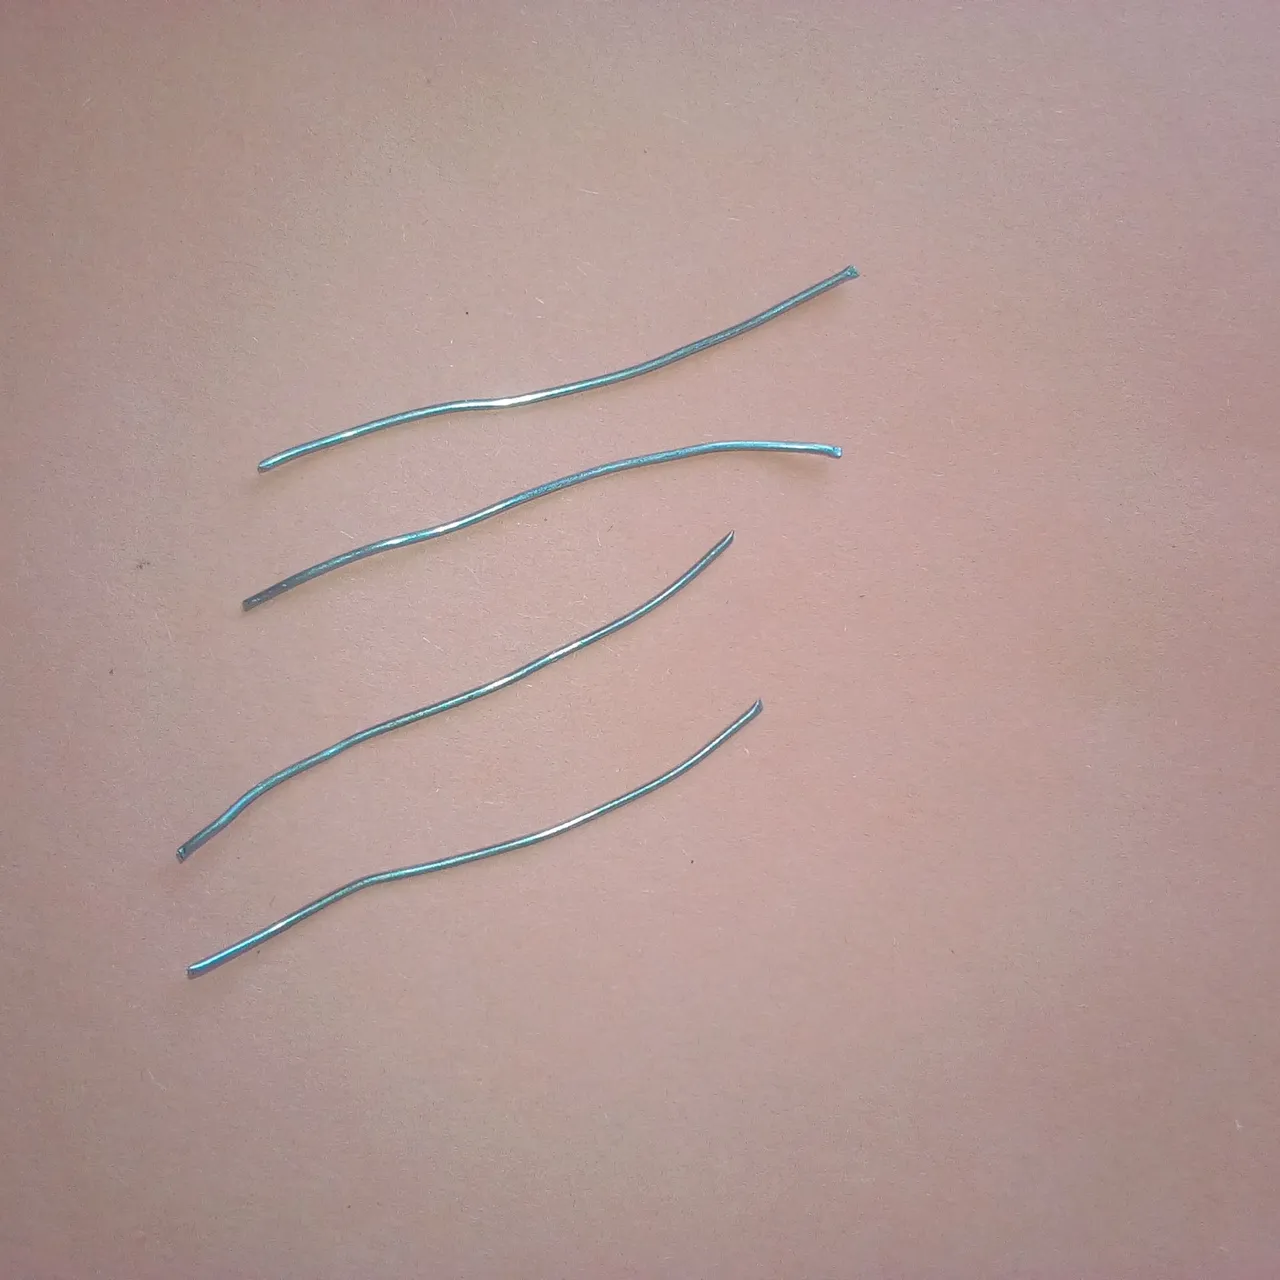
Now you have to measure 2cm from the wire using a ruler. Once you are done, you can now use a plier for about 4 pieces of the wire measured.
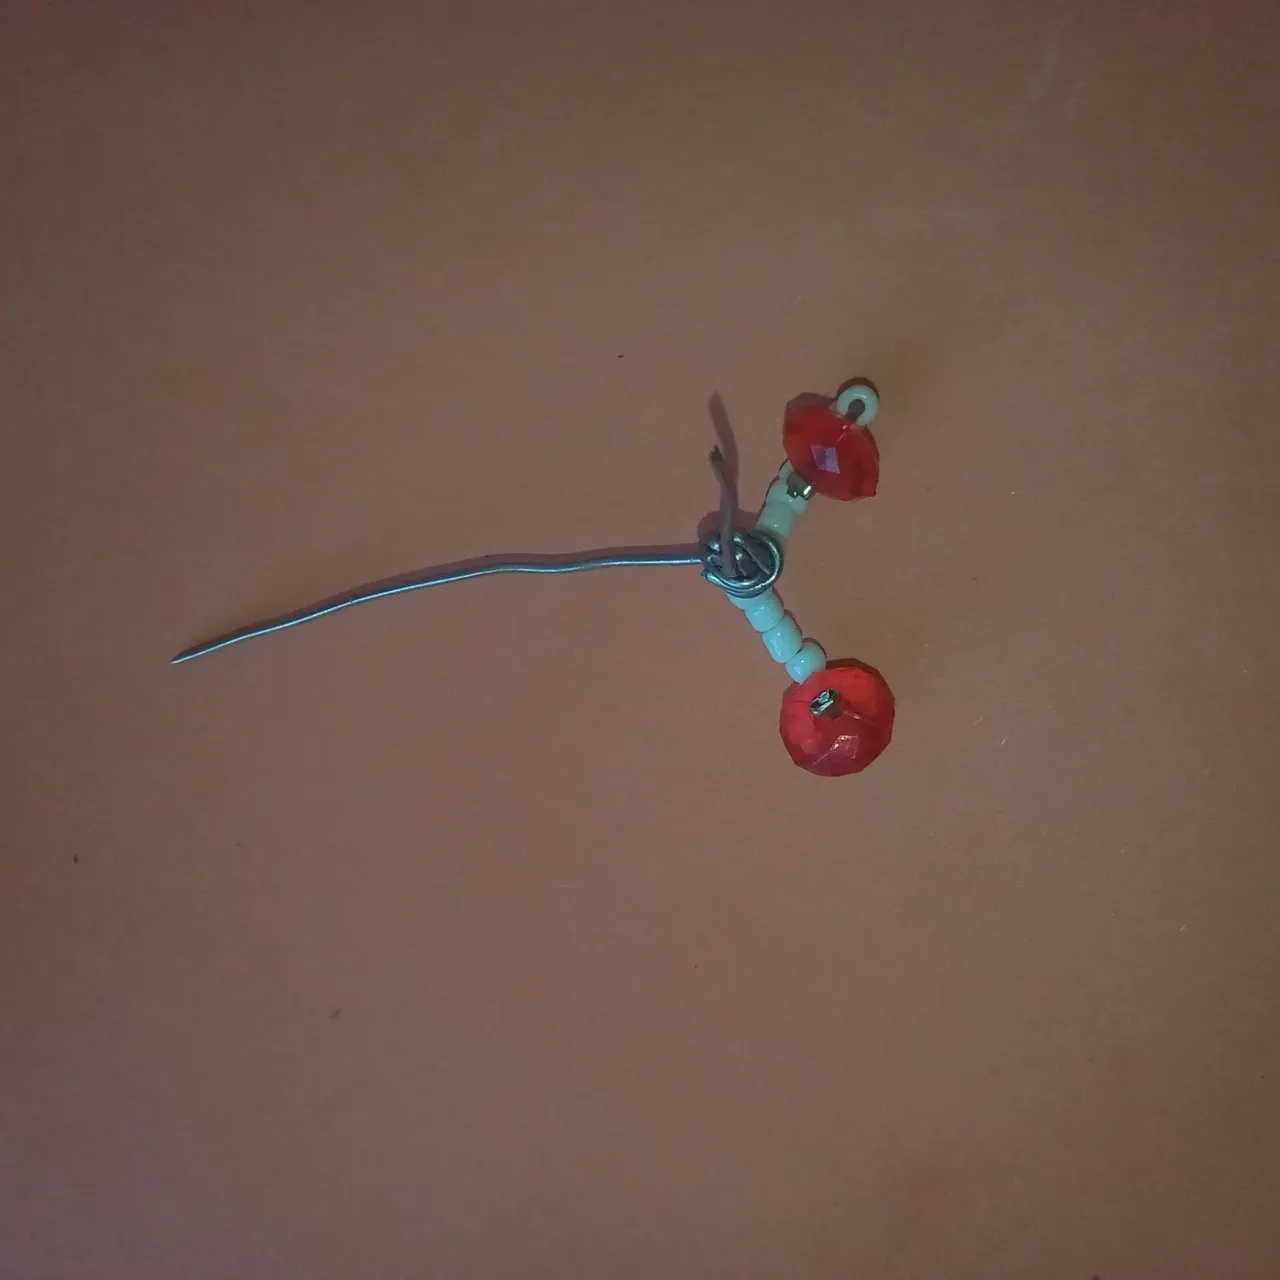
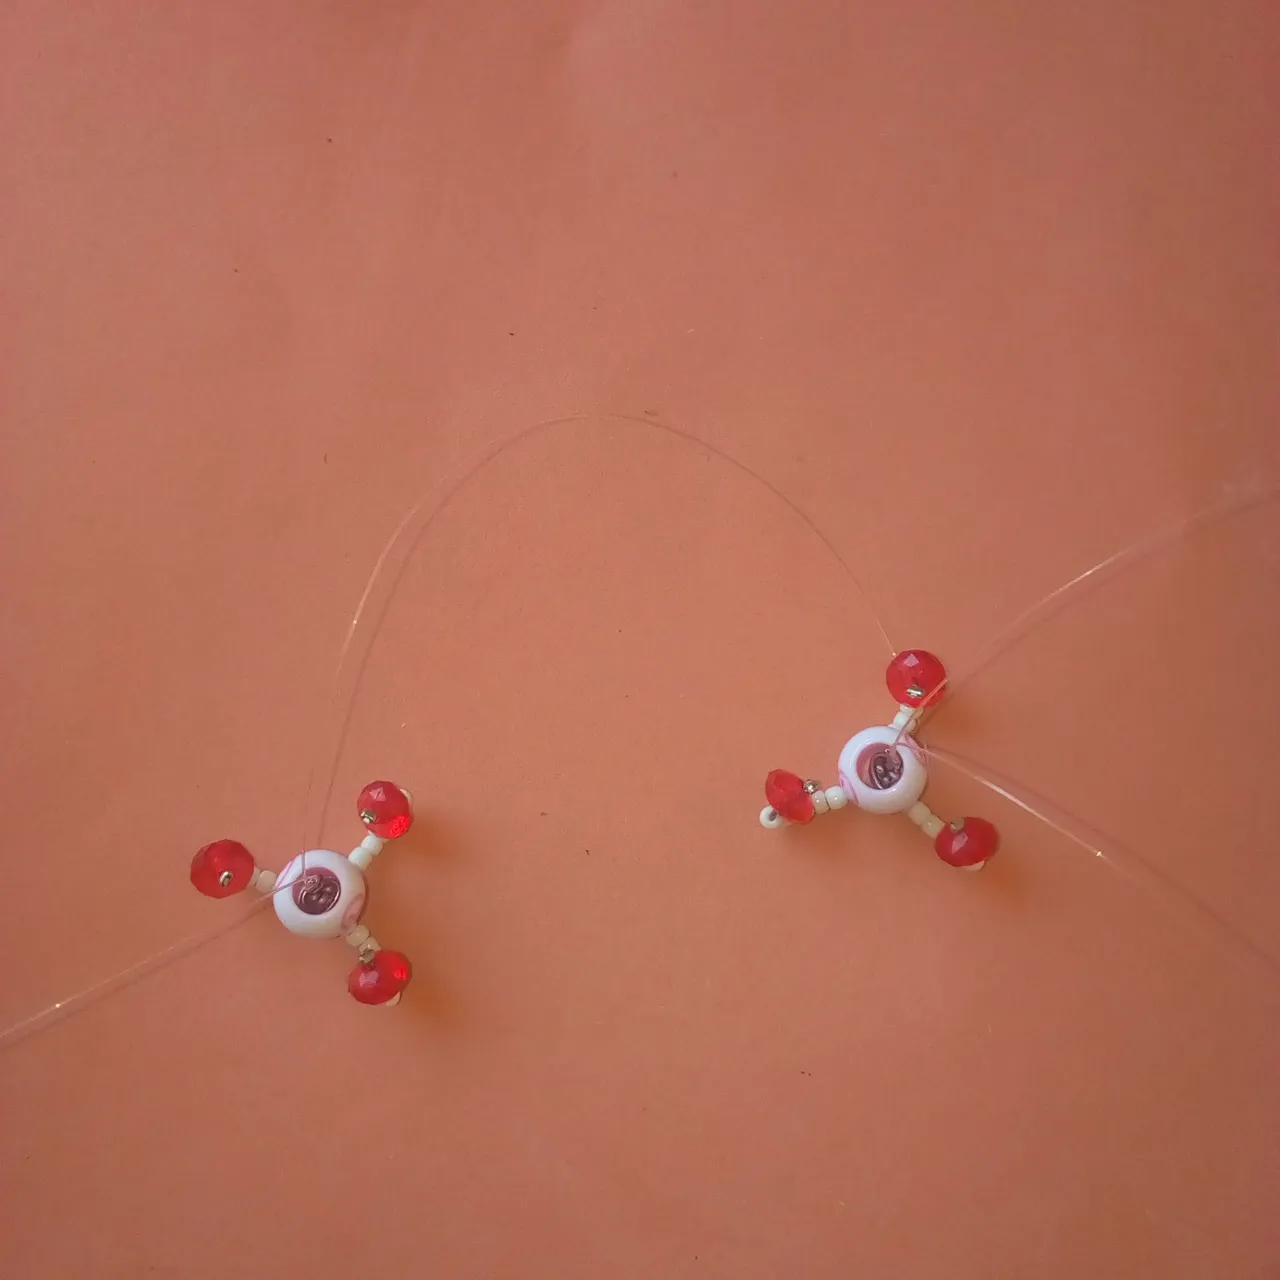
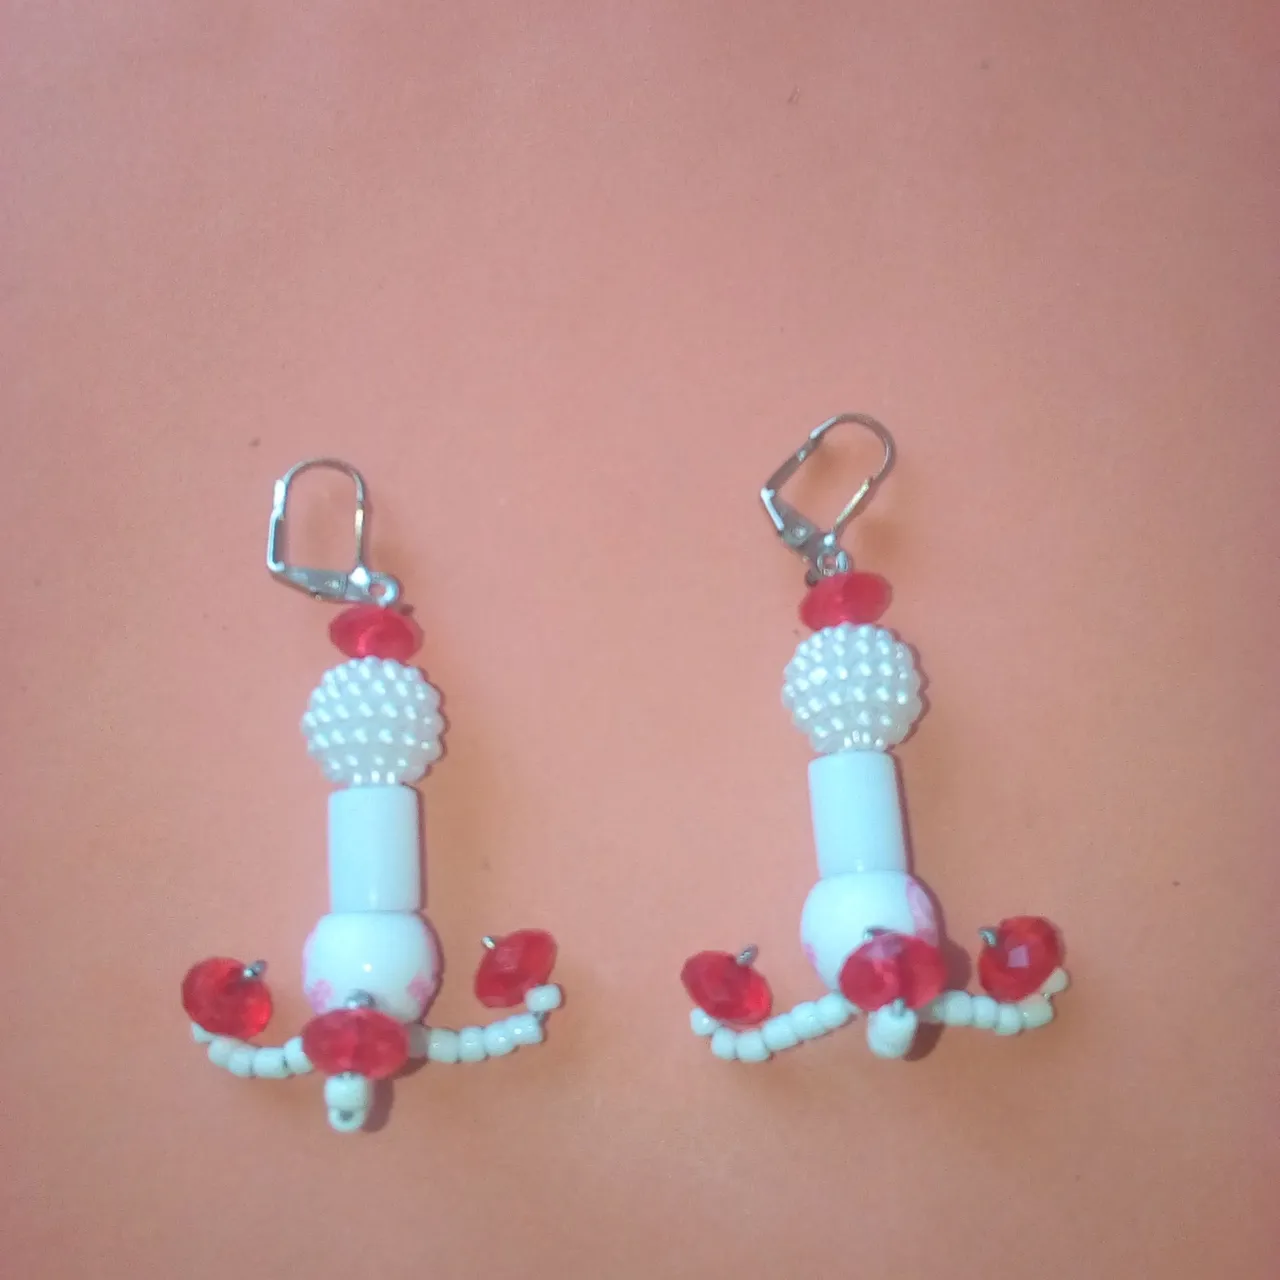
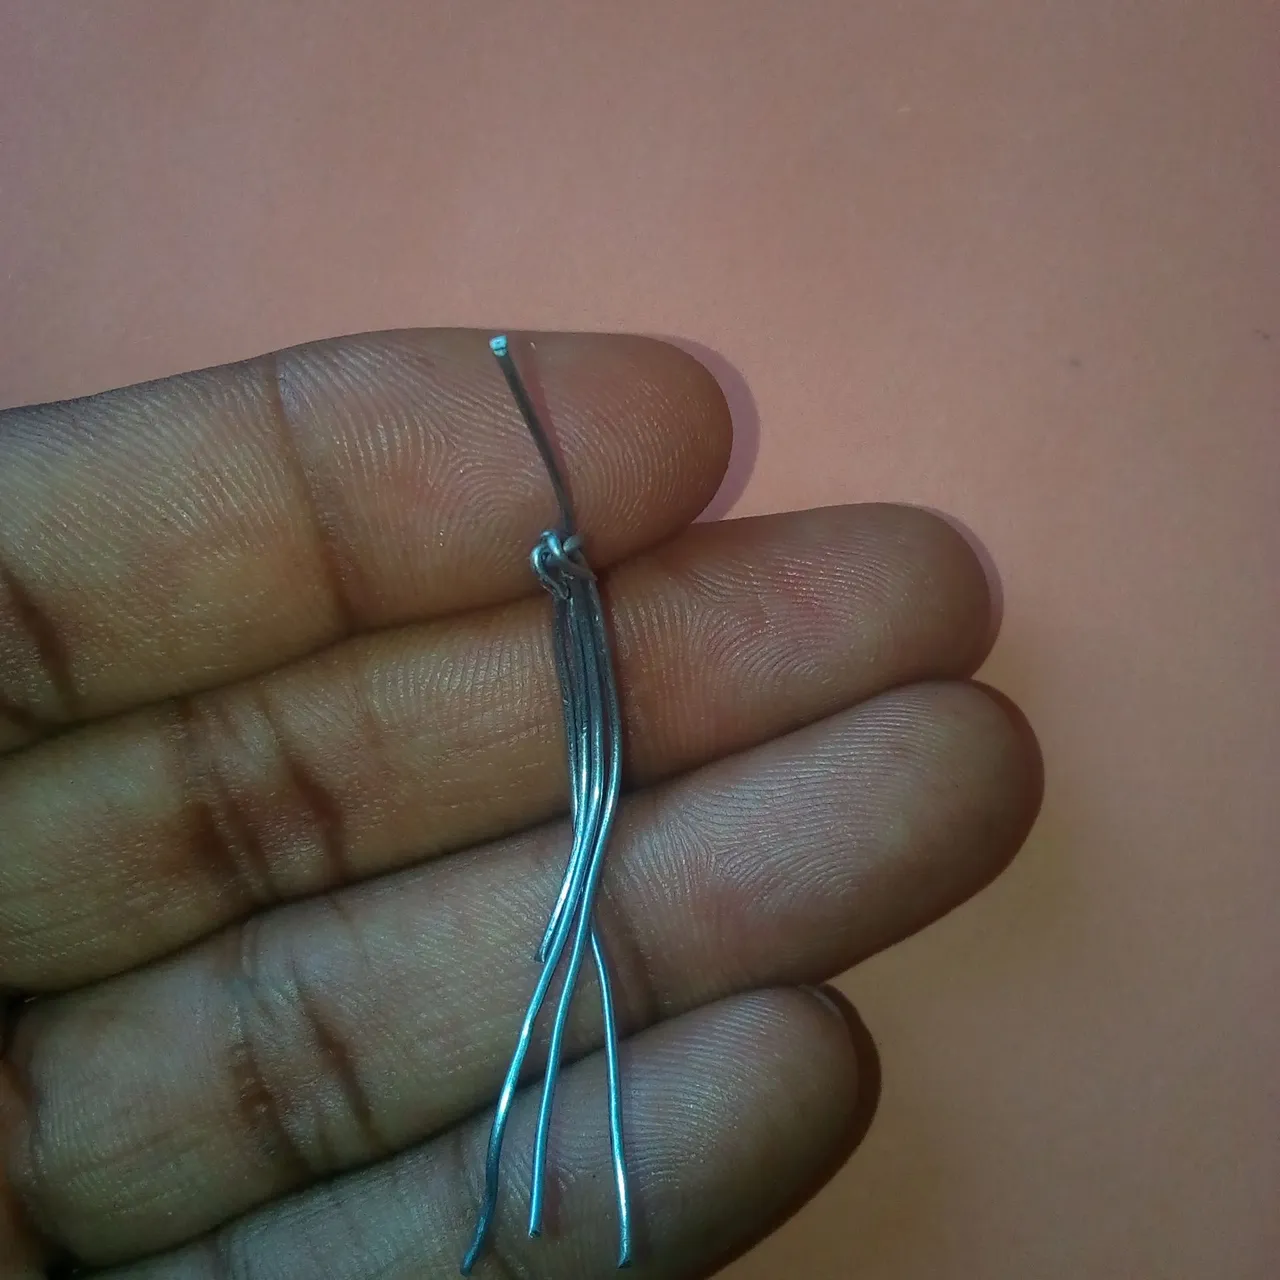
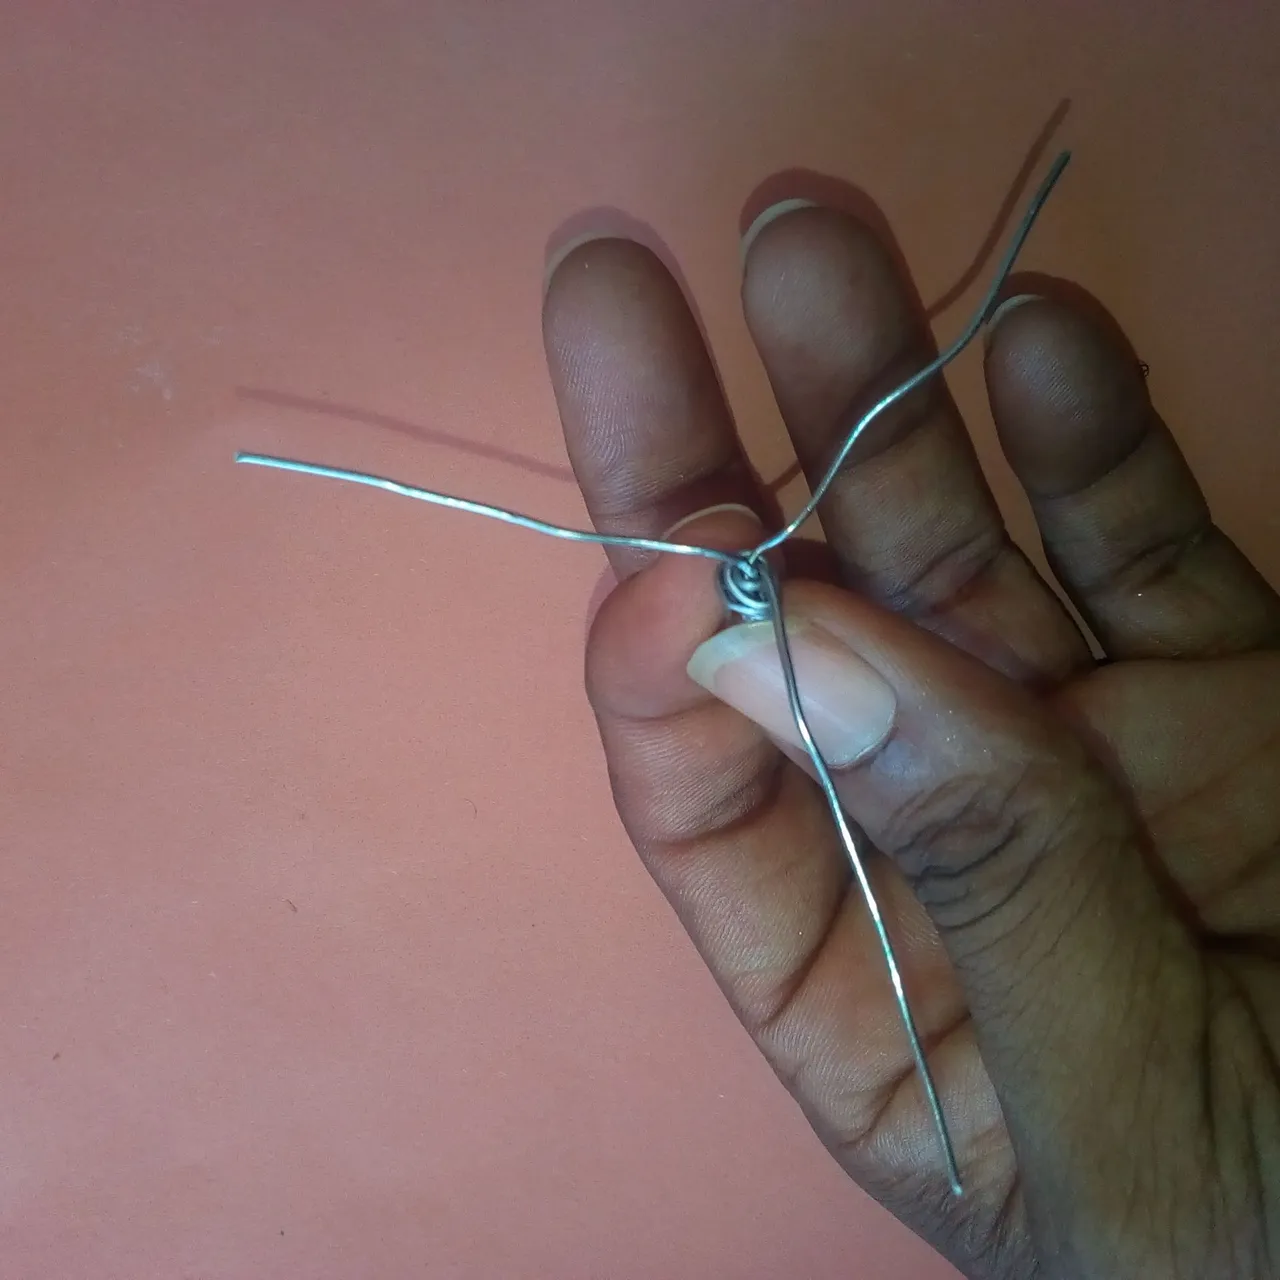
You can now join the 4 wires' heads together but you will use 1 to tie the head. After the tying, bend the 4 wires from below in form of a fan. Use one again to tie. You will now have to make sure that you only have 3 hand blades left.
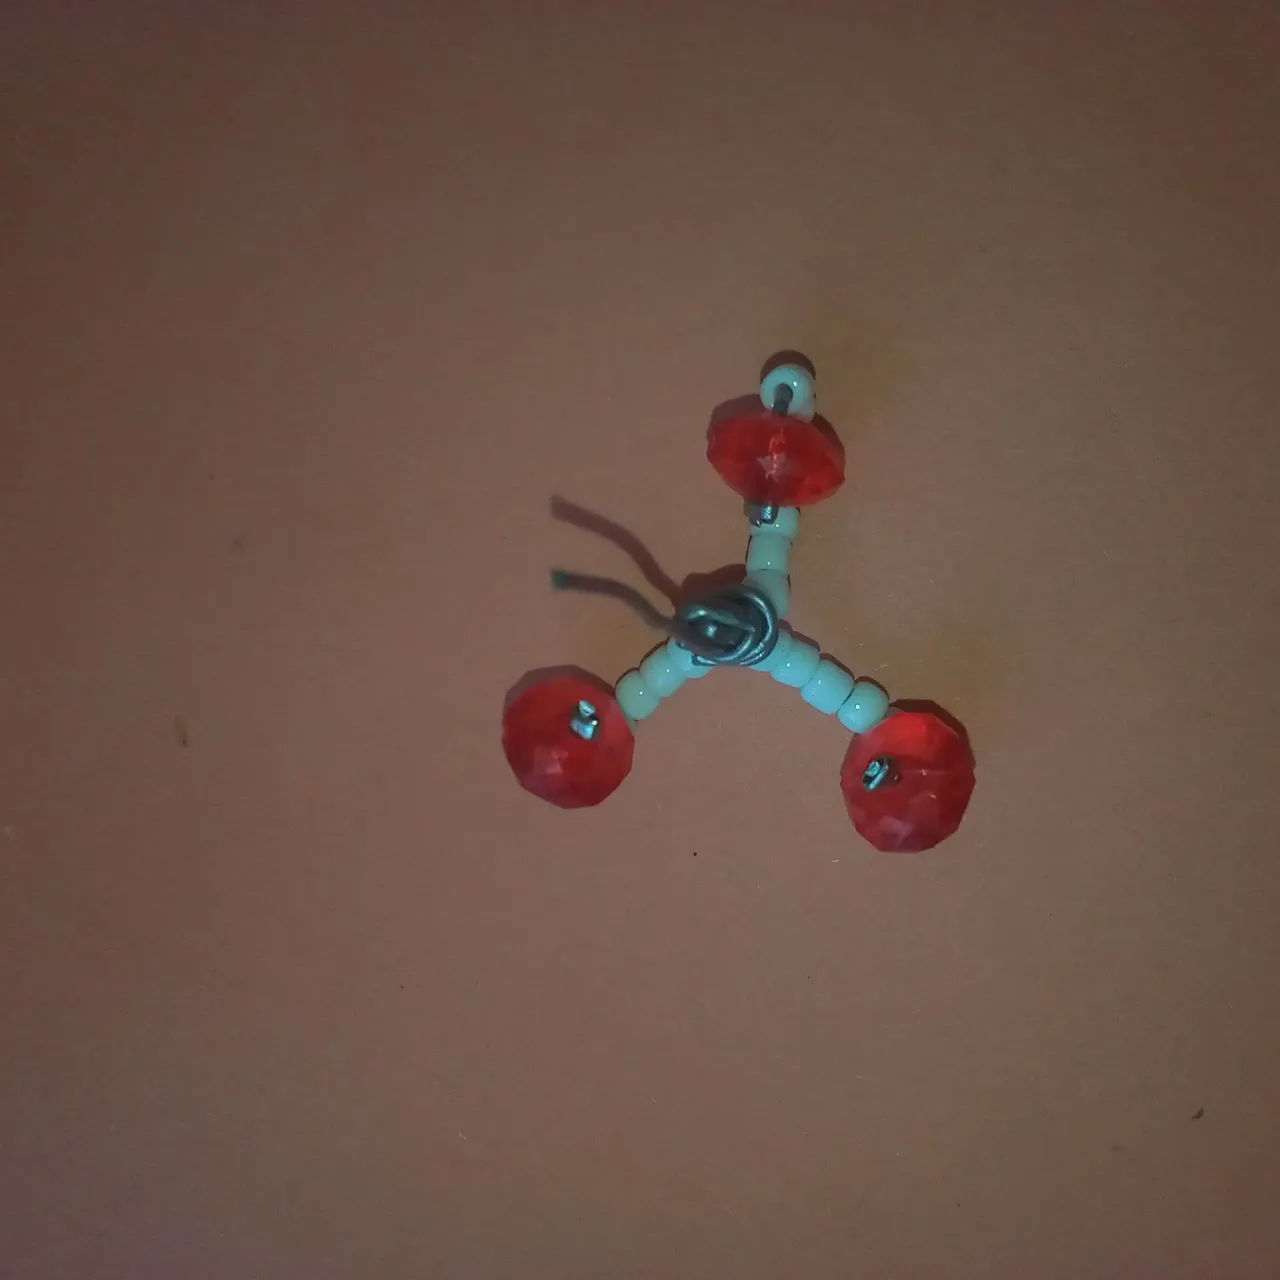
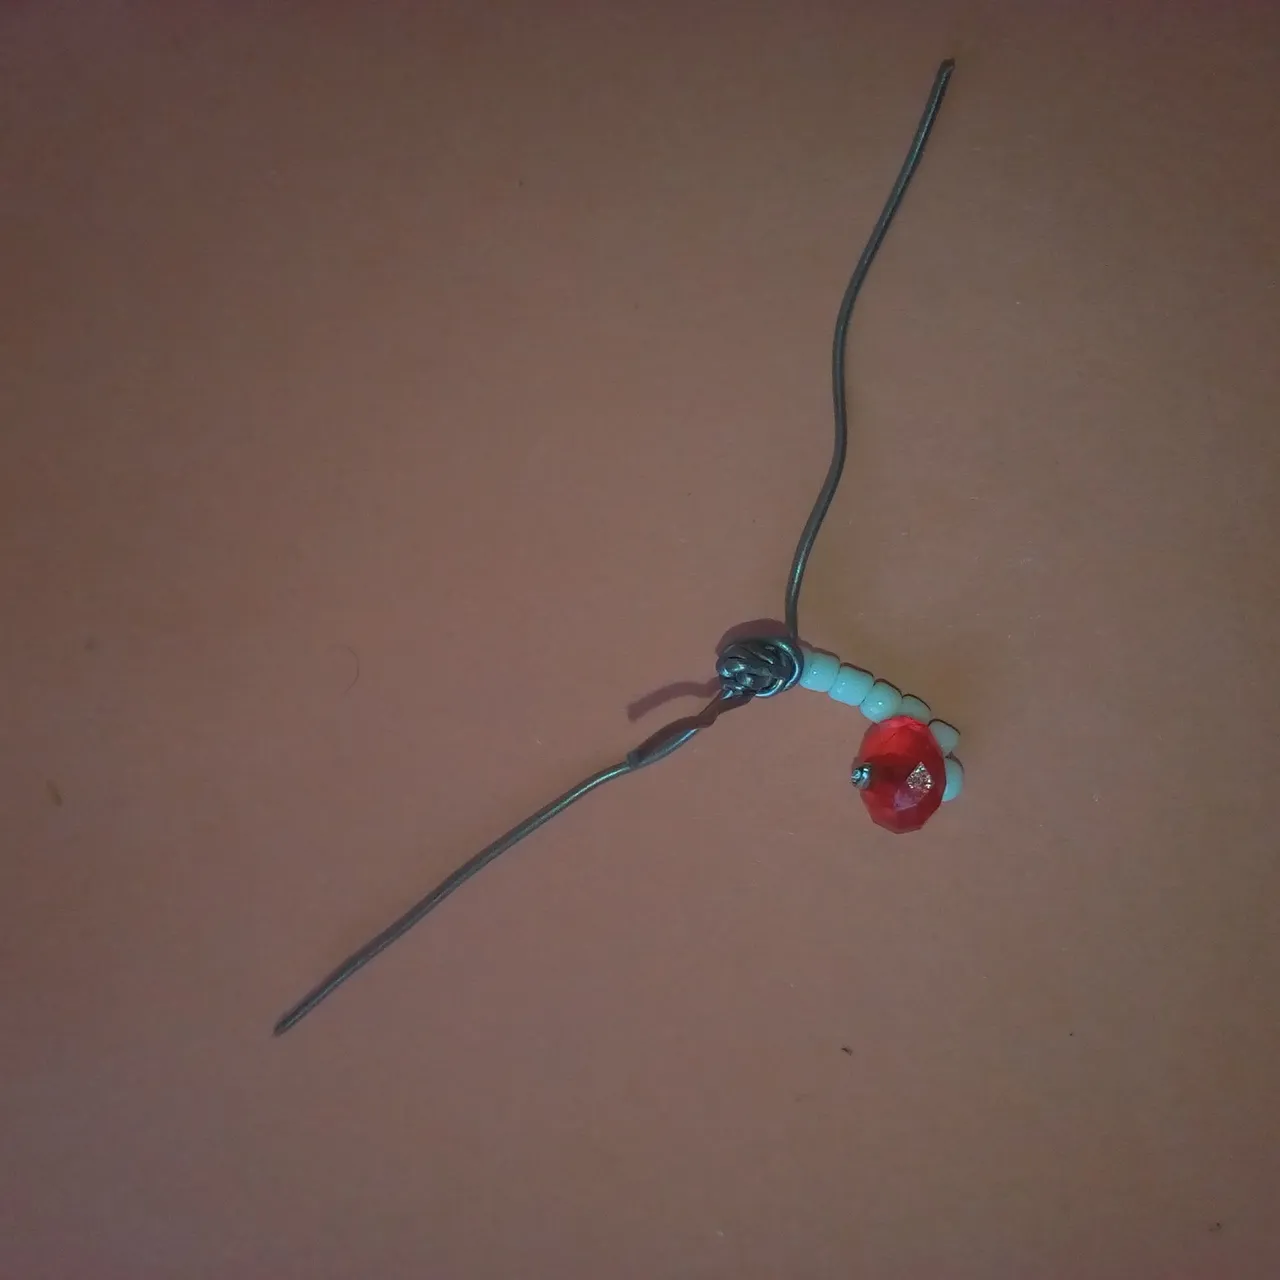
Count 7 pieces of white sand beads and 1 piece of red diamond shape beads. Insert them into each one of the three blades of the chandelier earring. You will have to make sure that you use bead stoppers on them.
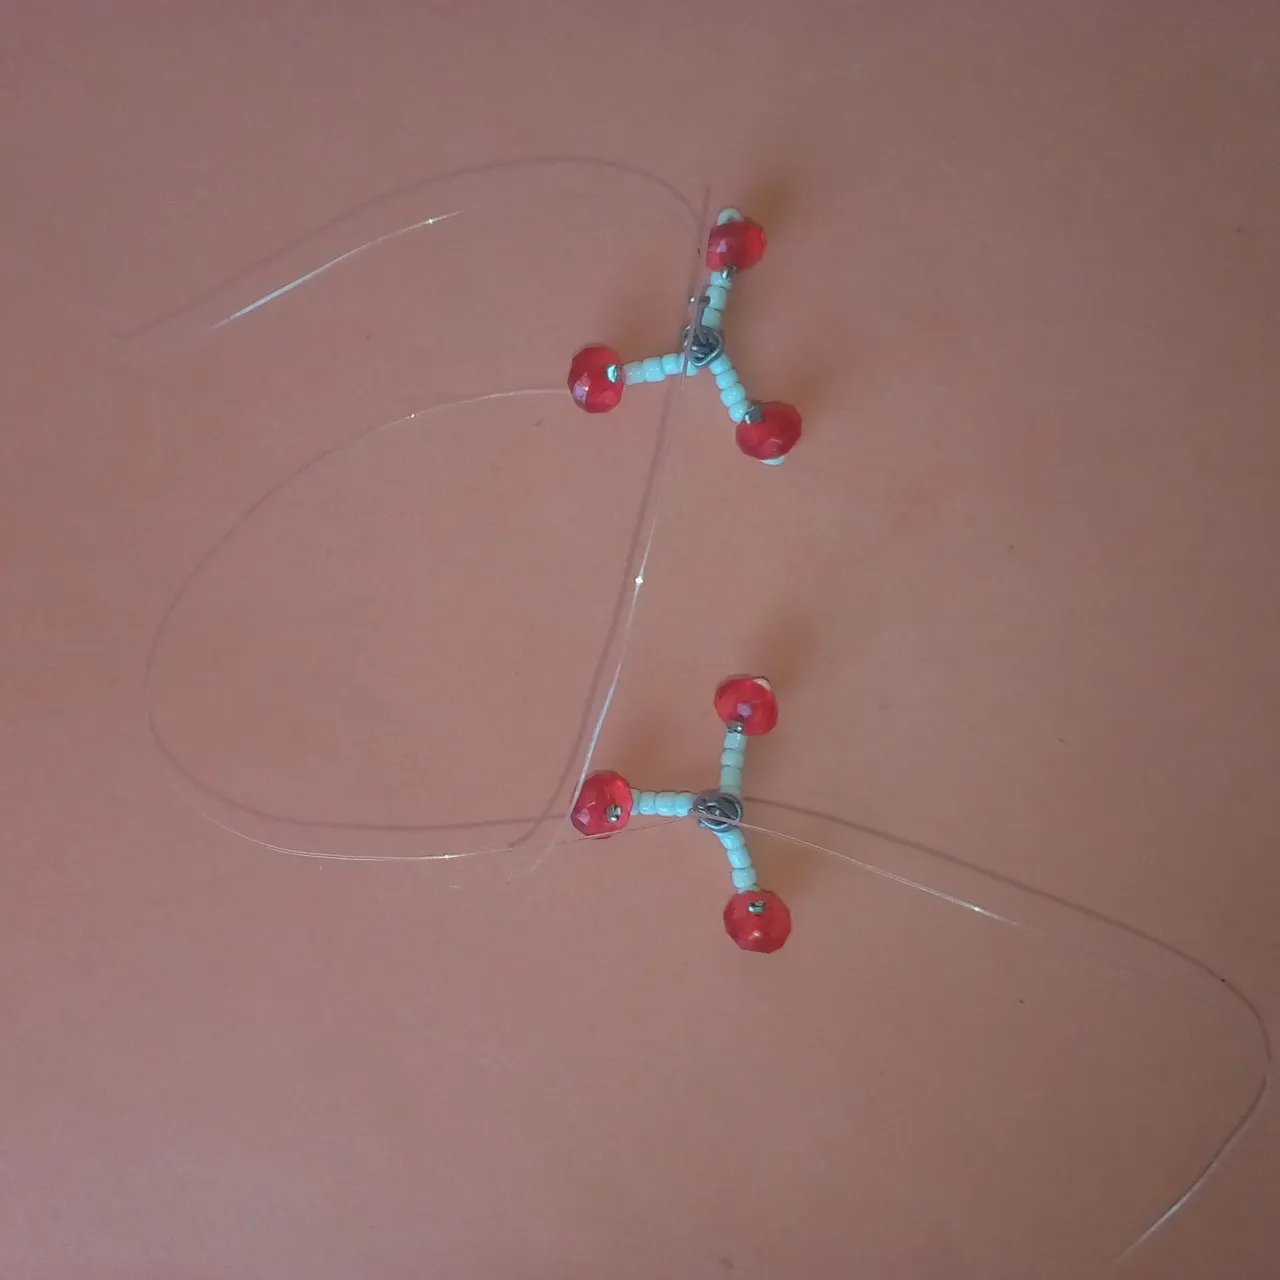
Cut a fishing line and use a stopper to join it to the head of the earring.
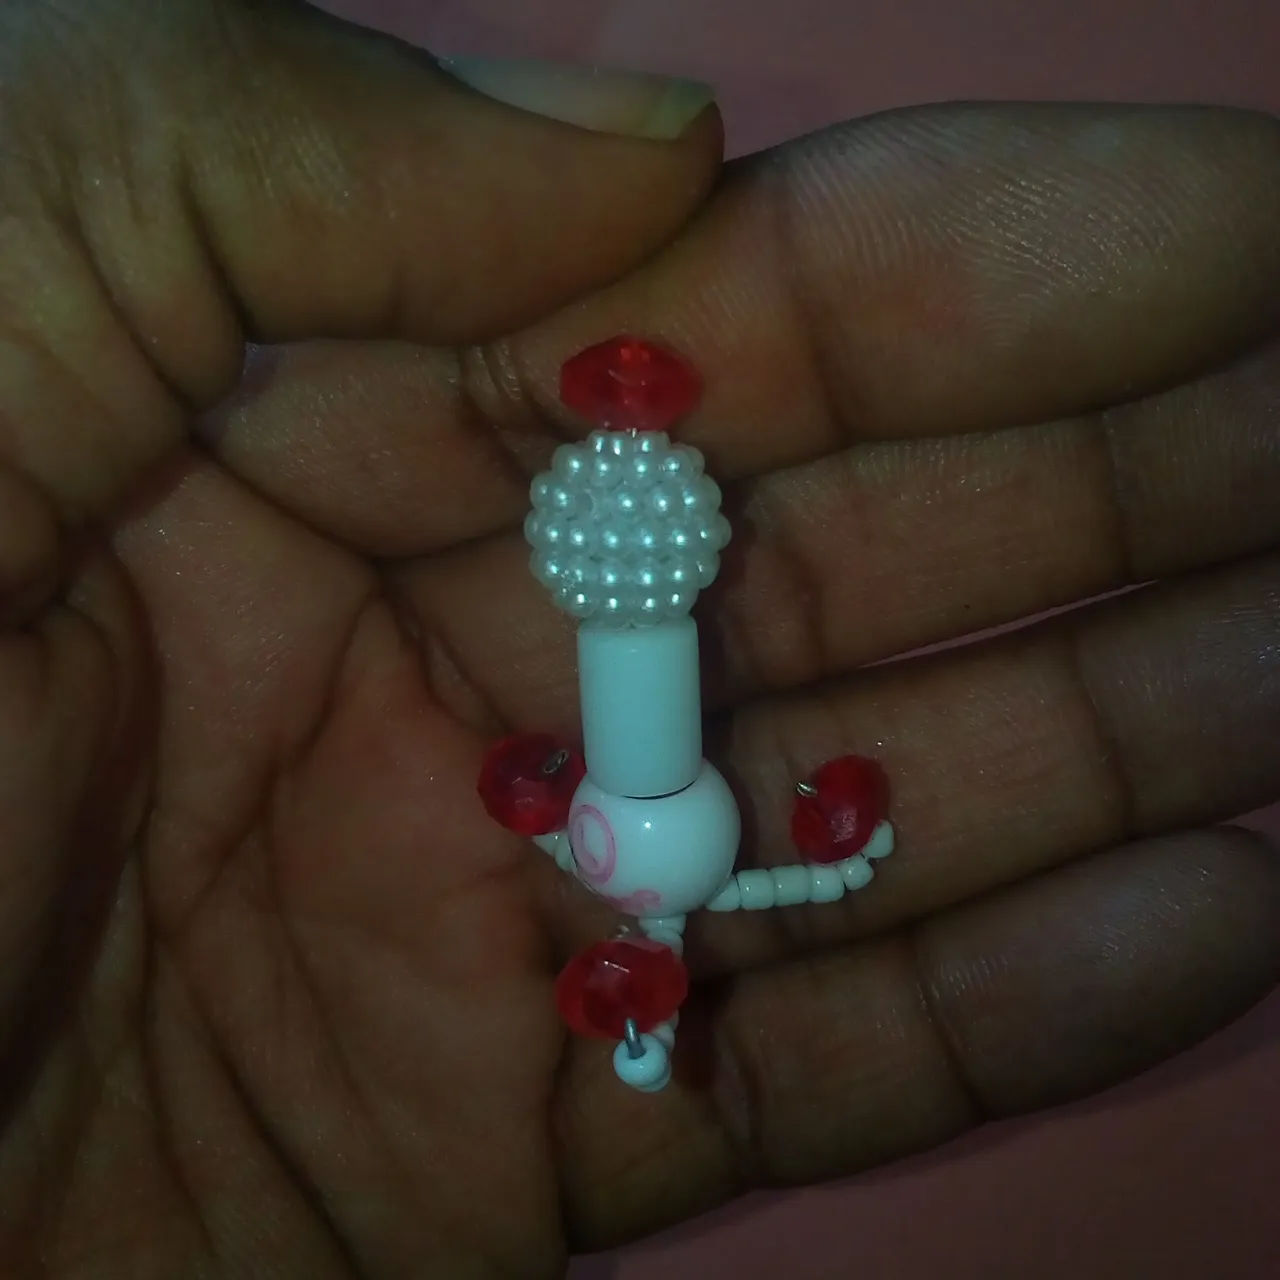
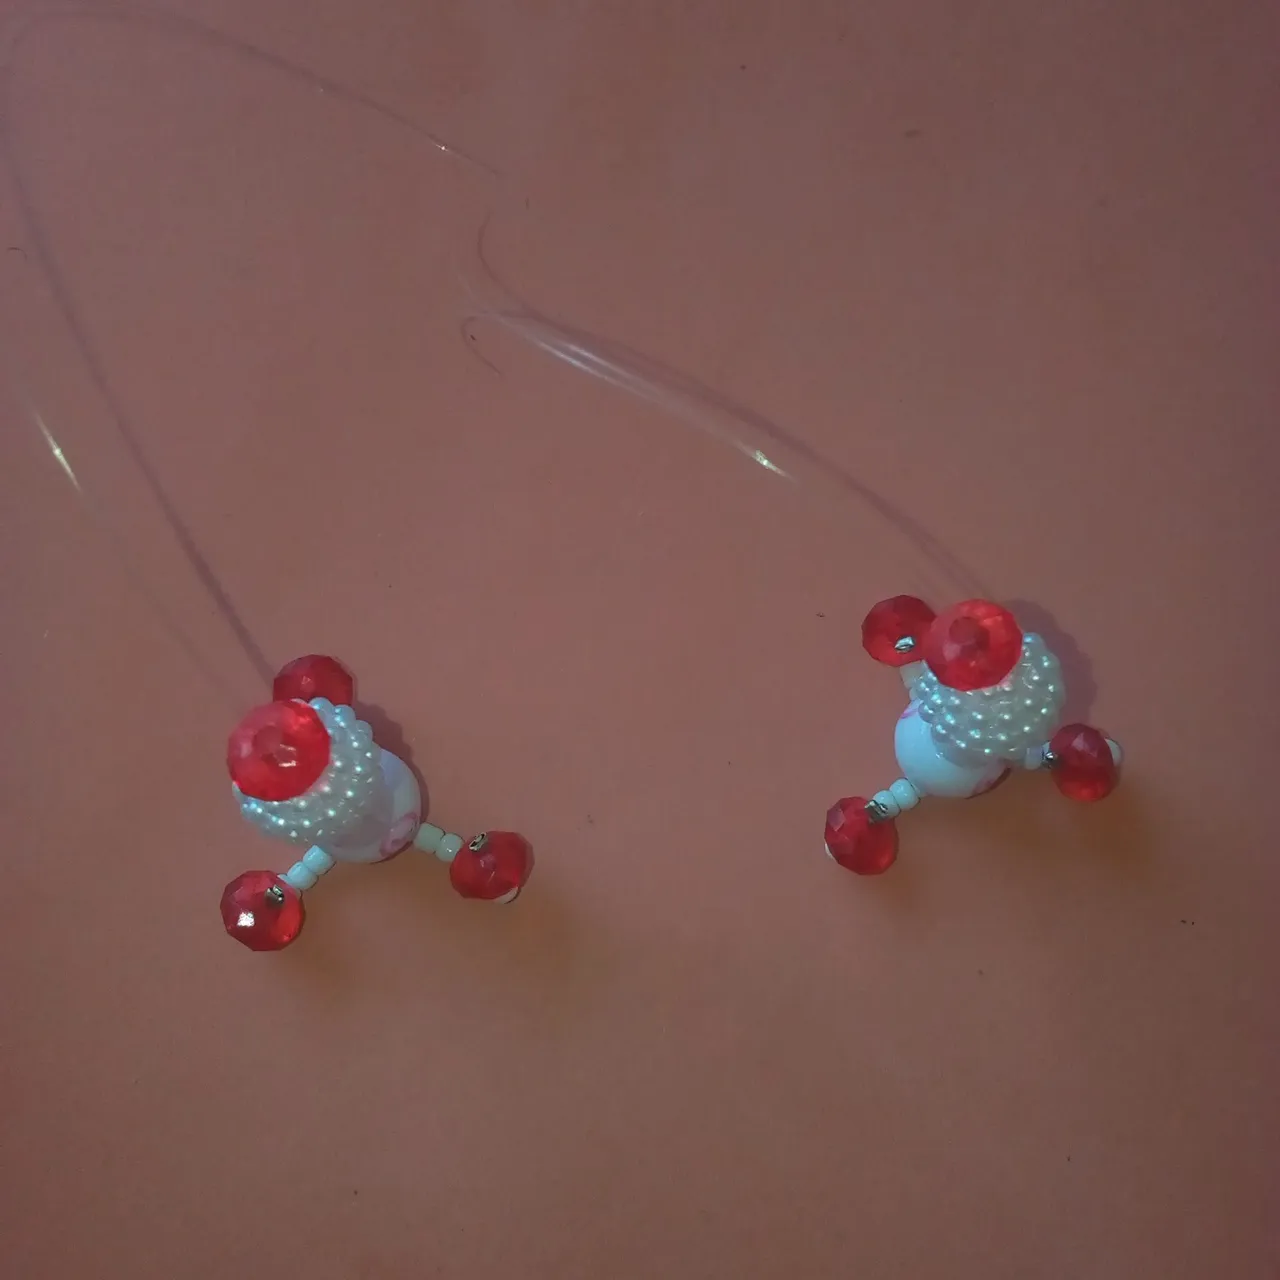
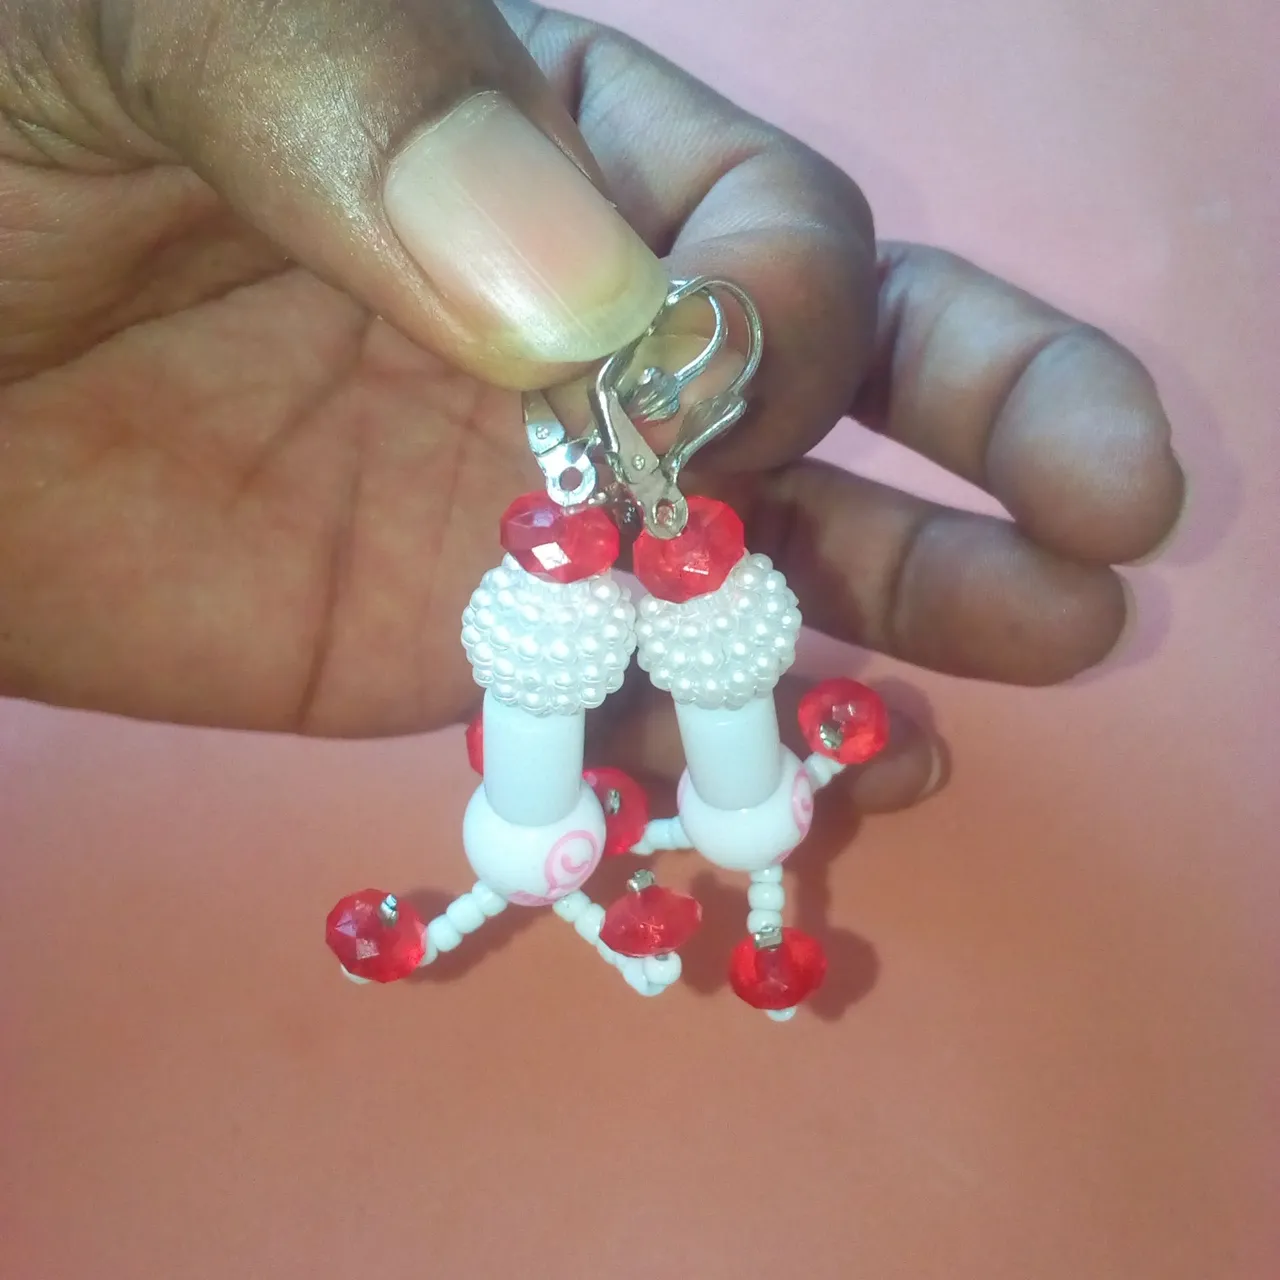
From the top of the earring, you will have to insert 1 hair bead, 1 white straw bead, 1 white pearl bead, and 1 red diamond shape bead on each side of the earring.
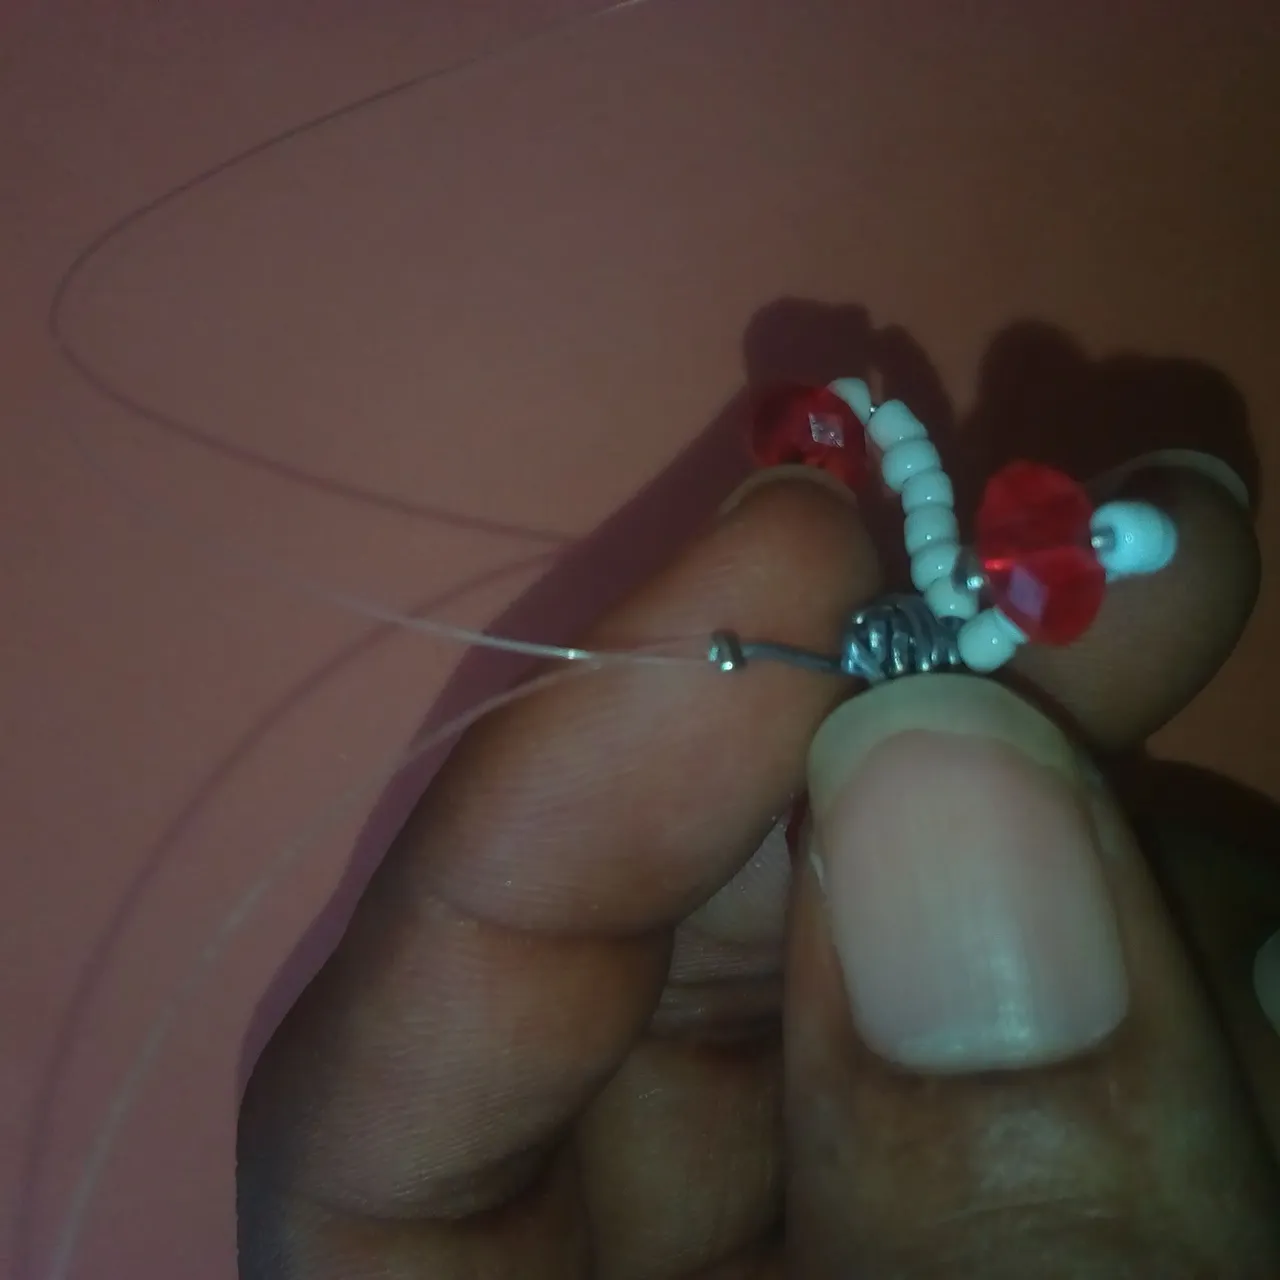
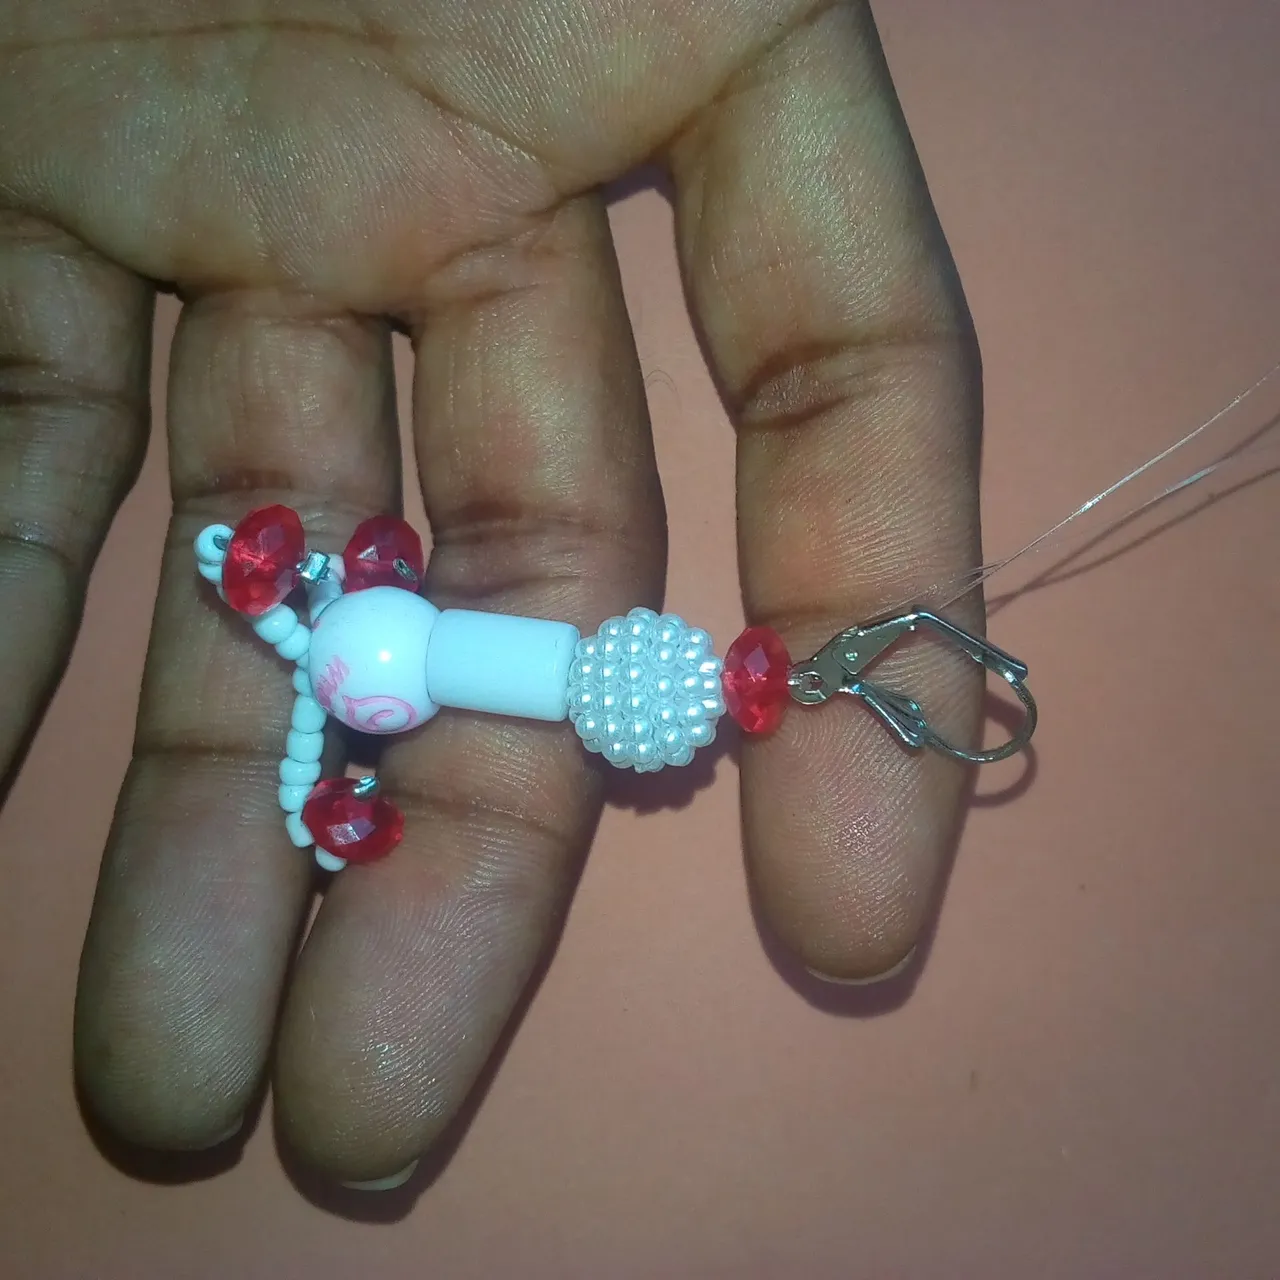
You can now insert your earring hook and use a stopper to hold it.
Finally, use matches to burn the fishing line.