Hello jewelry lovers, how are you all doing? Well, I believe we just have to take life easy with whatever we do. Today is another special day and I have decided to share with you a necklace I made with some simple materials. I believe that it will not be difficult for you to try making one for yourself.
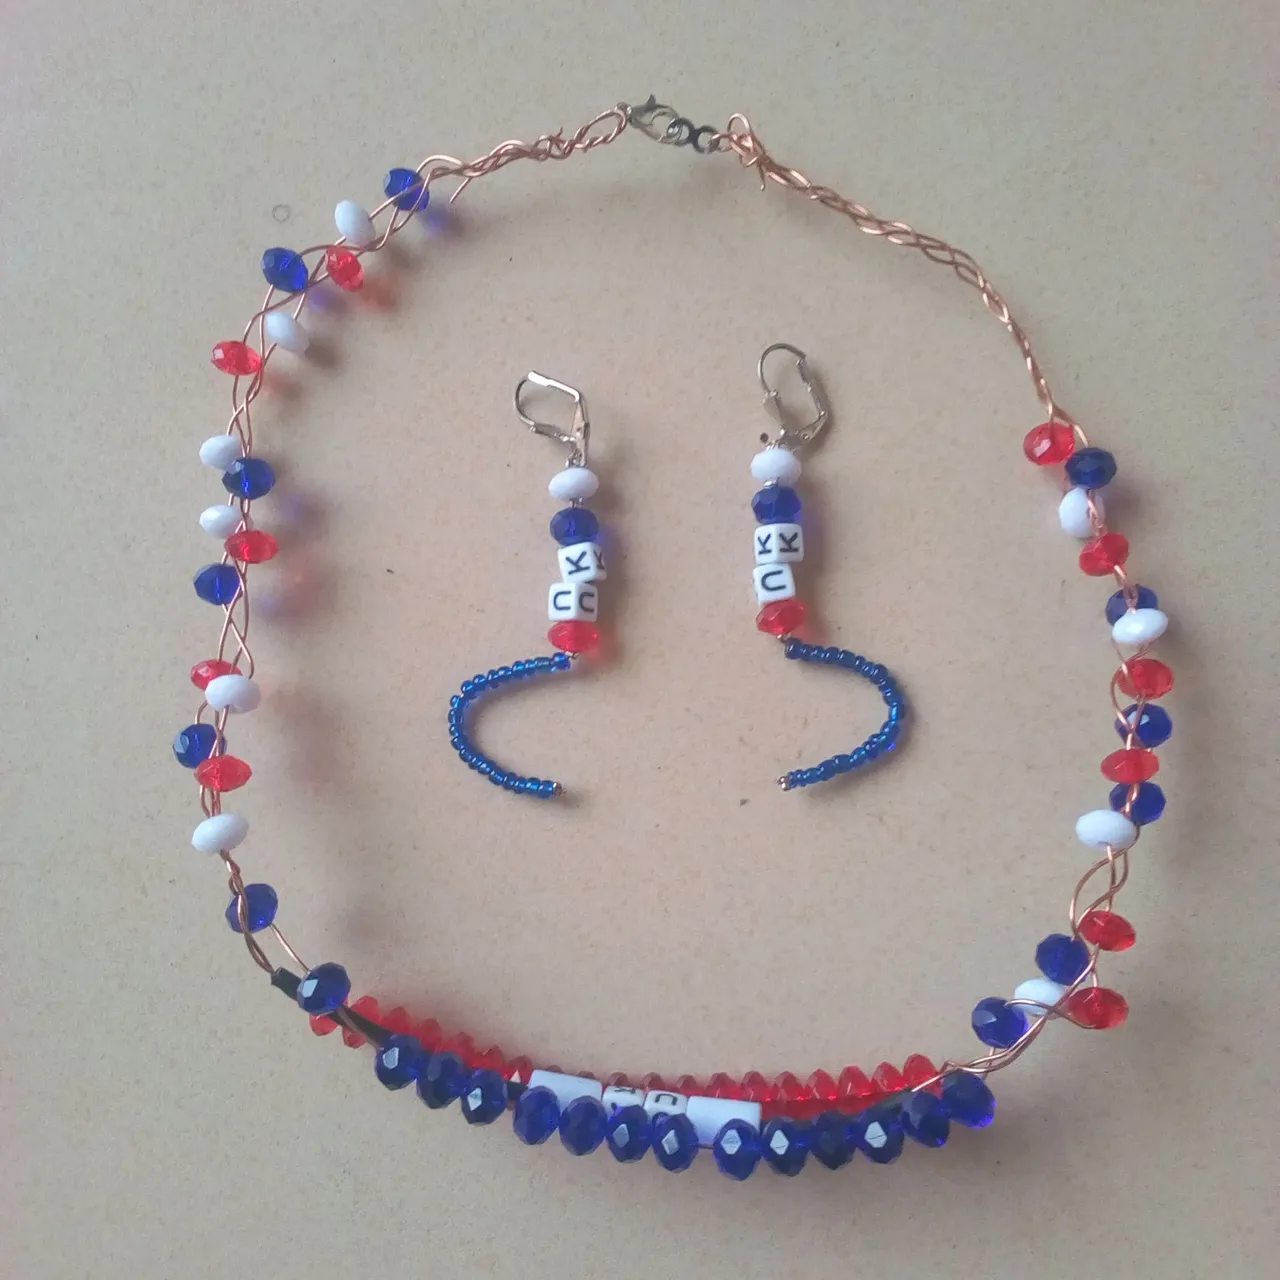
The inspiration for the necklace I shared here came as a result of the formal earring post I made last weekend concerning the love I have ever developed for the country UK. After I made the earring and shared it with you last weekend I was looking at it whether it be fine if I make a necklace to compliment the earring. This was how I came up with the decision of making a necklace today but the question was even when I decided to make a necklace, what kind of necklace will I make, and what material will I also use for the creation? The decision was somehow difficult to make but I think it was a good choice to augment the necklace with some of the materials I used in making the earring I share last weekend.
When I was making the necklace, I was wondering what to do with the necklace so that the memory of the UK will always remain with me. When I completed the necklace making and noticed that it was looking good to be combined with the earring I made before. I took the decision on gifting the necklace and earrings to my mother because she will always wear them where I will always see them so that the memory I have for the UK as a country will always remain.
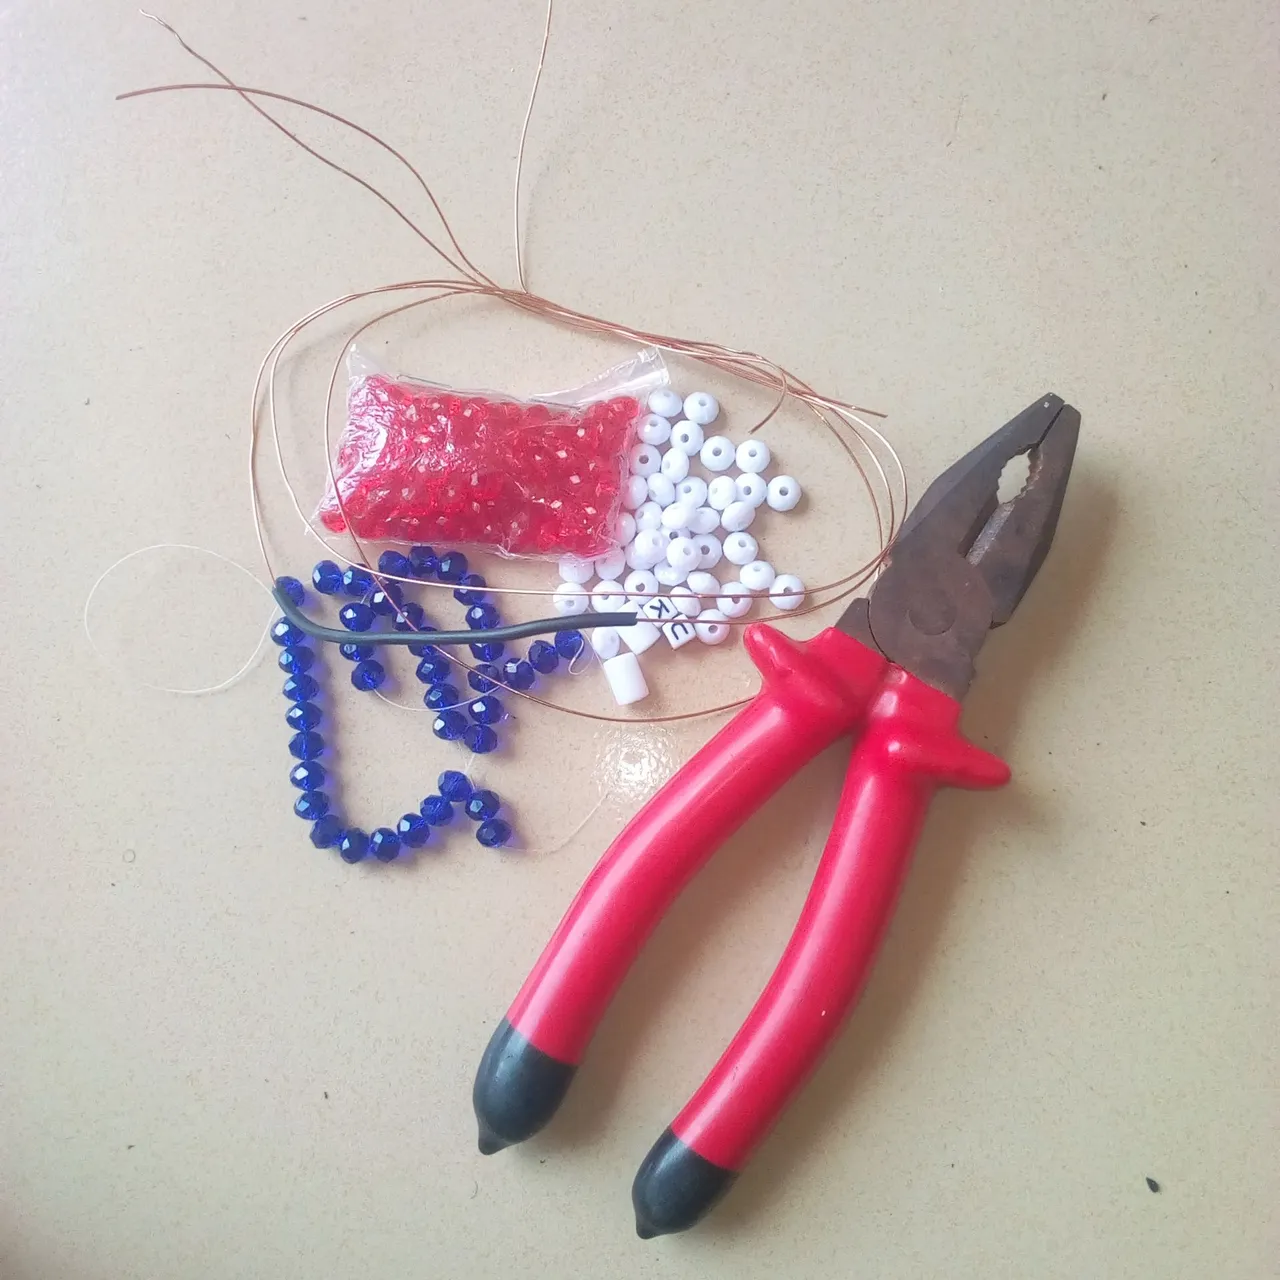
We are going to be looking at the materials used in making the necklace:
A 1.5mm wire line was used.
26 pieces of blue diamond beads.
30 pieces of red diamond beads.
10 pieces of white diamond beads.
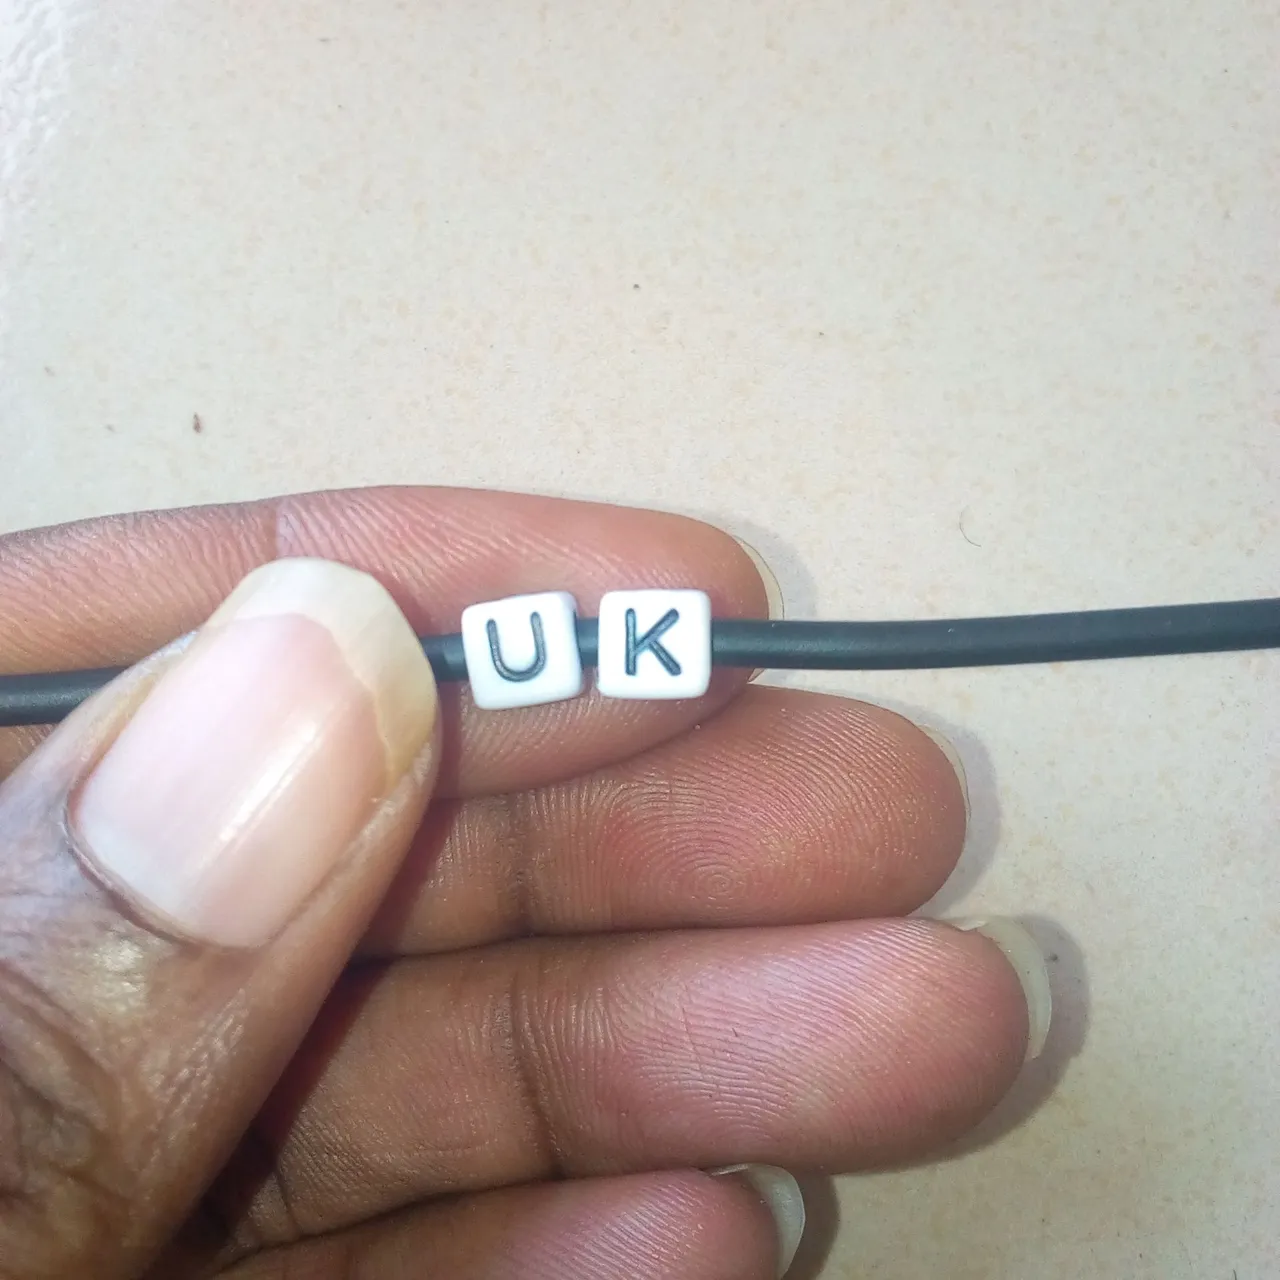
U and K alphabet bead.
2 pieces white straw bead.
Necklace hook.
Let us also consider the tools used in making the necklace:
A plier was used.
Support from my leg.
We are now going to look into how we can comfortably achieve making the necklace:
One of the things I always advise is making the materials available so that we will not be helpless during the processes.
Take proper measurements of your neck but for me, I measure 12cm of three separate wires.
Use a plier to cut the three separate wires you just measured.
Pill out two wires from the shell while you pill one by remaining about 2cm, it should be black in color.
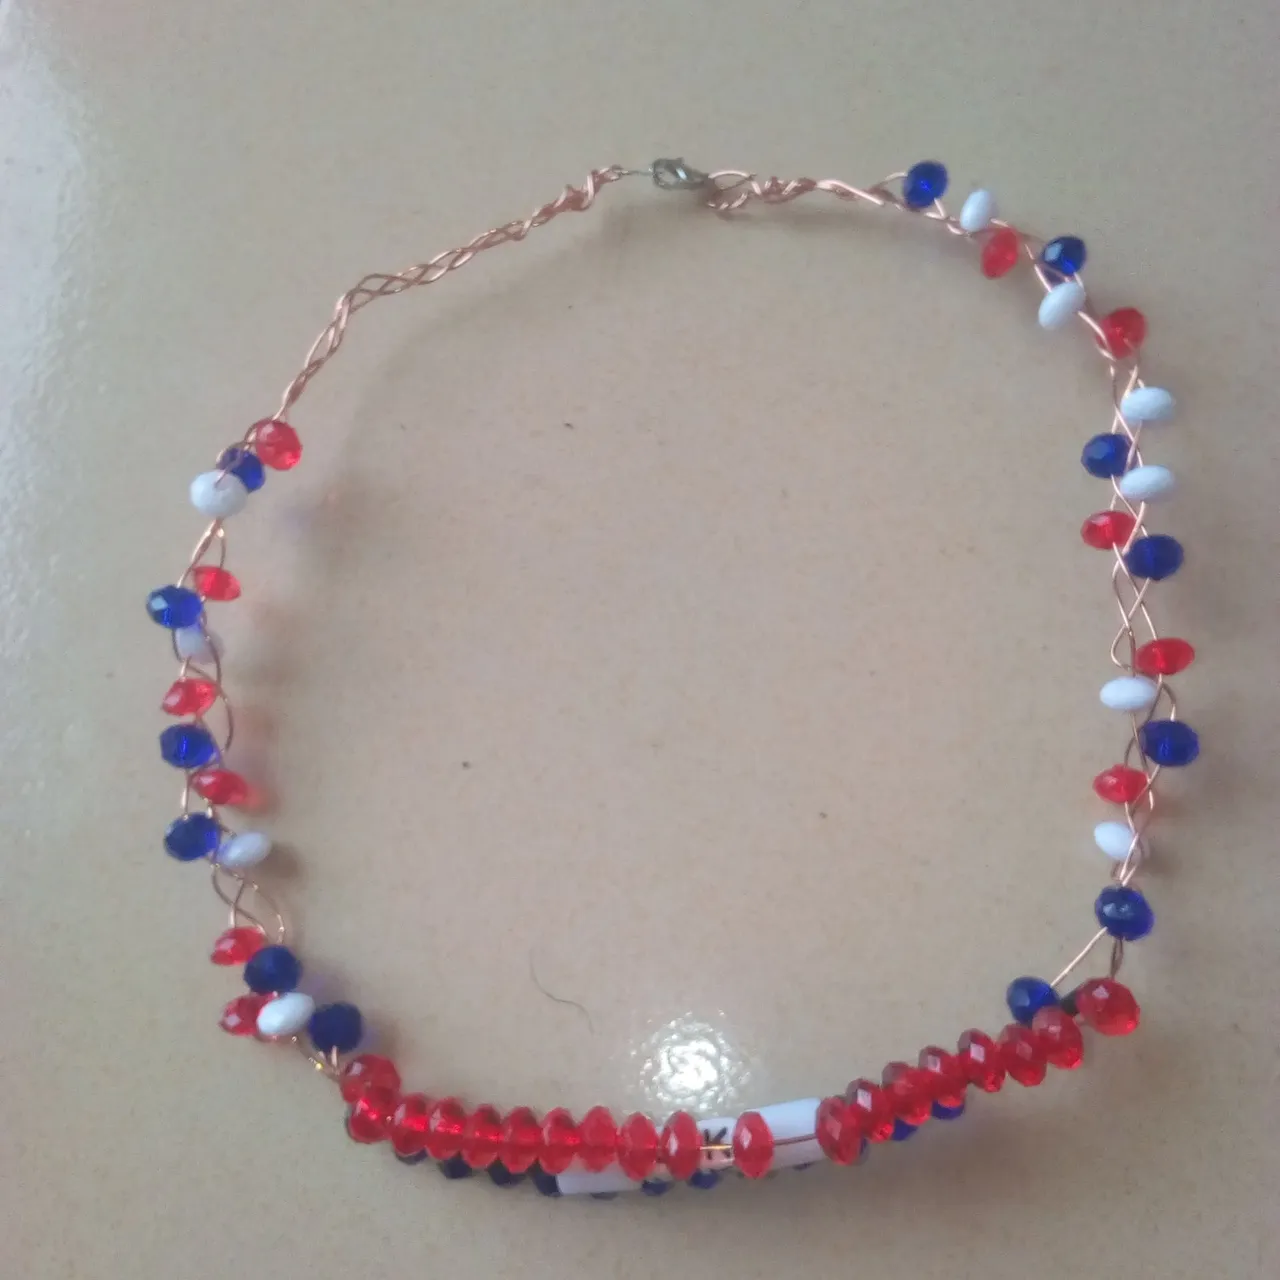
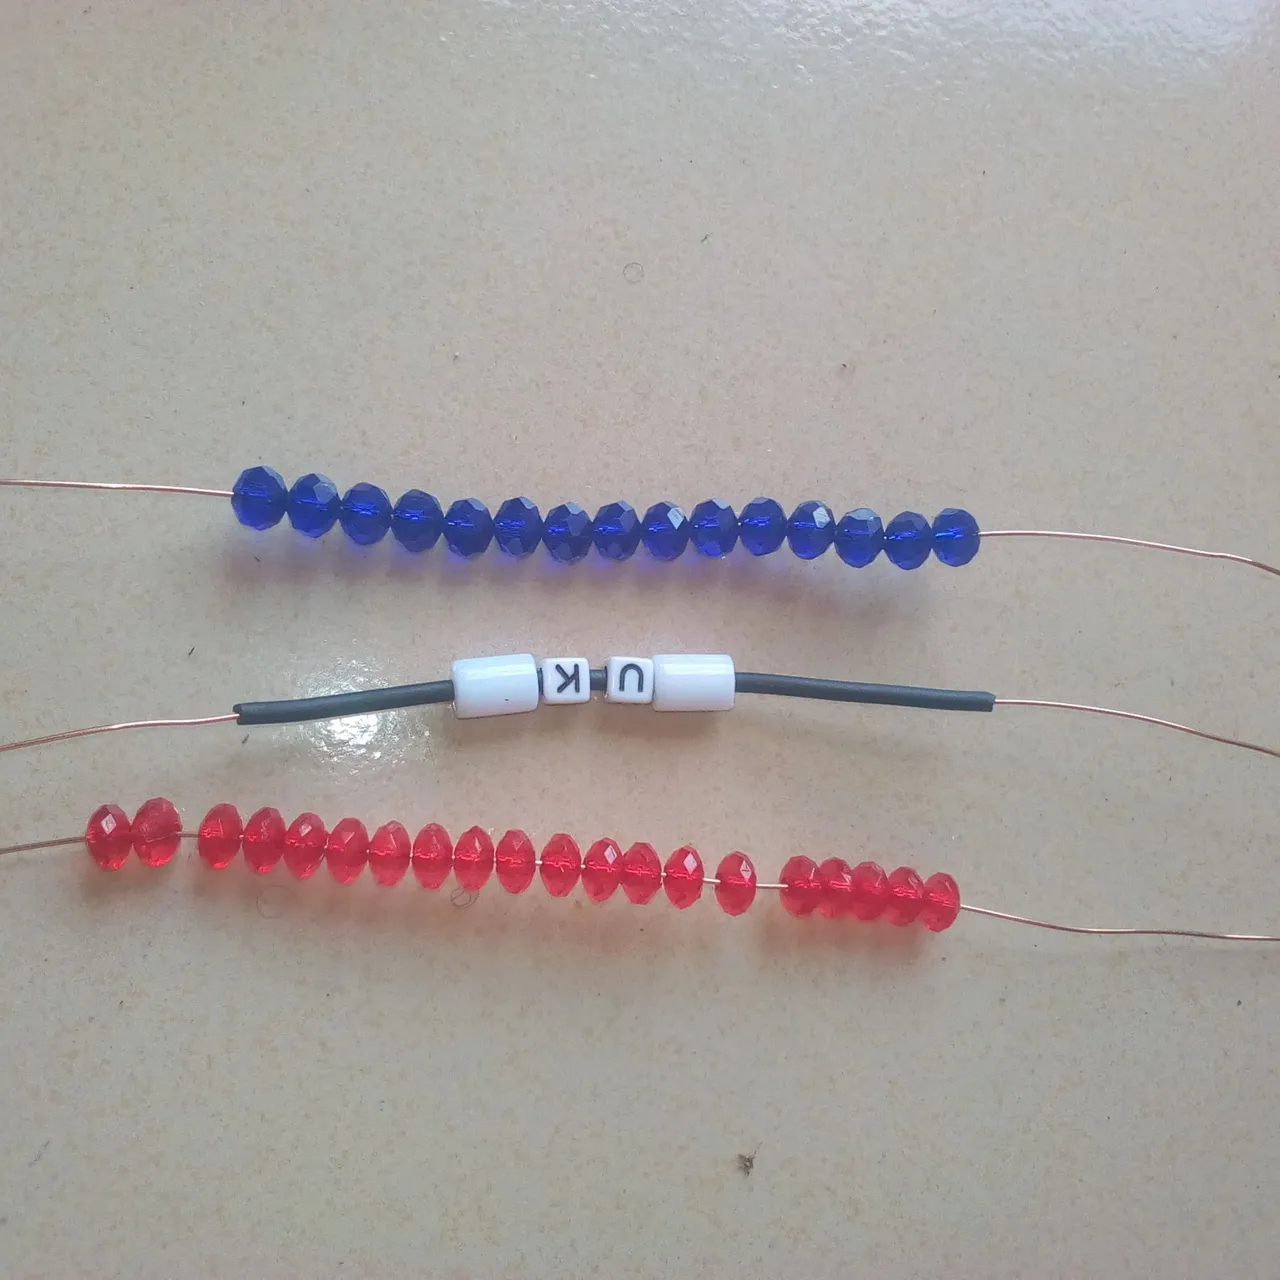
Place the three wires to the floor and insert 1 white straw bead, U and K alphabet bead, and I straw bead again into the wire containing a black shell.
Insert 19 pieces of red diamond beads into one of the wires.
Insert 15 pieces of blue diamond beads into the last three wires.

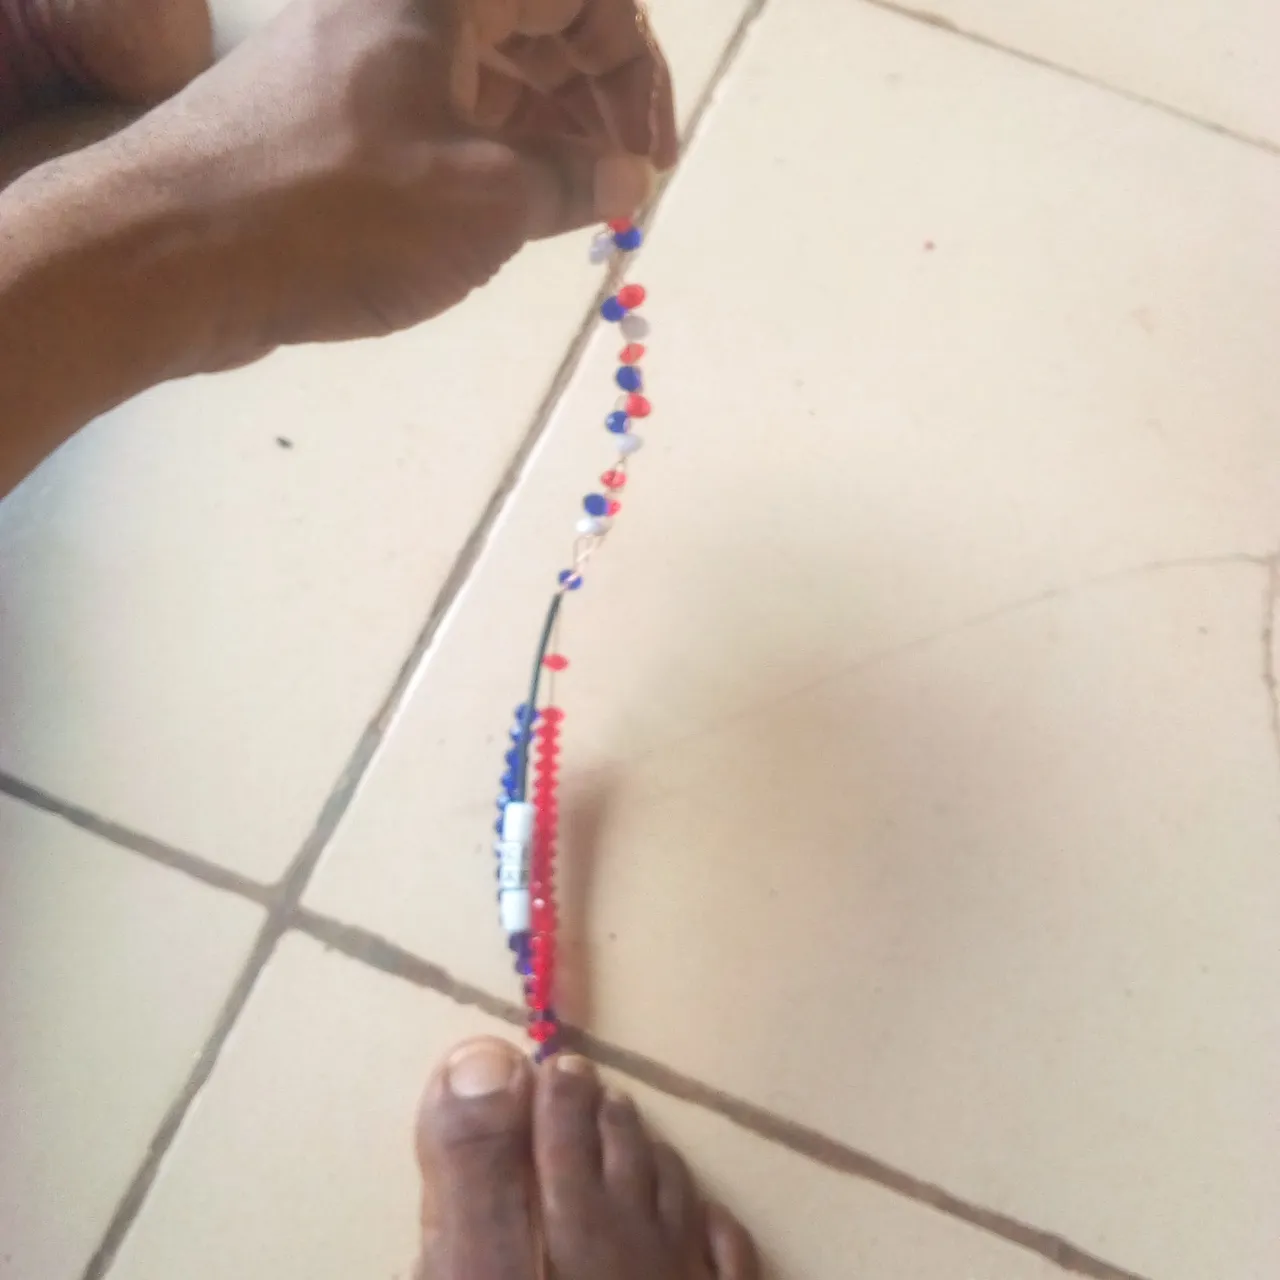
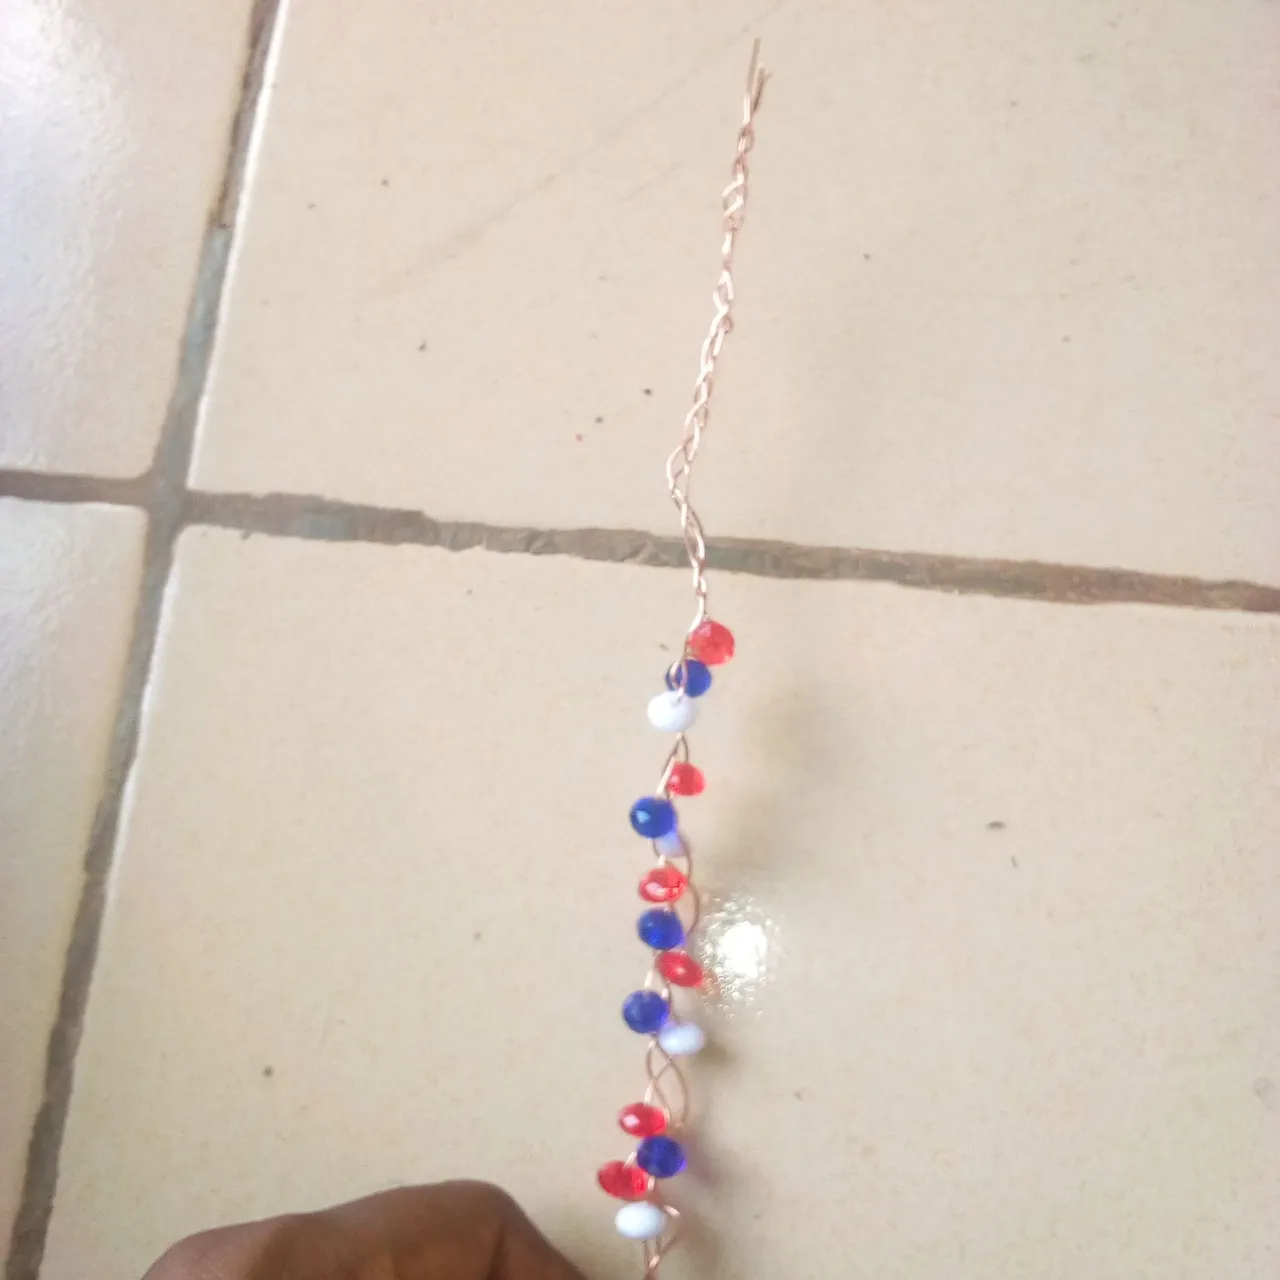
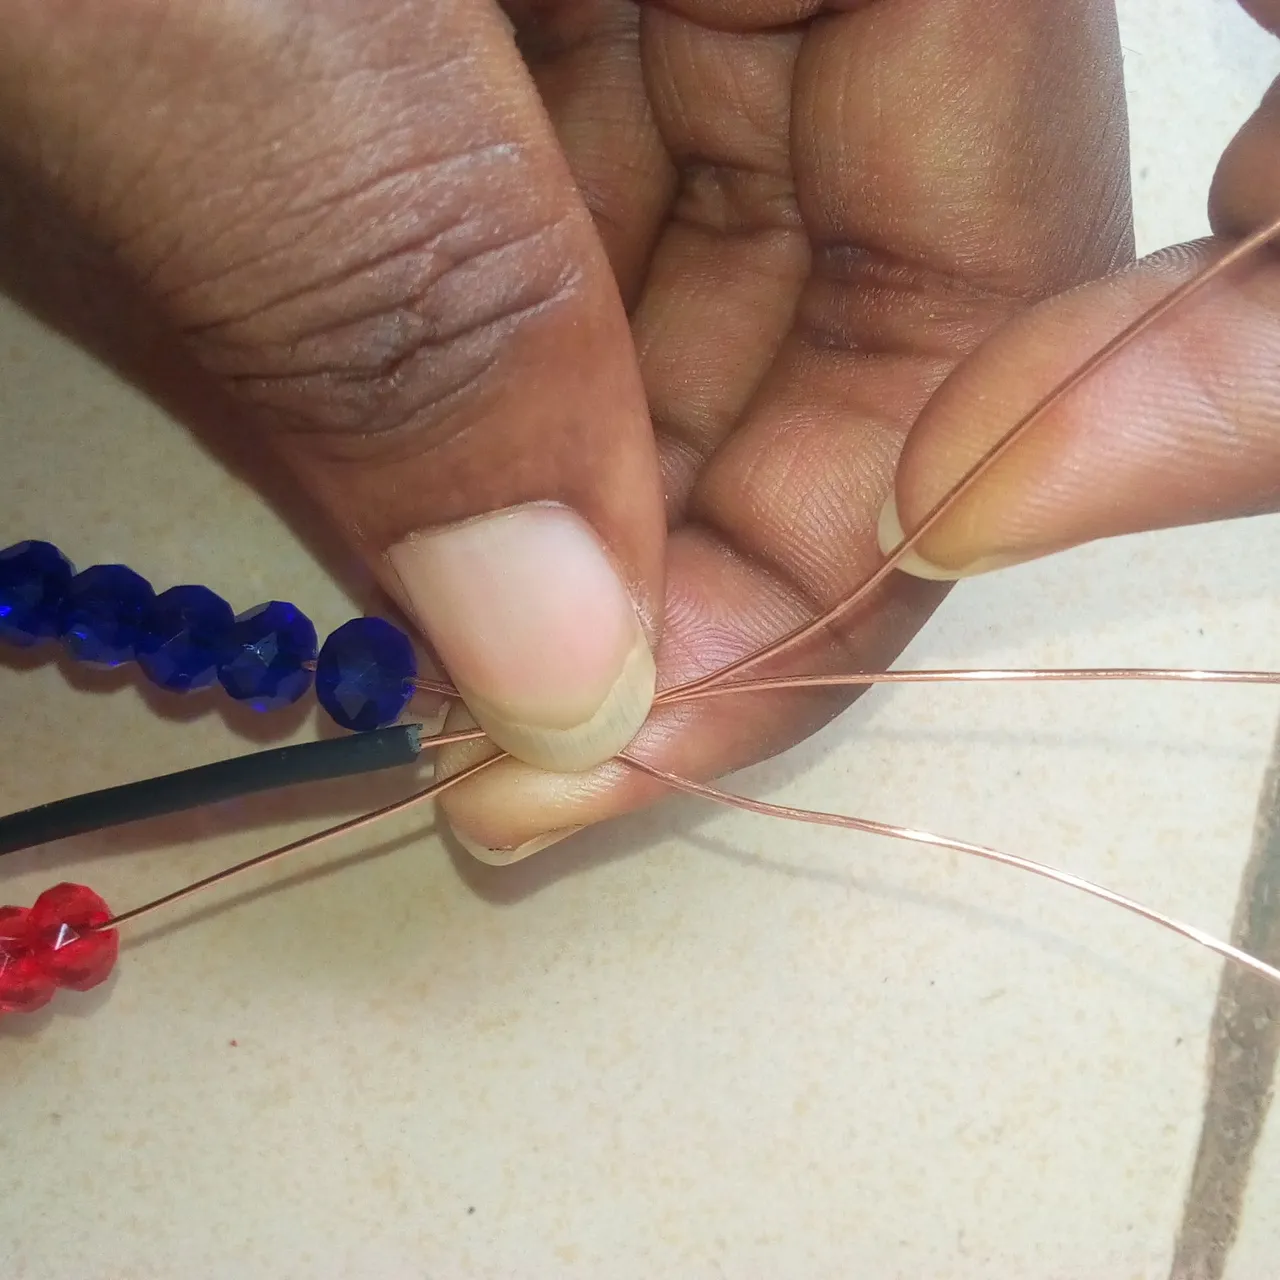
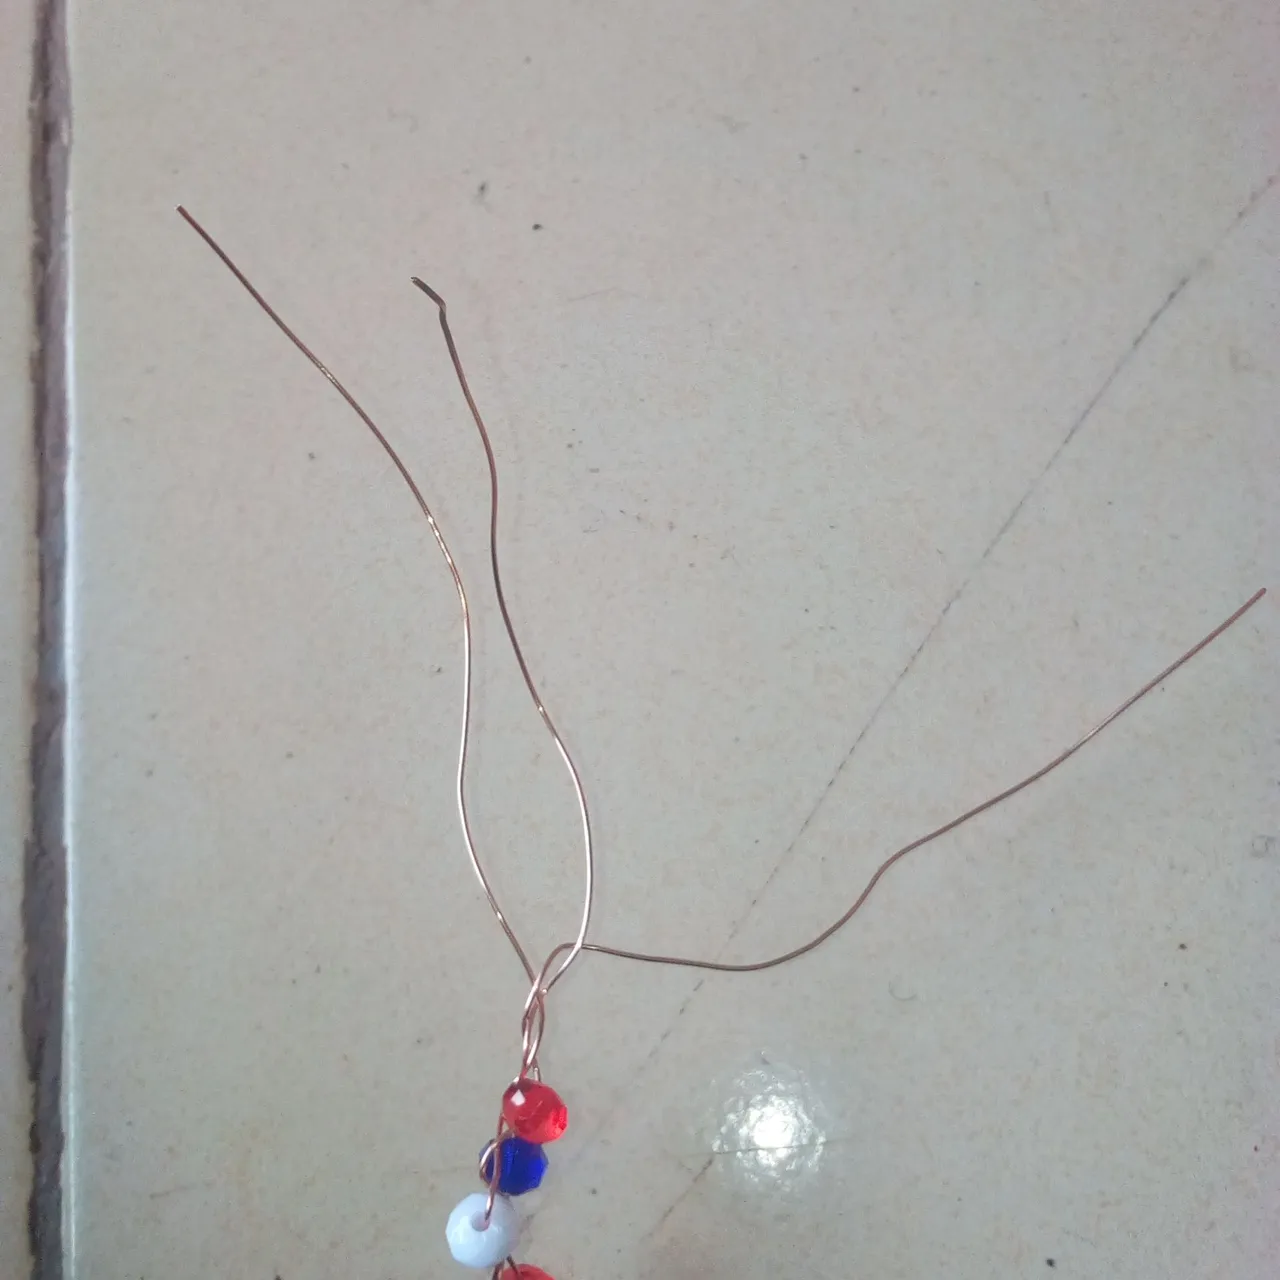
Now we have to start weaving the three wires together and by so doing, use your leg to hold one edge of the three wires. Make sure you weave a little to lock the three wires before you start inserting your red, blue, and white diamond bead.
You have to weave 6 pieces of blue diamond bead, 6 pieces of red diamond bead, and 4 pieces of white diamond bead to one side of the necklace while the other side of the necklace will be weaved with 5 pieces of blue diamond bead, 5 pieces of red diamond bead, 6 pieces of the white diamond bead.
You should weave a little without inserting beads and make sure one side is longer than the other in weaving.
Join the two sides of the necklace and insert a necklace hook.