

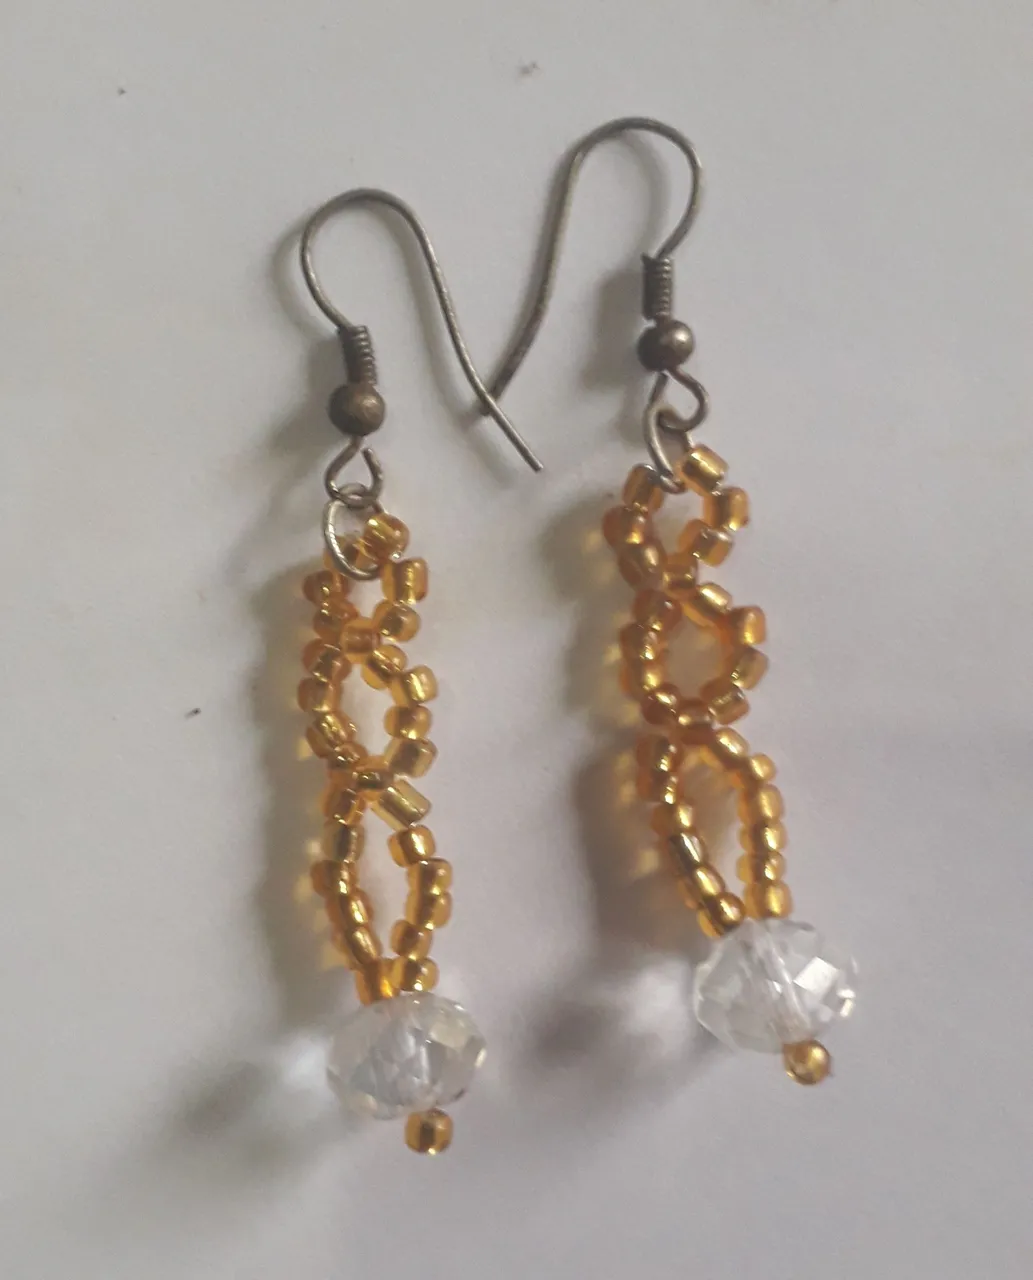
Hola queridos amigos de Hive y de esta hermosa comunidad de Jewelry, espero que estén bien y que hayan tenido un excelente día. En este hermoso día les quiero compartir unos hermosos y muy sencillos zarcillos de mostacillas y como pieza principal unos hermosos cristales de Swarovski que tenía guardados desde hace años que eran de una pulsera que no volví a hacer porque se me perdieron la mayoría de las cuentas. Aún así esta vez quise reutilizarlos y como son tan hermosos por si solos quise ponerlos como pieza principal, quería que cuando se vieran los zarcillos lo que más se notara sean estos hermosos cristales y me pareció una excelente idea este diseño, las mostacillas son sencillas por si solas pero el color de estas le da un toque colorido y hermoso a los cristales, me pareció que combinaban a la perfección estos dos materiales. Lo mejor de todo es que el largo del zarcillo es cómodo, no es tan largo pero tampoco es muy corto, lo que me gusta mucho.
Materiales:
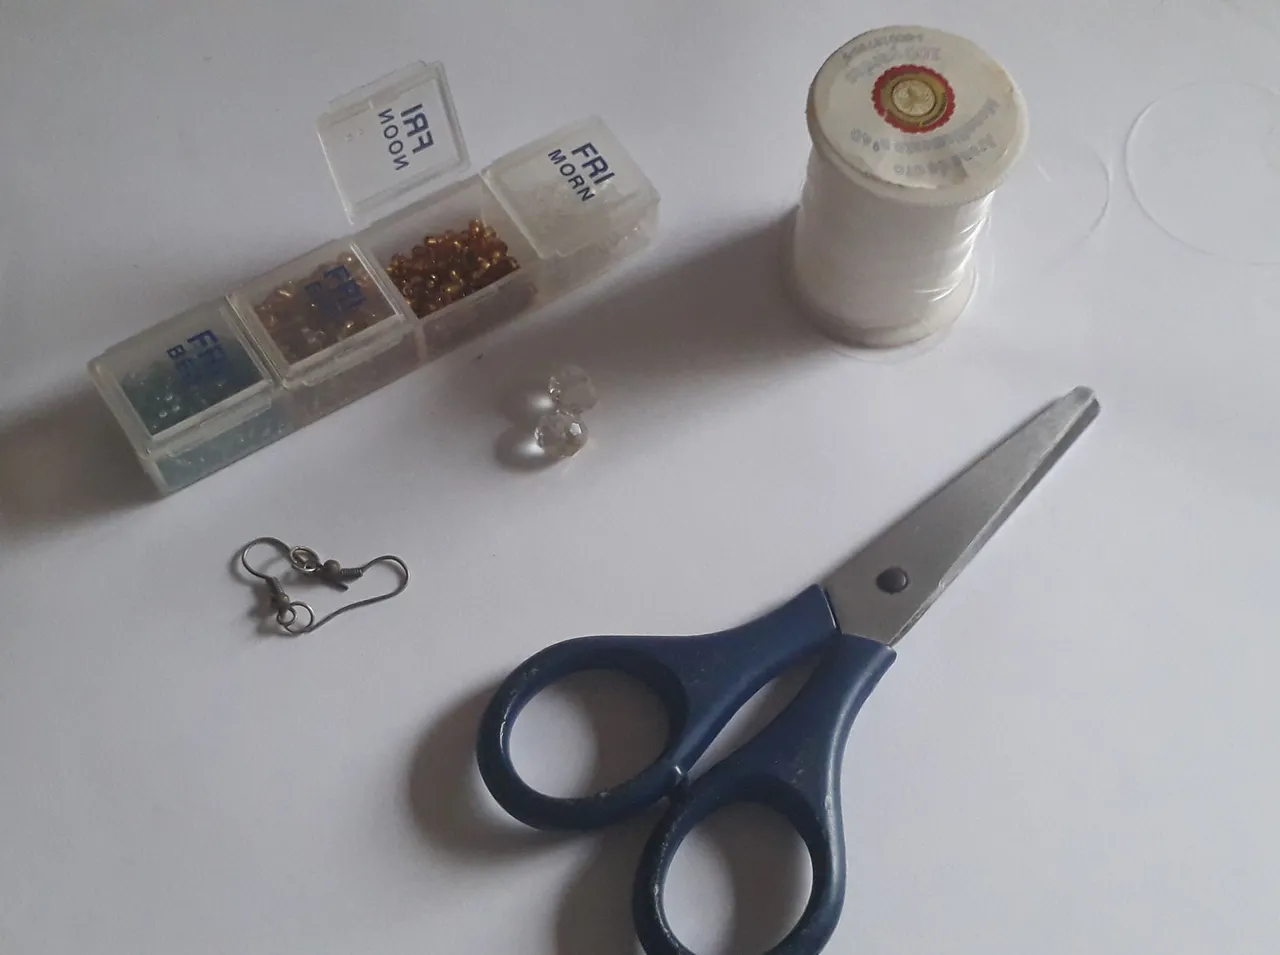
💎2 Cristales de Swarovski de tamaño mediano
💎 Mostacilla dorada
💎 1mt de nylon 0,4
💎 2 anzuelos para zarcillos
Procedimiento:
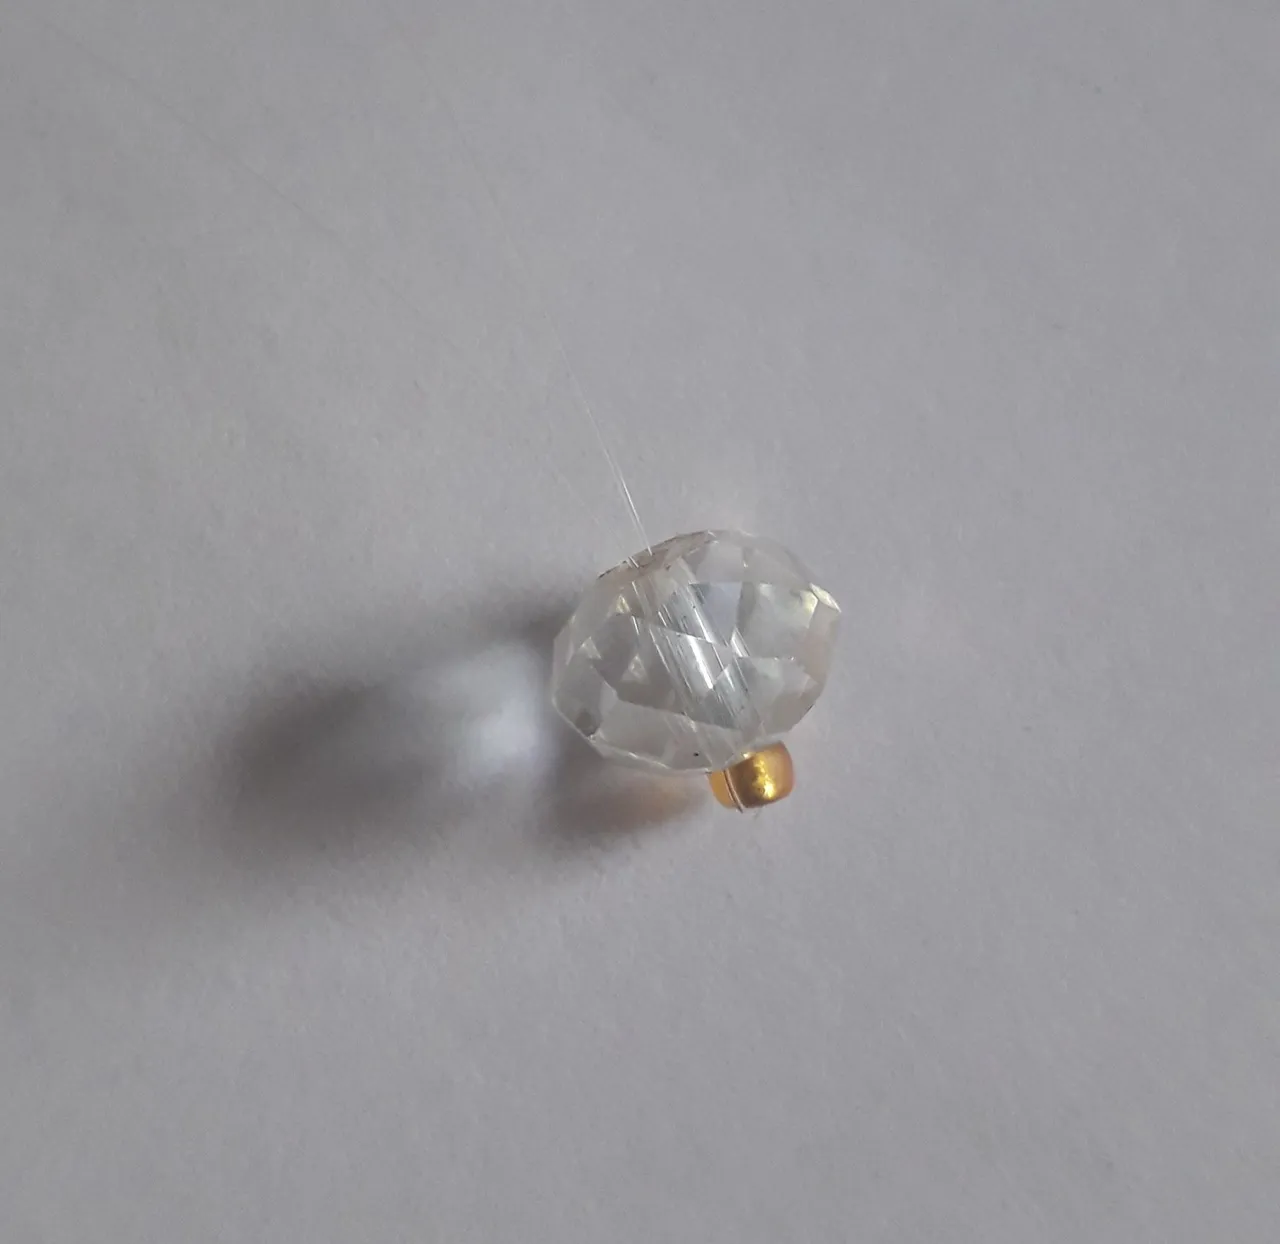
Primeramente vamos a cortar la mitad del nylon, es decir, vamos a cortar dos tiras de 50cm de nylon, los zarcillos son cortos así que no necesitaremos tanto nylon. Tomamos uno de las tiras de nylon e insertamos una mostacilla de color dorado, luego juntamos las dos puntas del nylon y agregamos por ambas uno de los cristales de swarovski.
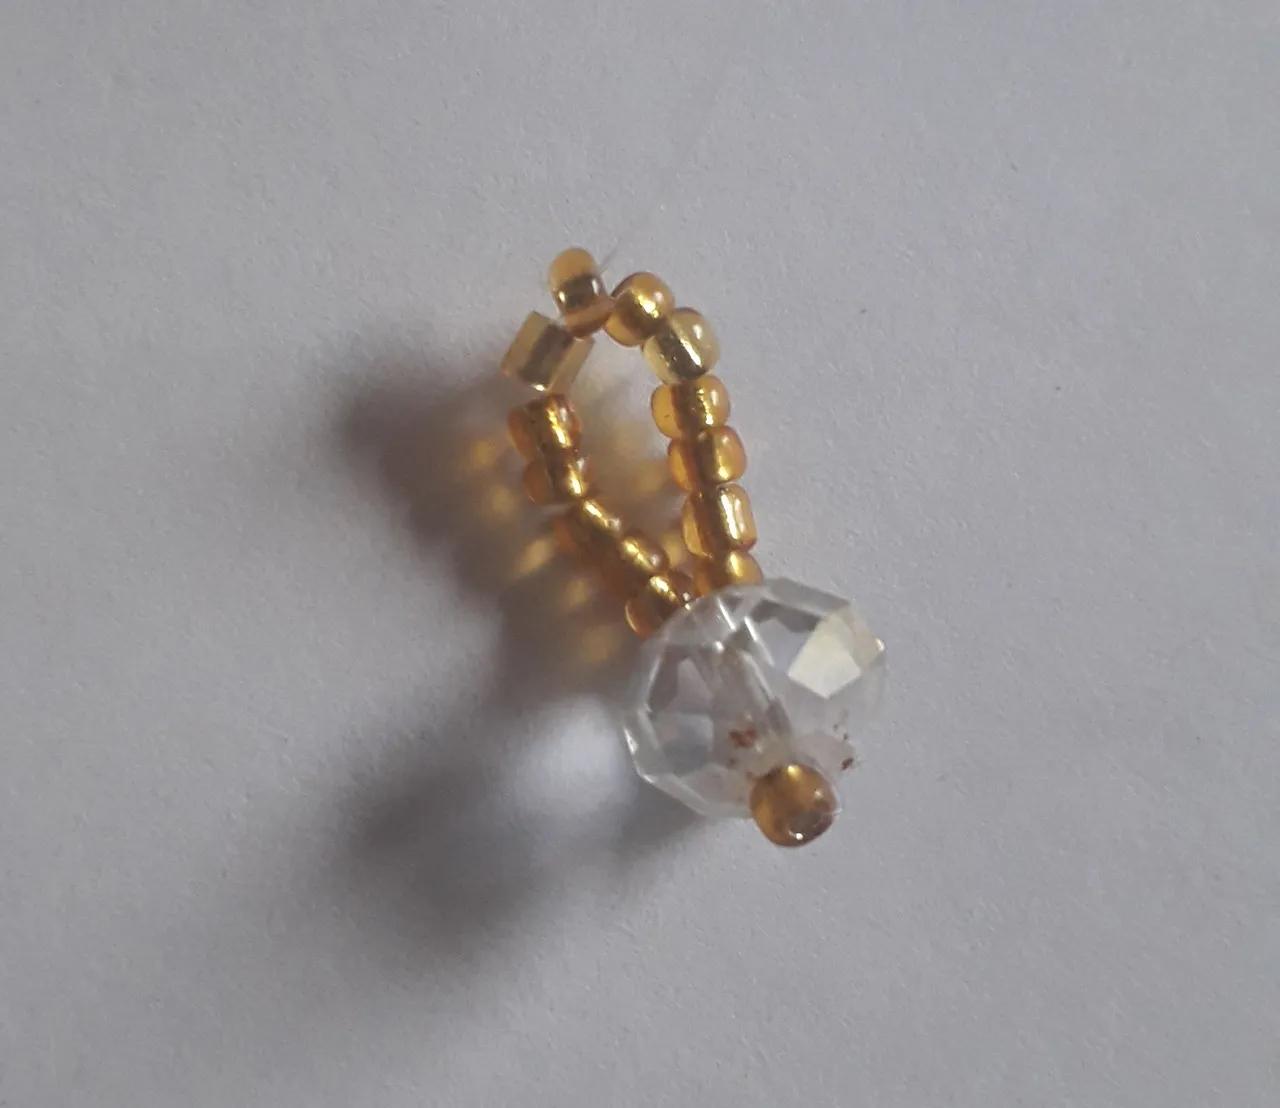
Luego agregamos seis mostacillas de color dorado en cada nylon y cruzamos por una nueva mostacilla dorada.
Añadimos cuatro mostacillas de color dorado más en cada uno de los nylon y cruzamos una vez más por una nueva mostacilla dorada.
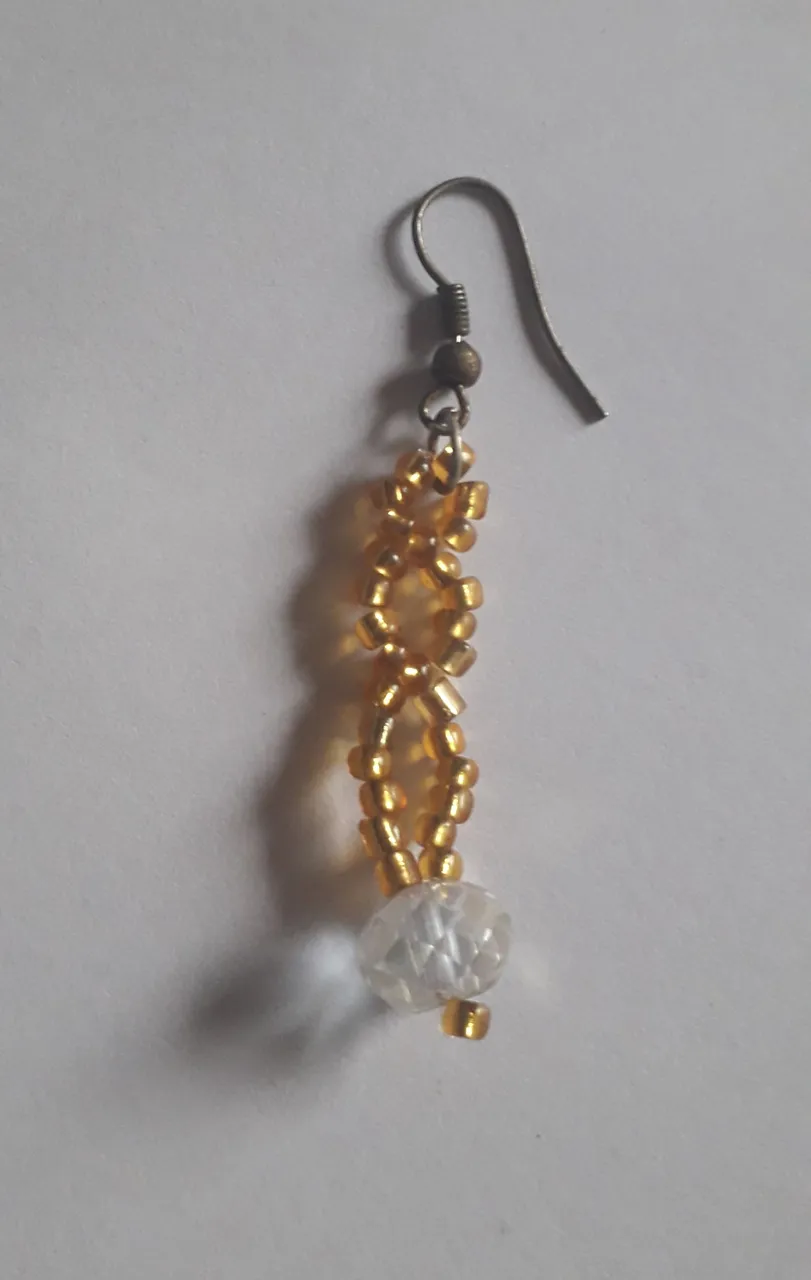
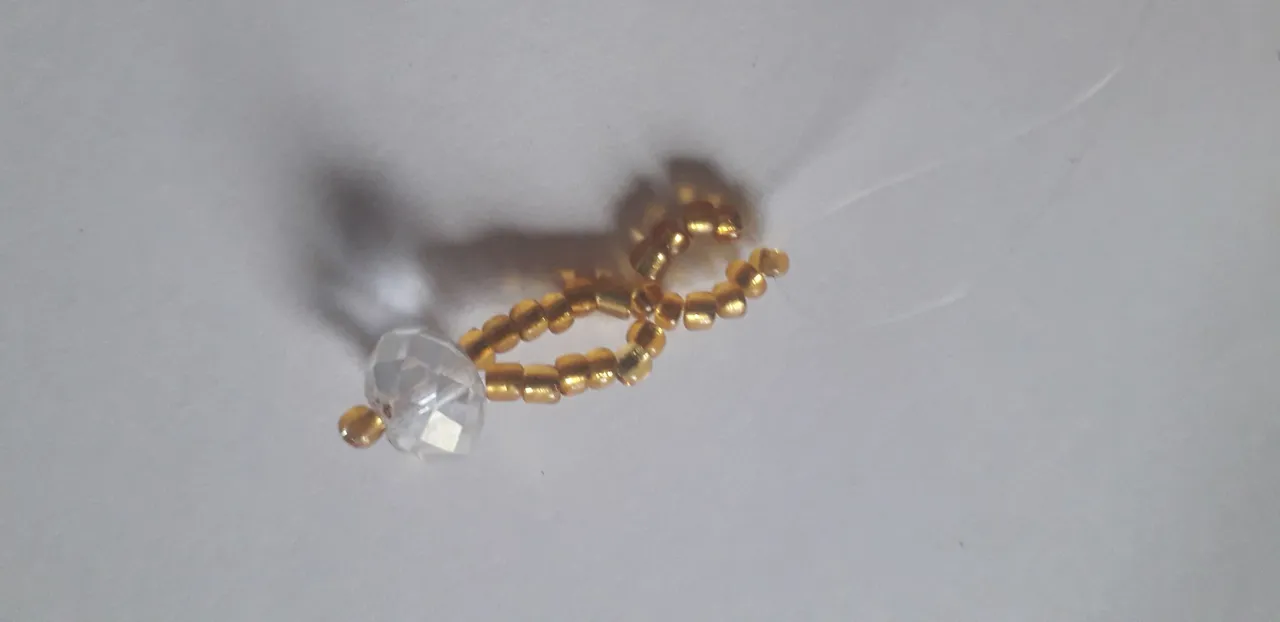
Para terminar este zarcillo insertamos tres mostacillas de color dorado en cada nylon, en uno de ellos añadimos también uno de los anzuelos para zarcillos y anudamos muy bien.
Ahora tomamos la segunda tira de nylon y hacemos todo el proceso una vez más. Insertamos una mostacilla de color dorado, luego juntamos las dos puntas del nylon y agregamos por ambos uno de los cristales de swarovski, añadimos seis mostacillas de color dorado en cada lado y cruzamos por una nueva mostacilla de color dorado, agregamos cuatro mostacillas doradas más de cada lado y cruzamos por una nueva mostacilla de color dorado, volvemos a insertar tres mostacillas doradas de cada lado y en uno de ellos agregamos el último anzuelo para zarcillo para luego anudar muy bien, asegurándonos de que el nudo sea lo suficientemente fuerte para que no se nos desarme el zarcillo en poco tiempo. Y listo, tenemos un nuevo y hermoso par de zarcillos con cristales de swarovski como pieza principal.
Que Dios los Bendiga 🙏
- Fotos de mi autoría y fueron tomadas con un celular Samsung Galaxy J6
- Traductor usado: DeepL
- Edición de fotos a través de la app Editor de fotos Polish
- Separadores hechos con la app Editor de fotos Canva.

Hello dear friends of Hive and this beautiful Jewelry community, I hope you are well and that you had an excellent day. On this beautiful day I want to share with you some beautiful and very simple tendrils of beads and as the main piece some beautiful Swarovski crystals that I had saved for years that were from a bracelet that I never made again because I lost most of the beads. Even so this time I wanted to reuse them and as they are so beautiful by themselves I wanted to put them as the main piece, I wanted that when you see the tendrils what is most noticeable are these beautiful crystals and I thought this design was an excellent idea, the beads are simple by themselves but the color of these gives a colorful and beautiful touch to the crystals, I thought they combined perfectly these two materials. The best of all is that the length of the tendril is comfortable, it is not so long but it is not too short either, which I like very much.
Materials:
💎2 medium size Swarovski crystals.
💎 Gold-plated mustard.
💎 1mt of nylon 0,4
💎 2 hooks for earrings
Procedure:
First of all we are going to cut half of the nylon, that is, we are going to cut two 50cm strips of nylon, the tendrils are short so we won't need so much nylon. We take one of the nylon strips and insert a gold colored bead, then we join the two ends of the nylon and add one of the swarovski crystals.
We then add six gold-colored beads to each nylon and cross through a new gold bead.
We add four more gold-colored beads to each of the nylons and cross over once more for a new gold-colored bead.
To finish this tendril we insert three golden colored beads in each nylon, in one of them we also add one of the tendril hooks and knot very well.
Now we take the second strip of nylon and do the whole process once again. We insert a gold colored bead, then we join the two ends of the nylon together and add through both one of the swarovski crystals, we add six gold colored beads on each side and cross through a new gold colored bead, we add four more gold colored beads on each side and cross through a new gold colored bead, We insert again three golden beads on each side and in one of them we add the last tendril hook and then we knot it very well, making sure that the knot is strong enough so that the tendril does not fall apart in a short time. And that's it, we have a beautiful new pair of earrings with swarovski crystals as the main piece.
God Bless you 🙏
- Photos of my authorship and were taken with a Samsung Galaxy J6 cell phone.
- Translator used: DeepL
- Photo editing using the Polish Photo Editor app.
- Separators made with the app Canva Photo Editor.