Are you wearing your most comfortable outfit? Ever wonder how well the tailor-tailed you a perfect one? Ever made up your made in making your own DIY outfit yet you don't know what to do and how you'll start? Or ever wondered how is it even possible that when you go to a mall for shopping you can find a perfect fit for you?
Hello hivers! It's me again sharing with you one of my journeys in harnessing my skill. Join me while you read my blog as I am to share with you the little things I know and learned in this new journey.

Measured by tape measure
I thought making a polo is as easy as it looks or as easy as how we wear and undress it. As I once observed someone doing the task, I remember saying to my mind that it was easy but as I was the one doing it, I can say that it requires patience and determination.
Steps in making Polo
Let's now start talking about the very first step in making a polo.
- First: Get the measurements of the body. Use the tape measure to get the exact measurement of the body. You can not measure your own body but you need someone to do it.
You can not just create a polo by merely looking at the person who would wear it. You should have an accurate measurement so that the result will be as pleasing as you expected.
There were certain parts of the upper body where you would measure and get measurements. You need to jot it down in your notes so you will not forget it.

- Second: Prepare your tools to use especially the pattern paper including the upper body measurements.
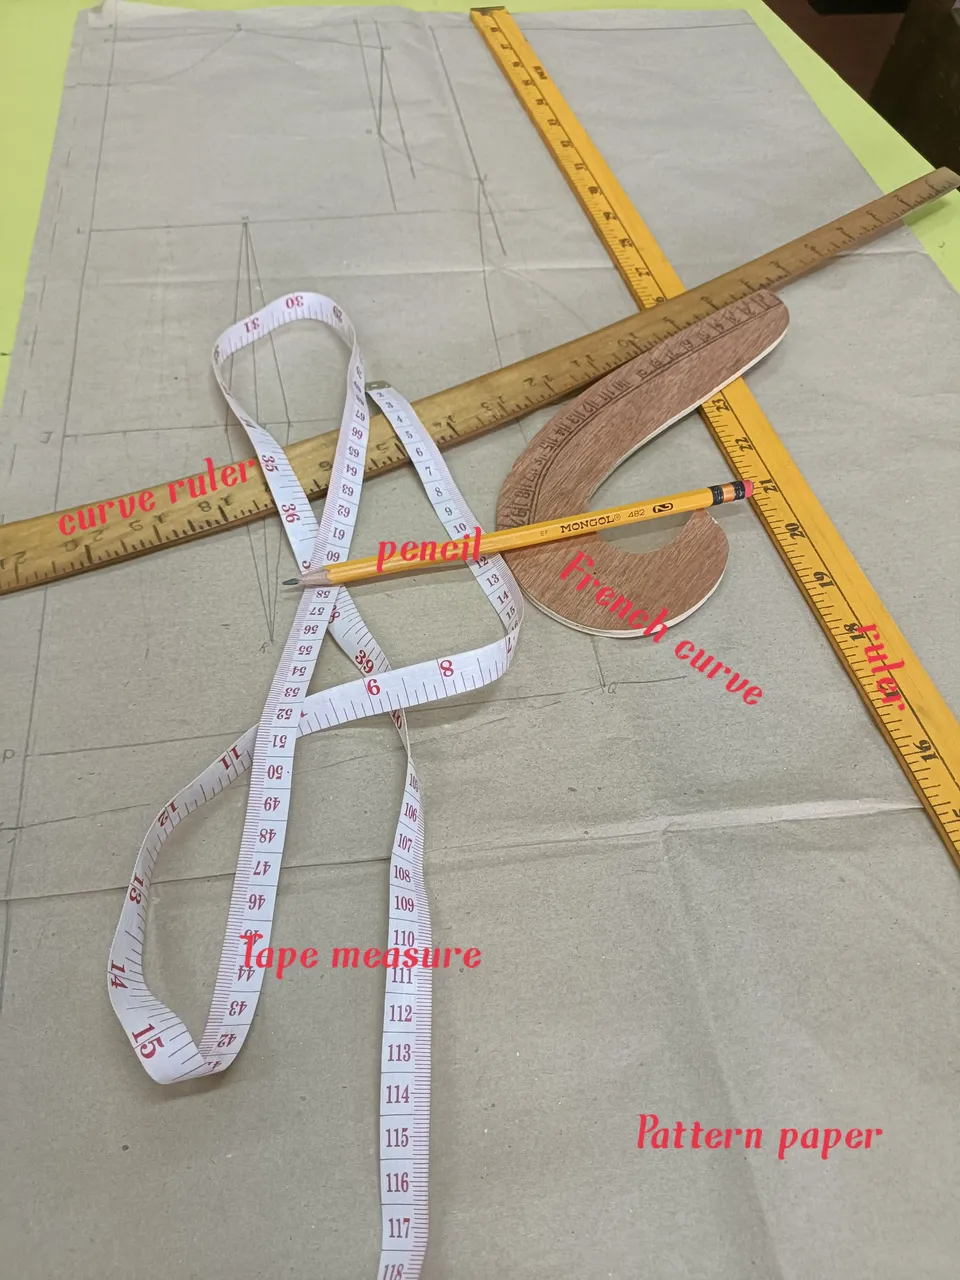
After getting the upper body measurements, you can't just directly make a polo. You need to prepare the tools to use and make sure you know when and where you will use those tools.
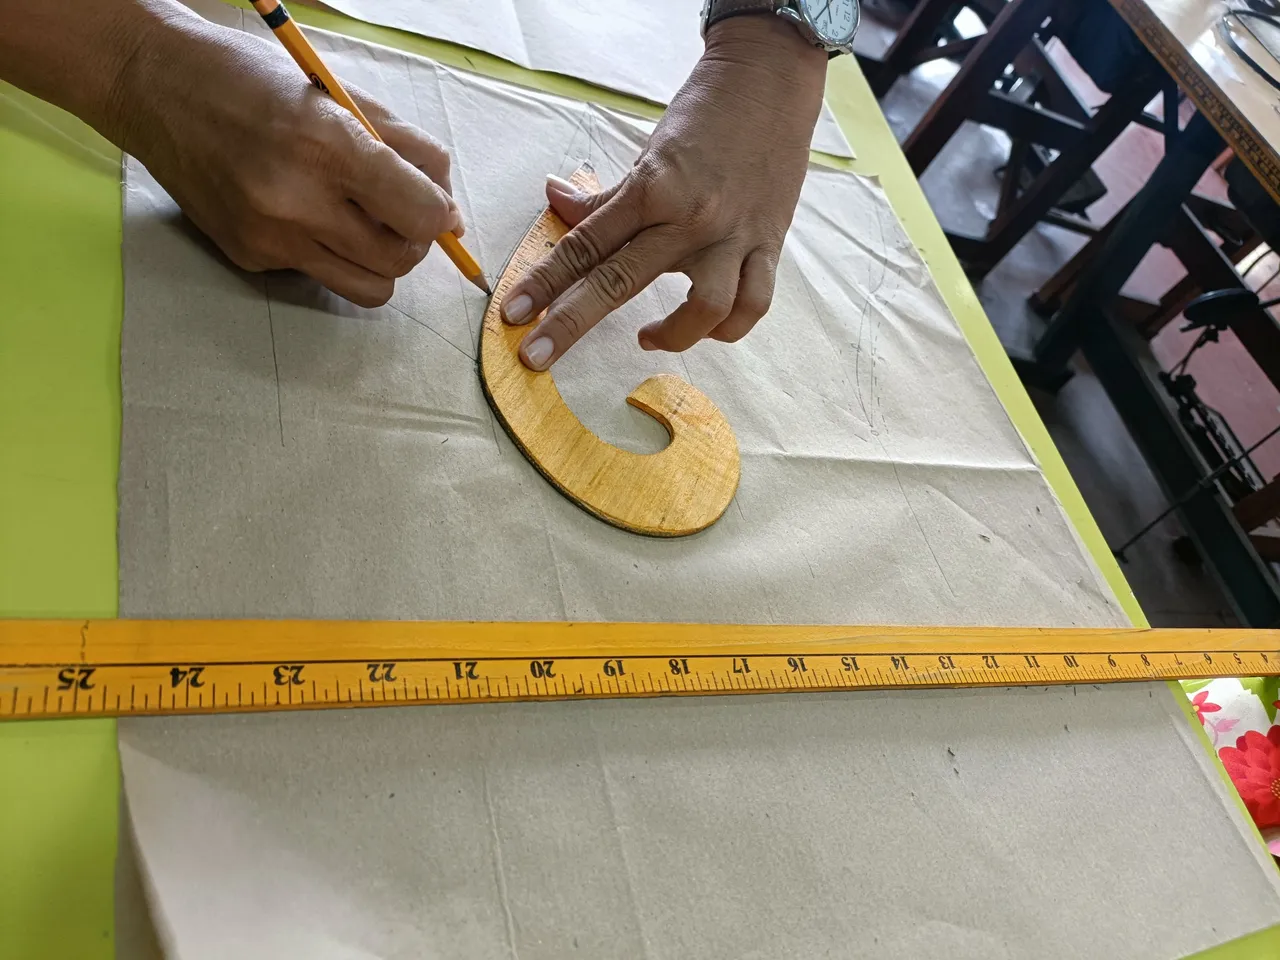
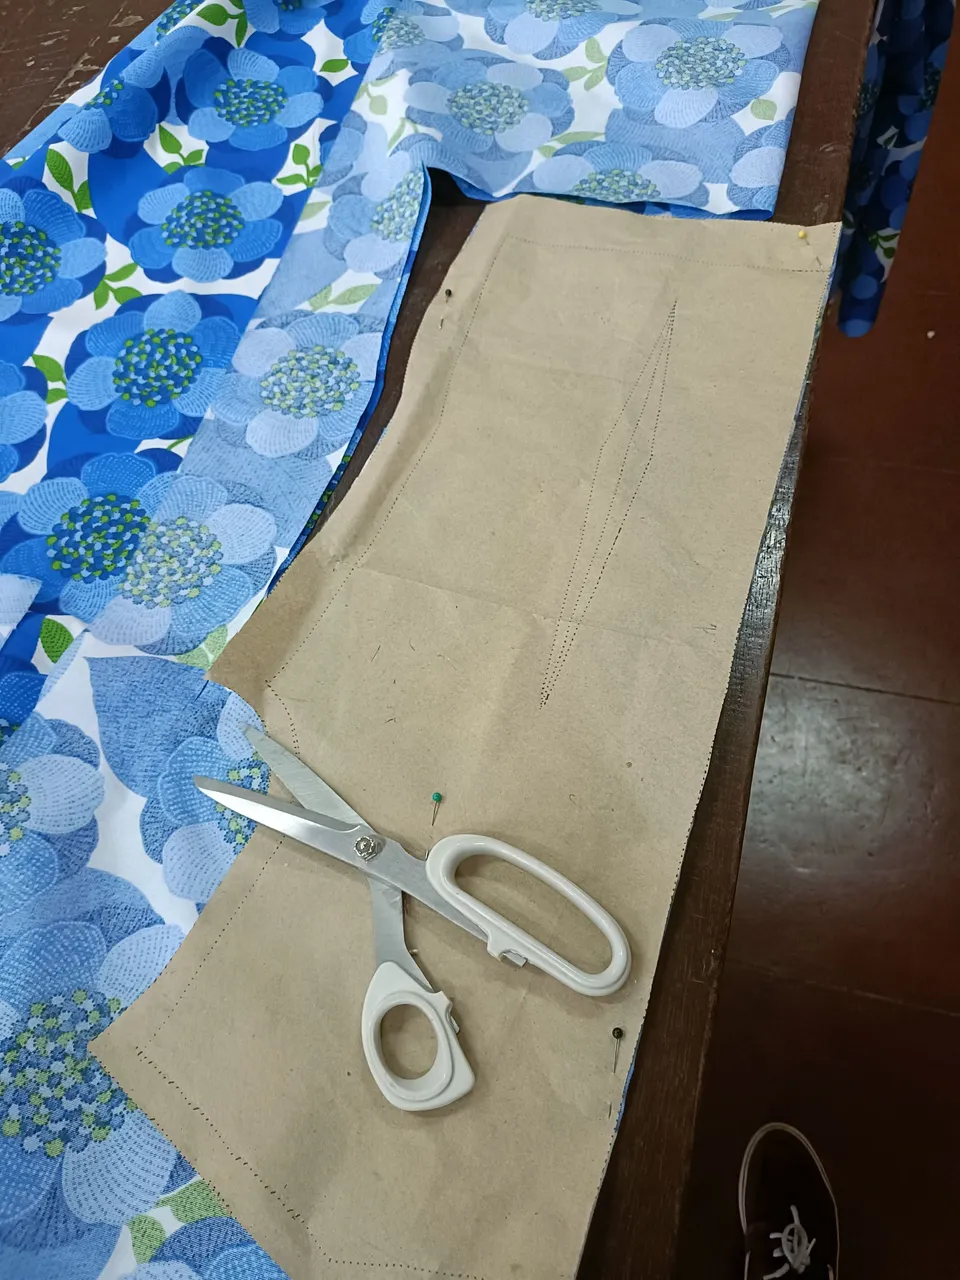
- Third: Create a pattern from the body measurements using the pattern paper and other tools seen above.
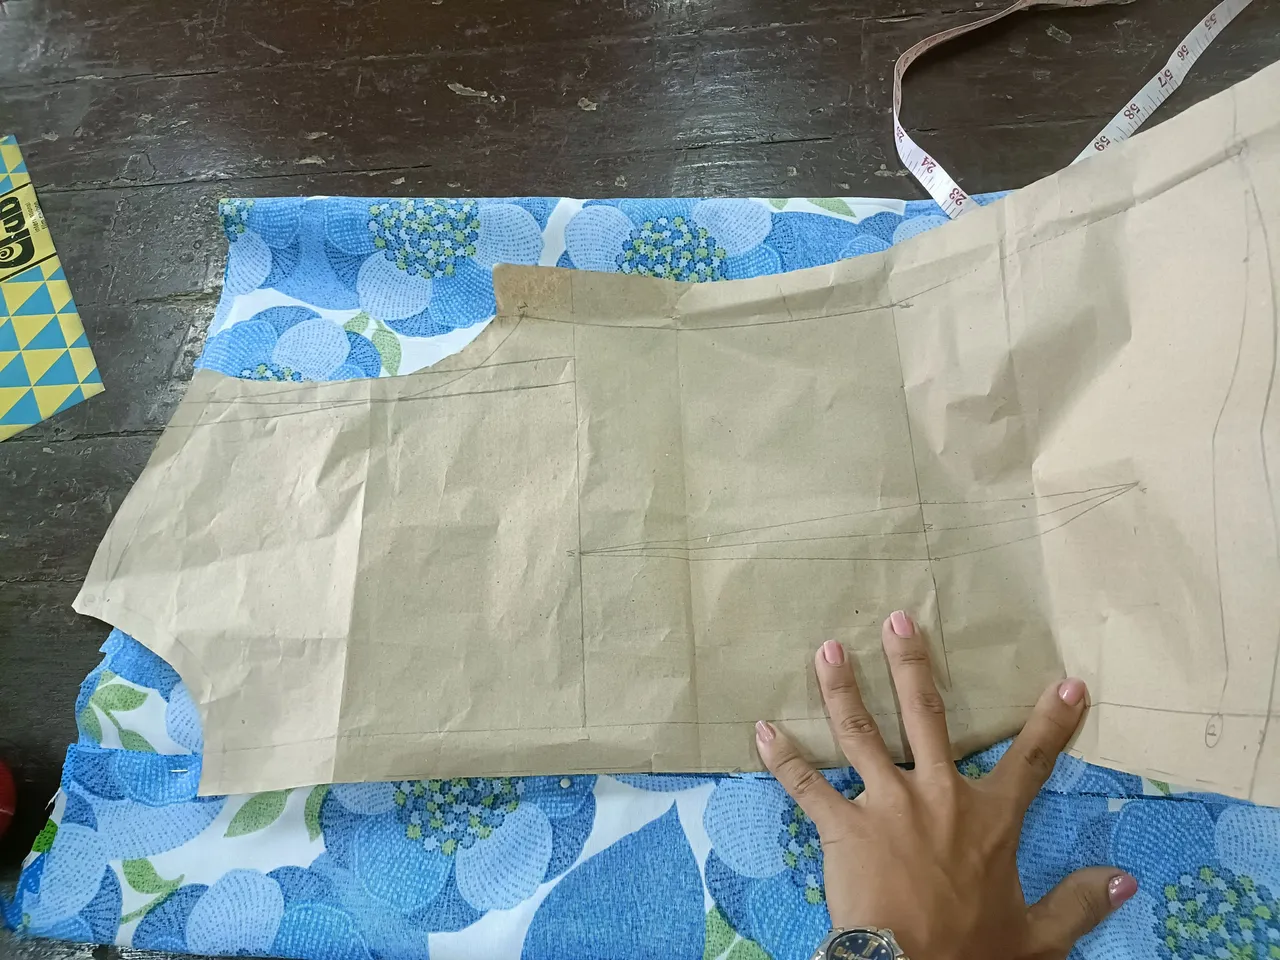
Draw the front and back pattern on one side of the paper using the body measurements and the tools. After you draw the pattern just as shown below, make sure to leave an allowance for the created pattern.

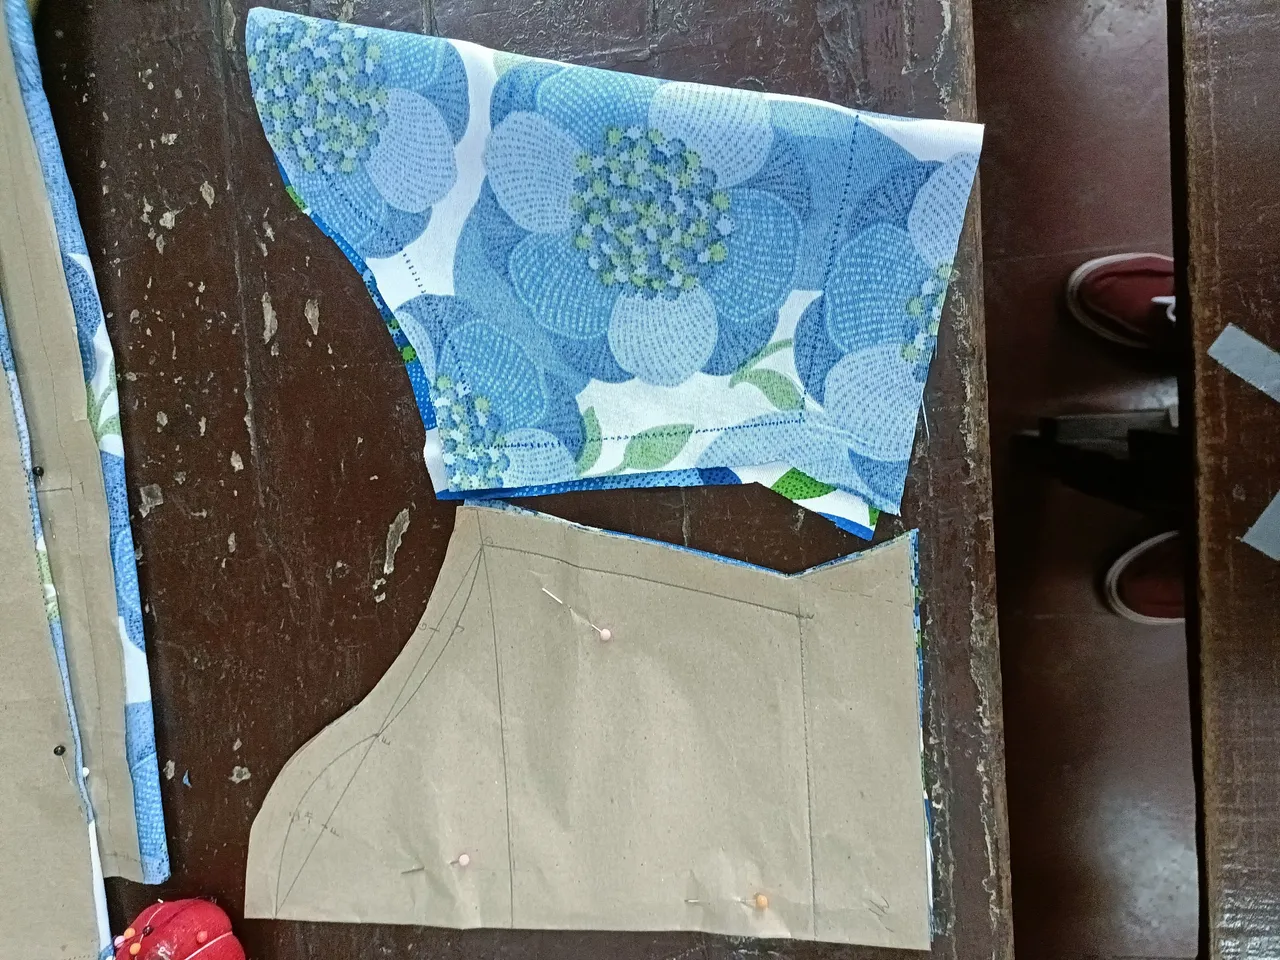
Fourth: Trace the pattern to the cotton using wheel tracing and carbon paper. Make sure to trace it properly including the allowances.
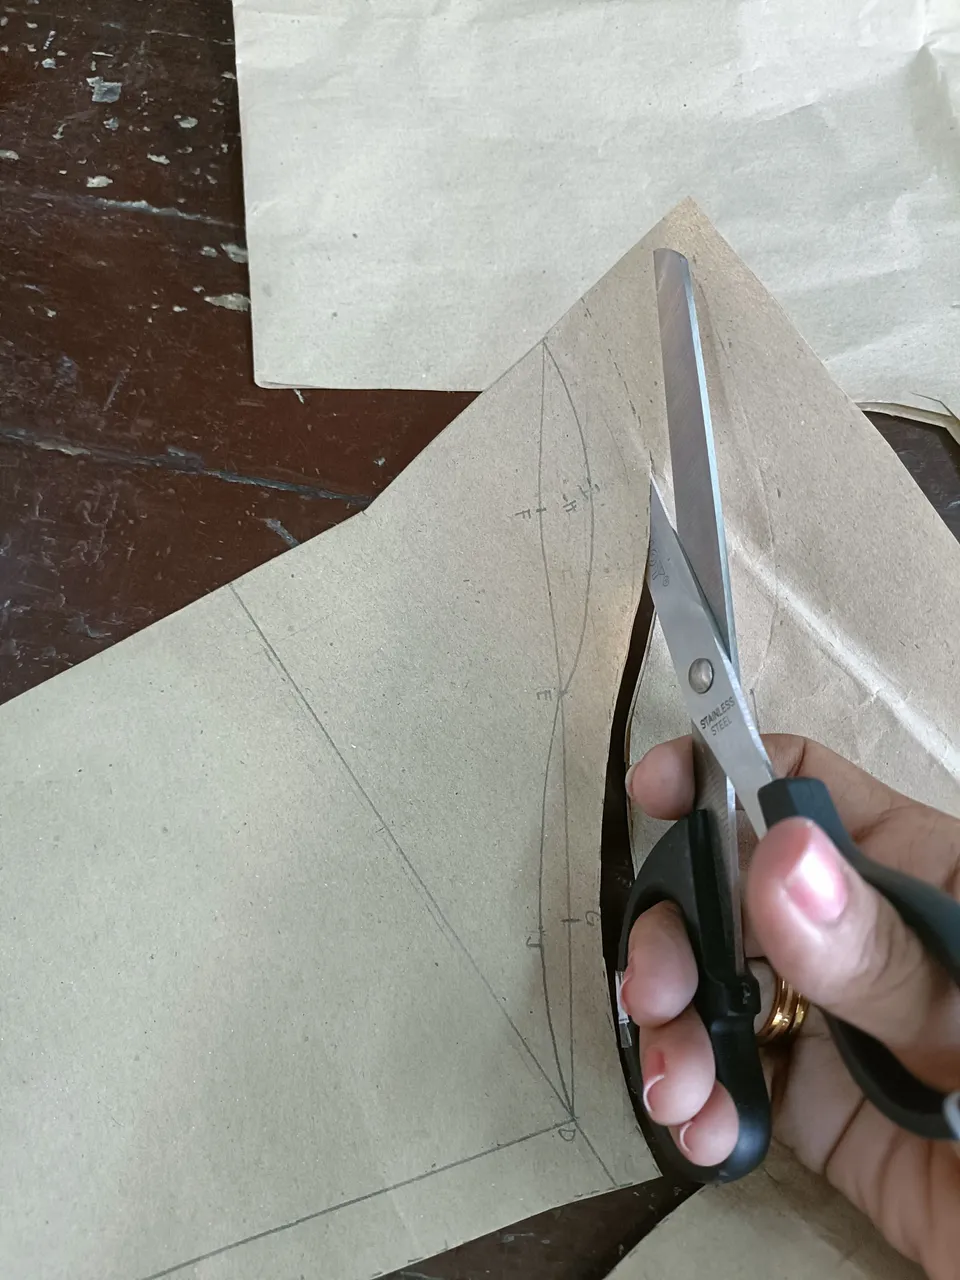
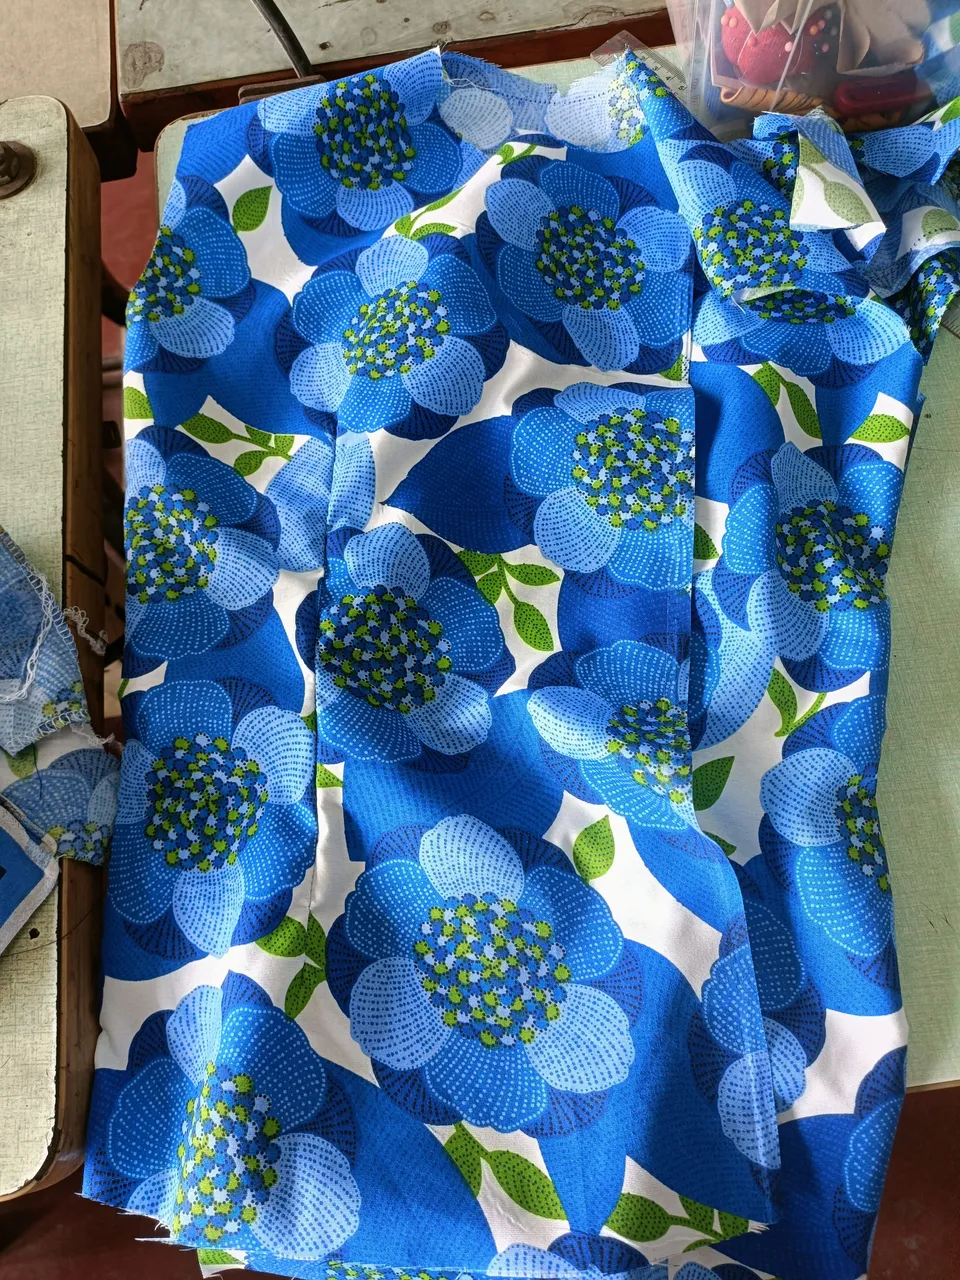
Fifth: Cut the traced pattern. Make sure to use pins to avoid misleading cuts on your cotton. Always remember how you draw, cut, and trace your pattern will always reflect by the time you start sewing it.

- Sixth: Draw, cut, and trace your sleeve.
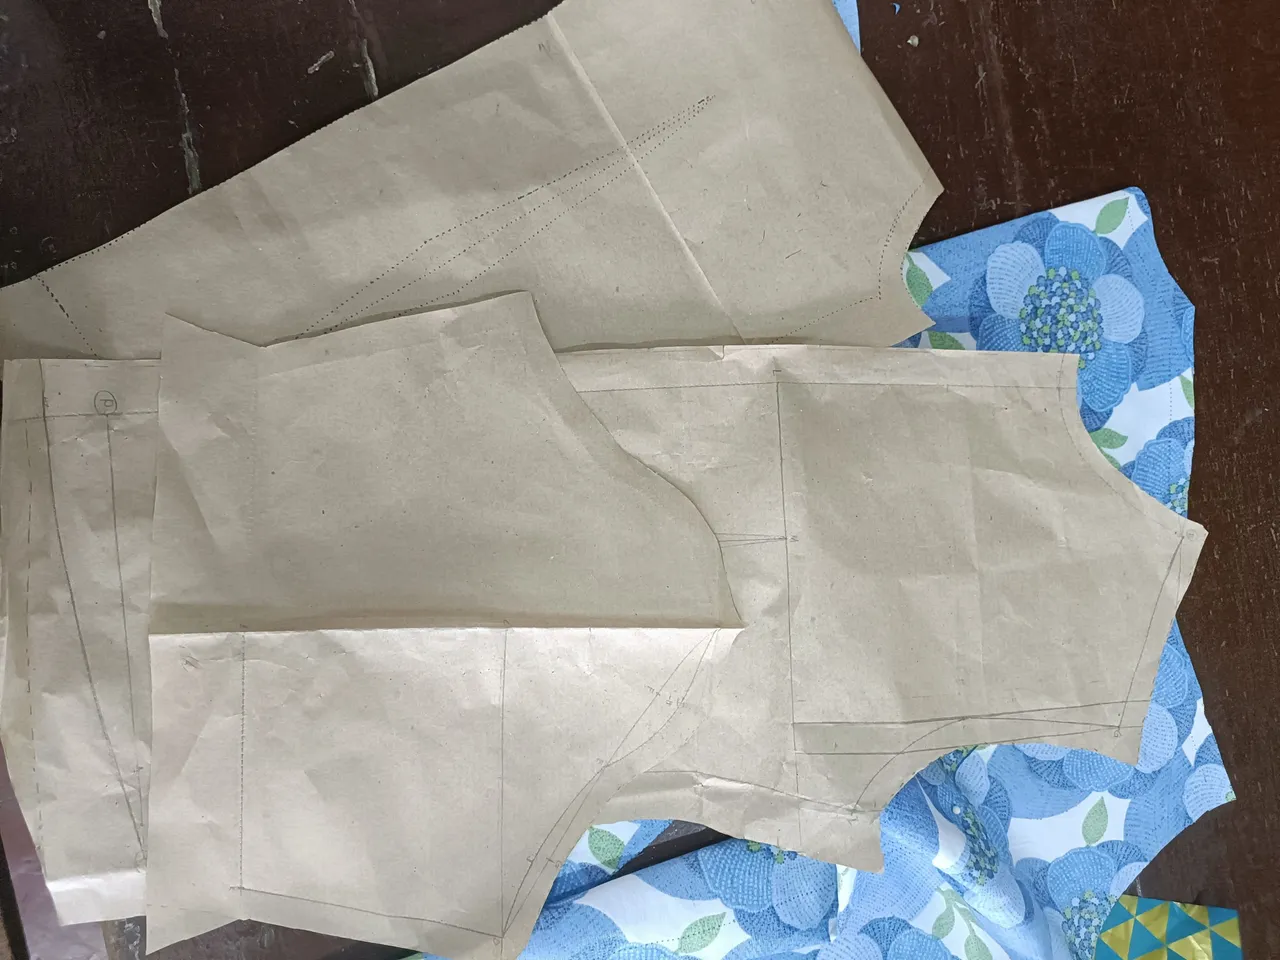
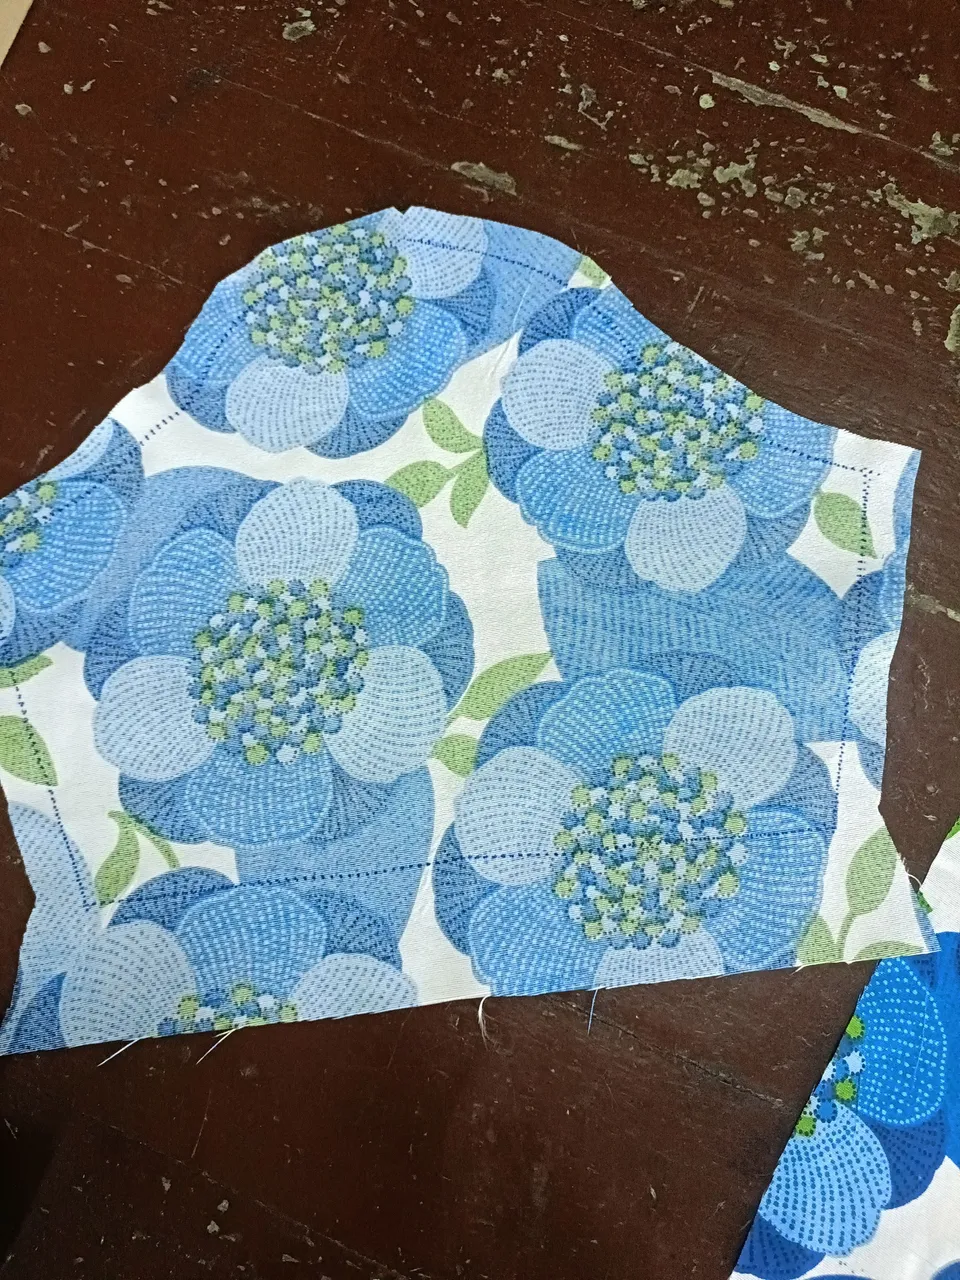
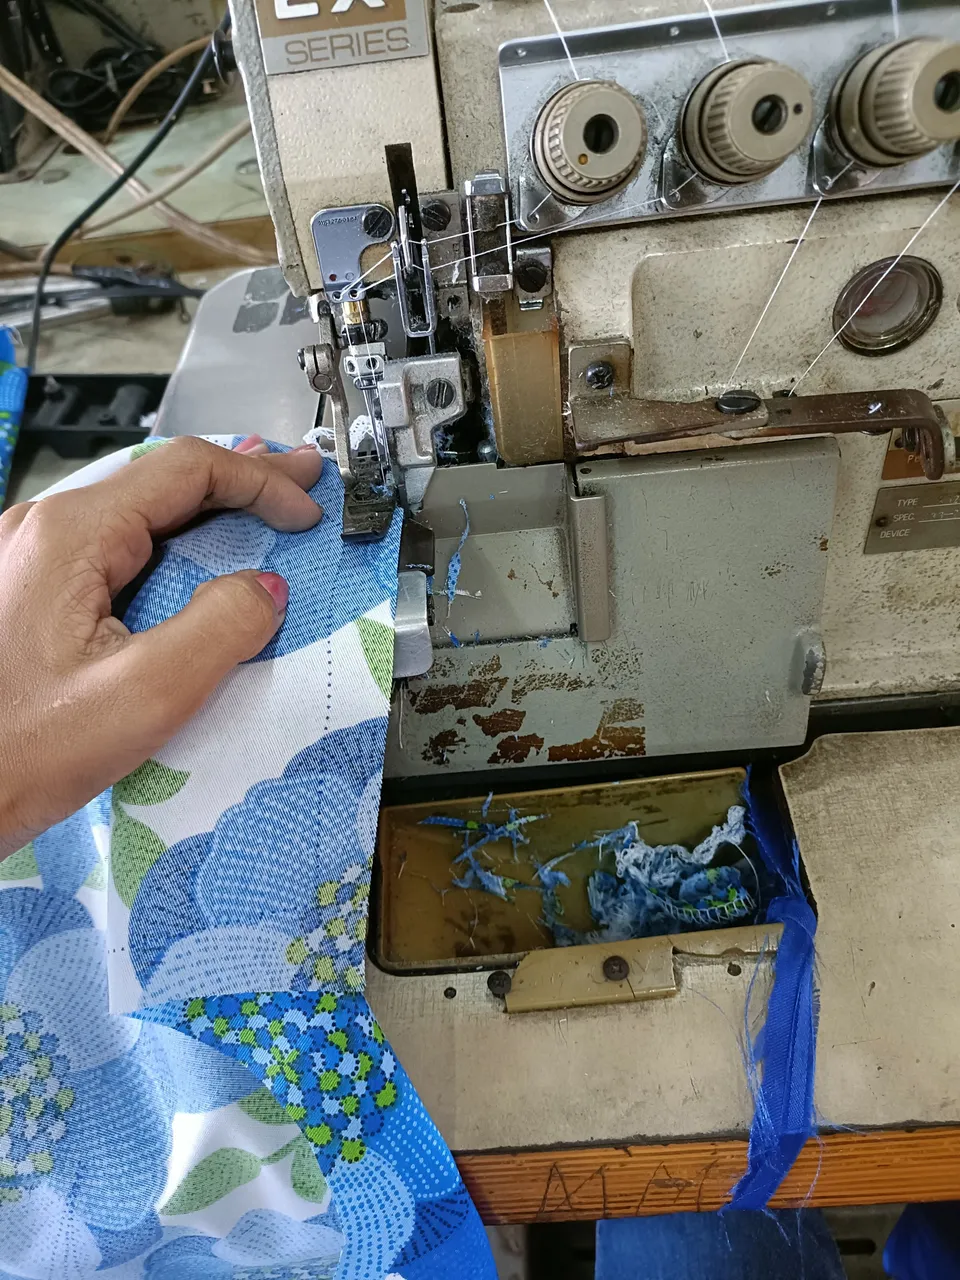
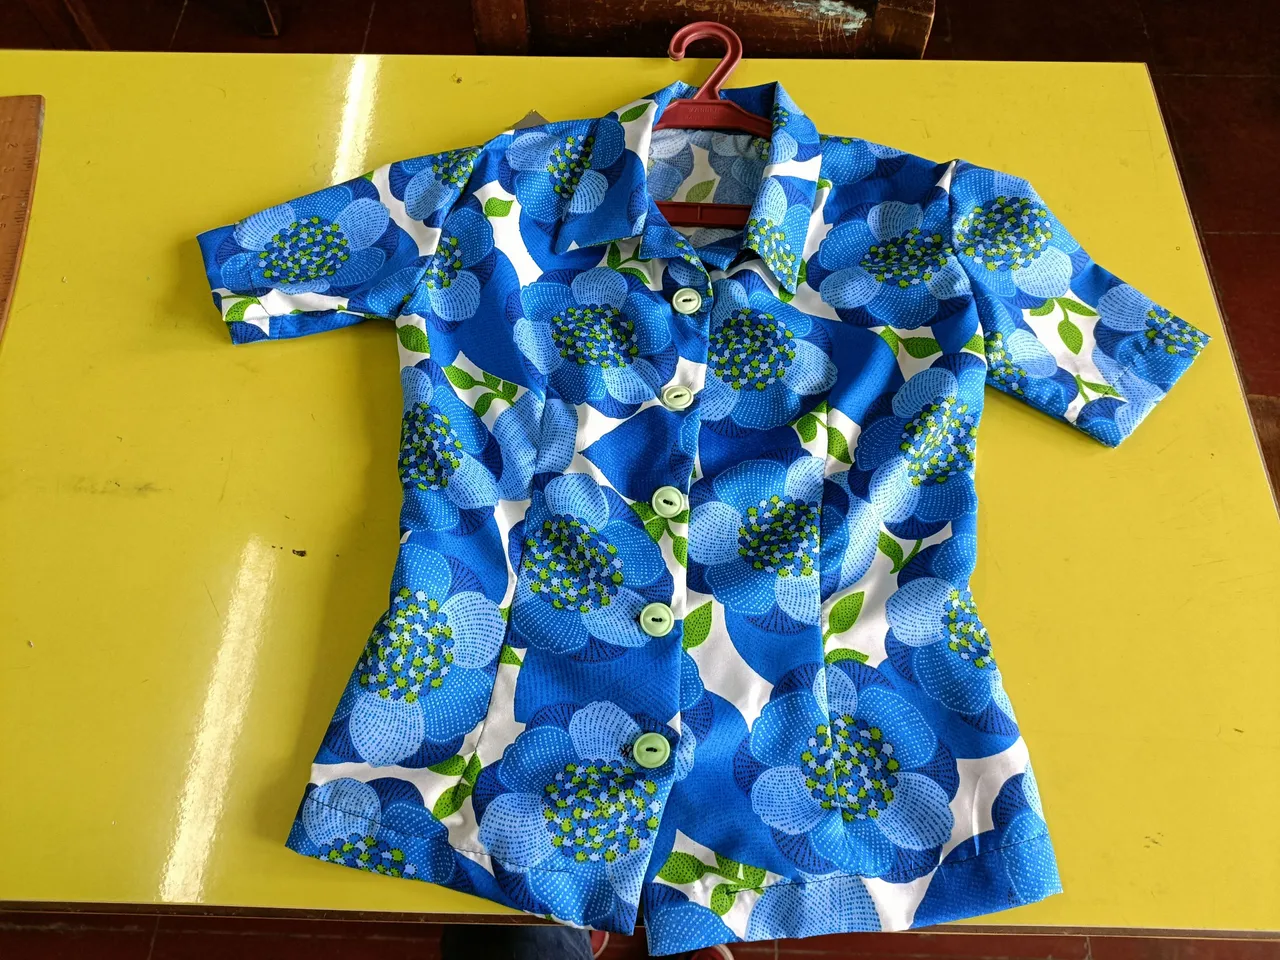
Seventh: This is now how it looks like. This time you are going to sew each side of the polo. Make sure to follow the patterns you traced in the cloth.
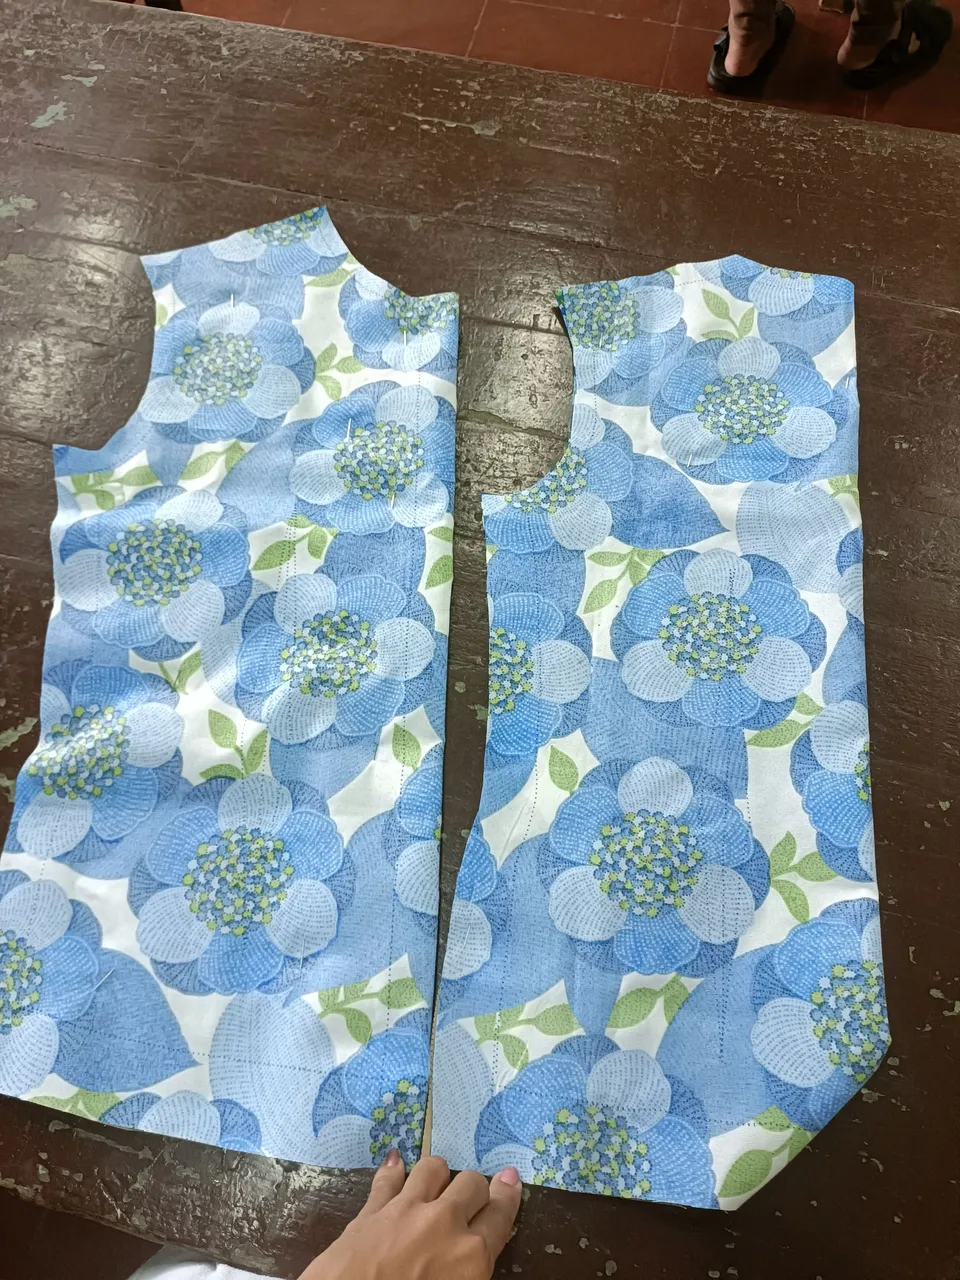
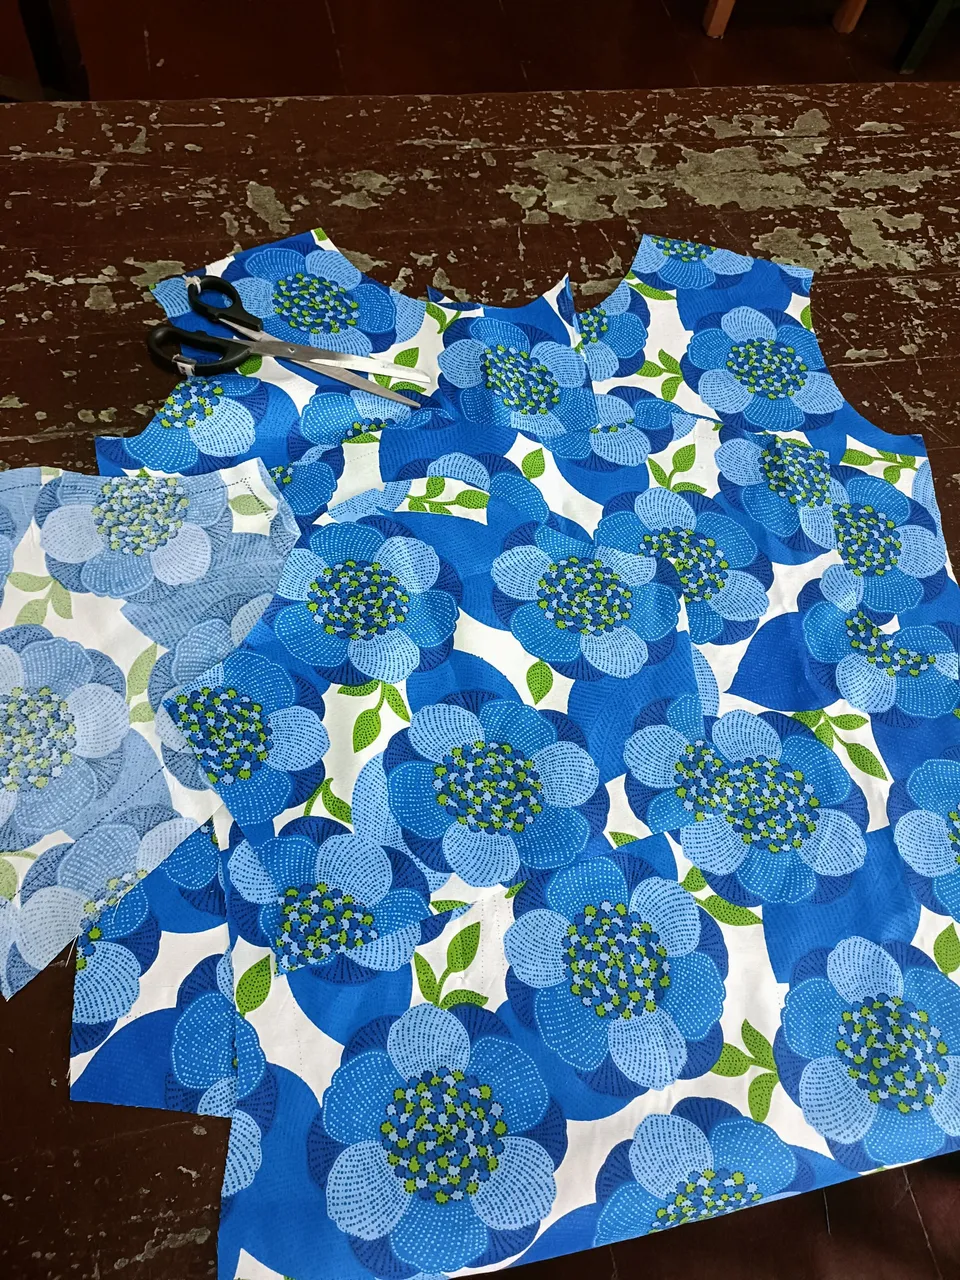


Eight: Time to do the sewing. Connect each side and follow the traced pattern on the cloth.
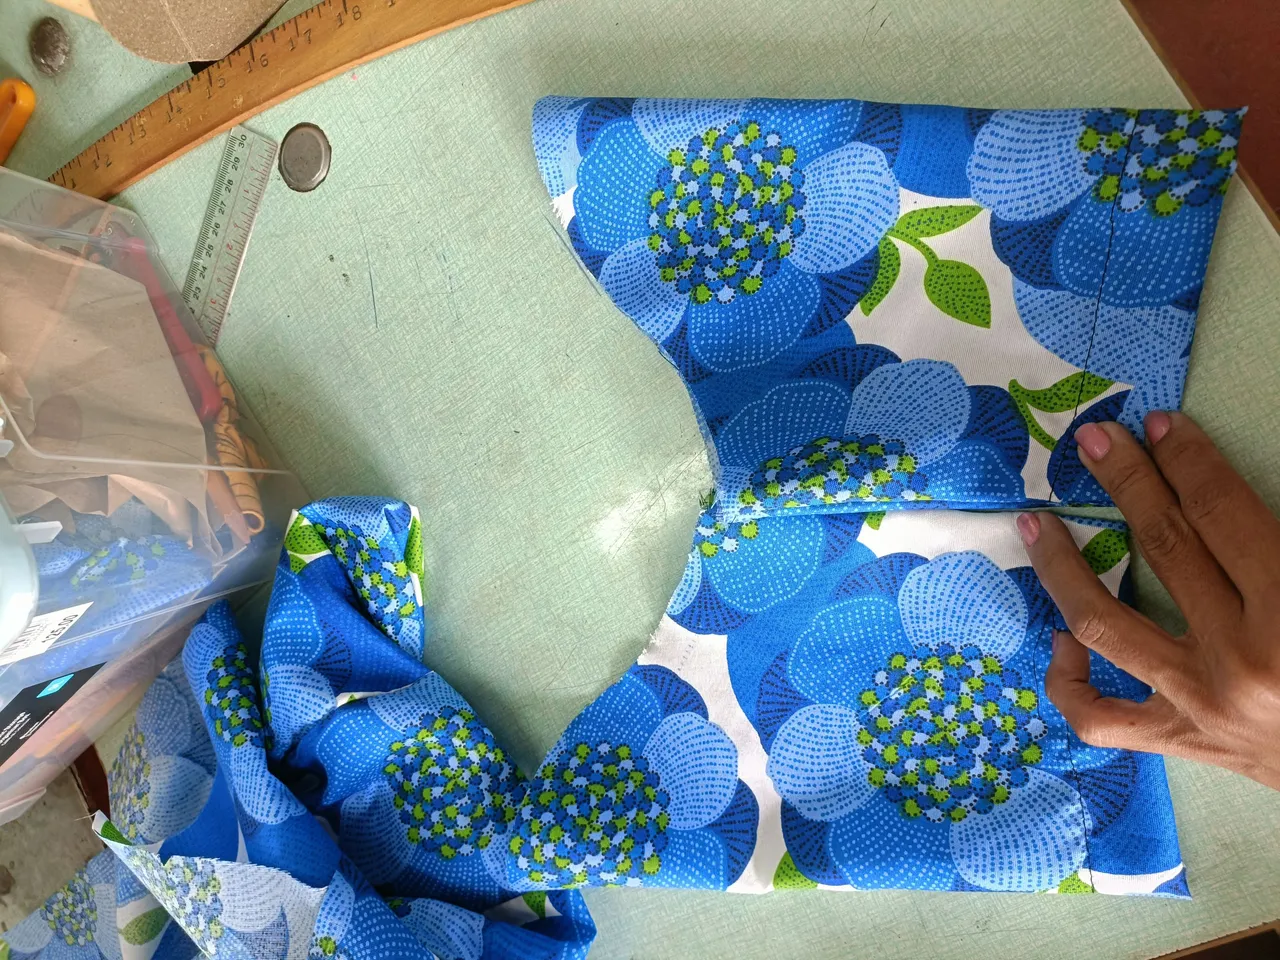
- Ninth: Measure the collar of your threaded cloth and draw, cut, and trace the pattern of the collar using your measurements.
P.S. I am not an expert in detailing the sewing process because I am also trying to comprehend all the instructions given. So far that's the process I can give. There are specific measurements of what and when to sew the parts of the cloth. Luckily I was able to accomplish one 😅😅
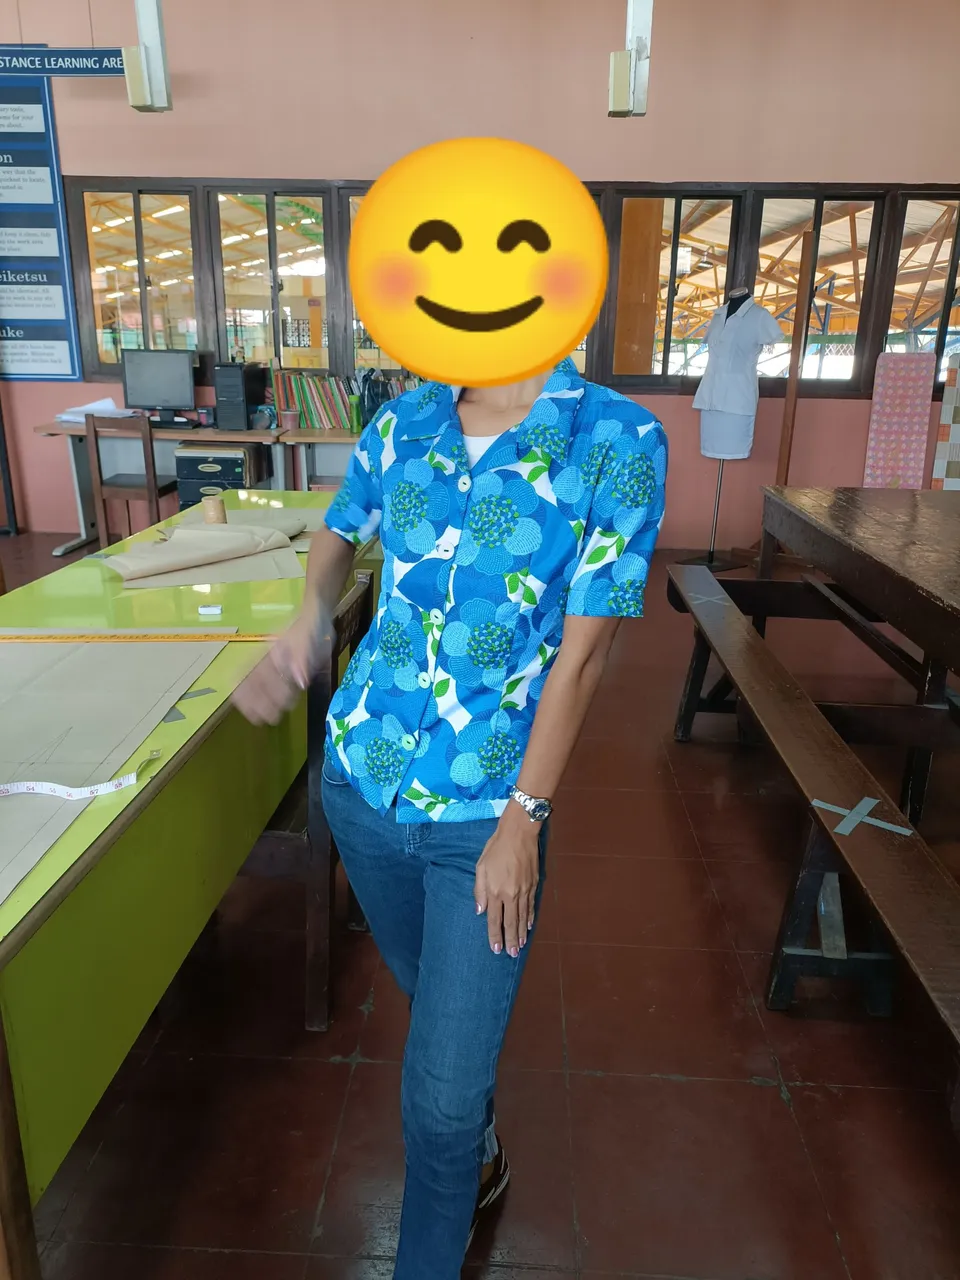
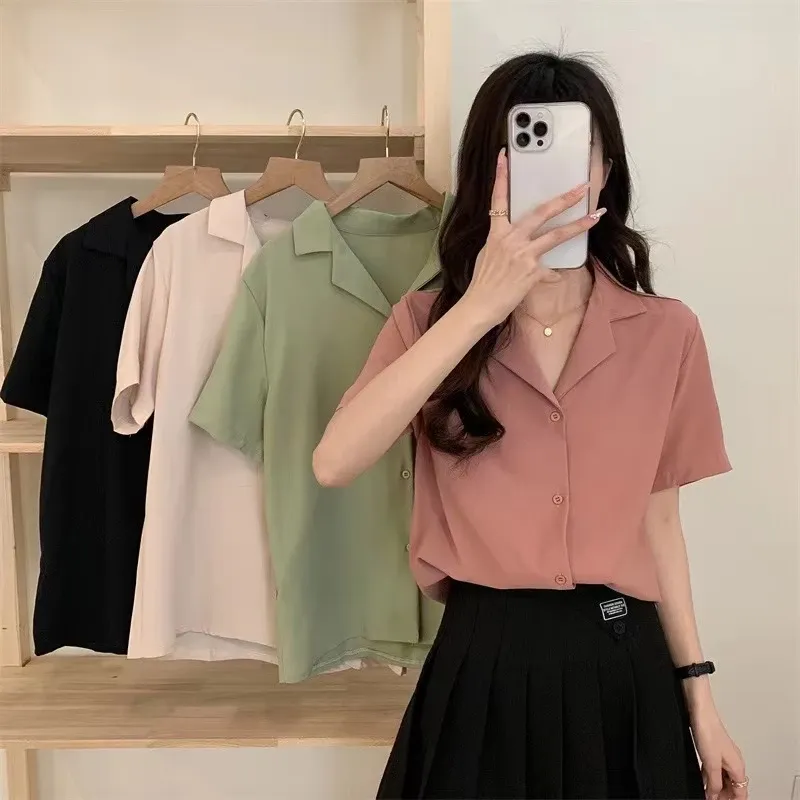
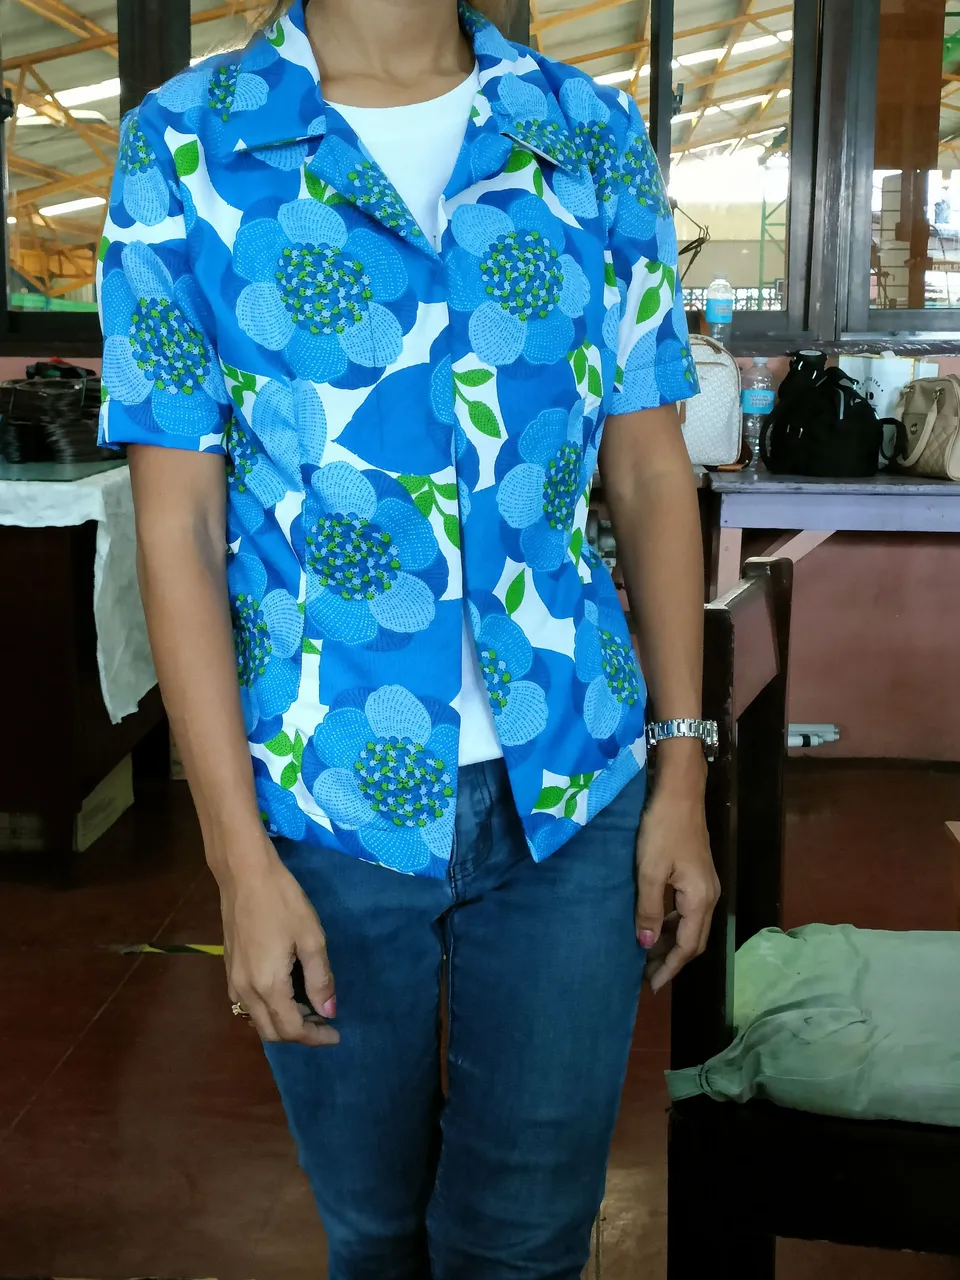
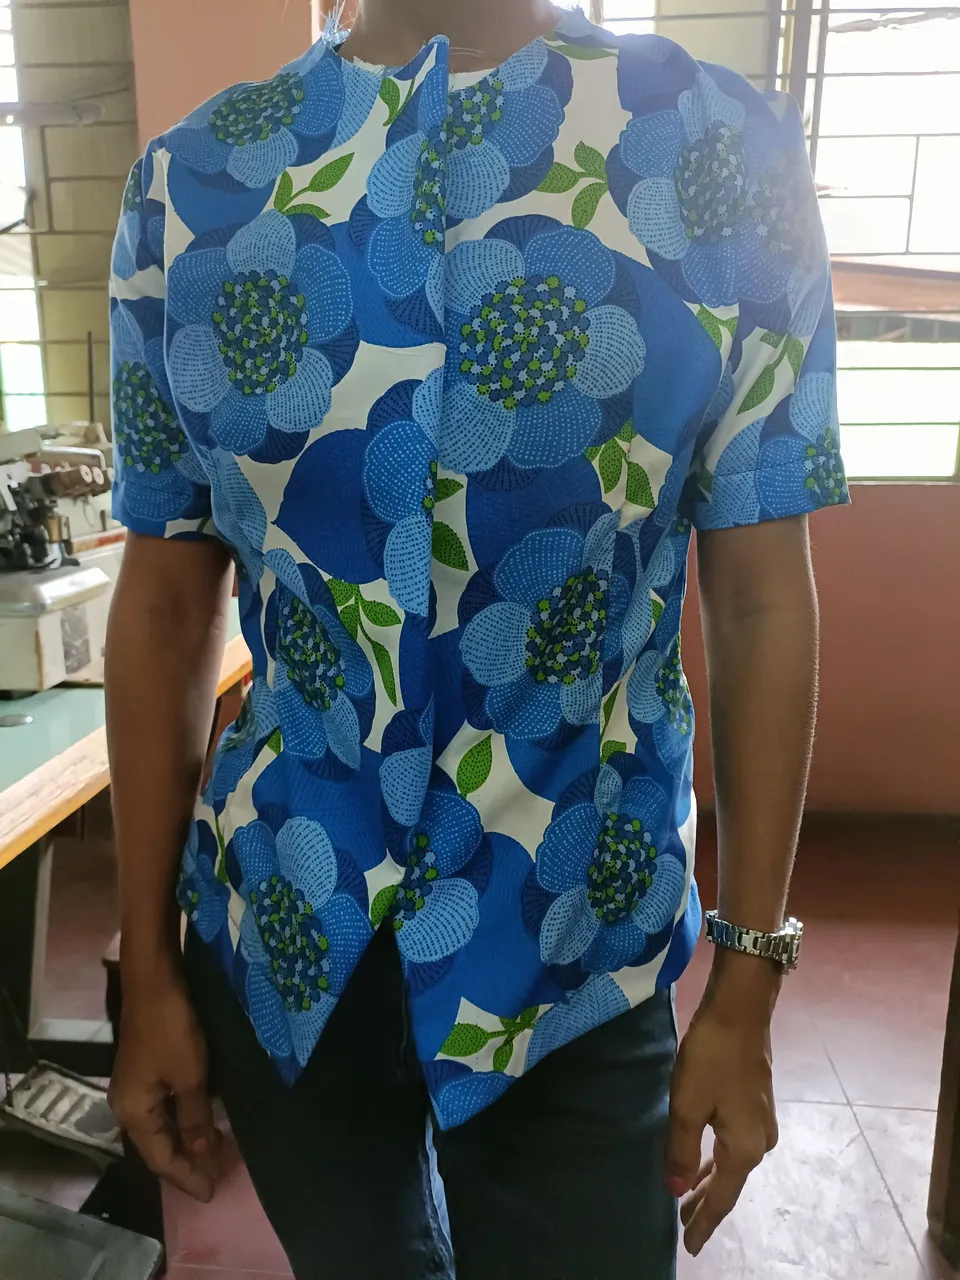
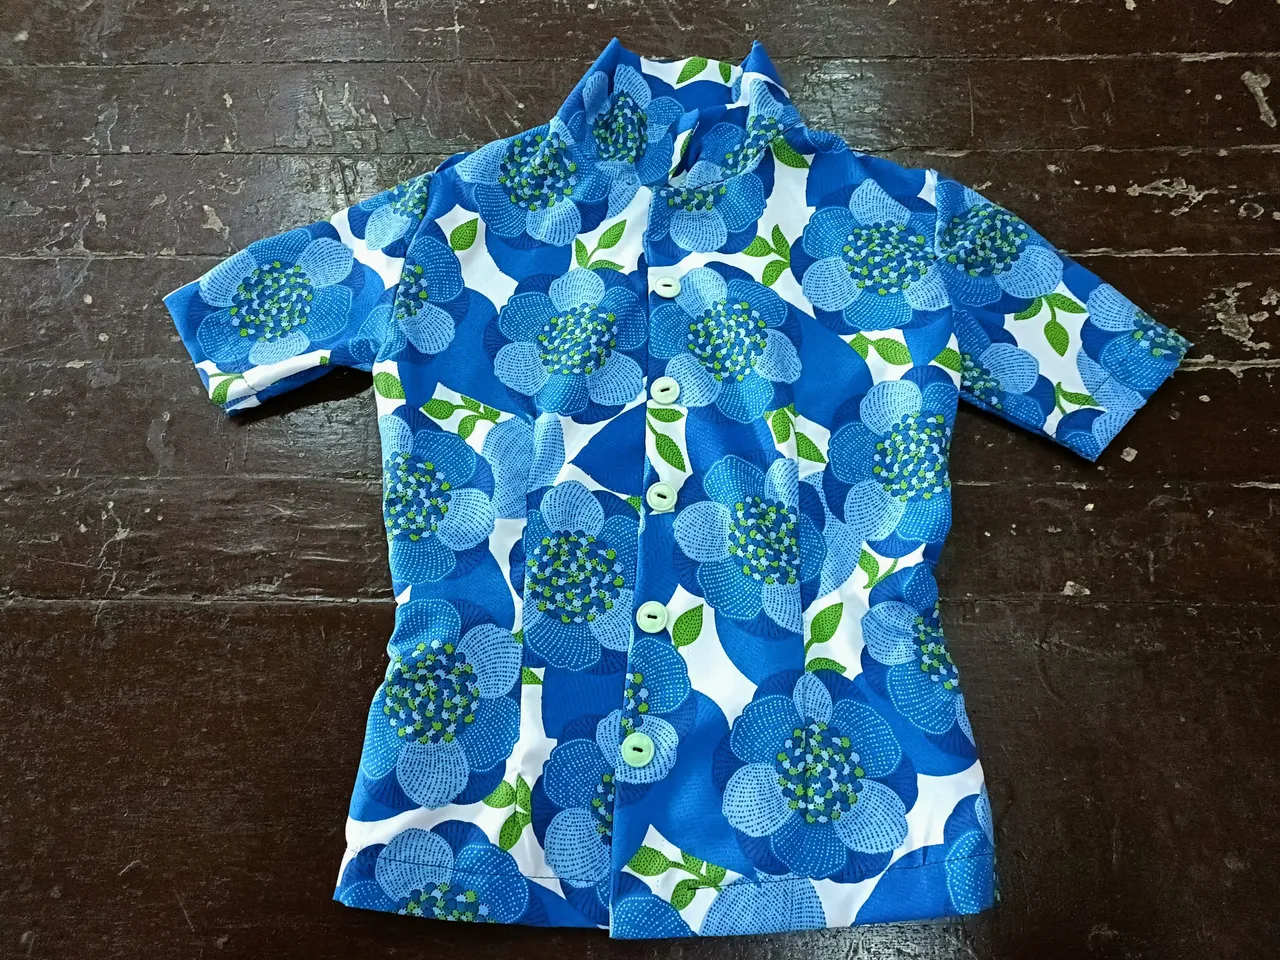
The final output and the fit ♥️😍
D'Experience
As I was doing the process, I kept asking my teacher how it was to be done. Honestly, I am a little bit slow with following instructions. I kept on asking and repeating the process. Along the way, I am able to comprehend. I admire the patience our teacher has given us because we have to keep on repeating the same question how and what to do next.
The whole process is tricky and hard yet satisfying. You will be challenged on how to connect all those parts and to make sure that it fits or suits you. The challenge and the drive to get to know how to sew will really motivate you to continue doing it.
Along the process, there are times that you keep on altering what is done because it doesn't actually fit. You will be challenged and you will lose the drive to continue it or you will lose your temper but when you really are eager to get to the finish line, you eventually erase the anger or triggers of not finishing it.
As I was almost done with what I did, I felt happy, accomplished, and proud of myself that I was able to finish it. And I am able to do it again.
P.S. I am not yet an expert in giving instructions. I only wrote here what I am able to comprehend and learn.
When you love what you are doing, you'll never wonder how time goes fast and how joyful you feel for your accomplishment.
I think that's a wrap for today. I hope you learn something from me or you like what I shared with you today.
This is @rhianmaker always reminding you to take your time to breathe, chill, relax, and enjoy every moment of every day. May you fill your day with joy.
Ciao❤️