Olive harvest period has started and I feel this sweet bitter pain in my whole body! I can't do a lot of things when I return back home, just a hot bath and maybe a movie. Today is day off and while laying on the couch it is a great time for a post and all I can think of about posting is olives!
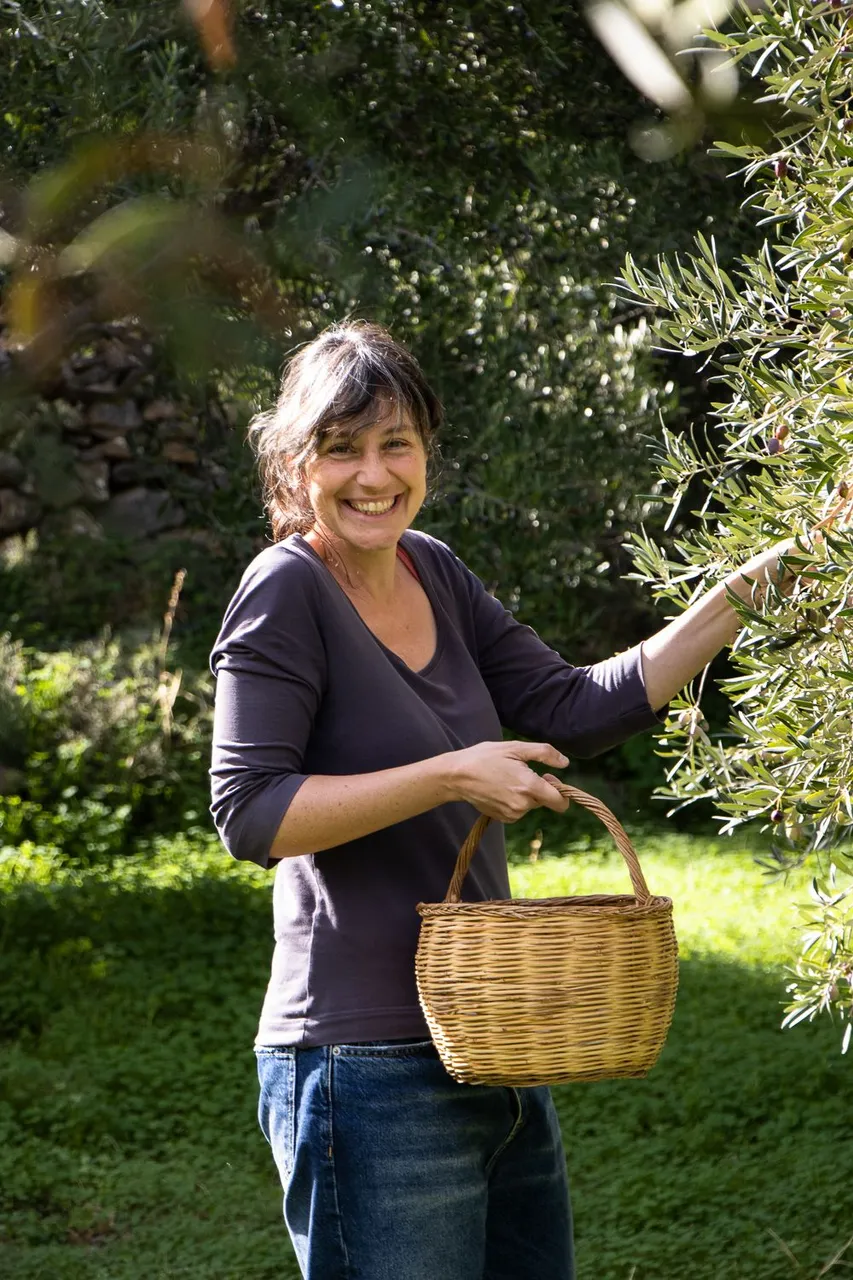
Photo by @fotostef.
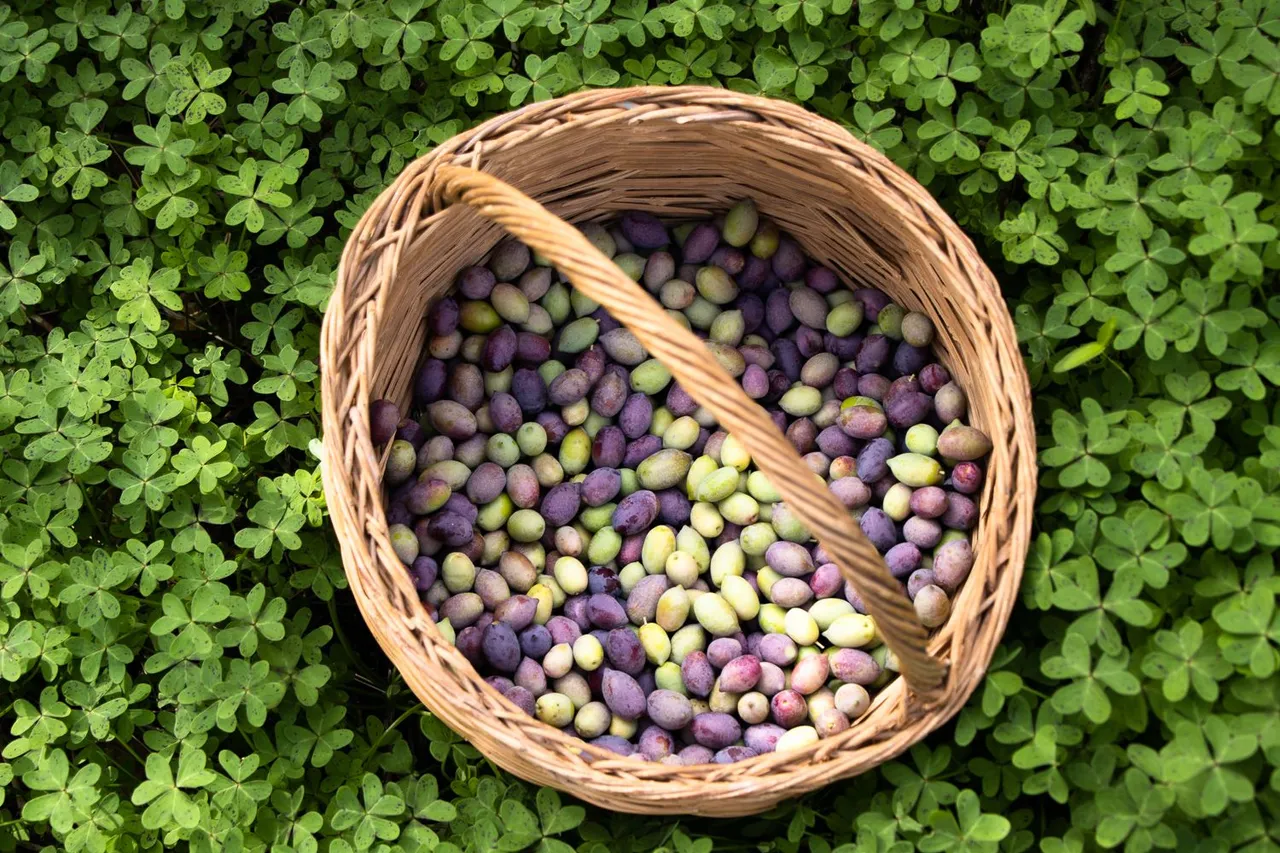
A few days ago I went out with @fotostef and my cute basket to collect some fruits and make edible olives. I guess you all know that you can't eat olives straight from the tree as they are very bitter. There are plenty of ways for making them edible, but here I am going to share my favorite way. It is my favorite for three reasons. First the olives this way are delicious, they are not too salty and last but not least it is the most lazy way to make olives :)
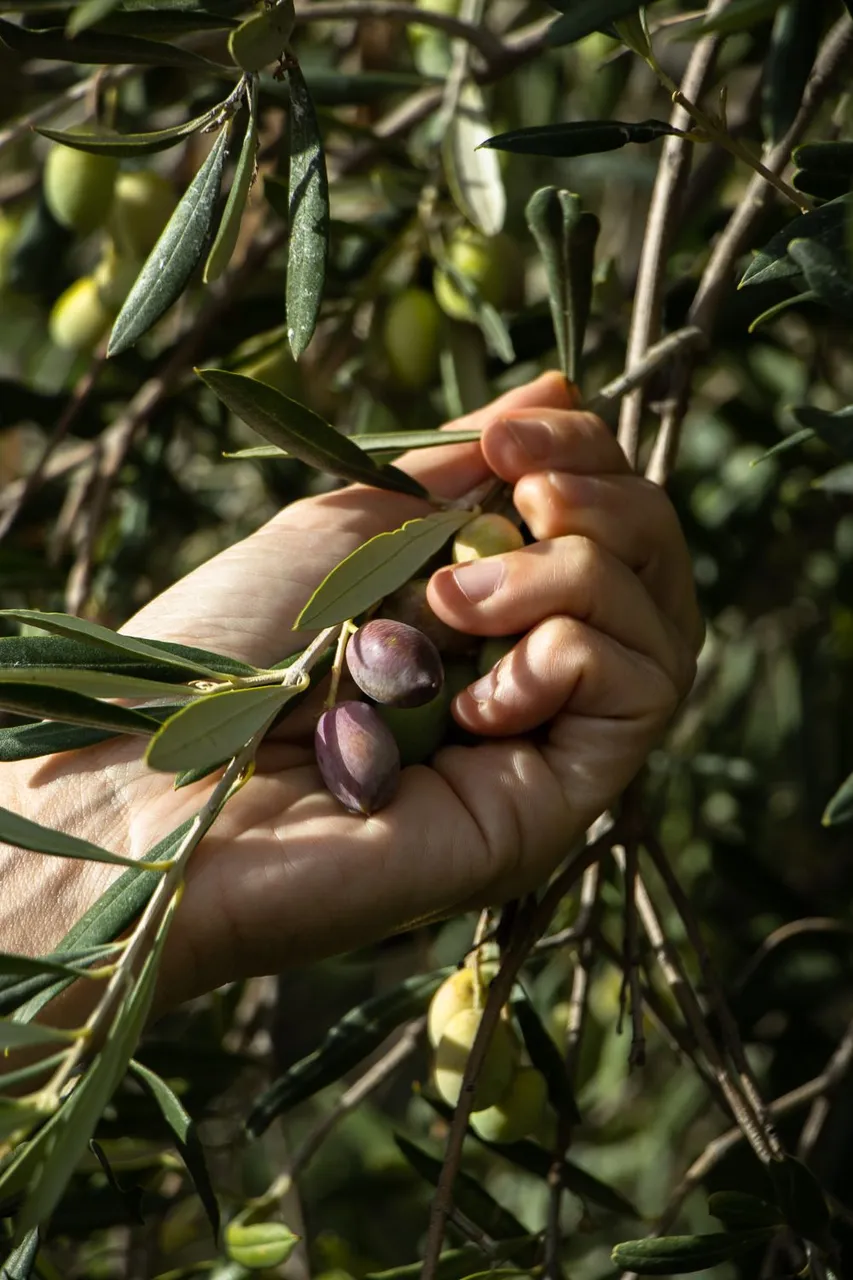
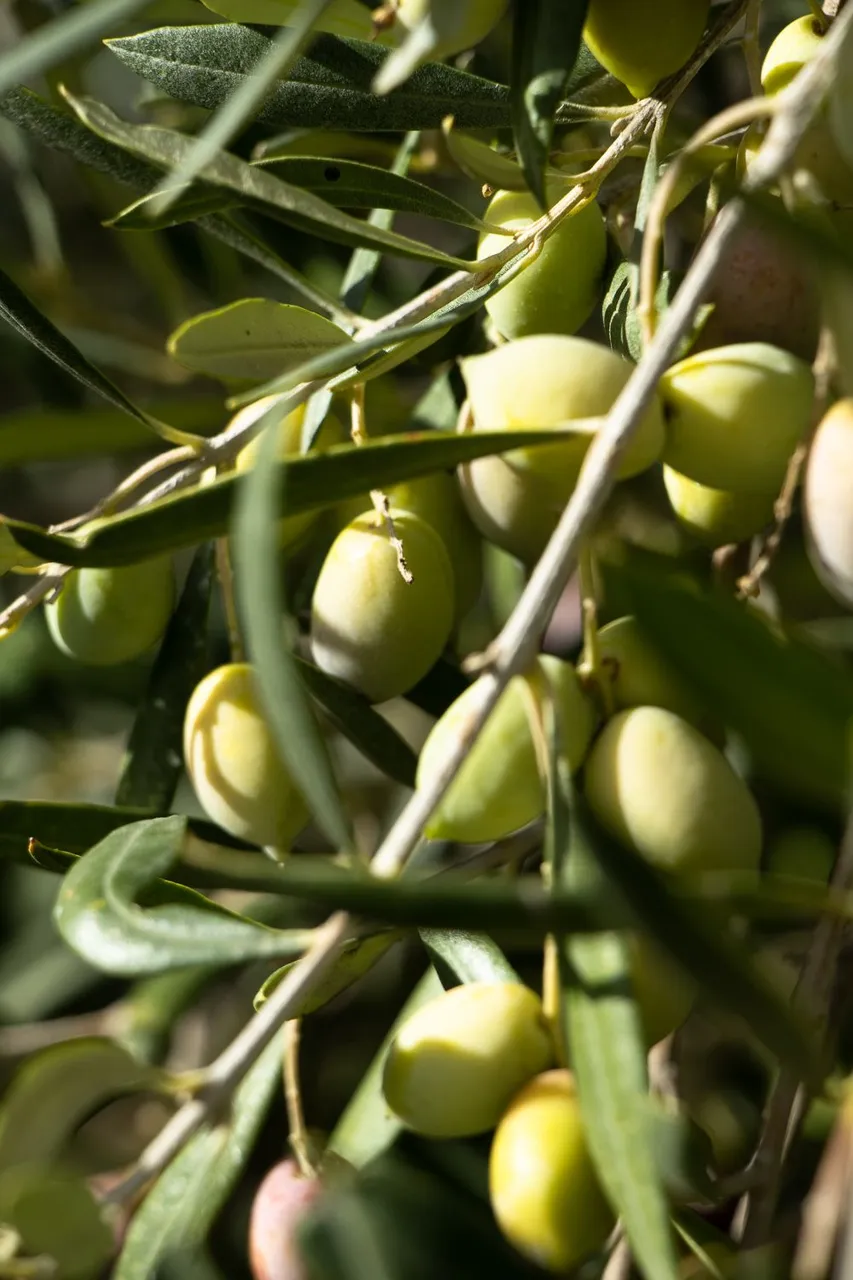
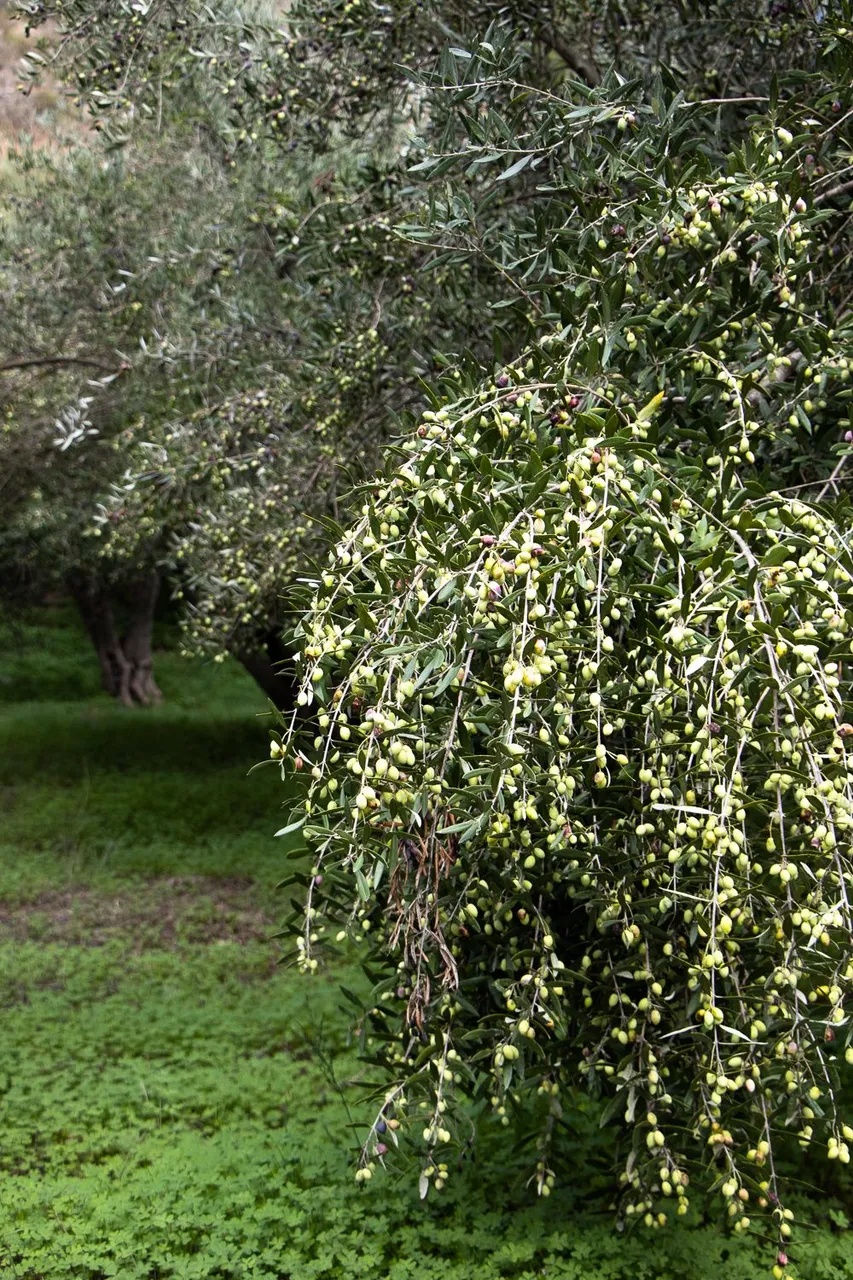
We collect the finest fruits, picking them by hand. We have a favorite tree for this case, a variety that makes bigger olives than the usual ones here. Almost every olive grove has at least one of these trees for making olives for the house. The commonly cultivated variety here is koroneiki, excellent for olive oil.
You need salt, citric acid, water and a few plastic bottles. The plastic seems to be the only disadvantage of this process, but it is impossible to use glass due to the expansion that takes place during the process and that could break a glass bottle. So, reusing some plastic bottles is the only way to go.
Wash the olives well.
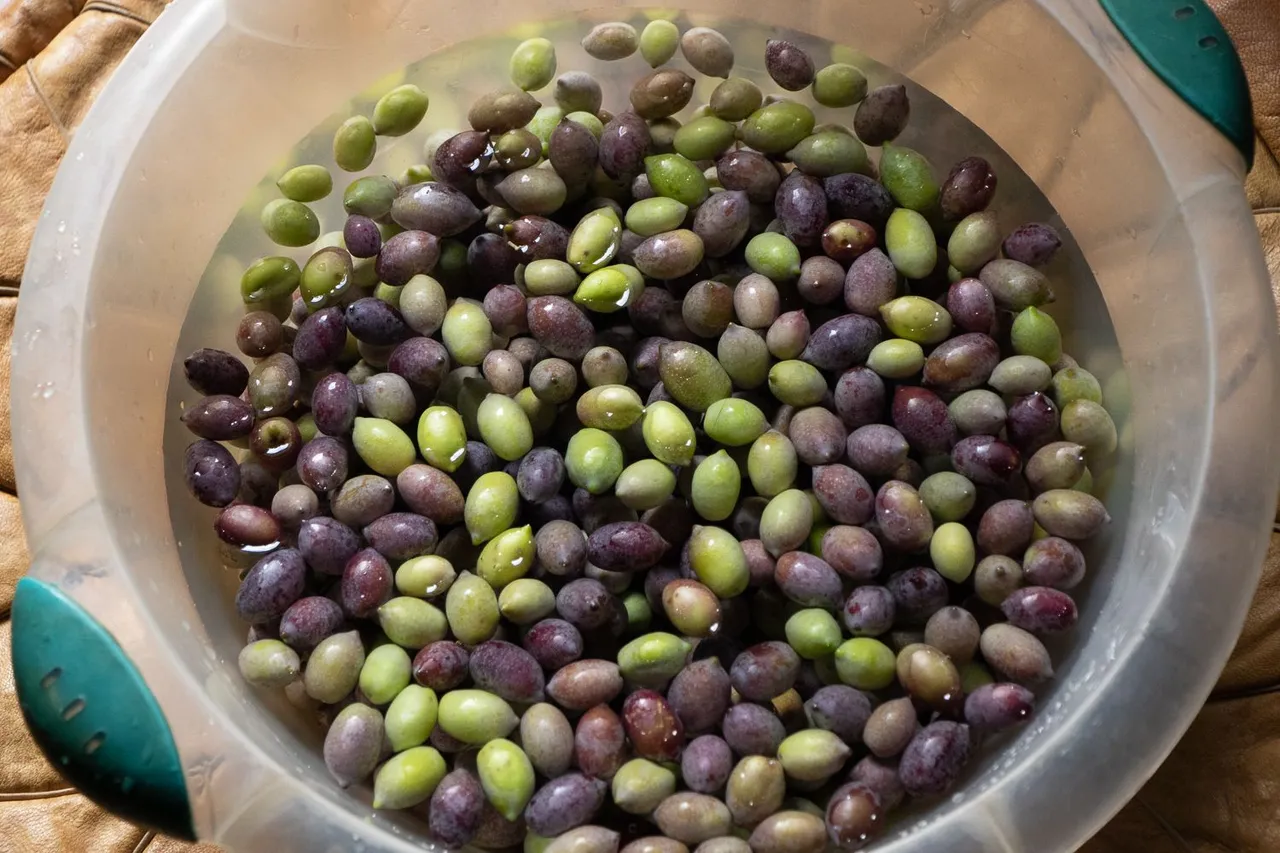
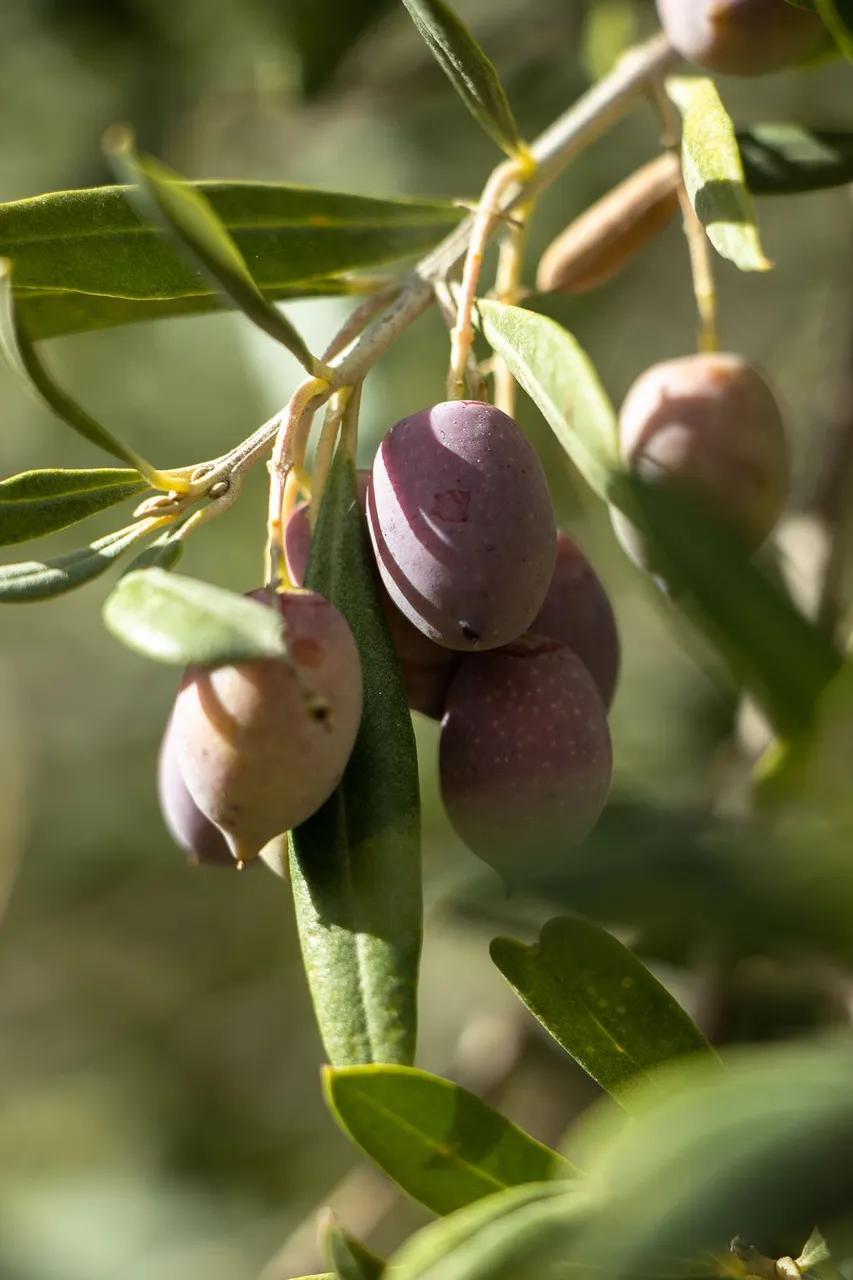
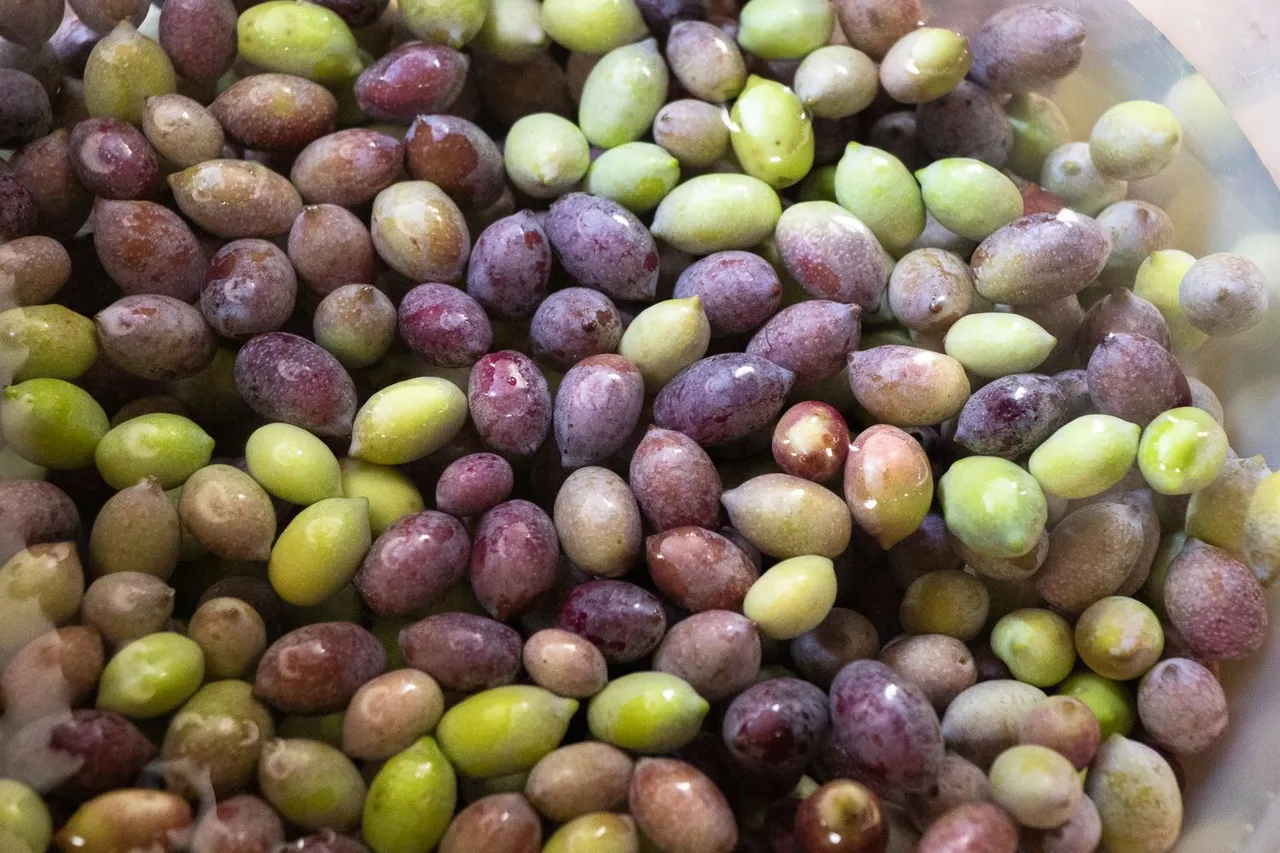
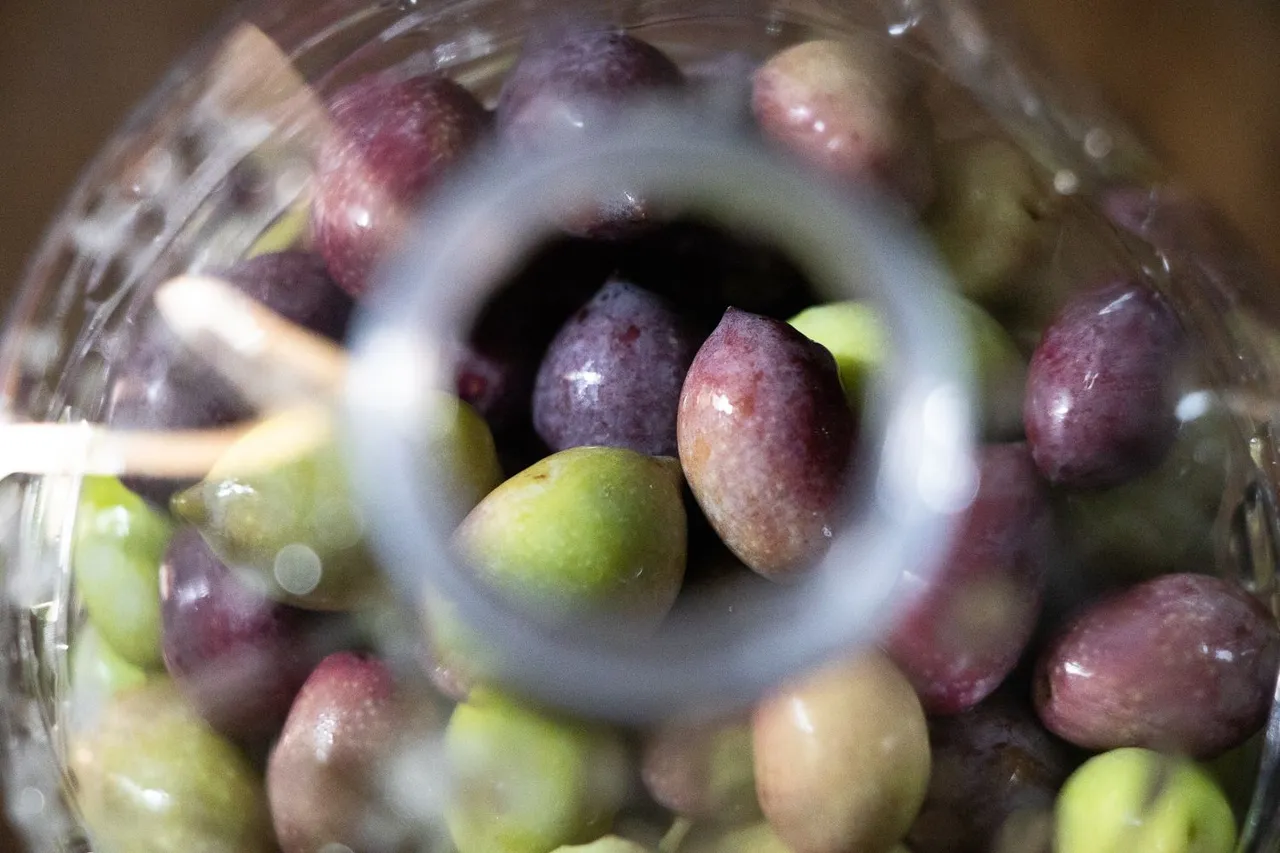
Green and purple olives are the ideal for this technique, so avoid mature black ones!
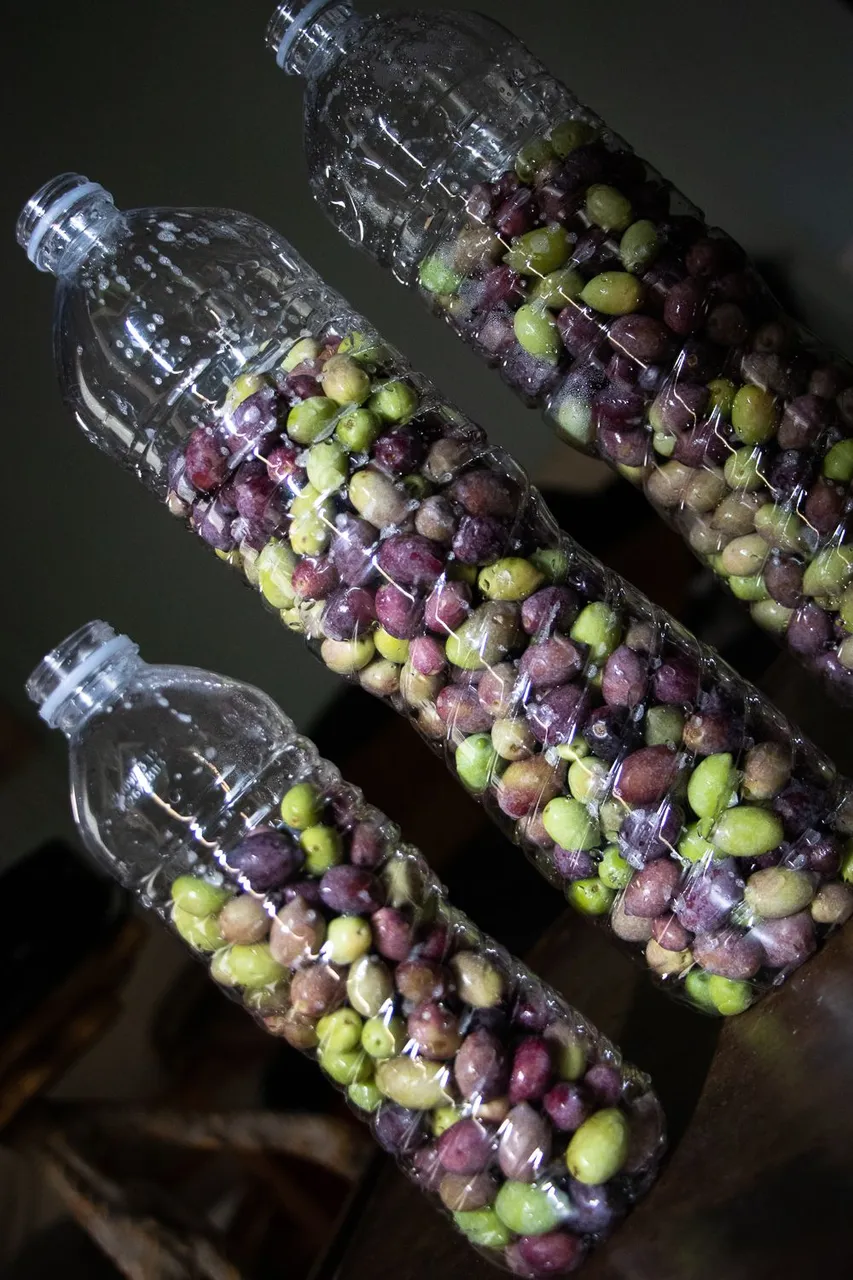
You put them one by one in the bottles. This sounds boring and it actually is, but it is also a great way to check them one by one before they get into the bottle and it's too late :)
You fill with olives leaving a free space of about 7-8 cm from the top of the bottle.
The recipe for a 1,5 l bittle is:
1 1/2 tea spoon citric acid and
1/2 tea spoon salt
Simple as that!
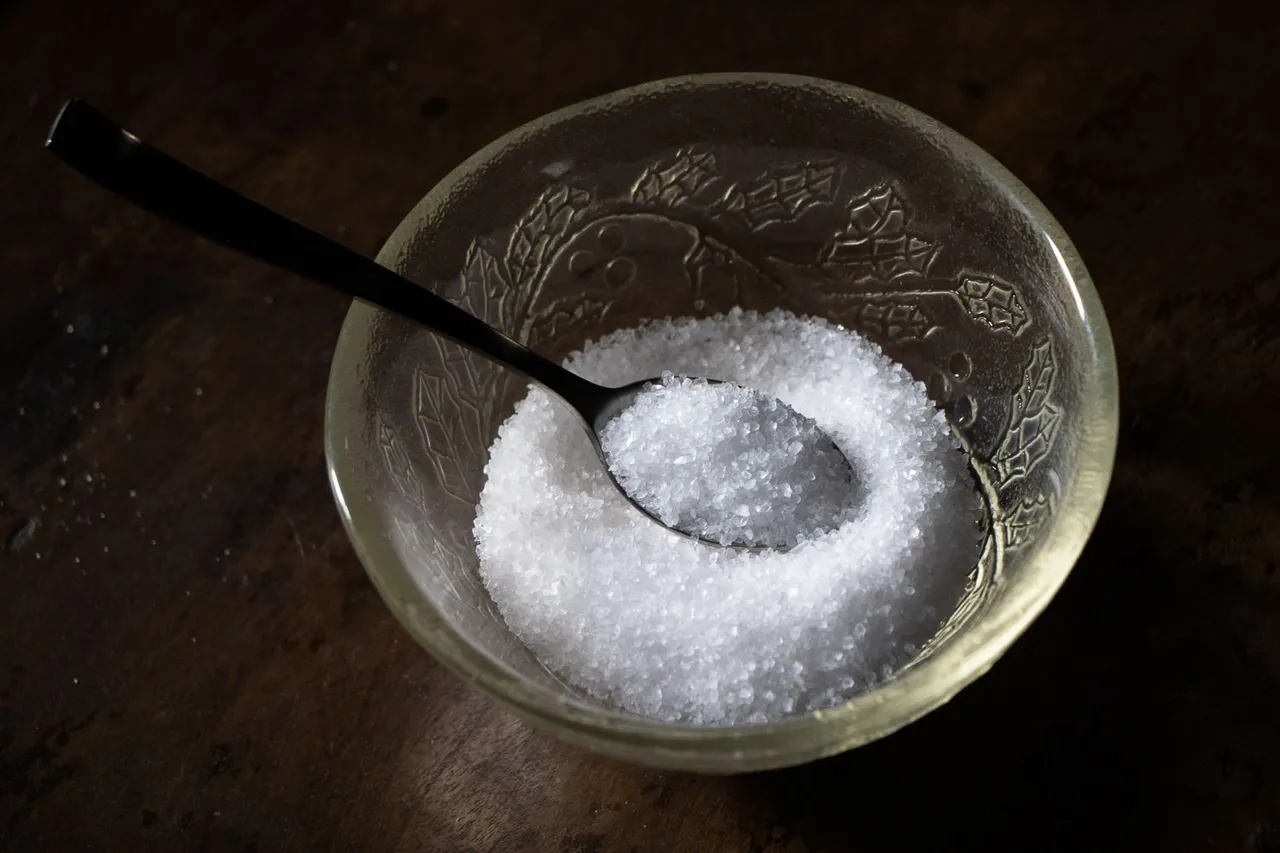
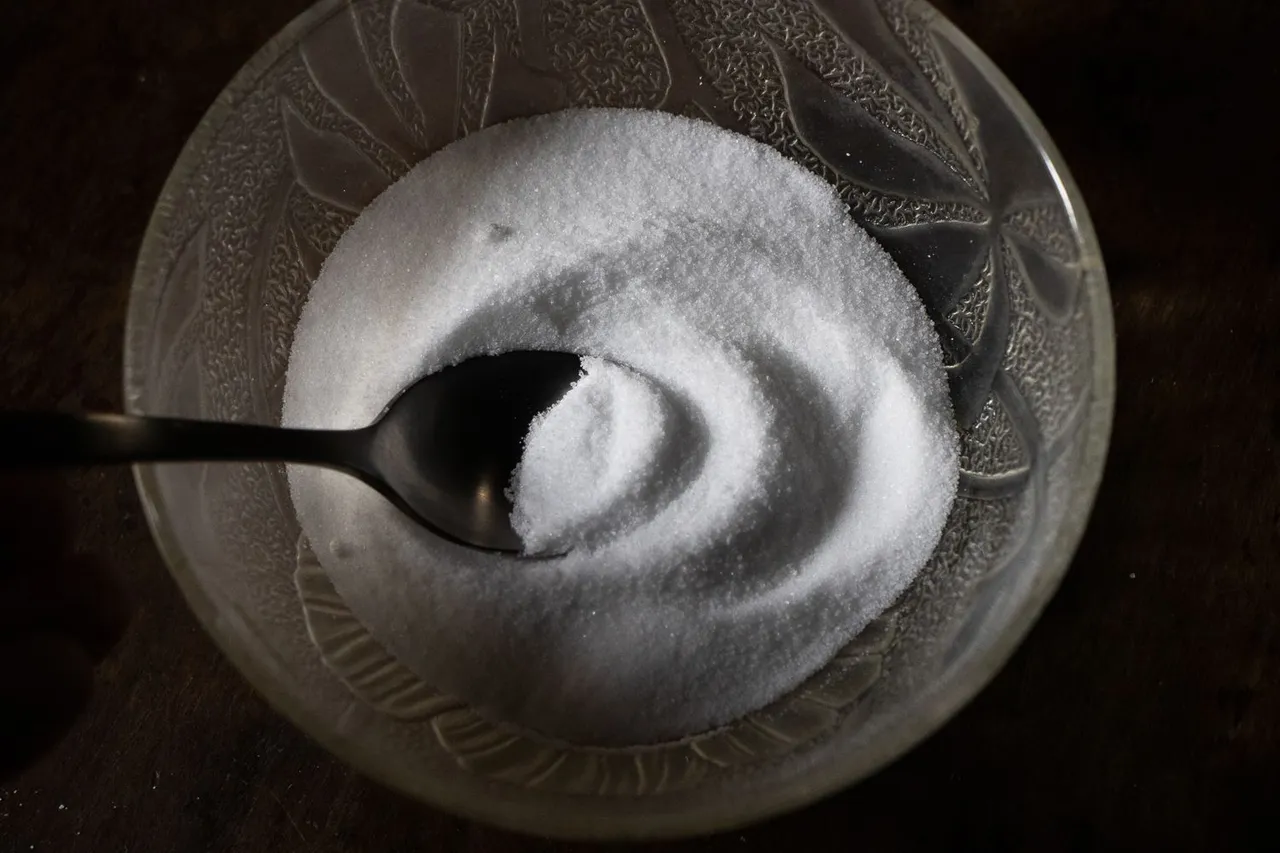
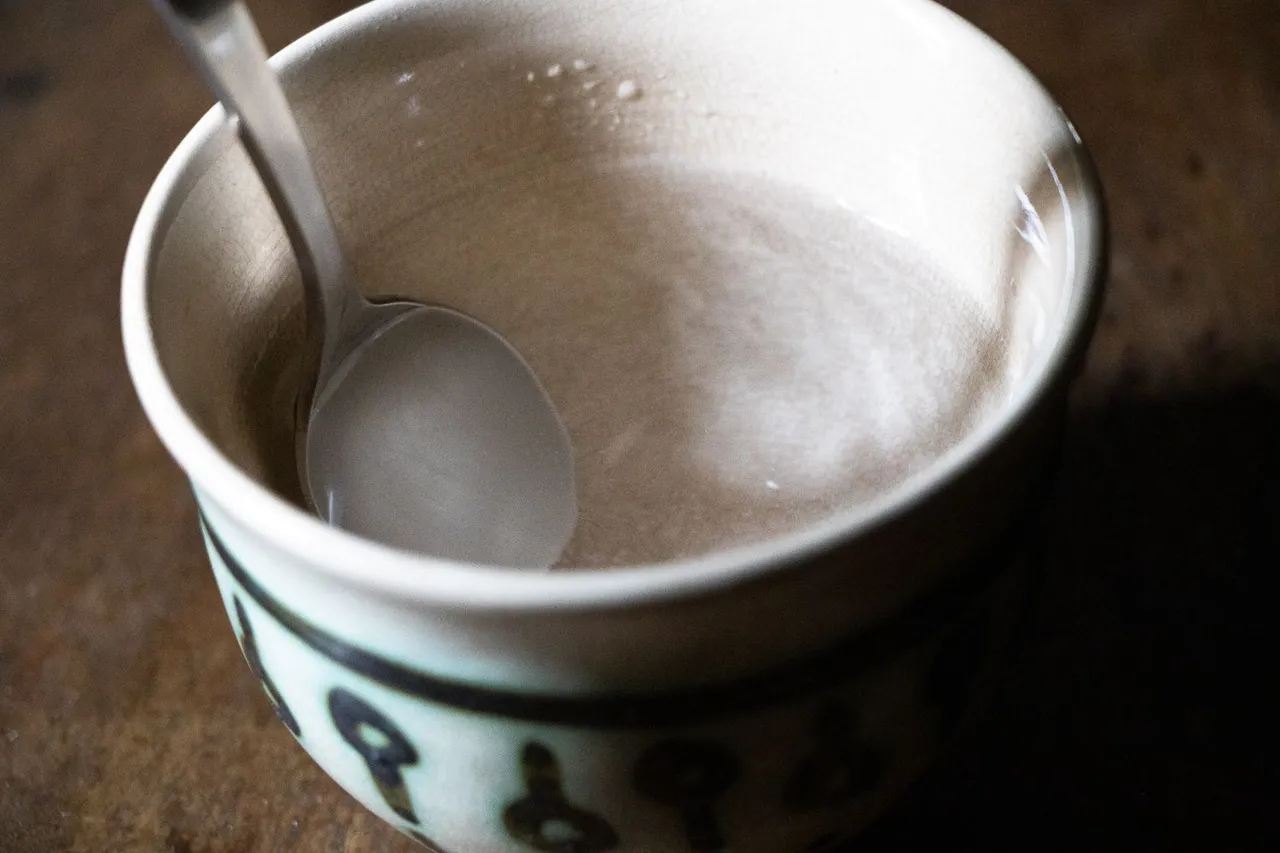
Salt (left) and citric acid (right).
You mix them with some water, put it in the bottle and add water until they are all covered.
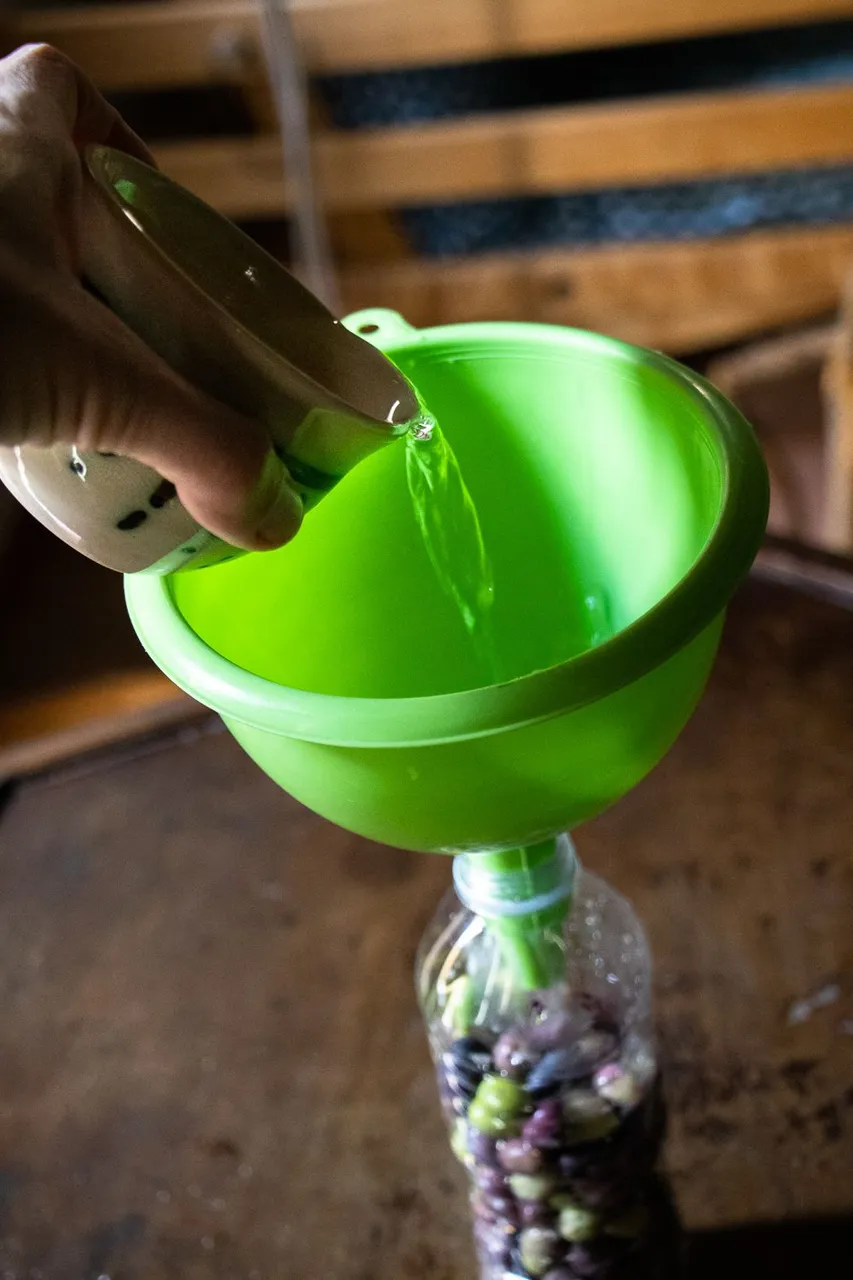
Then you add some olive oil, about 3 cm (there must still be some free space till the top), you let them open until we the following day.
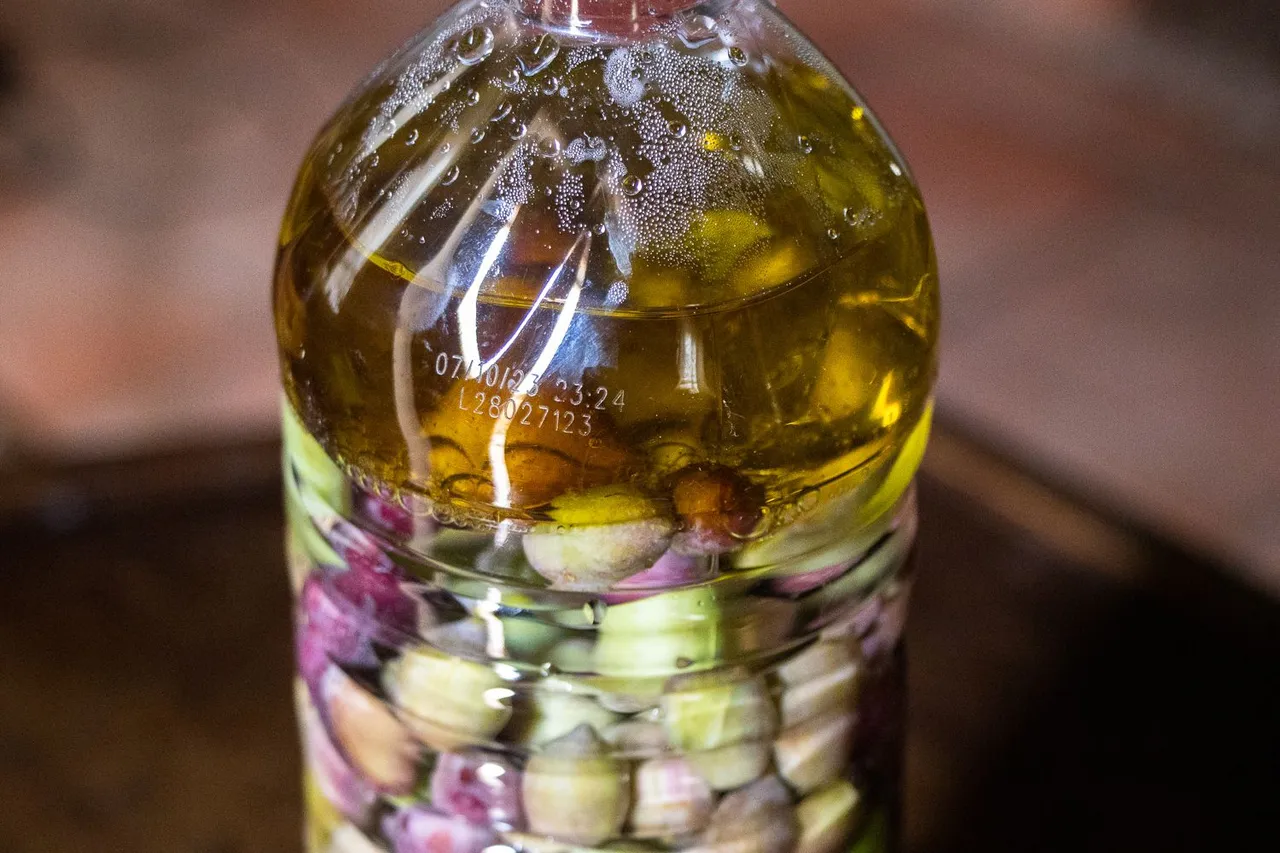
The following day, you close them and you completely forget them in a dry and dark place. And this is the reason I love it. No need for doing anything during the next period. If you are anything like me, suffering to remember to mix or change water every day, then this is the way :) Plus they turn out to be so nice every time the last 7 years I make them this way.
You wait at least 3-4 months and then they are ready.
Very important: you DON'T open the bottle. You make a small hole with a knife so that the pressure will be released and you cut the bottle and put the olives in jars.

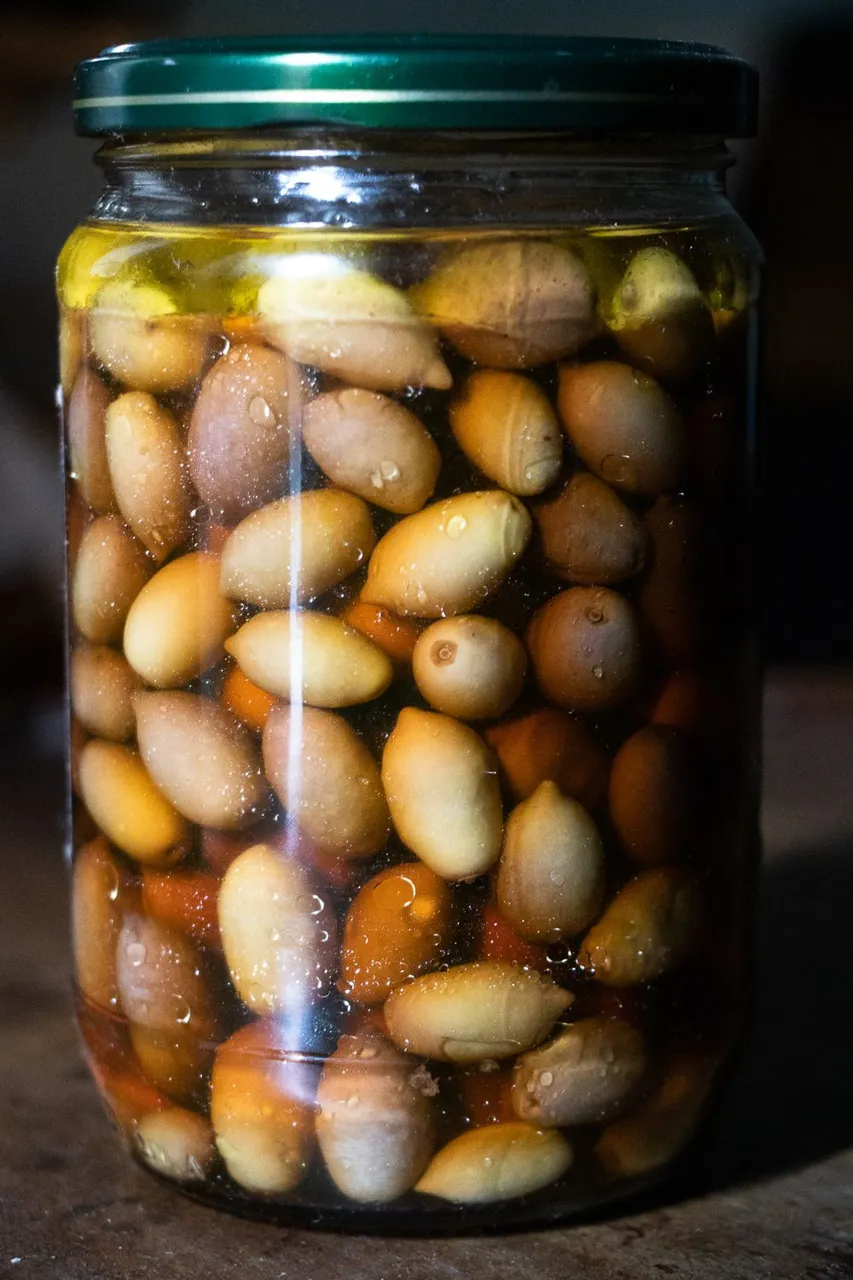
In olive oil and sage (left) and in their brine (right)..
Usually one bottle is two jars of the size I use. I put olive oil and herbs in the jar I am going to eat first and in the other one the olives with their brine (and some olive oil on top). When time comes, I will also put these ones in olive oil with herbs.
The recipe doesn't use much salt, but by preserving them in olive oil makes it feel even less salty. Ideal for people with high blood pressure or any other reason for a diet low in salt.
Olives are rich in antioxidants, add them in your daily life and enjoy! Always moderately :)
If you would like to know more about me this is my introduction post.