What do you think of when you hear the word "furniture"?????
Of course, most people will think of objects or tools that decorate every room in a house or other building, be it wood or iron,,,,,
Yes,,, that is a common thought from the words "furniture" because every human being will always be side by side with furniture whether you are at home or in the office of course you will see furniture ranging from sofas, tables, chairs, kitchen sets, wardrobes , beds, and many other furniture that you will definitely see every day.
But there will be additional things that you will think about if you are an architect or designer or a woodworker when you hear the word "furniture" (for example) from my point of view as a woodworker, the additional thing that will come to mind is the shape and design of the object the furniture and also the processes and techniques in doing it, and if according to architects or designers they will also think as I think but they will also think about the layout of the furniture to match the building and will look more attractive.
![]()


Before I start on the core of my post today, first I want to say hello to all of you, hi all design architecture lovers!!! how are you guys today?? Hopefully always healthy and can do activities as usual....
Back again with me, I am a woodworker who spends my daily time in my workshop making various kinds of furniture and this is not just a job but has become my main hobby.
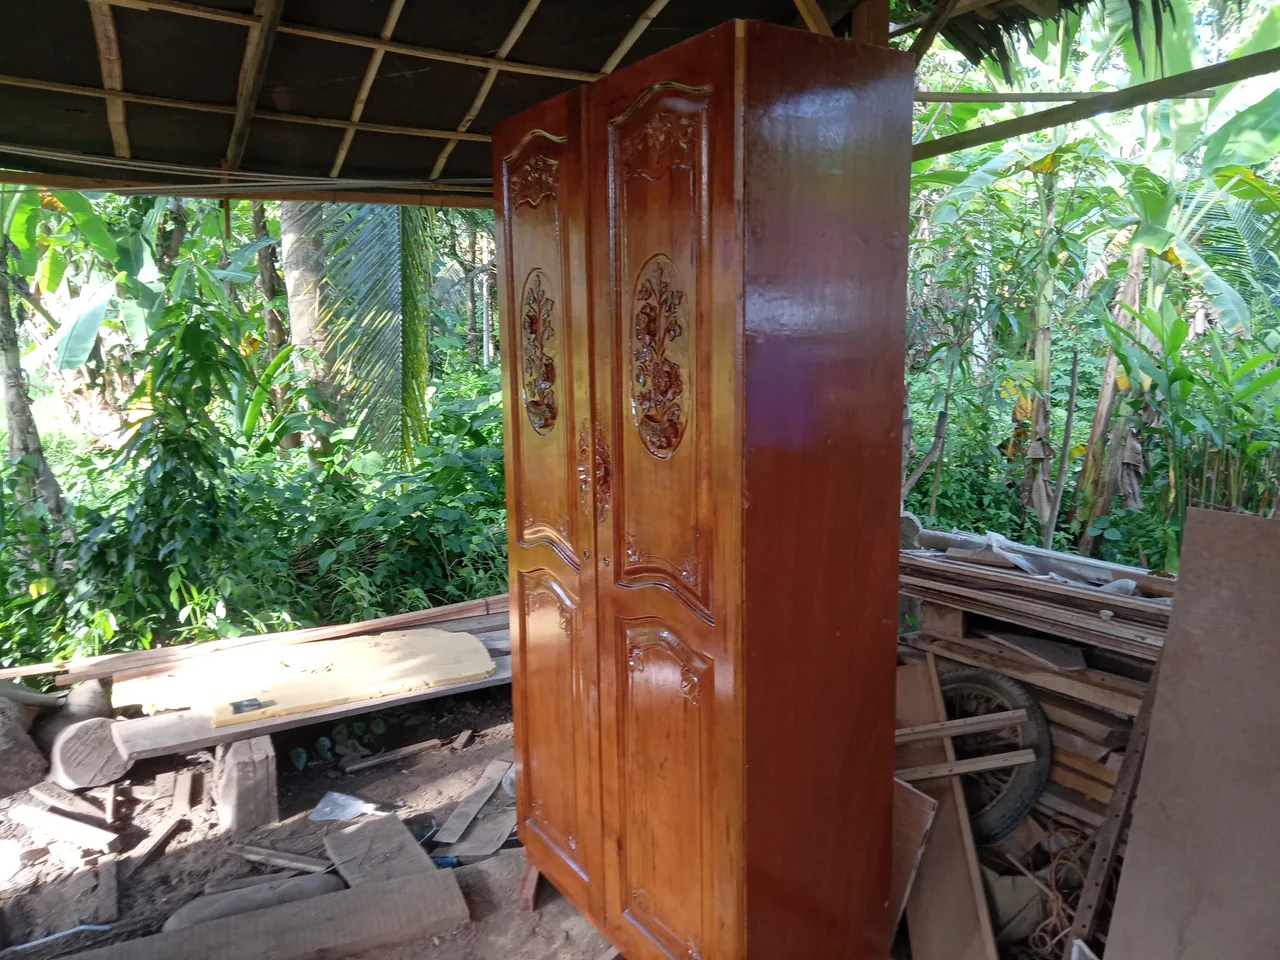
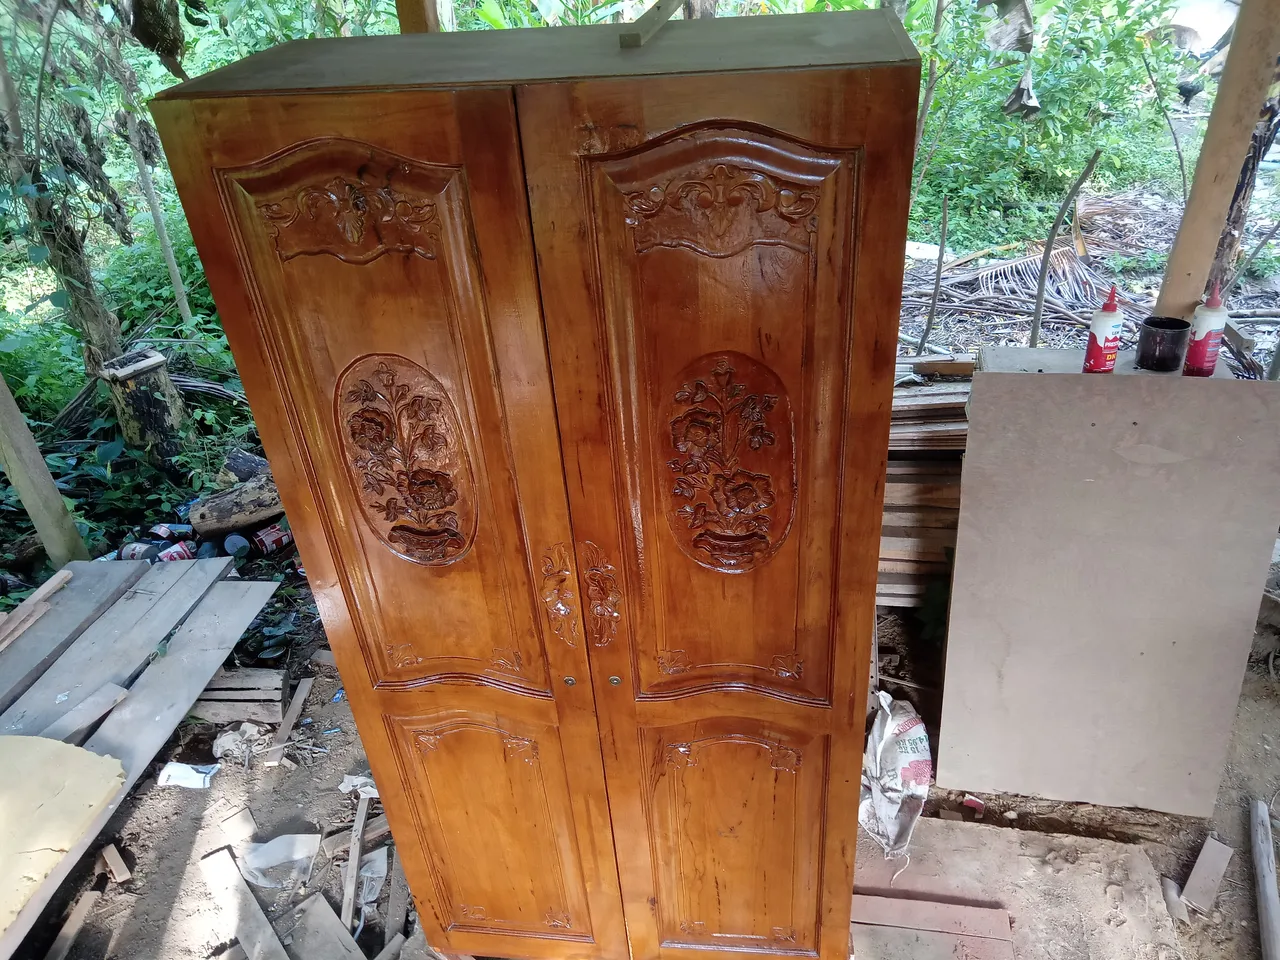
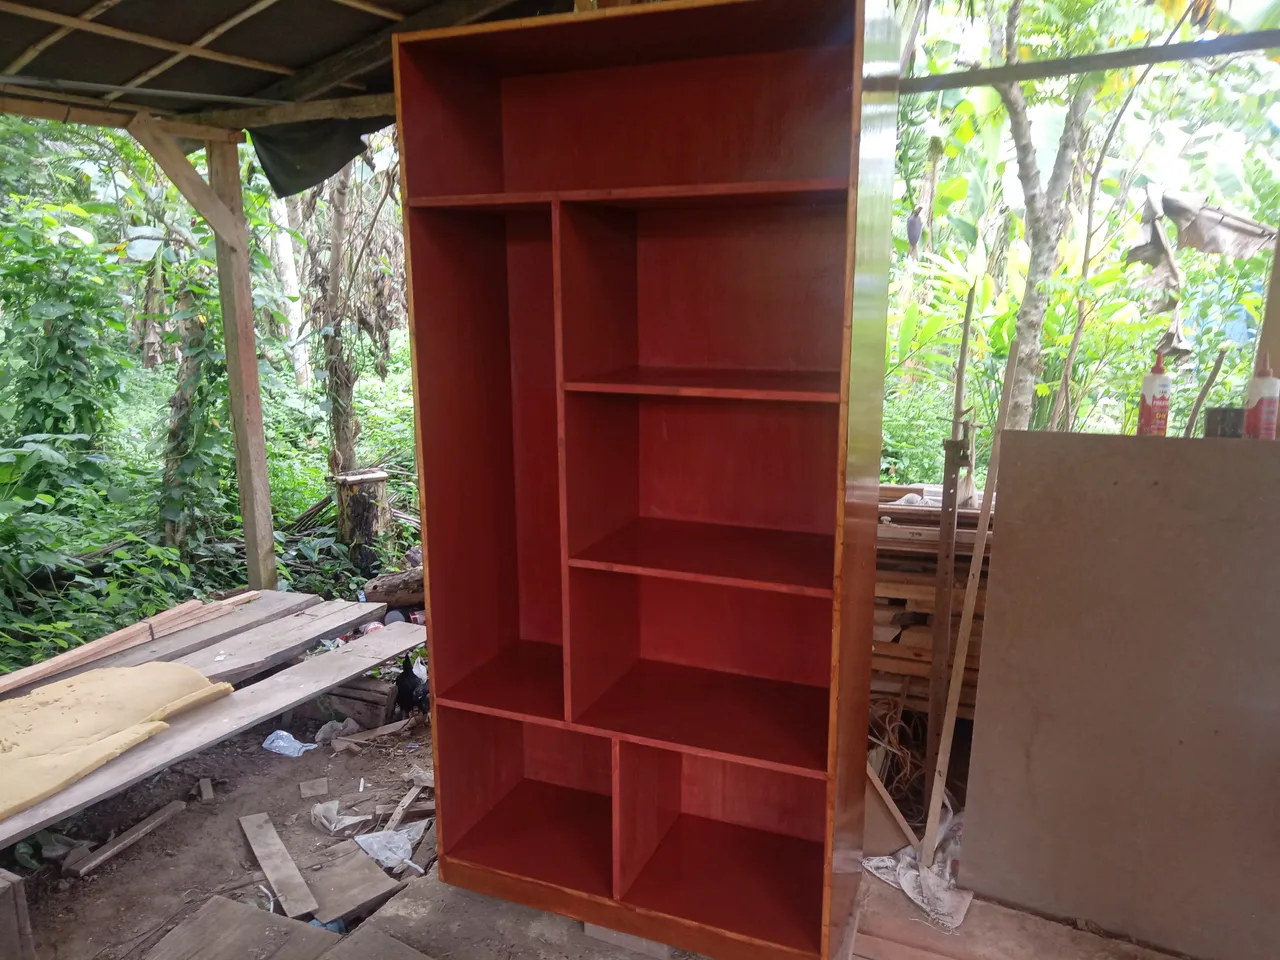
In this post I show my project that I completed two days ago, this project is to make a wardrobe for my mother, previously I made a wardrobe for her 3 years ago when I was still working in a furniture store but the wardrobe has started to break down in termite bites.
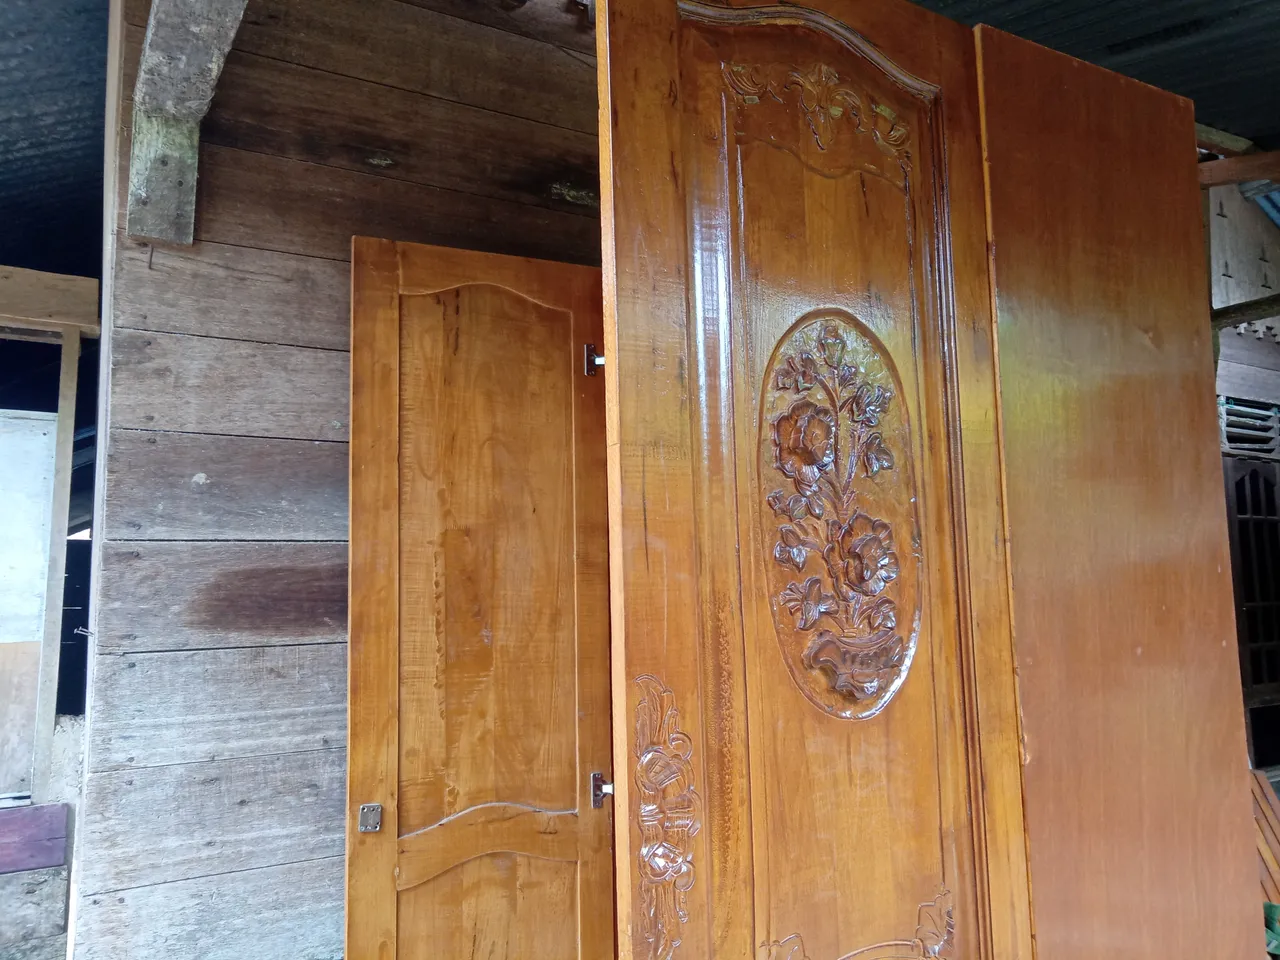
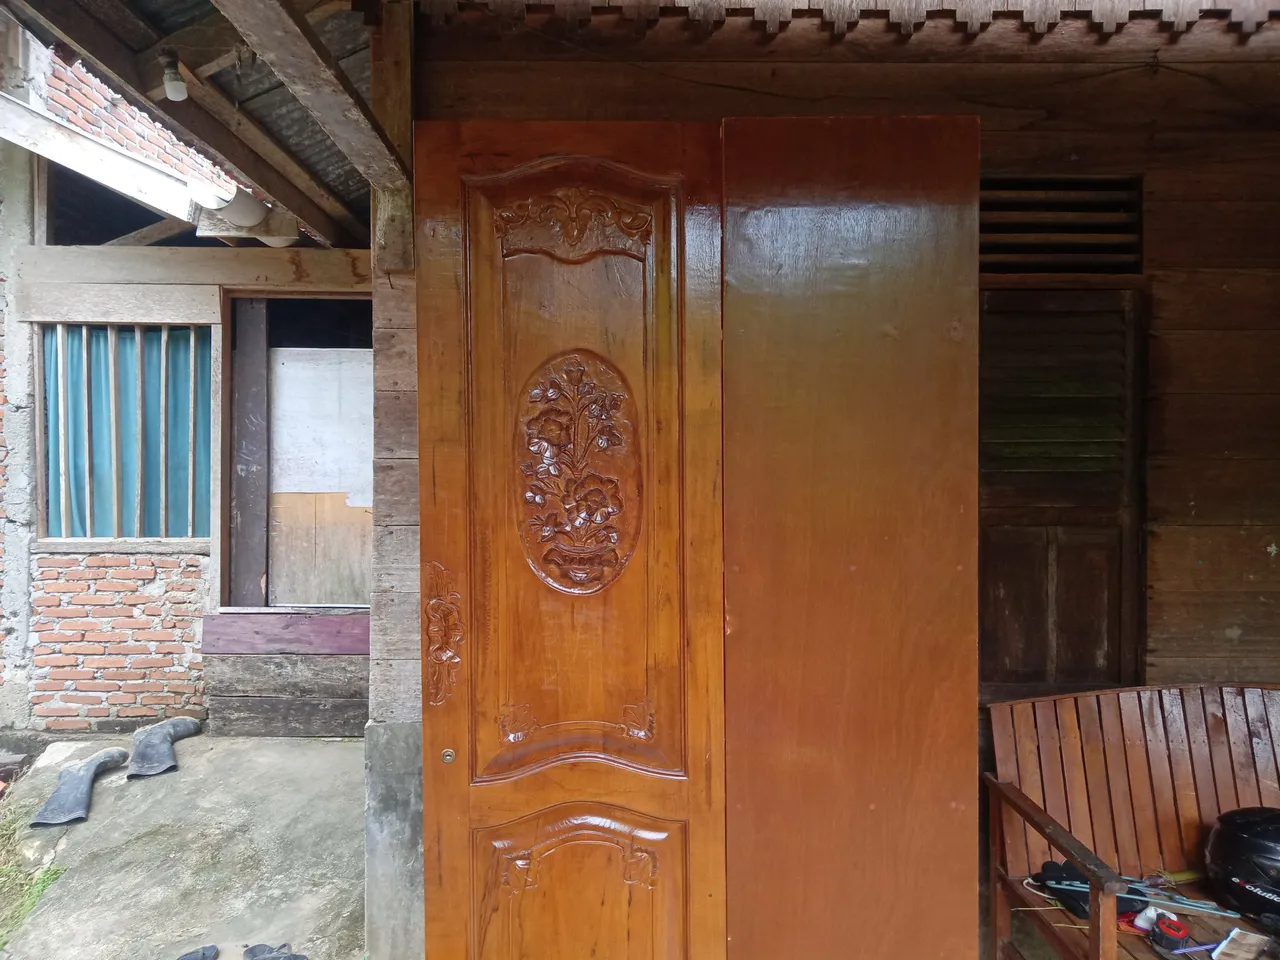
Previously, I saw the old cupboard first, maybe there were some that could still be used and it turned out that only the door was still quite sturdy, and I tried to make a new cupboard using the old cupboard door.


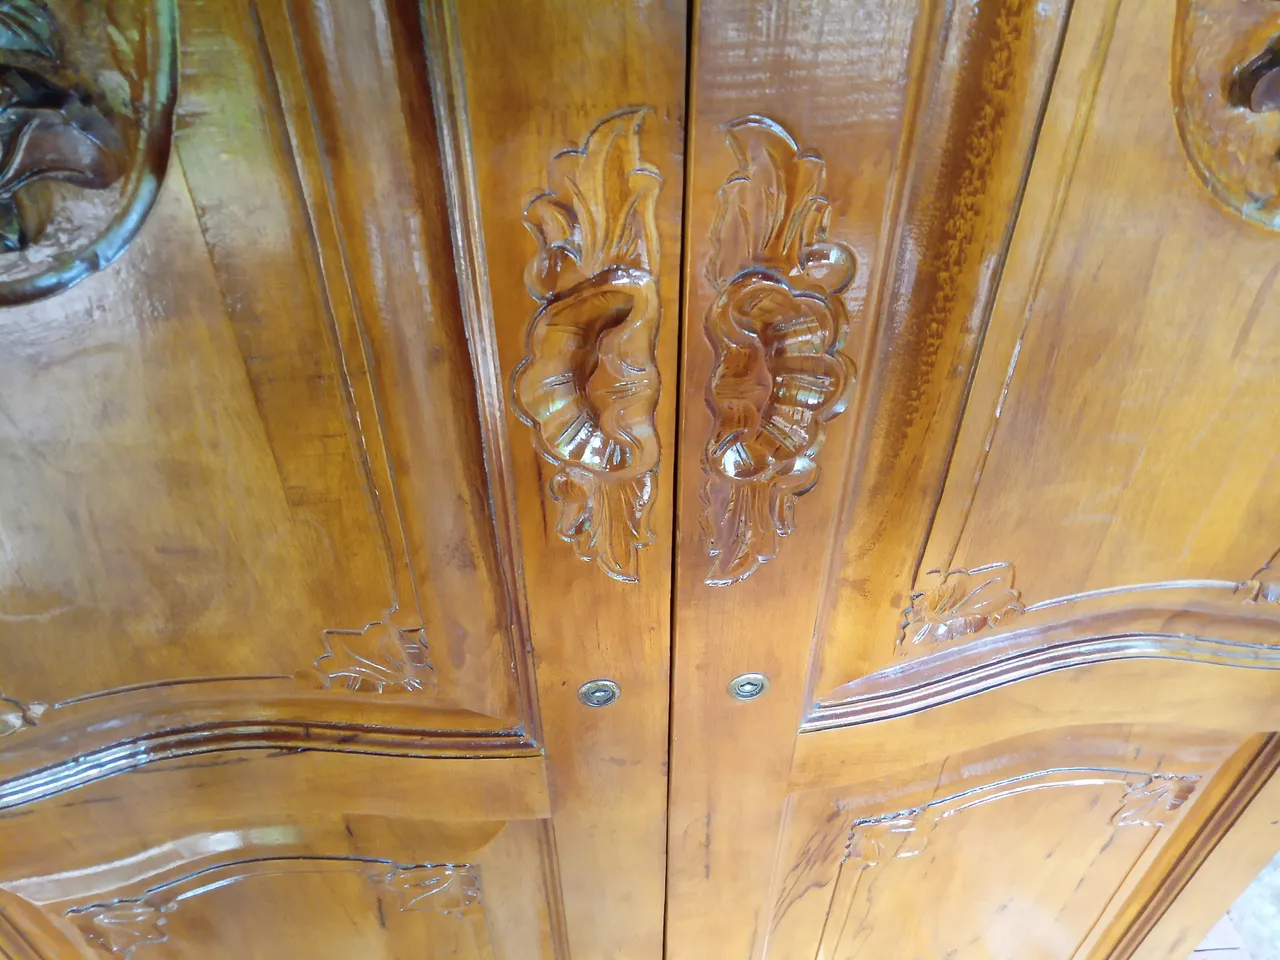

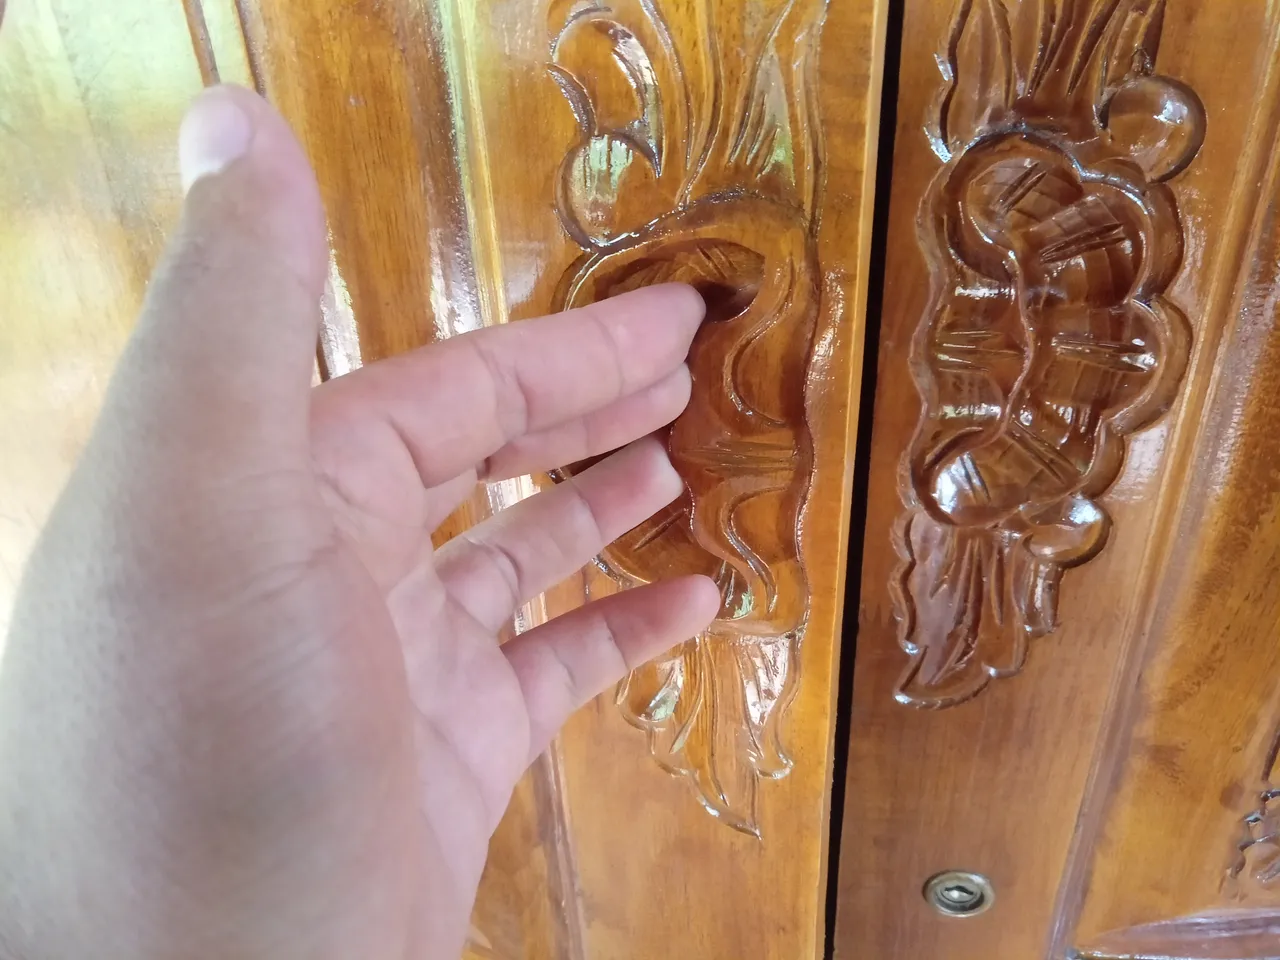
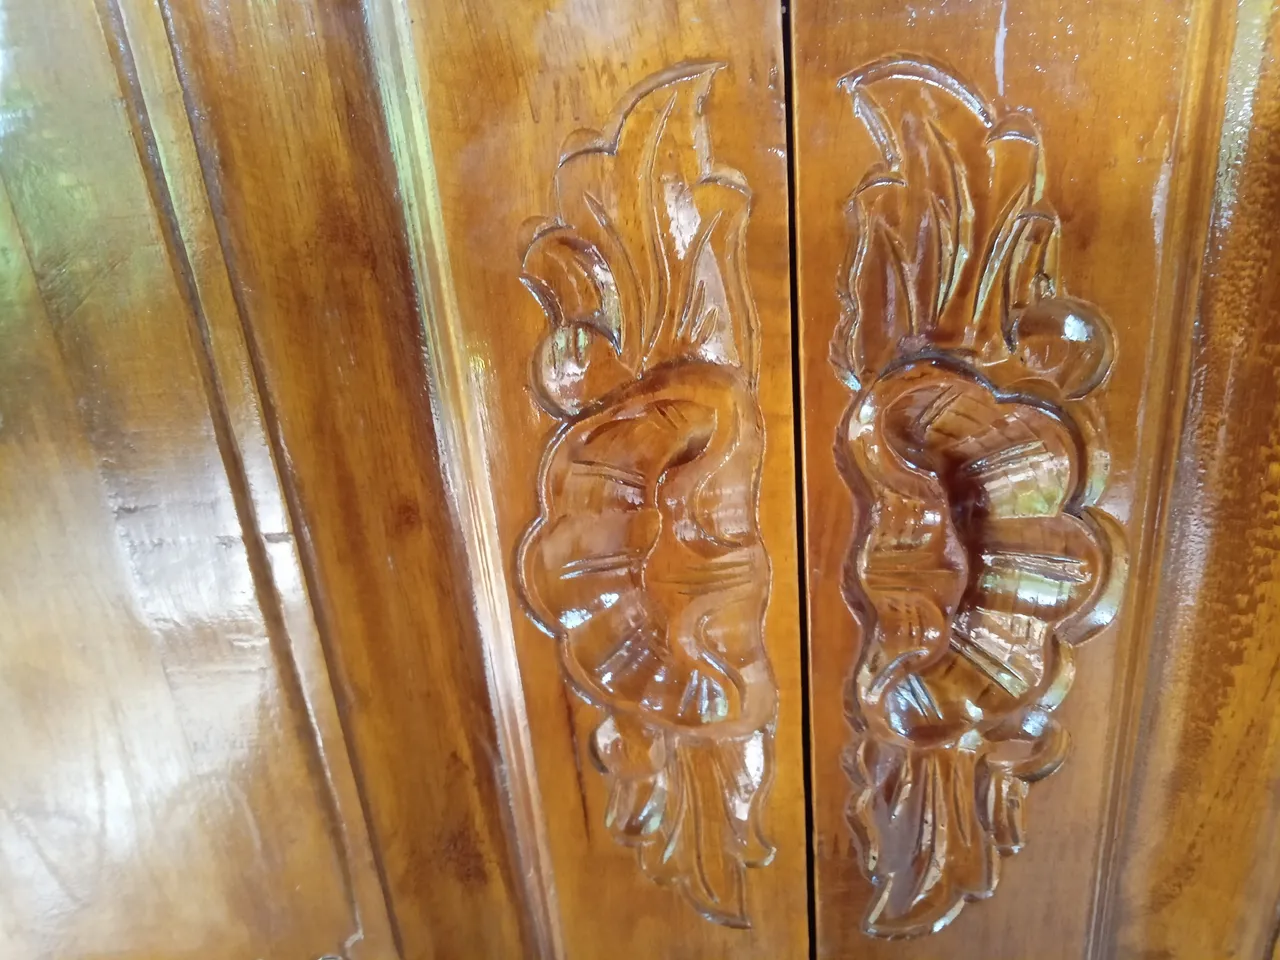
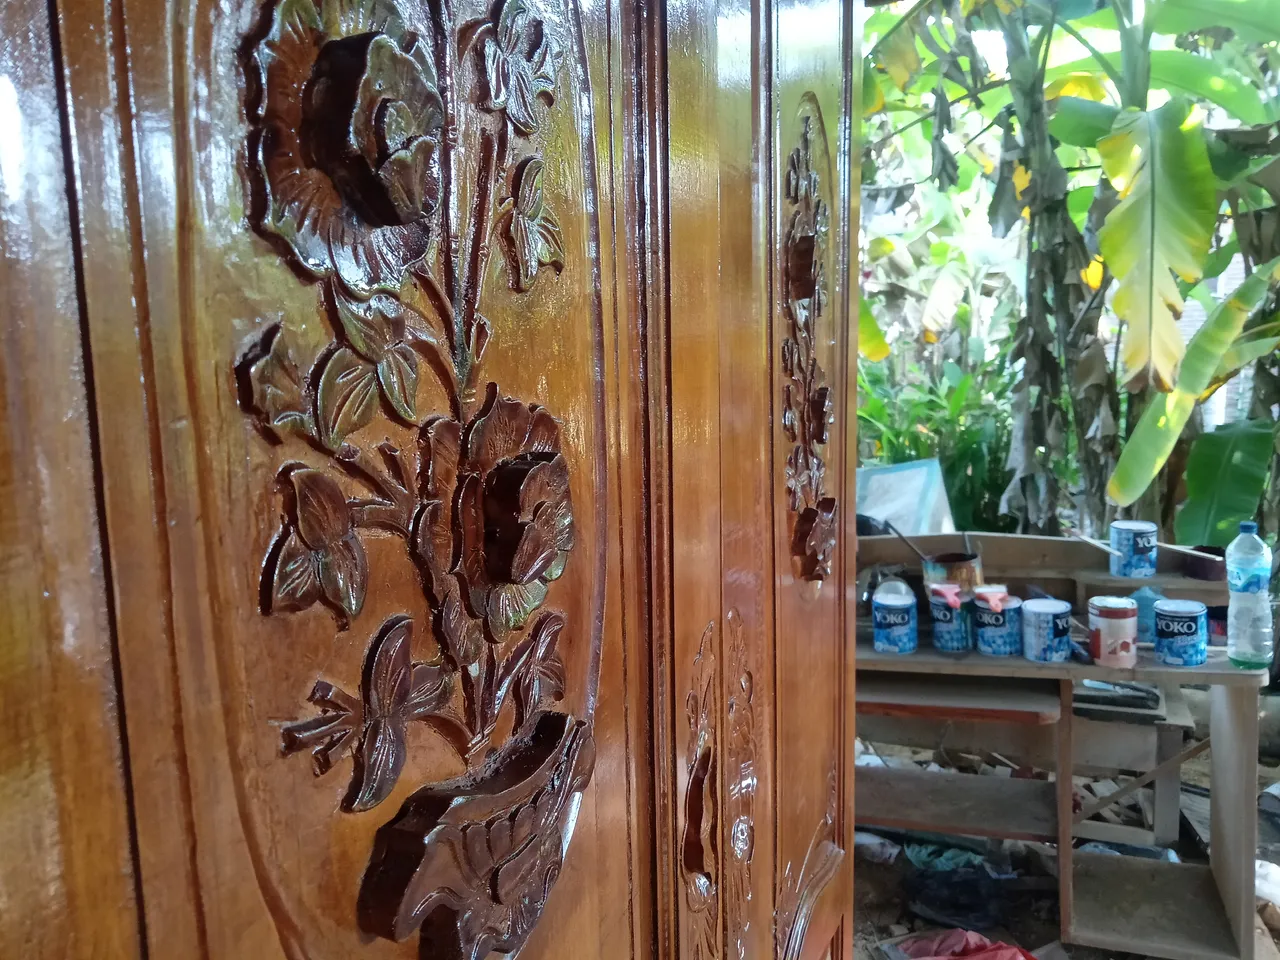
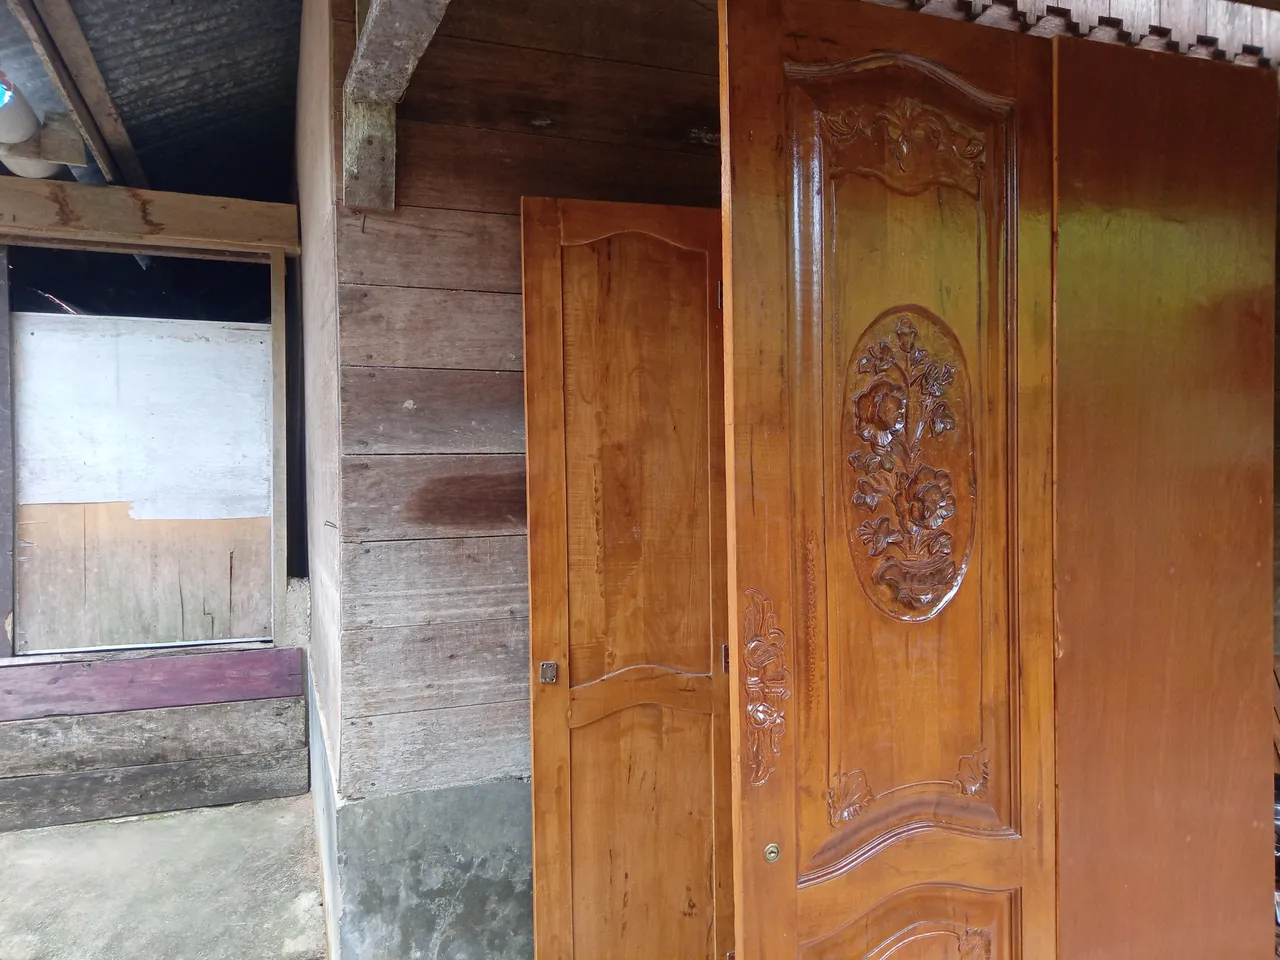
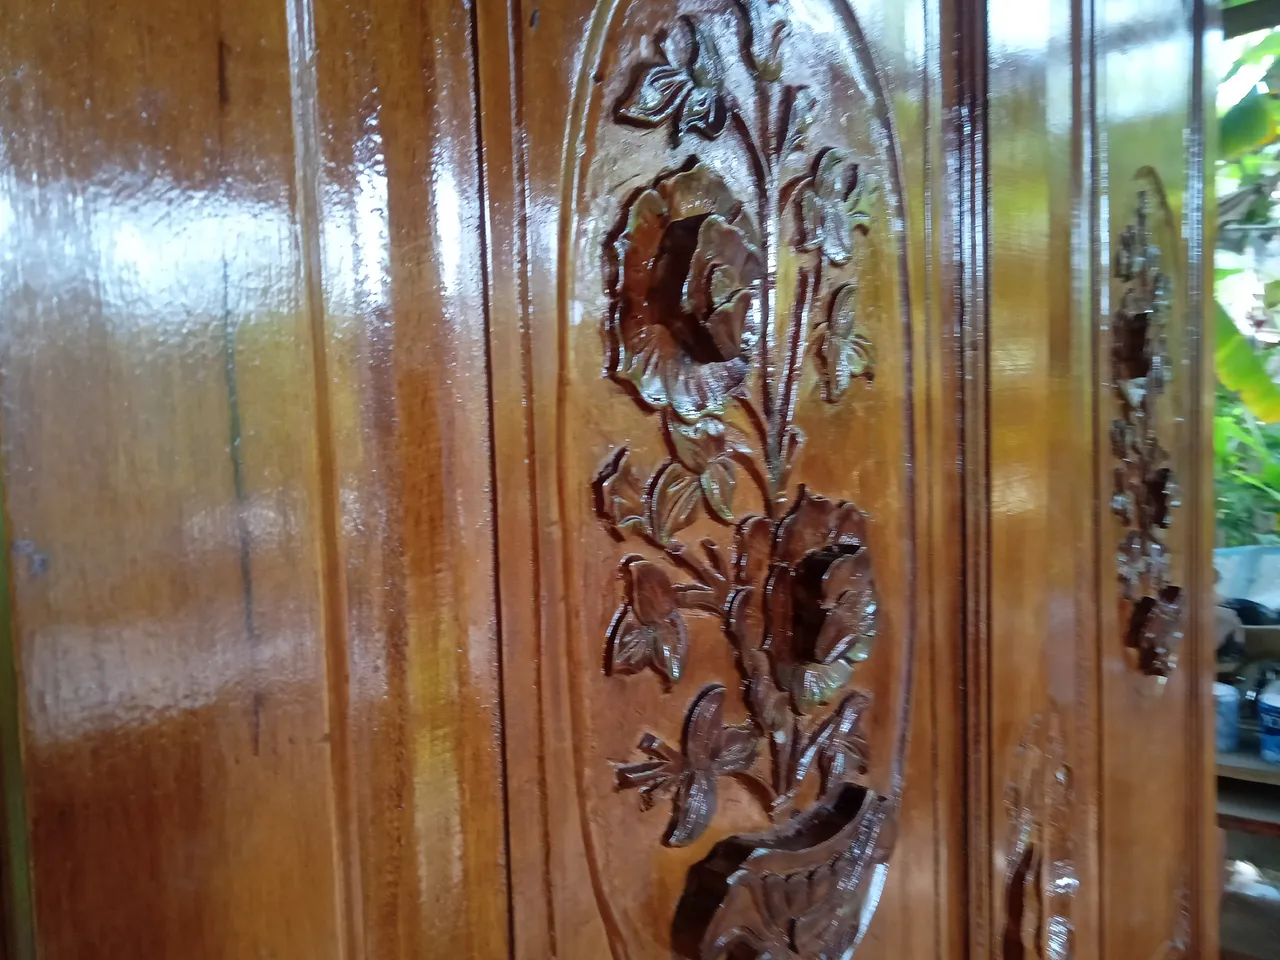
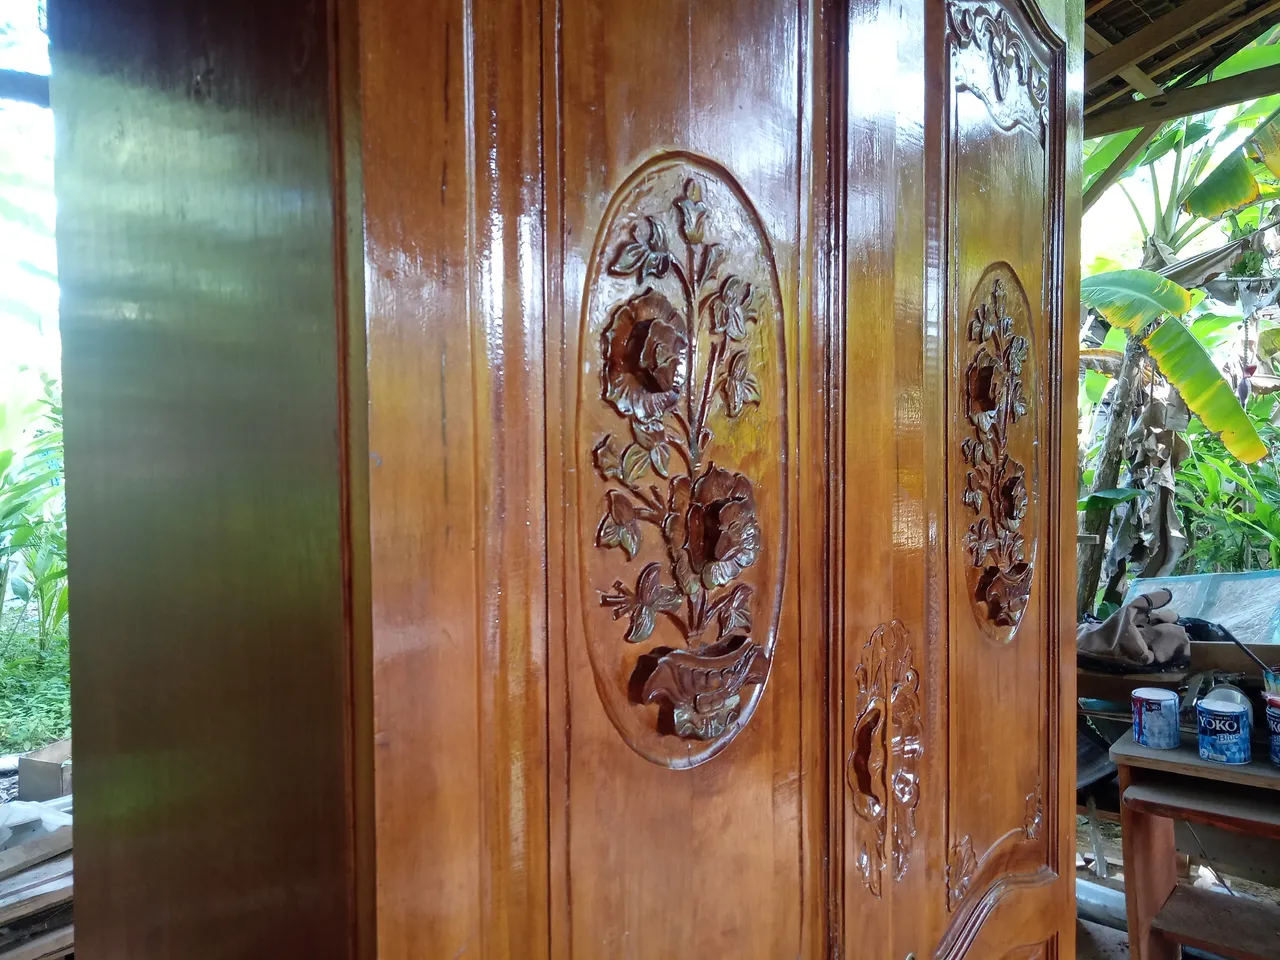
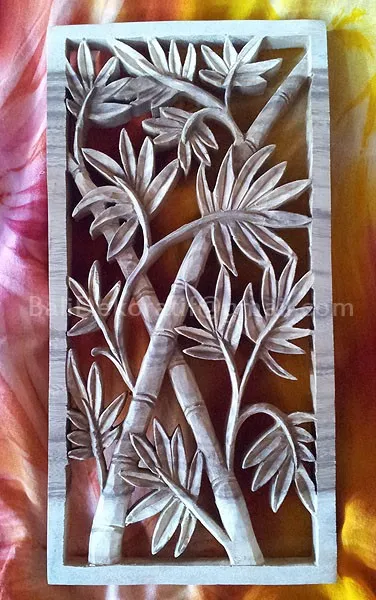
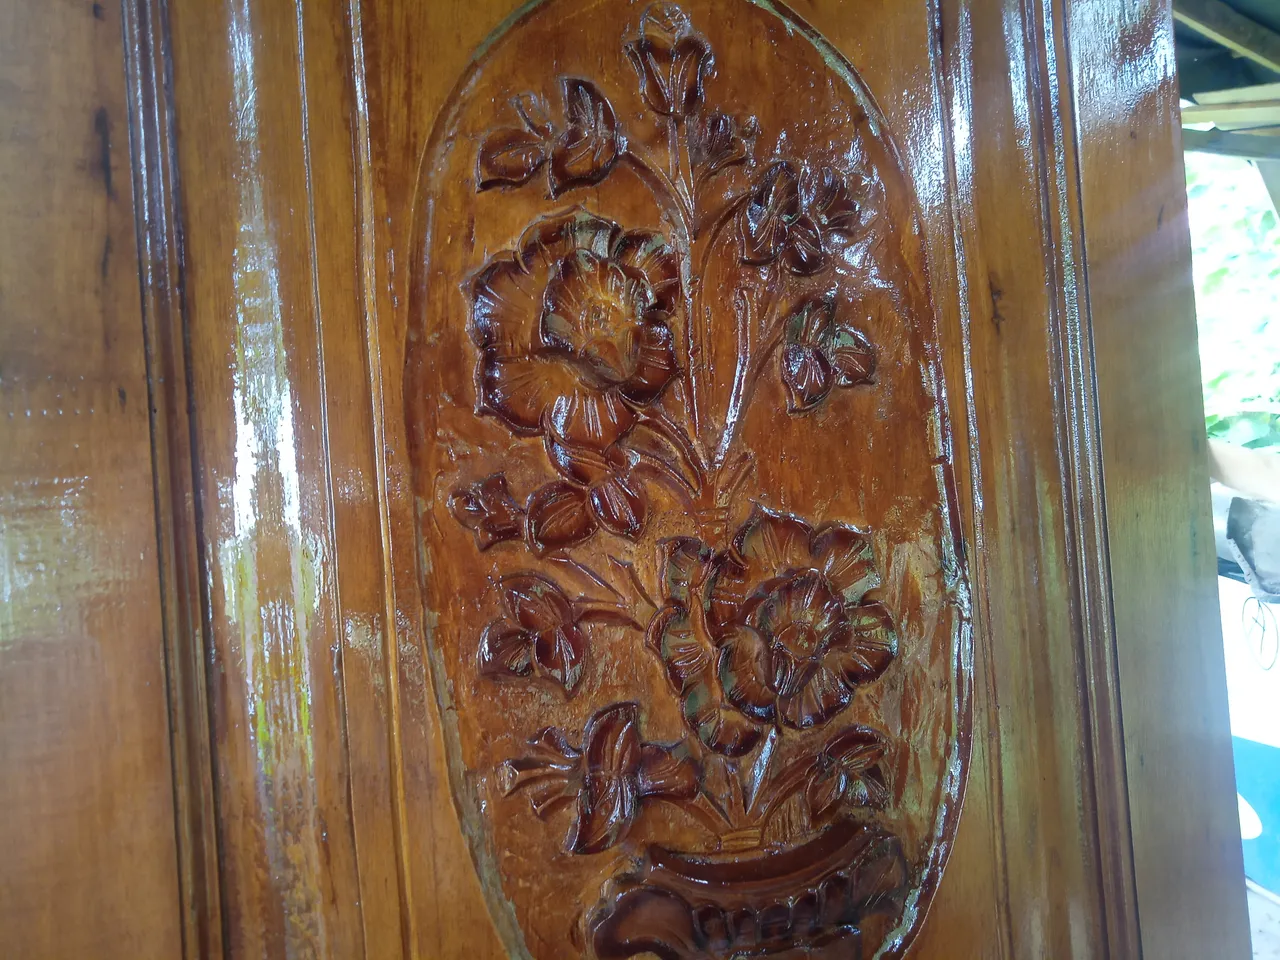
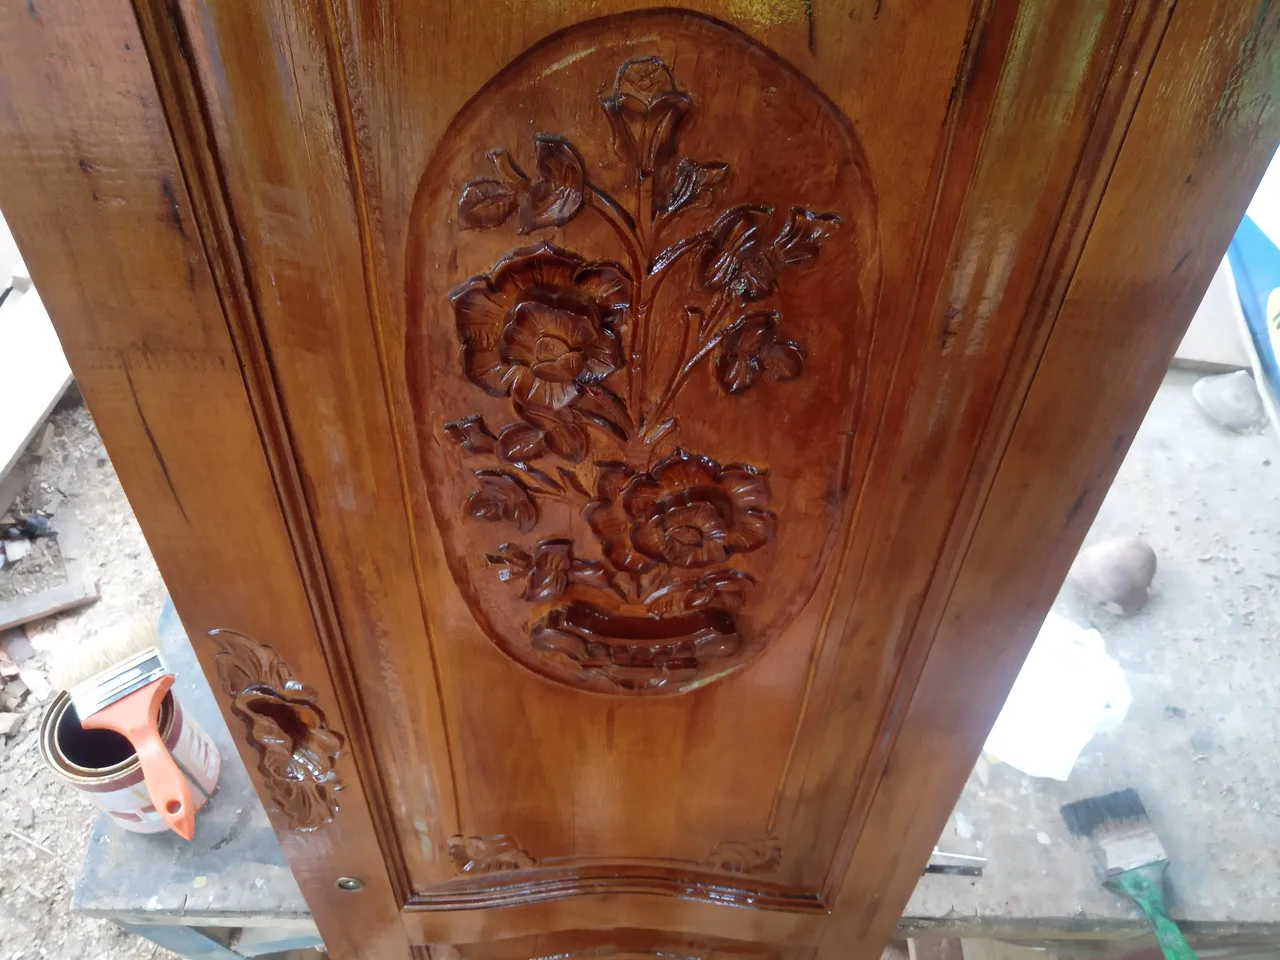
In the picture above you can see the flower carvings on the cupboard door so I will explain a little about the wood carving technique...
In general, carving is divided into two, the first is embossed carving (the shape of the carving is not translucent as in the picture above)
and the second is translucent carving (in this motif the wood that is carved will be cut according to the sketch of the carving) this is an example.
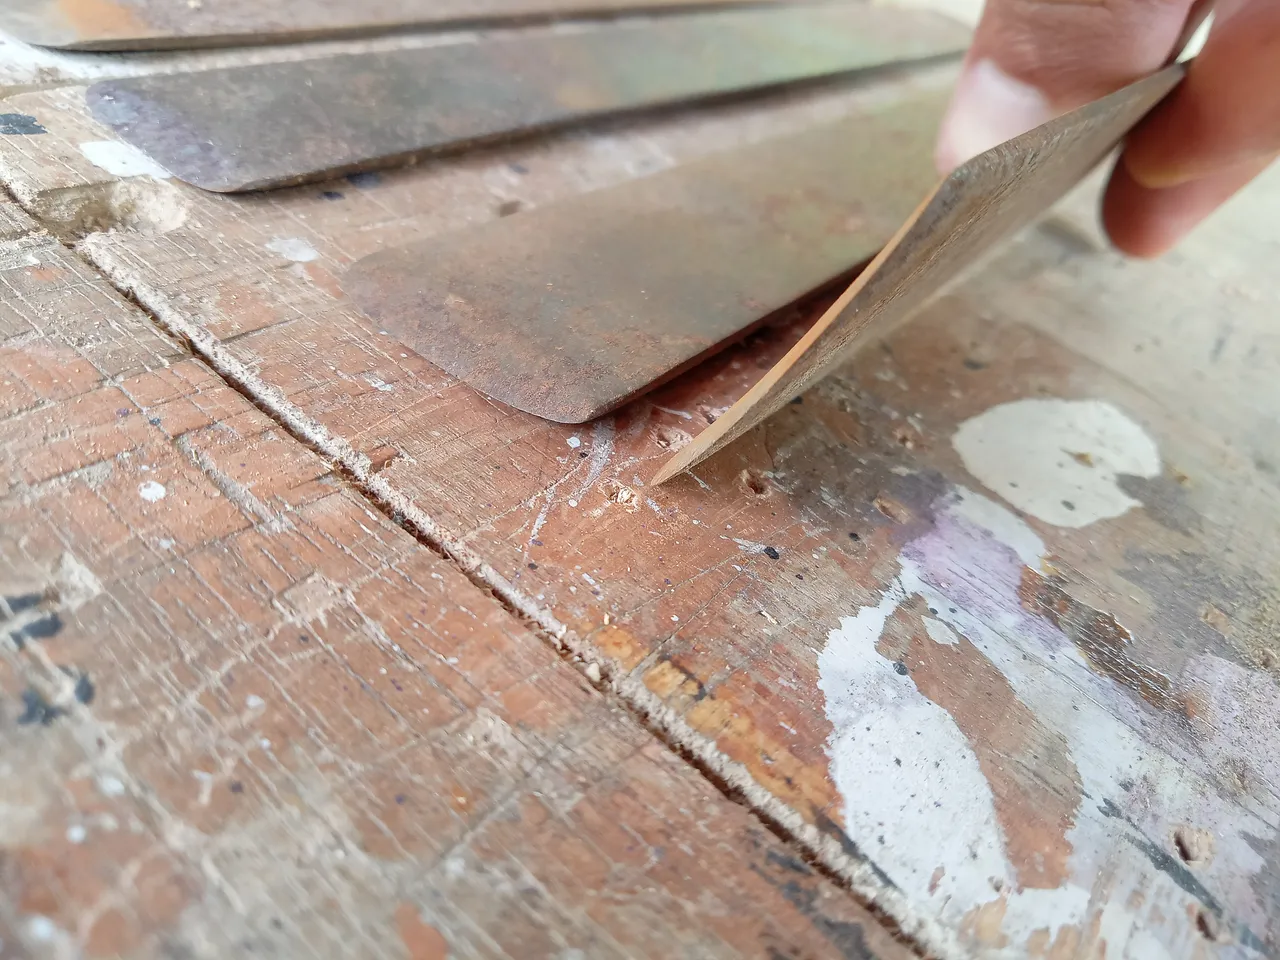
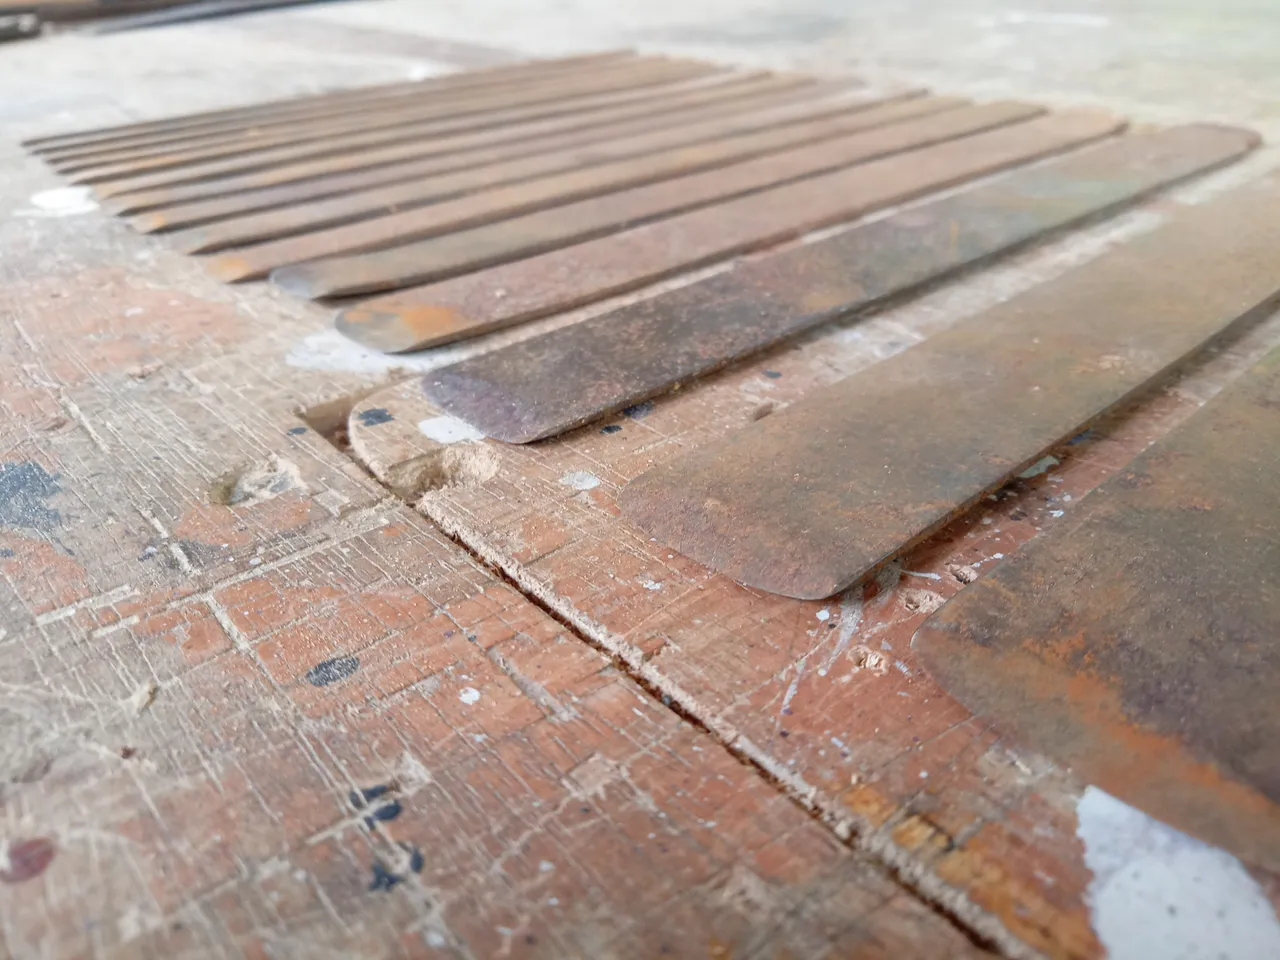
In carving wood, special chisels are needed that have sizes and shapes that vary from 3 mm to 30 mm in size and also have different shapes ranging from flat, curved, convex to pointed triangles.
And each size and shape has its own role in carving, adjusted to the motif of the image to be carved.
Scratch chisel.
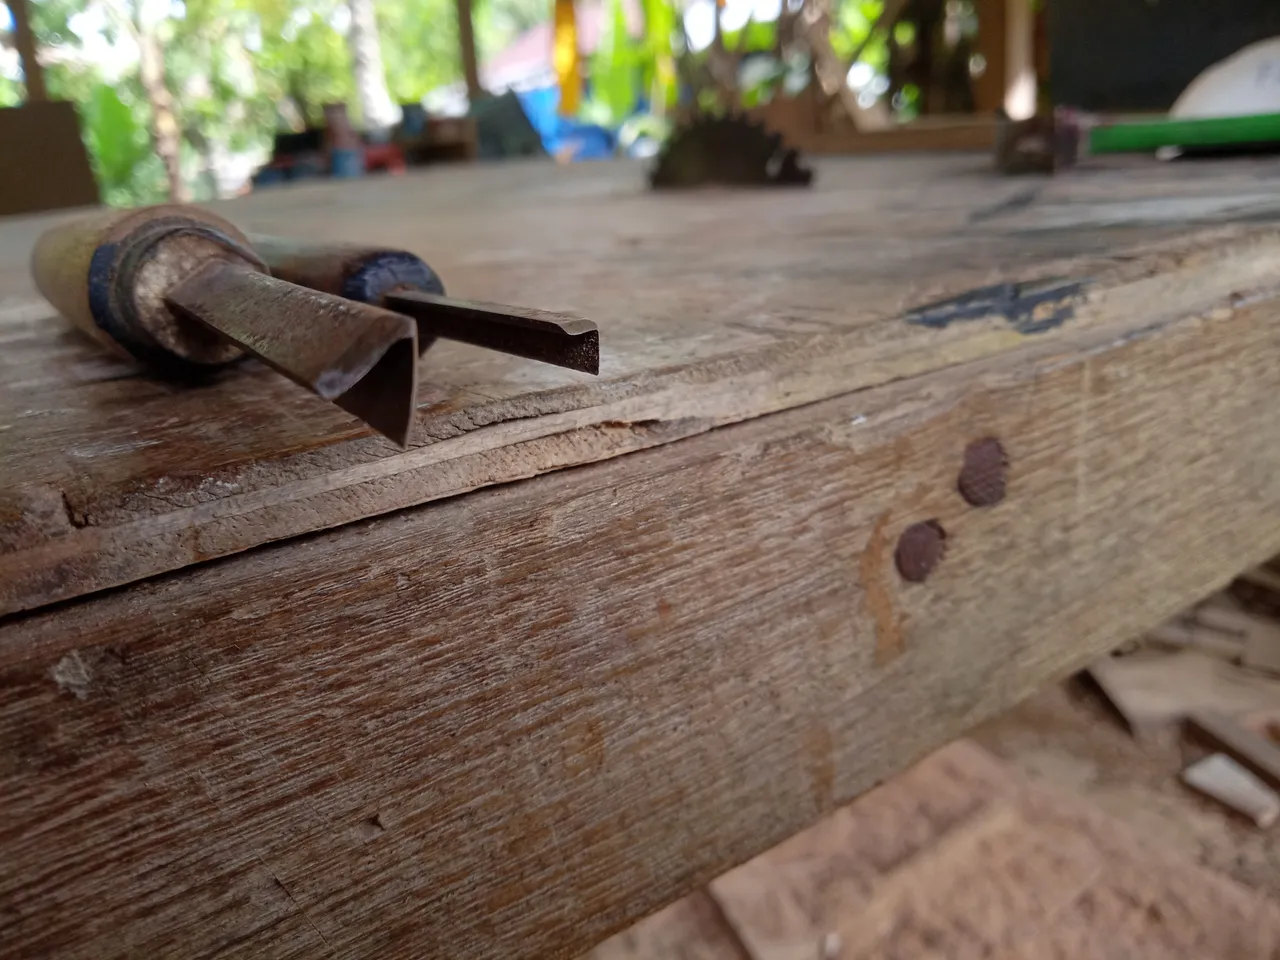

This chisel serves to make scribbles on the wood following the sketch from the image and this is the most important chisel used in the wood carving process.
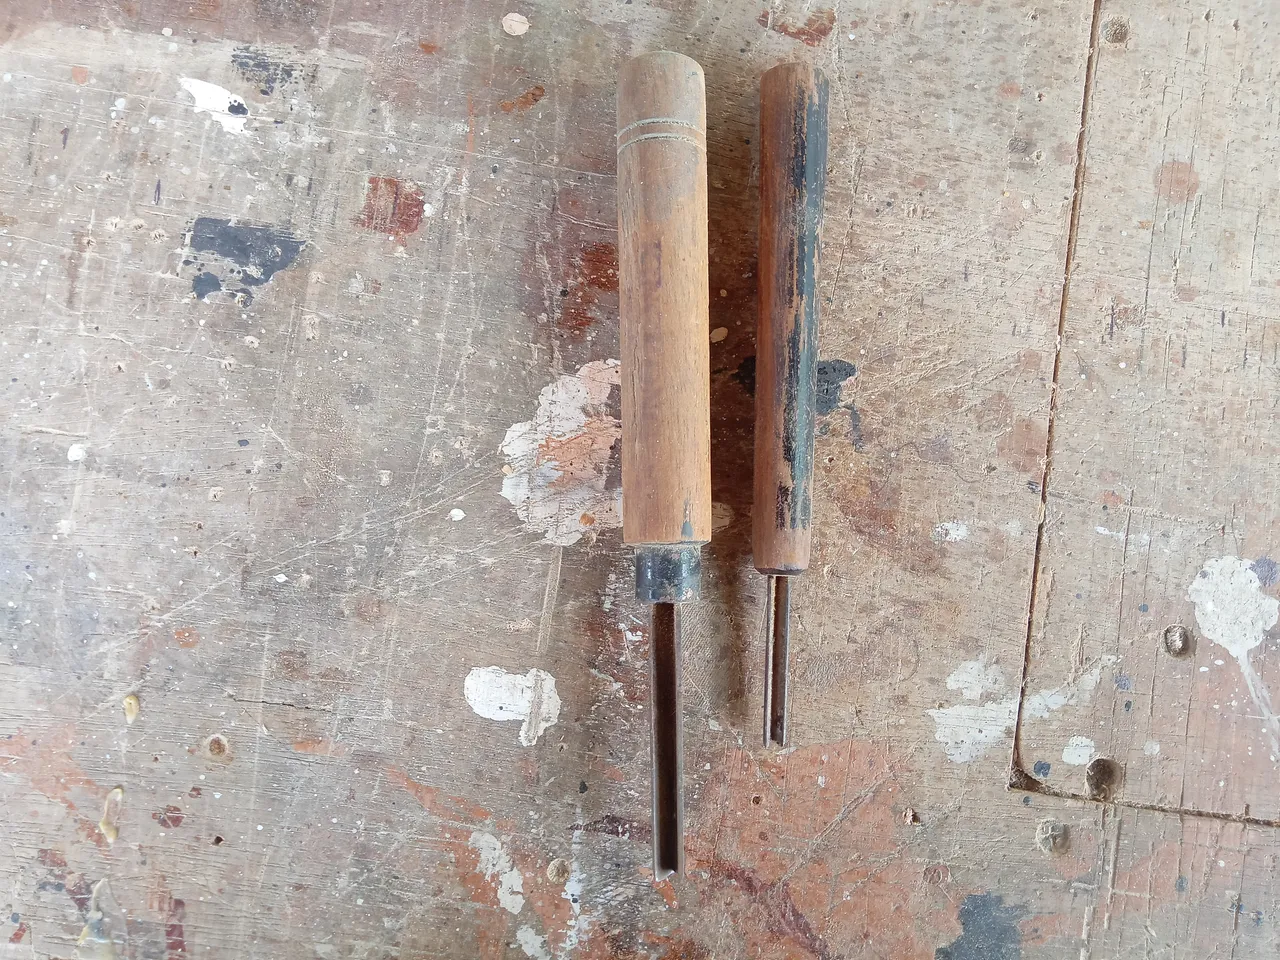
Straight chisel

curved chisel
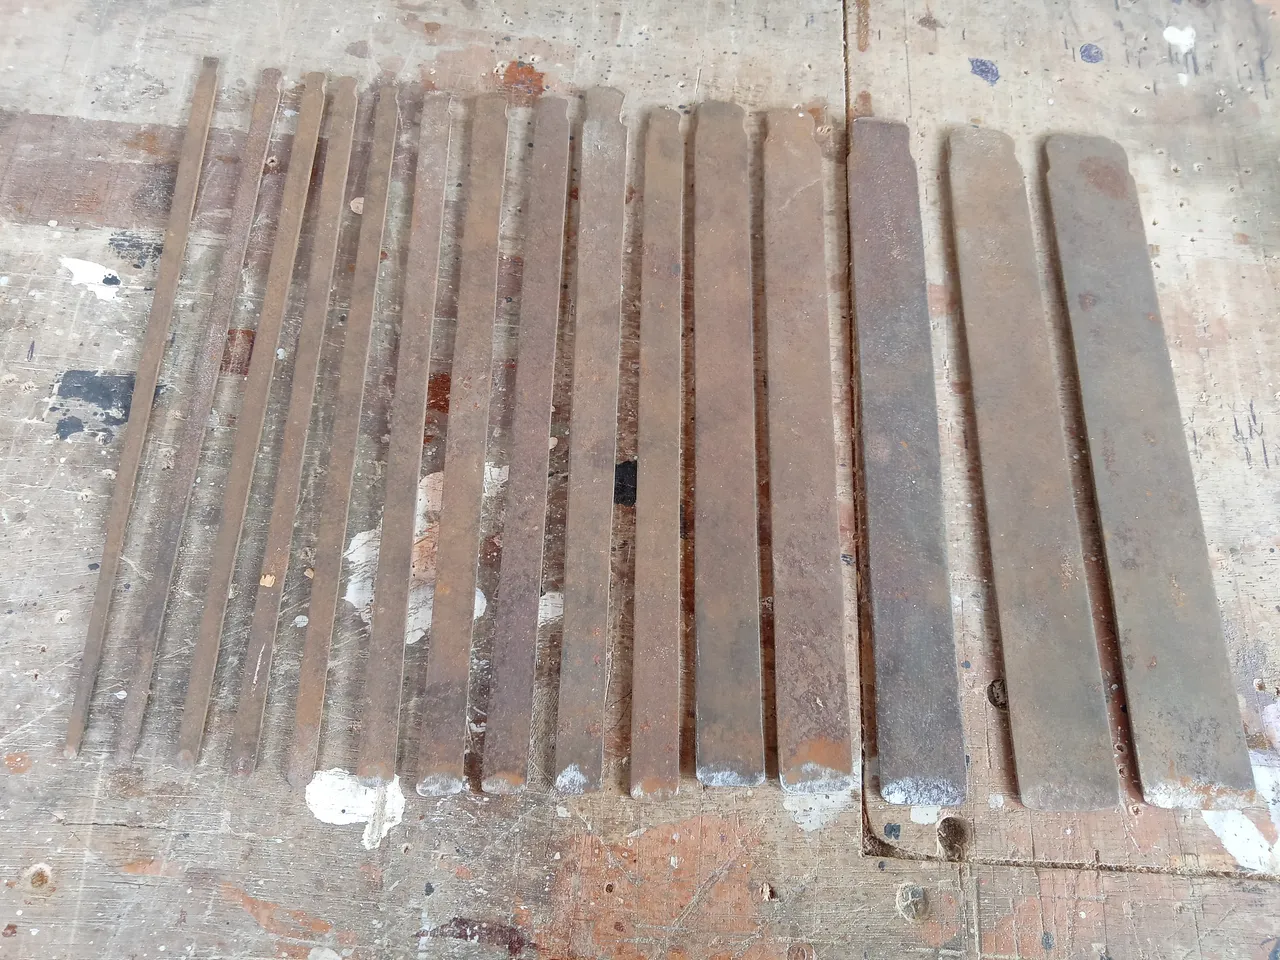
These two types of chisels are used to make the scribbles on the wood deeper and the shape and size of the chisel will be adjusted to the sketch of the carving image.
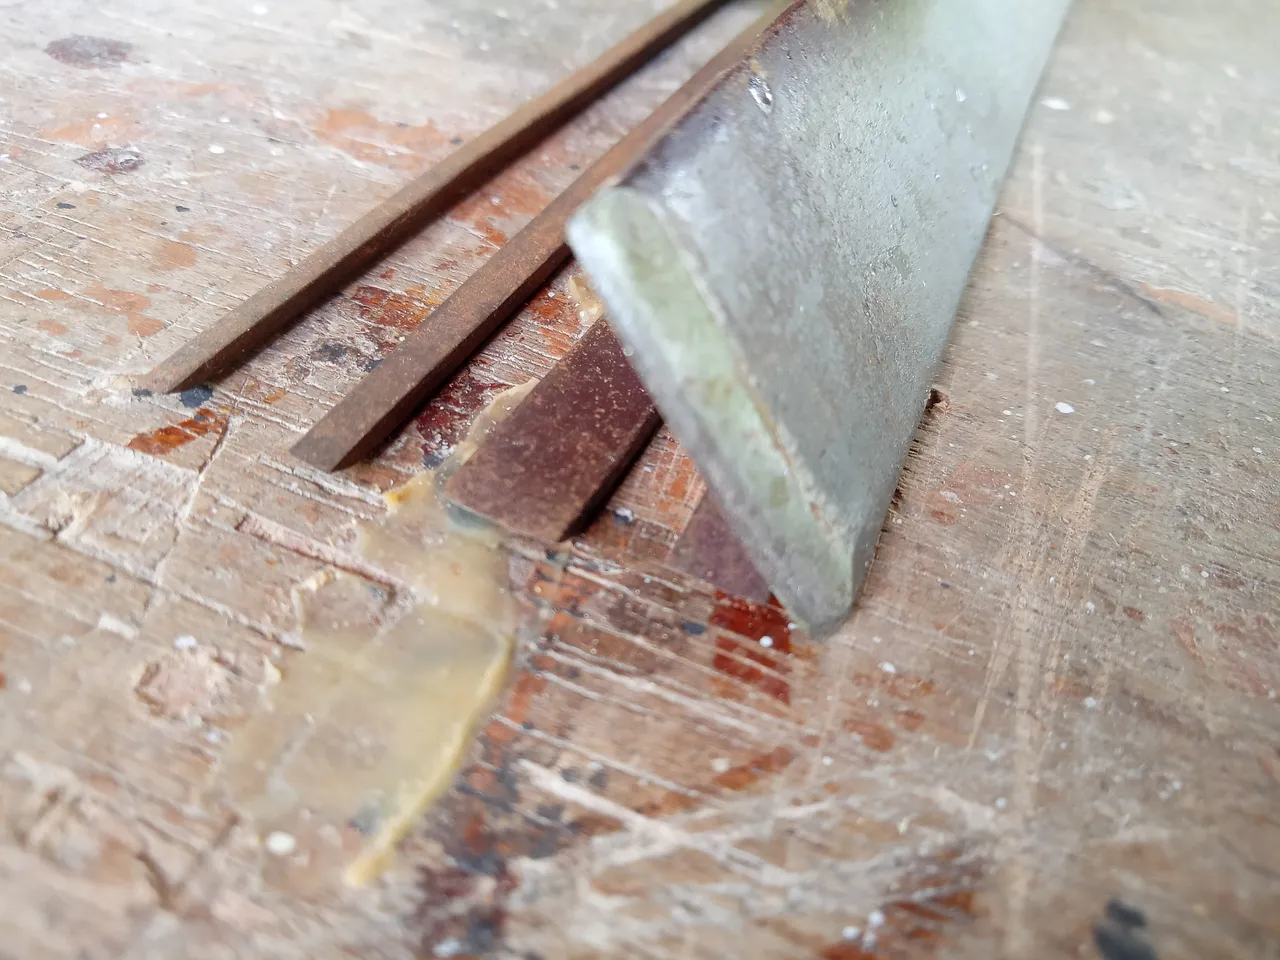
convex chisel

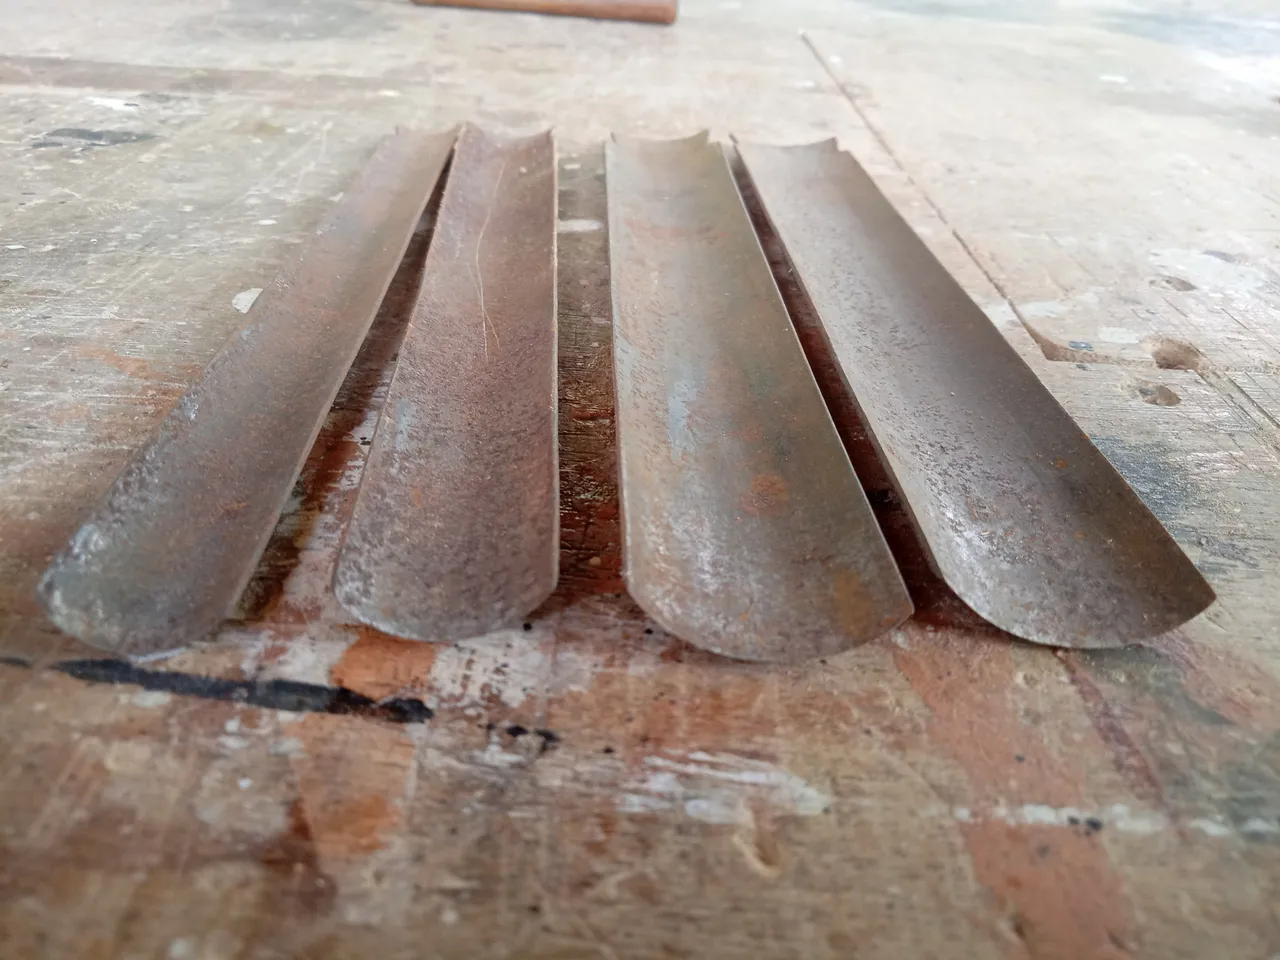

This chisel is used to make the shape of the leaves or flowers on the carving motif become more curved to make it look more similar to the original.
And finally, the chisel will be reused to make grooves or fibers on the leaves and flowers, maybe it's a bit difficult for you to understand the carving technique if you don't see a video on how to carve, maybe in the next post I will try to make a video so you can understand it.
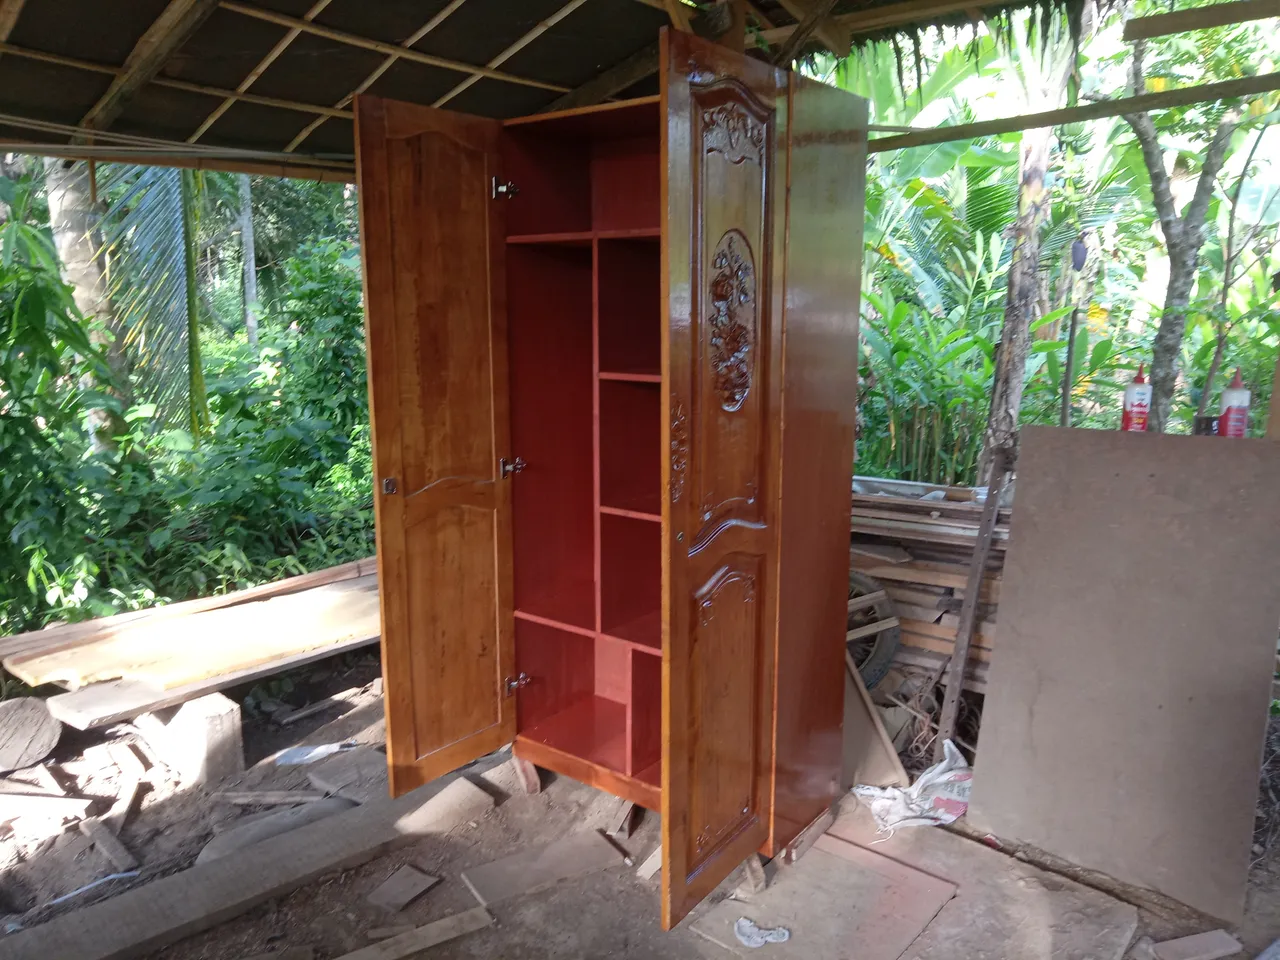
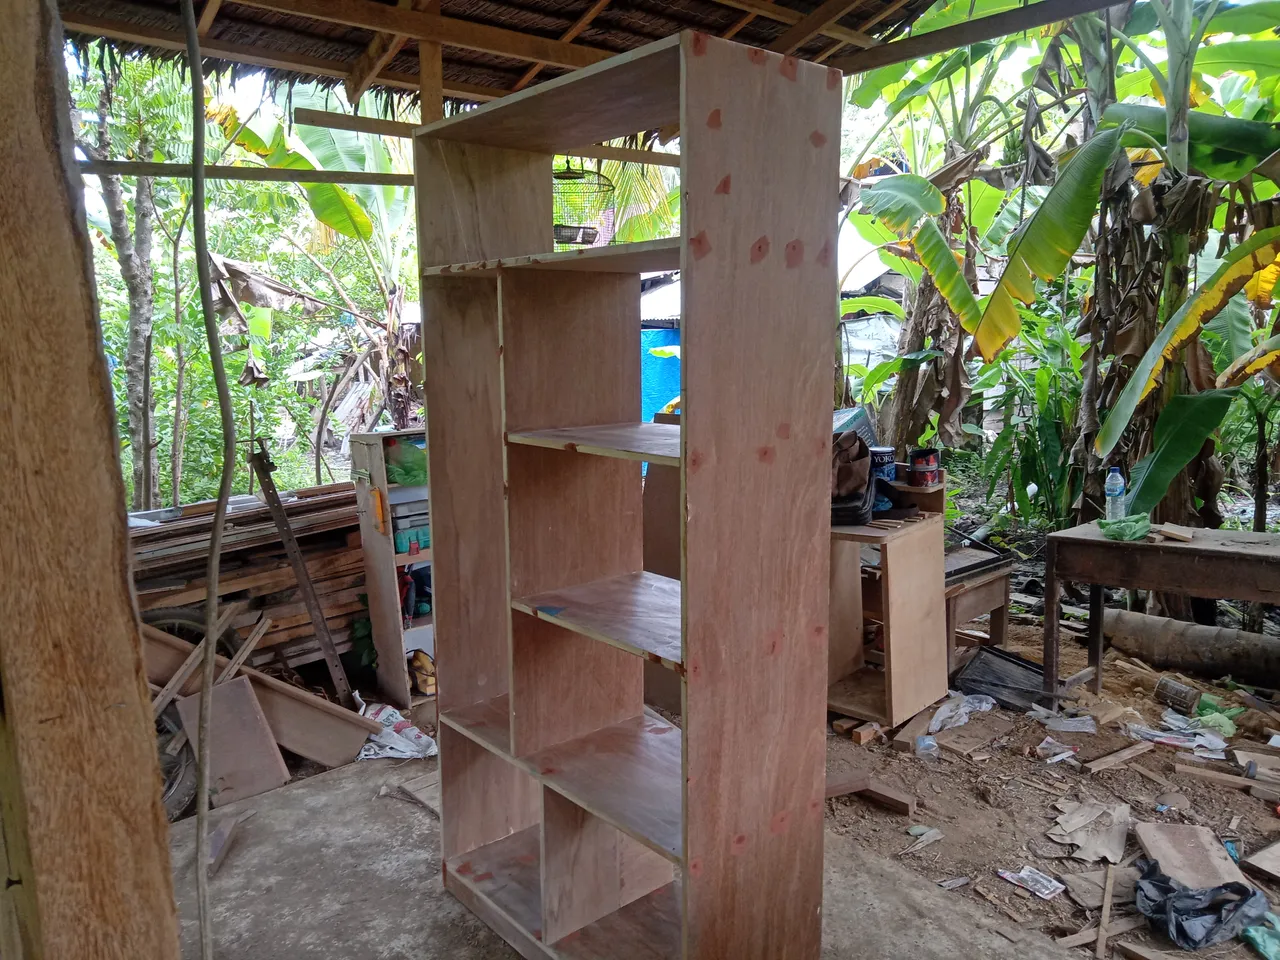
Back to the cabinet making process
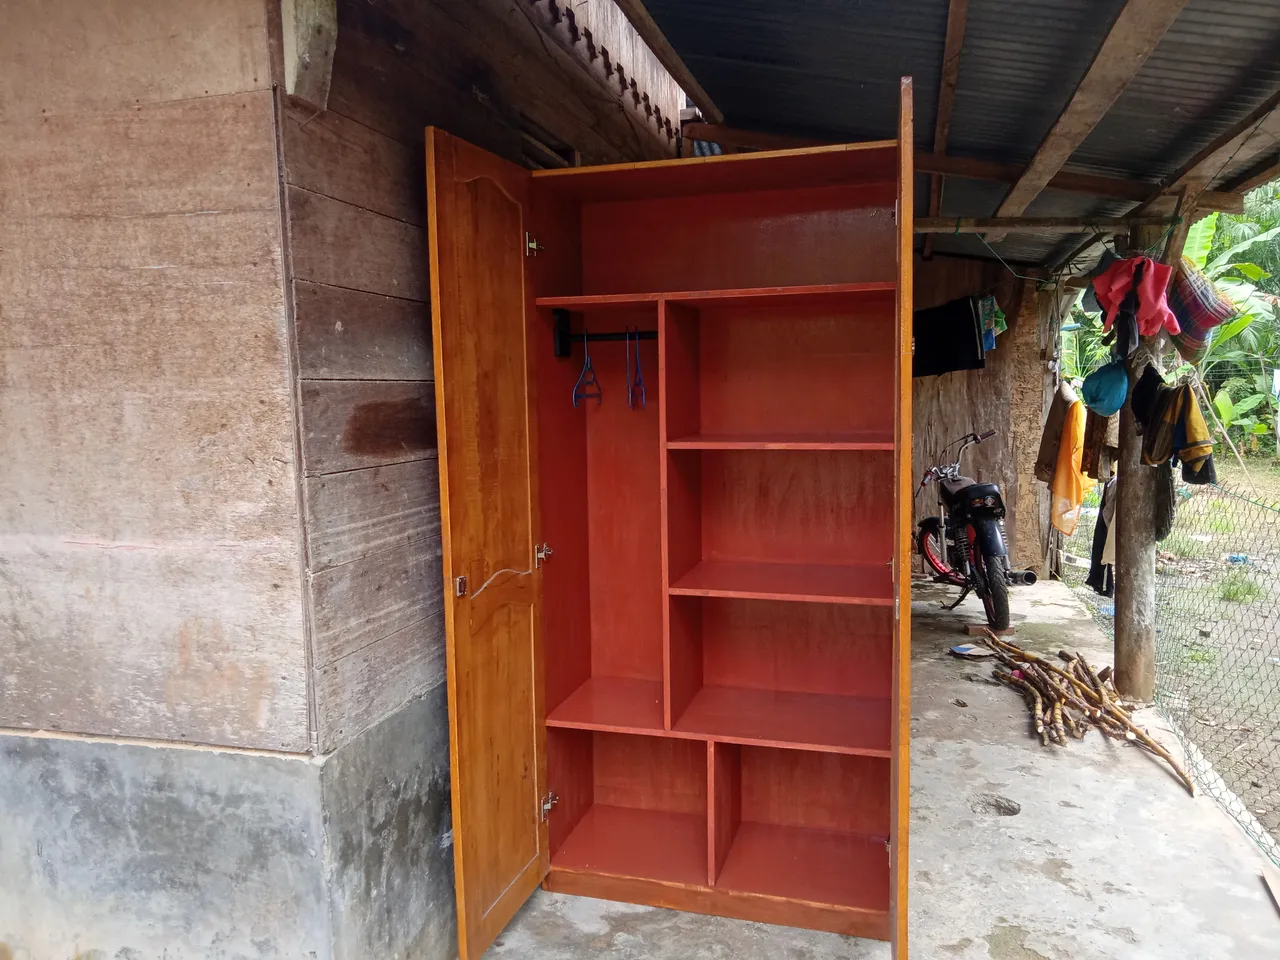
The wardrobe that I made has a width of 40 cm and a height of 200 cm and a length of 90 cm, I adjusted this size to the size of the old wardrobe door.
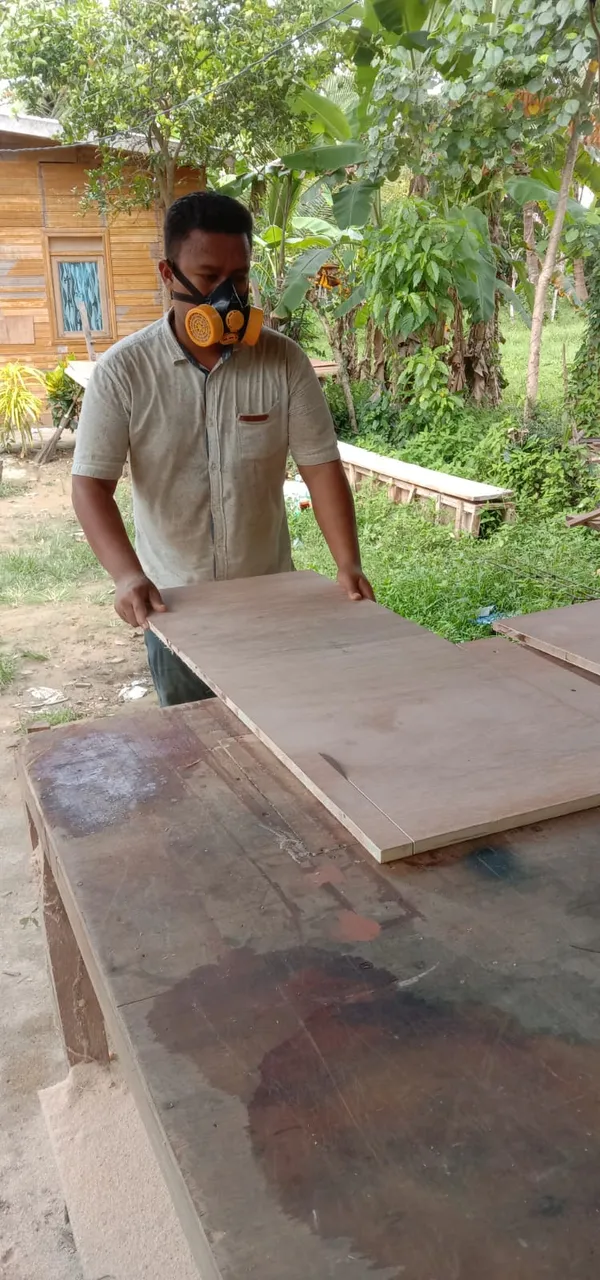
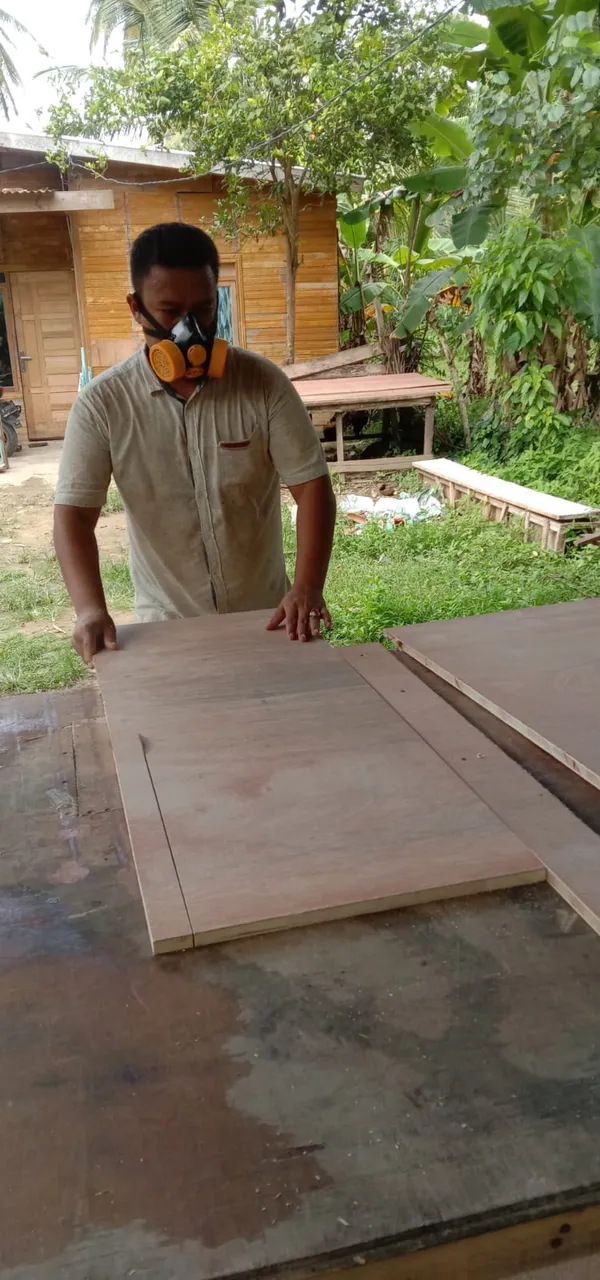
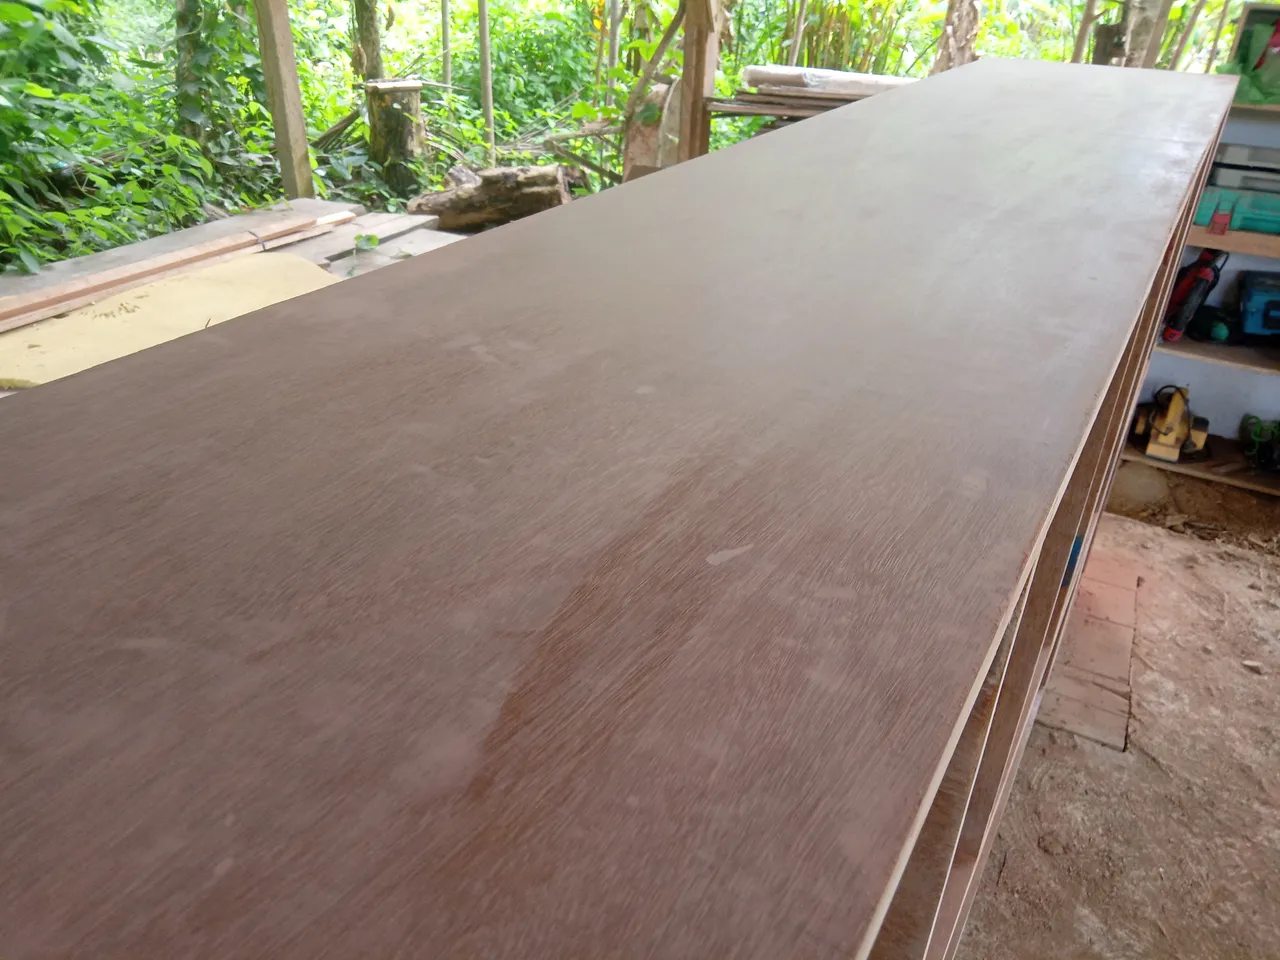
For the materials I used, I used 18 mm plywood for the cabinet frame which I split and cut according to the size I had prepared and 4 mm plywood for the back cover of the cabinet;
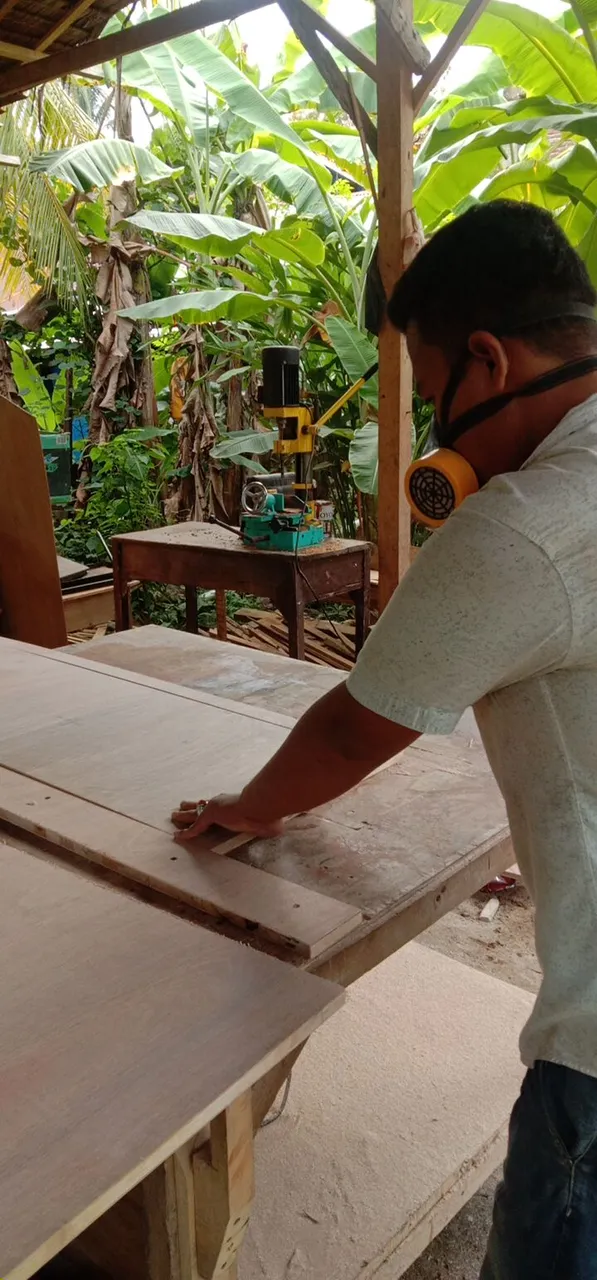
Plywood cutting
*40 x 200 cm = 2 parts (for left and right walls)
*40 x 86 cm = 4 parts (for the top and bottom and 2 inner shelves)
*40 x 120 cm = 1 part (for the vertical center)
*40 x 50 cm = 1 part (for the right side of the shelf in addition to the vertical part)
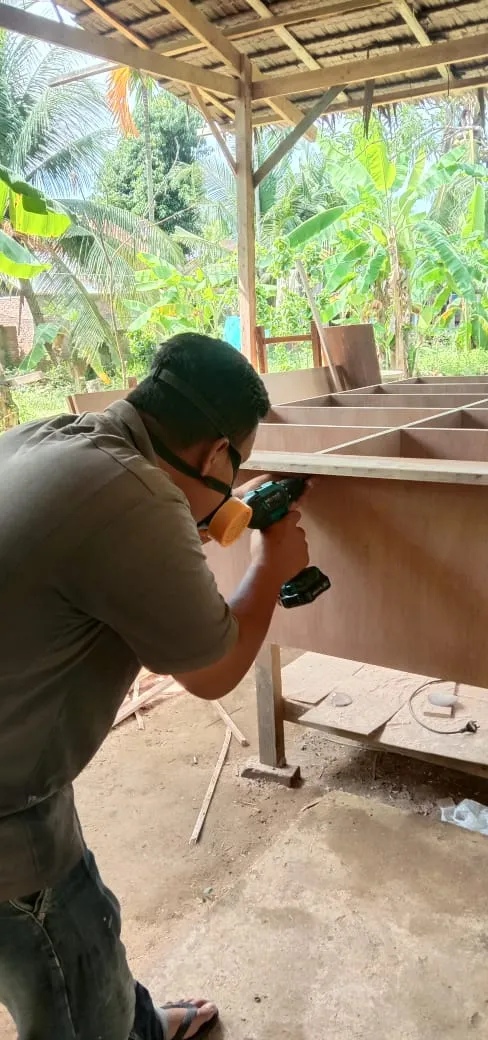
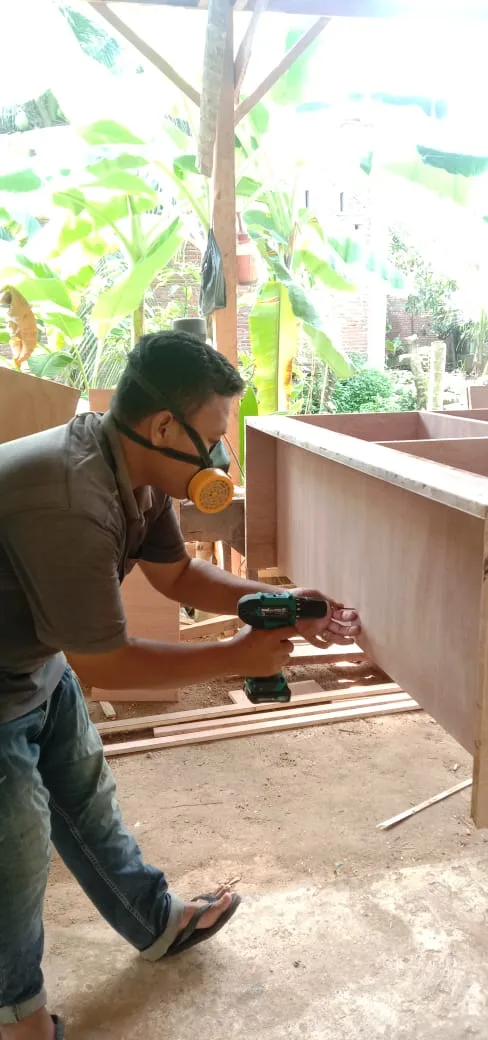
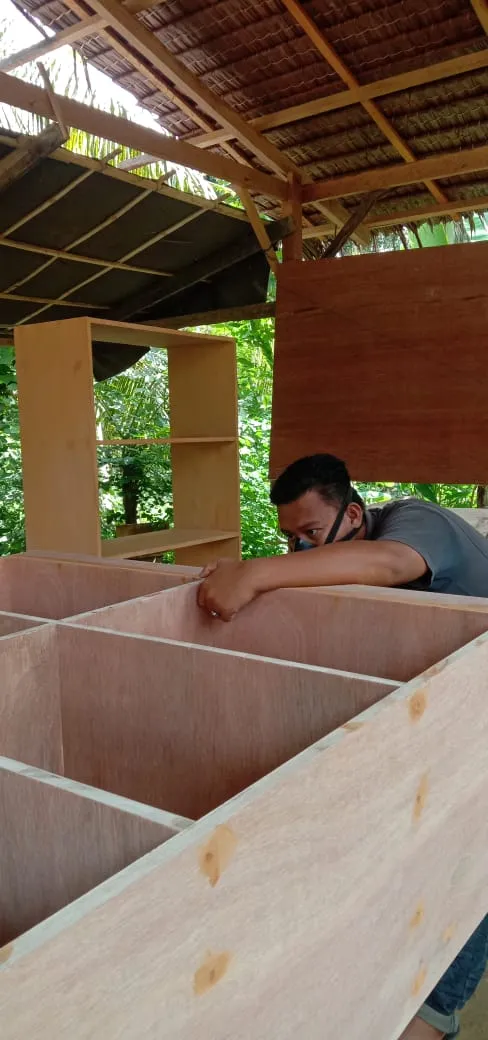
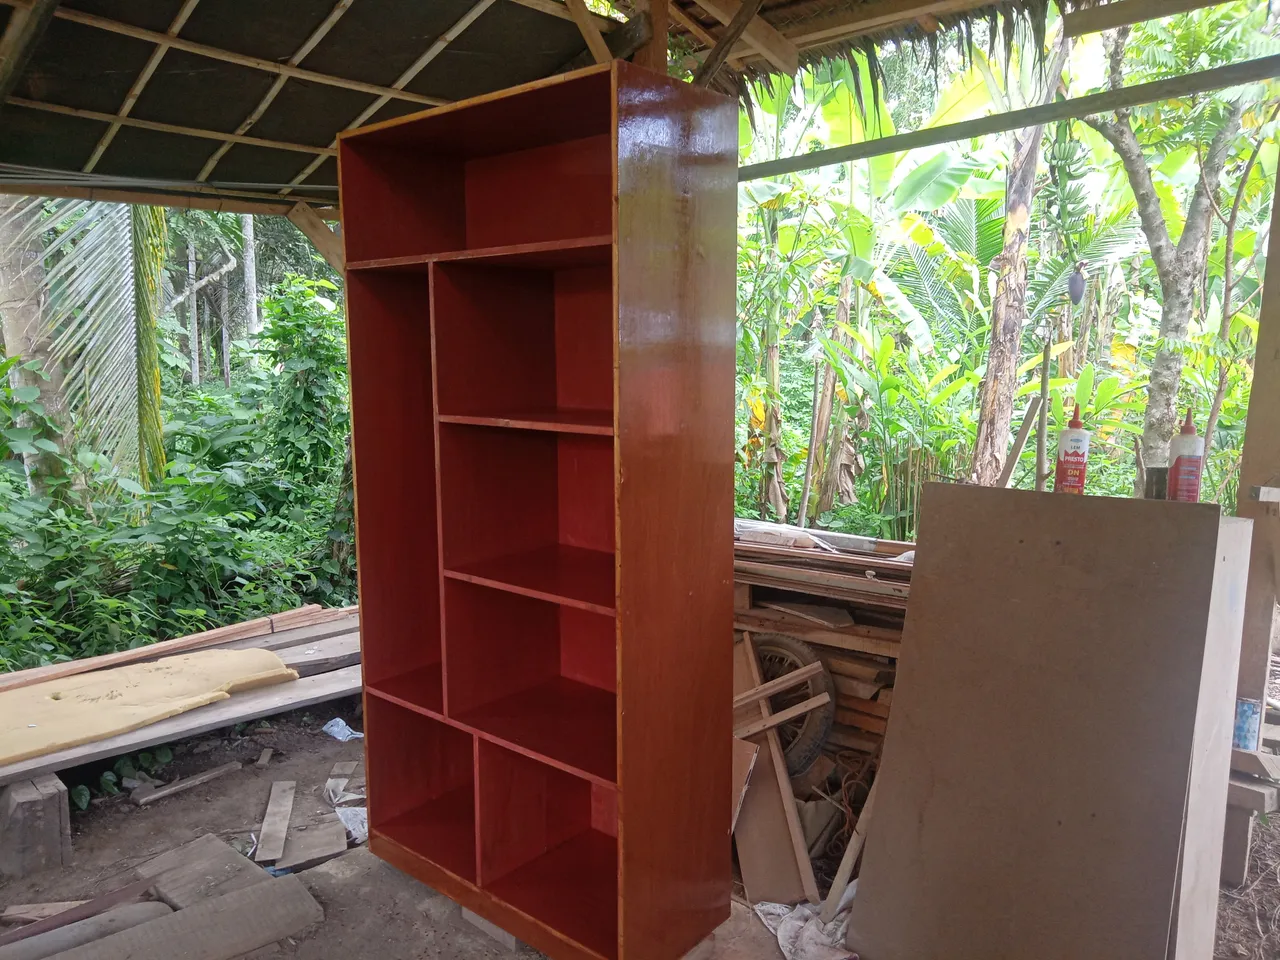
assembly
After all the parts that are needed are finished I cut it then I proceed to assemble it using glue and screw it part by part.


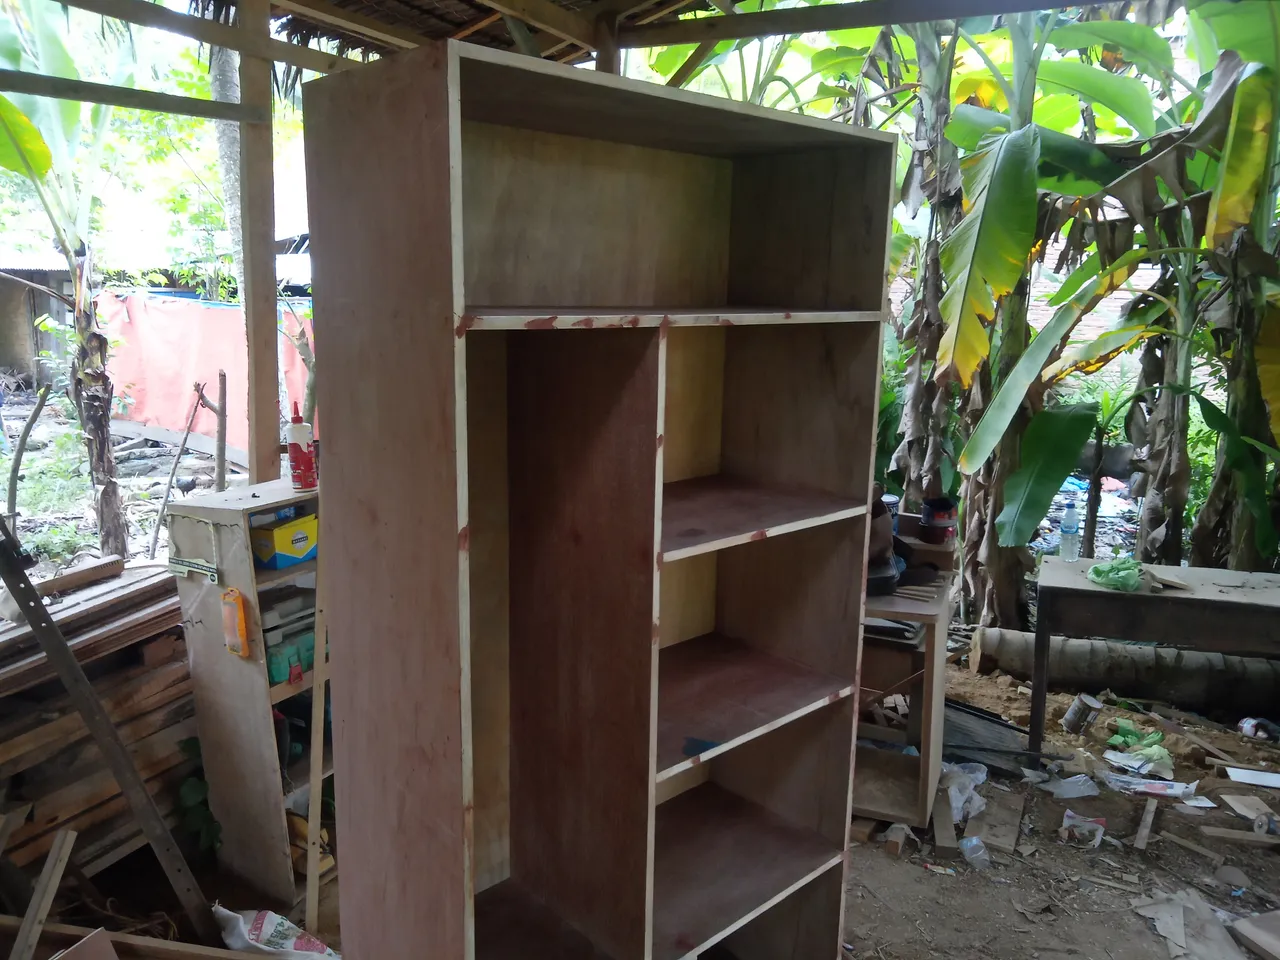

Caulking and sanding
After I have assembled all the parts, I will caulk all the screws using thick putty, then after waiting for about 15 minutes you continue by caulking all the surfaces of the cupboard using putty which I mix with thinner to make it a little runny evenly and wait for it to dry completely. This putty aims to close all the plywood pores and will prevent the paint from being absorbed and will also make the final painting process more optimal.
After it dries I start sanding it using fine sandpaper until it's even and then clean all the sandpaper marks.


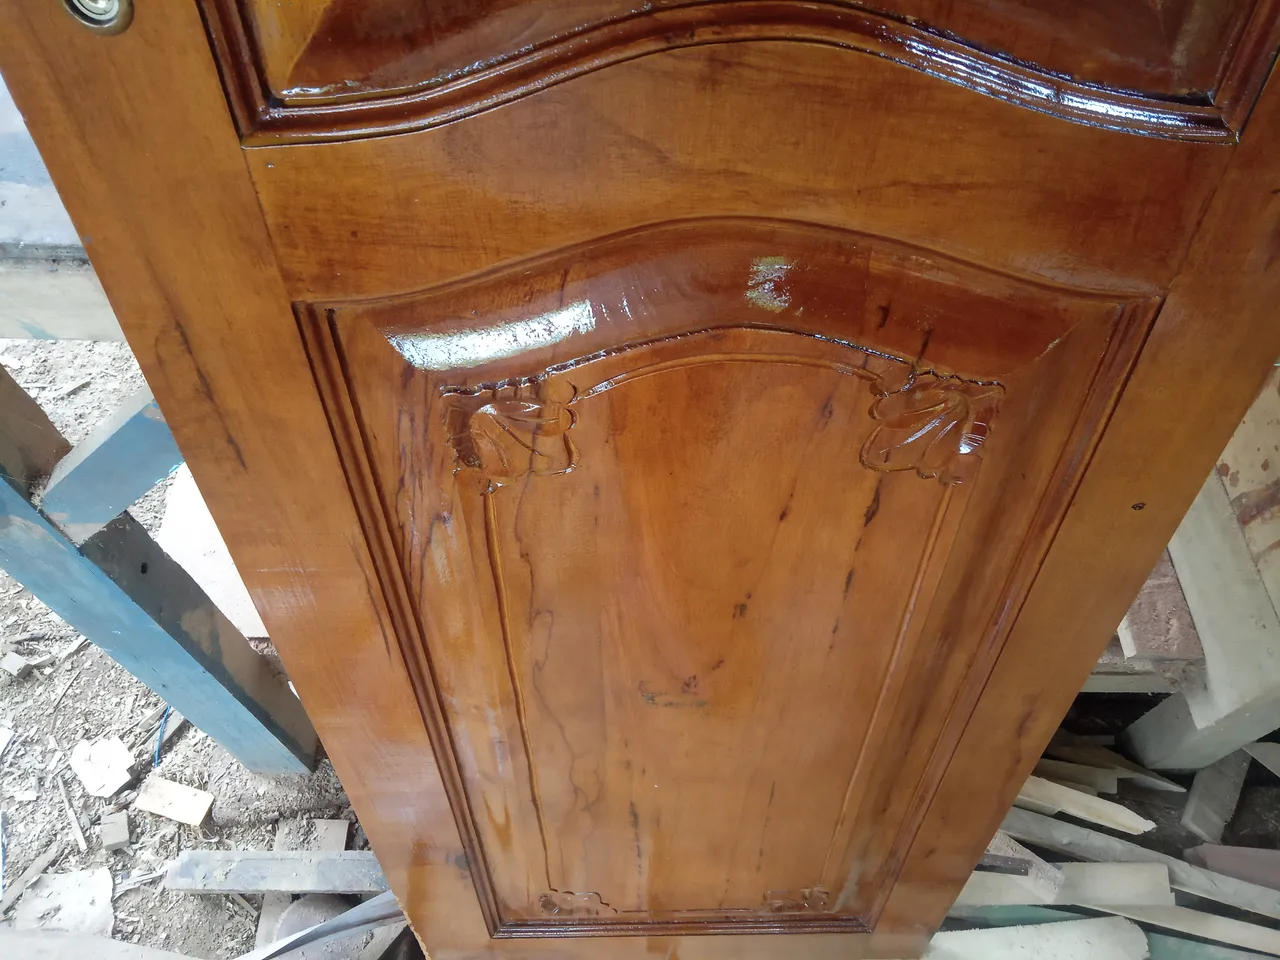
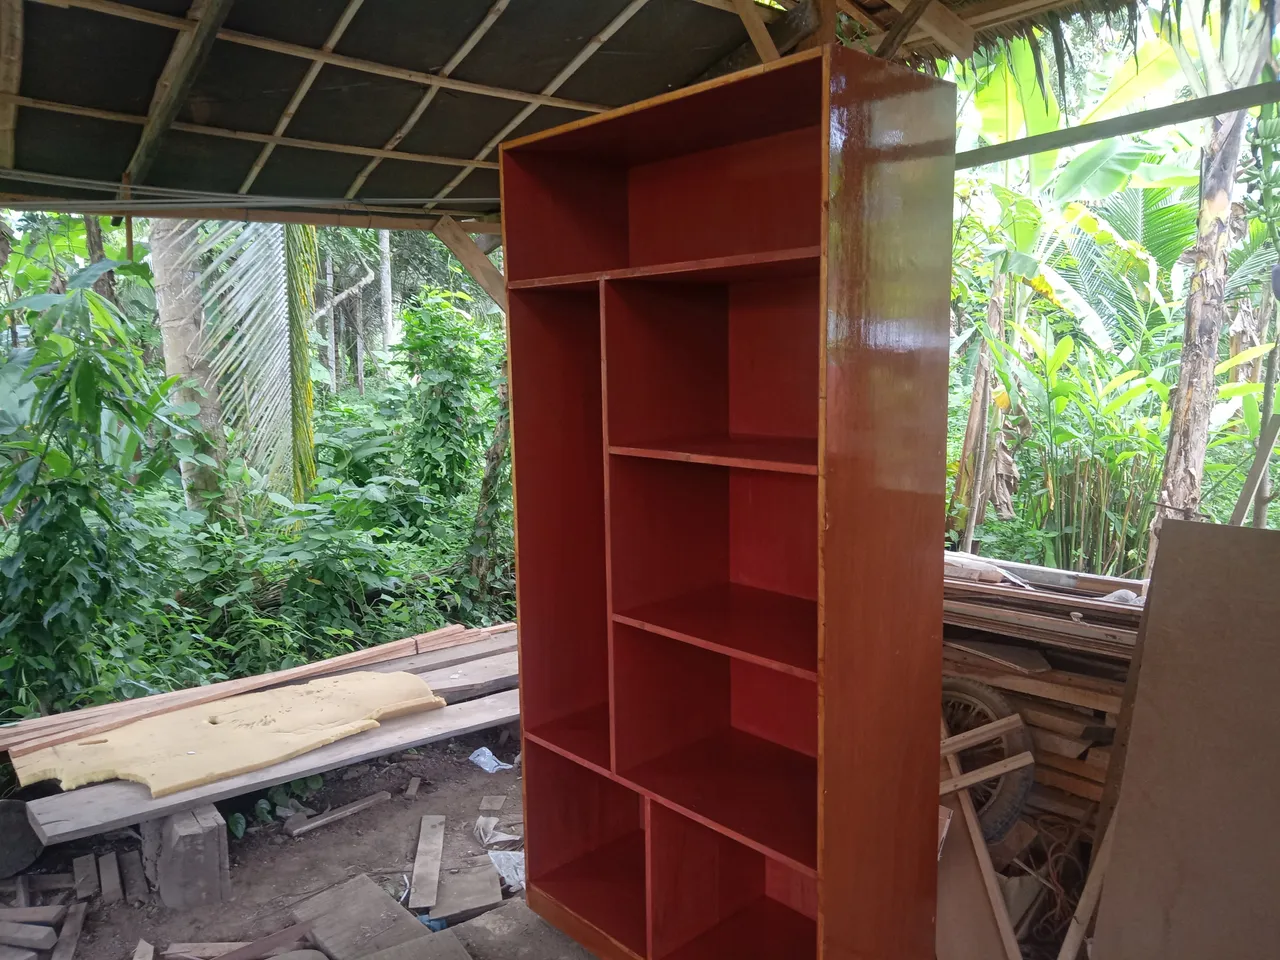
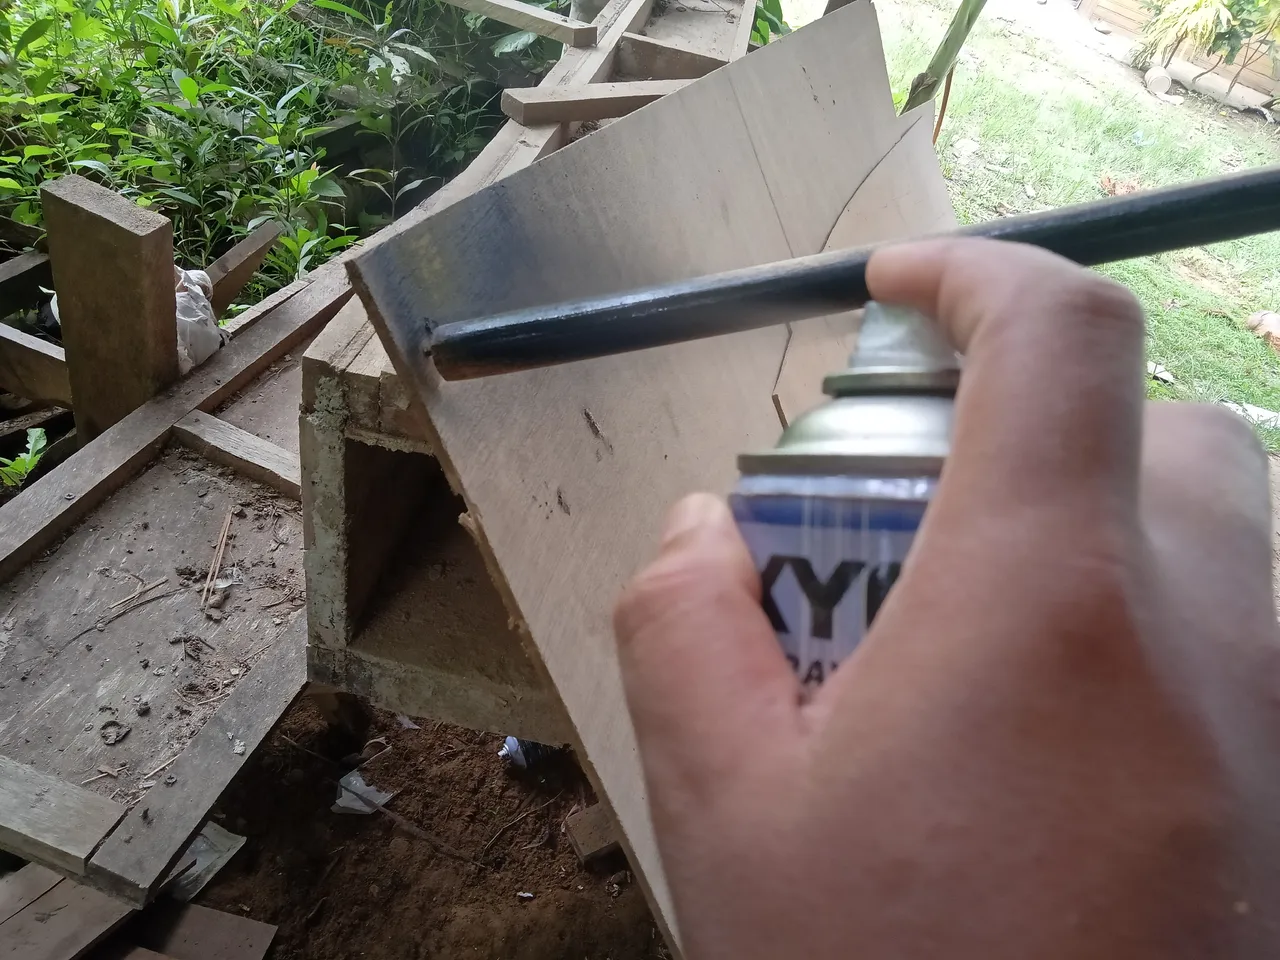
painting
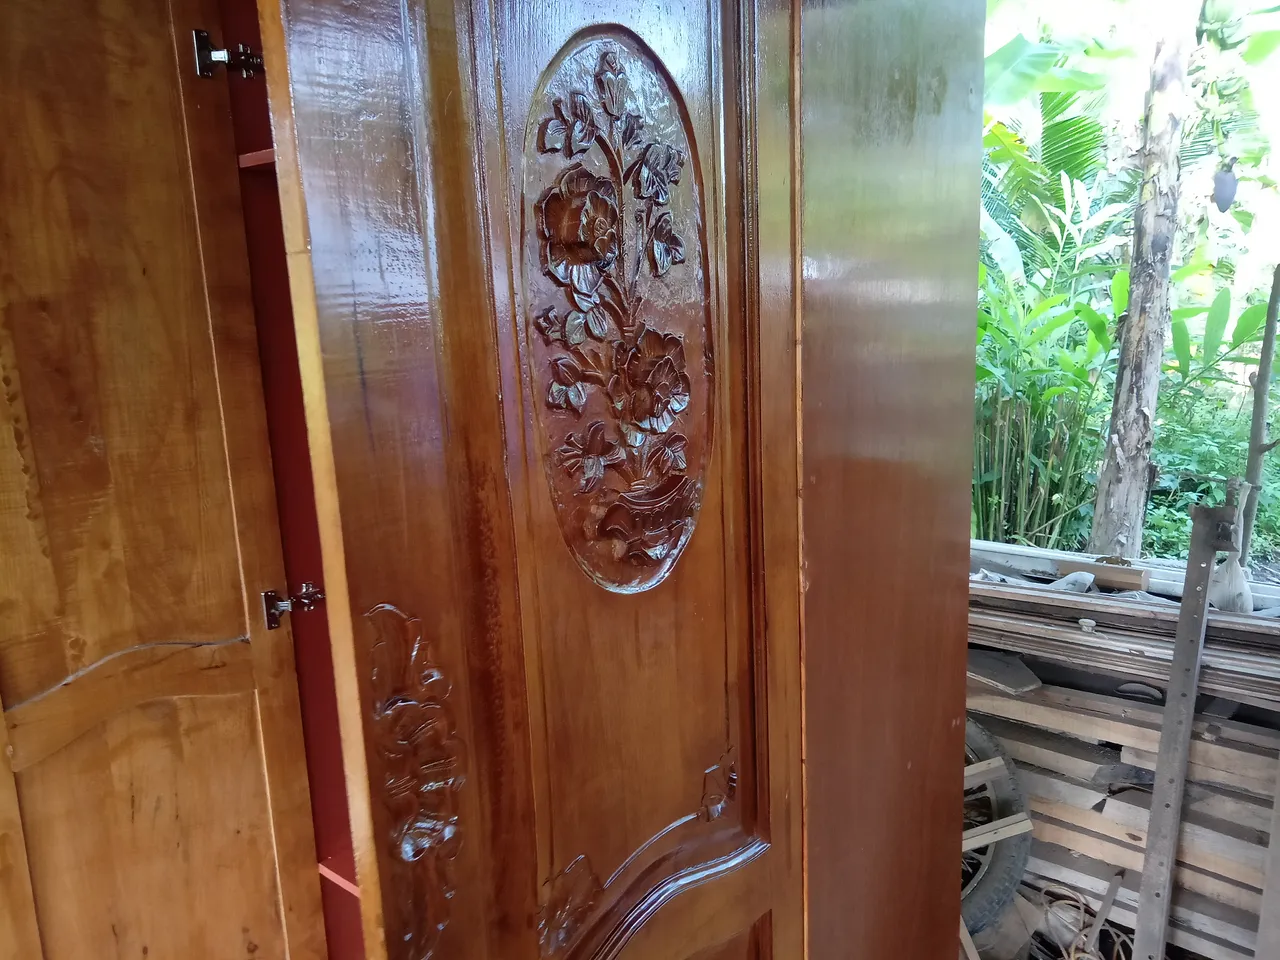
I paint the cabinets and doors separately to make it easier to do and the results will also be optimal, I paint the inside of the cupboard using a different color from the outside of the cupboard and I paint it evenly in 2 layers so that the color is more visible, and then I paint the outside closet then proceed to the wardrobe door all 2 layers.


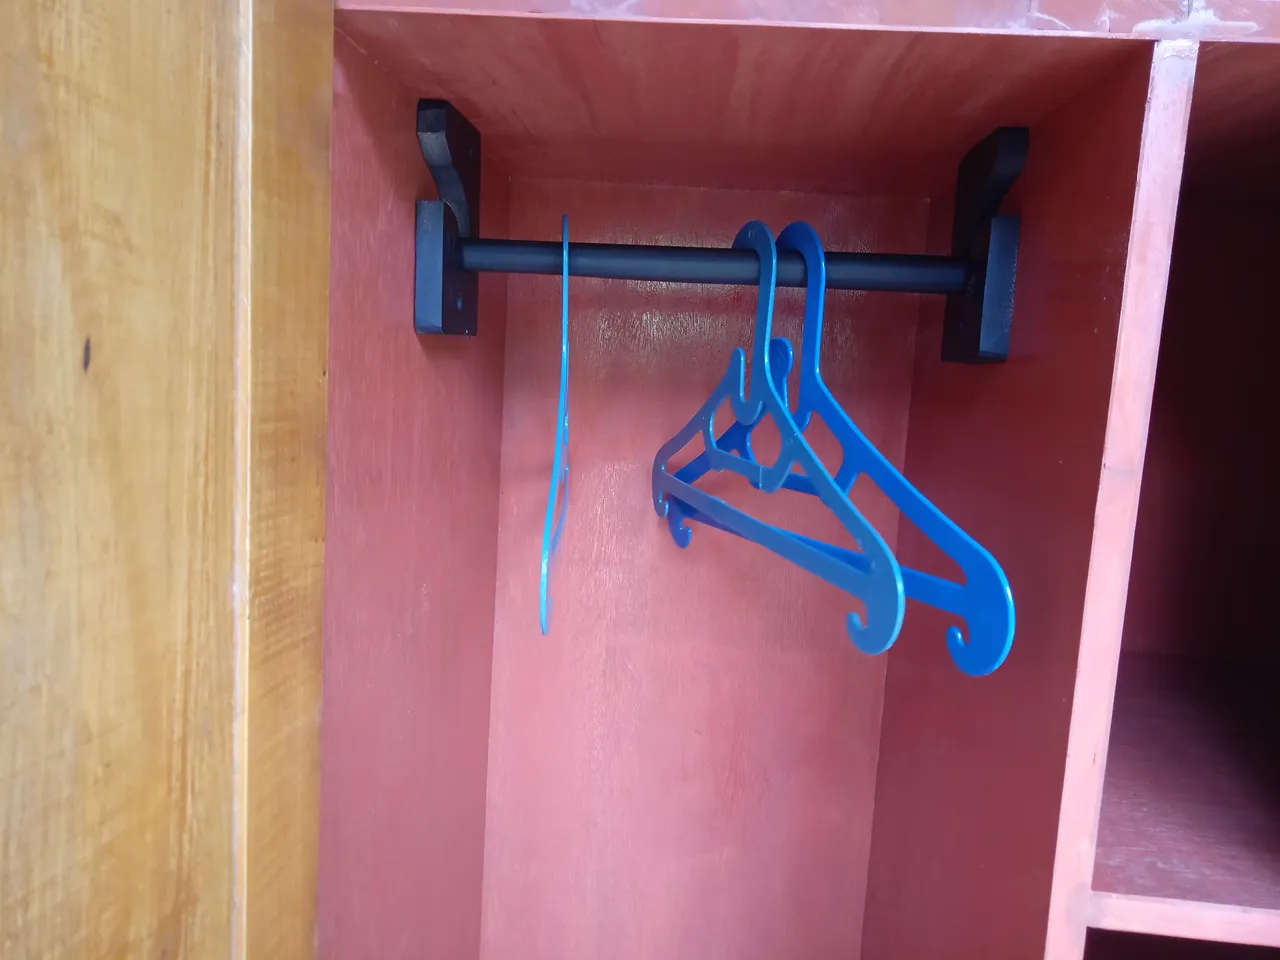
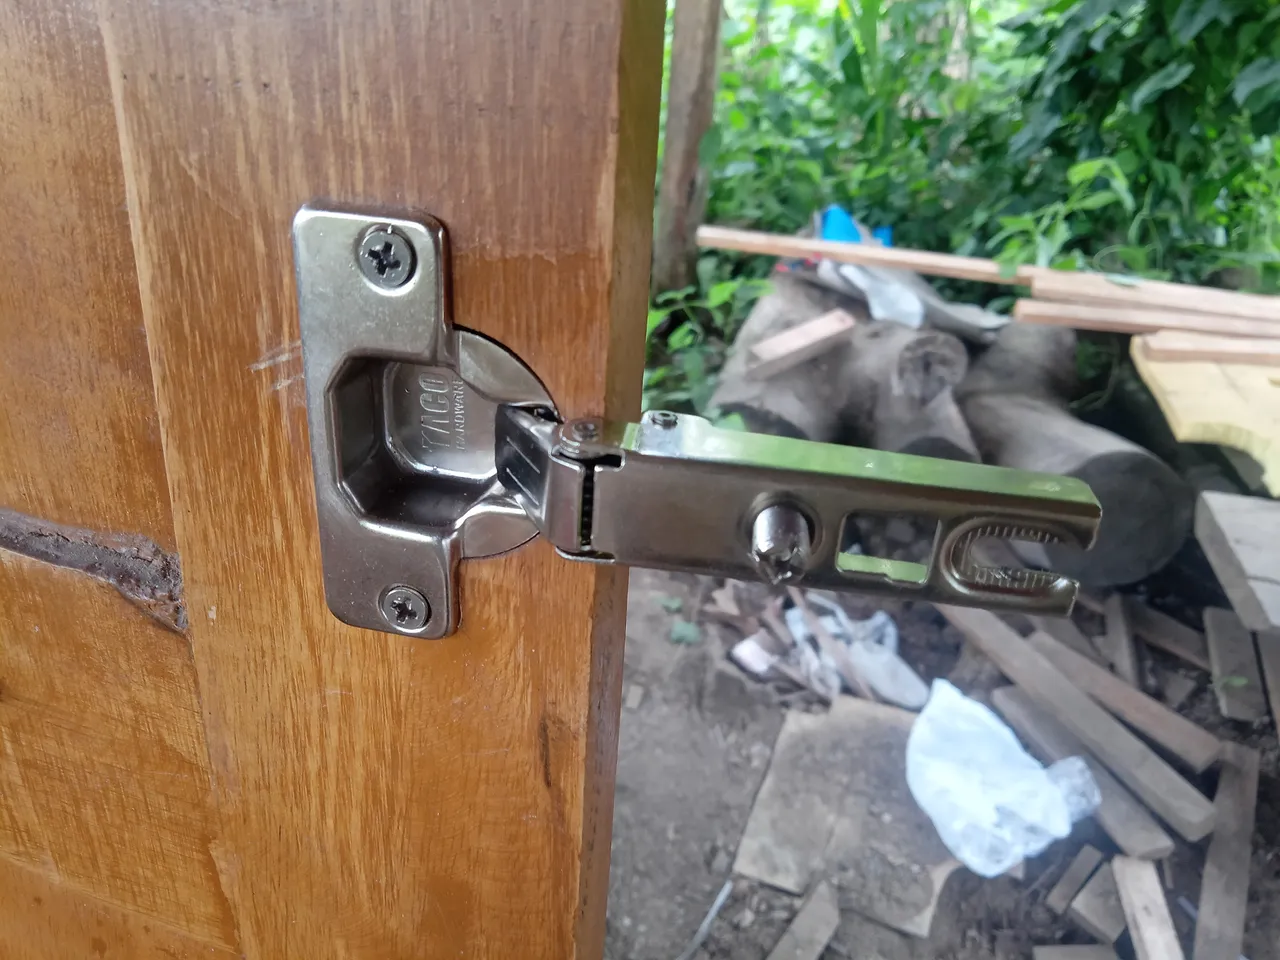
Installation of doors and clothes hangers
After waiting last night, in the morning the paint was completely dry so I continued with the process of installing the wardrobe door, I installed 3 hinges on each door because the wardrobe door was quite high, I did this so that the door wouldn't fall apart because it was heavy, so I needed 6 hinges.
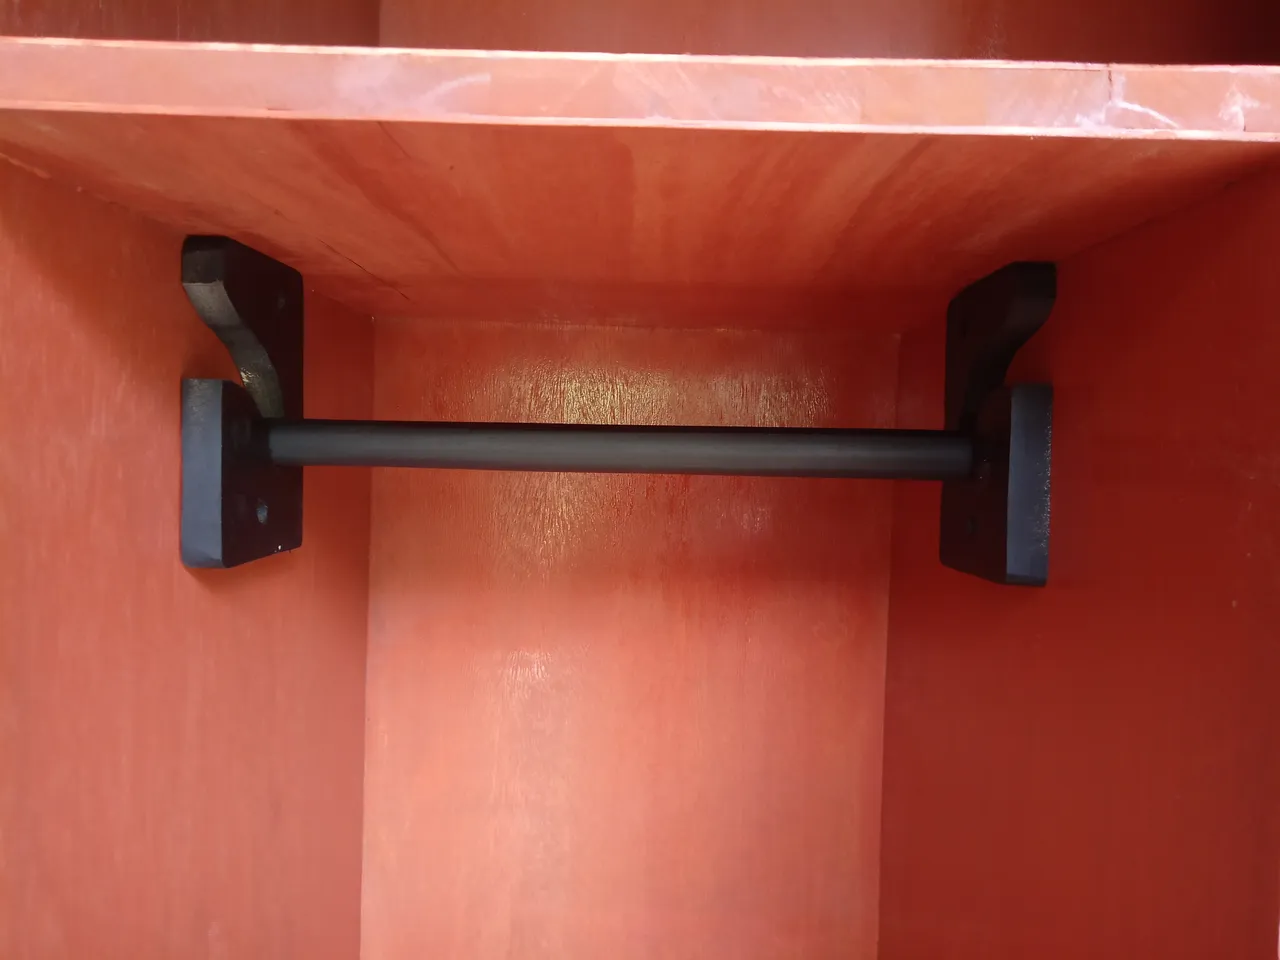
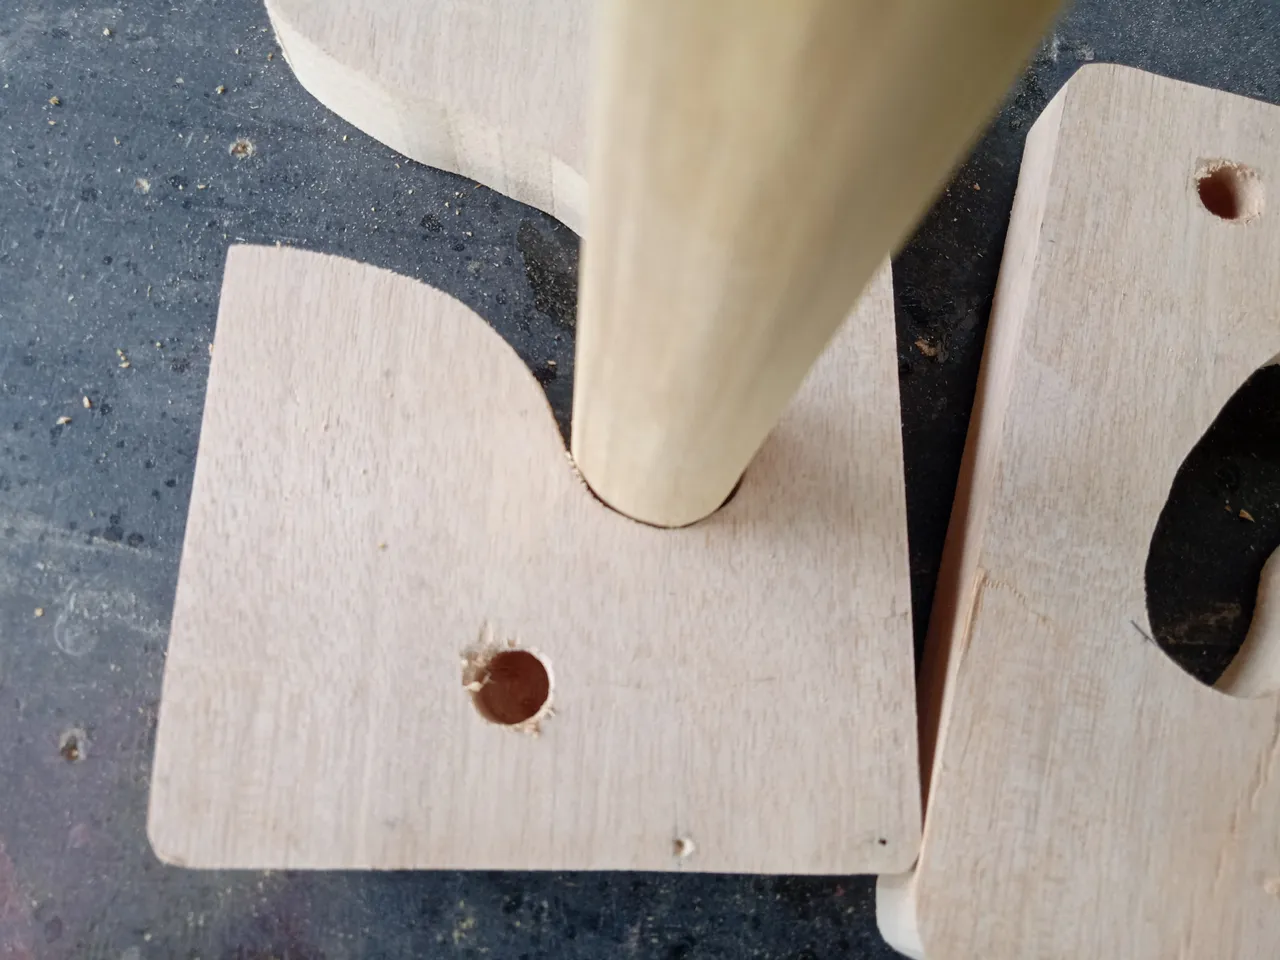
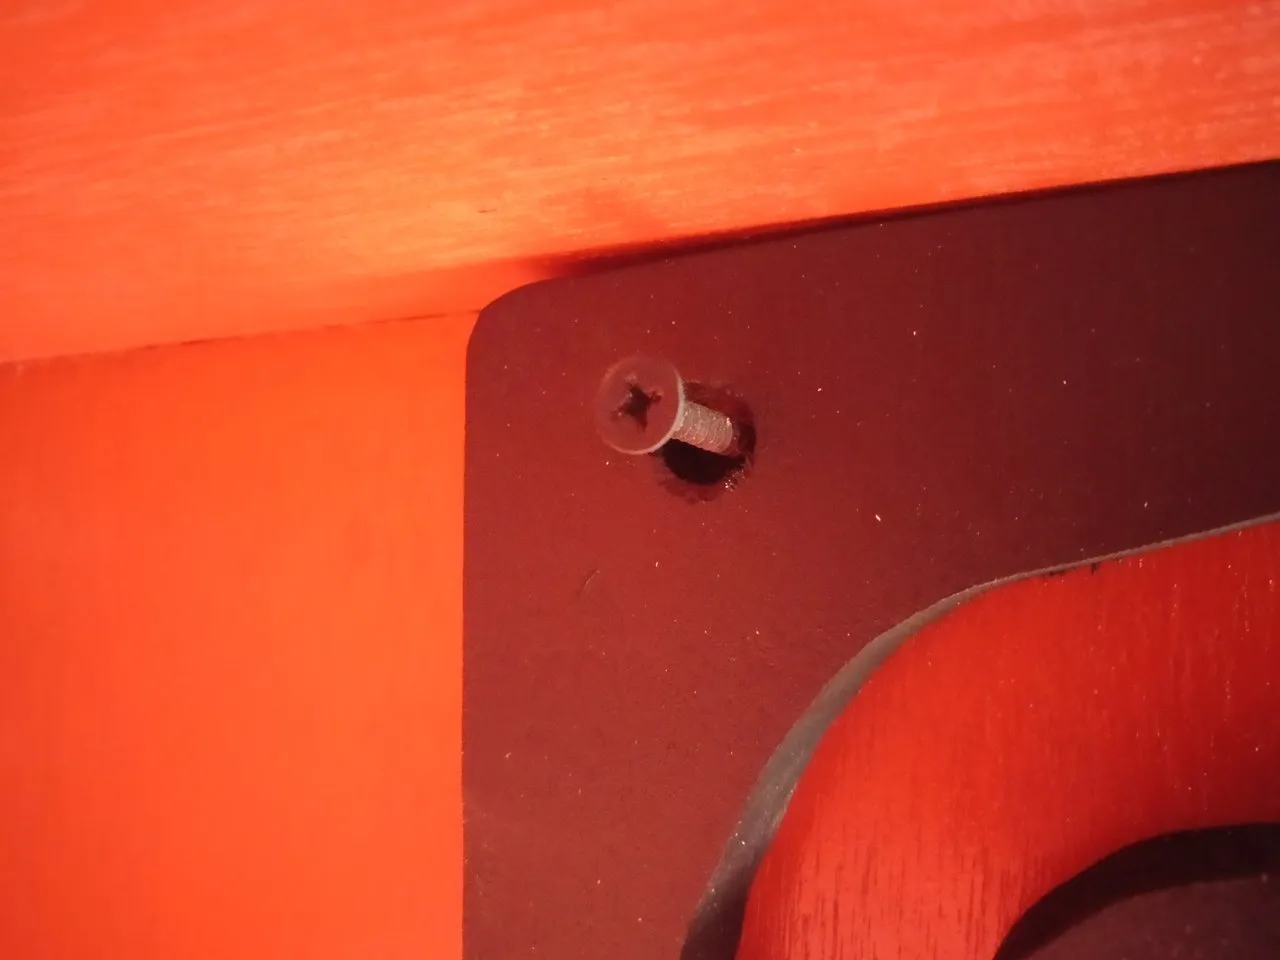
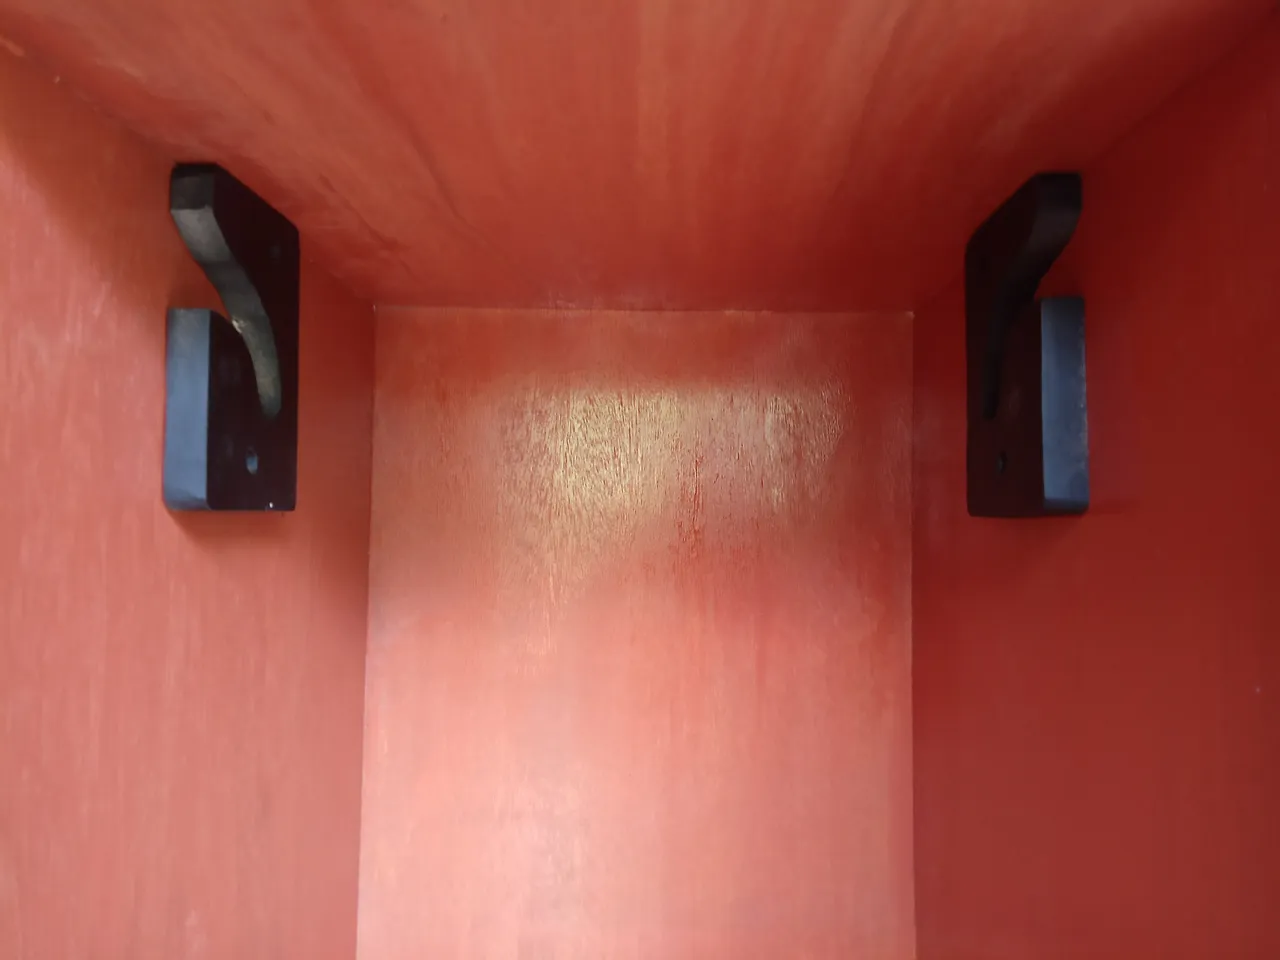
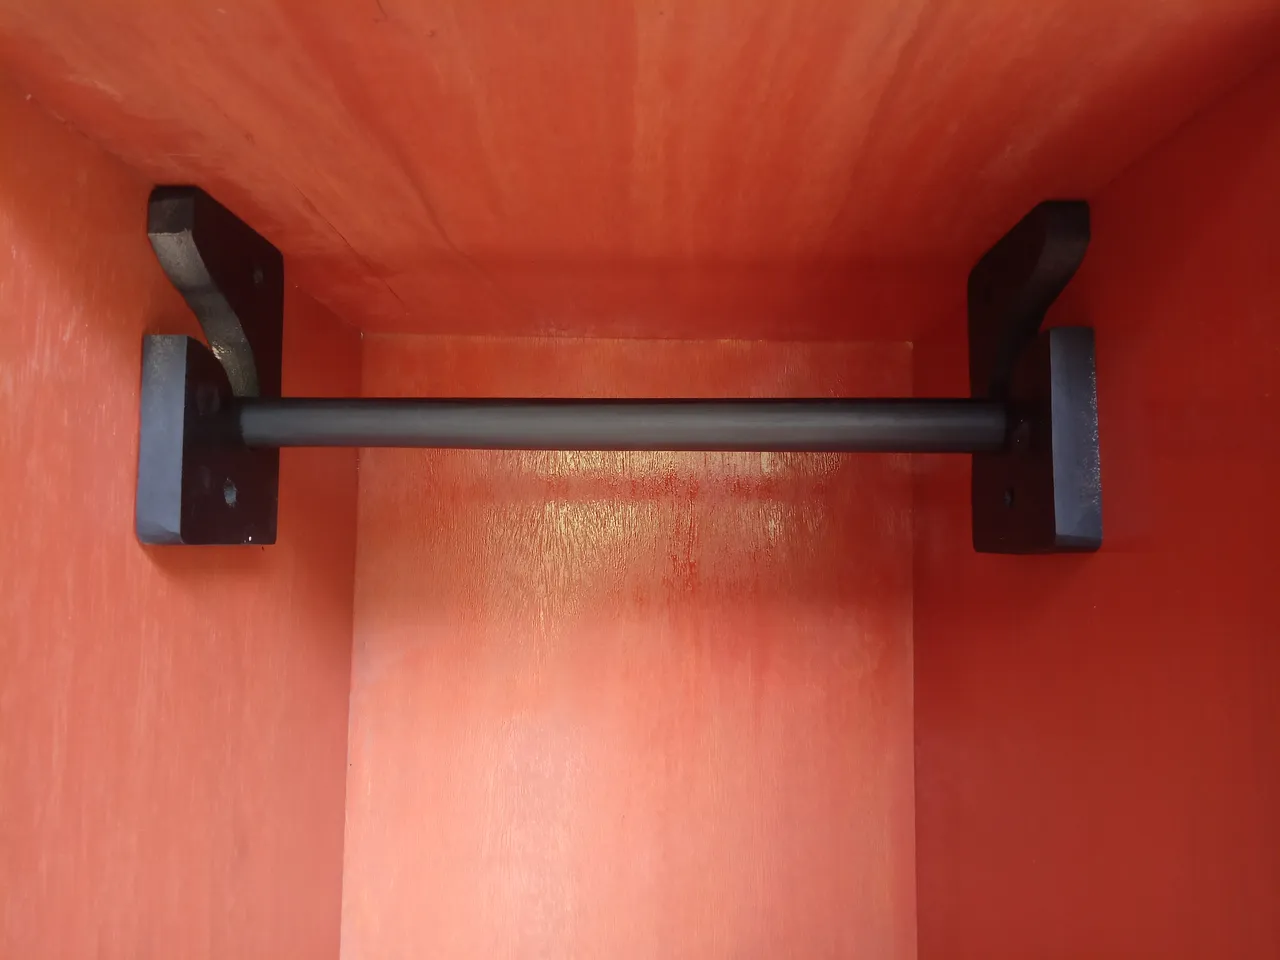
Then I made a hanger to attach to clothes, I made it using wood too which I rounded which then I painted it with black paint to make it look like iron, I made the hanger with 2 retainers on the left and right sides, this is so that the hanger can be dismantled install.


That's a little explanation about my project this time, I hope you like it and see you in the next architecture-design post... have a nice day 😊