Hai everyone,how are you to day?? I hope you always doing good and stay healthy.
Back again with me @lancang to show you some architectural designs, especially design furniture, for me designing furniture and making it is not just a job for me but more of a hobby and has even become a part of my life.
I am a wood working lover who has been in the furniture and handicrafts section for several years. For me, in designing a piece of furniture, a perspective is needed because it is not only the design that has to be good, but I also have to pay attention to what happens when I apply the design. to the project, I will make it in an easy and simple way but will not reduce the beauty of the result.
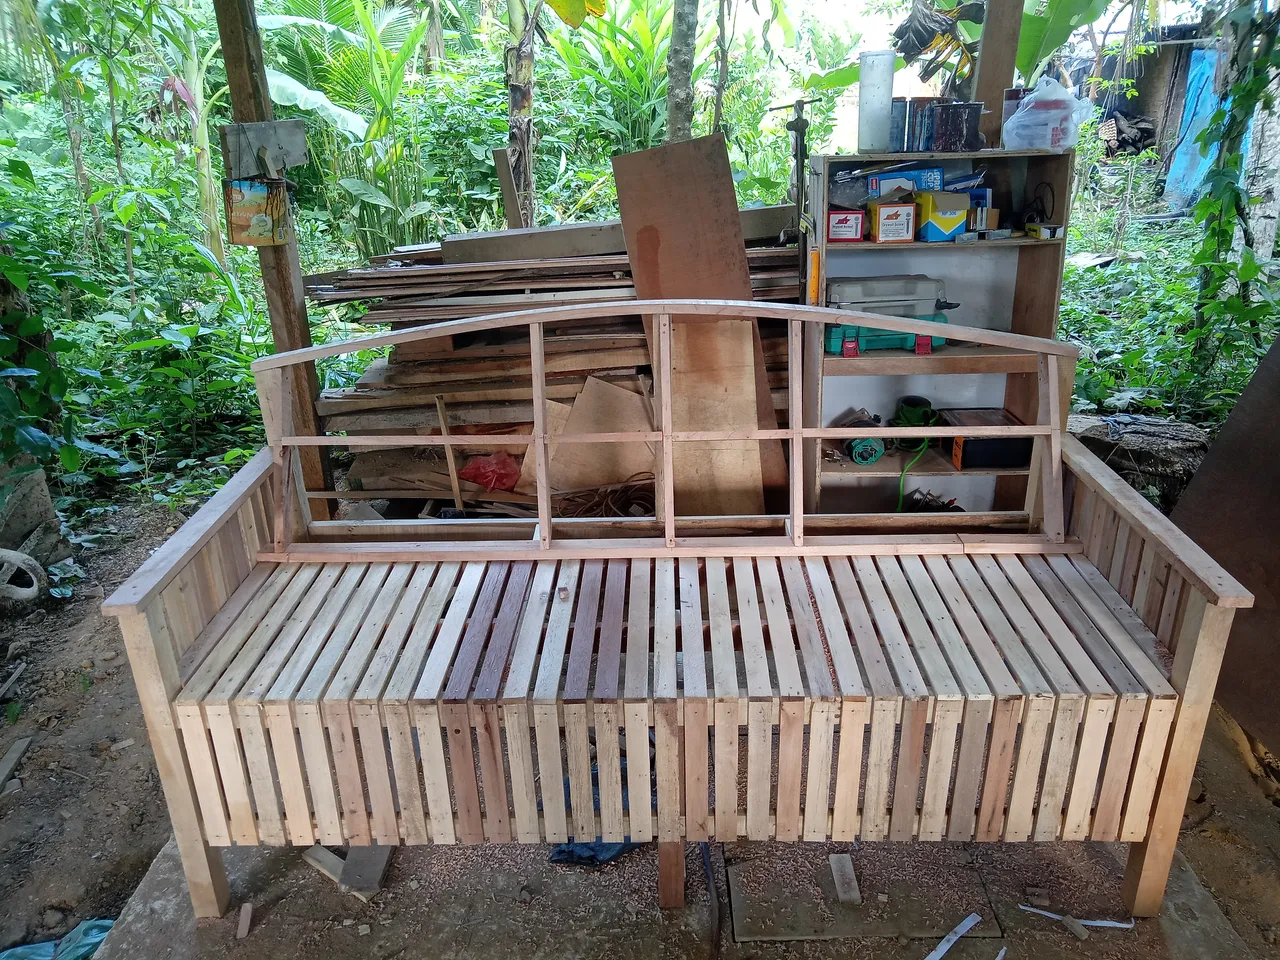
For today I want to show you the results of a lounge bench that can be used for three people, usually a lounge chair like this is placed in front of the house or on the balcony as a place to sit and chat together and of course to relax.
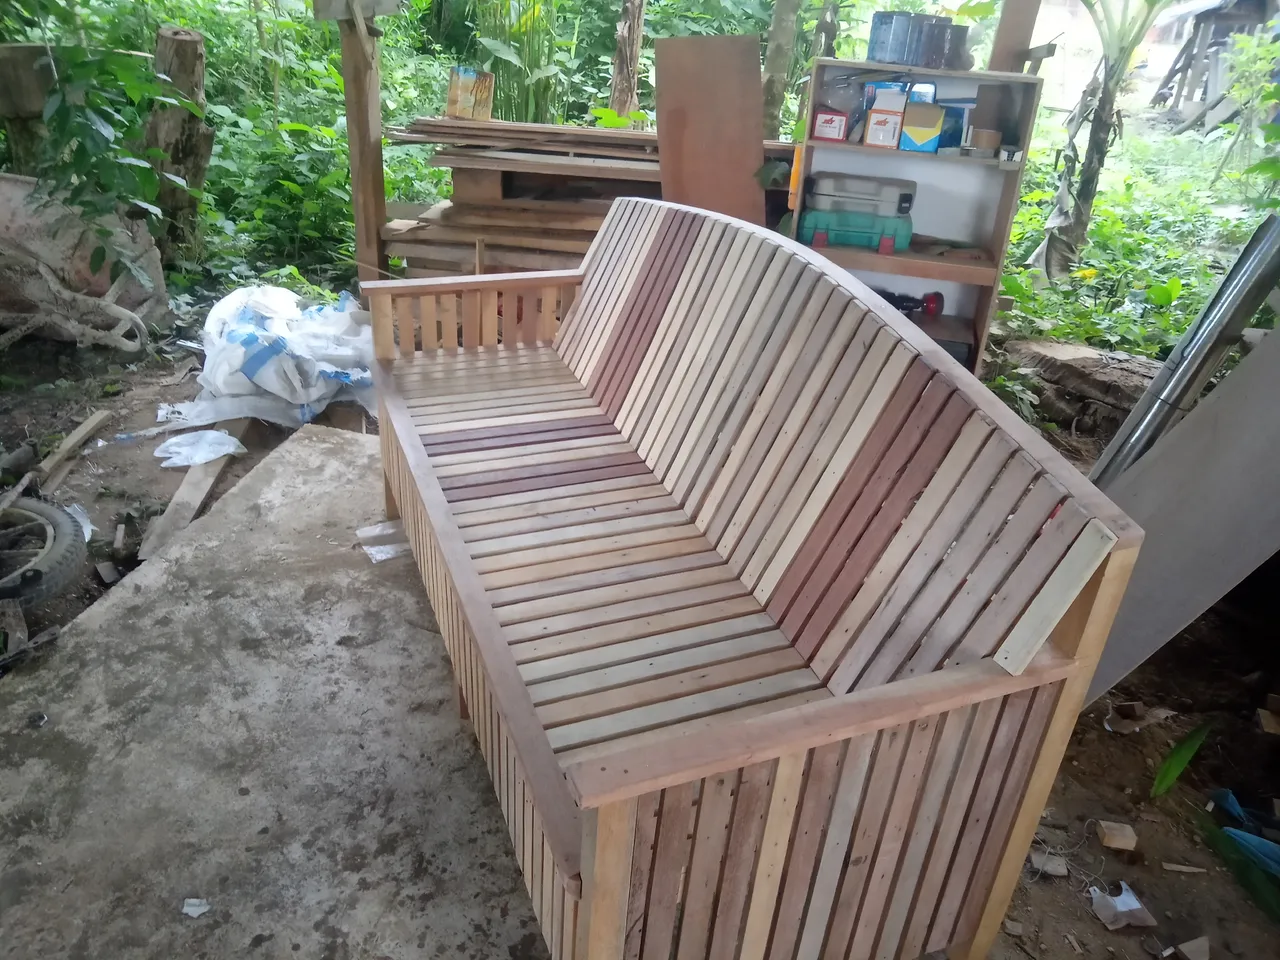
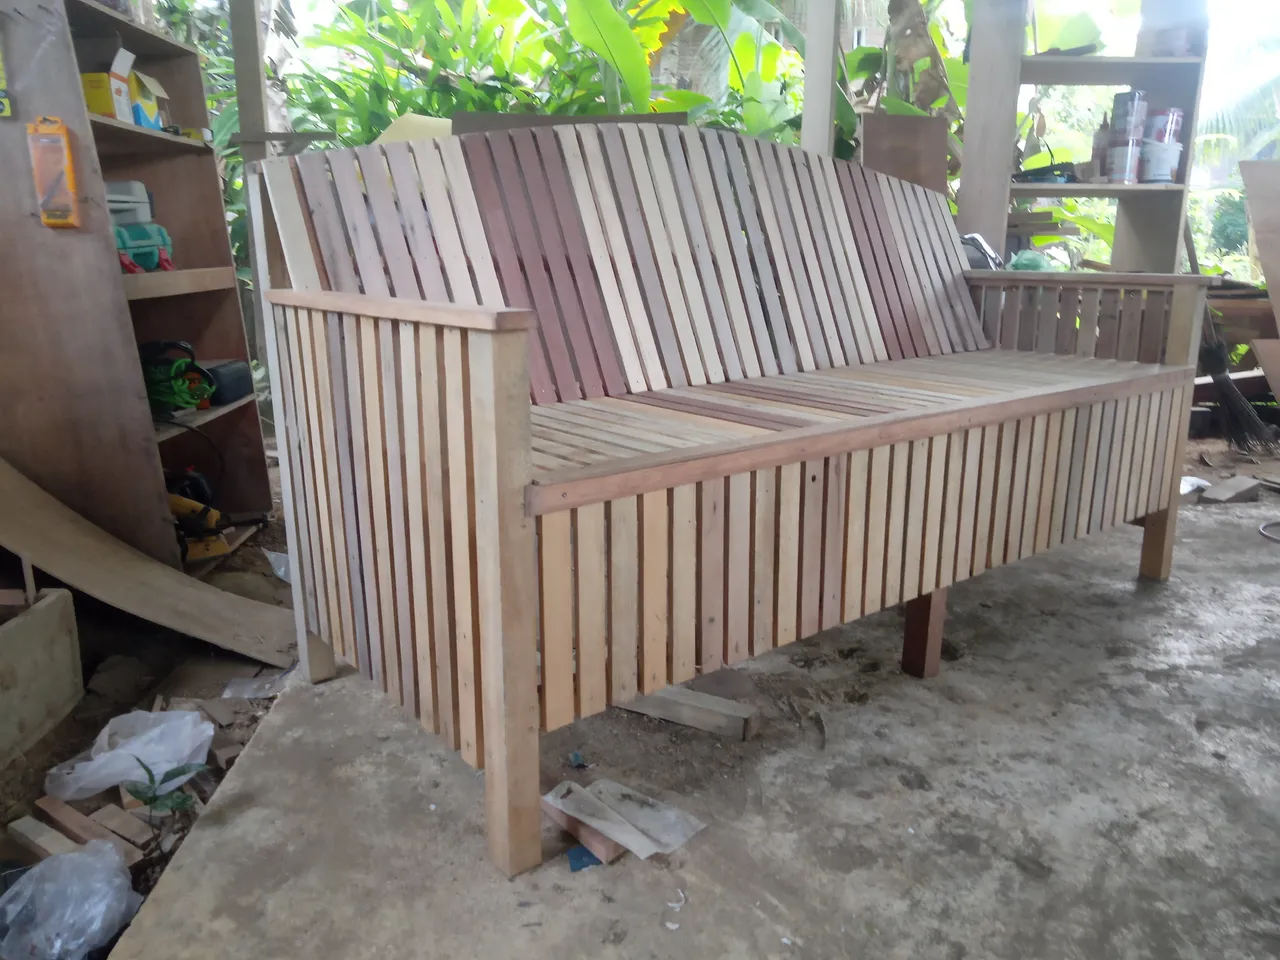
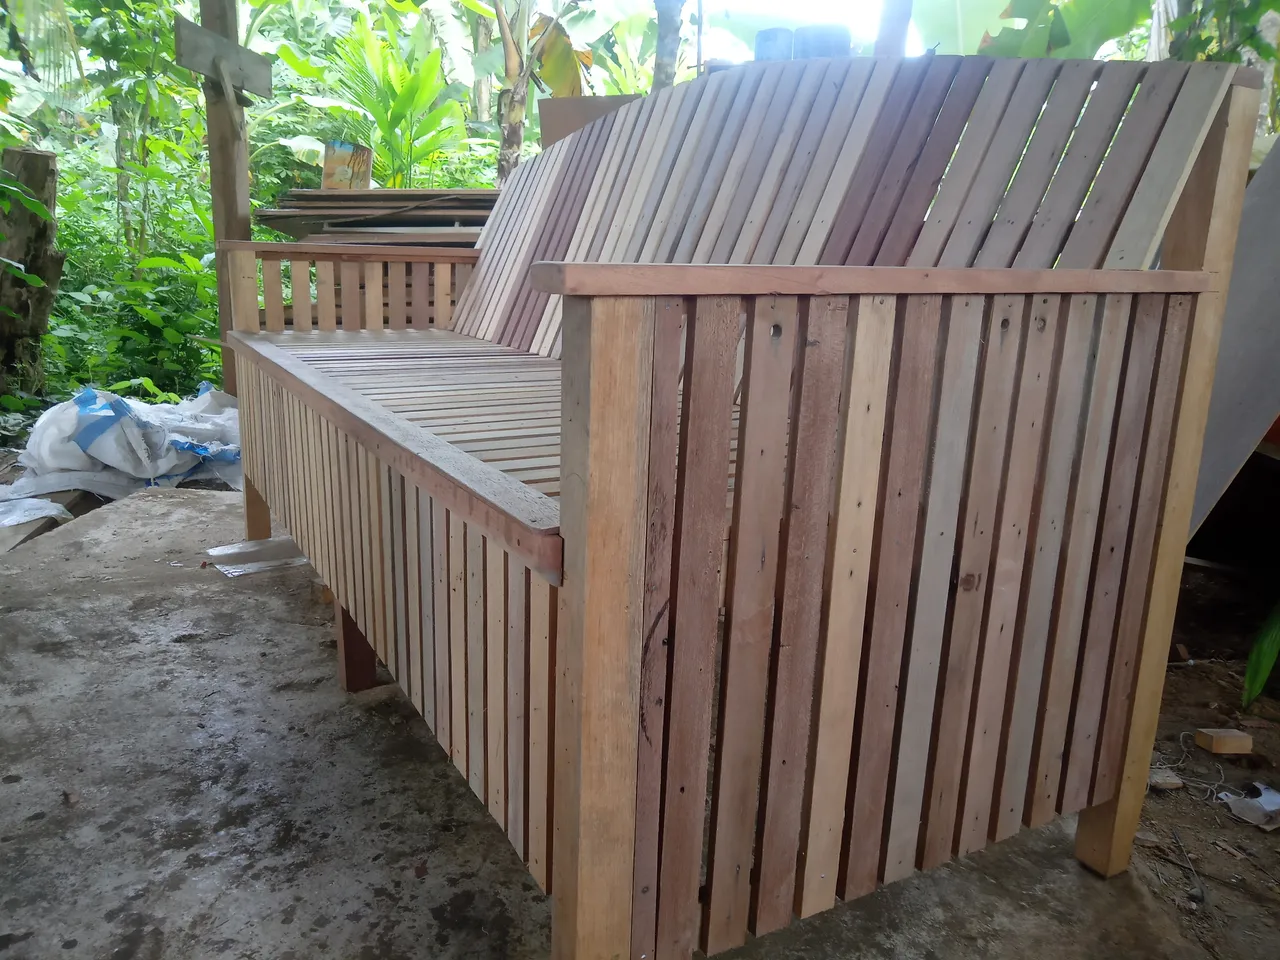
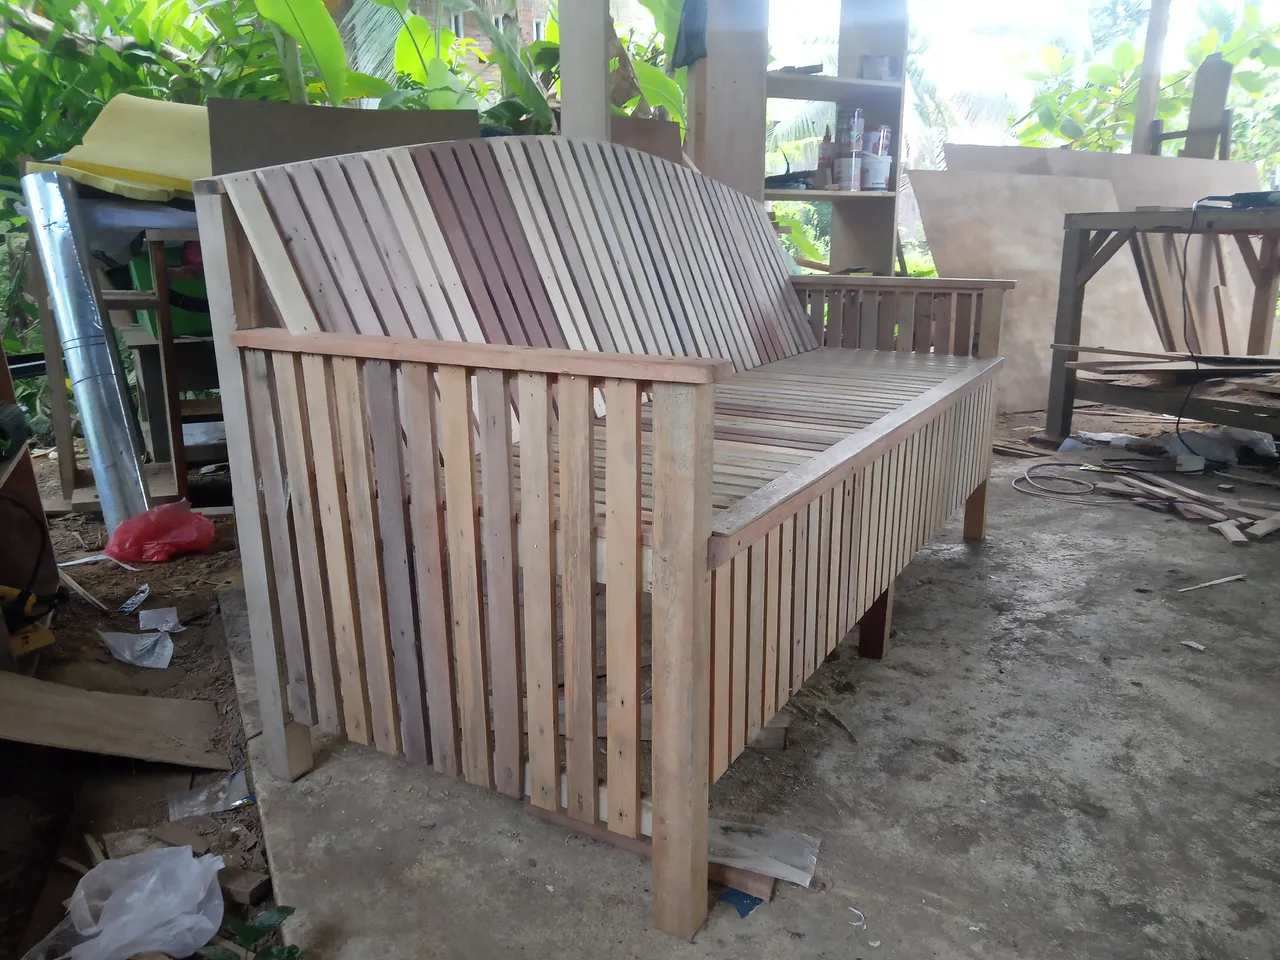
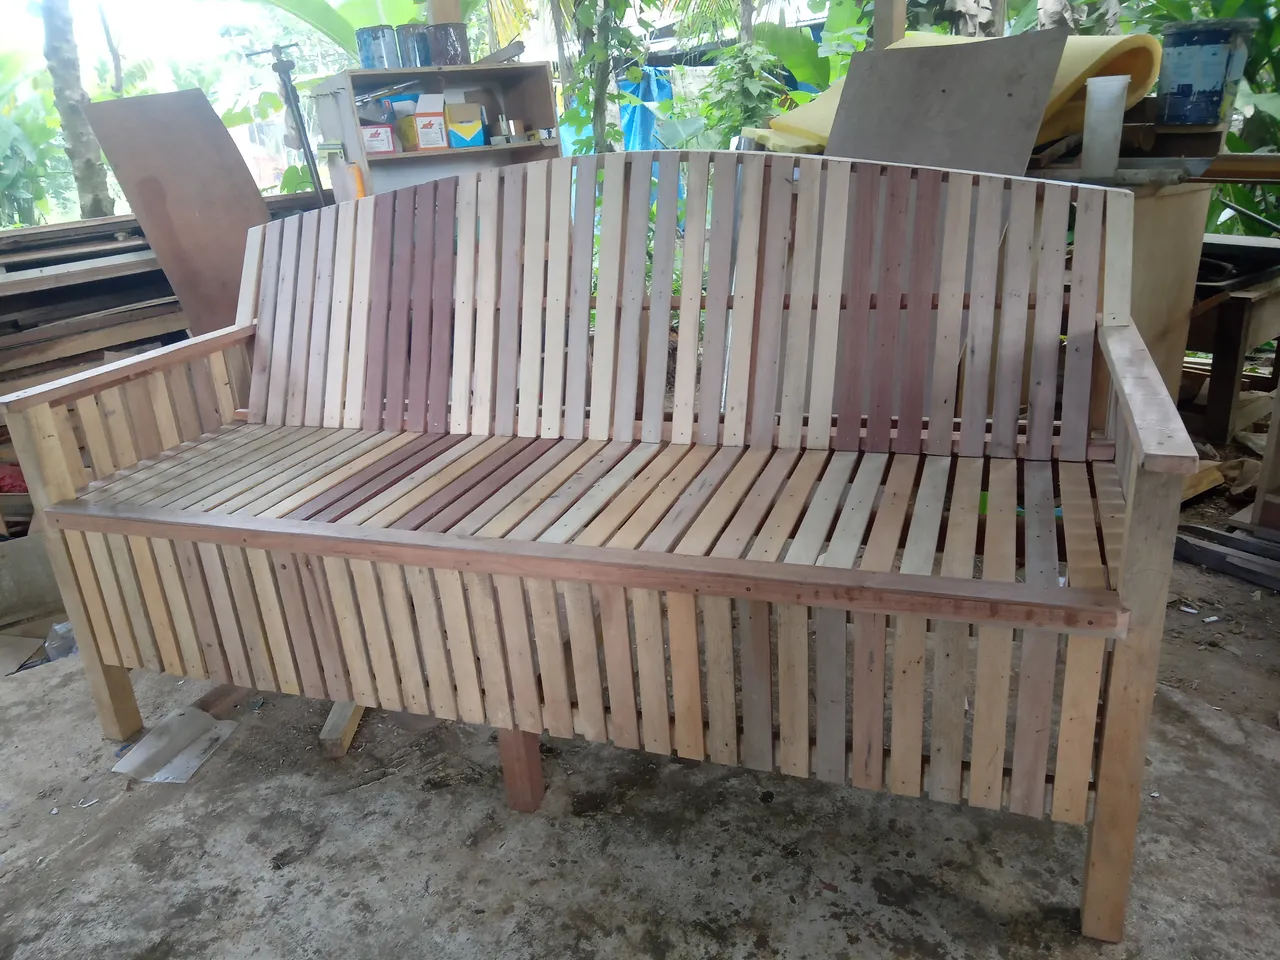


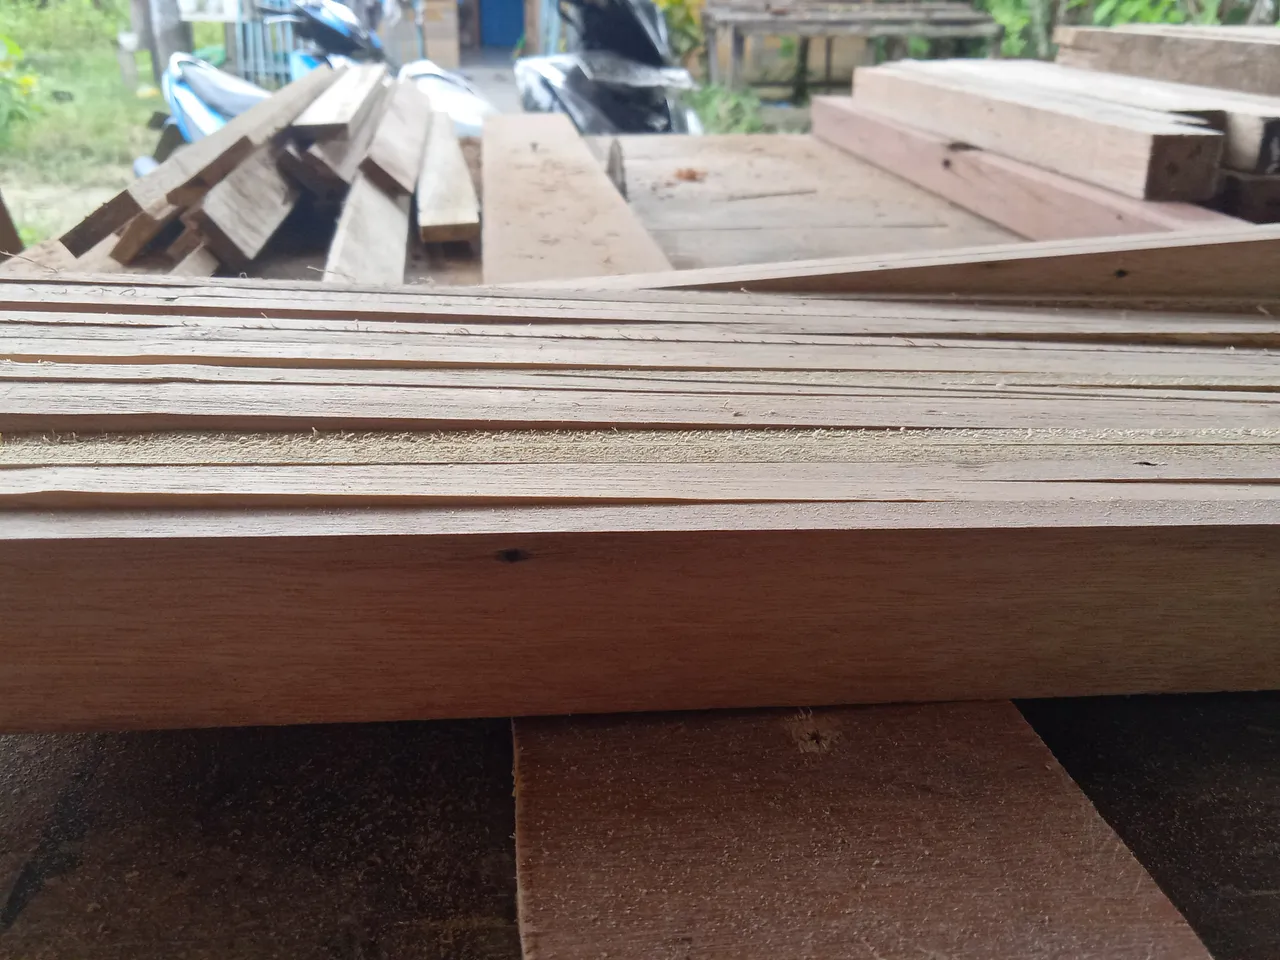
This bench has a size of 60 cm x 160cm and a height of 45 cm and the height of the backrest is 85 cm, this relaxing bench is a request from my customer who brought his own wood to my workshop, he said this is used wood from the construction of his house which was built last year so the material for This relaxing bench has various types of wood, there are meranti wood, medang wood, resin wood, and also sentang wood.
I showed him some photos of the lounge chairs I've worked on but none of them he liked and then I designed another model and he liked it too.
So now we start in explaining the design and manufacturing process.
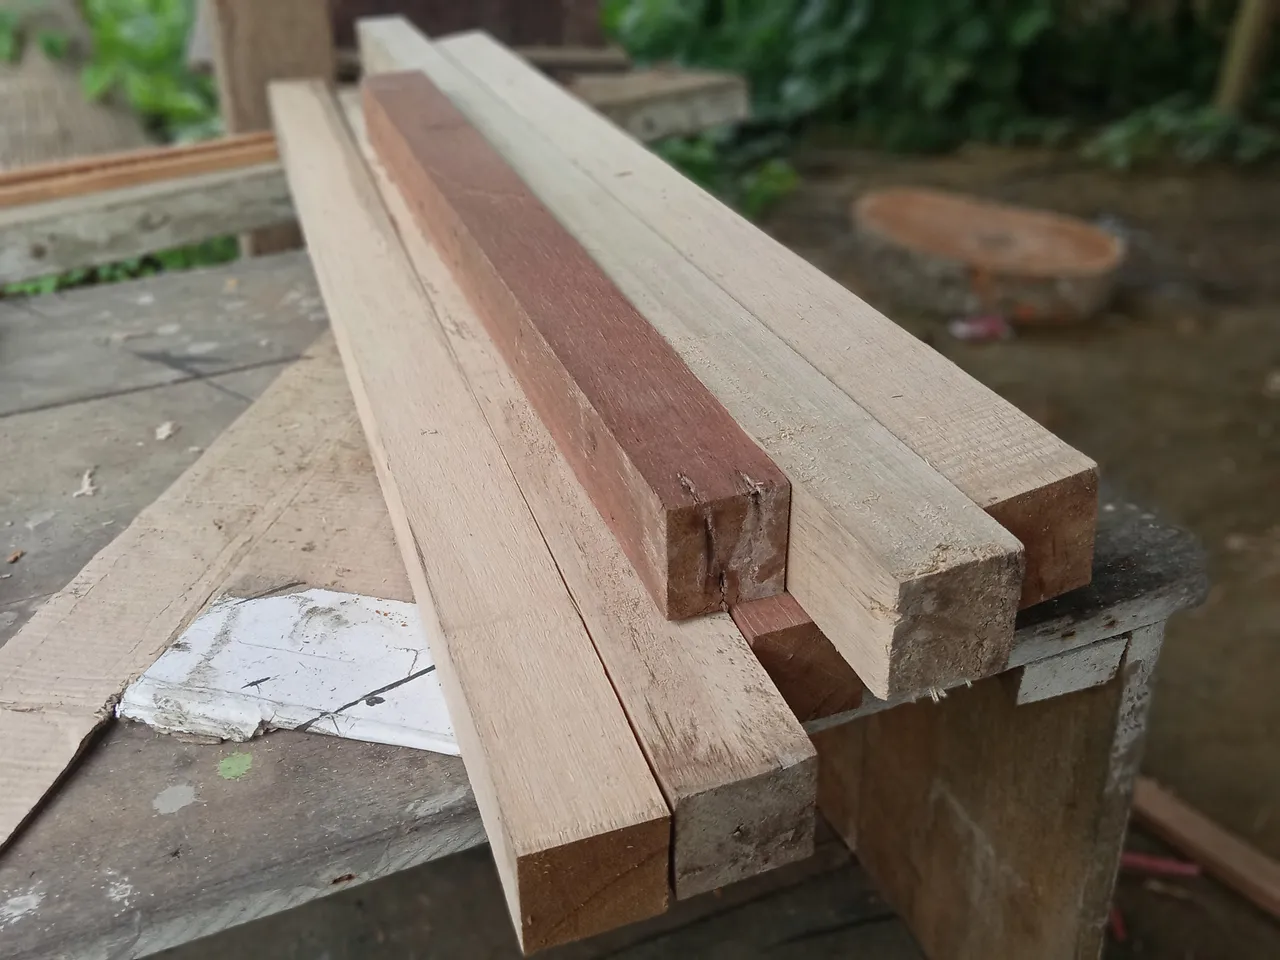
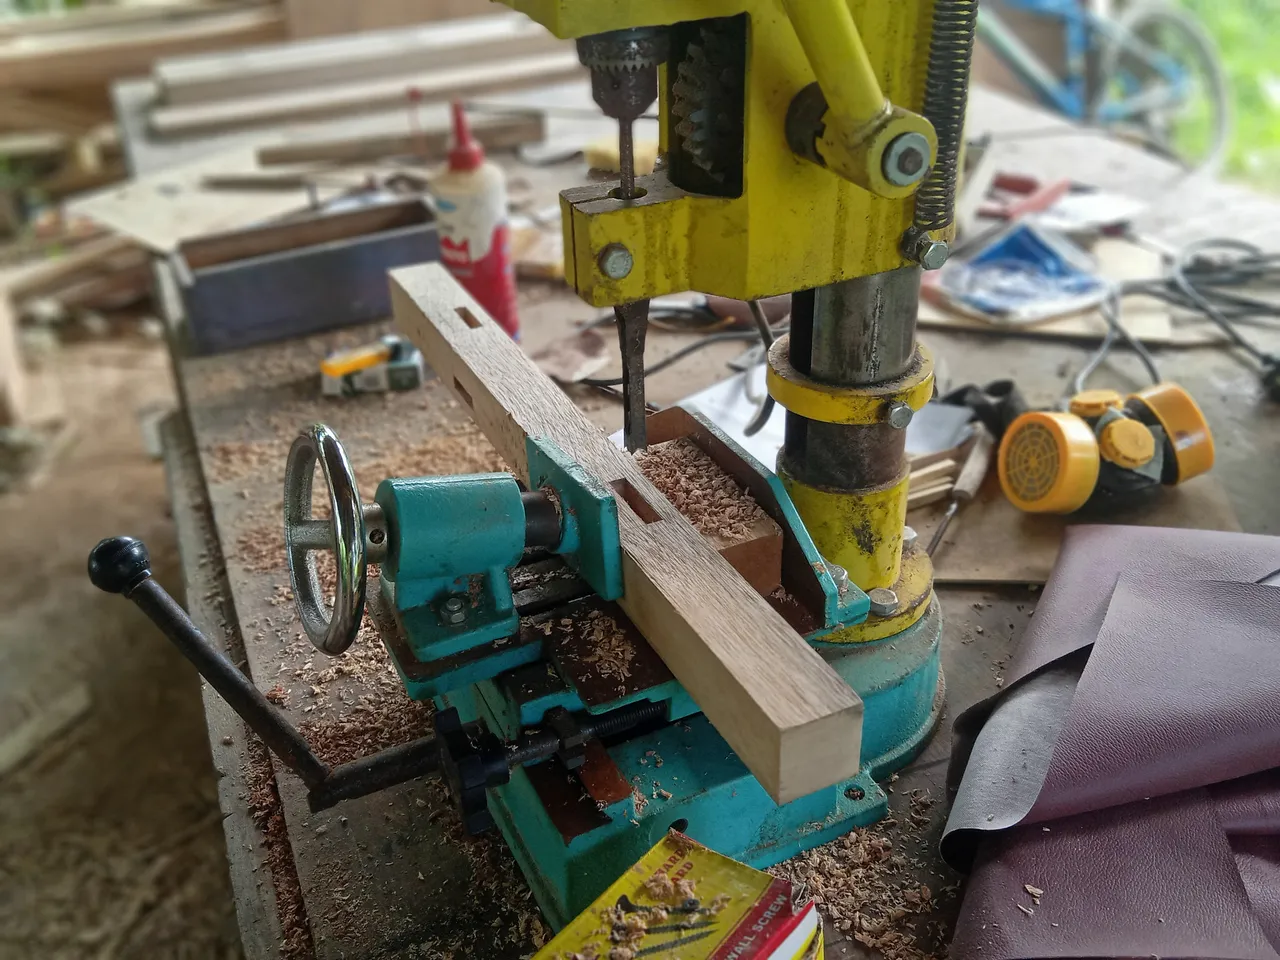
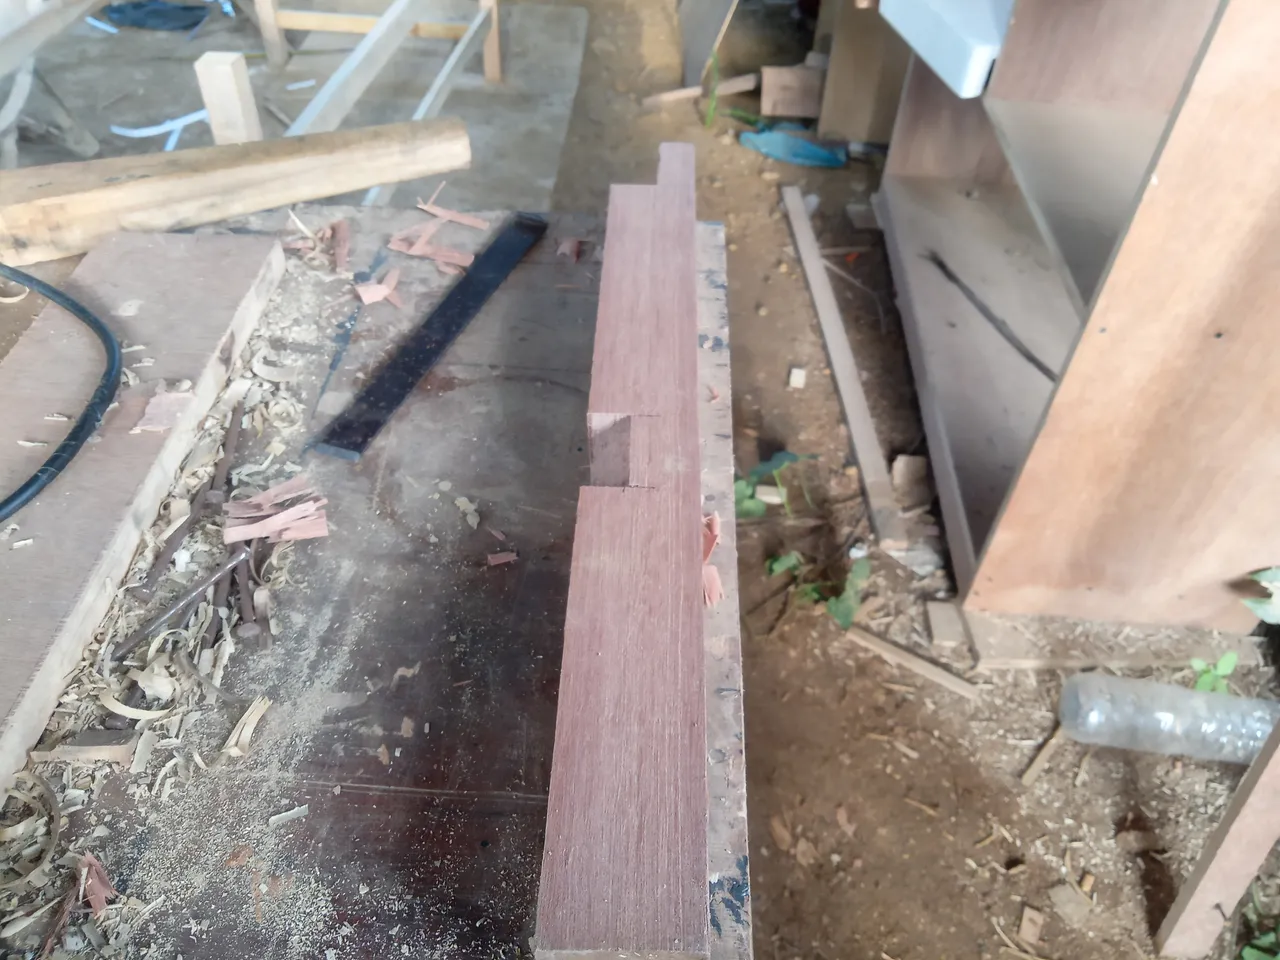
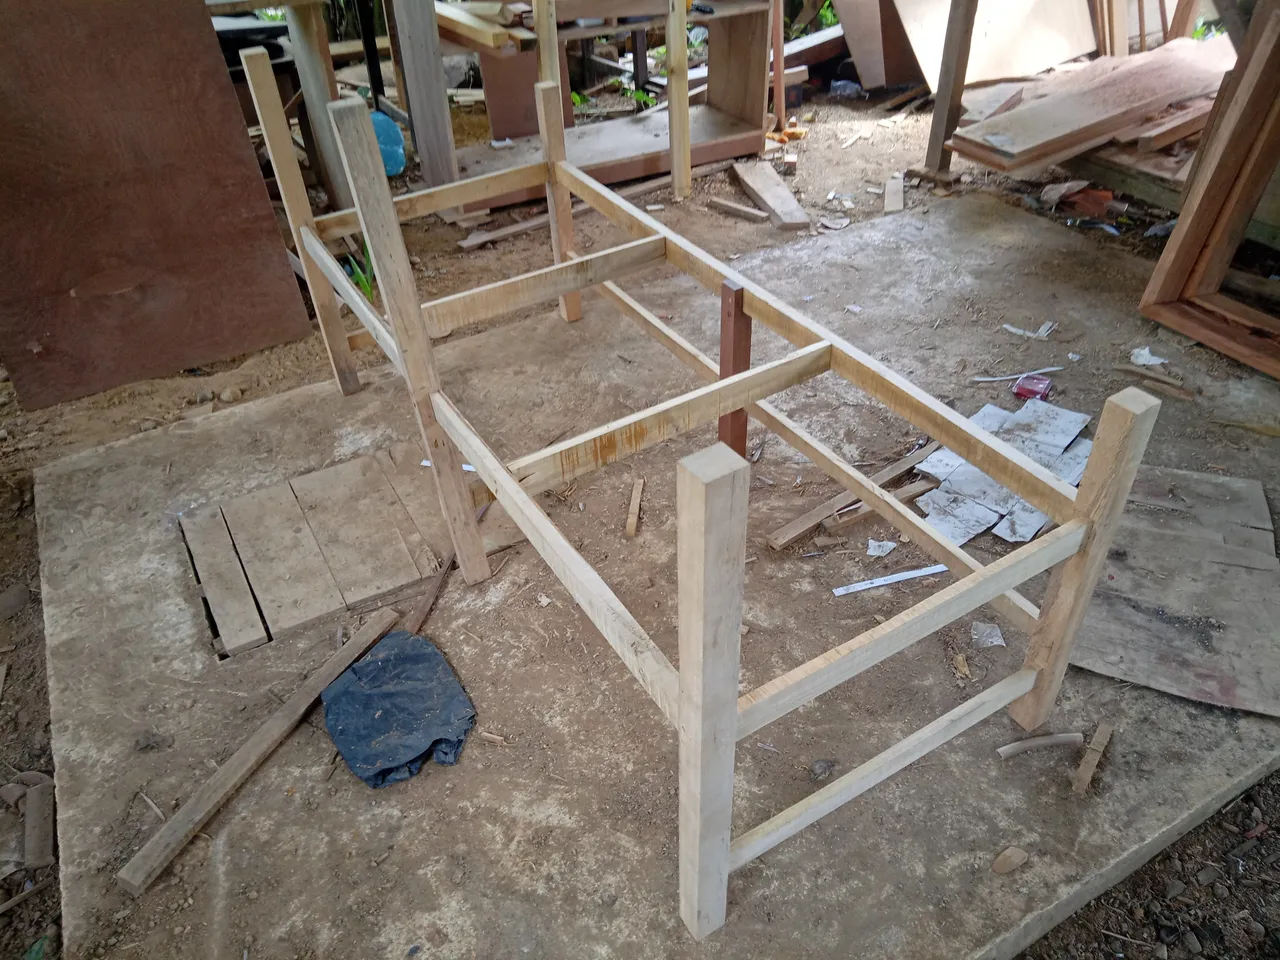
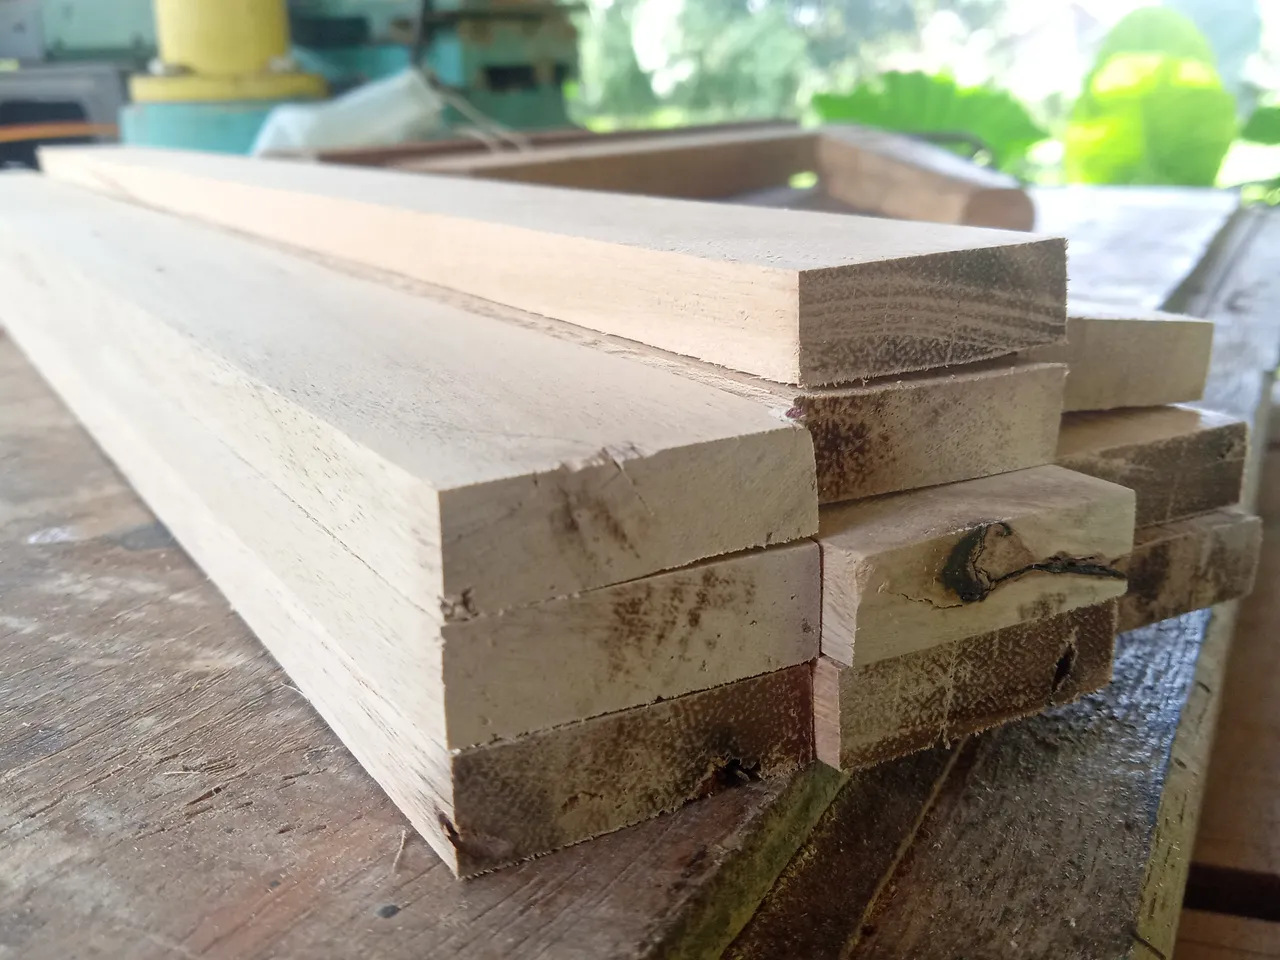
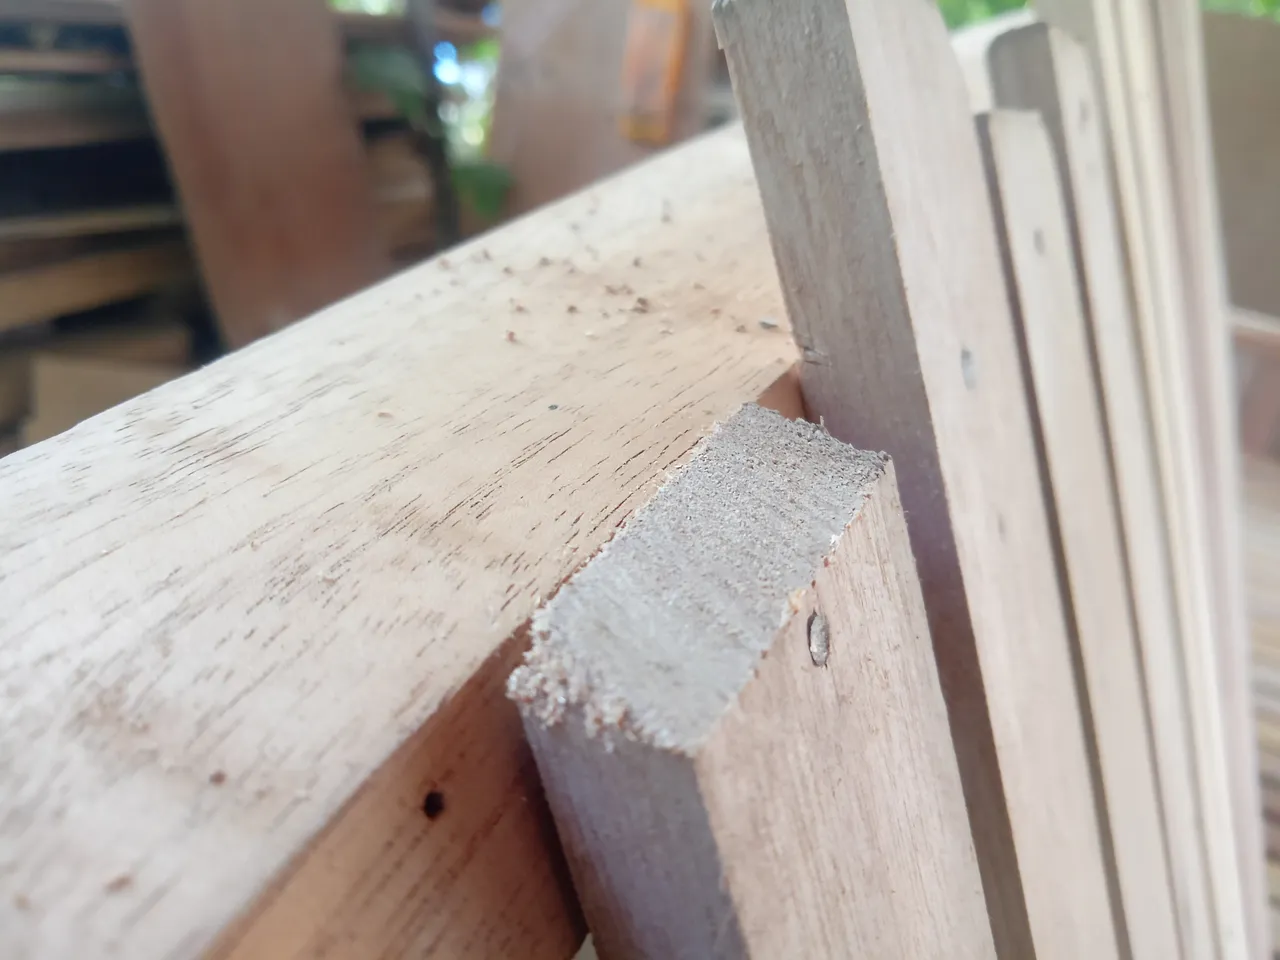
The first process I did was to prepare the wood for the legs with measurements;
4cm x 4cm x 60cm = 2 pieces
4cm x 4cm x 78cm = 2 pieces
4cm x 4cm x 45cm = 1 piece
4cm x 4cm x 85cm = 1 piece
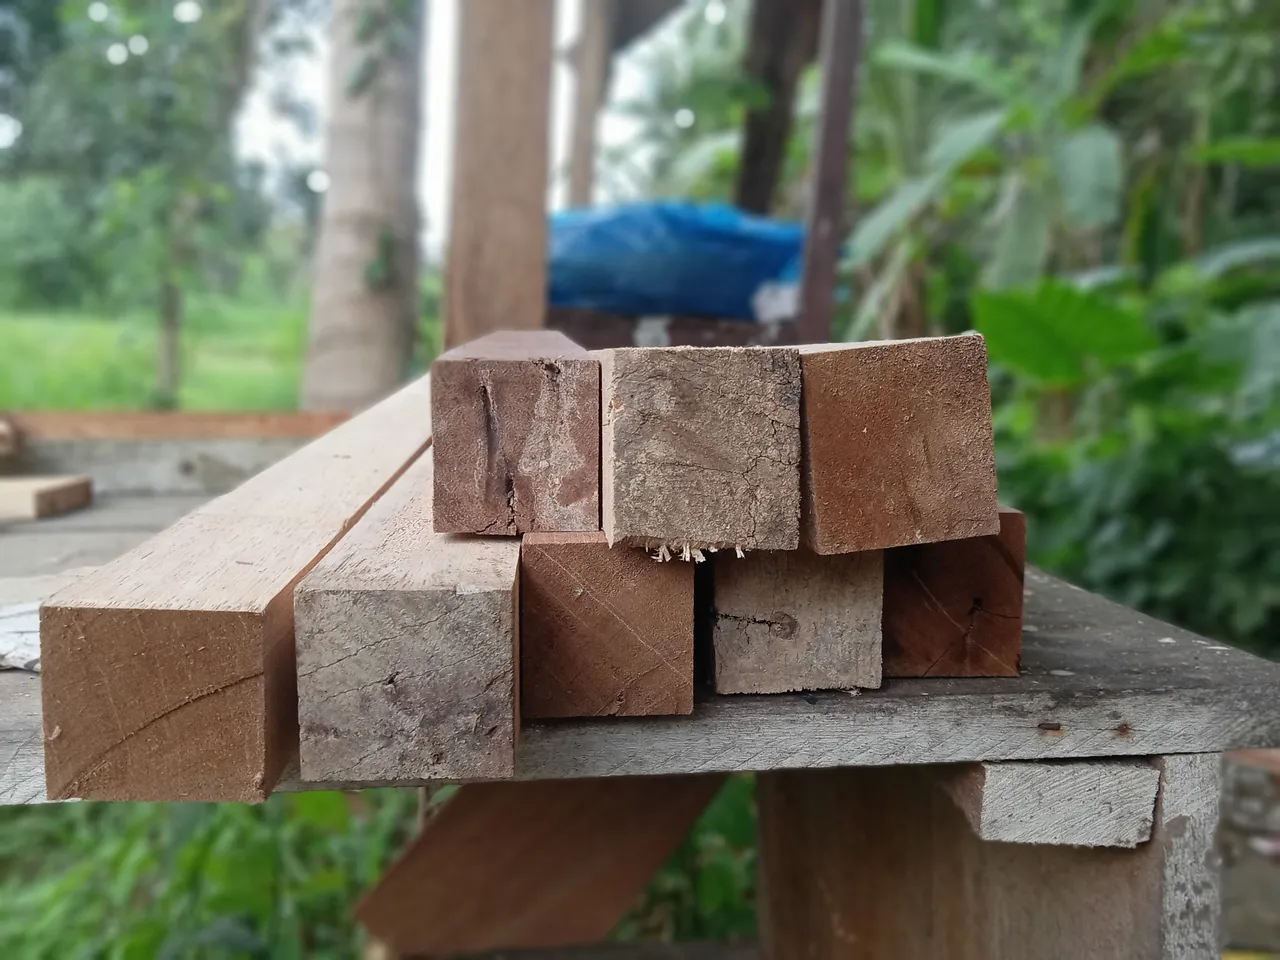
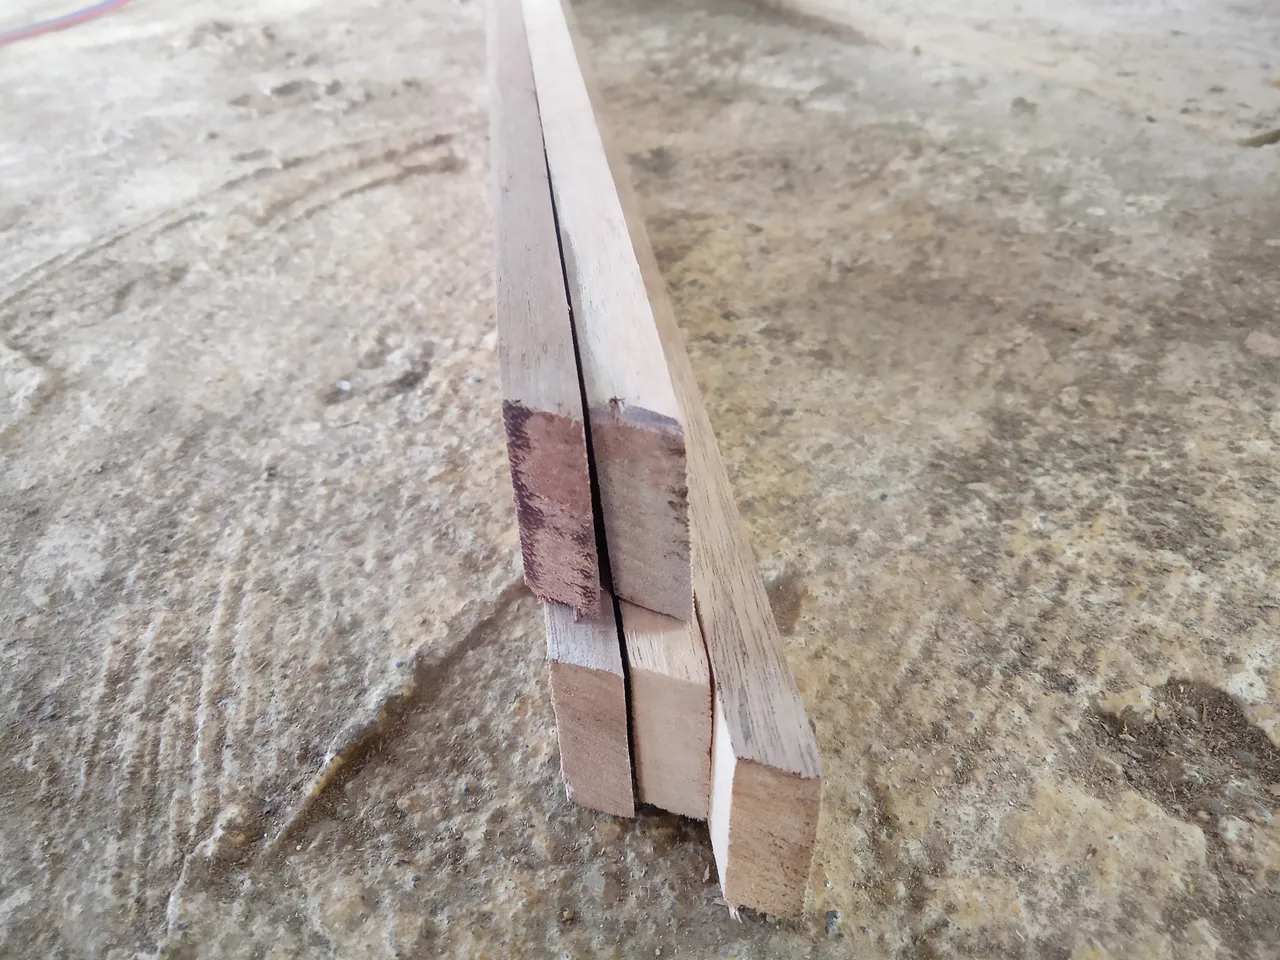
The first size is for the left and right front legs and the second size is for the rear legs and the third and fourth sizes are for the front and rear middle legs, because this wood is a former from the construction of a house, of course the sizes are different, so I shaved all the wood and I make the dimensions equal to 4cm x 4cm.
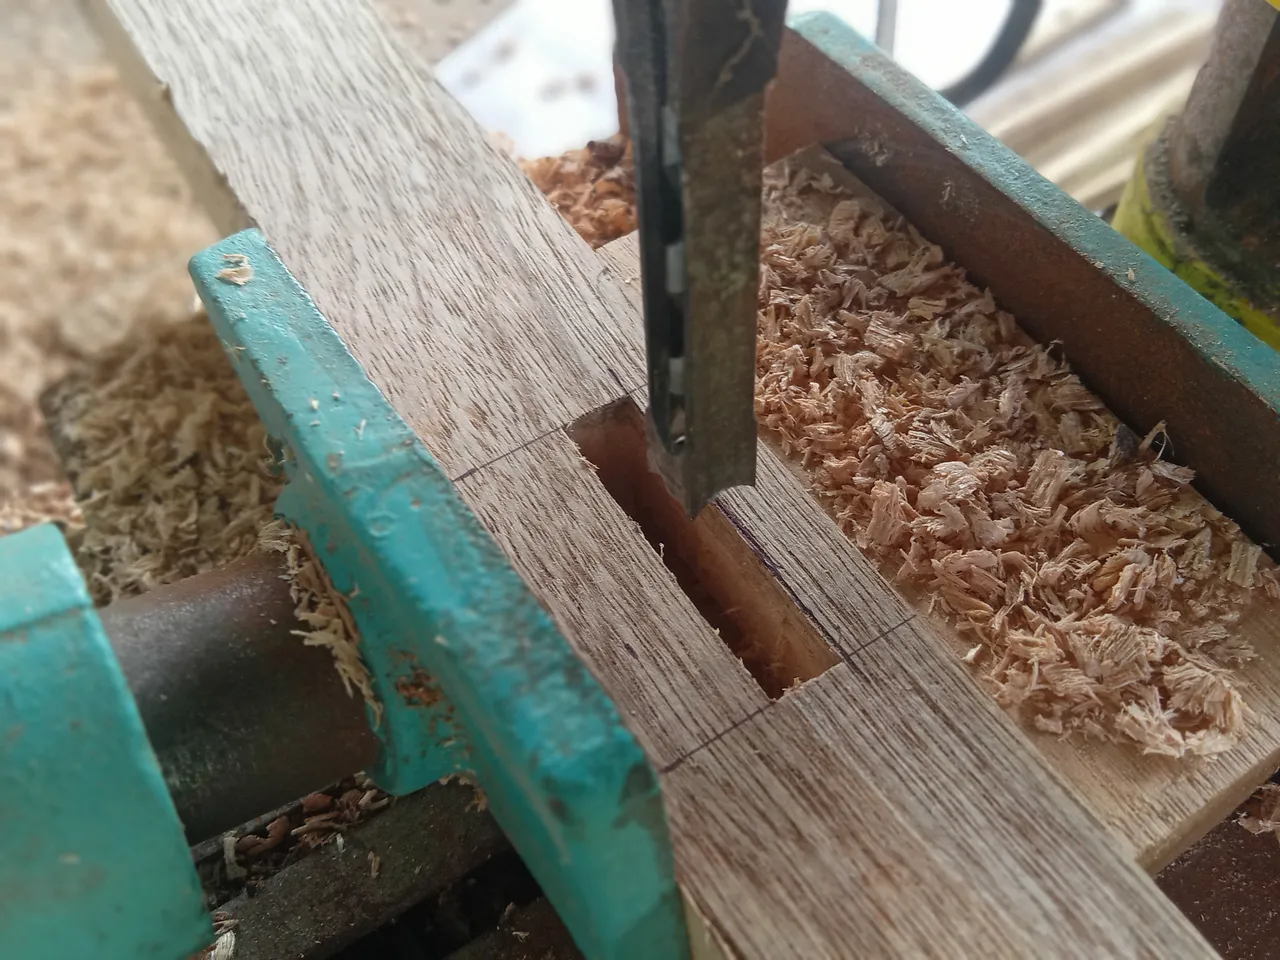
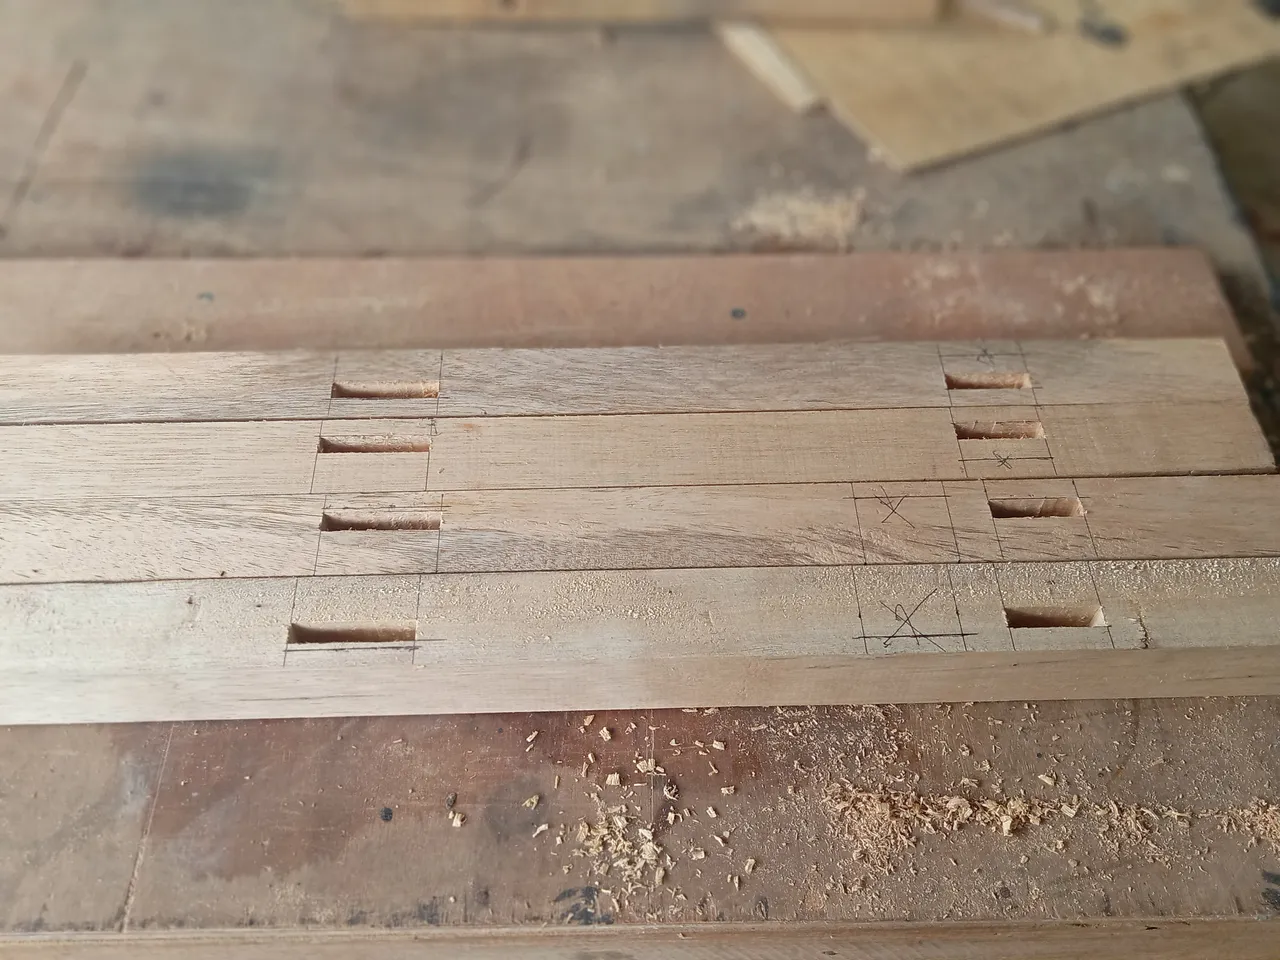
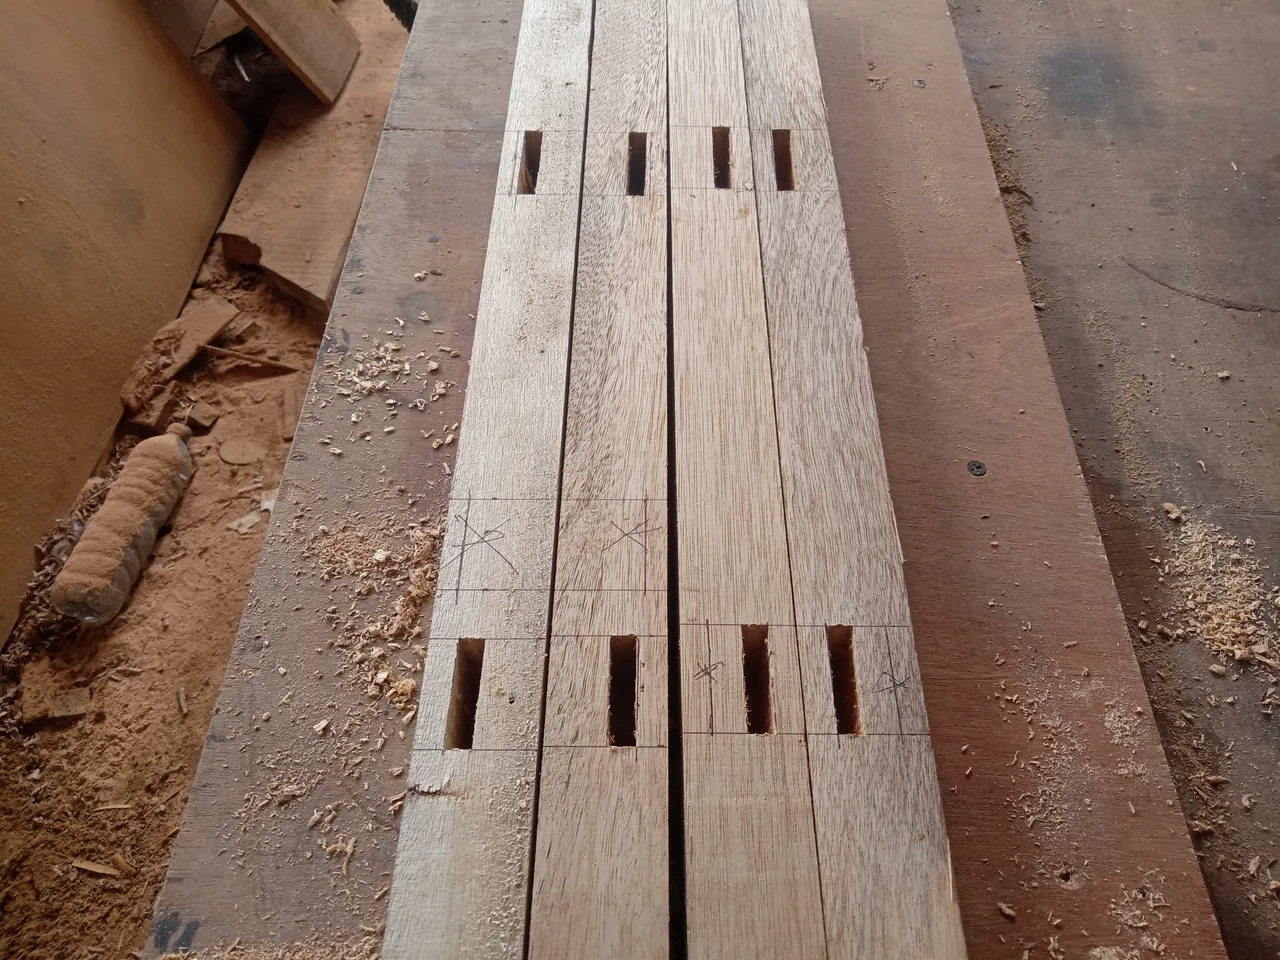
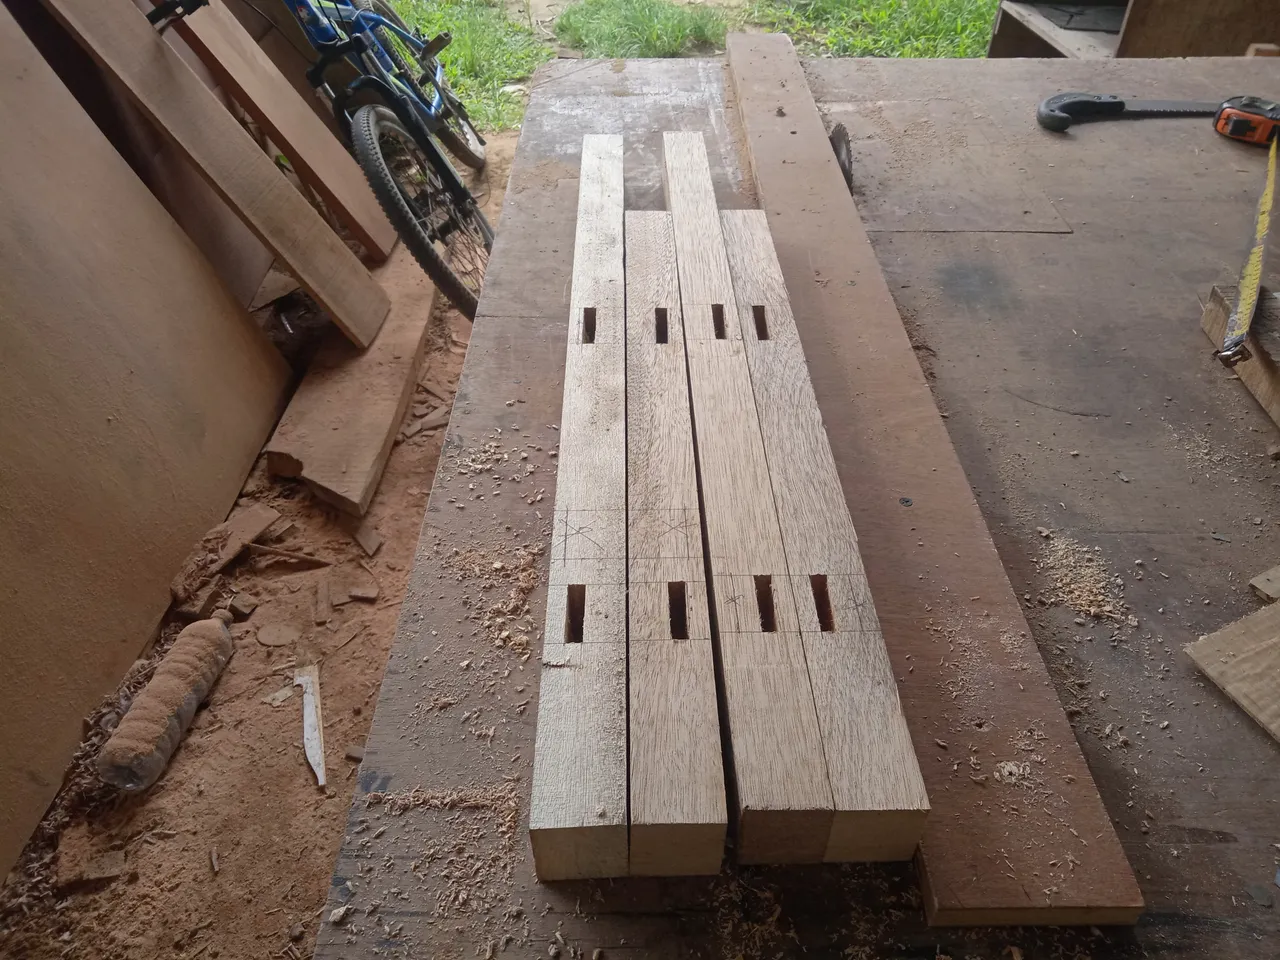
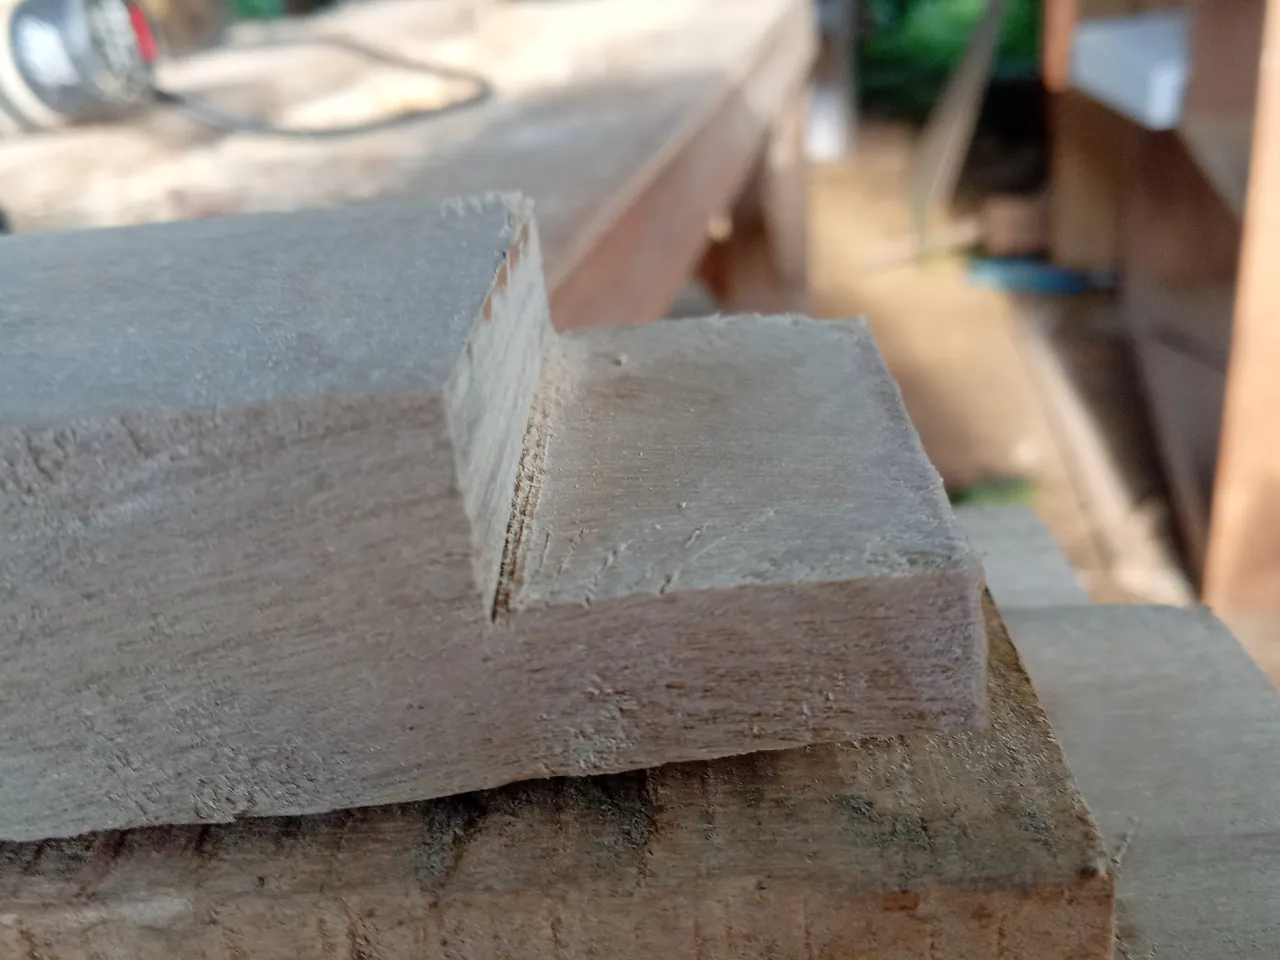
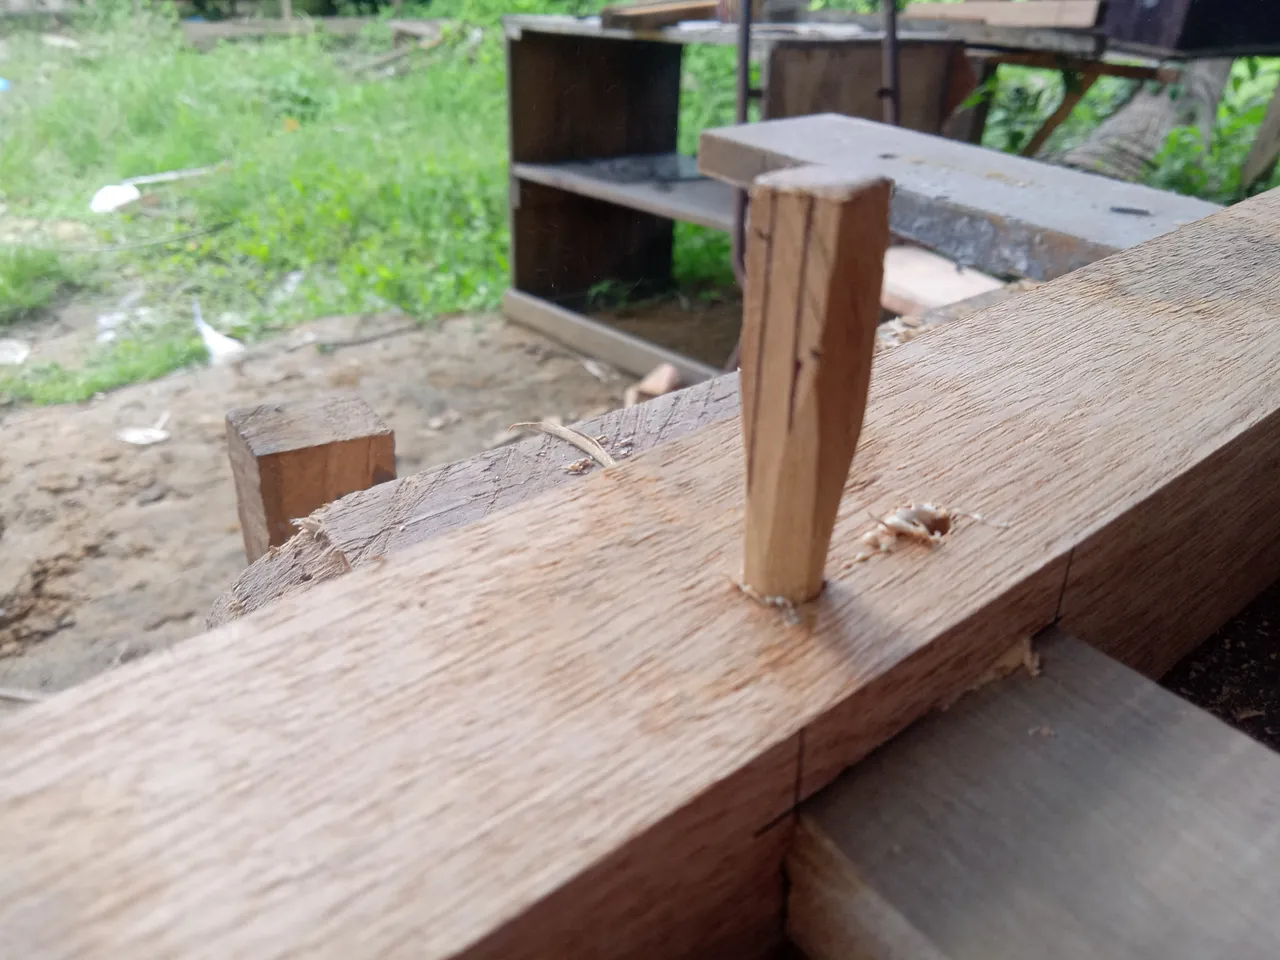
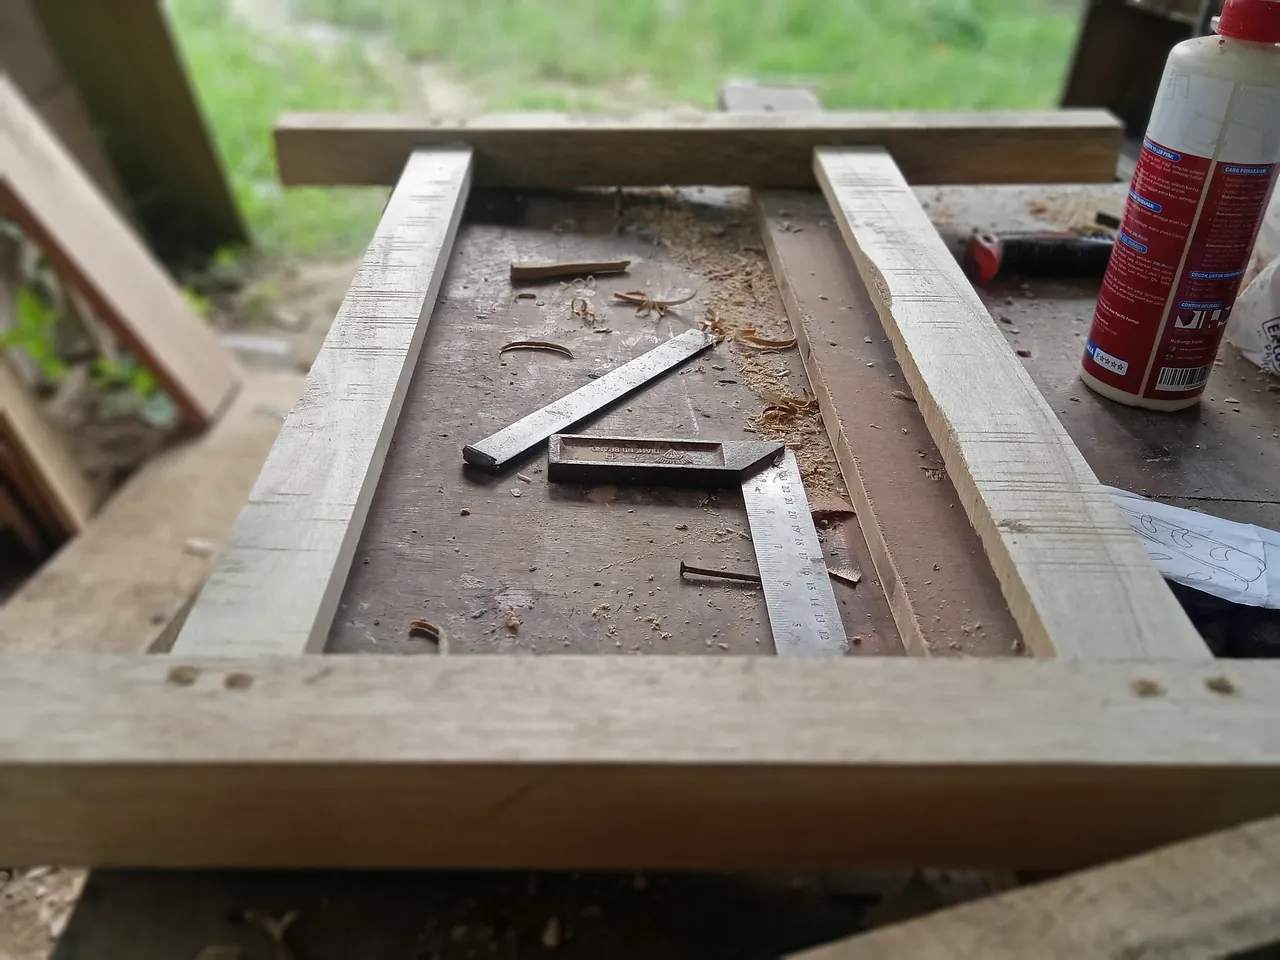
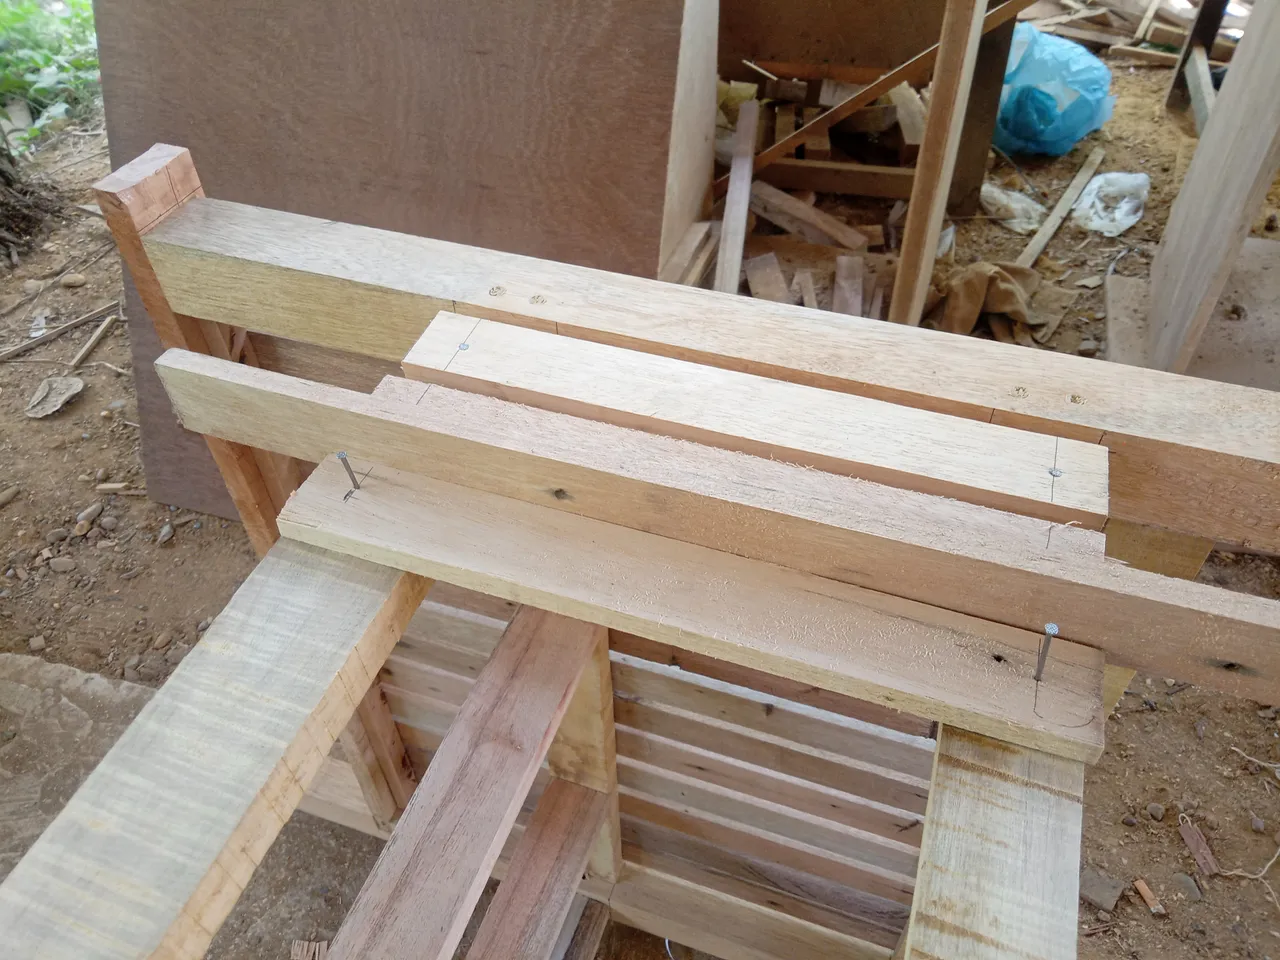
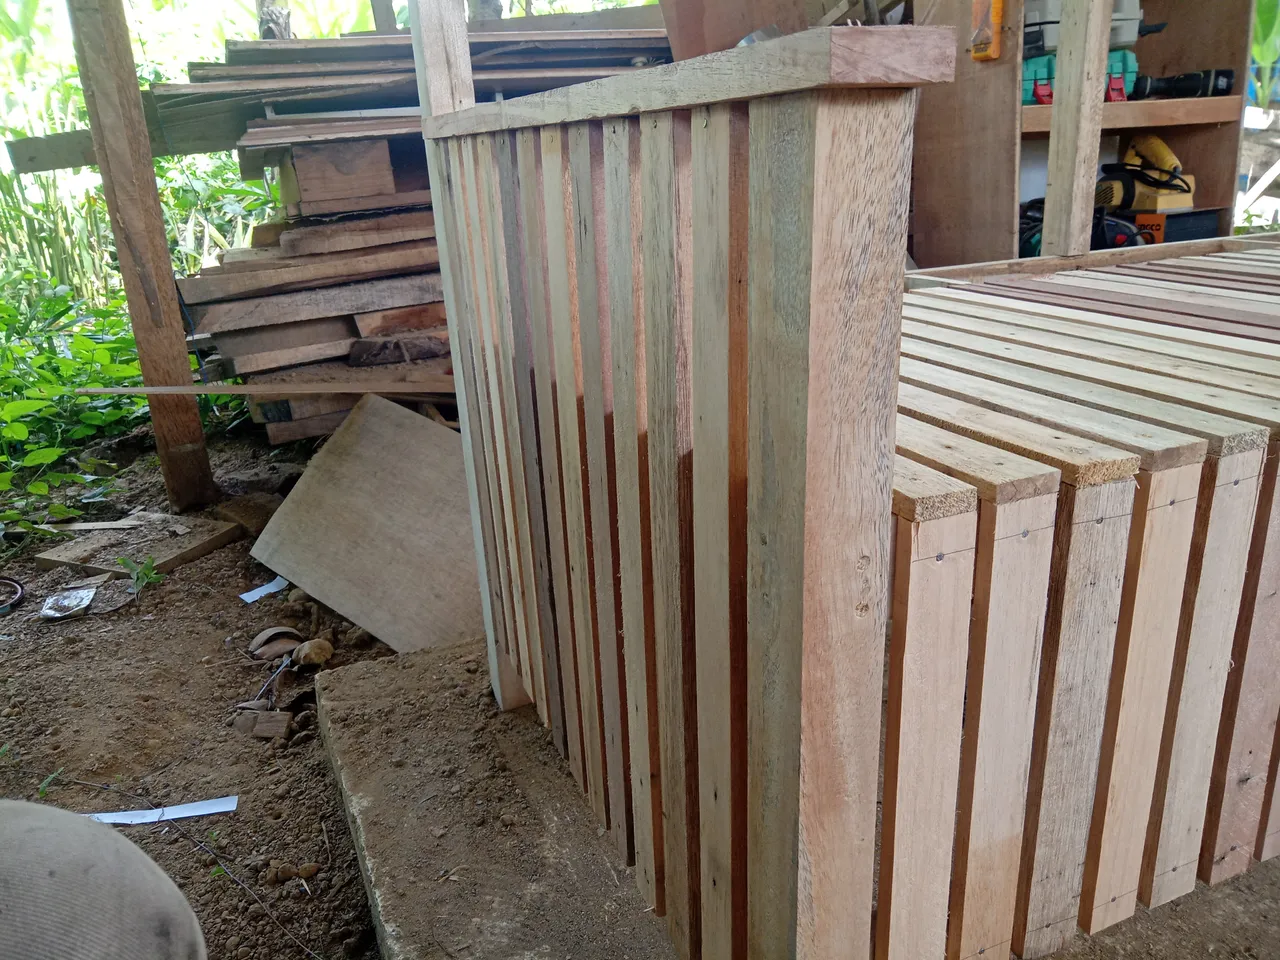
After that I started to line and make holes, as usual I assembled the legs of this bench with a peg hole connection system, this is only for the left and right legs of the bench, while for the middle legs, another method will be used when it is time to assemble them.
Then after the process was complete I started to prepare the wood to assemble the two legs of the bench on the left and right sides using wood measuring 2 cm x 5 cm and for a length of 57 cm, the width of this bench is 60 cm so the way to measure the wood to assemble it is 60 cm minus 8 cm (sum of 2 feet) and added 5cm (pegs for left and right 2.5 cm each) then the result is 57 cm.
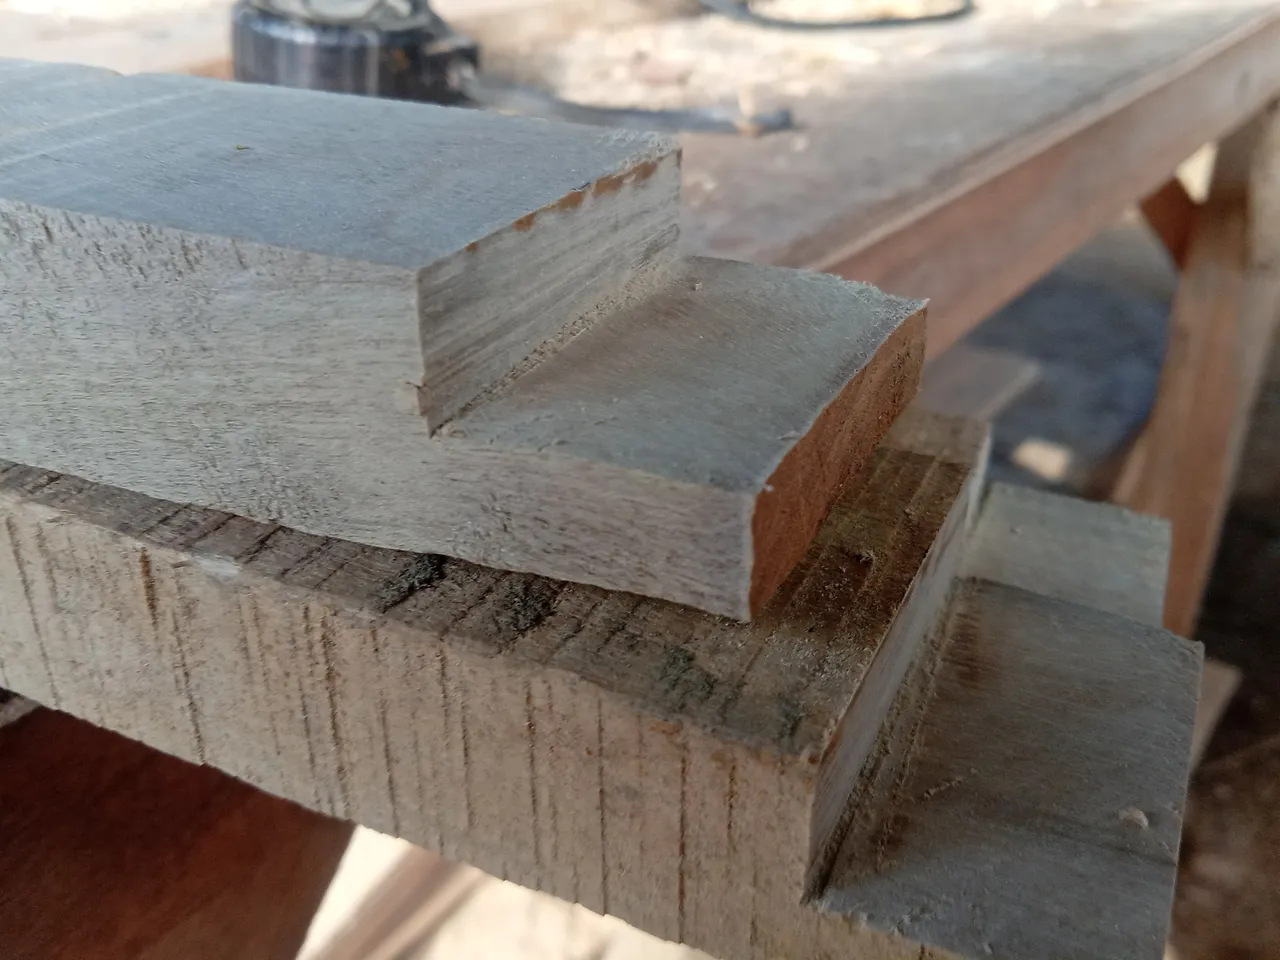
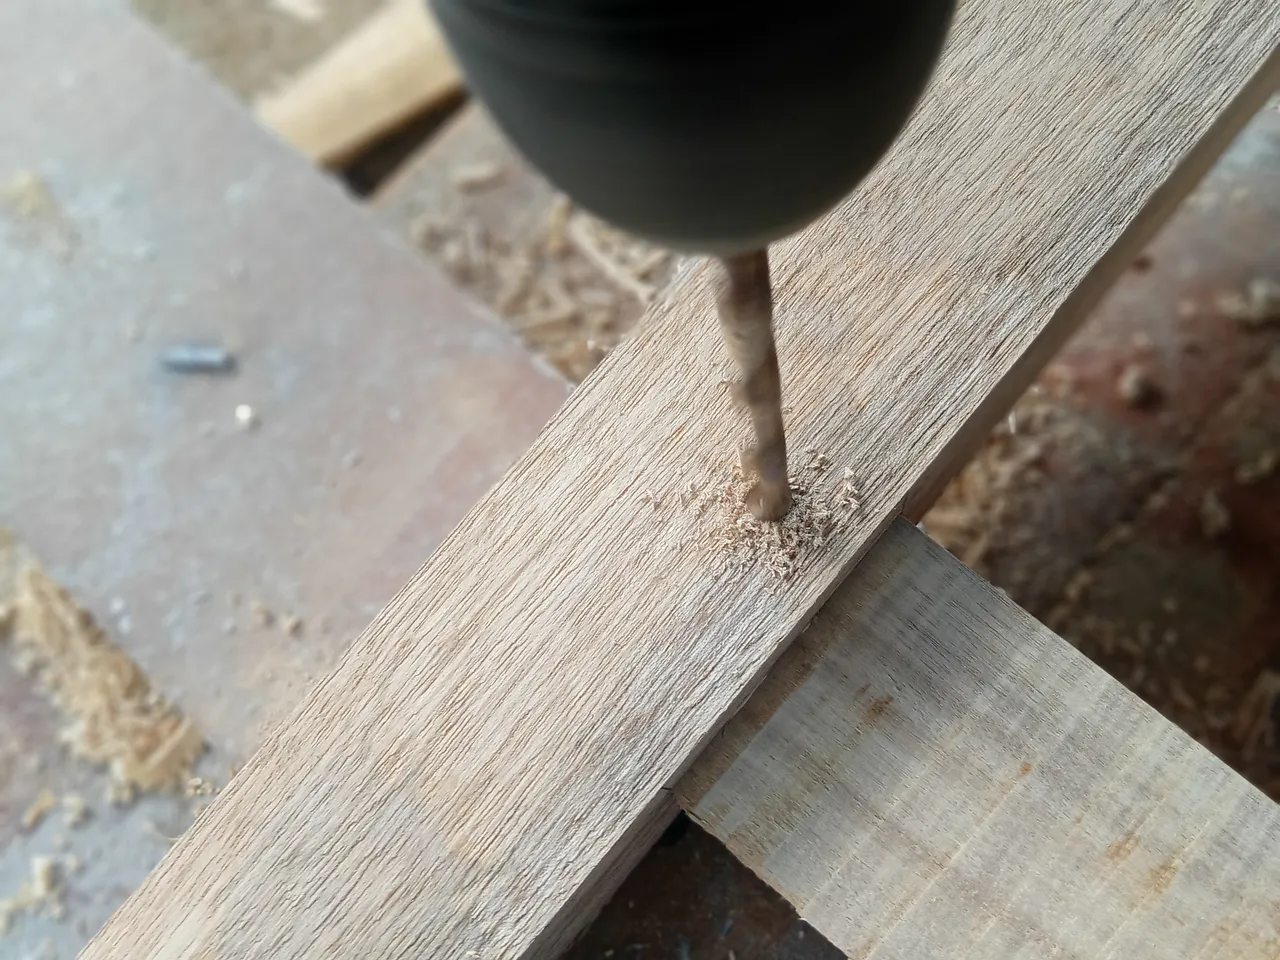
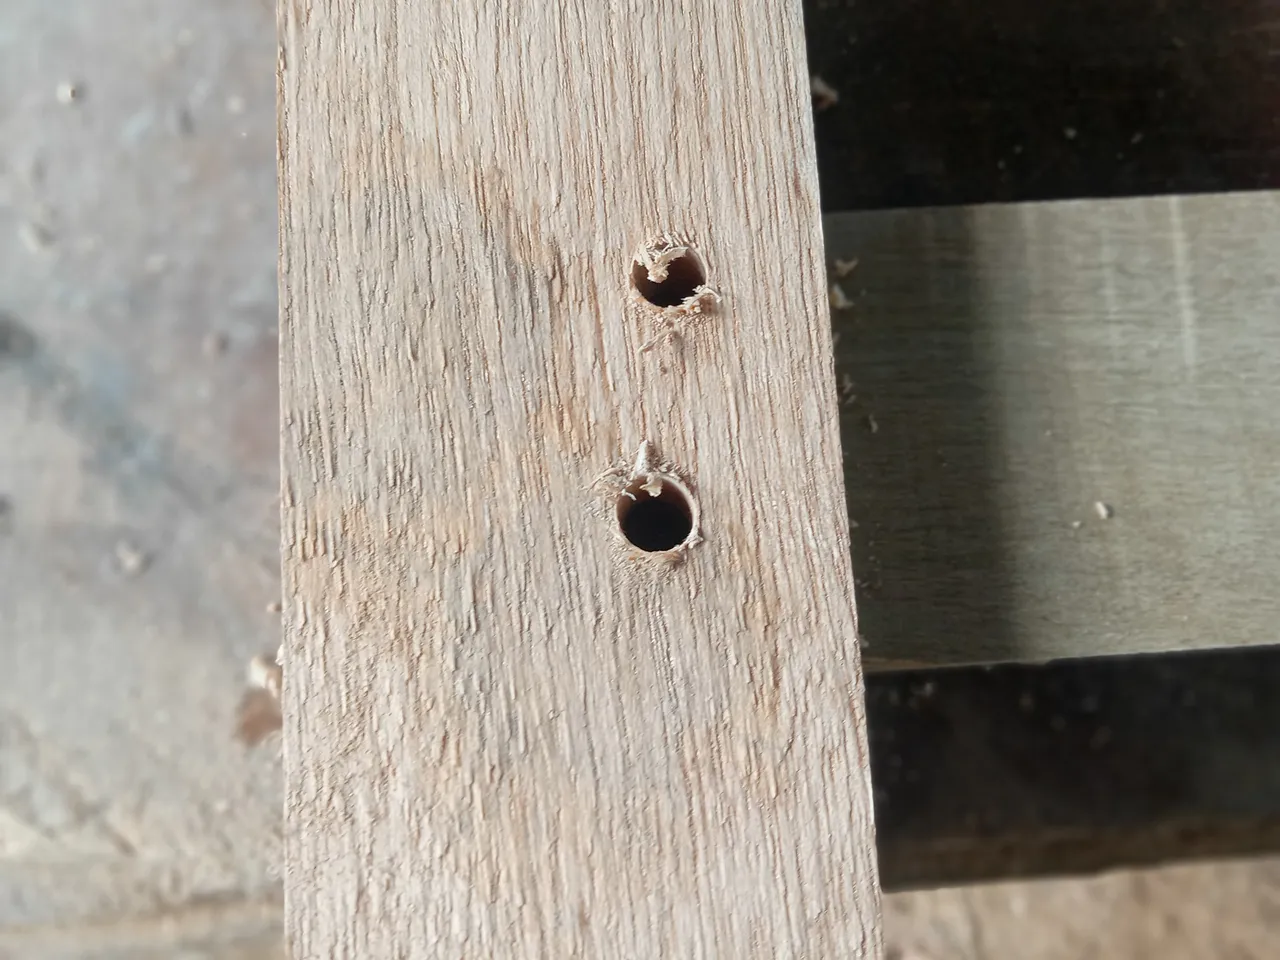
And then I assembled it, in this process I used a dowel that I made of 1 cm square wood and drilled it and added glue to make it more sturdy and strong.
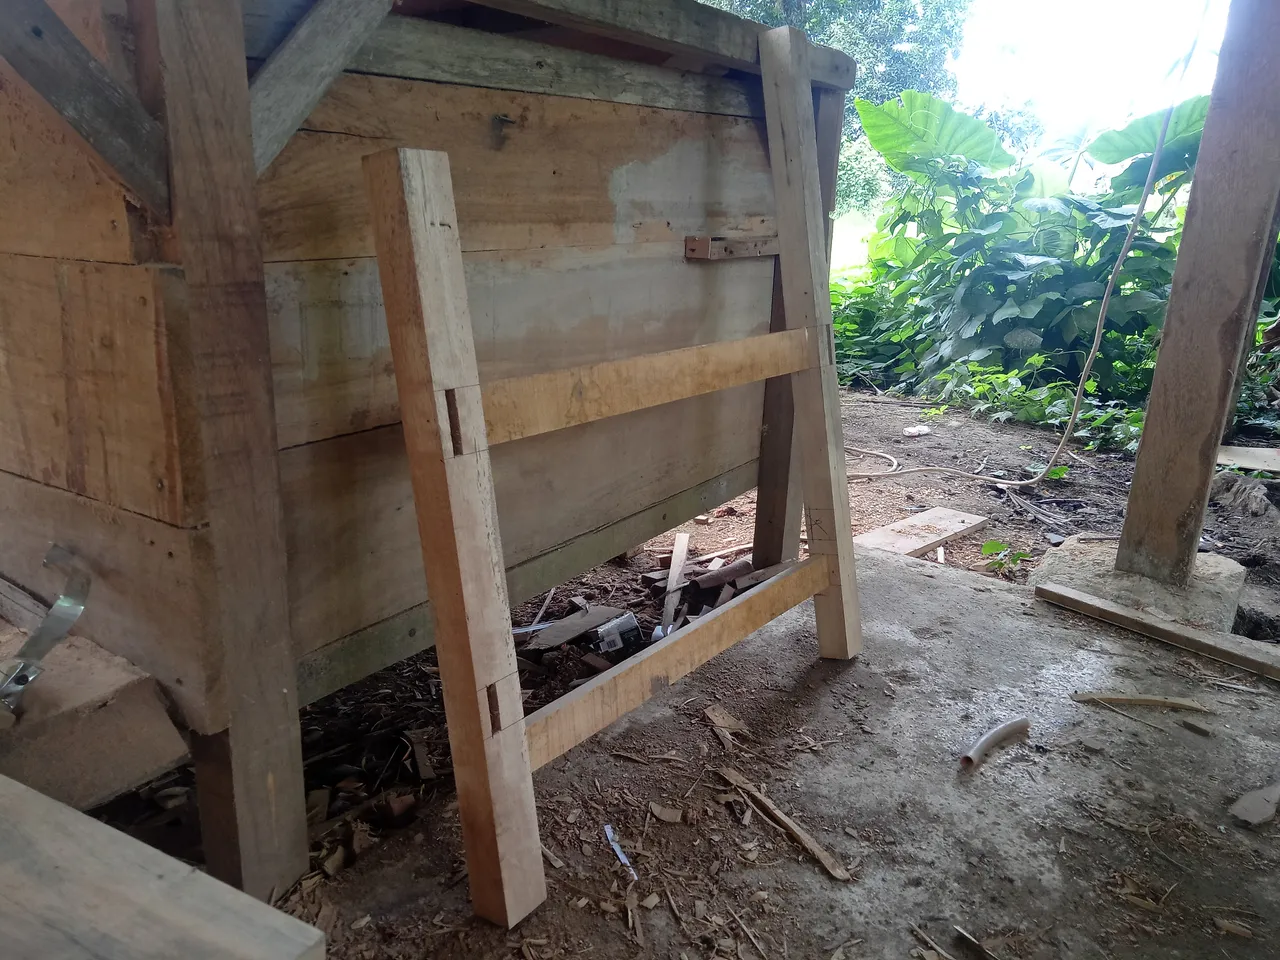
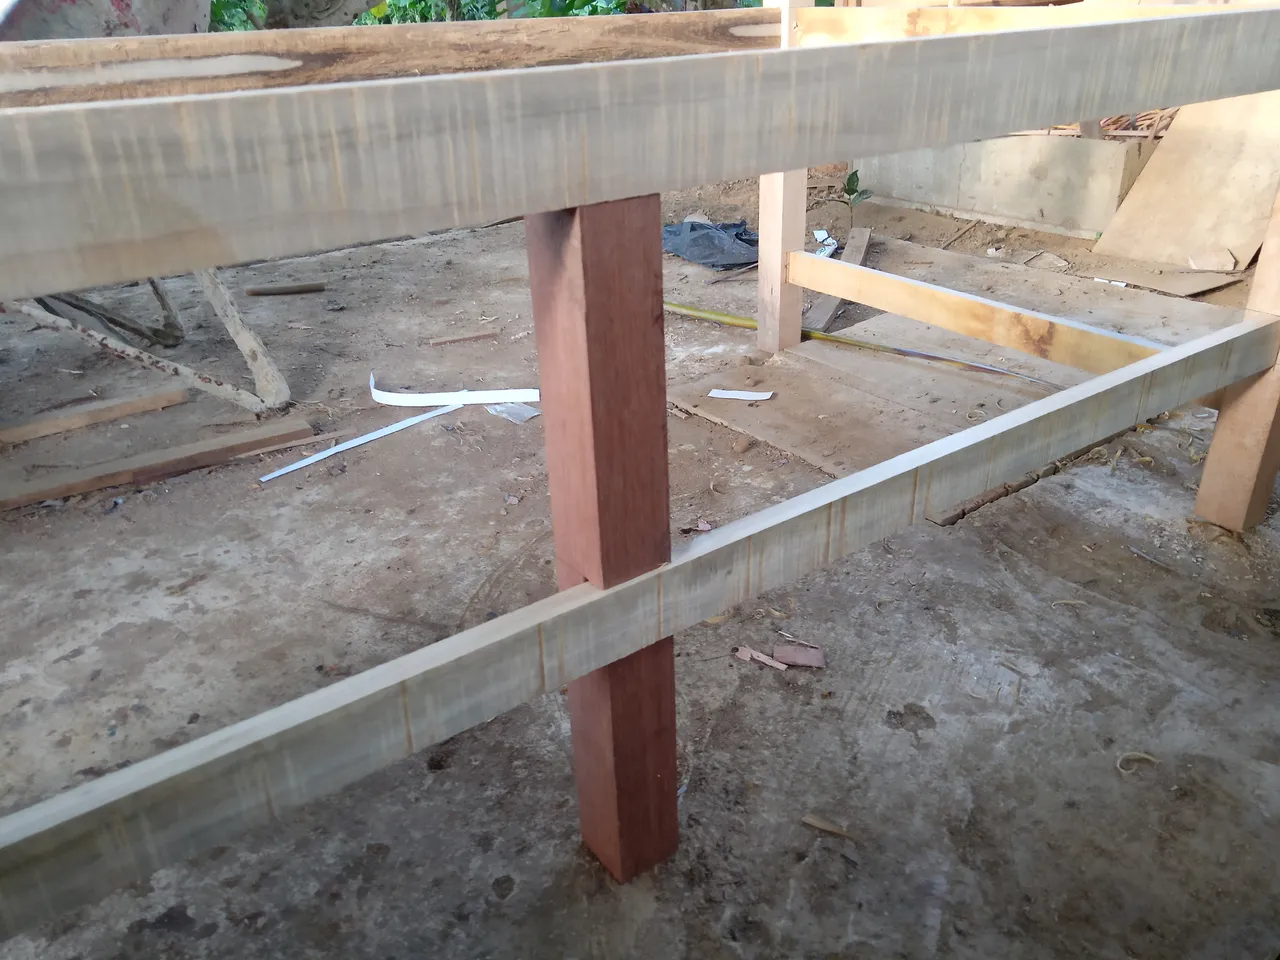
After the legs are assembled, then I unite the two legs (left and right) using wood that is the same size but 150cm long (because the length of the bench is 160cm) and the way to measure it is the same as above.
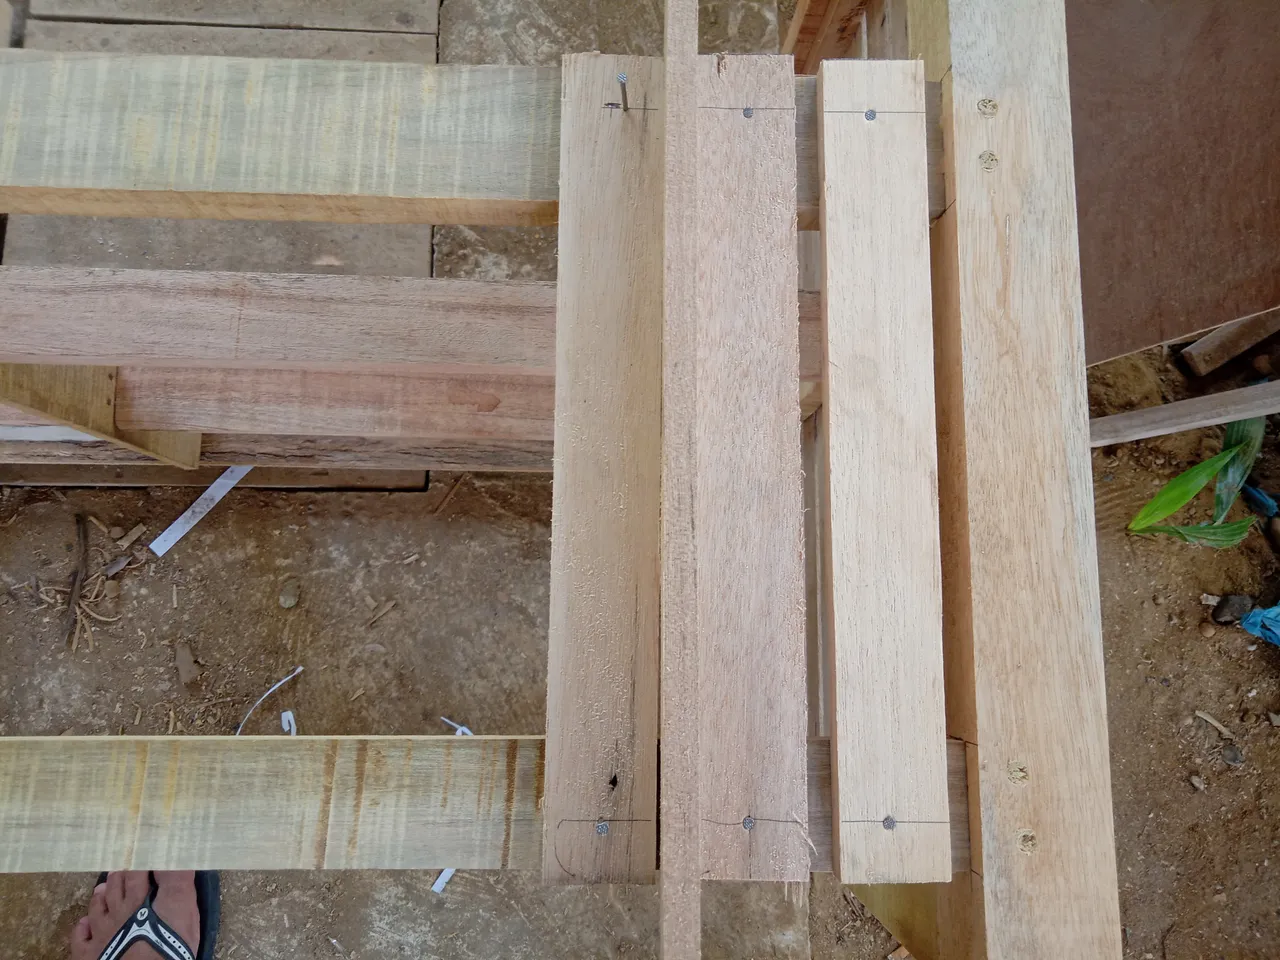
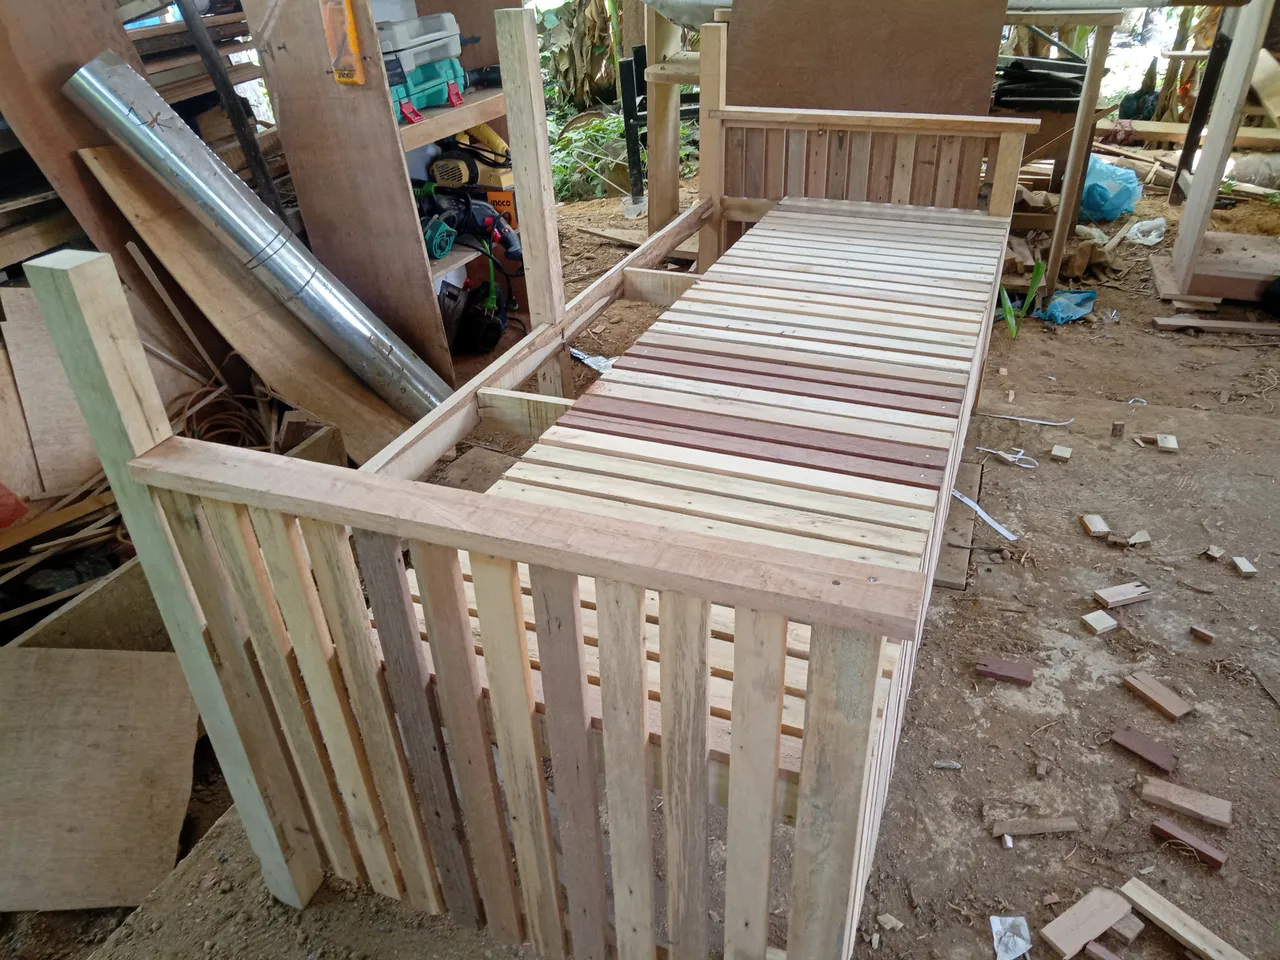
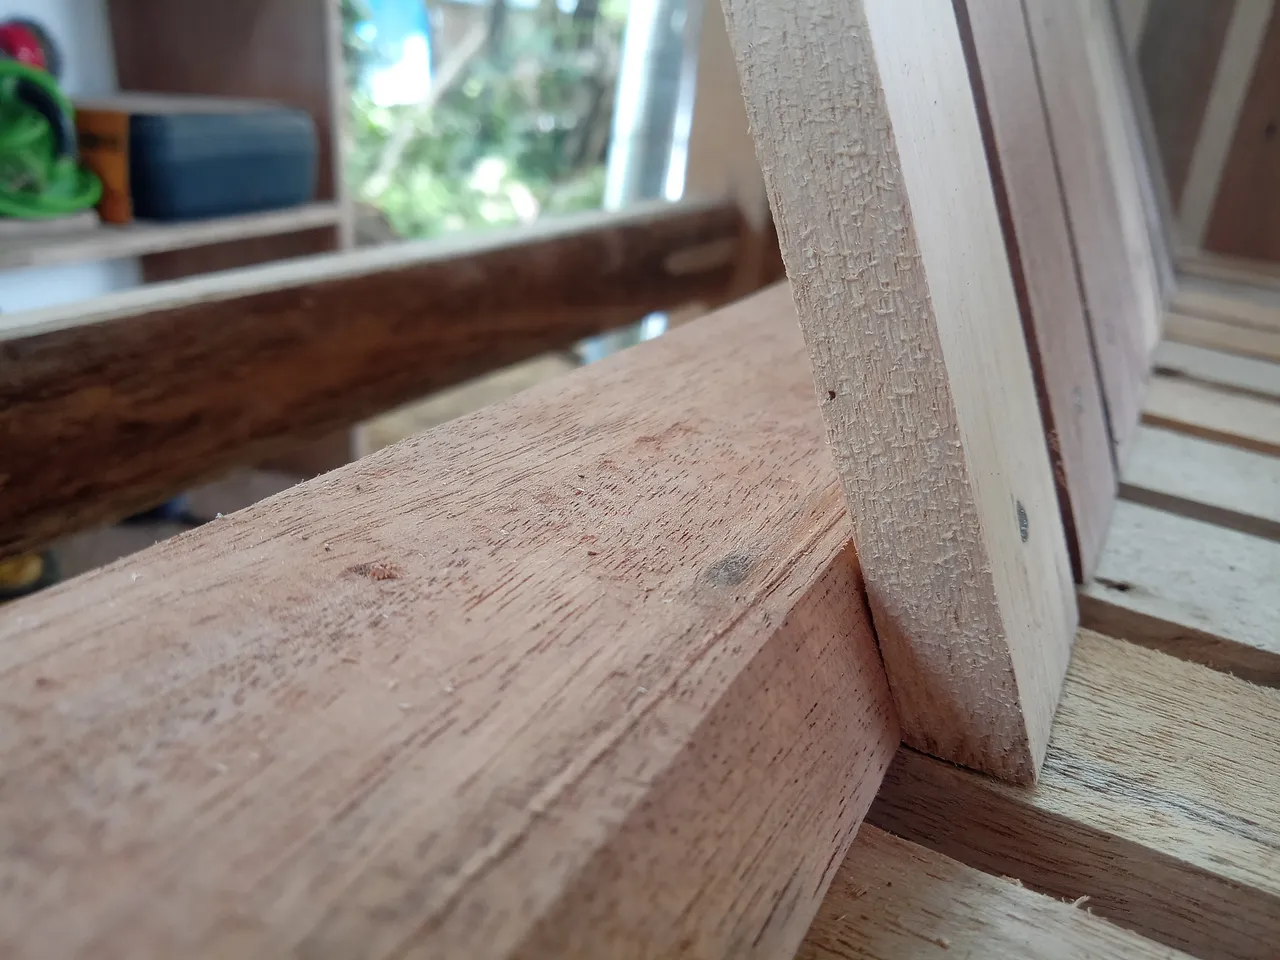
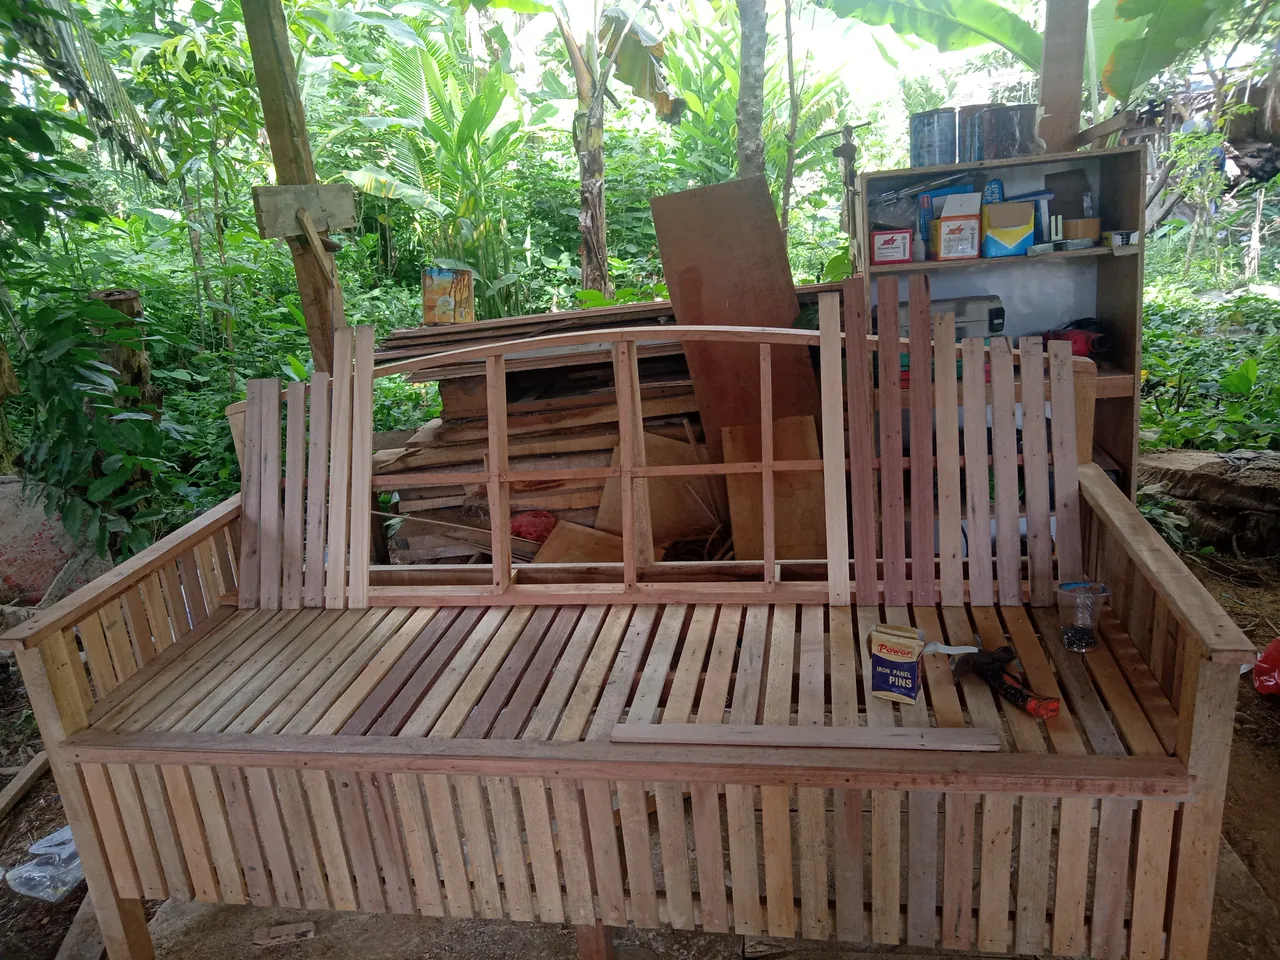
Then in the middle I added wood as a seat for the floor of the bench vertically and horizontally to make it more sturdy, and also I added the front and rear middle legs, for this leg I didn't make holes like the left and right legs, but only carved them according to the thickness of the connecting wood of table leg.
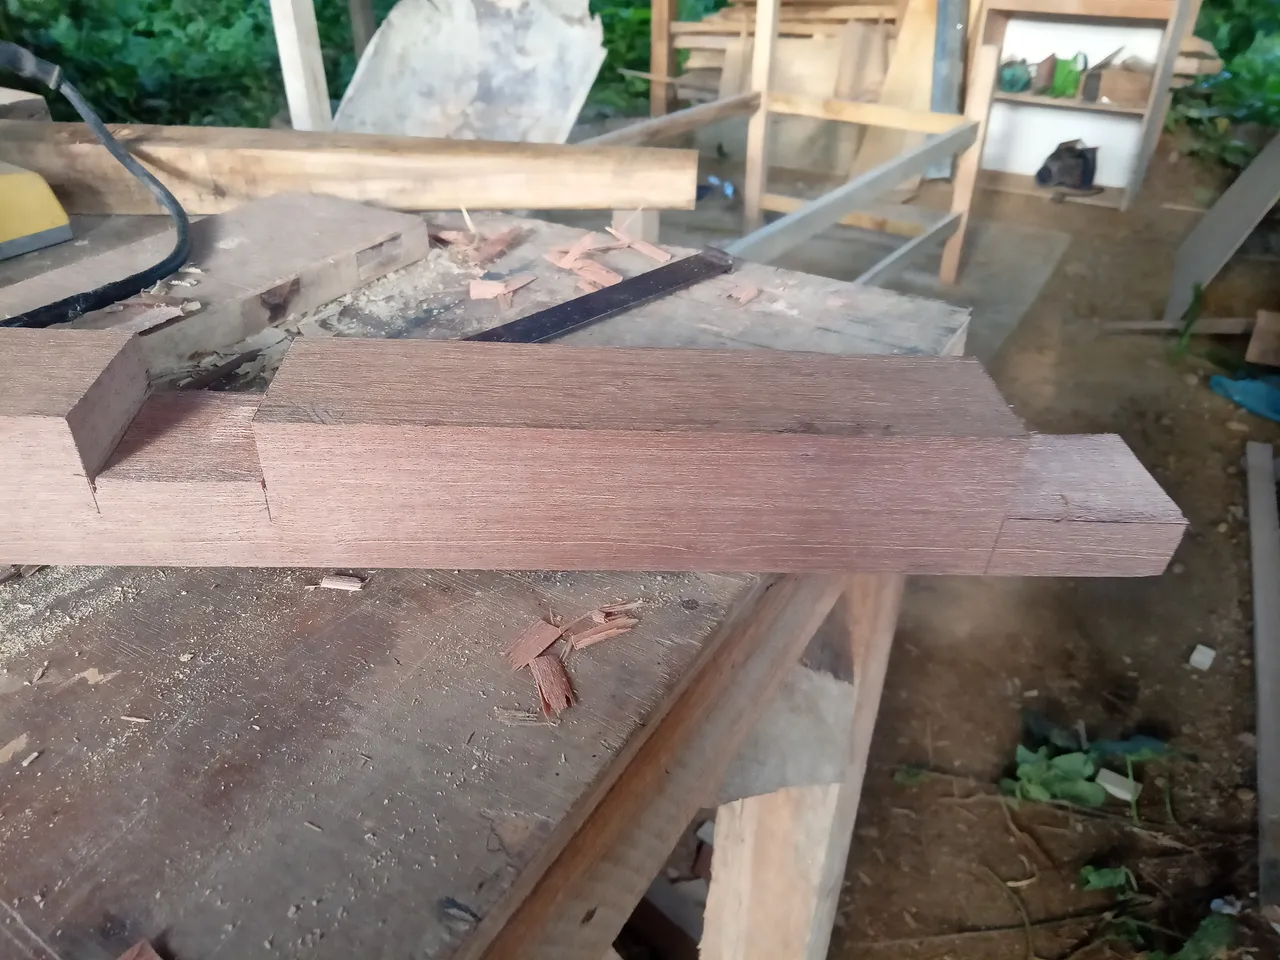
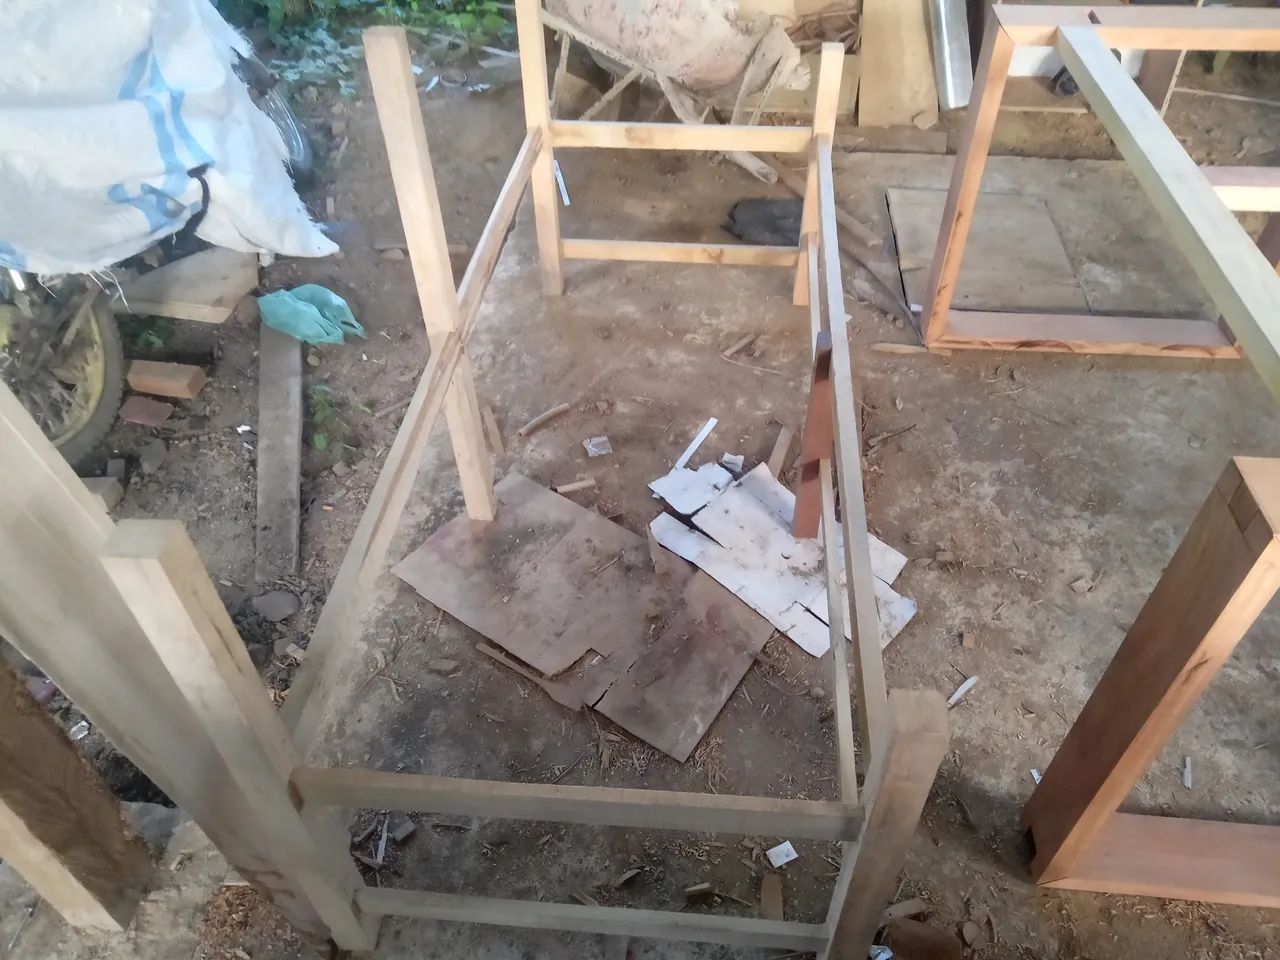
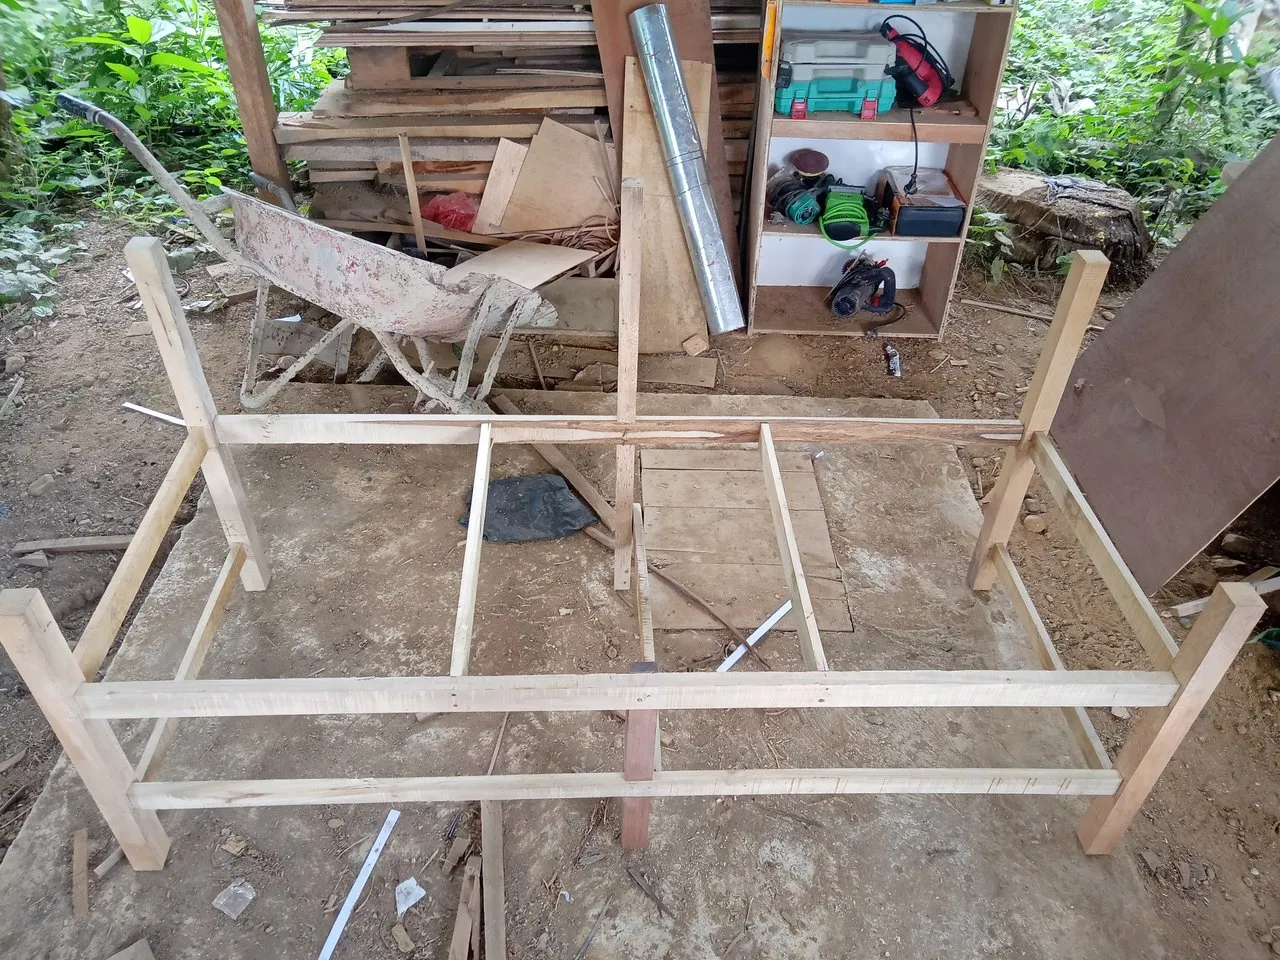
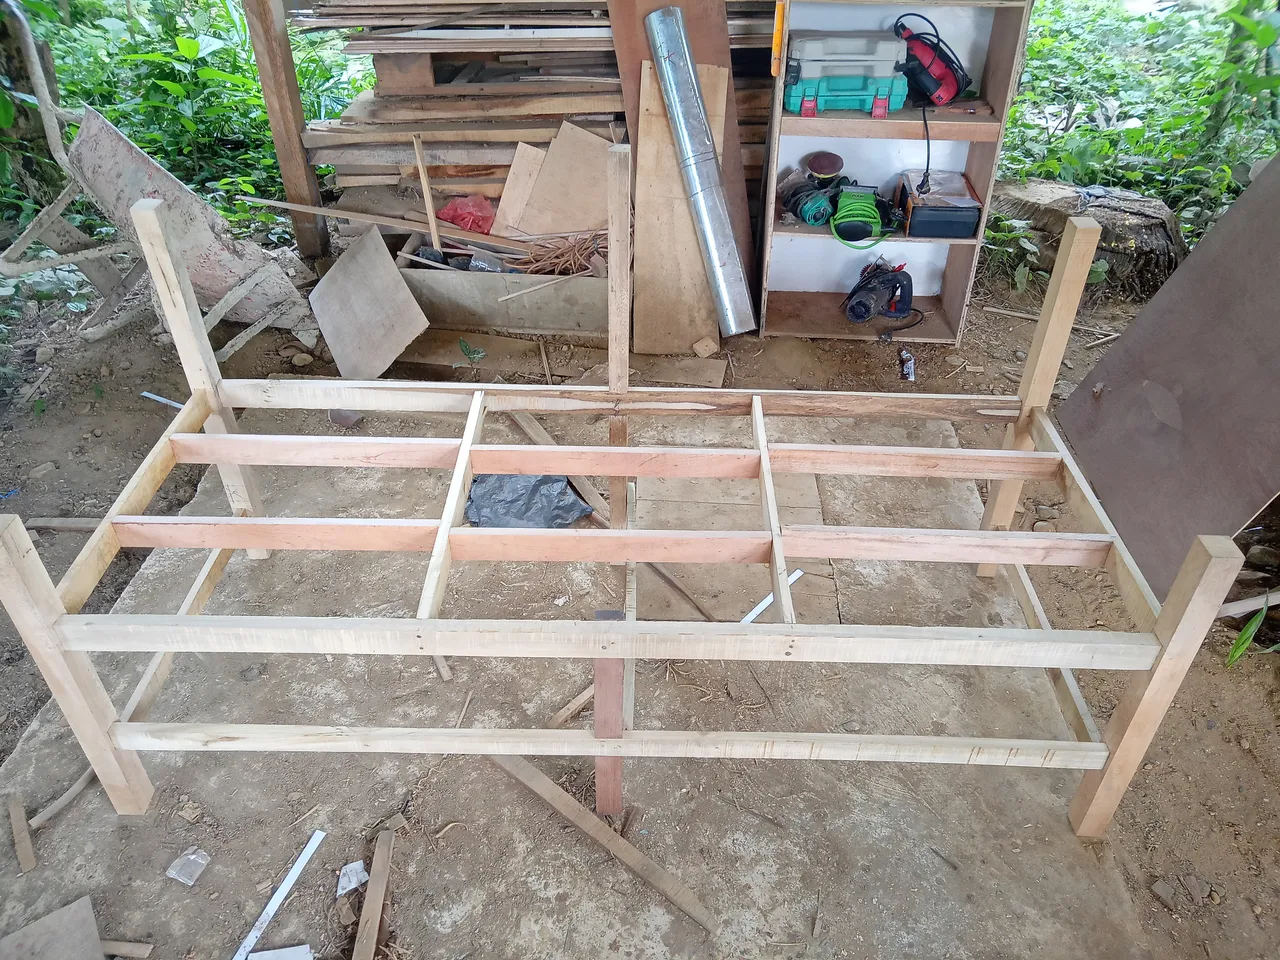
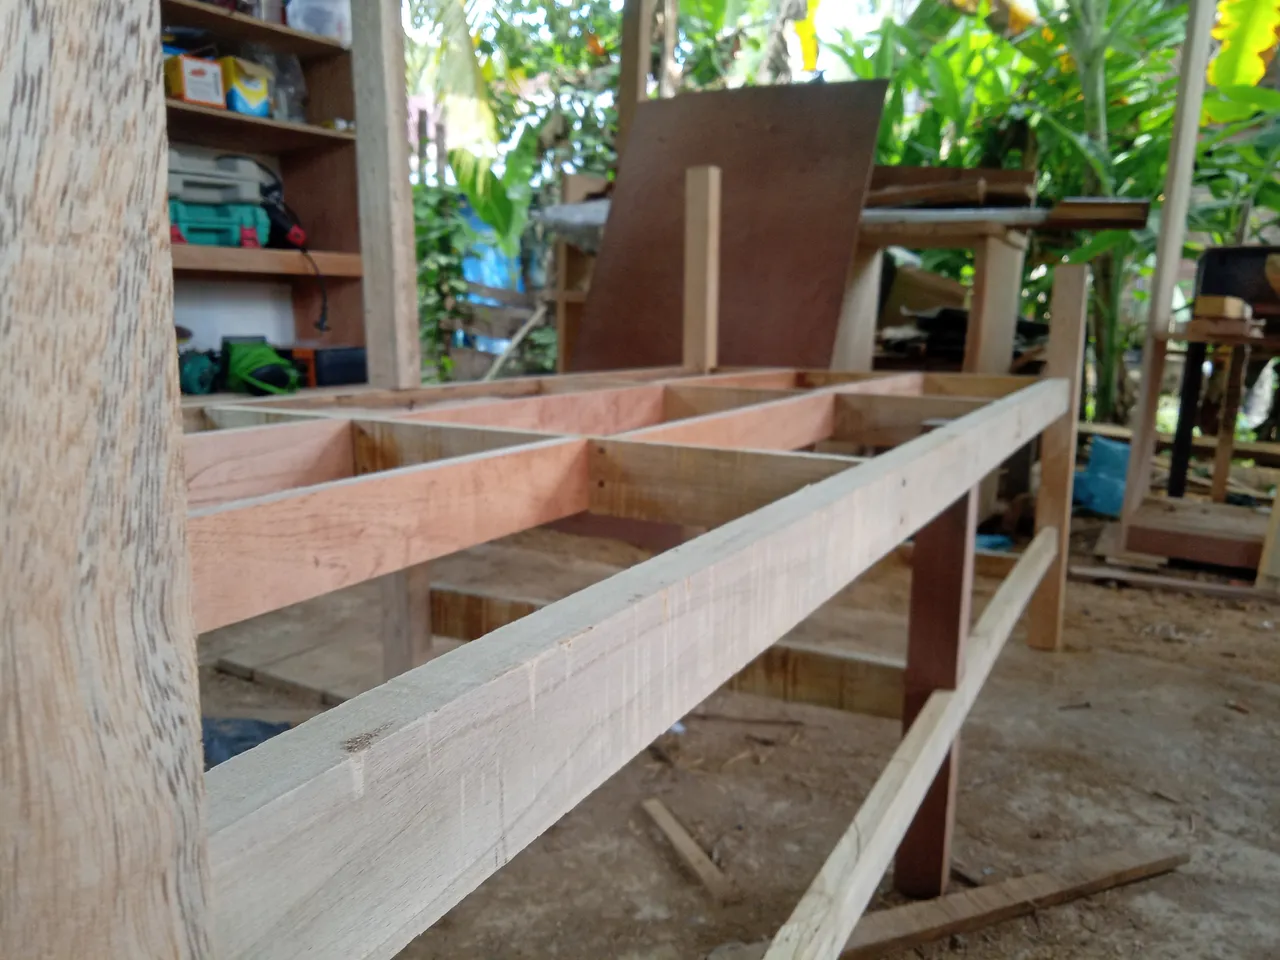
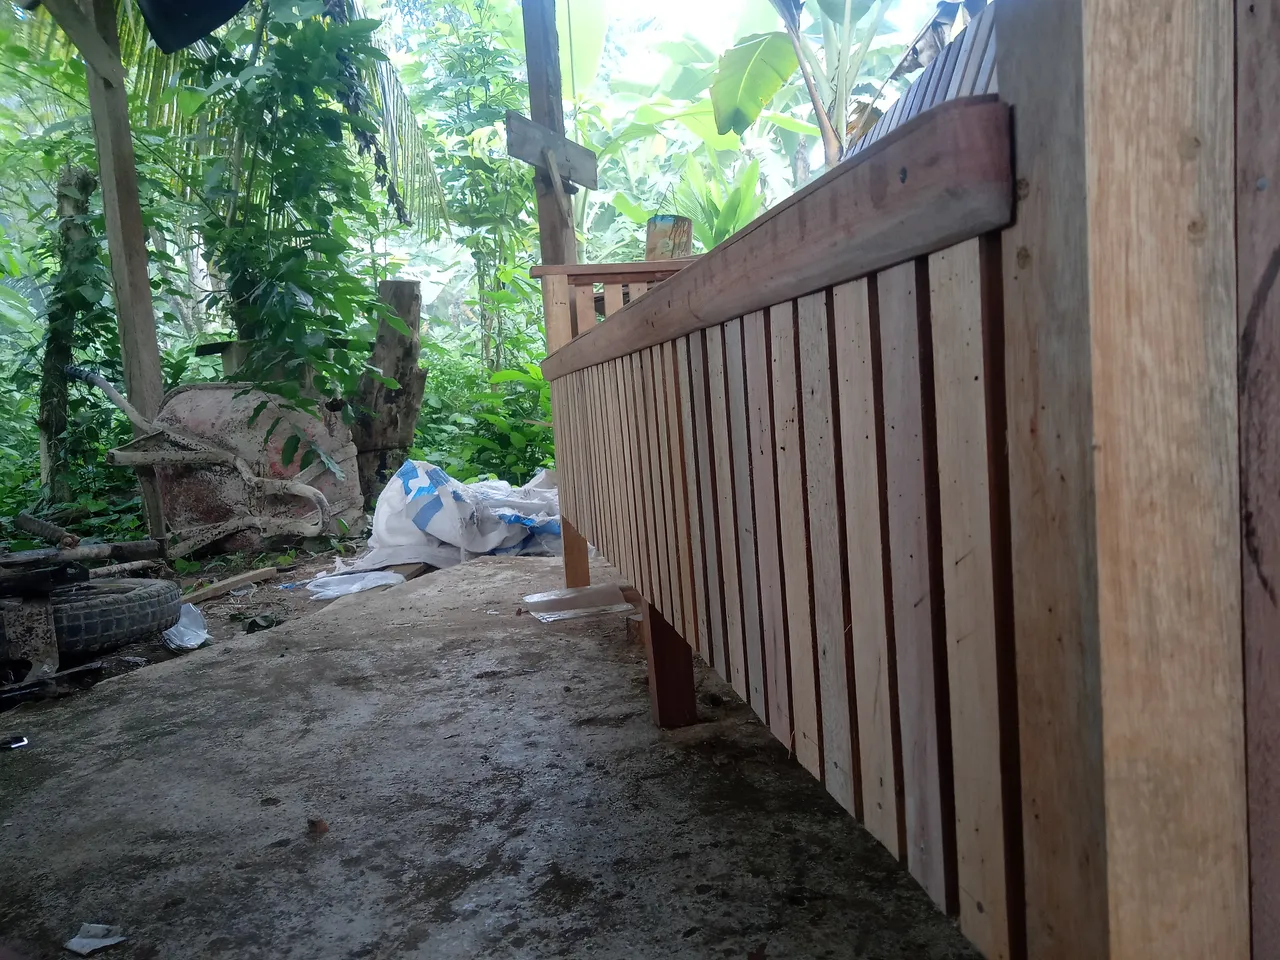
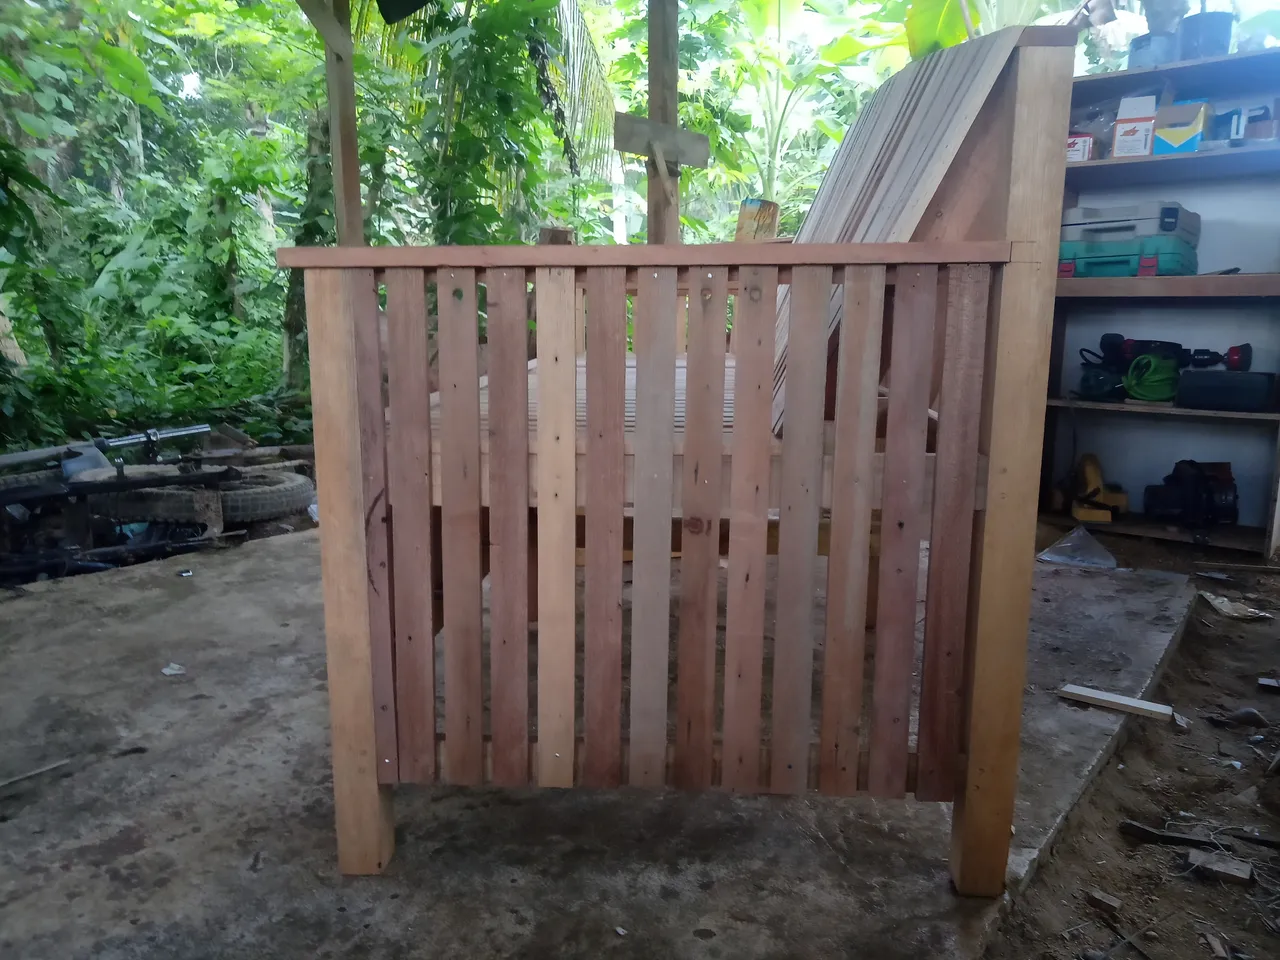
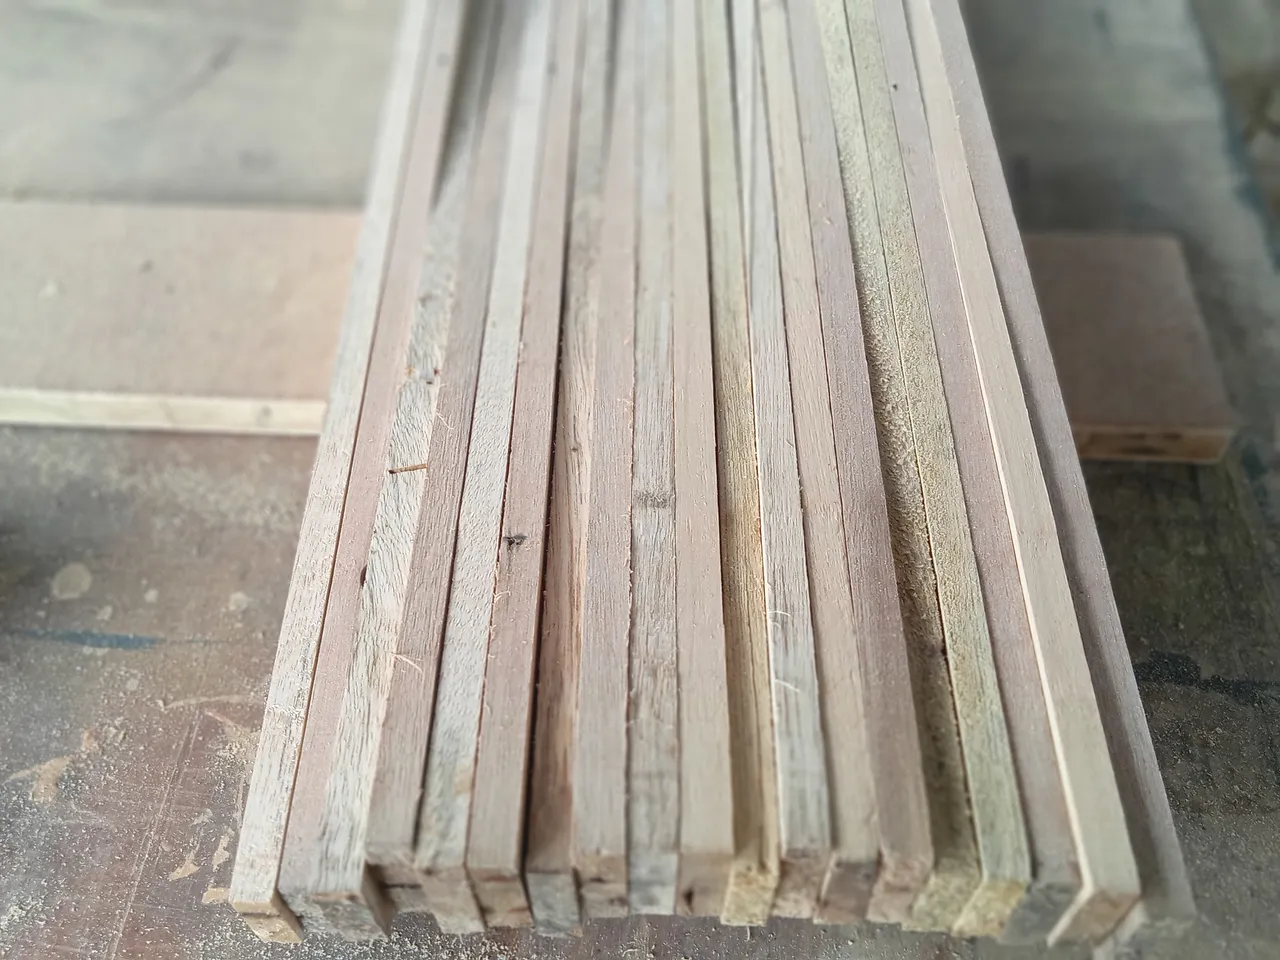
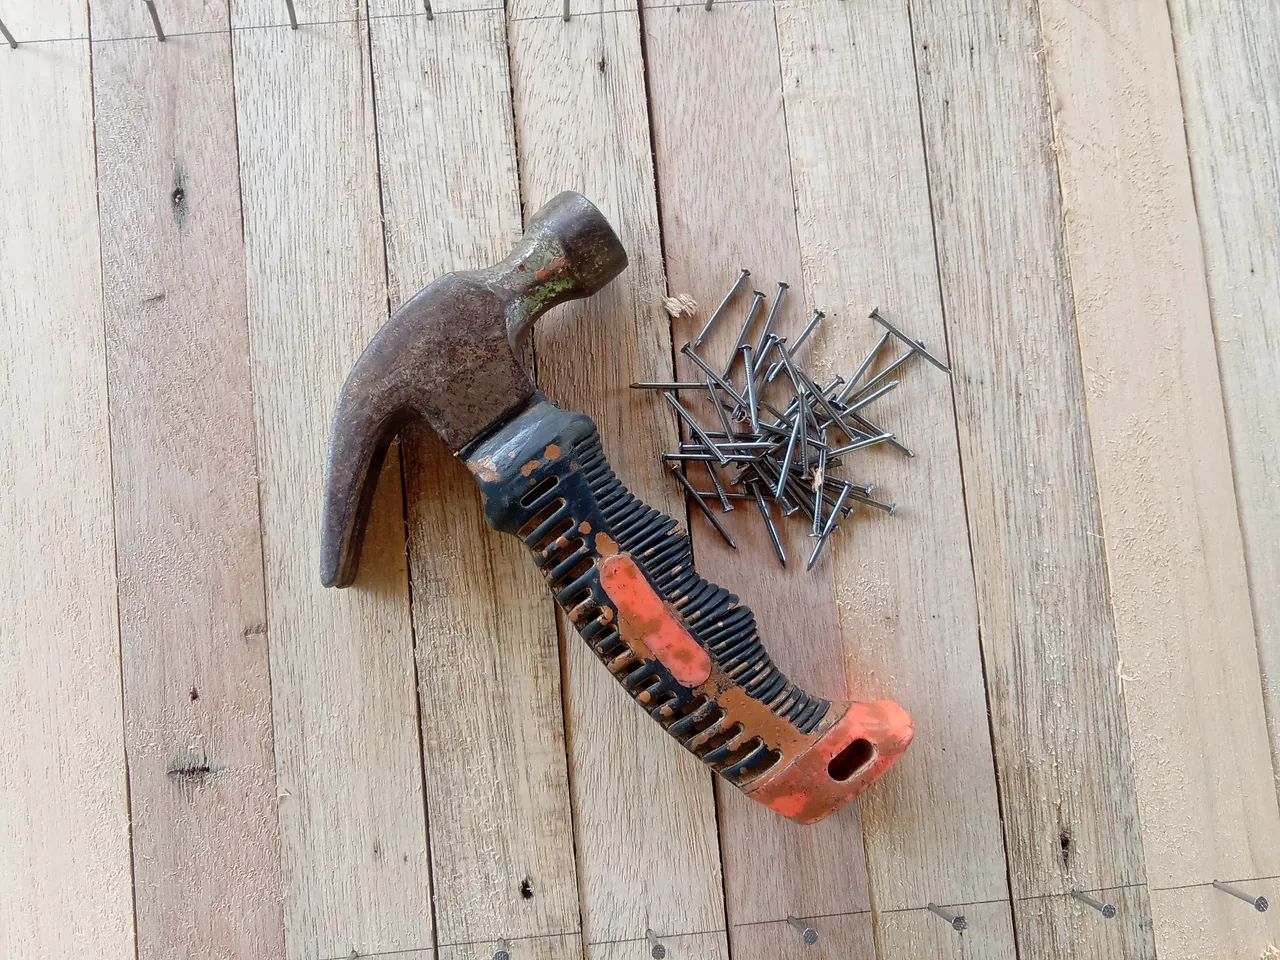
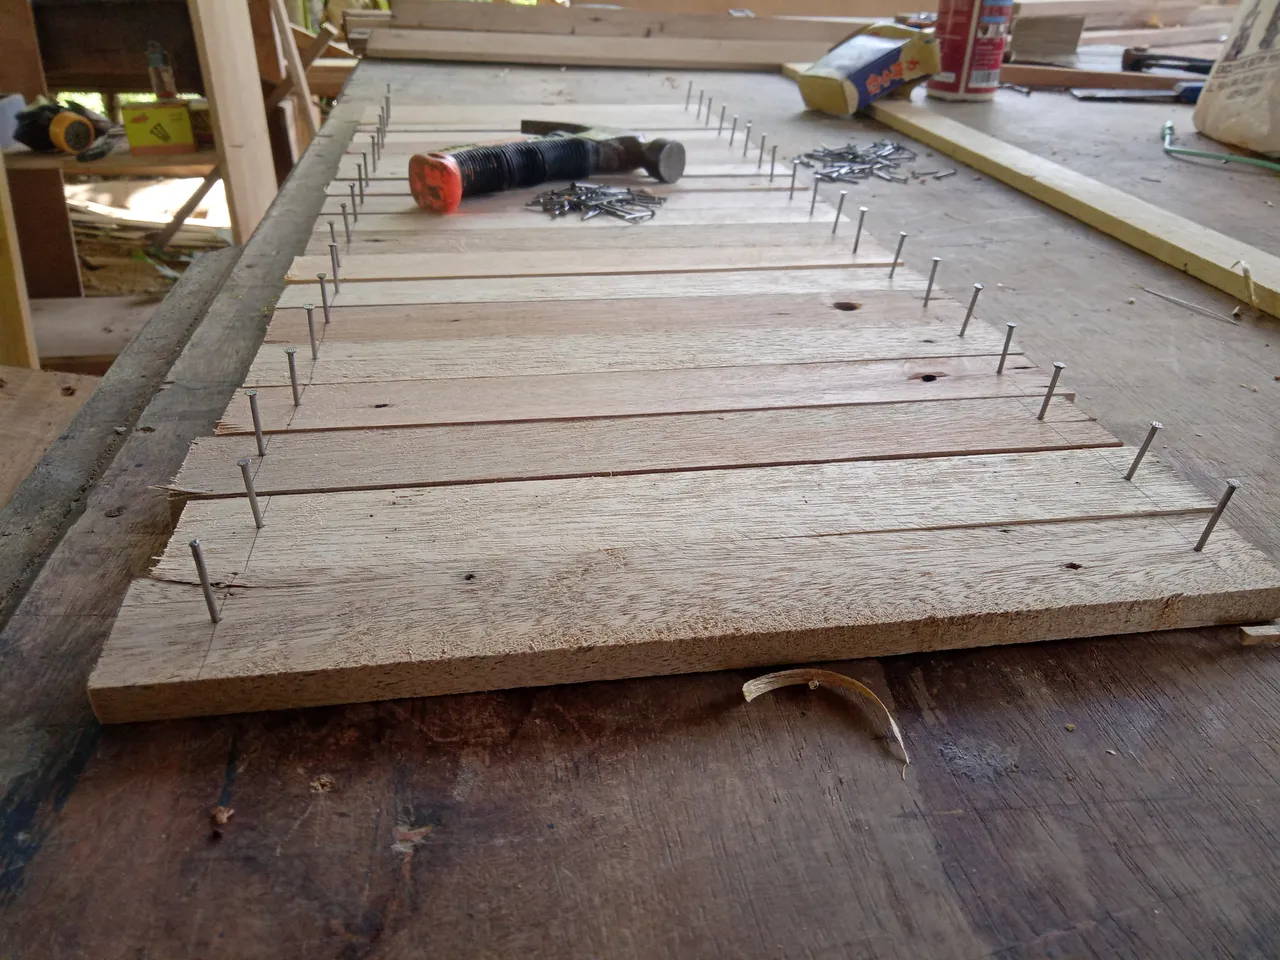
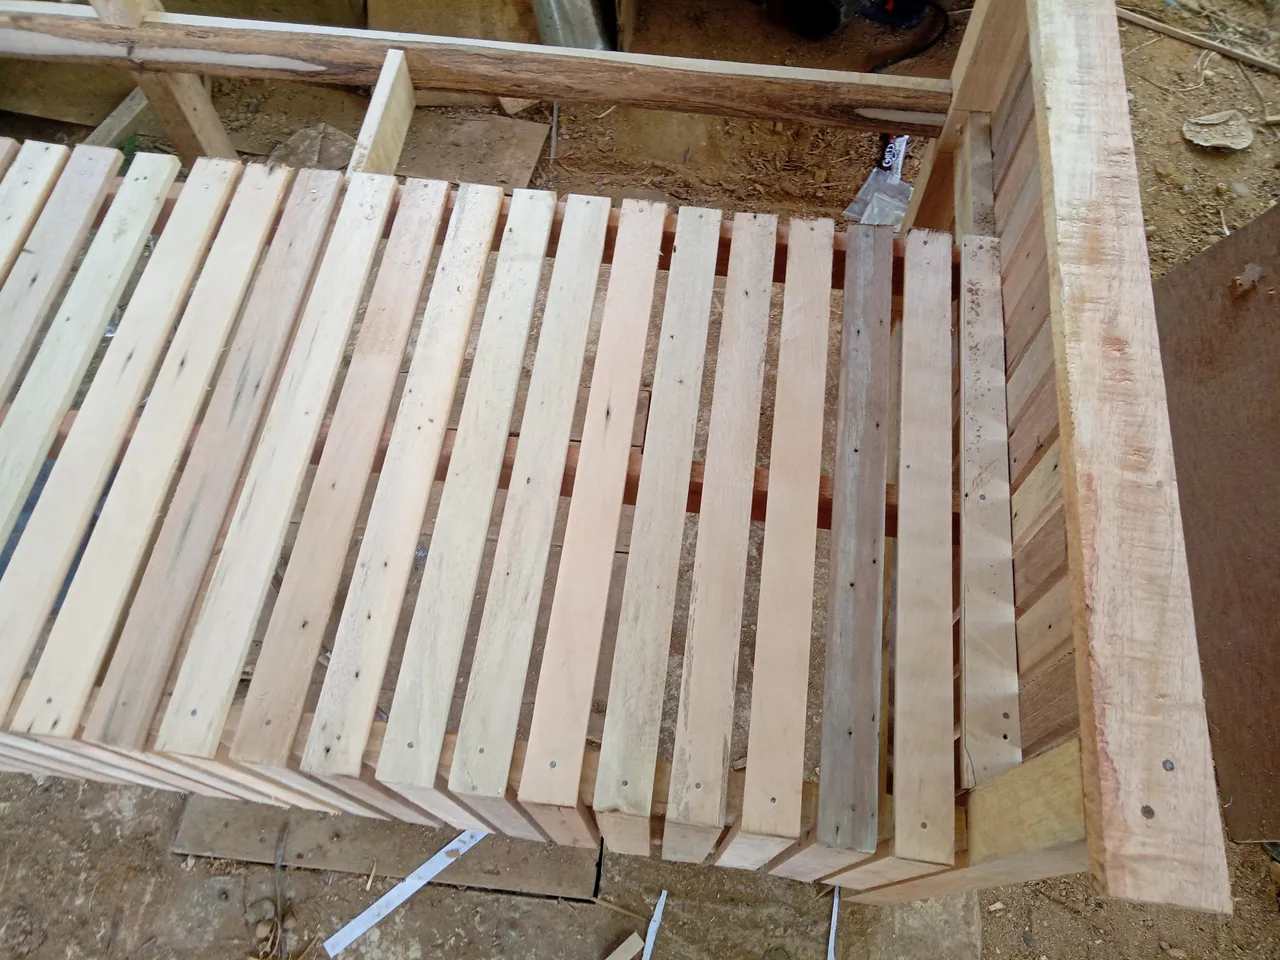
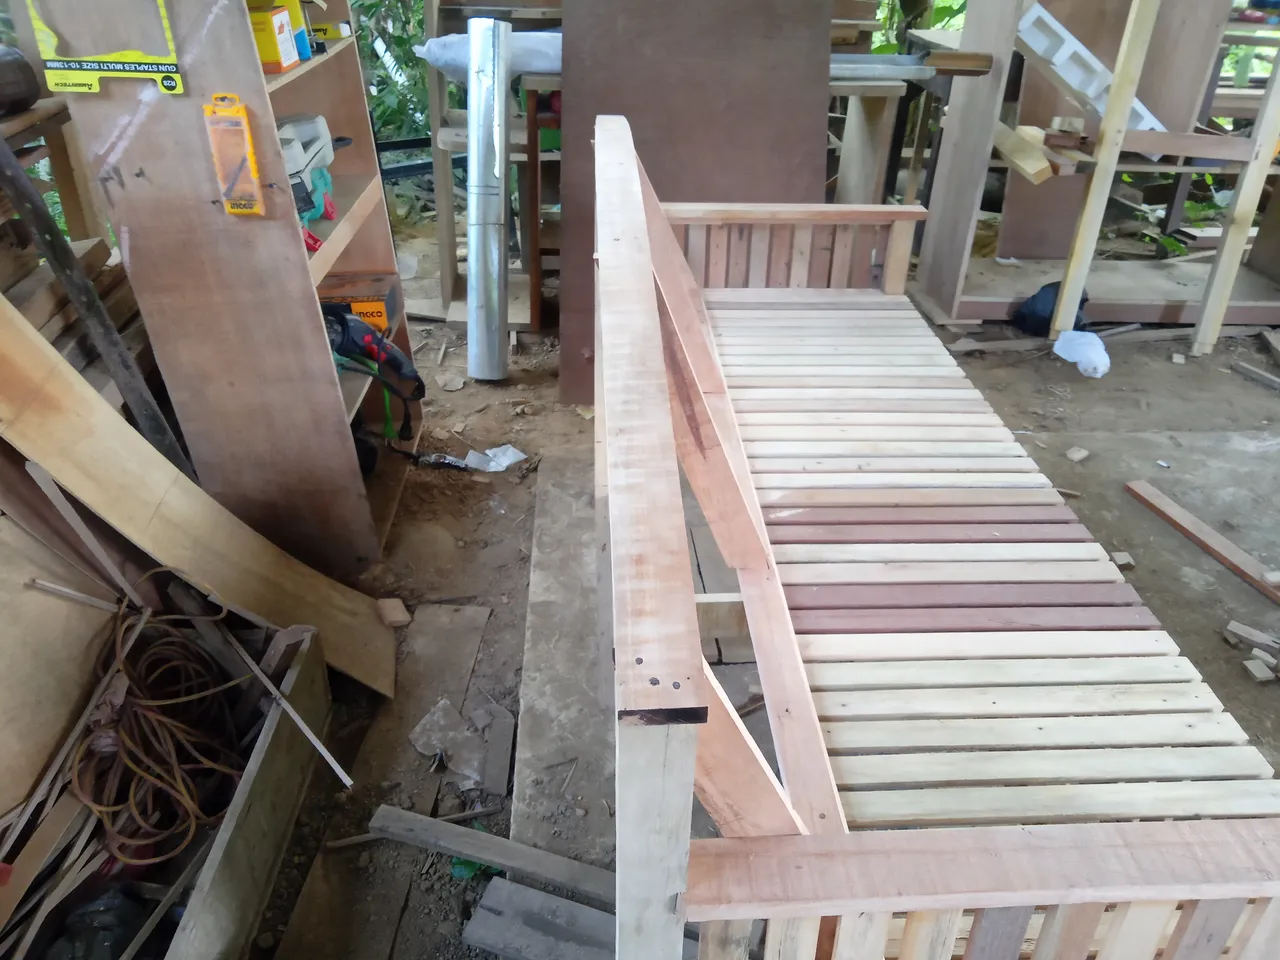
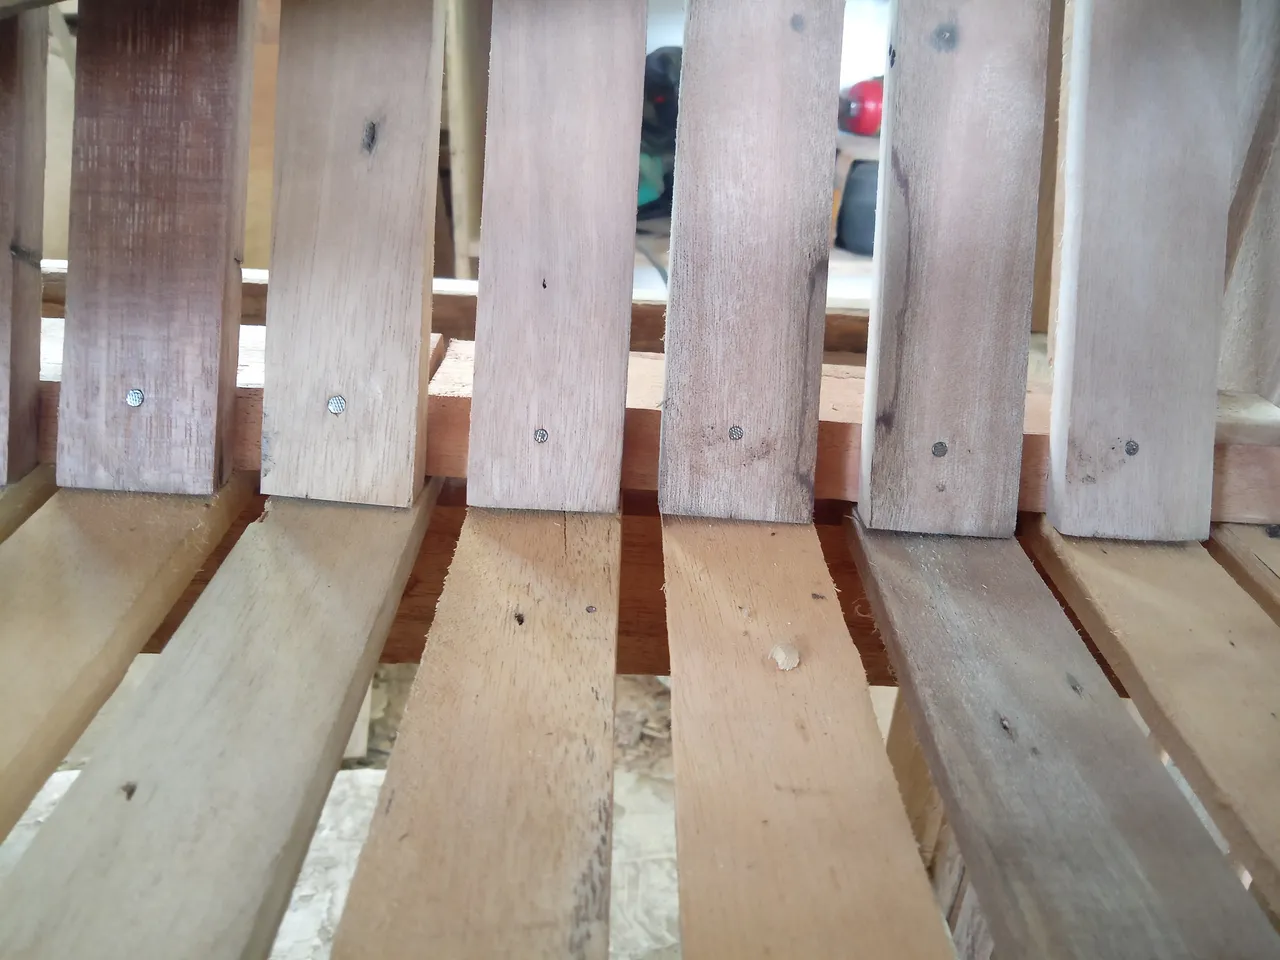
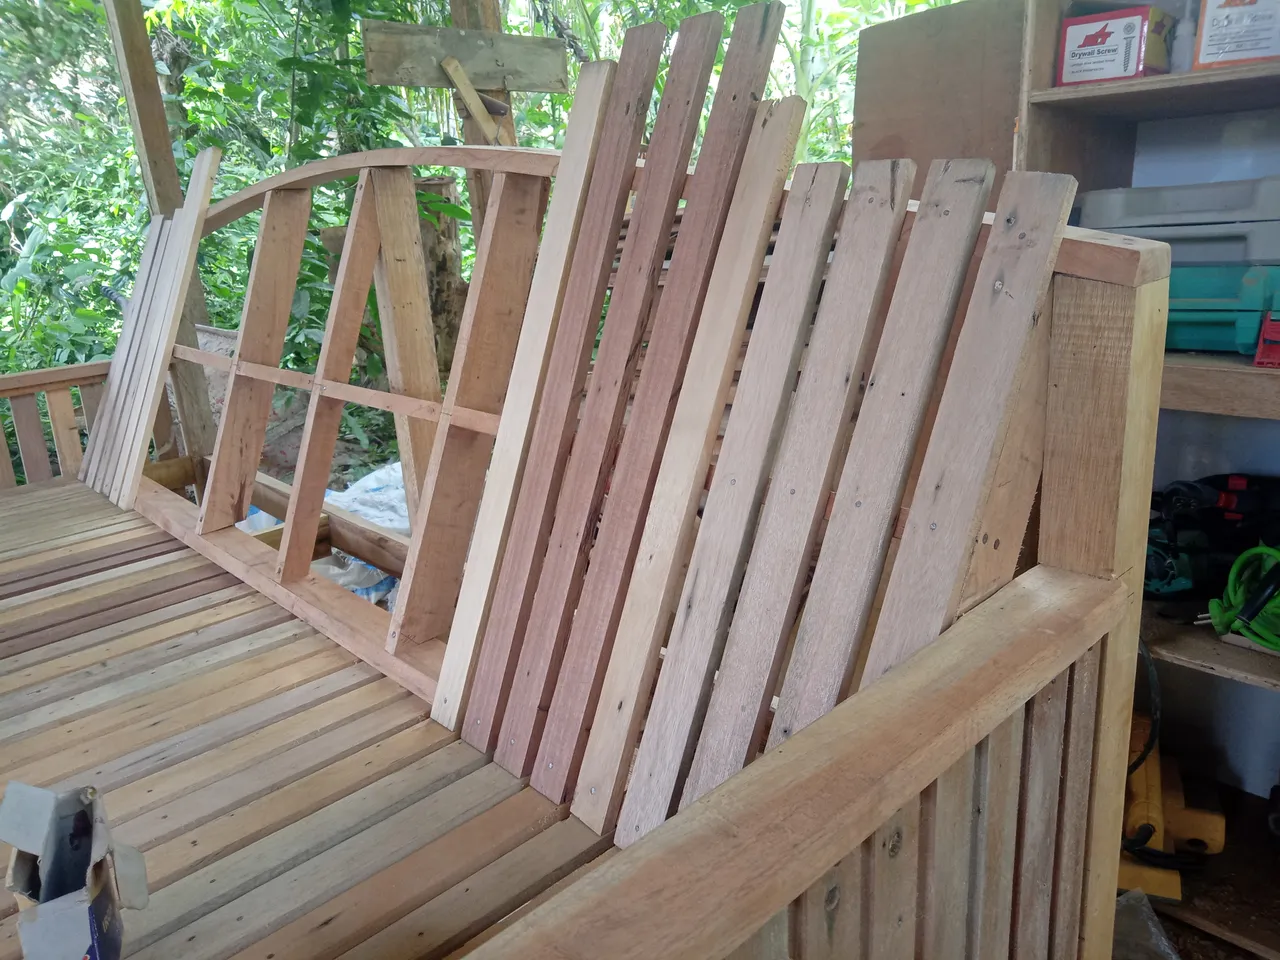
After I assembled the frame of the bench, then I started gluing wood with a thickness of 1 cm and a width of 3 cm using nails on the left and right and front and also wood of this size as the floor and back of this bench,
The distance between each other is 1 cm.
As for the different lengths, for the left and right sides the length is 50cm and for the front side it is 30cm and for the floor is 48cm, of course you ask why the floor size is like that, while the width of the bench is 60cm???
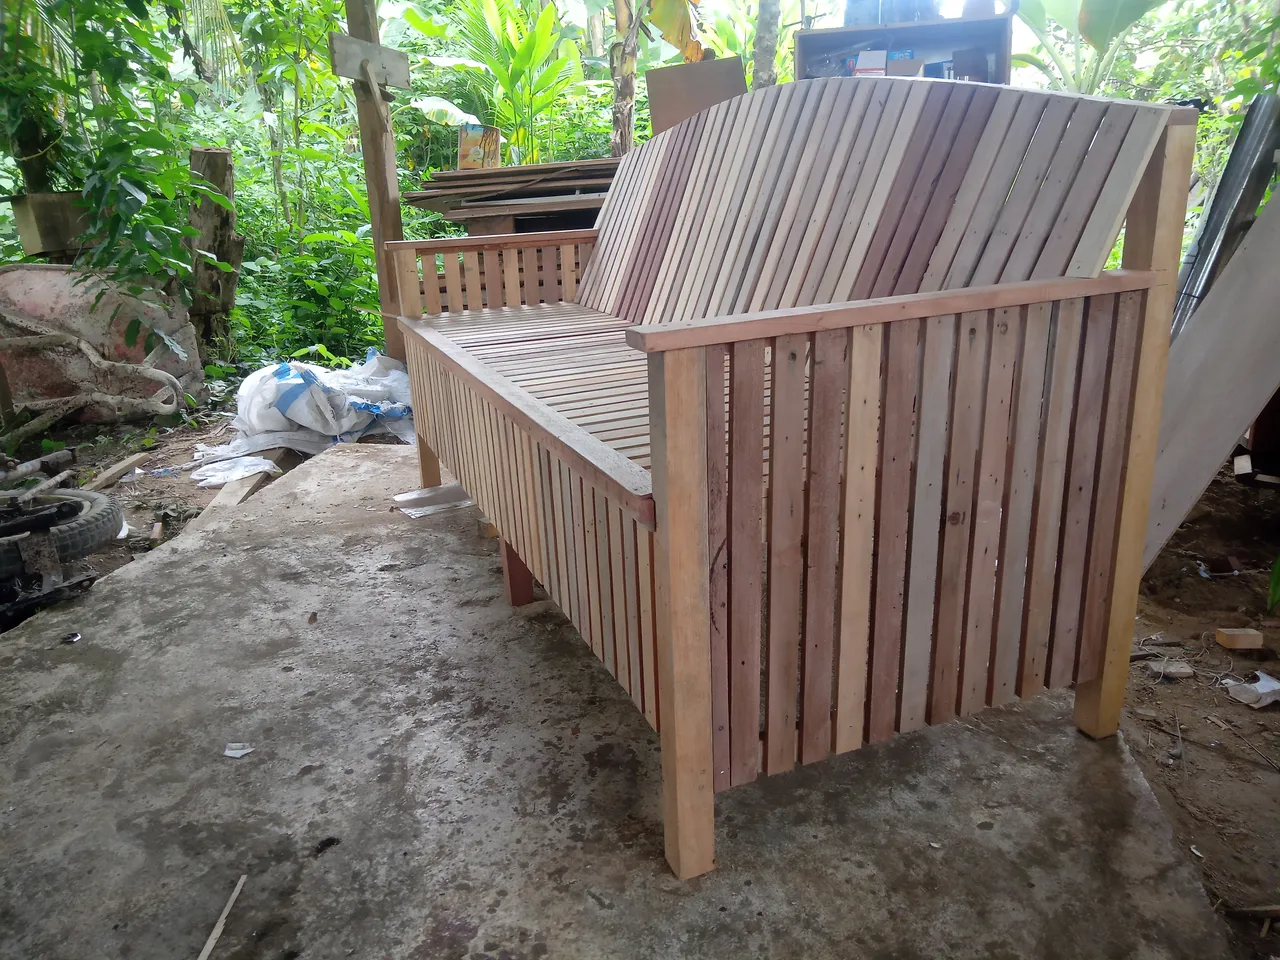
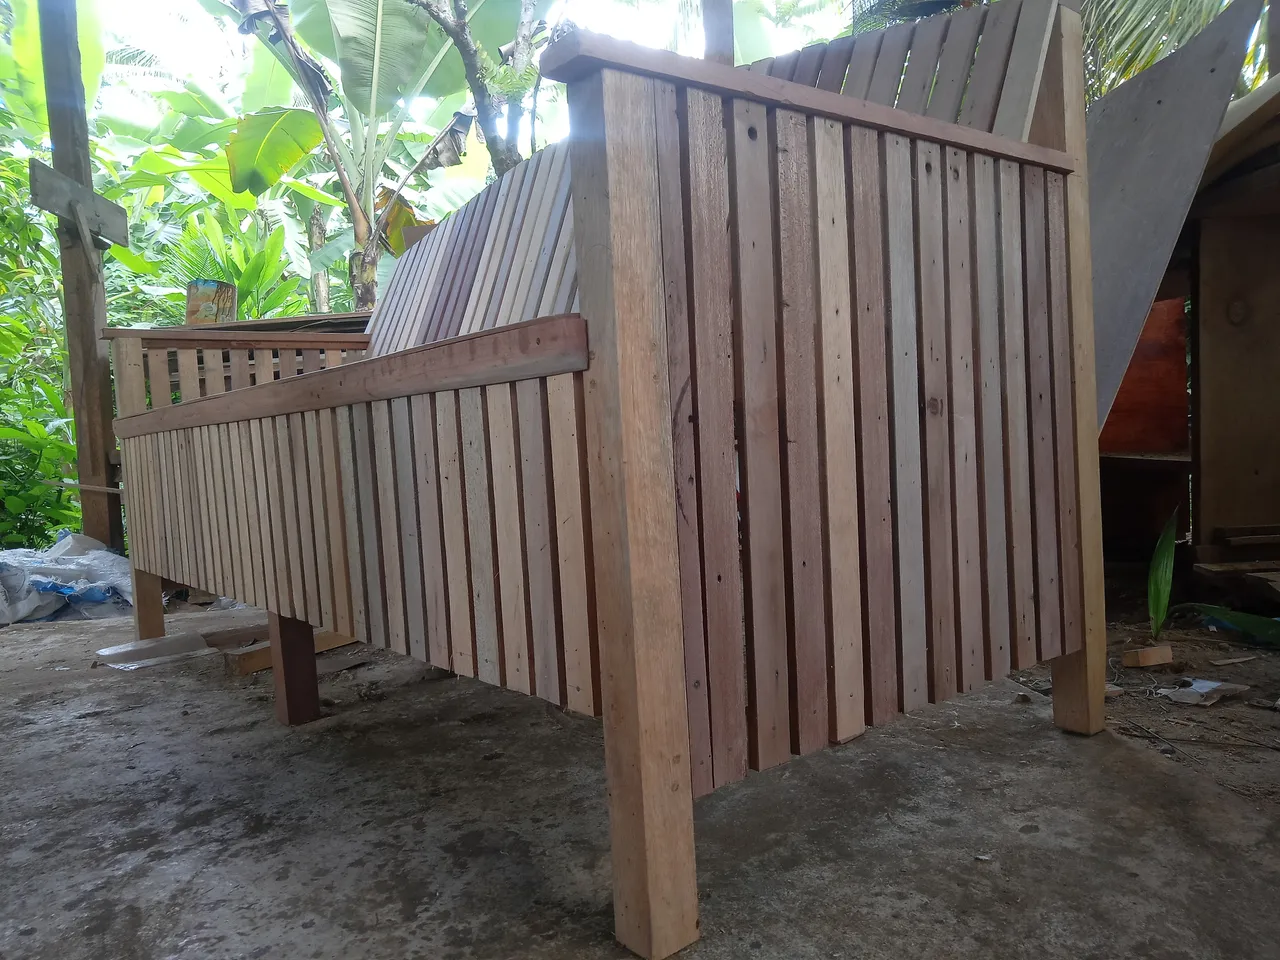
Because for the backrest, I didn't make it straight but slightly tilted about 30 degrees, I did this to make it more comfortable when relaxing.

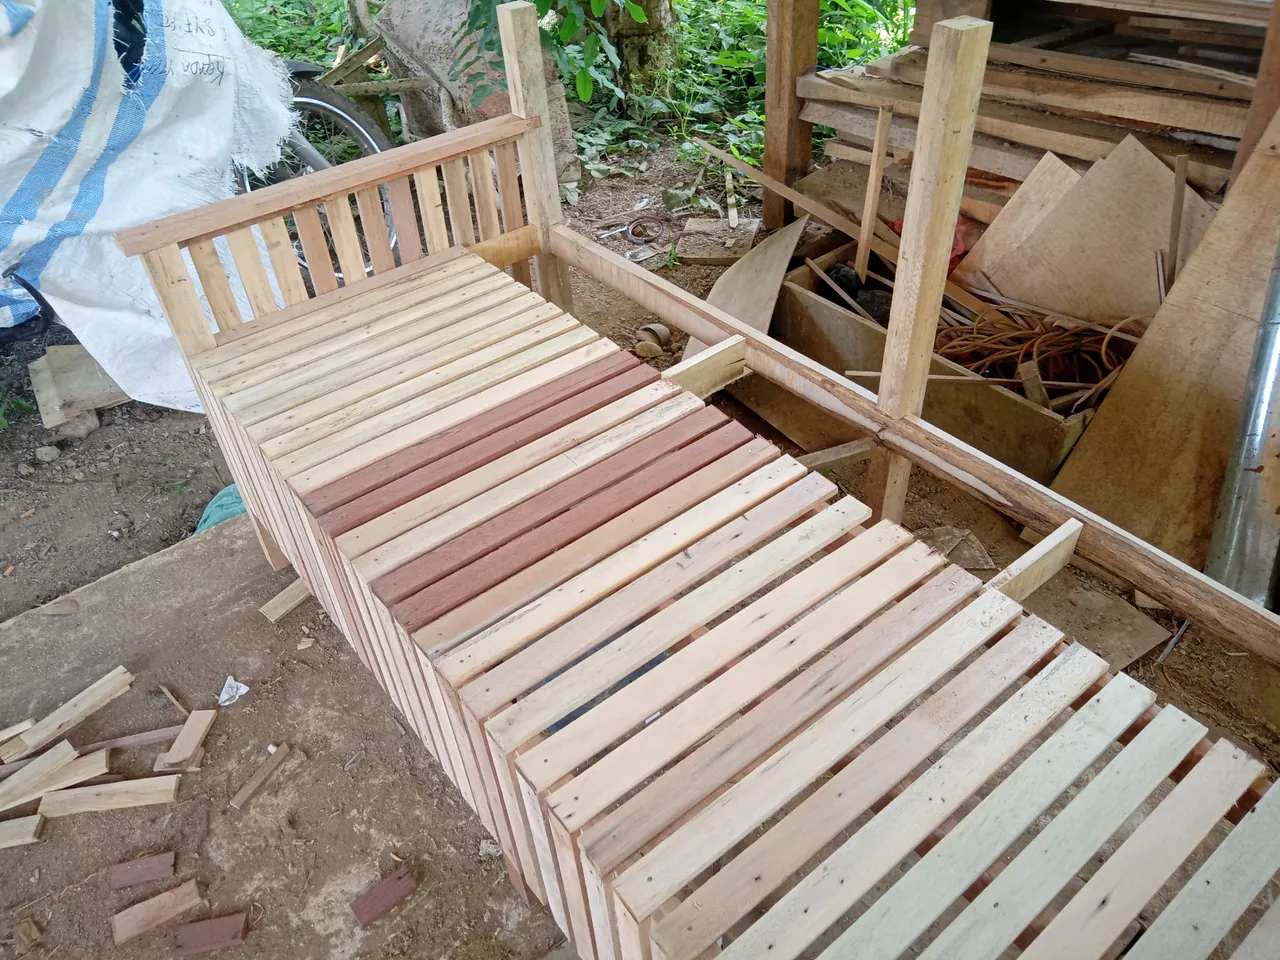
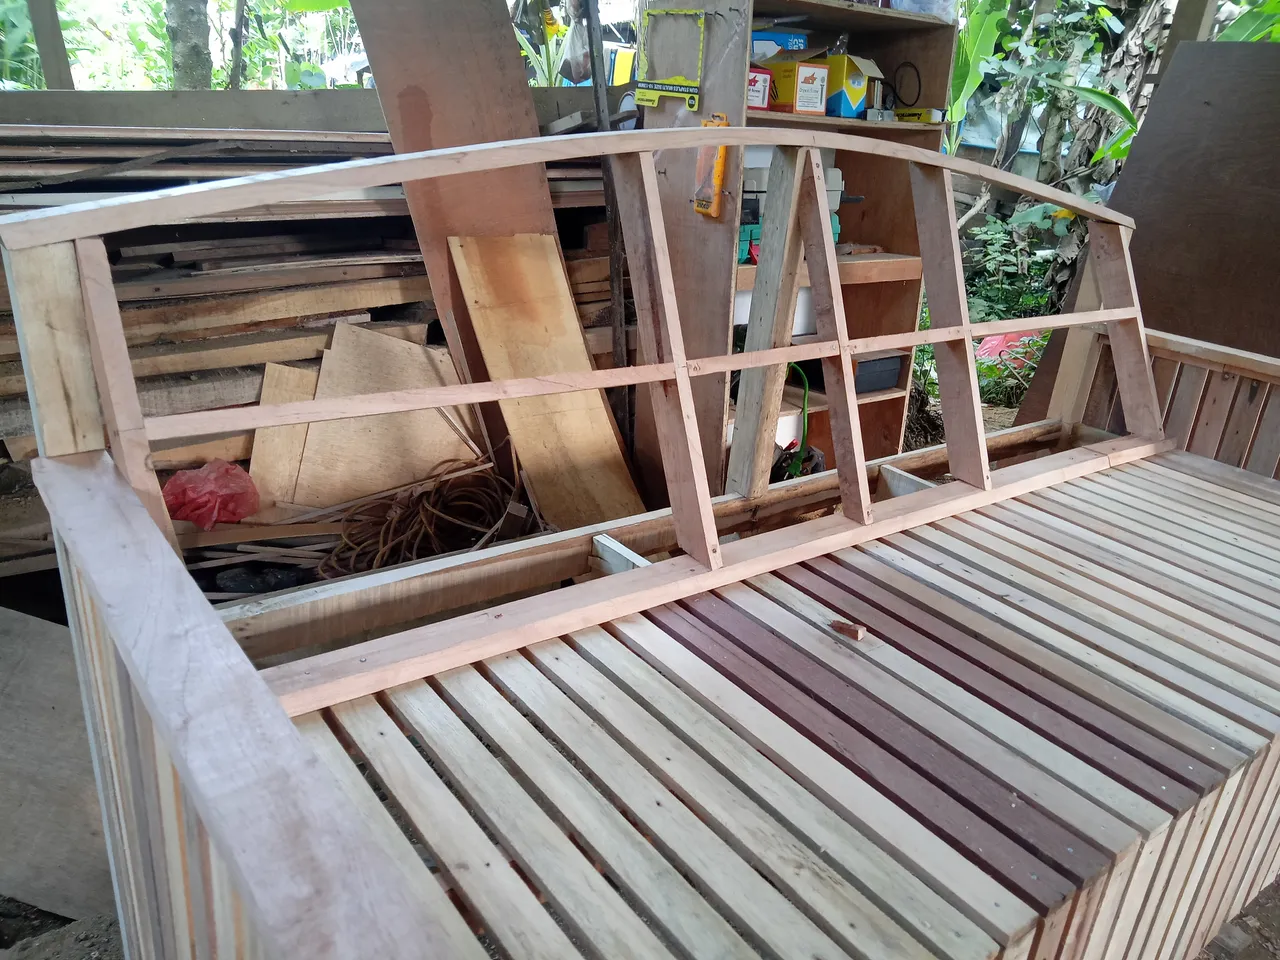
Then then I made the back with a slope of 30 degrees, and for the top shape I made a little curved, this will look more interesting than I made straight.
This process is the same as the process when adding a partition as a floor retainer, namely vertically and horizontally and the size of the wood is 2cm x 5cm and the length is adjusted to the shape of the arch.
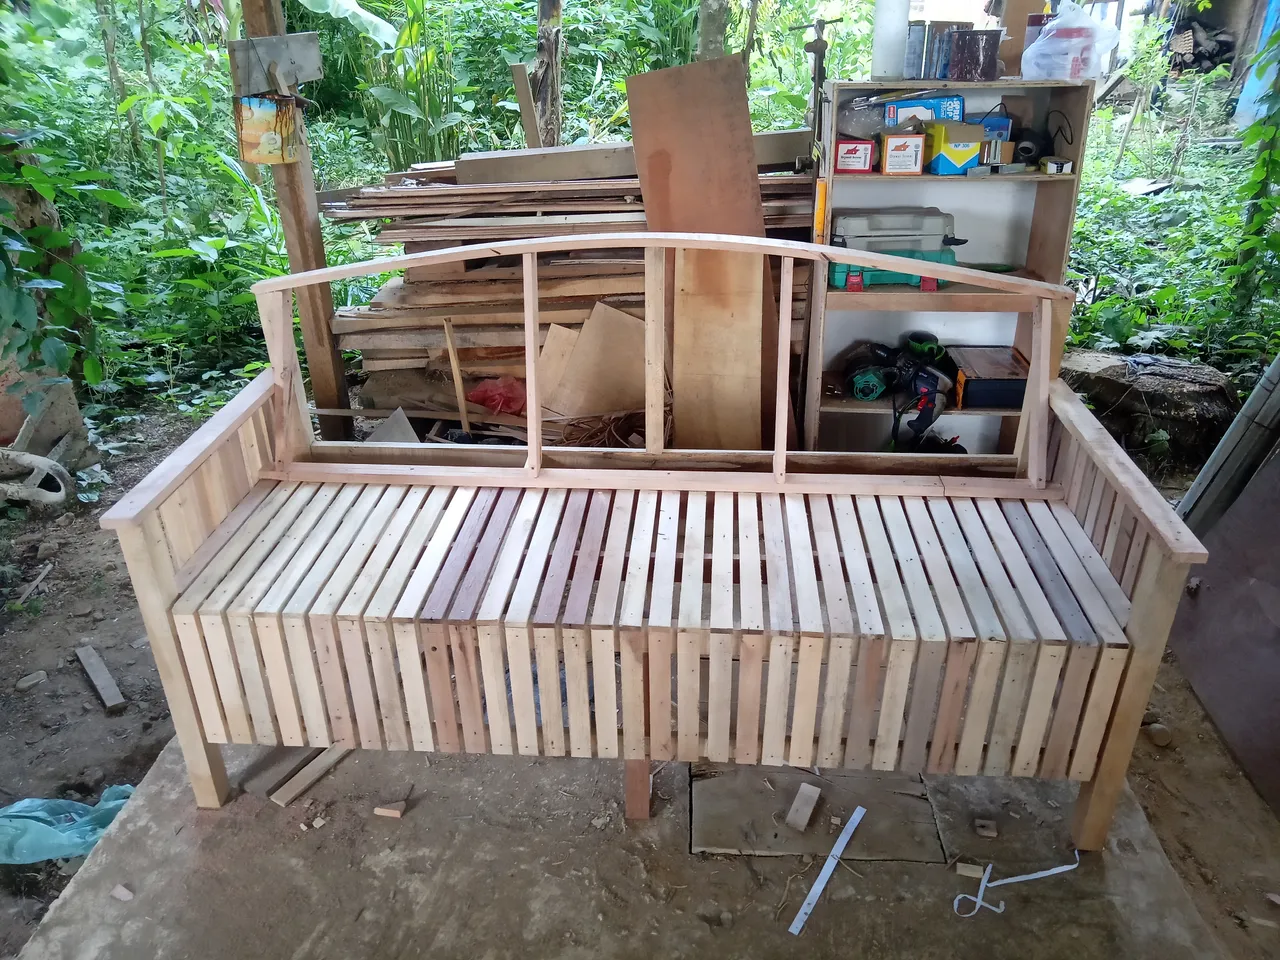
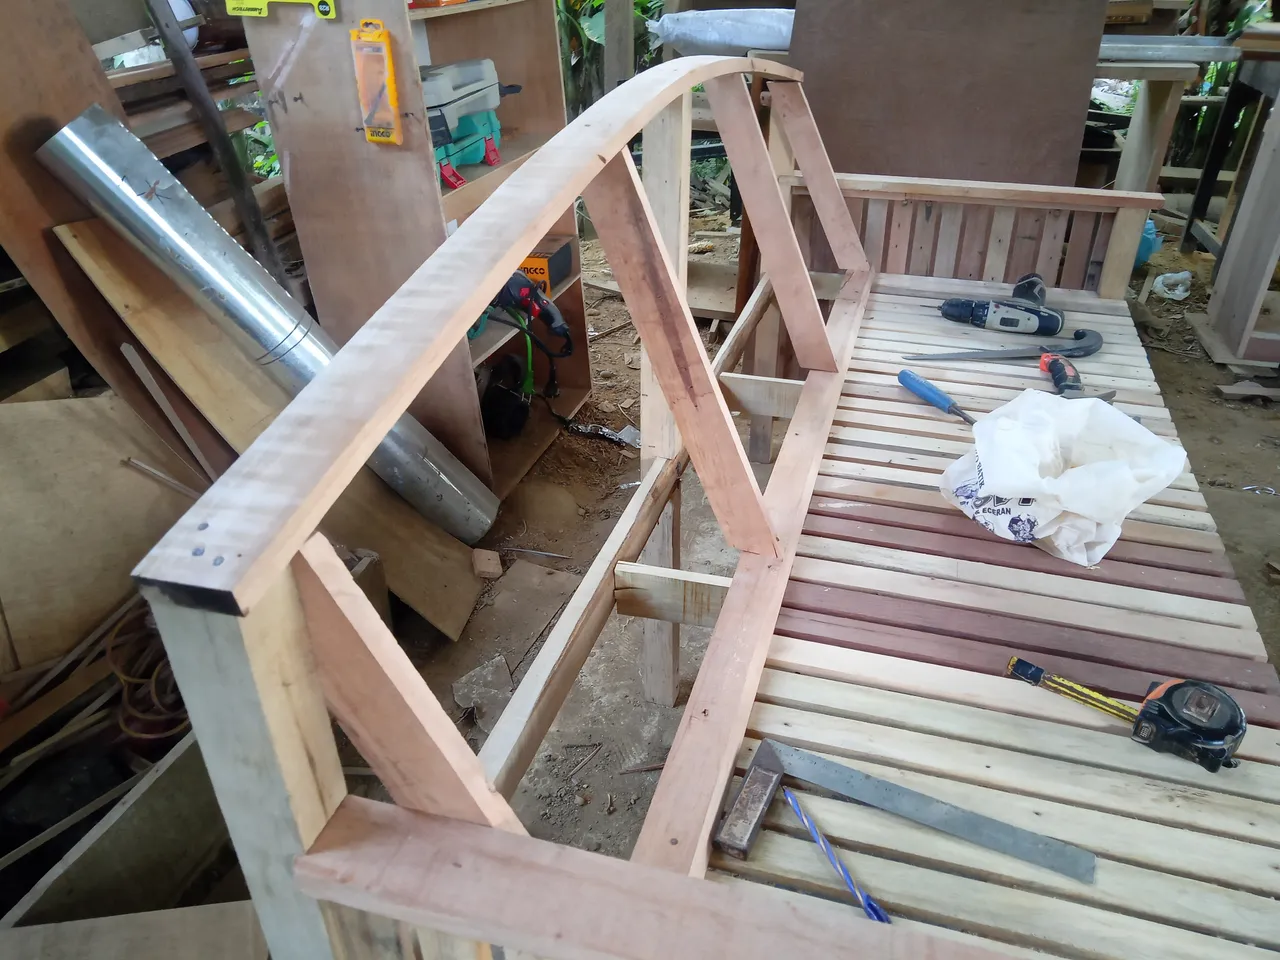
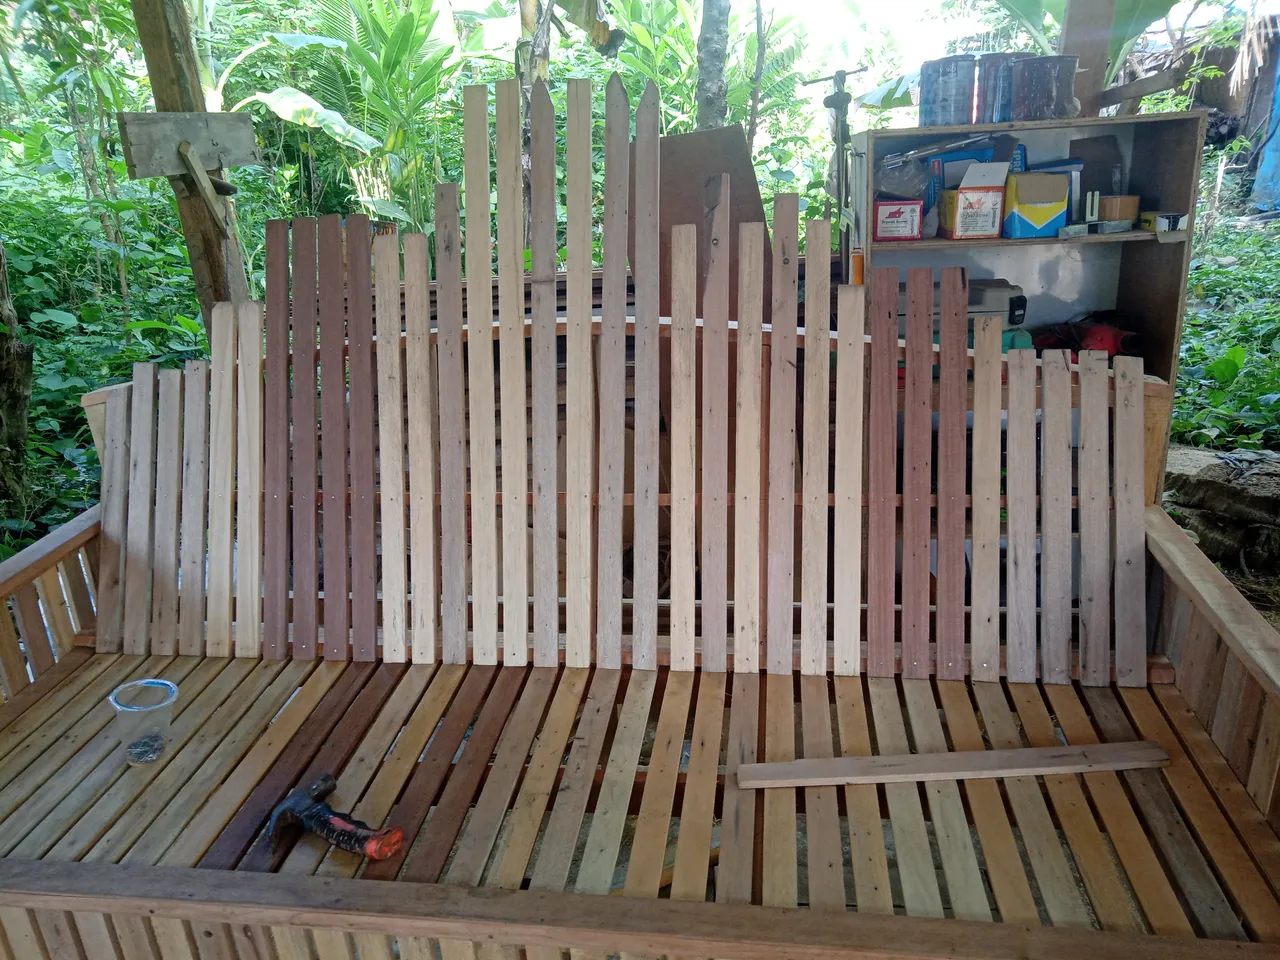
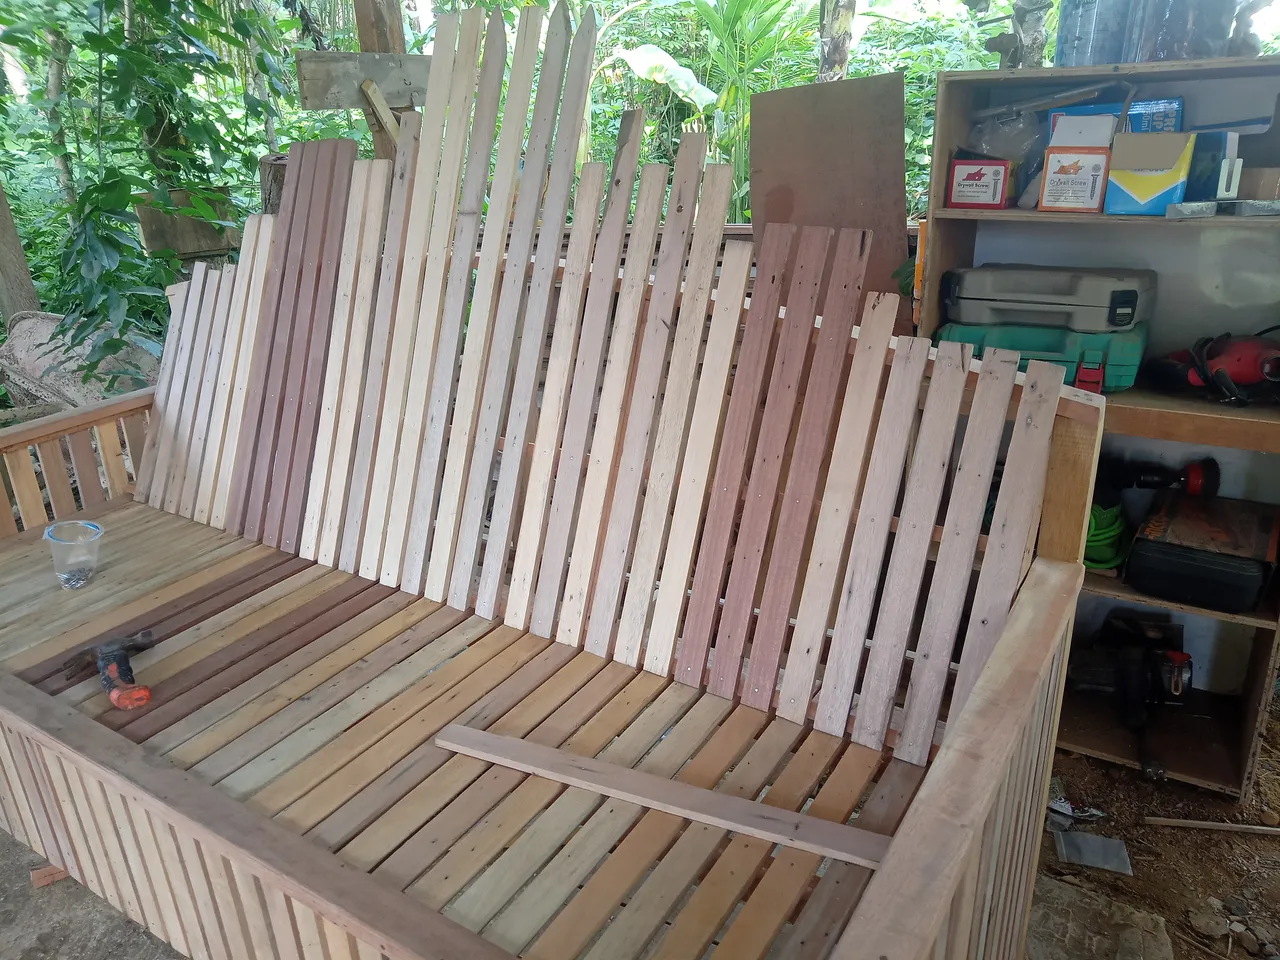
After that was done I started gluing the wood for the backrest the same as the floor and others, in this process the ends of the wood had to be cut at an angle of 30 degrees so that it seemed to blend with the floor of the bench when the wood was attached.
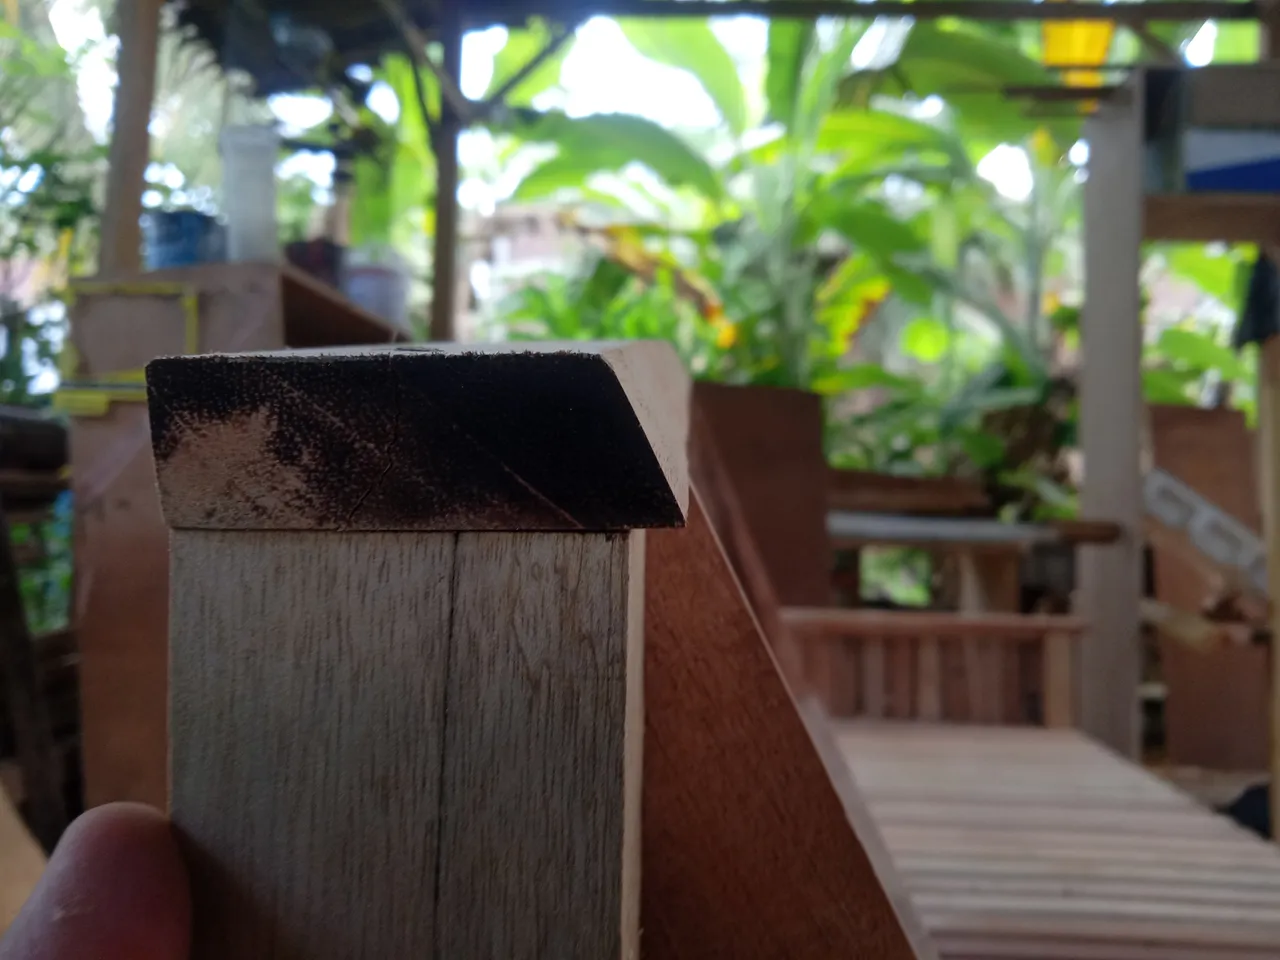
When I paste this wood, I don't cut it first, I just stick it all together after that, then I cut it following the top curve on the backrest, I do this to make it easier and faster.
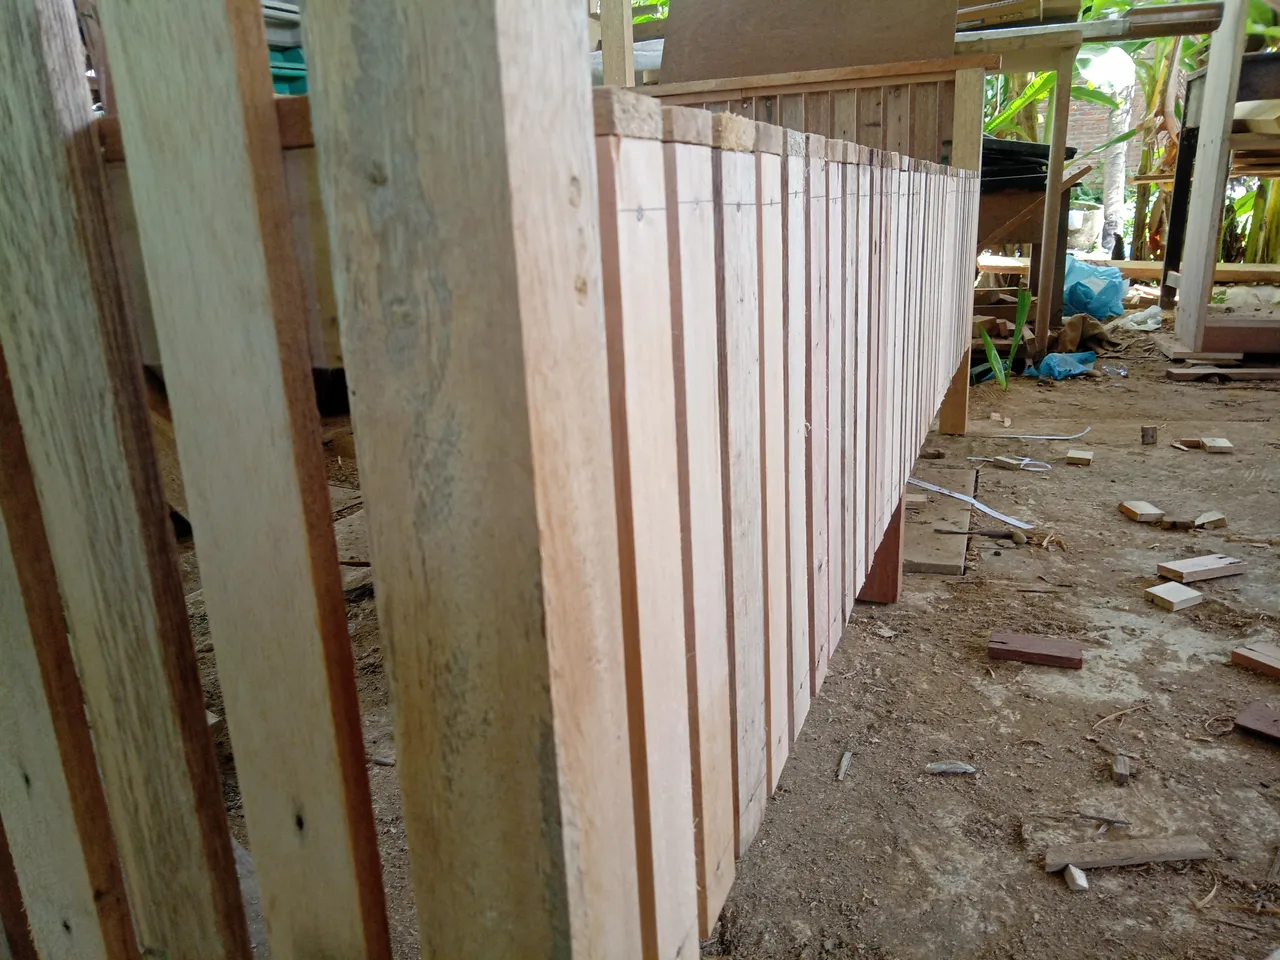
After everything I did the last thing was to sand all parts of the bench to make it more neat and attractive, but for this bench I did not paint it because it was in accordance with my customer's request.
And that's the process of making a lounge chair that I designed and made myself in my workshop.
I hope you all enjoy my post and I hope you can give me direction if there are any shortcomings in me writing this post by commenting below.
Thanks all and see you next post.