Heeeyho Readers! Are you into mechanics?
This post was first planned as one of those specialized tutorial-like write-ups on how to service a rear derailleur. However, that might not target a wide audience and would be plain boring for 99% of readers (even within the cycling community). The reason is very simple: the chance of readers having the exact same bicycle part as myself is quite low, let alone finding someone who's into fixing their own bicycle.
A far better way to approach the subject is to give general directions on a full derailleur service using mine as an example. The goal is to unleash all my knowledge to inspire you to work on your own bicycle without the fear of doing something utterly wrong. After all, saving up on costs to keep the bicycle running is always great.
Les go!
Why should you fully service your rear derailleur? Because they collect a lot of dirt over time and may seize/break if not cleaned. Case closed {laughs}.
Fear not, comrades.
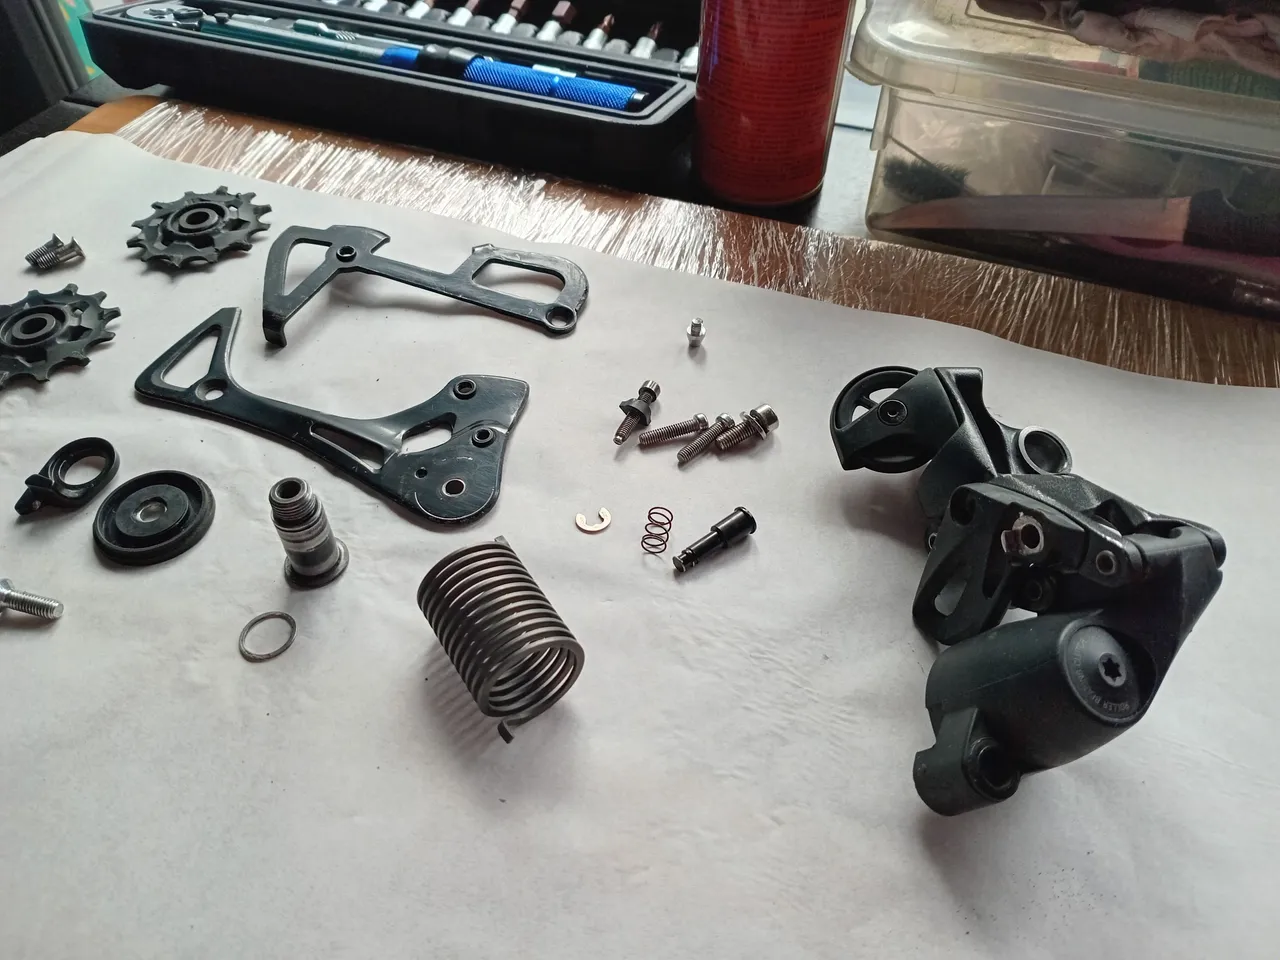
Rear derailleurs look complex, but they are not. Nothing that a bit of attention and few basic tools won't do. So, here's my first advice, especially for messy folks out there: get yourself a clean and organized work space. I usually do this kind of job right in front of a window with plenty of light coming through. I also cover the table with plastic film and place a piece of white parchment paper to better dispose disassembled pieces (better than a white towel because it's easy to change if it gets greasy). Remember we're dealing with little bolts and springs and whatnot that we don't want to lose. Having a plastic tray at hand is also a good idea.

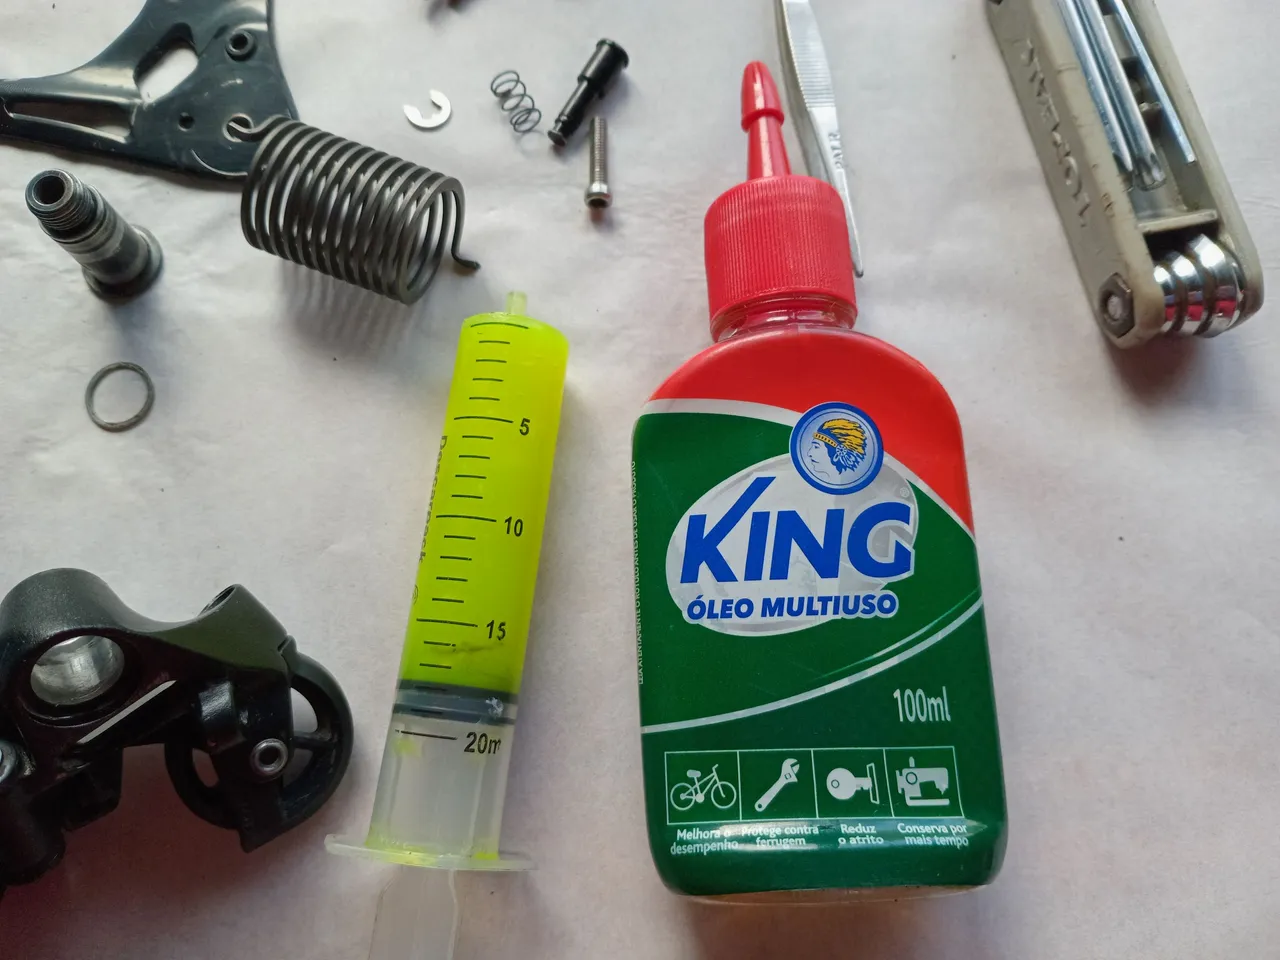
Servicing a derailleur requires mostly basic tools and lubricant. Uppon staring at your derailleur you'll notice what's needed, but here are examples:
- Set of hex keys
- Philips and flathead screwdrivers (some cases)
- Torx keys (not always)
- Needle nose pliers
- Toothbrush for cleaning
- Torque wrench (can do without, but better with)
- Light grease and machine oil
Take your derailleur off the bicycle by releasing the cable and unbolting the b-bolt (the one securing the derailleur to the frame). Bring the beast to the table, look at it and wonder "what the heck am I doing".
First timers should photograph each step and dispose parts in order of disassembly (just in case you forget where that tiny spring goes).
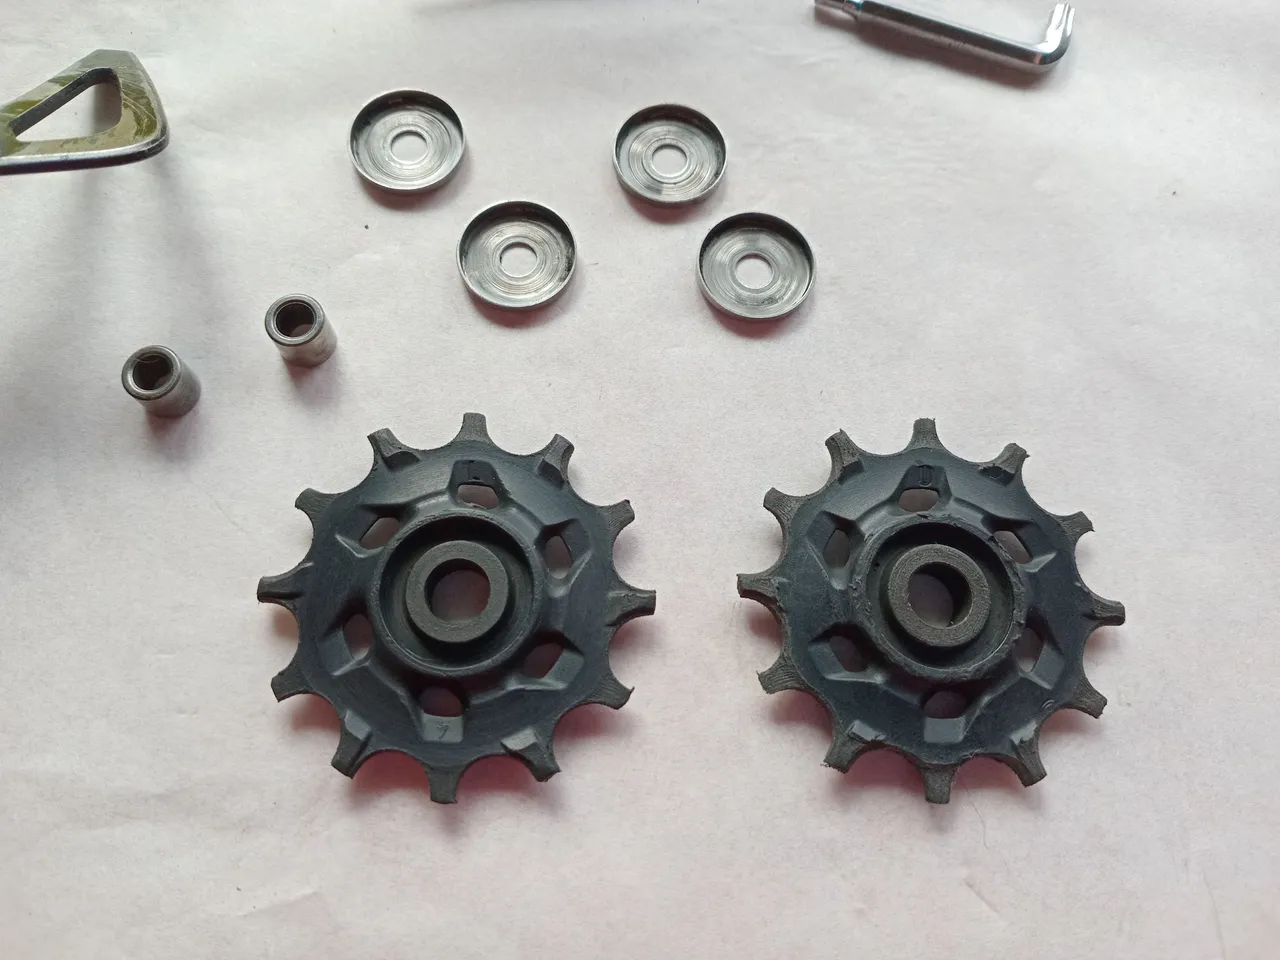
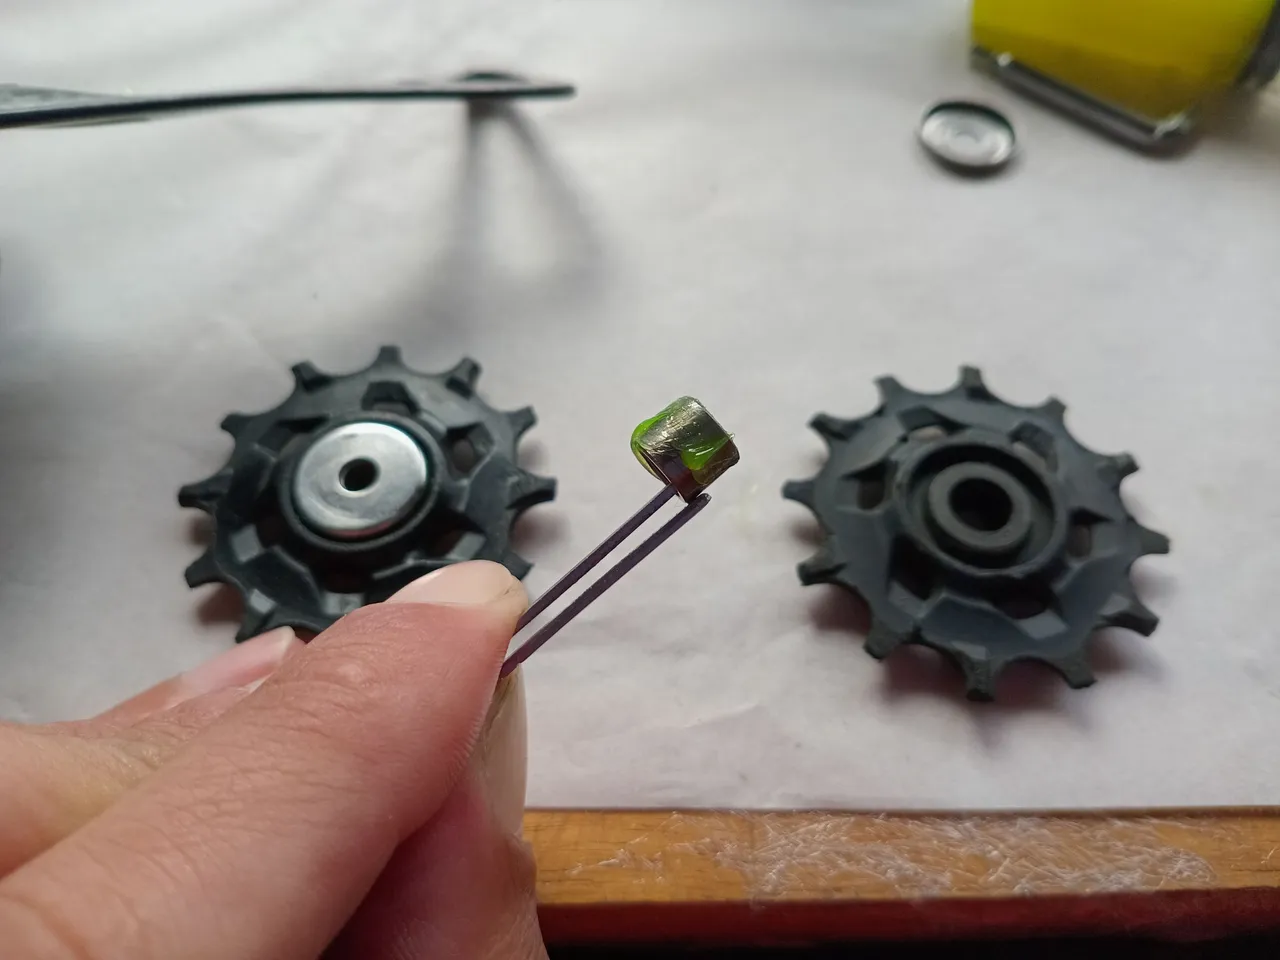
Then you can strip the thing from bottom up, starting with the pulleys. Pulleys are generally different; take note of which is the top and bottom and the direction of rotation (take photos if needed), then dispose them on the table.
Removing the cage requires attention because cage springs are generally quite strong. I advice you to watch a Youtube tutorial about your particular derailleur in this case. Let the cage slap your fingers once and you'll never ever touch a derailleur again. It's not difficult though, it's just that each brand/model has a trick.
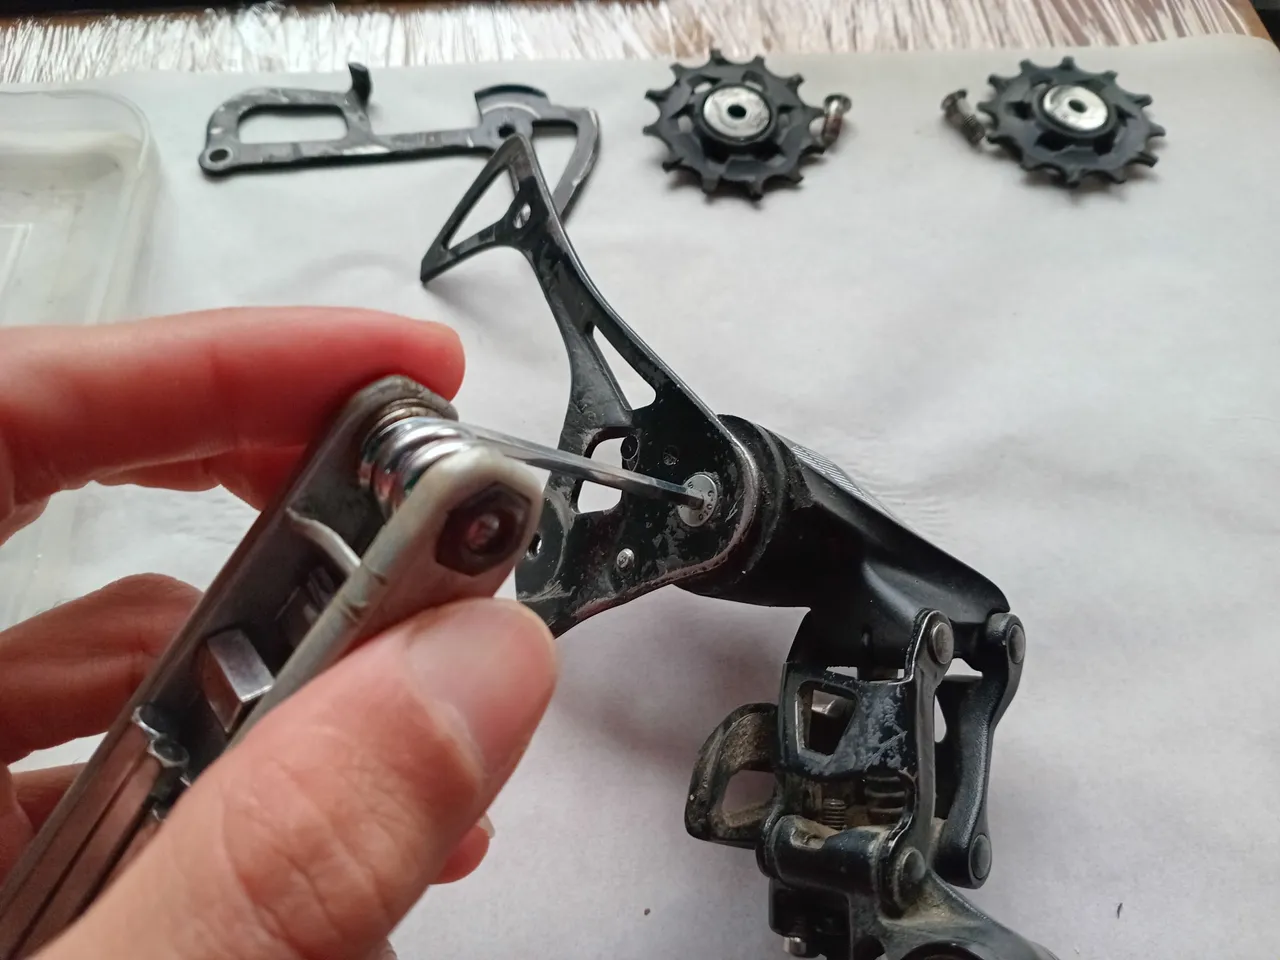
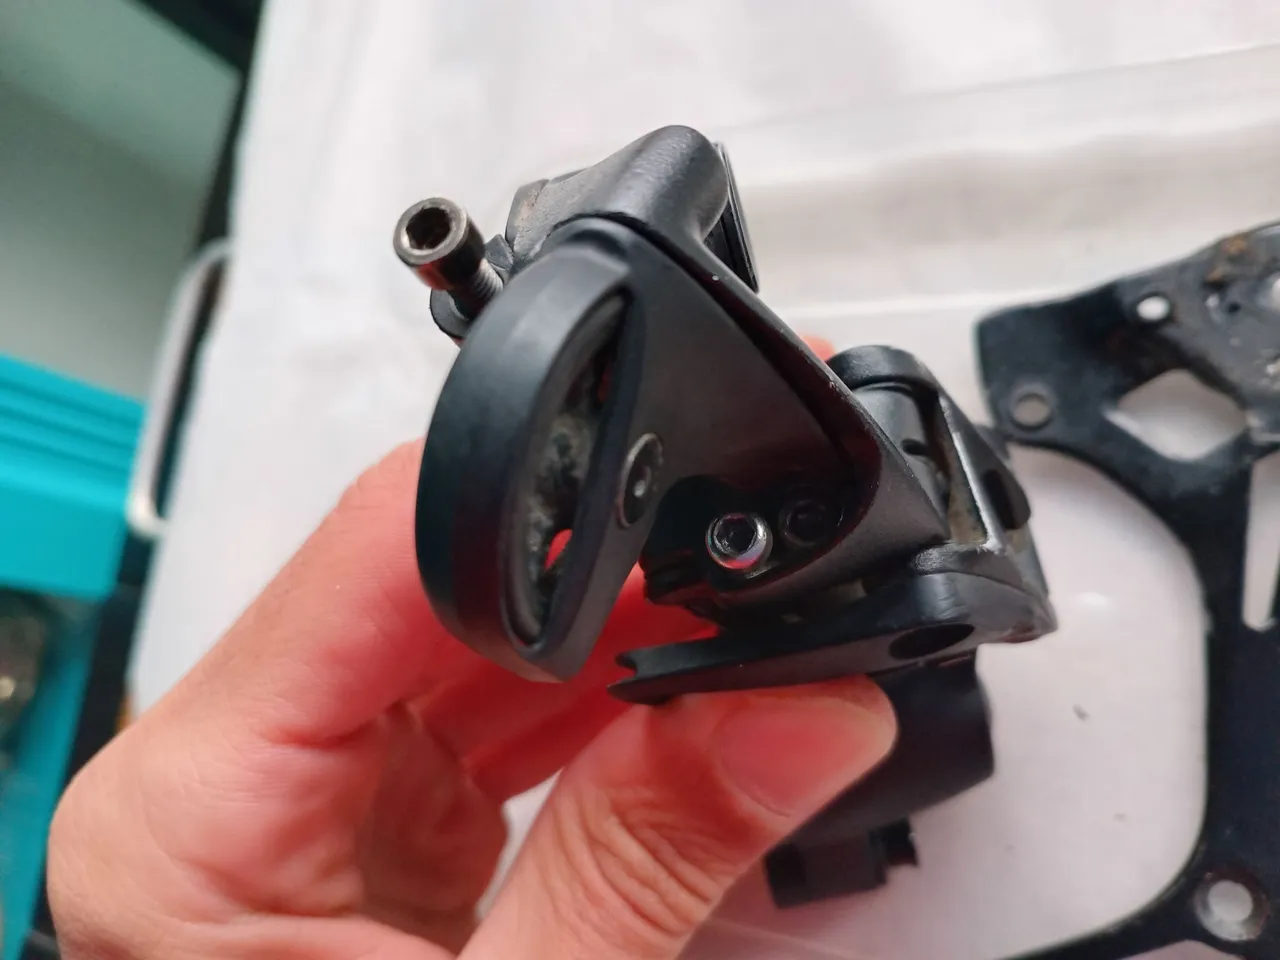
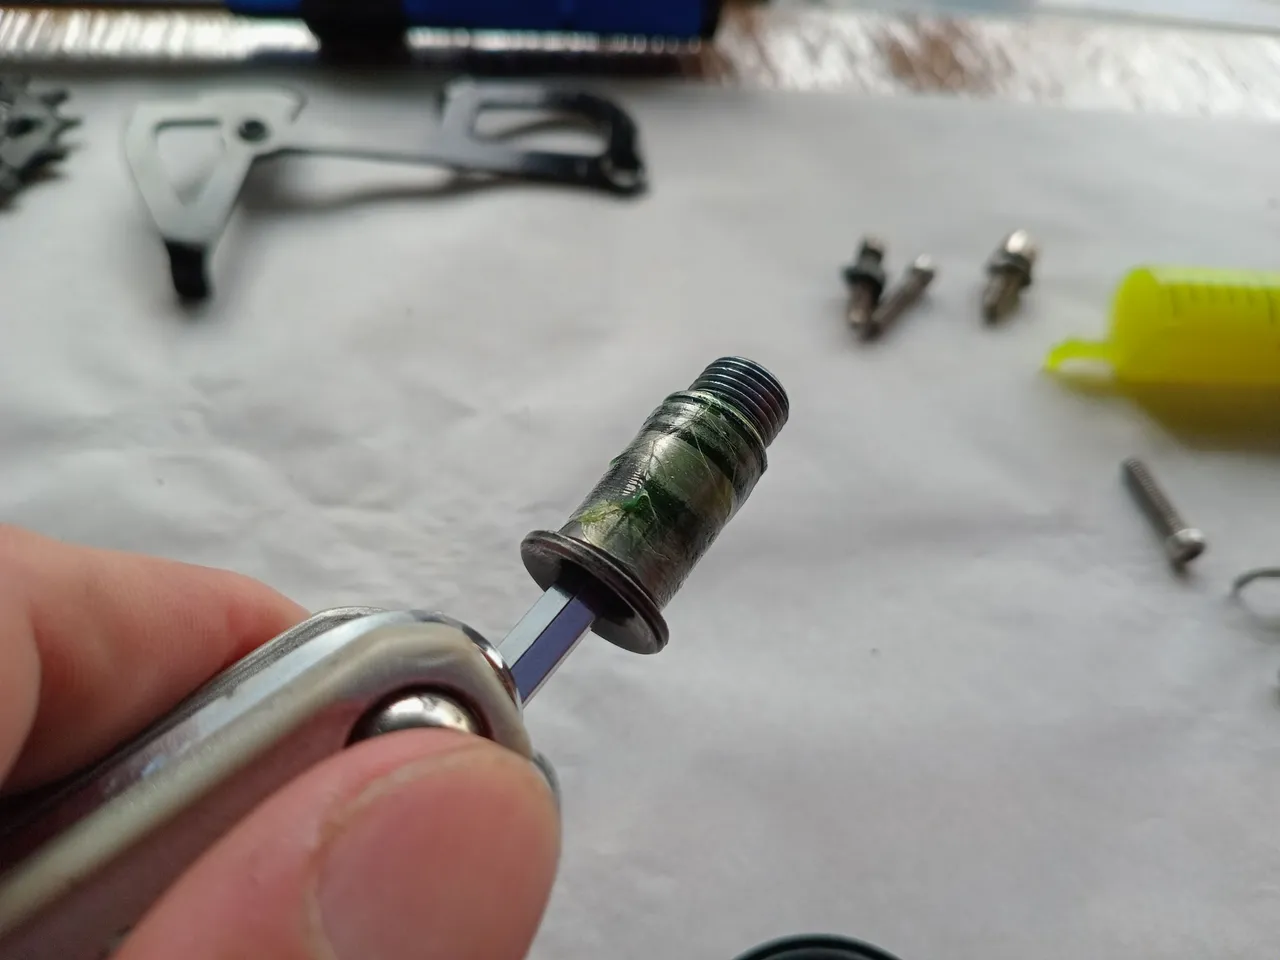
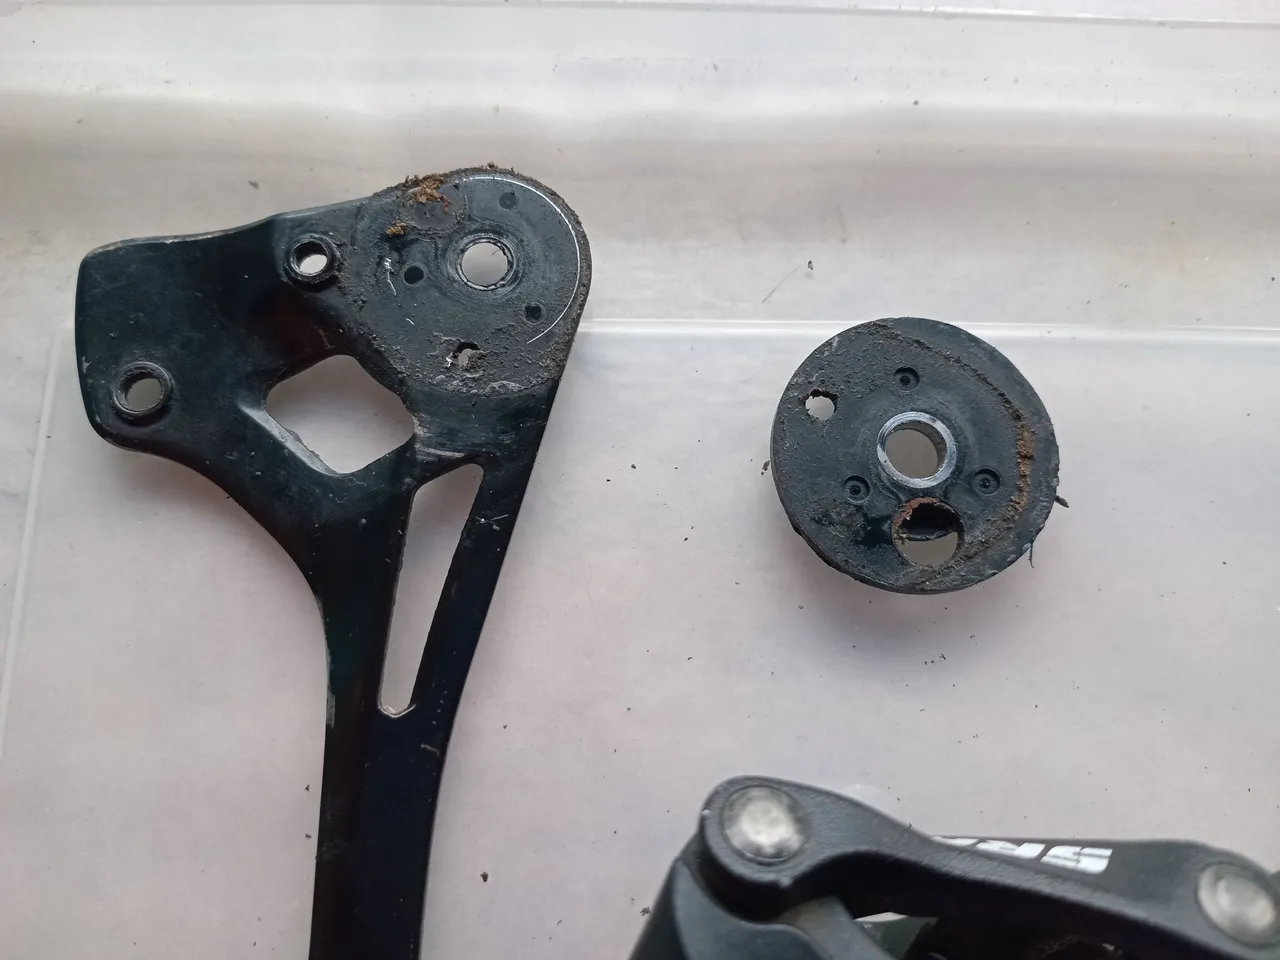
See below how much dirt is collected inside the spring housing despite the sealing, hence the importance of cleaning and re-greasing from time to time. Feel your derailleur slow to move down gears? A dirty spring might be the culprit.
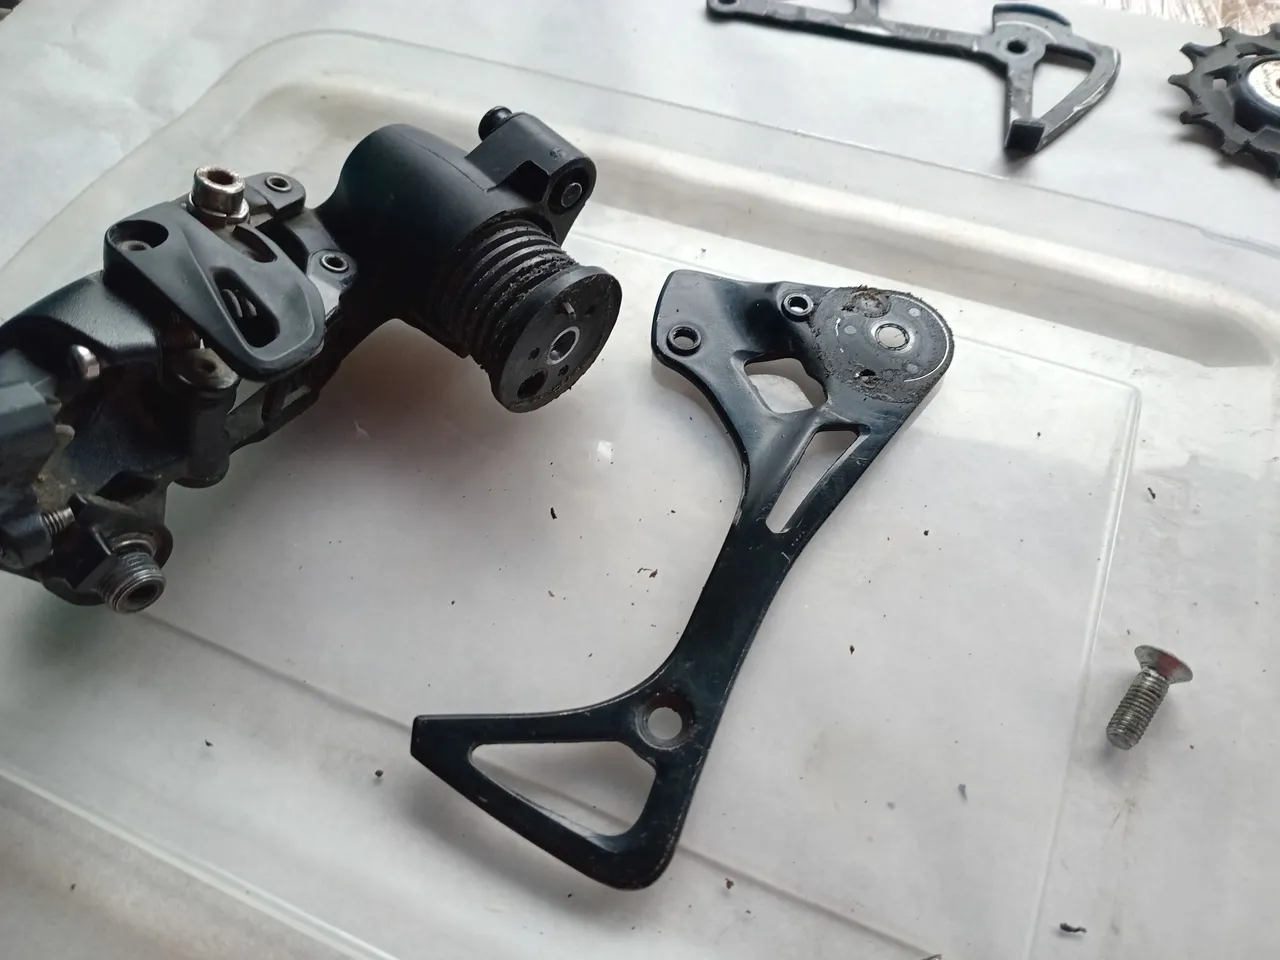
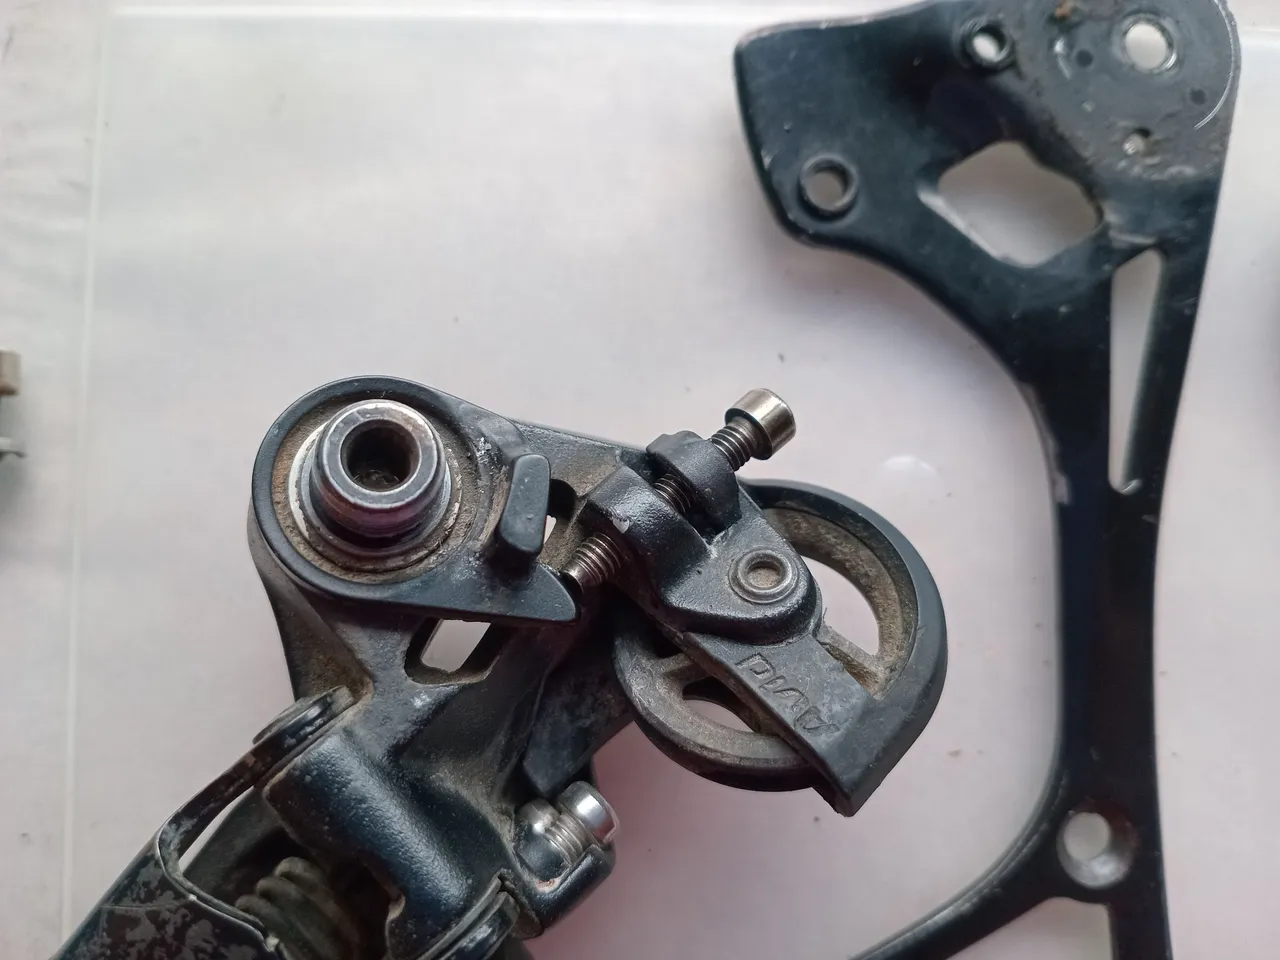
Removing the cage/spring assembly is the hardest part. The rest involves unscrewing adjustment bolts (no risk involved) and removing the b-bolt. Some higher-end derailleurs allow us to disassemble the parallelogram (not the case here); most, like mine, have fixed riveted pins.
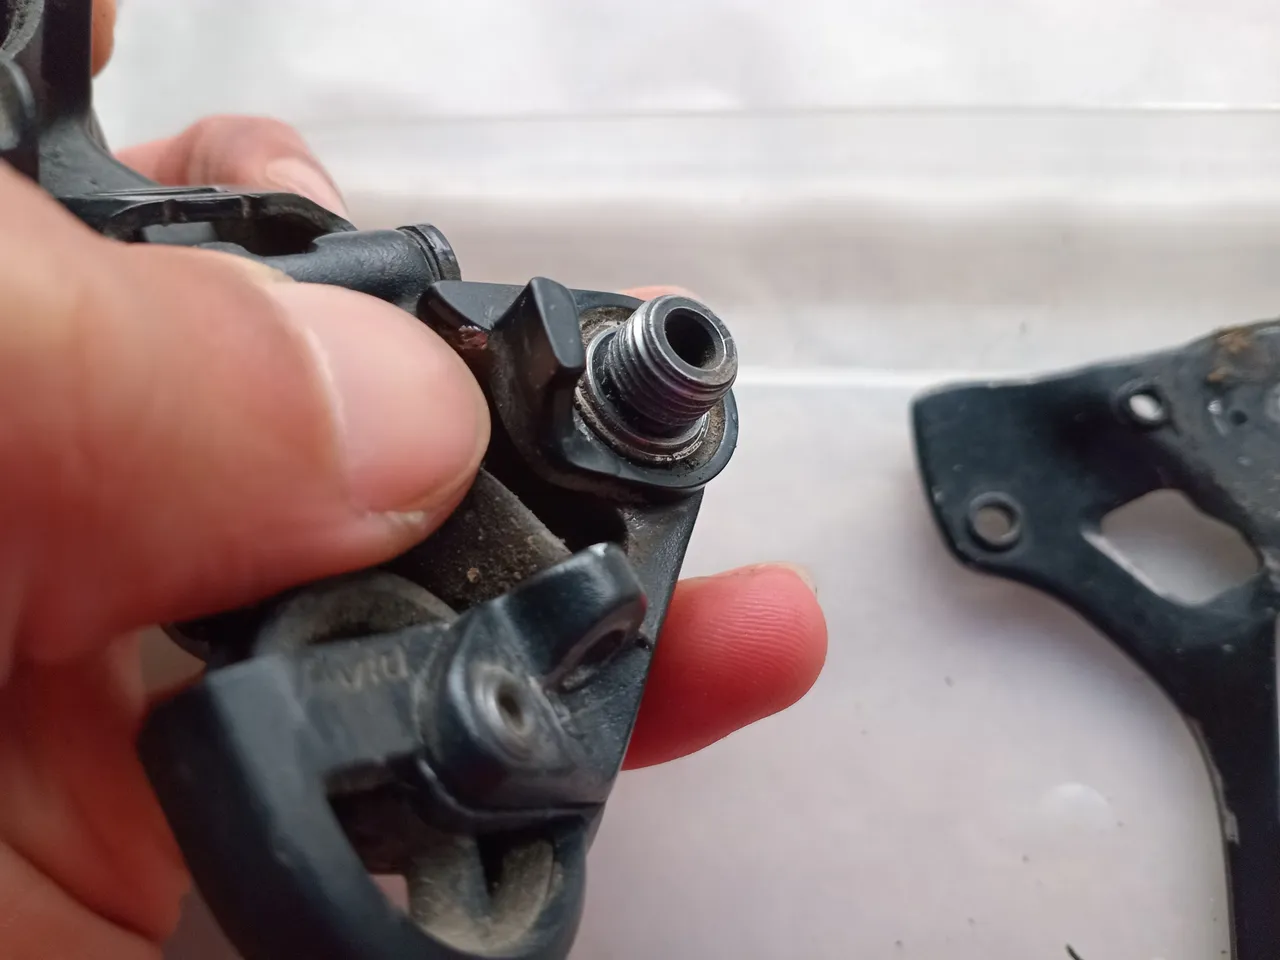
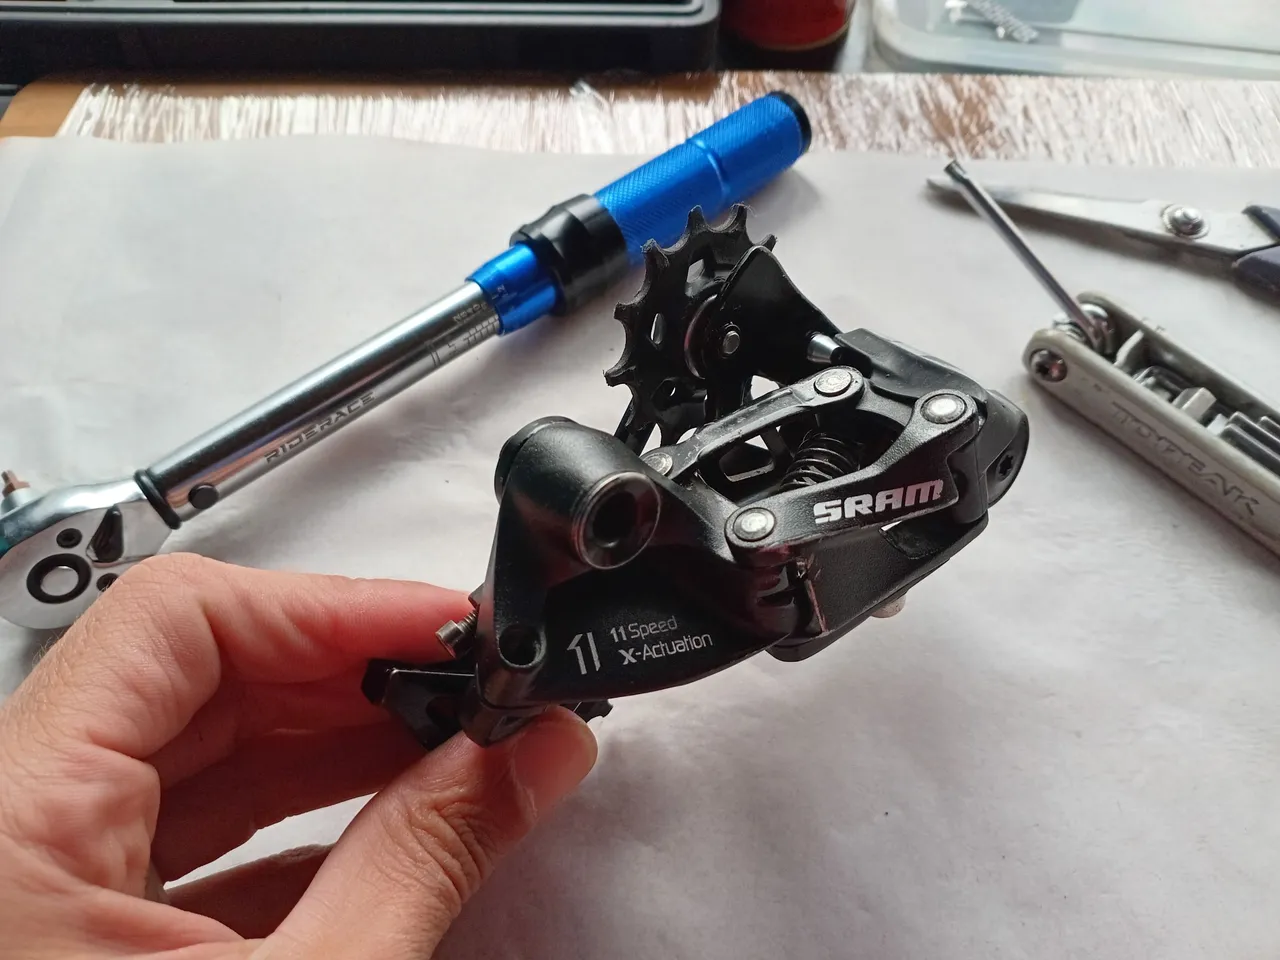
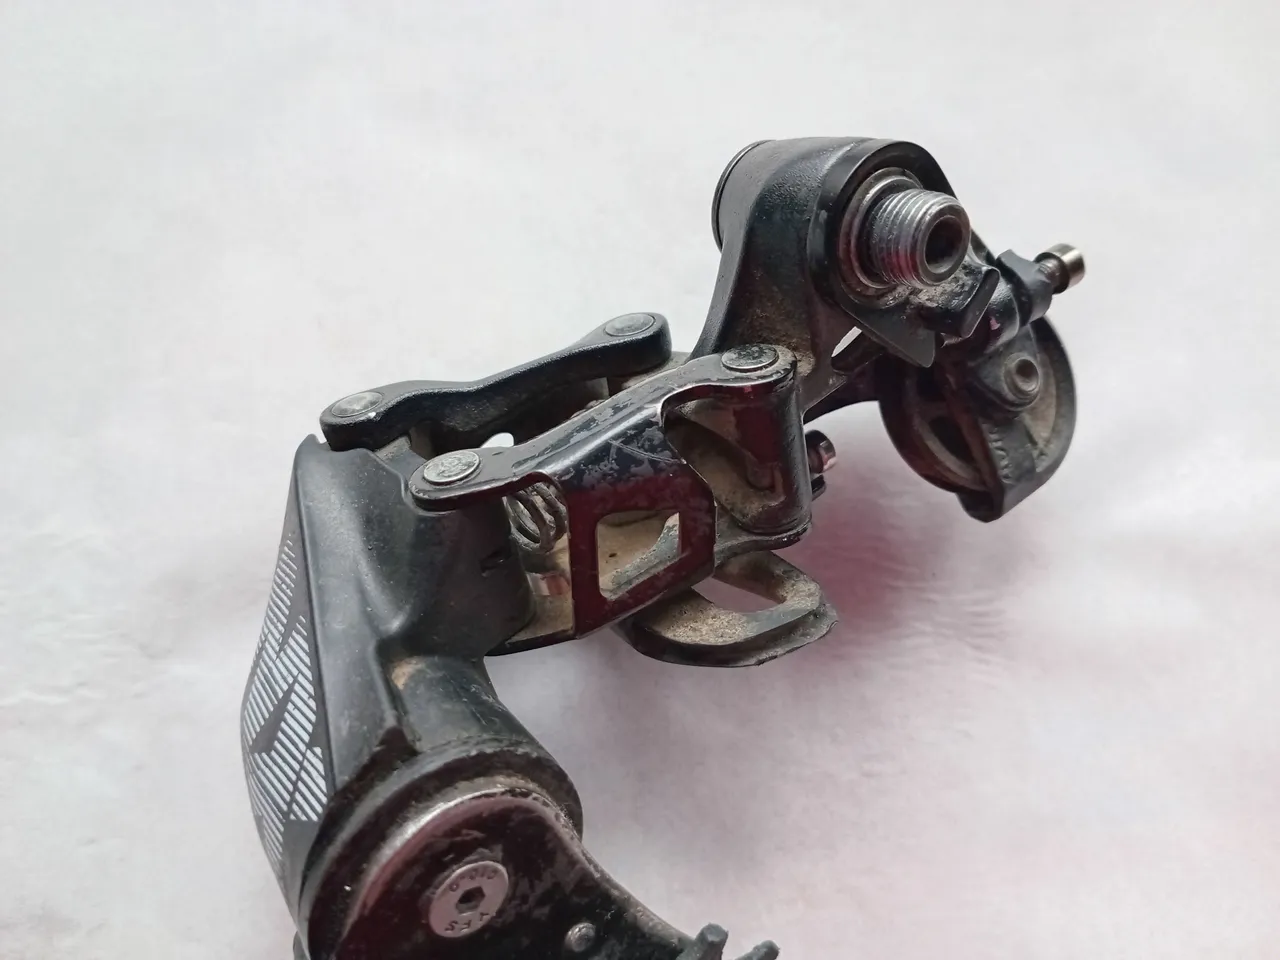
Below you can see the b-bolt on a Sram derailleur. Second picture shows all three adjustment bolts that easily come off using a hex key. I have to repeat this a million times: take photos and notes of what you are disassembling to remember how they go back together.
Cleaning
Once the tiny bits and bobs are beautifully arranged on the table, it's time to clean everything. No secret here. I use kitchen de-greaser and a toothbrush (works for me). Personal advice: Don't wash parts on your sink... the other day I let a small bolt fall into the drain and it was a nightmare to recover. Wash, let the pieces dry and we can proceed to the lubrication.
Fresh lubrication general advice
Few parts of a derailleur require light grease, they are:
- Spring and spring housing
- B-bolt
- Pulley bushings (or bearings if that's the case)
The best part is re-greasing freshly cleaned parts. It just feels good! In terms of grease: If you can get good quality NLGI-2 synthetic grease, awesome. If not, try to find light marine grease that's water resistant.
All the other moving parts are better off under a coat of light oil, more as a corrosion protection than anything (parallelogram pivots and adjustment bolts). You should not grease/oil the pulley mounting bolts; those only need a drop of thread locker. More examples below.

Now... tell me the truth! You've lost a spring by now, haven't you? We all have done that at some point. I know it looks difficult to work on a derailleur, especially without a video guide, but it's not. You'll only discover after trying, really. Here's one last advice: make sure you've got a workshop in town, just in case you mess things up so bad you'll need professional help.
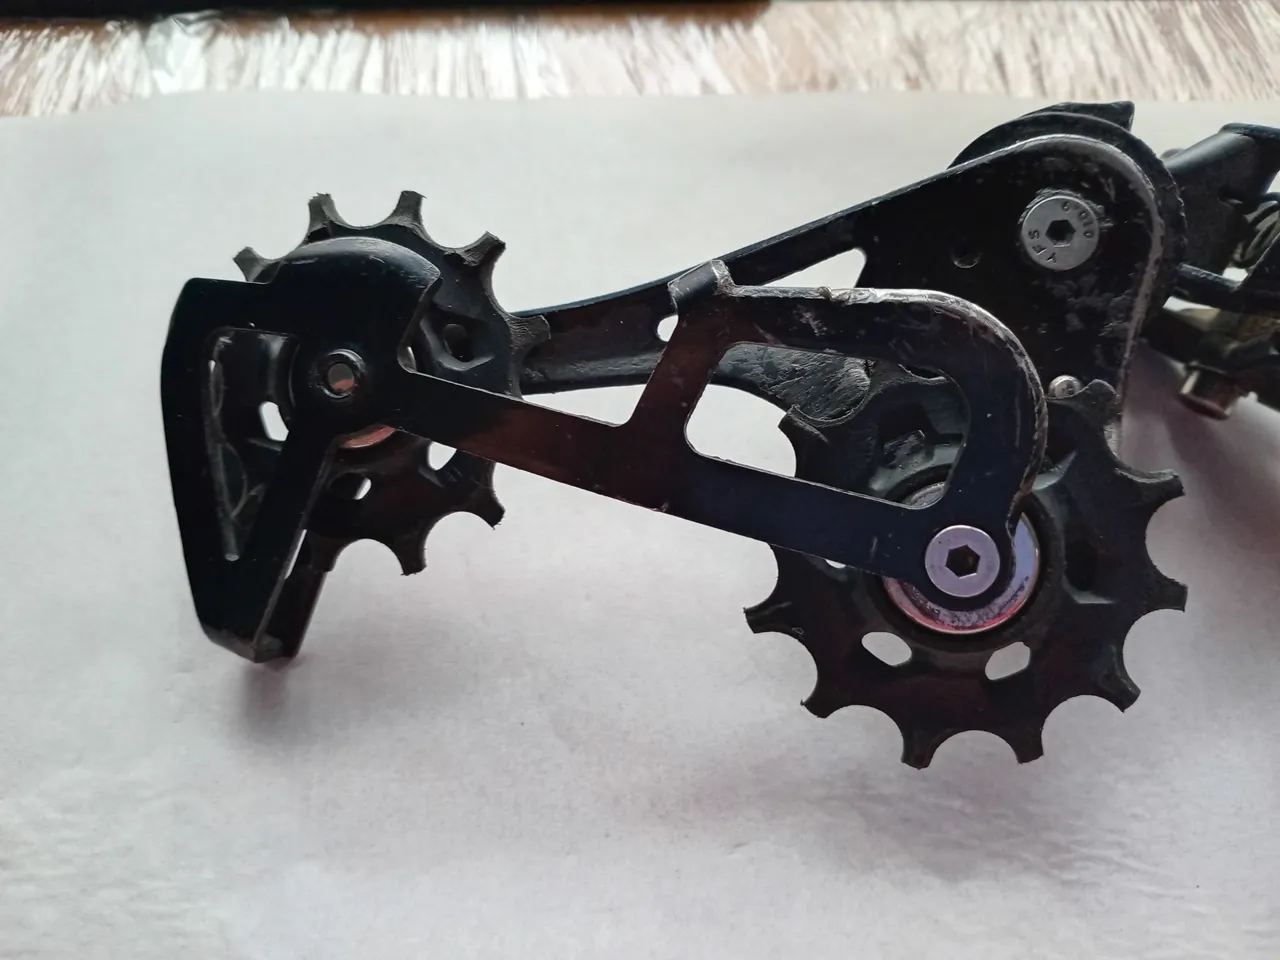
Below is our cleaned, re-greased, and assembled derailleur. A freshly re-greased derailleur is crucial for smooth gear changes and, depending on your riding conditions, such service is only required once a year. Now my derailleur is ready for the #monstercross project.
I'll drop below pictures of the before. I believe you can click to enlarge on most Hive front-ends. There's dirt everywhere, which took quite a while to brush off. It's not perfect still because I didn't have a tinier brush to go into the parallelogram (damn difficult word).
It's still possible to wash a derailleur on the bicycle, but then you might lose the lubrication. It's best to avoid washing any bicycle with a hose, actually. Fully servicing a derailleur once a year should be enough for most of us.
Do you feel encouraged?
I'm glad to see more people servicing their bicycles on the cycling community. Let's hope the trend sticks and more bicycles hit the road. Never stop pedaling!
Peace.
If you enjoyed this post consider leaving your upvote for a hot coffee.
Find me on Twitter: https://twitter.com/mrprofessor_
~Love ya all,
Disclaimer: The author of this post is a convict broke backpacker, who has travelled more than 10.000 km hitchhiking and more than 5.000 km cycling. Following him may cause severe problems of wanderlust and inquietud. You've been warned.