Heeeyho Readers! How was your cycling weekend, folks?
Sunday is 'bout to end down here and a new week of cycling is ahead of us. How was your cycling weekend? Mine was full of head-winds — glorious Spring north-east gusts! Why do we need mountains when we can play with endless climbs; just find a straight-line and go against the wind {laughs}.
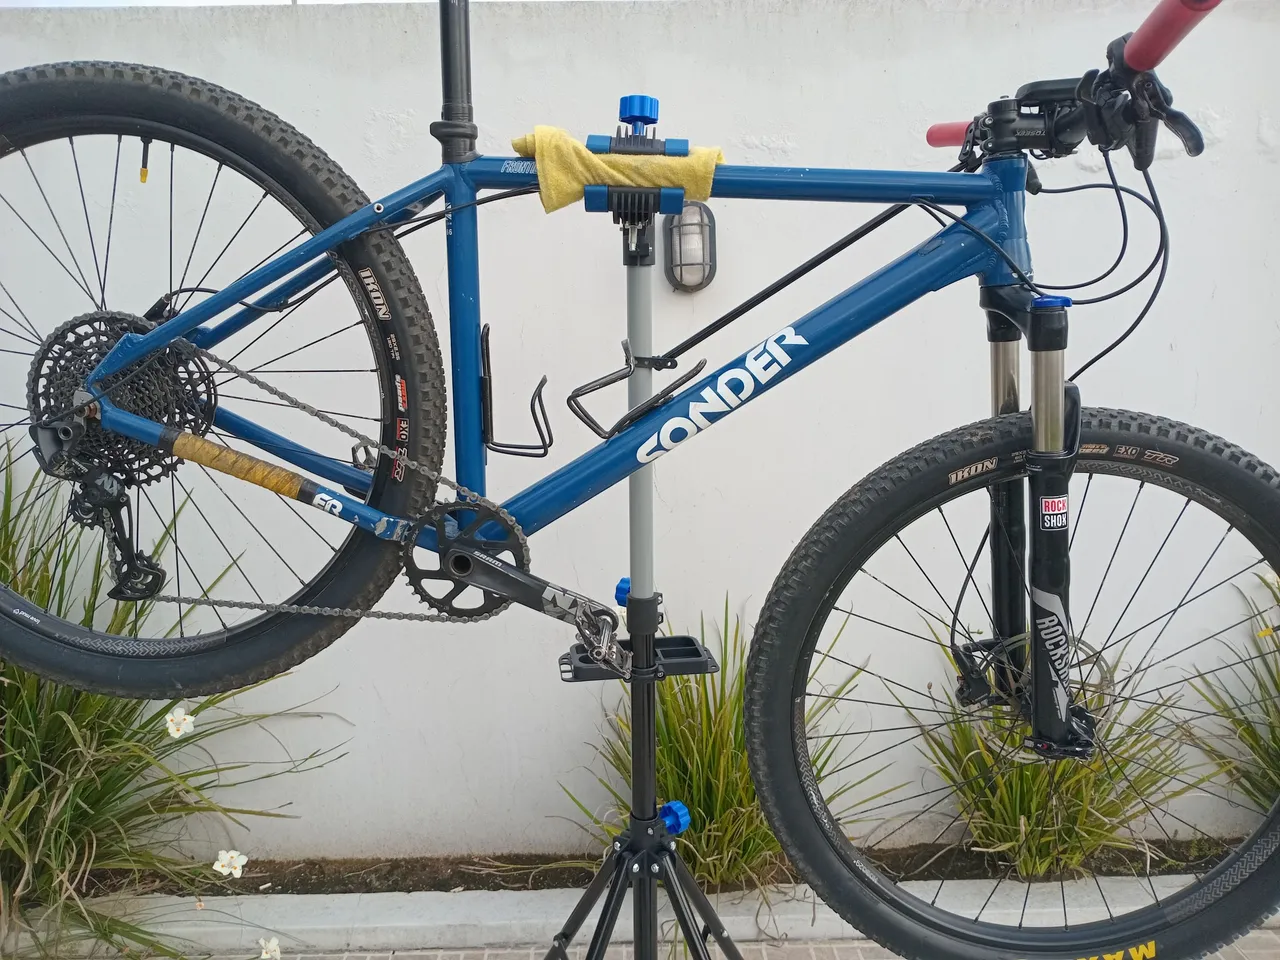
Today I cleaned the bicycle in preparation for the up-coming week and this idea came to mind. Have we ever talked about what to check before going on long rides?
It's fundamental that we check the bicycle before going (particularly) on long rides. Training, nutrition, and hydration are crucial, but all of that preparation goes out the window if our two-wheelers break down. And the hassle is even worse when far away from home. Let's make a quick check-list that everyone can follow.
The goal of this post is to keep it simple, mostly because some stuff only a mechanic would notice anyways (faulty bearings, for example). Believe me when I say that the simplest problems are usually the ones that leave us hanging.
Don't lose the wheel!
The first and most straight forward item to check are the bolts holding the wheels (or the quick-release levers if that's the case). I've seen opened quick-release levers several times on other people's bikes at events — one jump and their wheel would run away. Nasty crash that is!
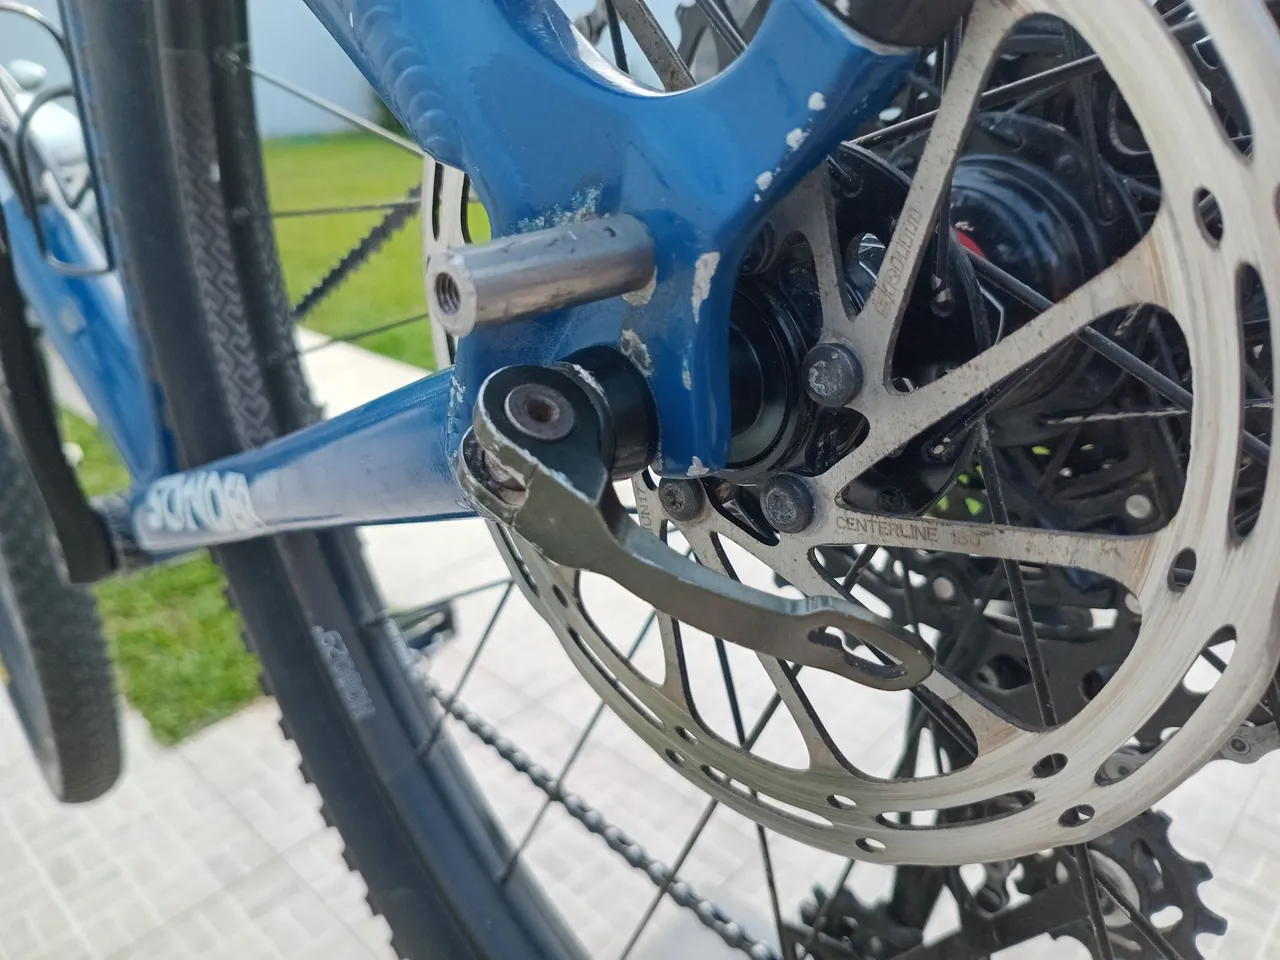
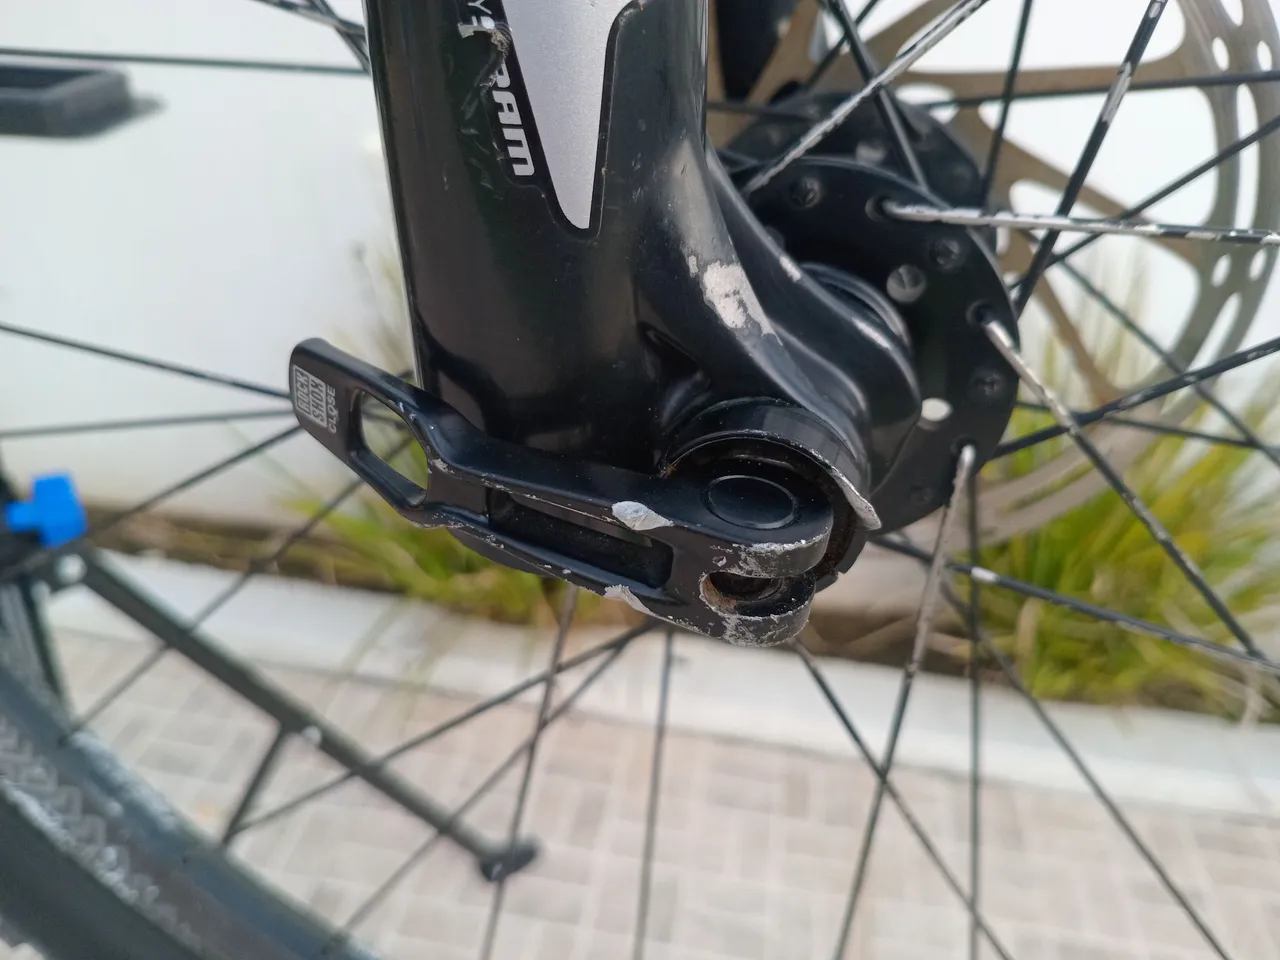
Make sure your quick-release clamps are properly tightened before going out on any ride. The same applies if your wheels are bolted on or have bolt-through axles. It's also good practice to spin the wheels a bit, give them some wiggle-wiggle, and see if they are loose somewhere else. You'll feel it if the bearings are faulty, for example, meaning another red alert.
Spokes!
You've got your hands on the wheels already, so go through each spoke to check for broken/loose ones. Sometimes we break a spoke and don't notice it until the wheel is unbalanced.
Brakes
Close to the wheels are the brake calipers. For bicycles without disk brakes, you might want to check the brake pads (not shown here, but they are those two rubbery sausages that touch the rim when you brake). For disk brakes, keep reading.
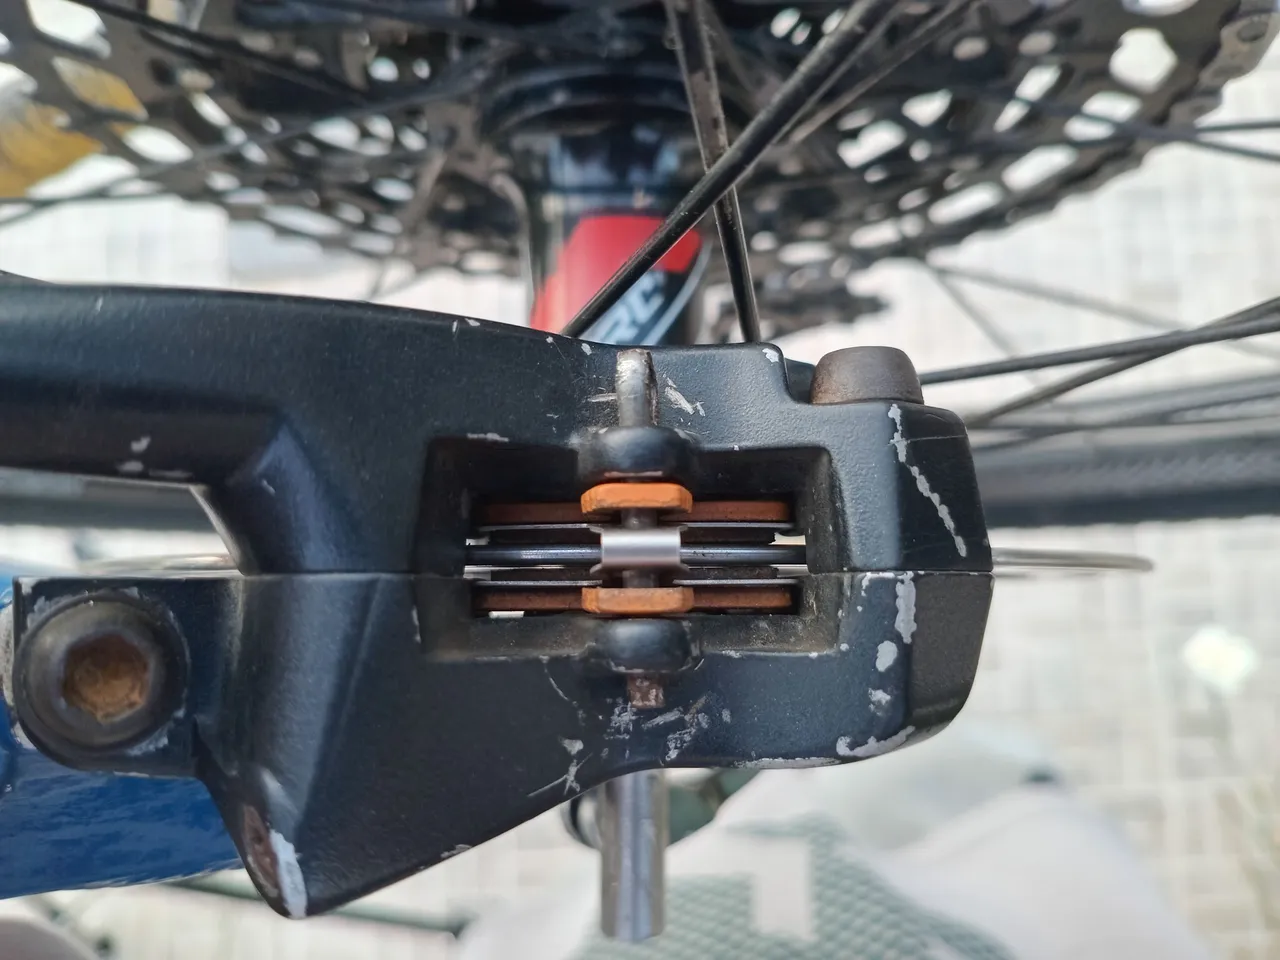
Without disassembling anything, look through the top of your calipers and check the pads. If they are very thin, replace. If they are metal-to-metal, definitely replace! If they are fine, just check the pin and make sure everything is tightened.
Spin the wheel and try to hear if any rubbing sound comes from the contact between the calipers and the disk. Rubbing pads may be slowing you down.
How's your chain?
I got chain OCD, not gonna lie. I'm the guy going around offering people oil/wax whenever squeaky chains go past me. Before going out, make sure your chain is clean and well lubed. If you've got a chain-checker (tool to check chain wear), also pay attention to that; bike shops won't charge you to measure your chain wear too.
Below you can see how a well-lubed (dry weather wax) should look like.
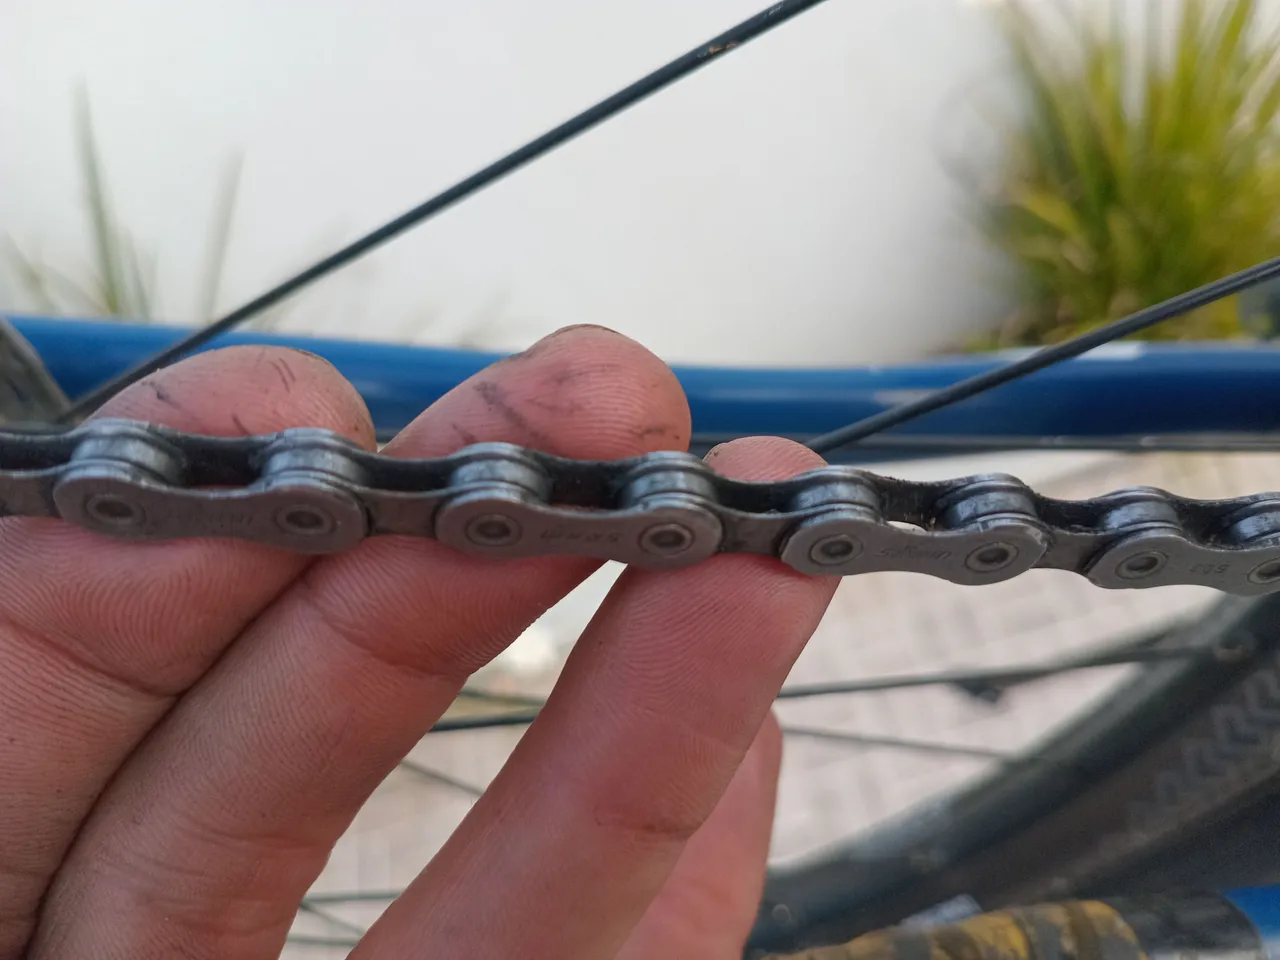
More than once I've seen people break chains on long-distance events because they failed to preview a faulty chain. Without the tools to fix a broken chain on the road, that means end of the road for us.
Be extra careful with bolts
Especially derailleur pulley bolts! Those hidden tiny little bastards that nobody pays attention to can cause a heck ton of damage.
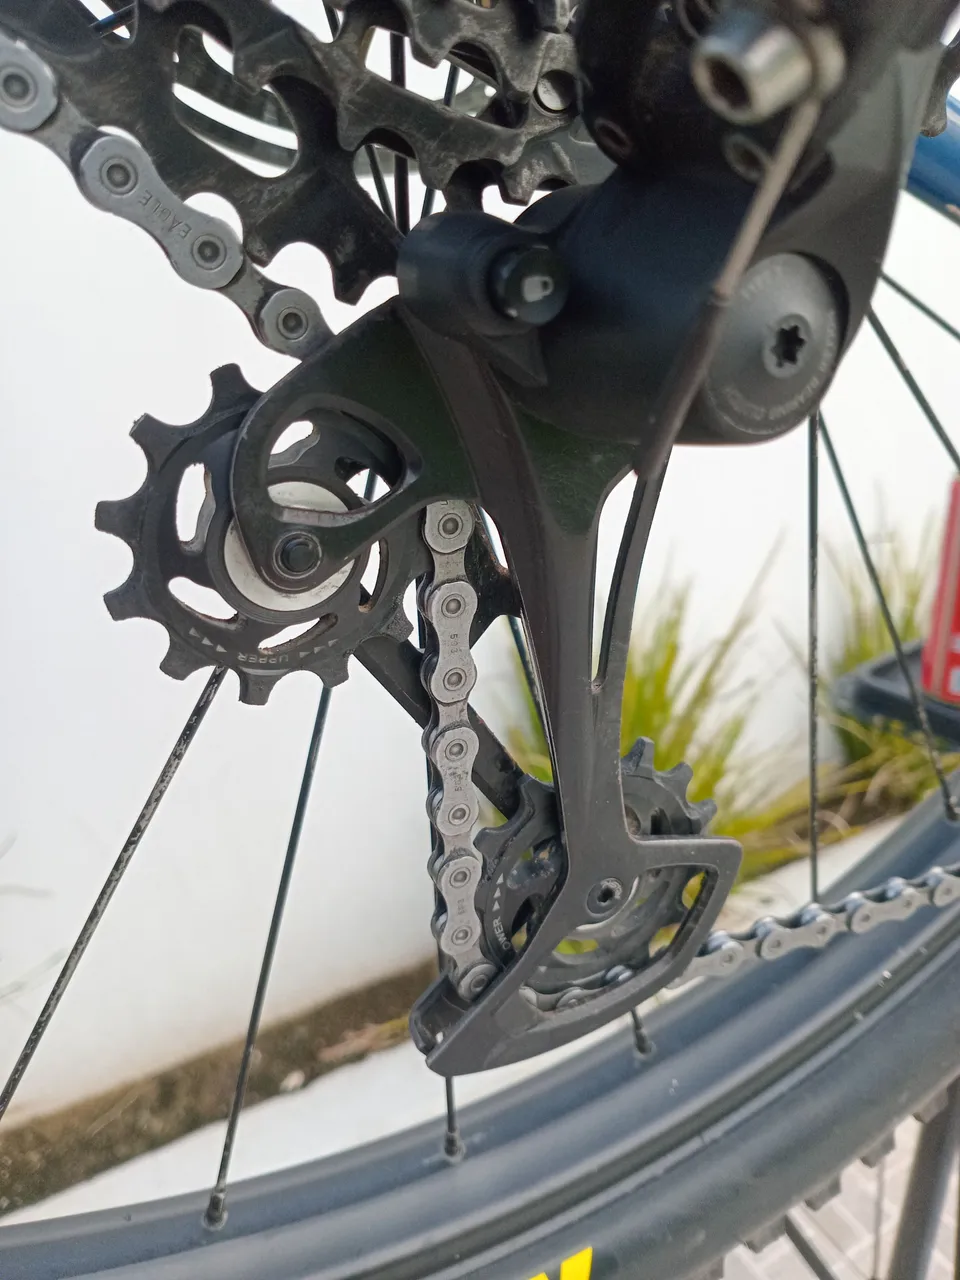
Sram used to be known for faulty pulley bolts. Upper bolt would come lose mid flight, which would derail the upper pulley resulting in catastrophic ultra destruction of the entire derailleur if one kept pedaling with enough intensity (aka derailleur explosion).
I mean, for real, if you are cycling hard and one pulley comes off on any derailleur, that's gonna end bad.
The solution is as simple as making sure those two little bolts are tightened properly. For those more inclined to bike mechanics: pull the bolts off, check the pulleys, apply blue thread locker and install them again. Done. You won't dream of explosive derailleurs anymore.
Since you got those dirty hands on the derailleur anyways, go through the gears and make sure your bicycle is shifting gears properly. It's a lot easier to adjust gears at home than in the middle of nowhere (like it happened to me once because of a bent derailleur hanger).
By the way, I'll post soon about adjusting gears, so stay tuned for that.
General check-up
I didn't take photos, but here are other minor stuff to check.
- Tire pressure
- Seat clamp / bolts
- Overall look of cables (any rusty cable may break anytime)
- Check pedals
- See if your stem/handle bars are tightened
- Make sure your GPS unit is charged
- Make sure your lights are charged
Conclusion
It may sound overly complex, especially for beginners, when we talk about checking brakes, chain, and other more "technical" stuff. It's not. When in doubt, visit your local bike shop and ask them to show you how to check these items. If they refuse or charge for that, they are A**holes.
Once you got the knack of it, the process will be as intuitive as making sure you packed food and filled the water bottle. Also, the more experienced we become as cyclists, we'll start to feel when the bicycle is weird before it breaks down.{Dreams of bicycle noises}.
One final note: A check-up before going out doesn't eliminate a regular bicycle service and vice-versa. I've seen brand new bicycles fail on long rides precisely because the owner failed to check simple stuff.
I hope that this quick post helps you somehow and, as always, don't forget to have fun.
Did you cycle this weekend? How was it? Do you check your bicycle before going out?
Lemme know in the comments
Peace.
If you enjoyed this post consider leaving your upvote for a hot coffee.
Find me on Twitter: https://twitter.com/mrprofessor_
~Love ya all,
Disclaimer: The author of this post is a convict broke backpacker, who has travelled more than 10.000 km hitchhiking and more than 5.000 km cycling. Following him may cause severe problems of wanderlust and inquietud. You've been warned.