I wanted to work on something inspired by the original generative art creators and I stumbled on a piece by Frieder Nake called Homage To Paul Klee.
The rest of this post will disect this incredible work by Nake and recreate the effect using pico8. I will include snapshots of my progress.
Everything begins with creating a row of lines. After this, there needs to be random slopes along the grid. In the original there is no overlap. In my code I don't overtly preserve the overlap.
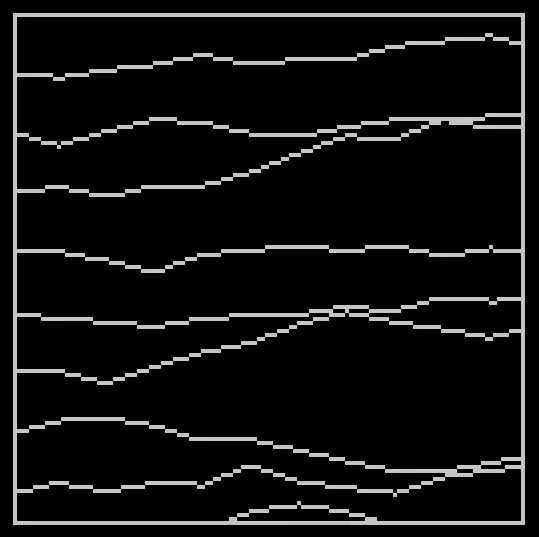
This is based on code, so every time I run this program I can generate a new piece.

From the original, I see an incredible harmony of precision and randomness when I notice the vertical and diagonal clusters. Some clusters are purely vertical, but are randomly spaced within a precise region. The other clusters are diagonal and connect to random x-values in a precise region. There are occasional hops, where the vertical lines go past the row as well. Here is my attempt to recreate this effect.
I included some side experiments where I use the horizontal slopes as rails for organic particles.
The result is OK, but I am noticing that the output has a pattern that shows a series of vertical lines and a series of diagonals. It happens more than once each row. I decided to reduce the scanning area to be a fraction of the width times a fraction of the height. This way I could just store the location of a sample of the white pixels and overwrite the table to save space.

Pretty close, but I needed the following changes to get even closer. I limited the number of lines drawn and then drew twice as many diagonals.

With the circle, I could say that amount of progress is good for today.