Introduction
Splinterlands is one heck of a game with numerous game plays that are possible with the cards alone. But the game does not stop there. Players can also combine the cards for their function, levels for their potency and abilities for their additional damage. Well, that sounded scientific, didn’t it?
Here’s what it means in a simple language – the higher the level of card you hold with a damage ability, the better is your chance of winning—got that? So, today we will look at one of the abilities that some cards hold. We will be talking about the ‘Blast’ ability. It happens to be one of my favourites, and I am going to show you why.
We will be looking at a few examples of the Blast ability monsters but before that, let’s understand a bit more about Splinterlands to help newbies going through the article.
Here it is.

What Game is Splinterlands?
Well, it is one of the earliest blockchain-based collectible games. Though I started playing the game quite late, on hindsight, I should have had got going early. Anyway, no need to despair, there is so many opportunities no matter when you start.
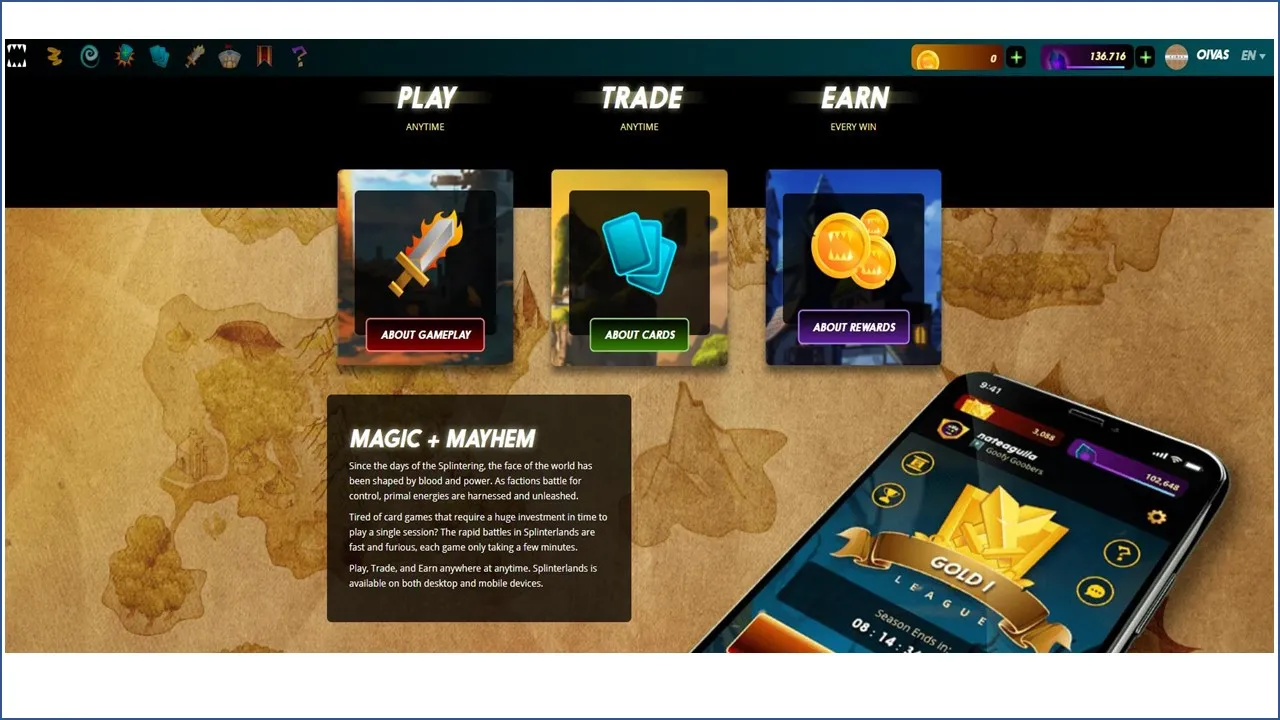
Splinterlands is a digital card game which allows you to collect, trade, battle, rent and even earn on the cards. It is one of the most generous games that I have seen where cards, potions, Dark Energy Crystals (DEC. Cryptocurrency) are given out every day to thousands of players for just playing and winning daily quests. And there are tournaments or guilds that you can join.
Just to give you an idea of few of the uber-expensive cards, take a look at this recent purchase of Prince Julian at USD 3500.
Card Purchase Contract: Gold Foil Prince Julian
Did you go to the link and see for yourself? I hope you did. And I hope that gives an overview of the game. I just love the game, and those interested can go to Splinterlands’ site and join. If you want a link to join, I will leave one at the end of the article which you can use.
Scroll down, quick. 😊
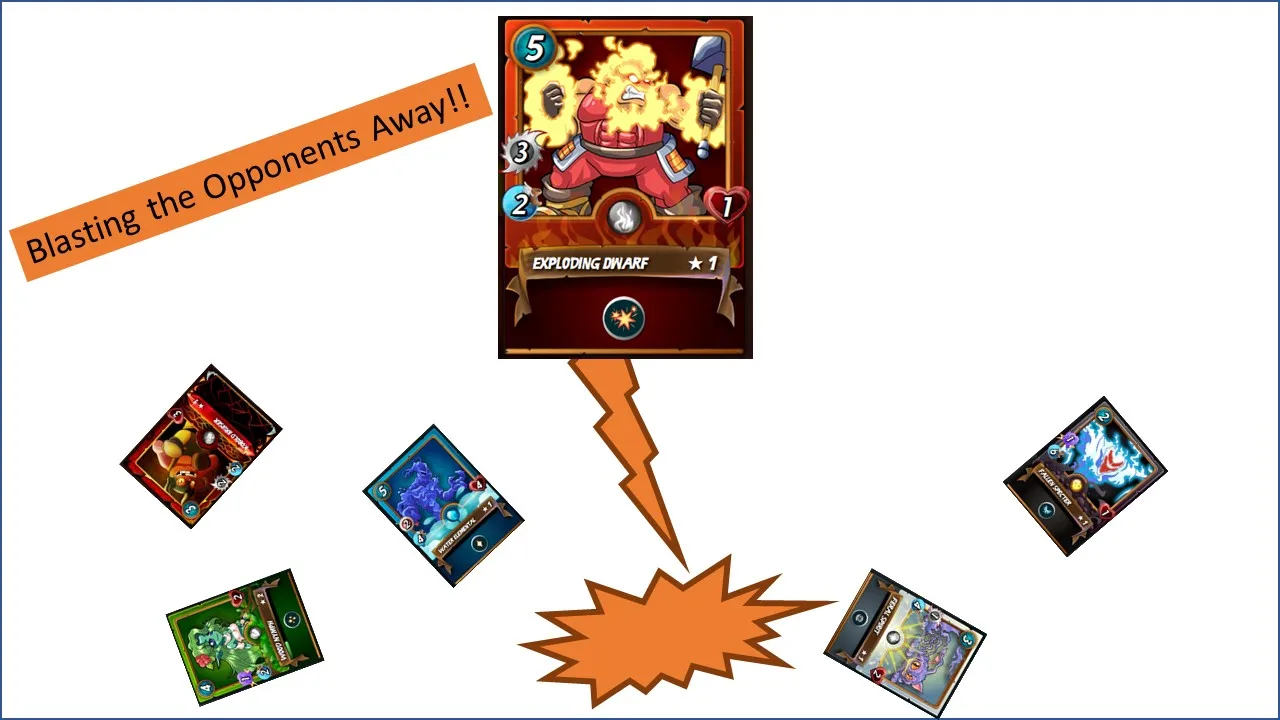
Blast Ability – Twice the Attack in One Go!
Now, the blast ability simply allows the card to do additional damage than what the cards’ stats say. For example, let’s look at the Exploding Dwarf, which is one of the monsters with the blast ability.
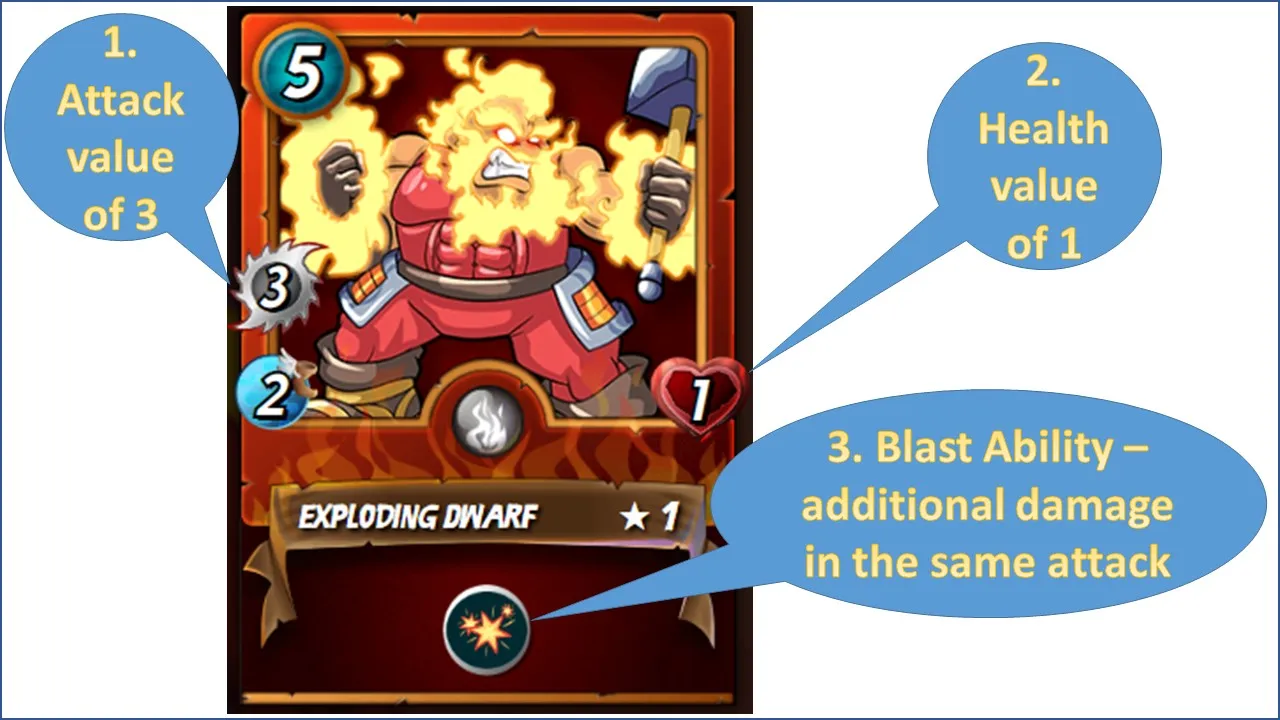
The card, in its basic form, allows the monster to deliver an attack value of three with a speed of one and the health value of one. However, with the blast attack, the card can damage not only the opponent’s card but also the next monster. And that would be an impressive feature when you have imposing opponents.
Well, while all this is great, how do we know how the card works in the real game? Oh, good question.
Let’s play the card and find out for ourselves. 😊
Blast Ability In Action
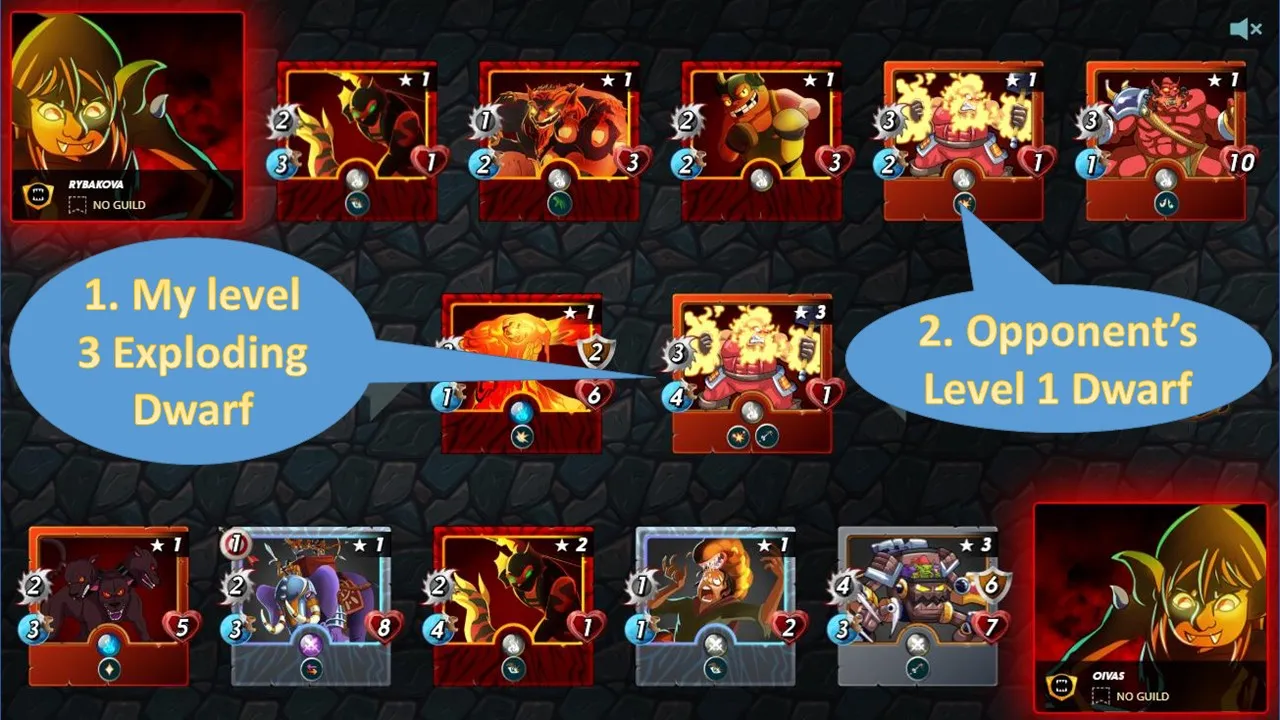
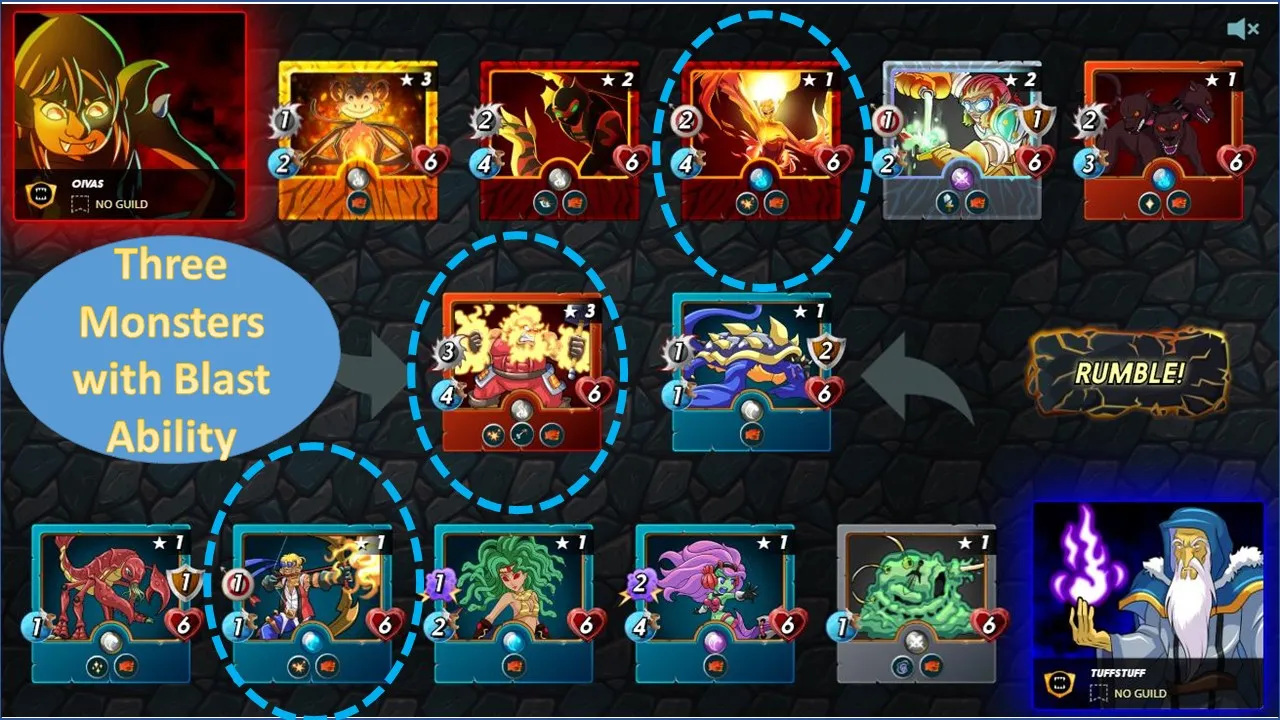
I have chosen the Exploding Dwarf in my battle lineup to exhibit the blast ability. Let’s look at the placement of monsters before the actual battle.

Screen 1: My Opponent and I Face to Face
One of the rules of the game was that only melee attack monsters could be used in battle. Hence we had to choose melee attackers only.
Here’s a bit of explanation of my lineup and the reason for choosing the monsters that I did. Let’s see.
Position 1: Exploding Dwarf
Since my Dwarf is level 3, I put it right up in front. The reason for that is apparent - one, the Dwarf cannot attack from any other position, and two, the Dwarf better attack before any other monsters attack it and finish it off. After all, it has a health value of one only.
Besides, it was a bit of a gamble, to be honest. The speed of my level 3 dwarf was four, and I hoped that there was no other monster in the opponent’s lineup faster than the Dwarf. What that does is that it allows the Dwarf to move first and deliver its lethal attack. In most cases, that would be the only attack. Why you ask? Because it will die-off at the first instance of the opponent’s attack.
We will see that in this battle.
Position 2: Goblin Mech
You would agree that while the Dwarf is lethal, it wouldn’t withstand much of the enemy’s attack. Hence a stronger melee attacker was required. The Goblin Mech fulfilled that requirement. While it cannot attack from the second position, it is a stand-by monster to take the first position if the Dwarf succumbs.
Position 3: Parasitic Growth
Parasitic growth was another melee monster chosen for its ability to attack from any position. The hope was that it would end up attacking before any of the opponent’s monster ended up targeting the Parasite. Again, a monster with low health value.
As many would have guessed, it was also a space filler.
Position 4: Serpentine Spy
I have a lot of respect for this card as it is one of the monsters which can attack from any position and deliver an attack value of two. It is quite useful with a caveat that hopefully, it attacks before any of the opposing monsters attacks it. I hope the reason is apparent, looking at the Spy’s health value.
Position 5: War Chaang
This choice is entirely to hold position at the rear should my monsters in the front be run over. Also, while it cannot attack from any position in the lineup, it has an alternate ranged attack. Now, this monster is a cheat code for players.
Why, you ask? Because it will be available as a melee monster, but if not used in the first position, it will act as a ranged attacker, even if the rule says only melee attackers.
Cheat code, isn’t it? You bet!
Position 6: Cerberus
Again no prize for guessing why the Cerberus was used in the sixth position. It was just for its self-healing ability and the fact that it can withstand attacks from opposition’s monsters targeting the rear end of my lineup.
So, the Cerberus will take the attack and keep self-healing. And should it come to the first position, in the unlikely event that my lineup is run over, it can stand on its own.
Opponent’s Choice
Well, nothing much to read as far as the opponent was concerned. The only observation was that the Dwarf in the fifth position. The Dwarf cannot attack from that position and yet is vulnerable to my attack. So, a different monster should have been chosen.
Hey but let’s not count the chickens before they hatch.
Let’s see how I fare in the battle.
Screen 2: And I Attack
One of my gambles paid off. The exploding Dwarf was indeed the fastest in both the lineups, which means that it got to attack first. Here’s how the attack appeared.
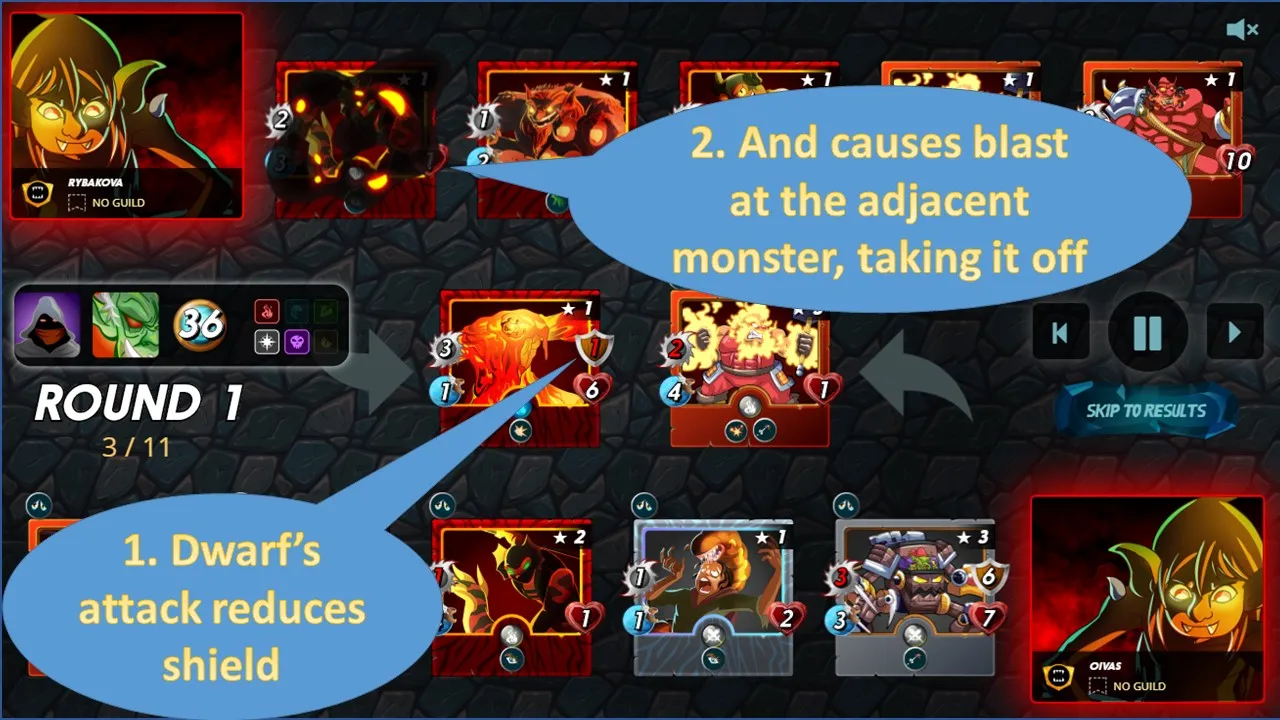
The attack was good enough to take out the opponent’s Serpentine Spy. Not bad for just one attack, huh?
Screen 3: My Serpentine Spy Take Out the Opponent’s Dwarf
What an odd situation. My Dwarf took out the opponent’s Serpentine while my Serpentine took out the opponents Dwarf. So, I make the cake and eat it too.
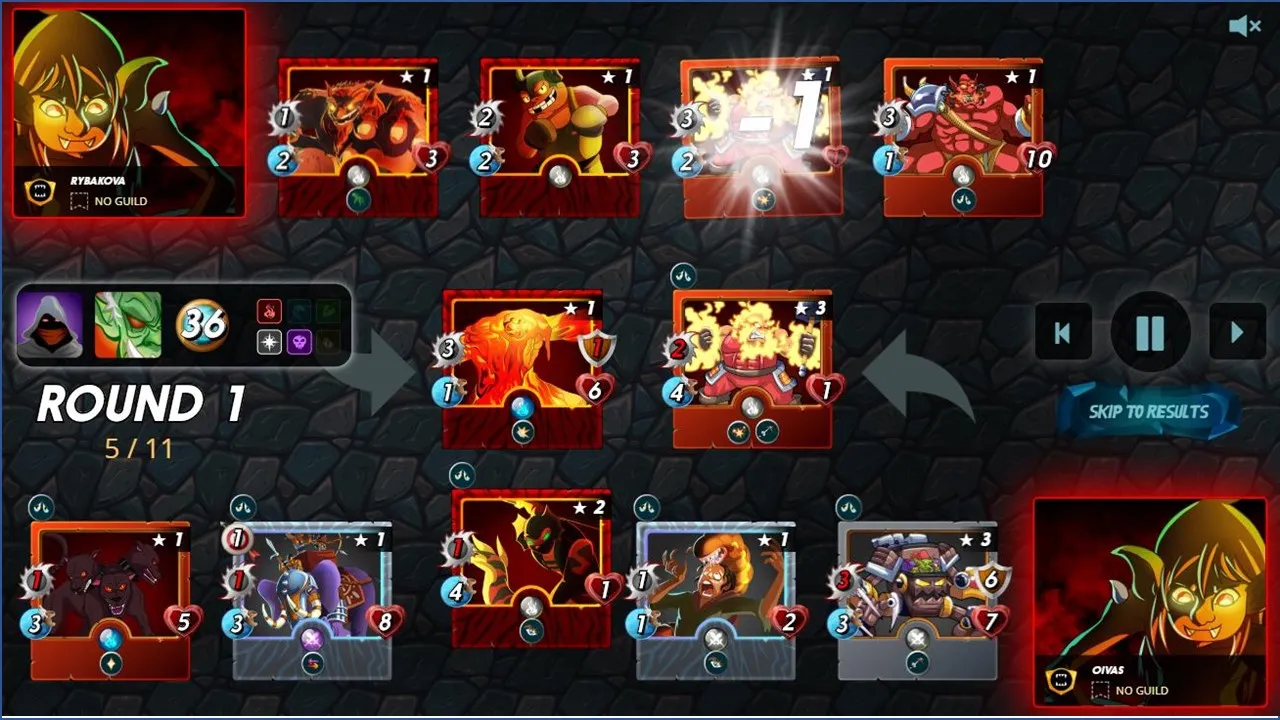
See that? So, the opponent’s Dwarf is gone even before it could make its presence felt. But then again, my Dwarf followed soon after.
Screen 4: My Dwarf Succumbs Too
Well with its work done, the Dwarf succumbs. It was expected. There was no way that it could survive for long with a health value of one.
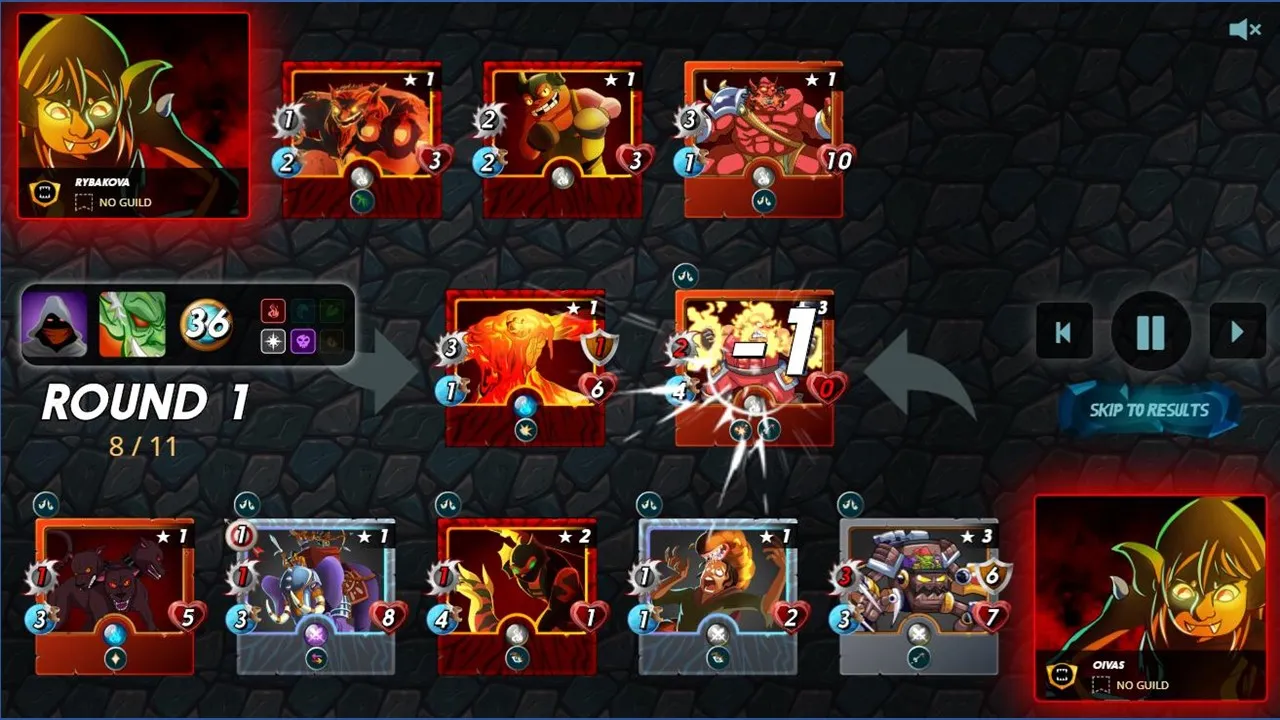
But then the Goblin Mech took over which it made it appear that the game was mine.
Screen 5: I win
After the Dwarf’s departure, it was just about how fast the game would end. On a weight-to-weight basis, I had few of the stronger monsters, so the game appeared to tilt towards me.
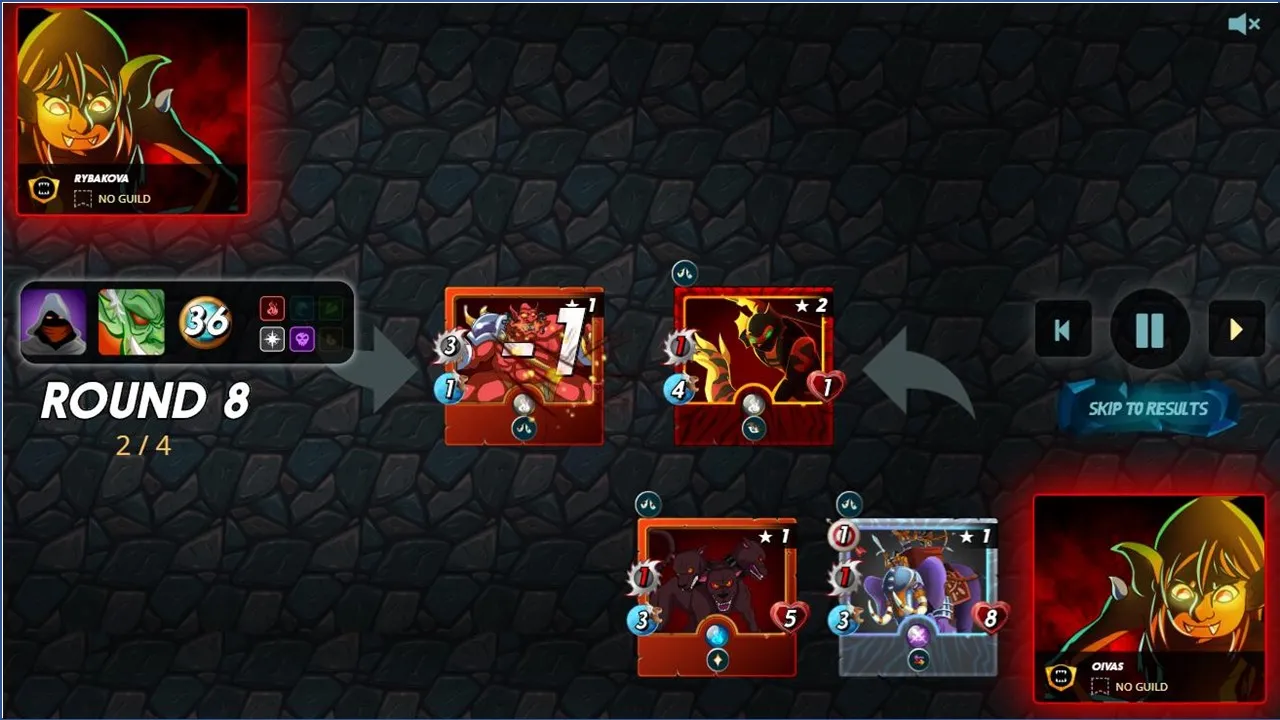
And that’s how it ended. Three of my monsters were still alive and kicking (quite, literally).
Do I Choose the Blast Ability Monsters Often?
Well, to be honest, no. The issue is their health value. As seen in our battle above in Screen 4, the Dwarf cannot survive beyond a specific limit. Also, you’ve got to be the first attacker or else having the monster in your lineup is of no use.
In fact, the opponents Dwarf proved my last point. If not attacking first, the blast monsters have to be lucky to survive till the end or even to strike once. That’s the issue.
However, a powered-up Dwarf has a lot of ability despite it still having health value of one.
So, Do You Choose Monsters with Blast Ability At All?
The answer is – yes. Out of the many rules that the game allows, Blast monsters can survive and continue under a few of them. Let me talk about one of the rules.
The Health Equalizer Rule
Simply put, the health equalizer rule makes the health of all monsters equal to the highest one. That means, suddenly, the Exploding Dwarf will play the game with higher health value.
So, how does such a game appear? Let’s take a look.
Screen 1: Equalized Health of the Blast Monsters
This was an incredible game selection. While I selected two blast monsters by choice, the opponent too had a blast monster in tow. Take a look at the battle screen.
Amazing, in my opinion. Anyway, all the monsters have a health value of six, and that brings our usually low health blast monsters into the game.
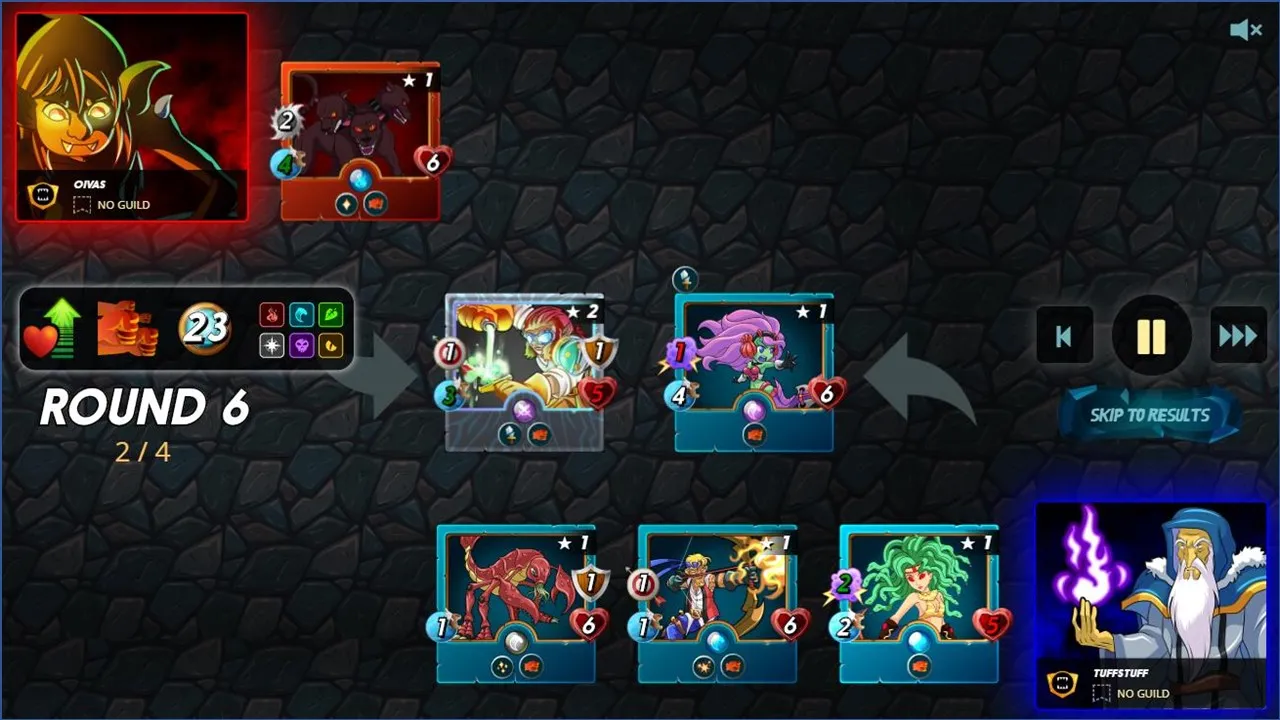
Screen 2: The Battle Begins
Got to say, that despite two blast attack monsters, the opponent fared far better than me.

The Opponent’s choice of magic monsters against my choice of range-attackers worked in his/her favour.
Screen 3: And the Battle Ends Without Much Ado
As I said, the magic monsters pulverised my lineup, and the Crustacean King kept bringing their health back. So, the combined package was quite lethal.
As you can see, my ranged-attackers couldn’t do much once they were in the first position. But the opponent’s blaster was working quite well. Within a couple of more rounds, the game was over.
But you do see how the blast monsters could be used under health equalizer rules. Is there any other situation where these monsters could be used?
Yes, there are.
Blaster Monster Conducive Rules
In case your blast monster happens to be a melee attacker, then the melee monsters can attack from any position rule works well for them. This rule allows them to be hidden among other monsters and yet attack from any position. This is one other situation where the blast ability monsters could be used.
So, that talks about the blast ability among monsters in the Splinterlands world! 😊
So, What Is Your Opinion?
I hope readers got a sense of the game plans that are possible under the blast ability. We were lucky to have games where my opponents were also using blast monsters. As such, you could look at both the strategies to make your own.
I hope you enjoyed exploring blast ability with me, and we will soon be looking at similar examples. If you have any questions, leave a comment, and I will answer it.
For now, bye, and see you soon!
Want to Join Splinterlands?
You can click below and follow the link. All the best!
Image Courtesy: Splinterlands