Bigger is Not Always Better!
That's right I'm back in the garden but this time its the turn of the huge back garden.
If you didn't see my last edition, Back in The Garden - Front Garden Edition (Then you deserve 2B strapped with raw meat and fed to the lions, or you could just click the link above and give it a read) I showed you what I did with the worlds smallest garden.
Now I'm back with a new edition and this time we went HUGE!
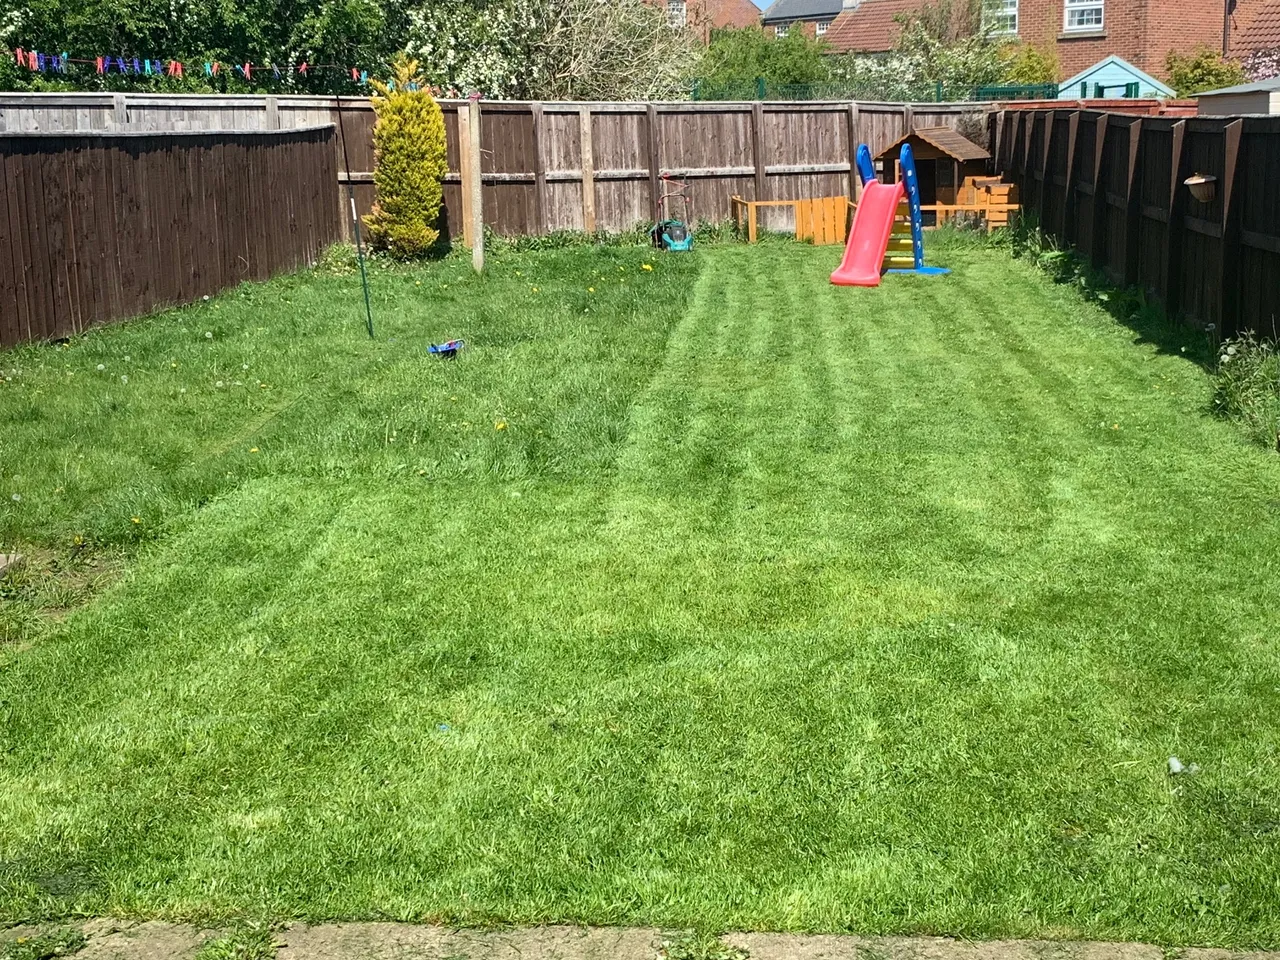
We have always felt privileged to have a nice sized back garden. plenty of space for our children to grow, pets to run around and us to enjoy. The only thing is the maintenance and cost of making this big area look and feel nice. One thing we really wanted though was a summer house. This comes with its own problems as you need to first choose the best area to situate it and make the ground suitable for placing it down on. You would not think that this is difficult when having such a large garden but trust me it is.
So armored with a rotavator (tiller) and several designs I drew up with my daughter's pencil case, I set the blades to the ground and started creating the area for the summerhouse. We choose the top corner of the garden as this area was where we get most sun through the day.
At this point, I did not know exactly how it was going to look or what I wanted in the area but I dug anyways. The first thought was to section the whole top end of the garden with decking and place the summer house on top, but the more I thought about it the less I liked that idea.

I know!
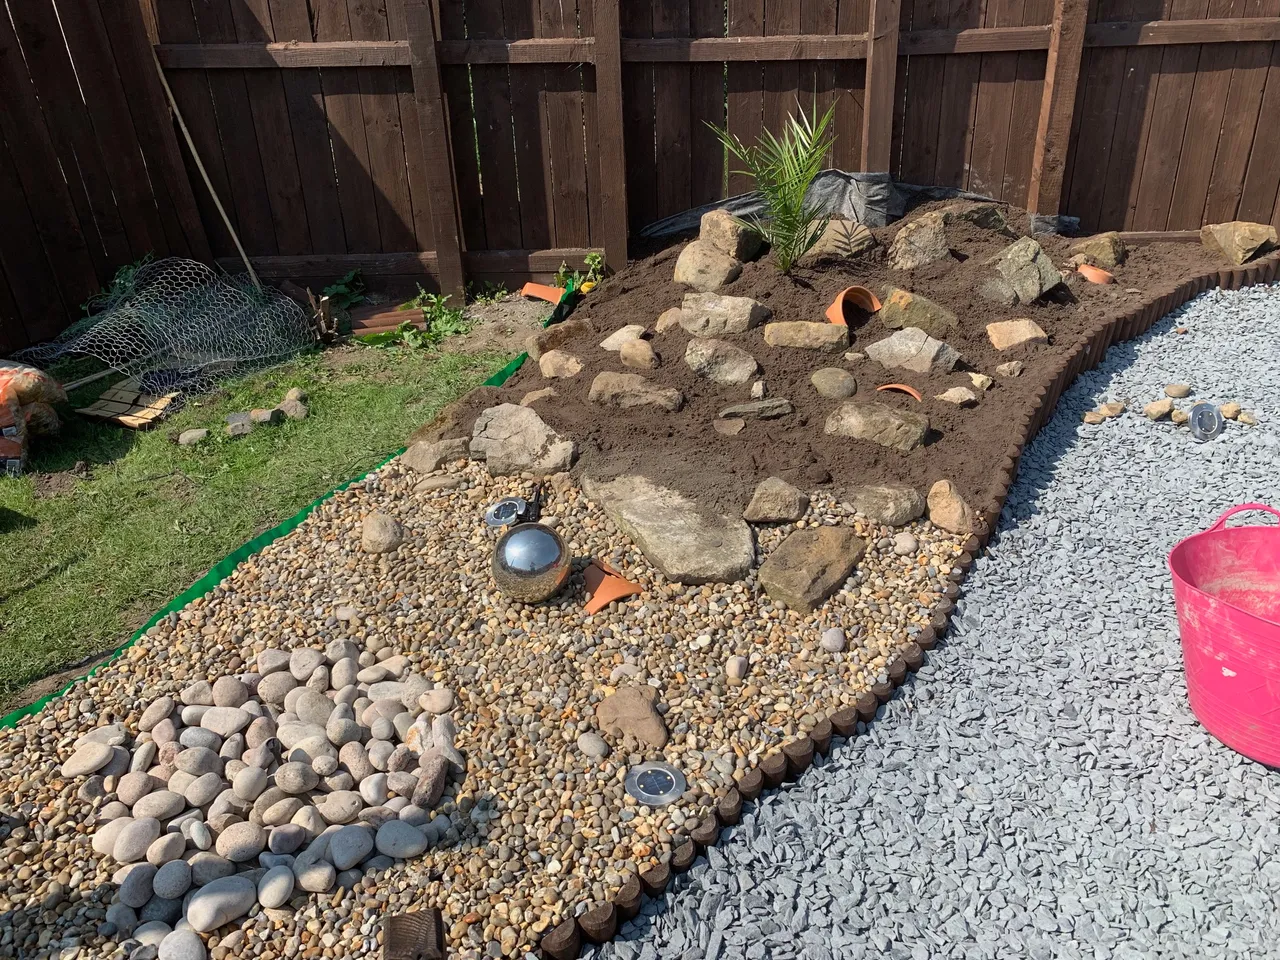
Rockeries need rocks, I mean it's in the name and these were not going to be cheap. Luckily though I was wandering around the grounds of my workplace and spotted several boulders scattered through the area. Online order of aggregate later and suddenly everything was taking shape.
£ Daylight Savings £
One thing I did know I wanted though was a nice water feature.
My original idea was to build what they call a pondless waterfall and after watching some videos on YouTube, I was a self -claimed expert but the cost was far too much to justify. All not lost though as I settled for a cheaper and easier to maintain, water fountain.
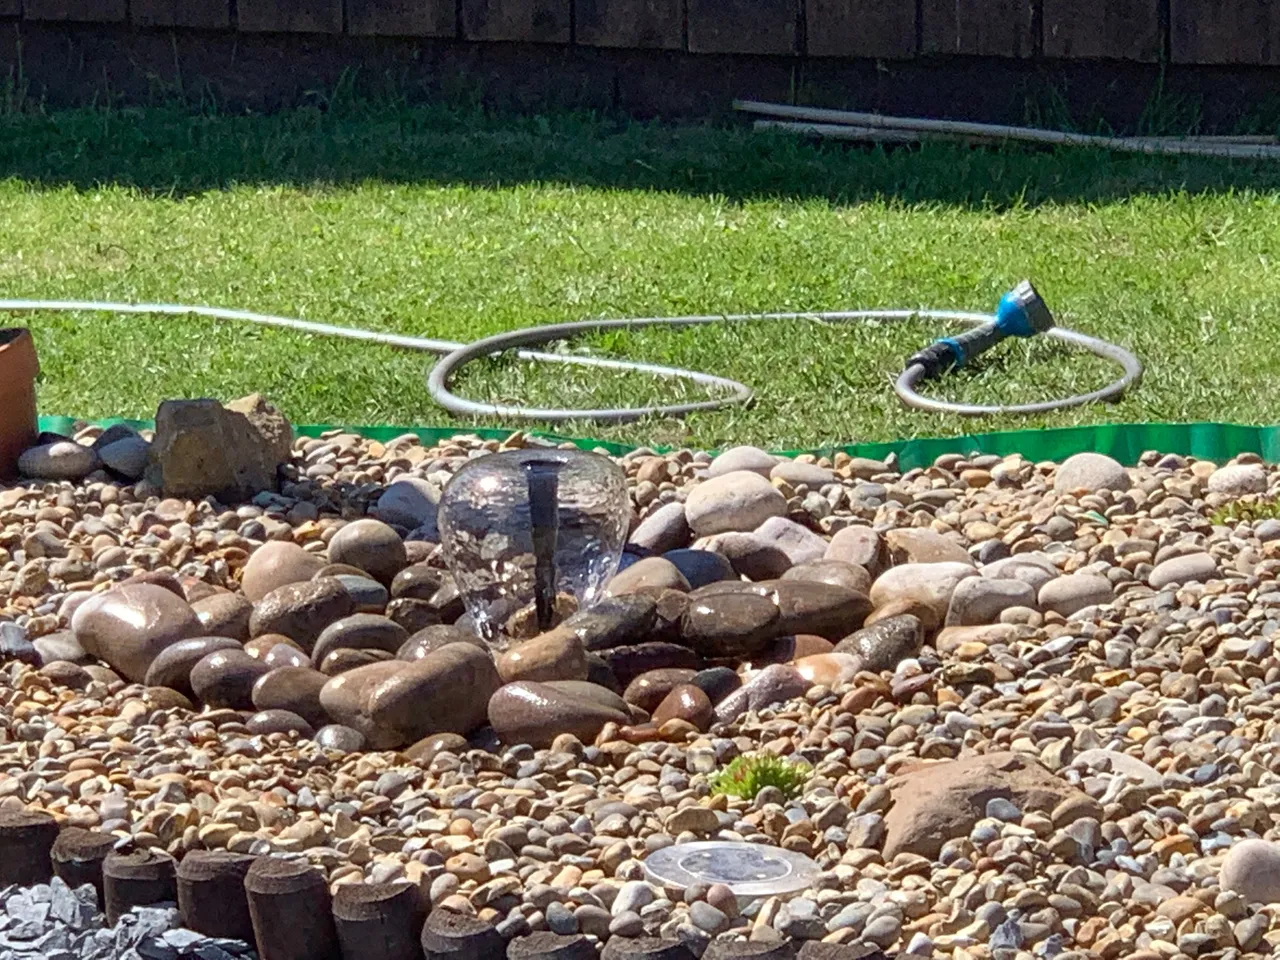
I created this by purchasing a water reservoir with lid and buried it into the ground. The lid enables you to place your gravel on the top and hide the reservoir underneath. I added a solar water fountain and waited patiently for the sun to charge up the batteries. after a full days charge it was time to test it out.
Turns out you should never purchase a solar water pump in the UK.
It was crap!
I did give it a few more days to prove its worth but it still failed to outperform a leaking tap. Amazon prime to the rescue and I had a 240v powered pump to replace it but also had to purchase an outdoor socket and 25m cable to provide the electric that was needed. The double socket though did provide me with a new opportunity as I now had an option to plug in some spotlights which would create a great effect at night time and light up the fountain.

Phoenix Canariensis
NO!
I am not conjuring up a spell from a J K Rowling novel.
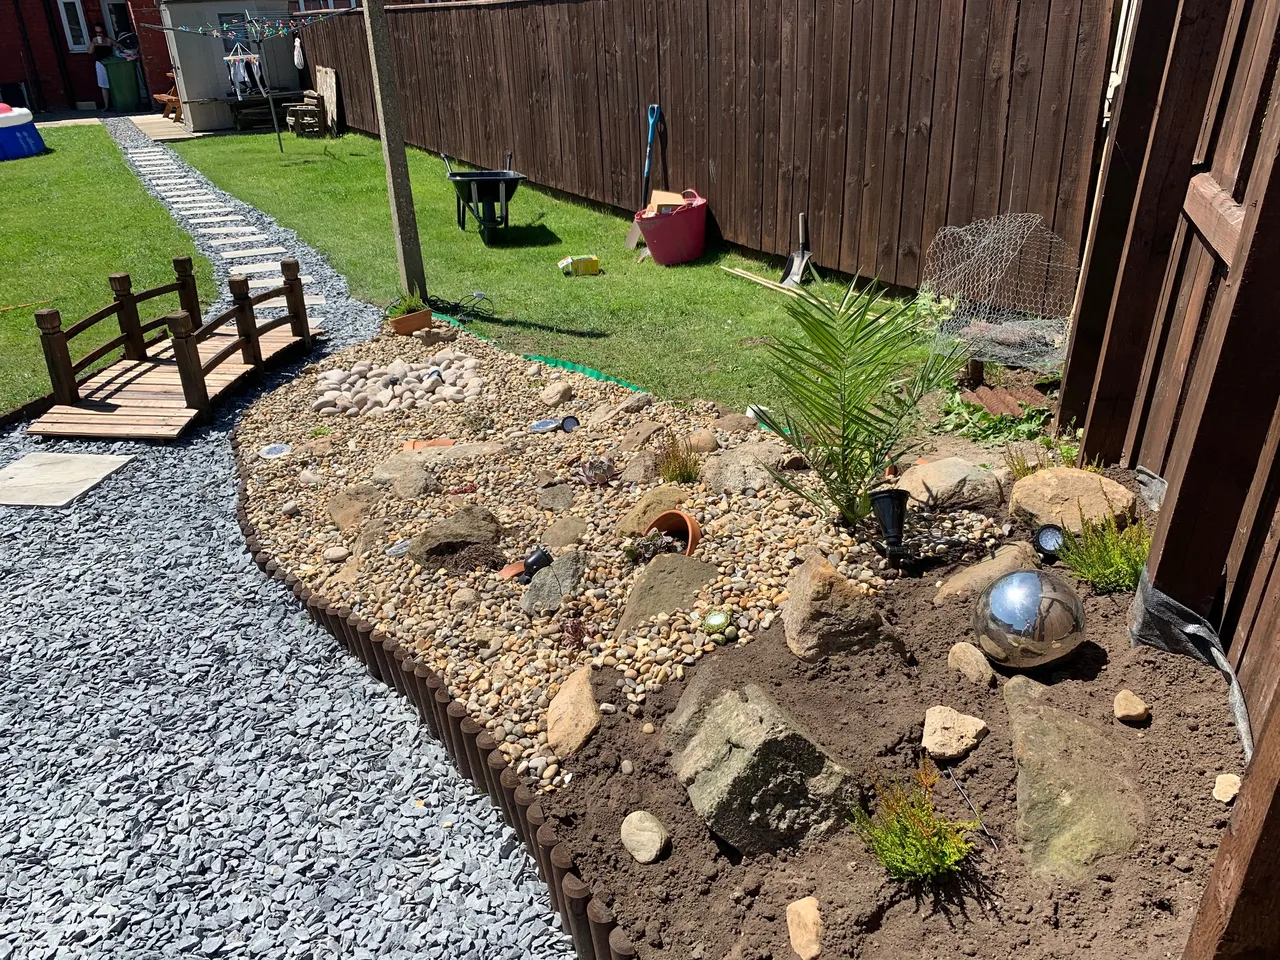
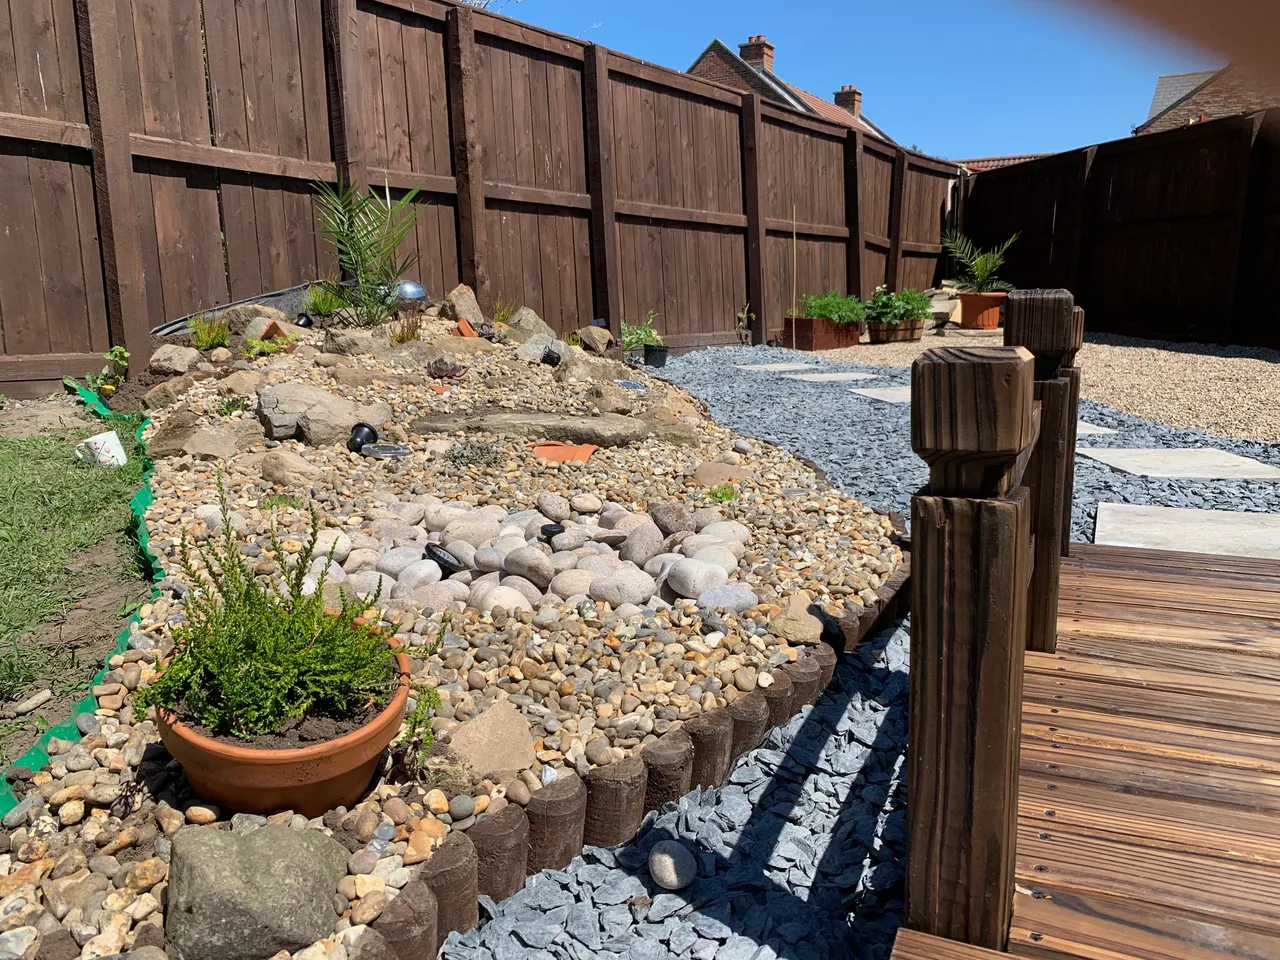
A short trip to a garden center and £40 worth of alpine plants later and we had the makings of a great looking rockery with a water feature and lights.
End of Part 1

Coming in part 2
- adding a path and bridge
- Decking
and a story of a shed
Until then though, thanks for reading and hope you will join me again in my garden. Here are some more images of the project so far.