Hello everyone,
I’m new here, My name is Princess Anopueme. I’m a self taught crocheter, I have always had this thing for fashion and making dresses (I still plan on taking up fashion designing when I save up enough money). I picked up the interest of crocheting in 2020 and since then it has been my passion lol, I’m going to be showing you guys how I made a beanie recently for a client.
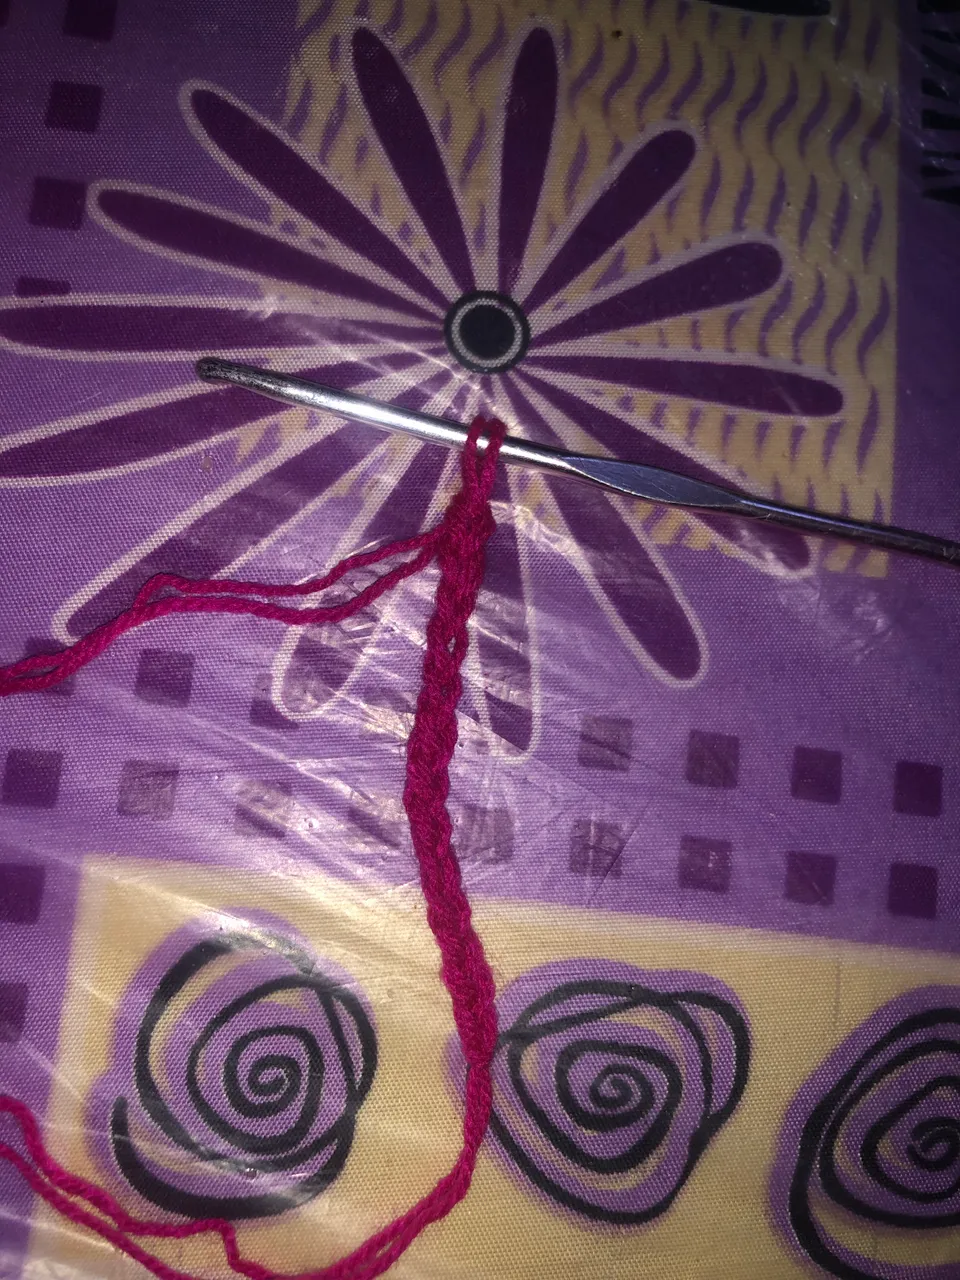
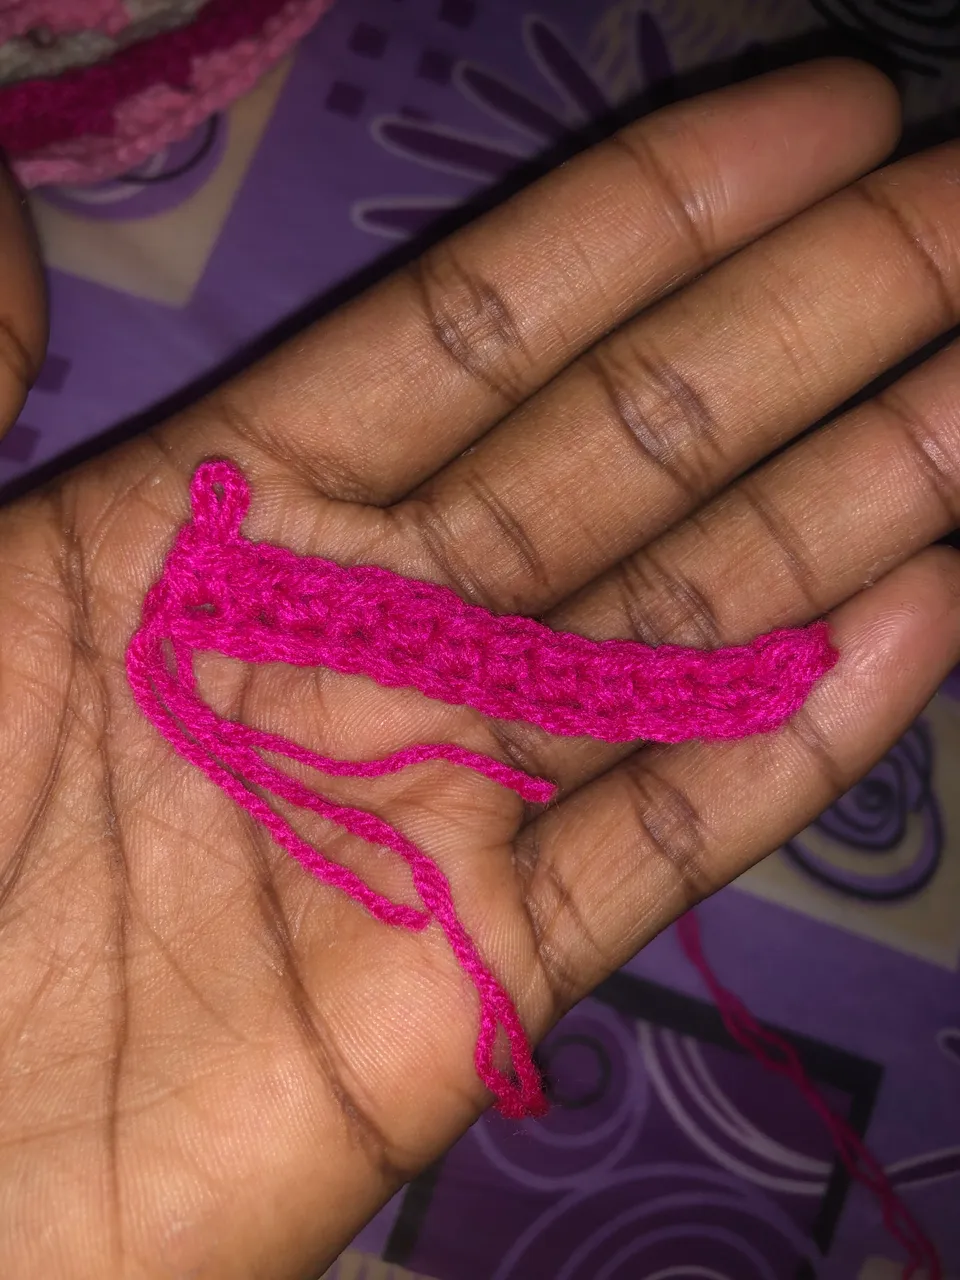
In crocheting we have things called stitches and for this project, I used the chain stitch:
Half double crochet stitch
and single crochet
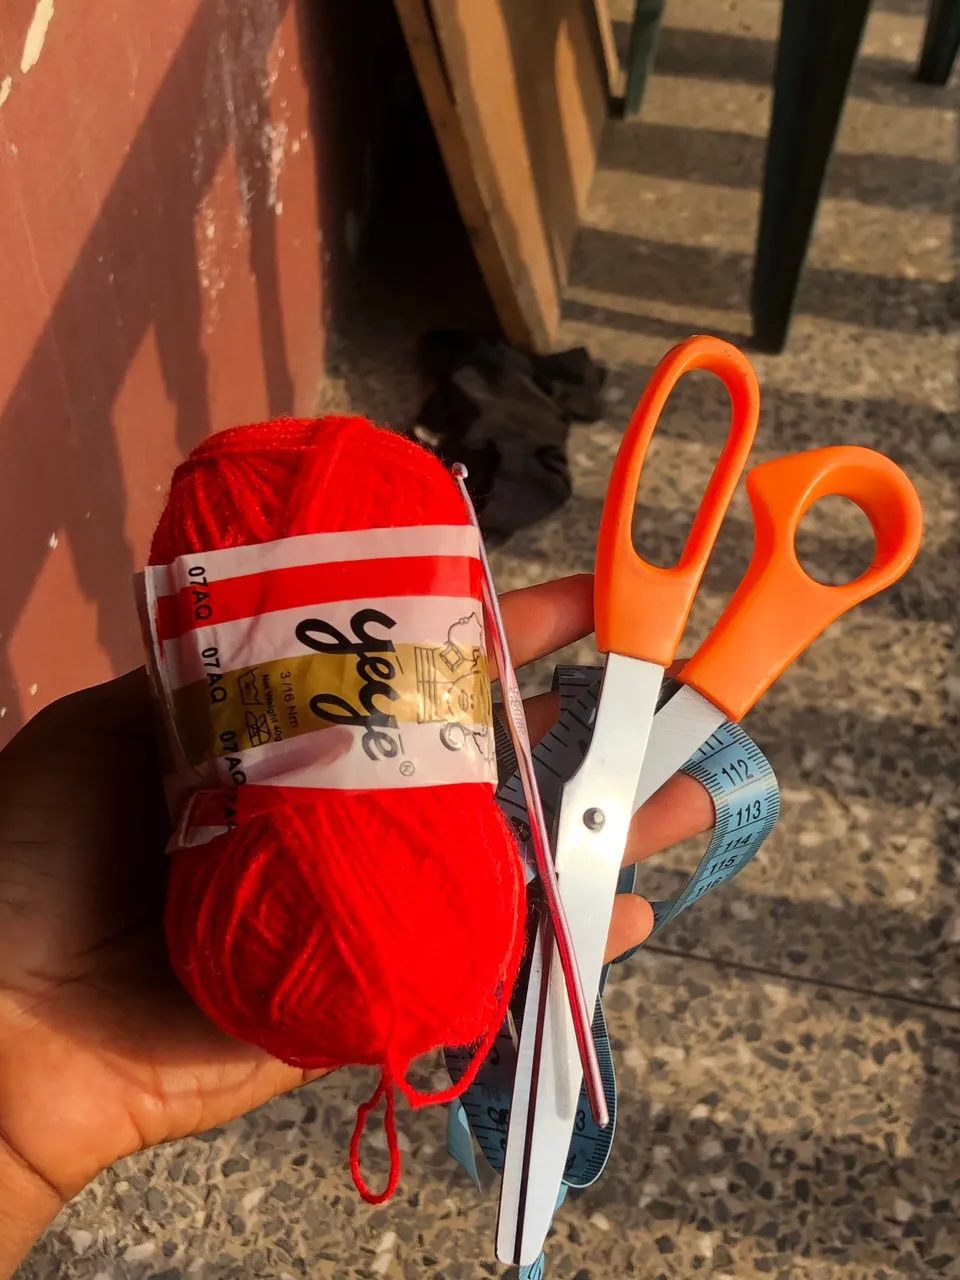
This isn’t my first time making a beanie so this project was quite easy to make. The materials I used for this project are my crochet hook, my yarn, a pair of scissors,stitch Market and a darning needle.
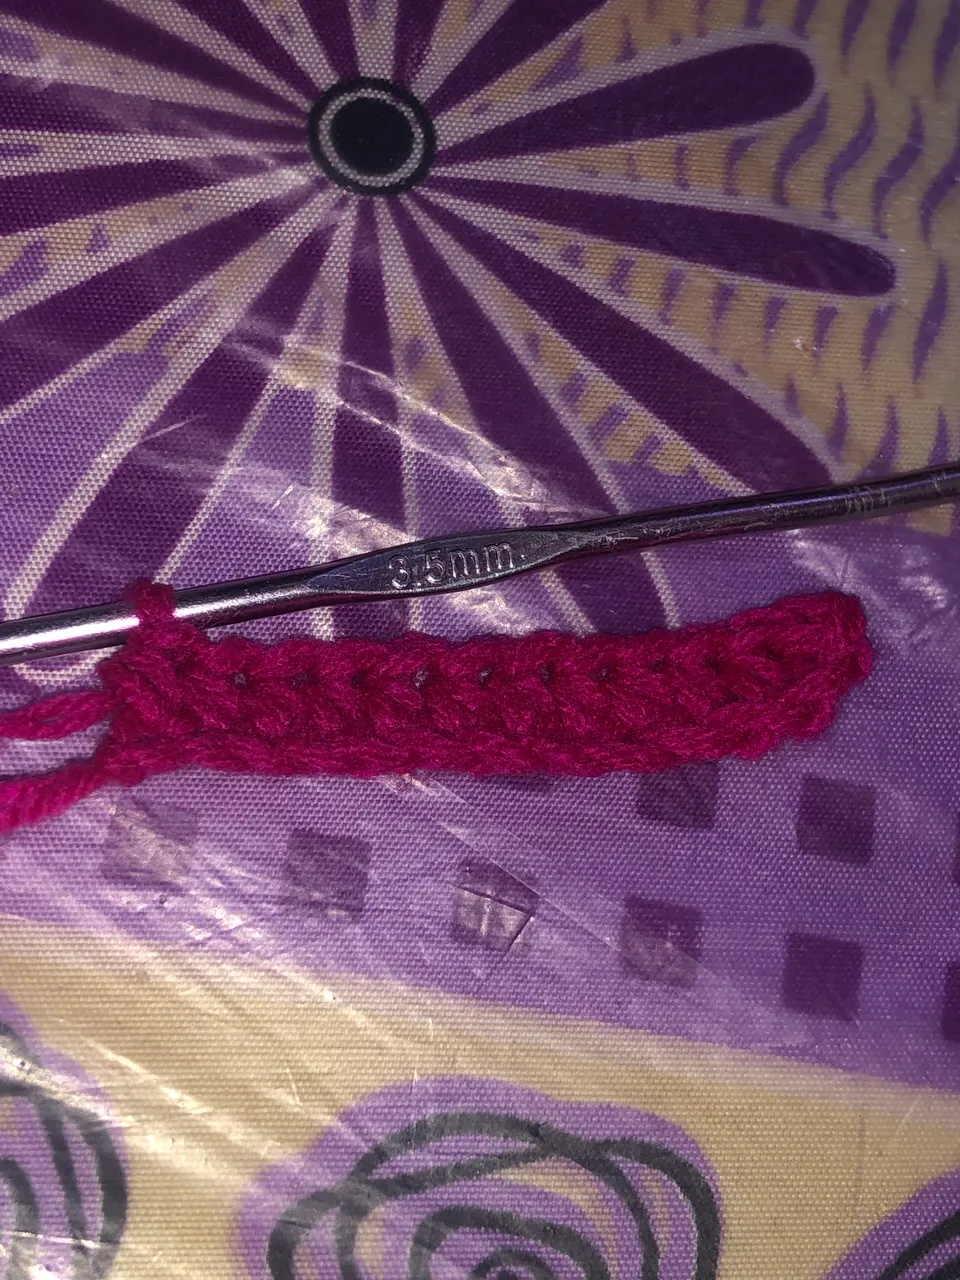
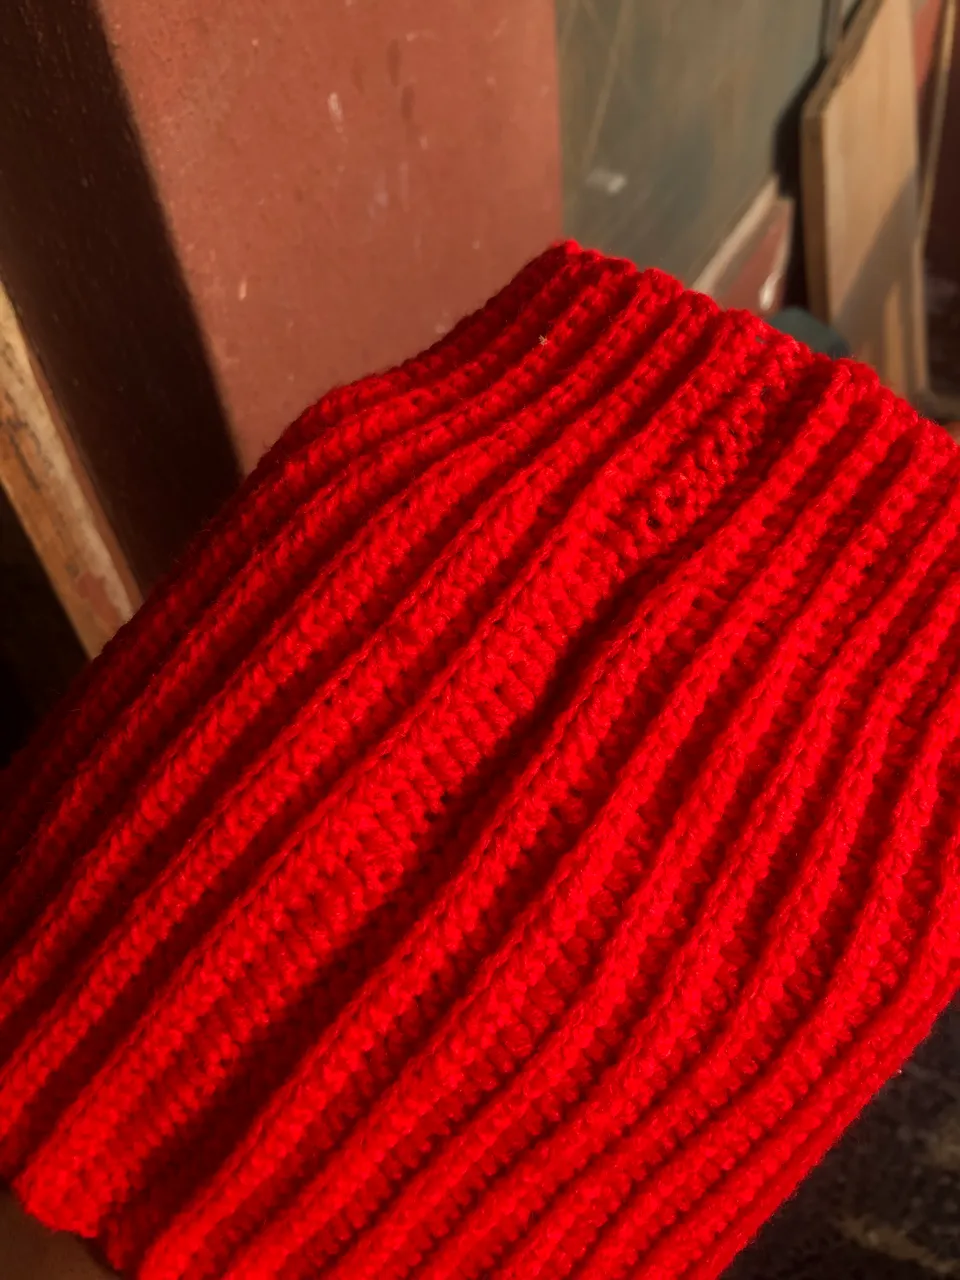
First things first I went to YouTube and the internet to do my research and refresh my memory as it has been long I did a beanie especially for a client. After doing that I discovered that a regular beanie should have a length of 9 inches and a width of 23 inches (for a man). I proceeded to grab my hook and chain and I did chain stitches that measured up to 9 inches using my tape measure as guidance. The stitches I used to achieve this beanie are the back loop half double crochet combined with single crochet back loop only stitch
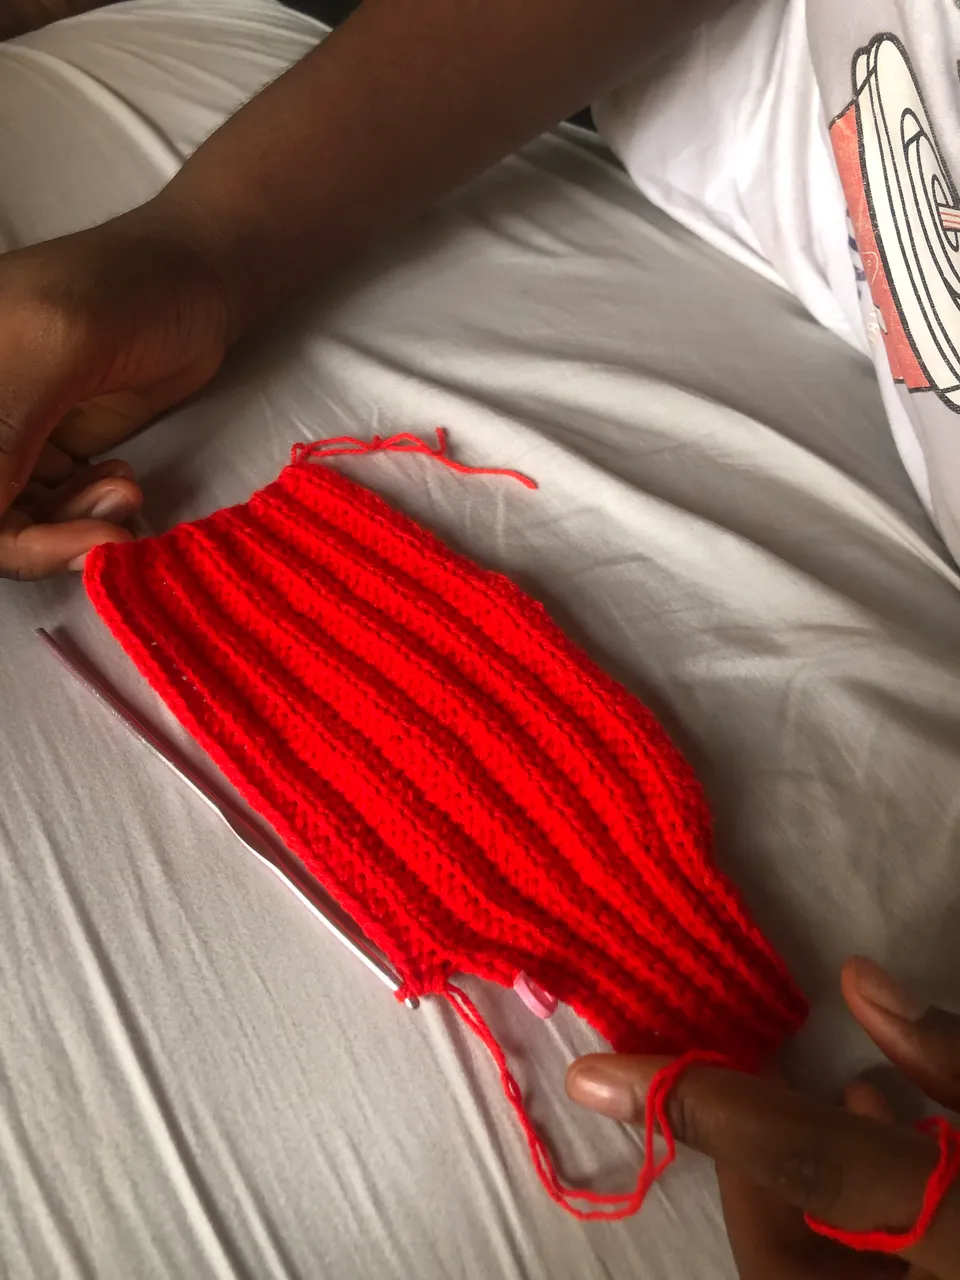
The reason why I used this stitch is to achieve a ribbed look on the beanie
I kept on working on a straight line still using back loop only half double crochet and single crochet stitch
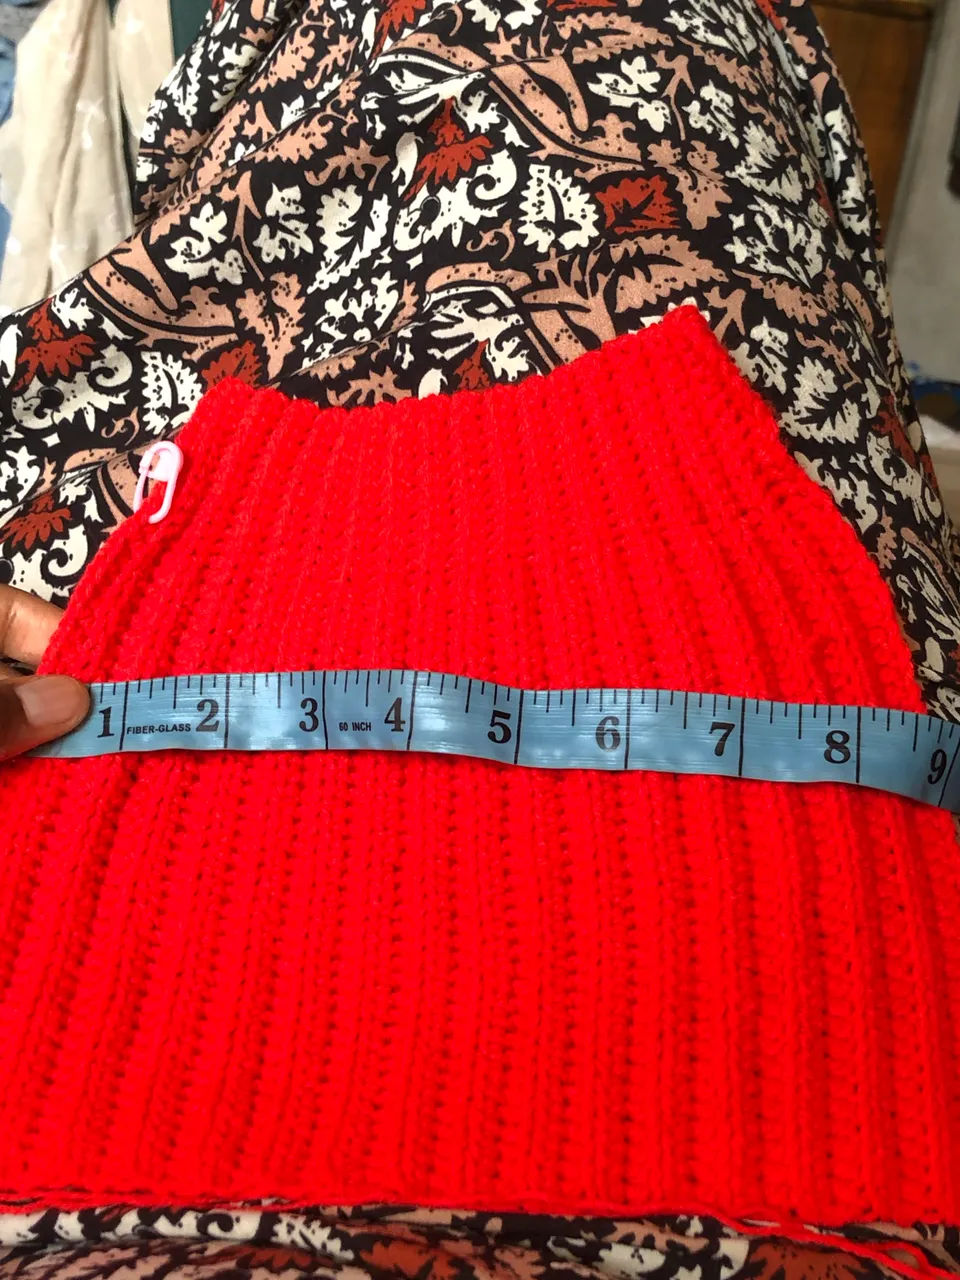
I did this till the beanie measured 21 inches and stretched up to 23 inches which is the initial measurement it’s supposed to be (wool stretches a lot). After that I joined the beanie together with the single crochet stitch because it’s a tiny and tight stitch perfect for joining crochet pieces together.
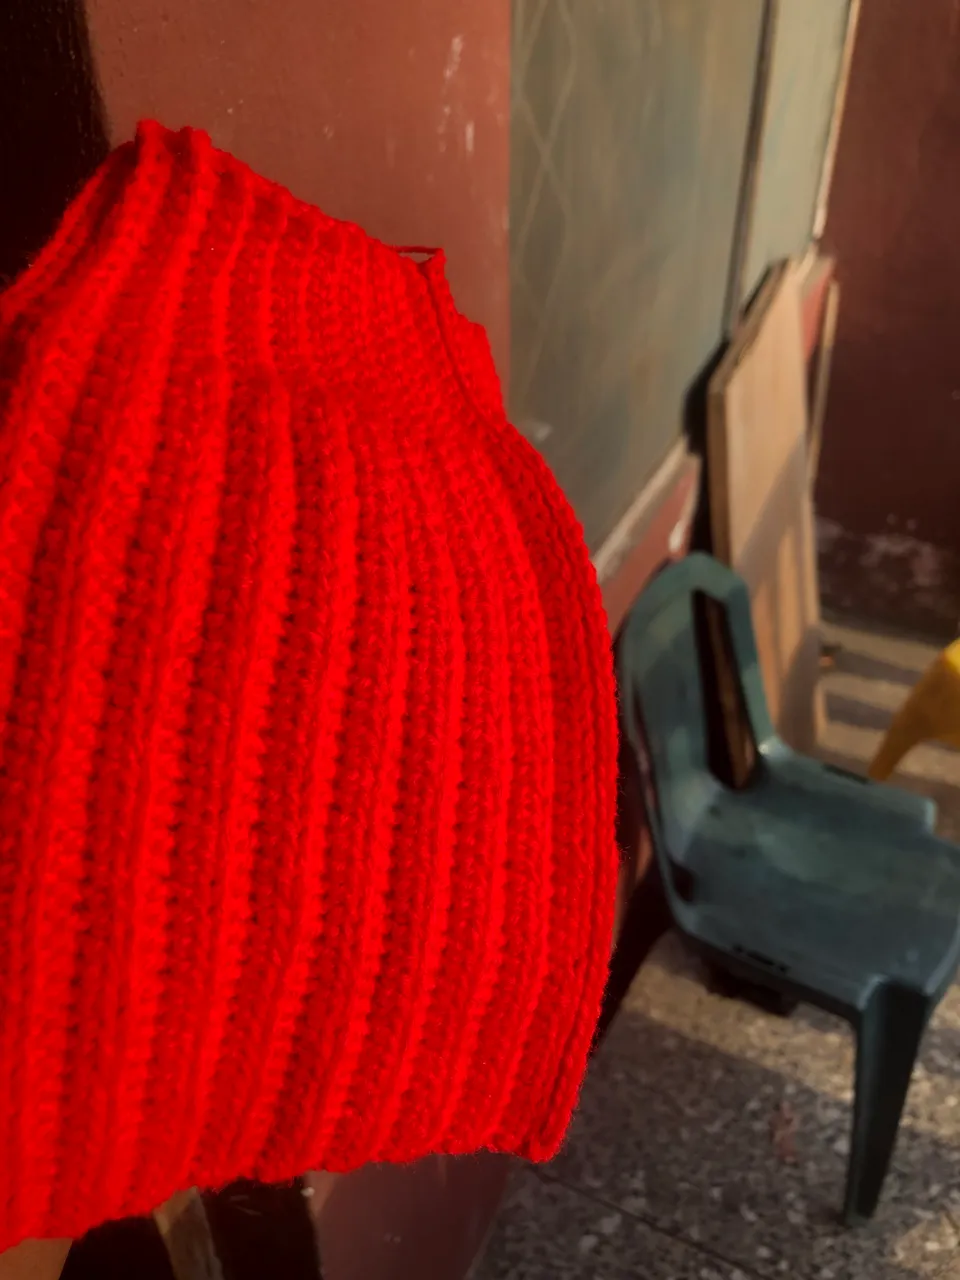
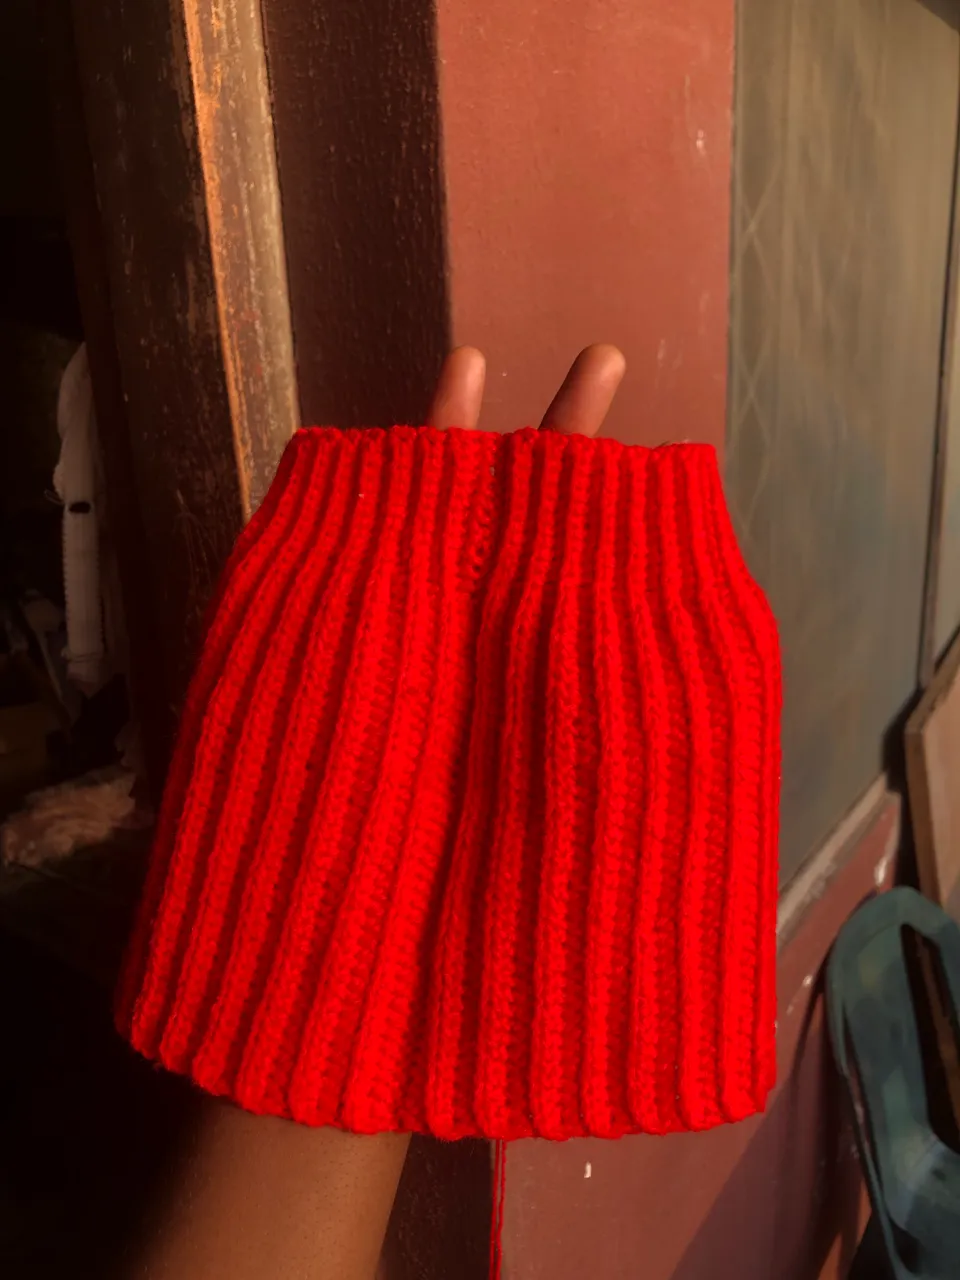
It’s also invisible kind of so you wouldn’t know it was joined together if you weren’t into crochet. After doing that the only thing I had to do next was to close the top of the beanie and I did that using red yarn too. I passed the yarn through the hole on the top of the beanie that yarn acted as a drawstring to pull the top together.
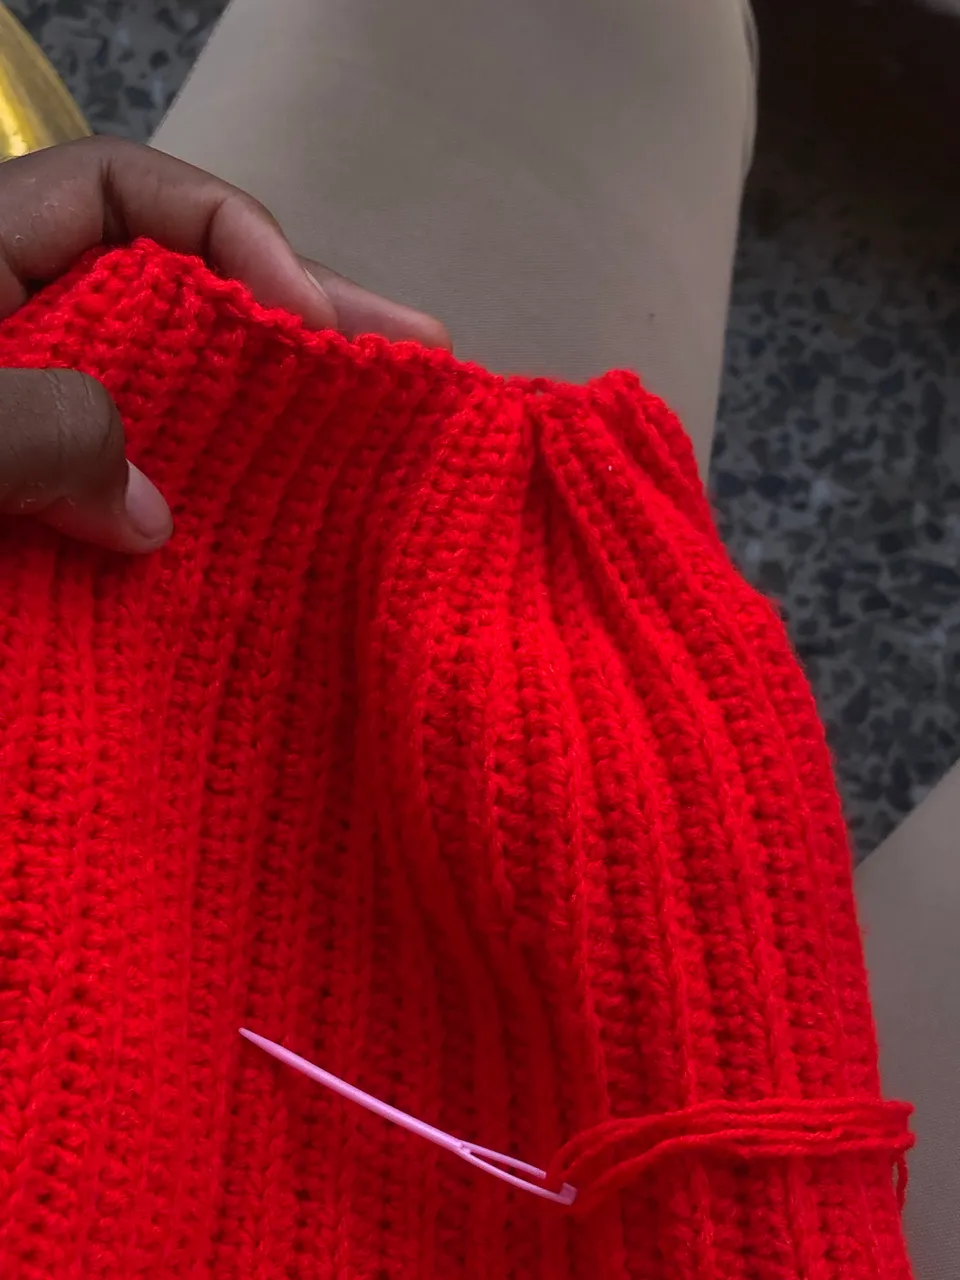
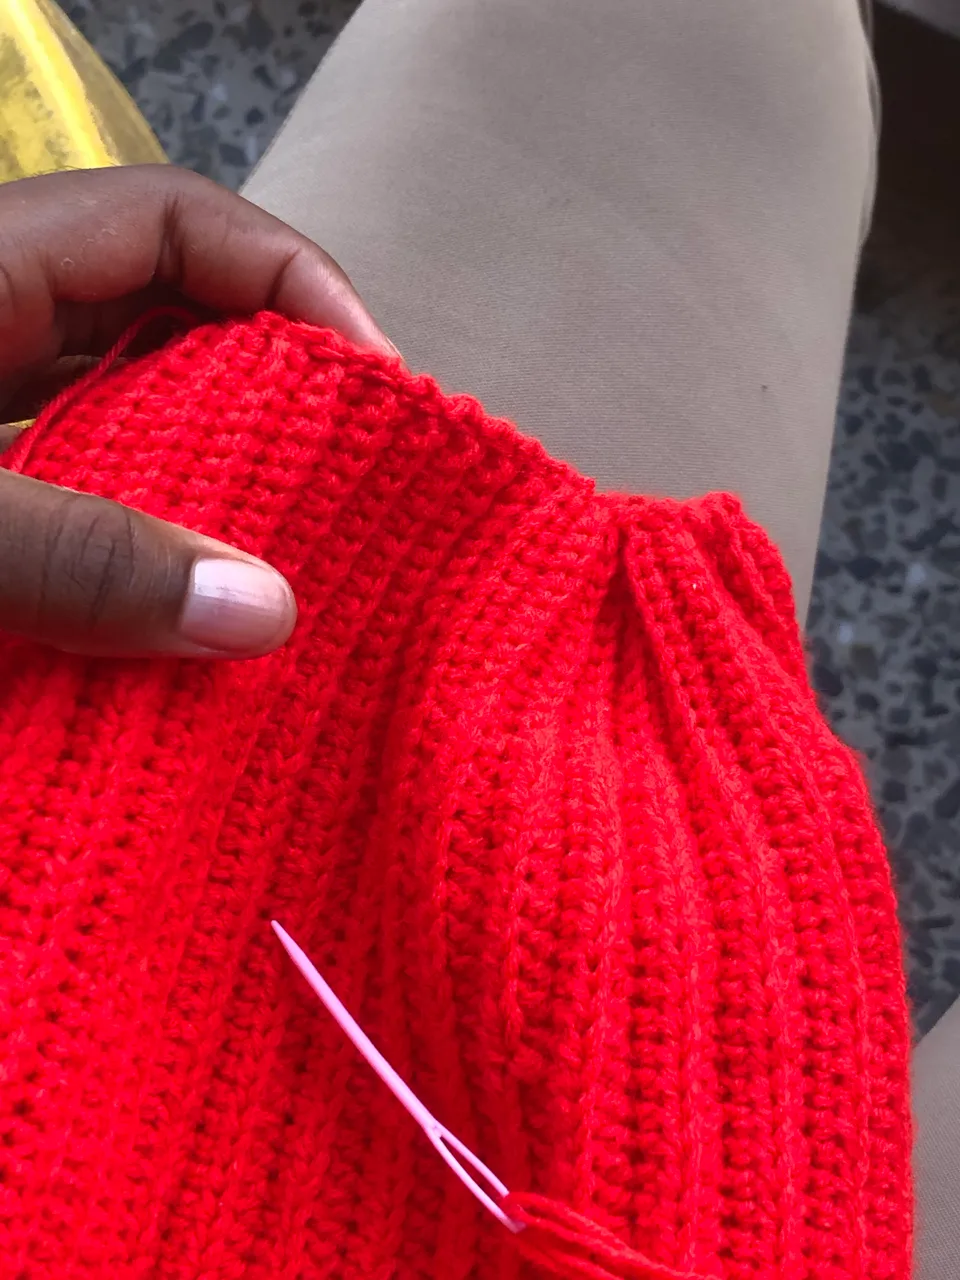
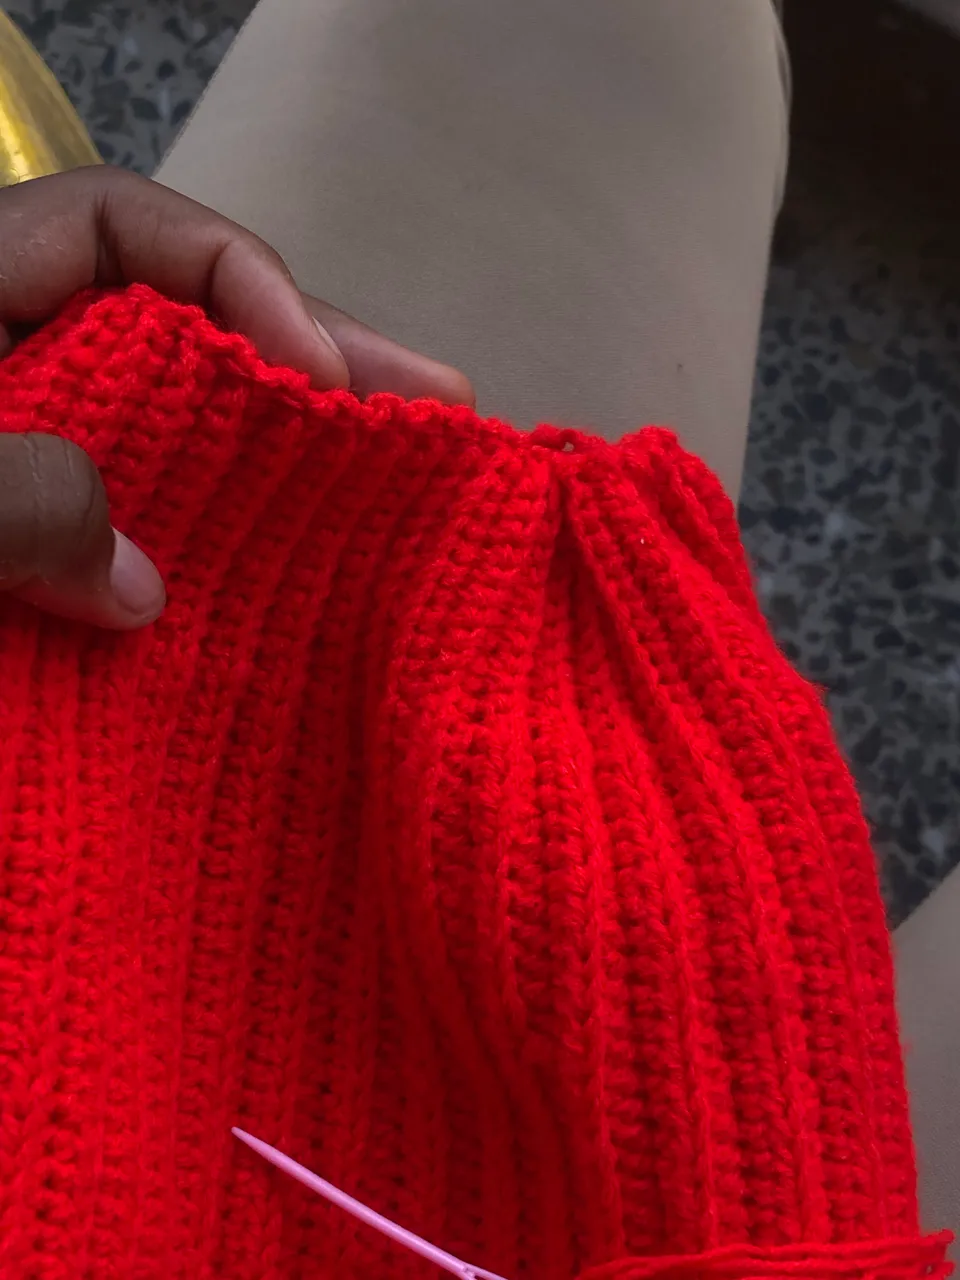
I kept on doing that until it was close enough then I took my darling needle to pass the yarn across just to make it more secure and close.
After I was satisfied with the closure I cut of my yarn sewed in my ends, tried to get rid of any excess hair and viola!
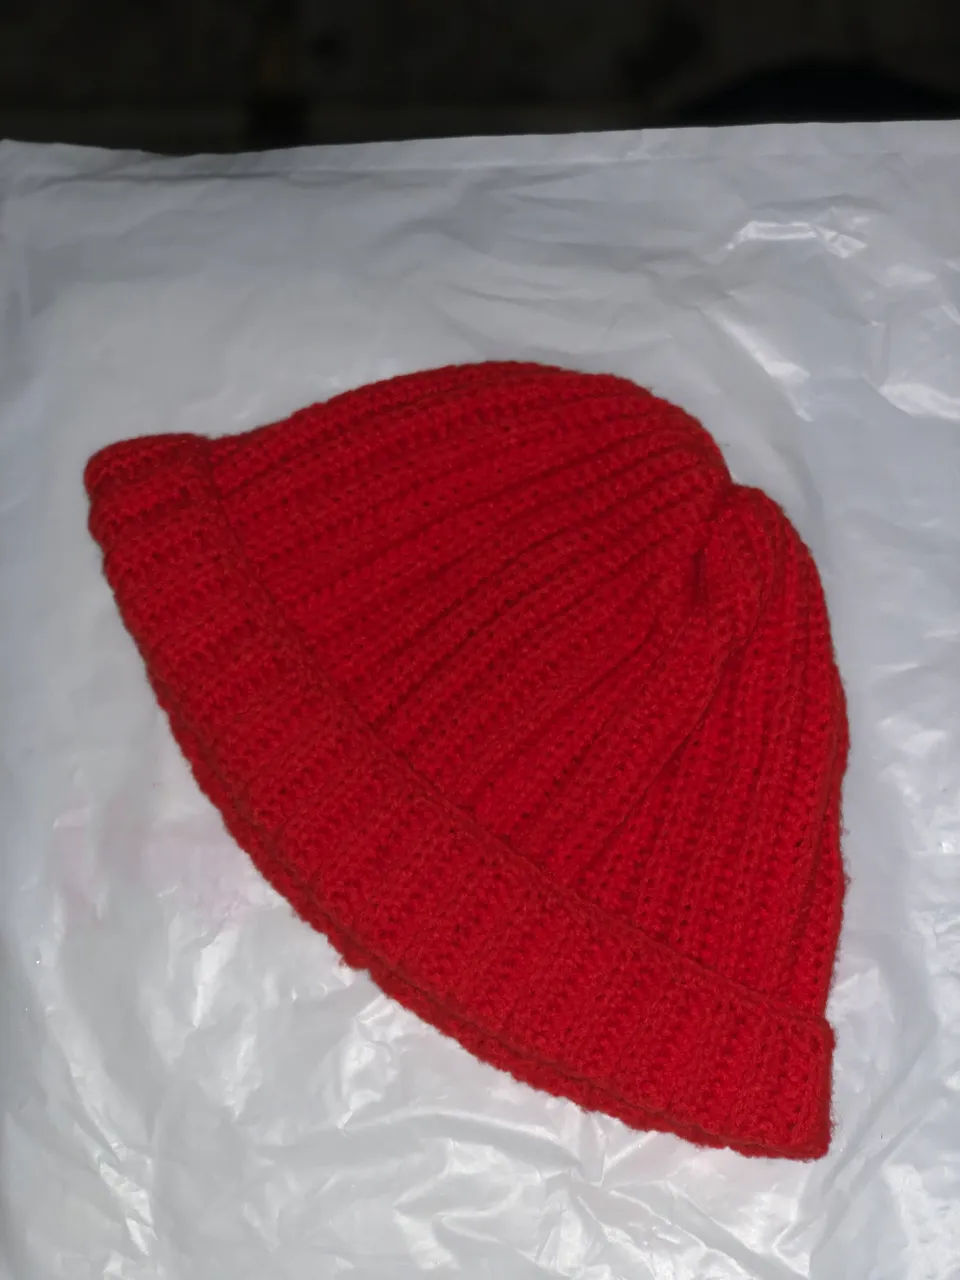
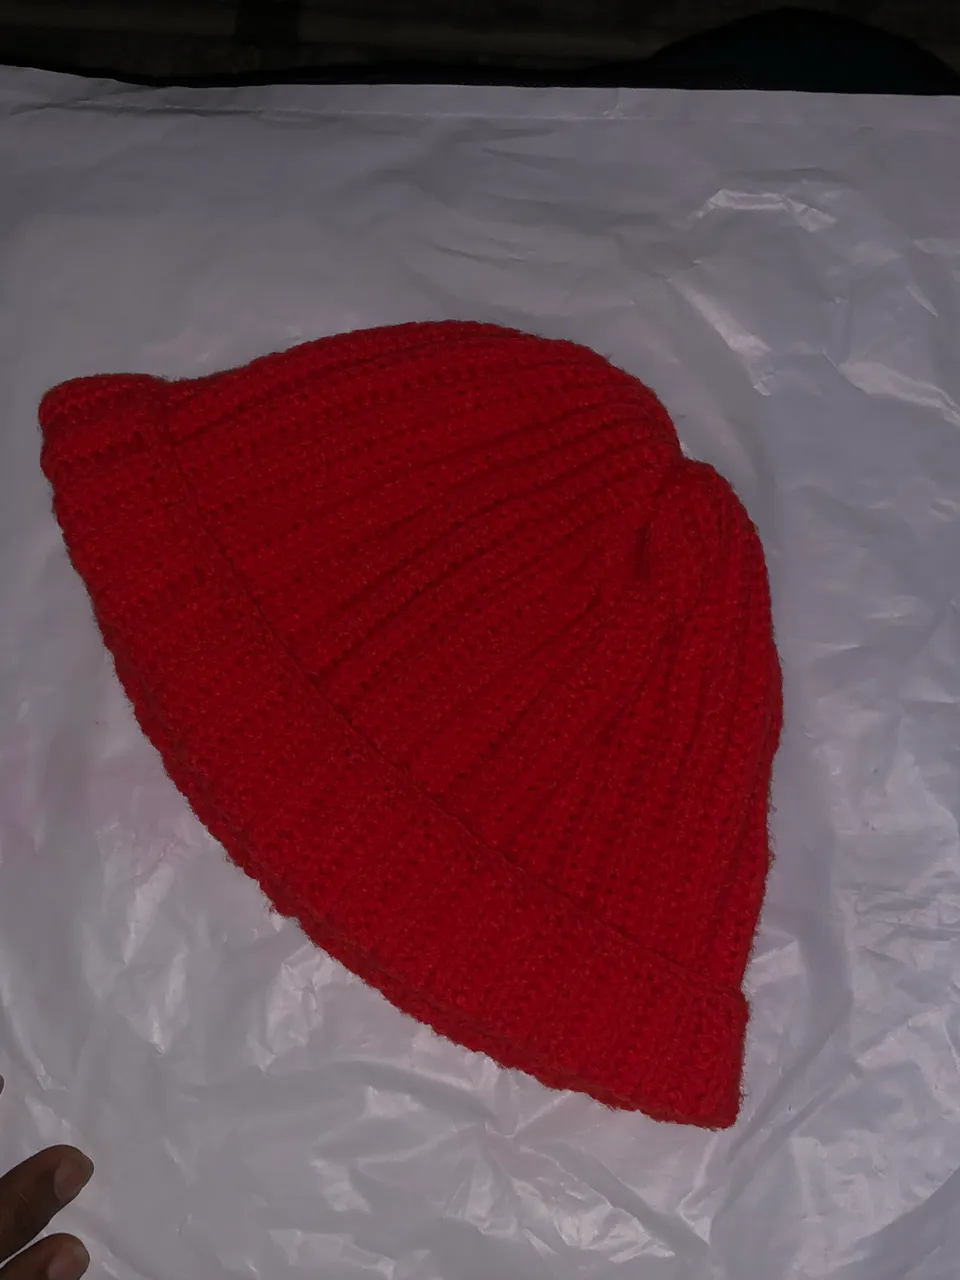
This is the beanie when finished, the sun had already gone down but I needed to take a picture before I delivered it.
Let me know what you think in the comments!