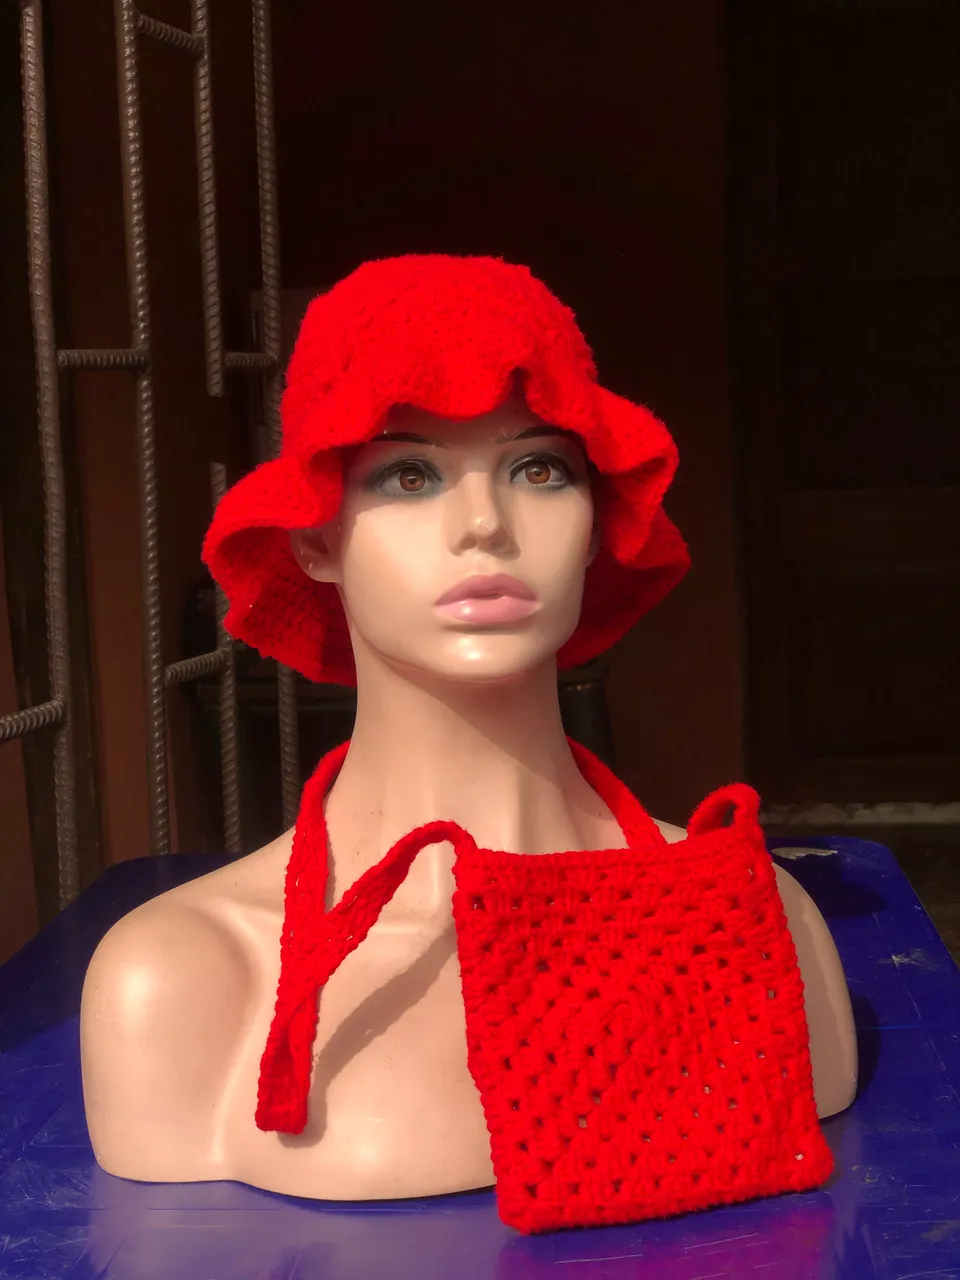
Goodday everyone today I’ll be showing you guys how I made this bucket hat and cross bag

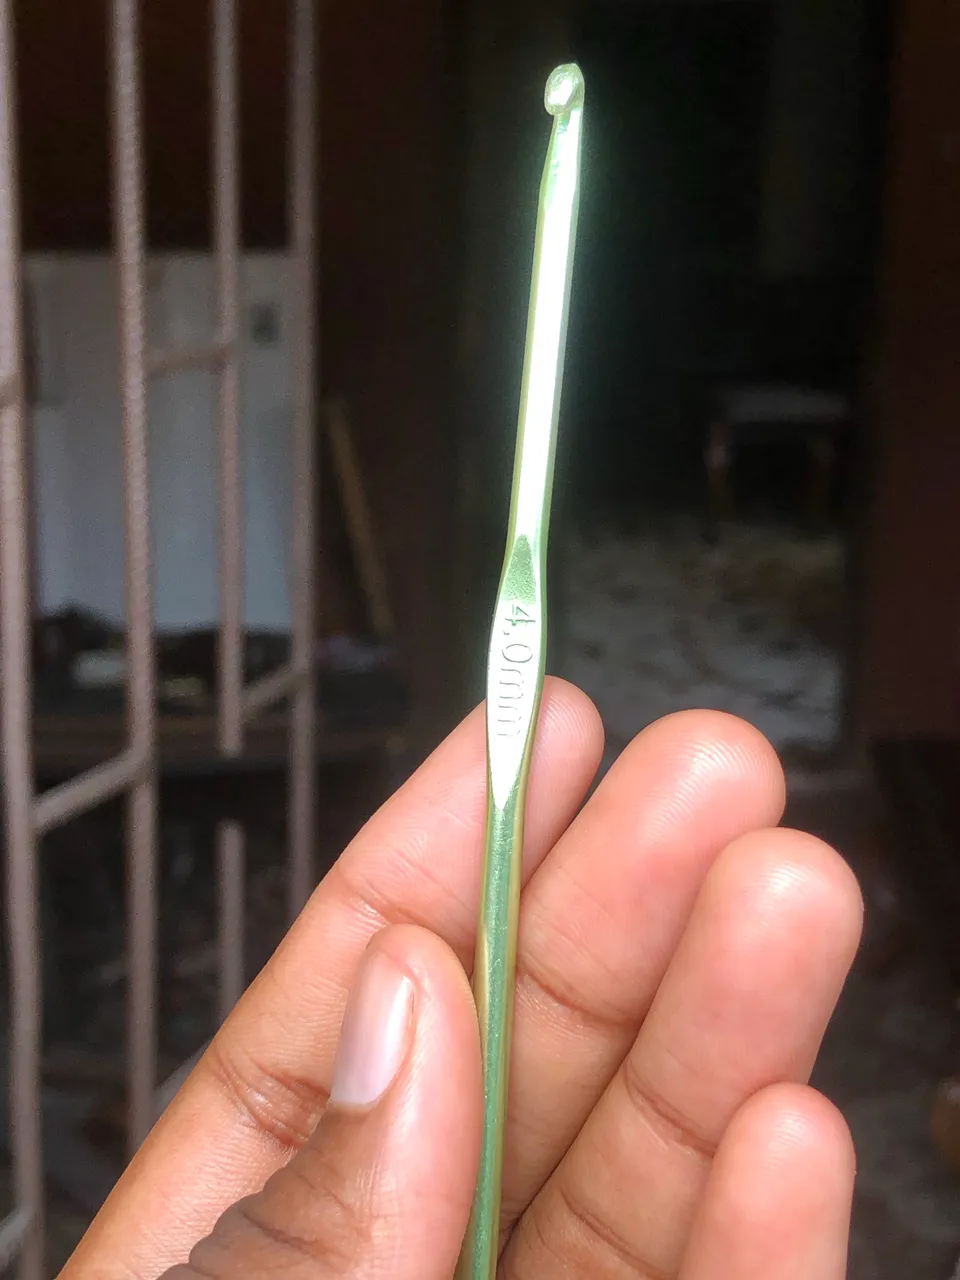
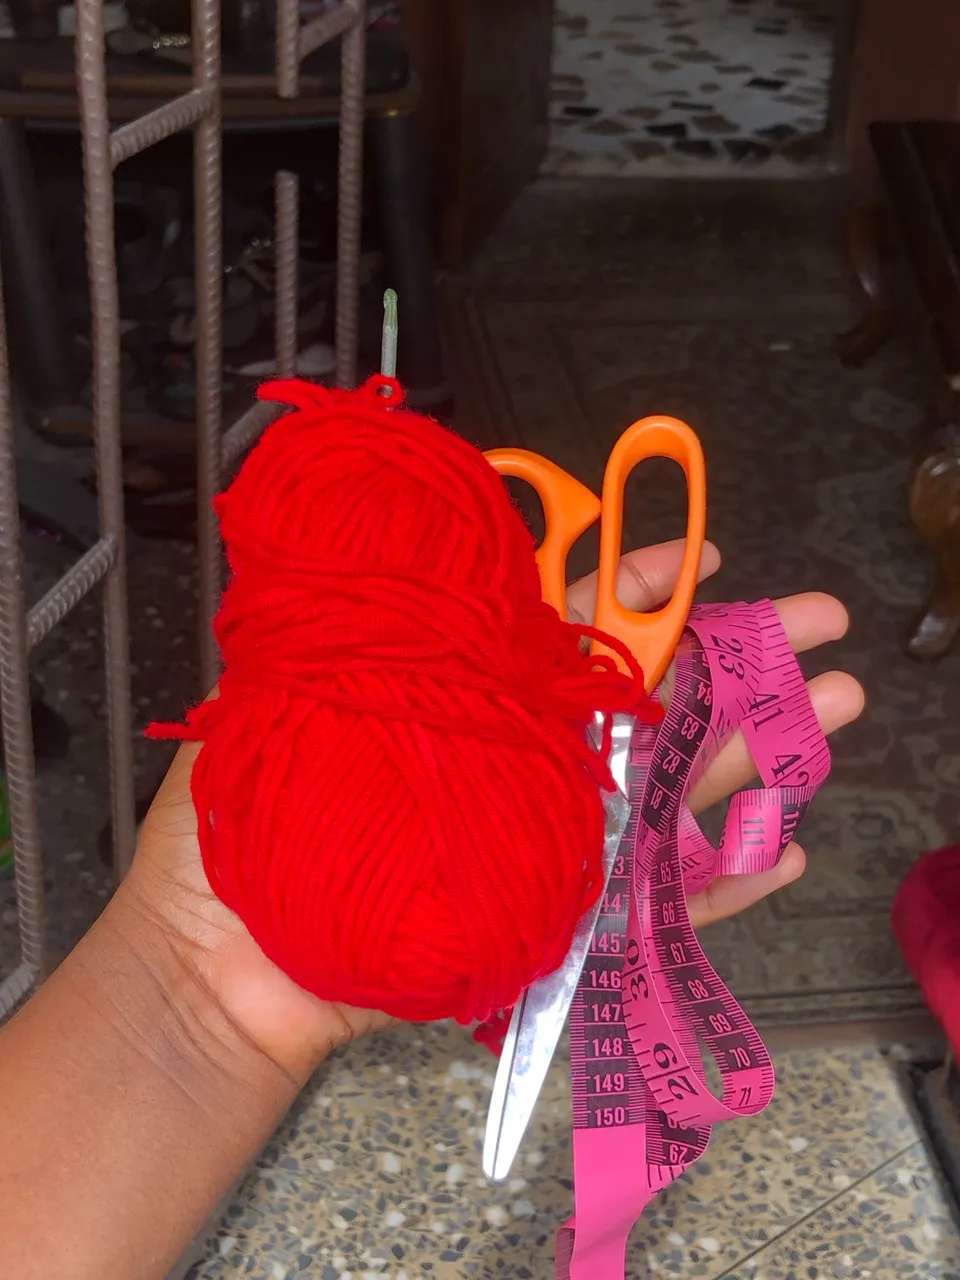
The materials I used for this project includes: 4mm hook,tape measure,scissors and a red yarn (I used a total of 3 balls of yarn for this project)
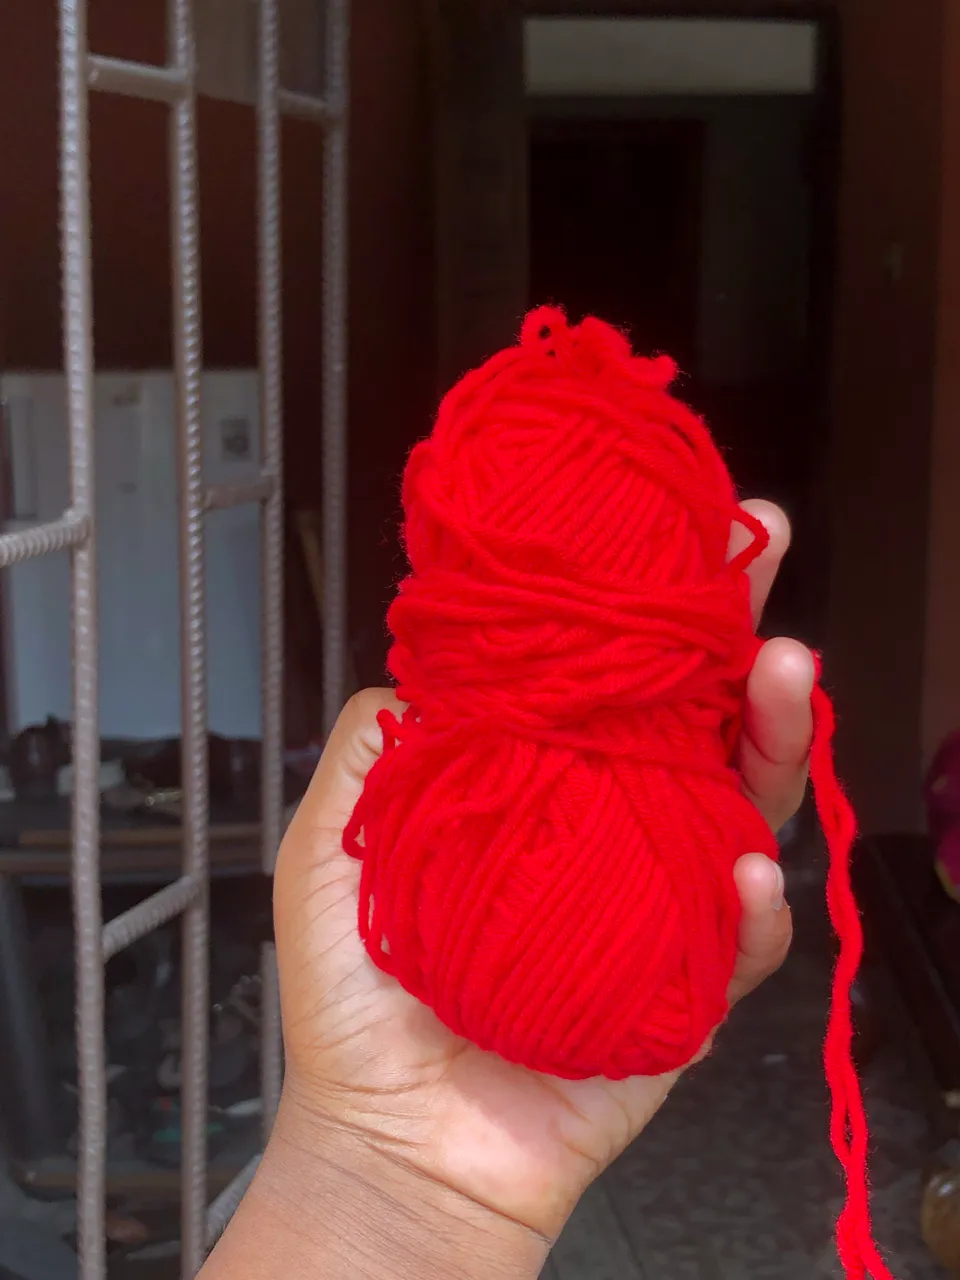
The yarn I used is from the brand milk cotton and it’s really soft and easy to use, I also love their shade of red because it pops out so well giving it a unique look.
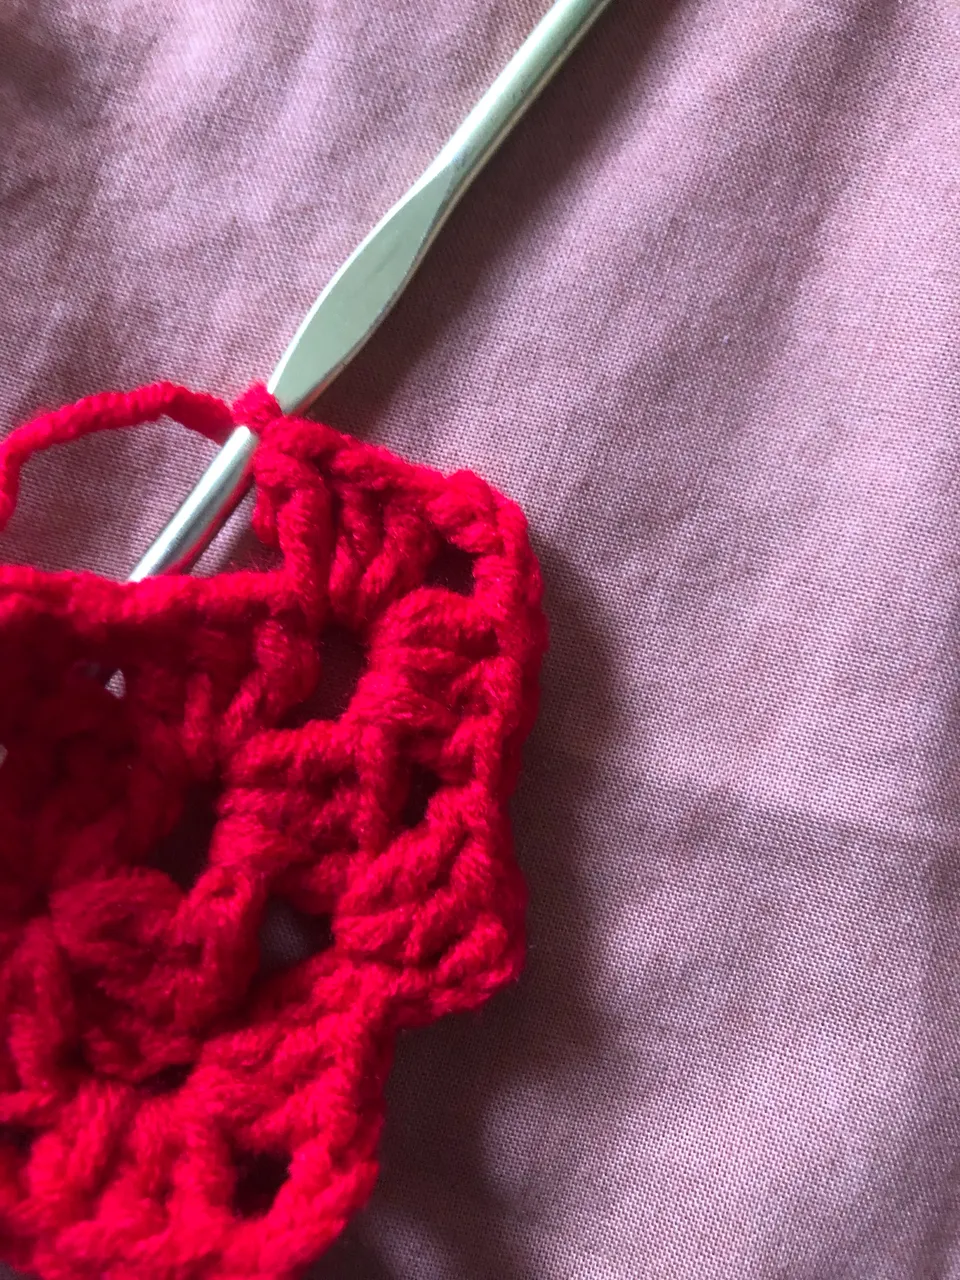
I’m going to be making granny squares for this project. So I began by chaining 4
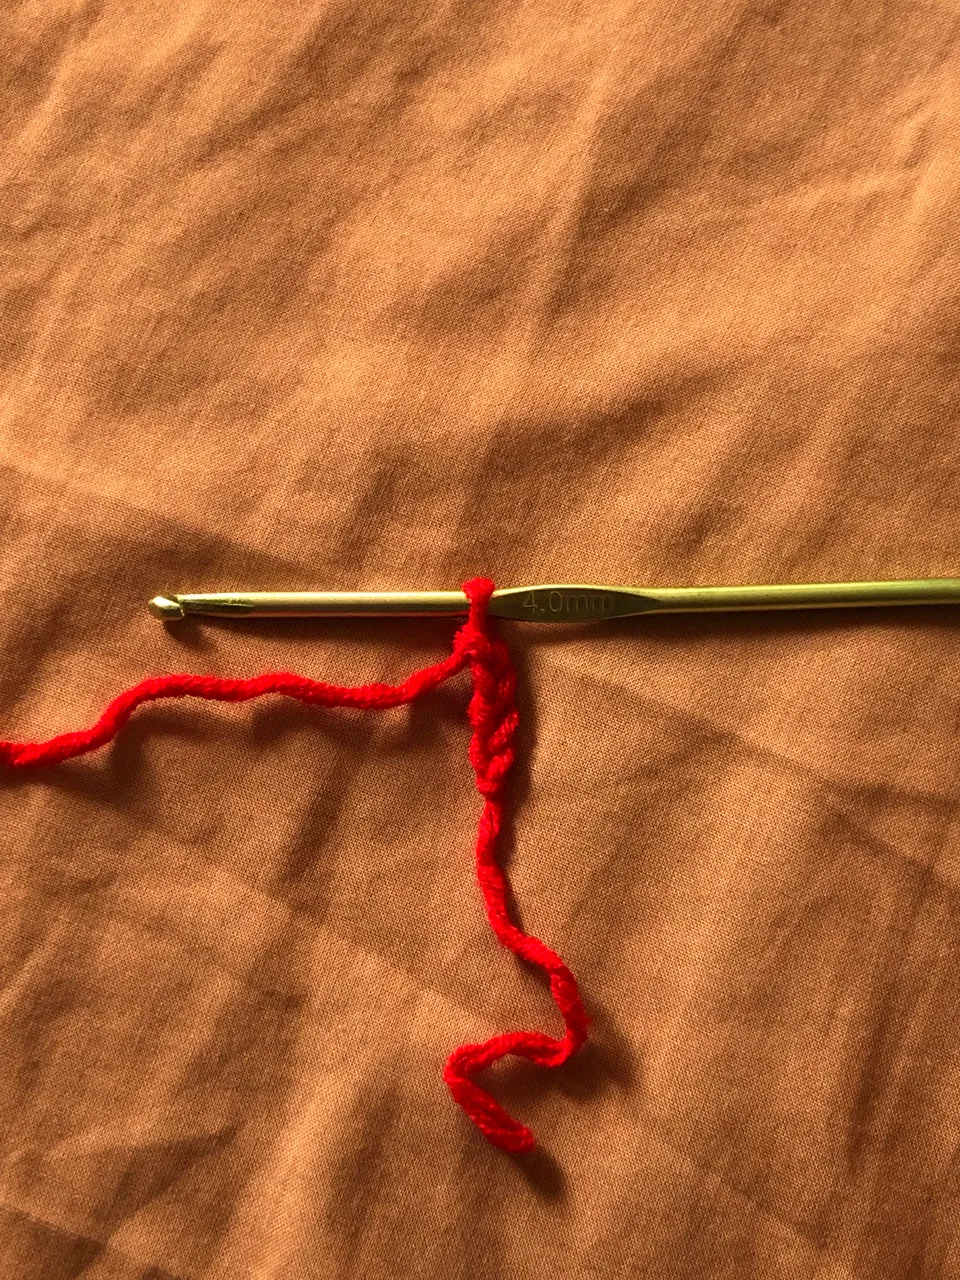
After chaining 4 I put my hook into my first chain and made a slip stitch and doing a chain of 3 I began my square
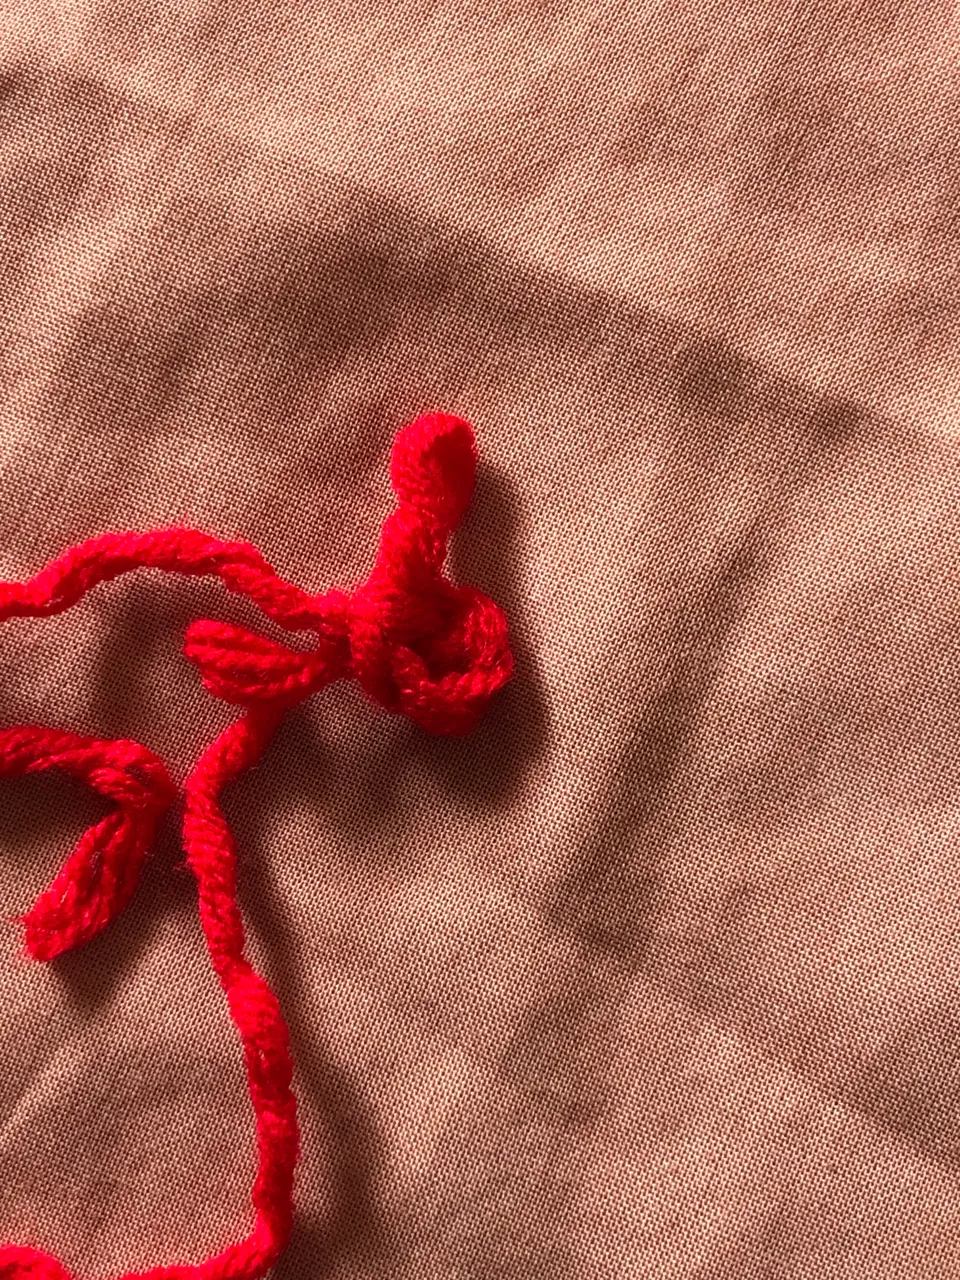
After chaining 3 then I proceed to make clusters (clusters are 3 double crochets together with a chain of 3 separating them)
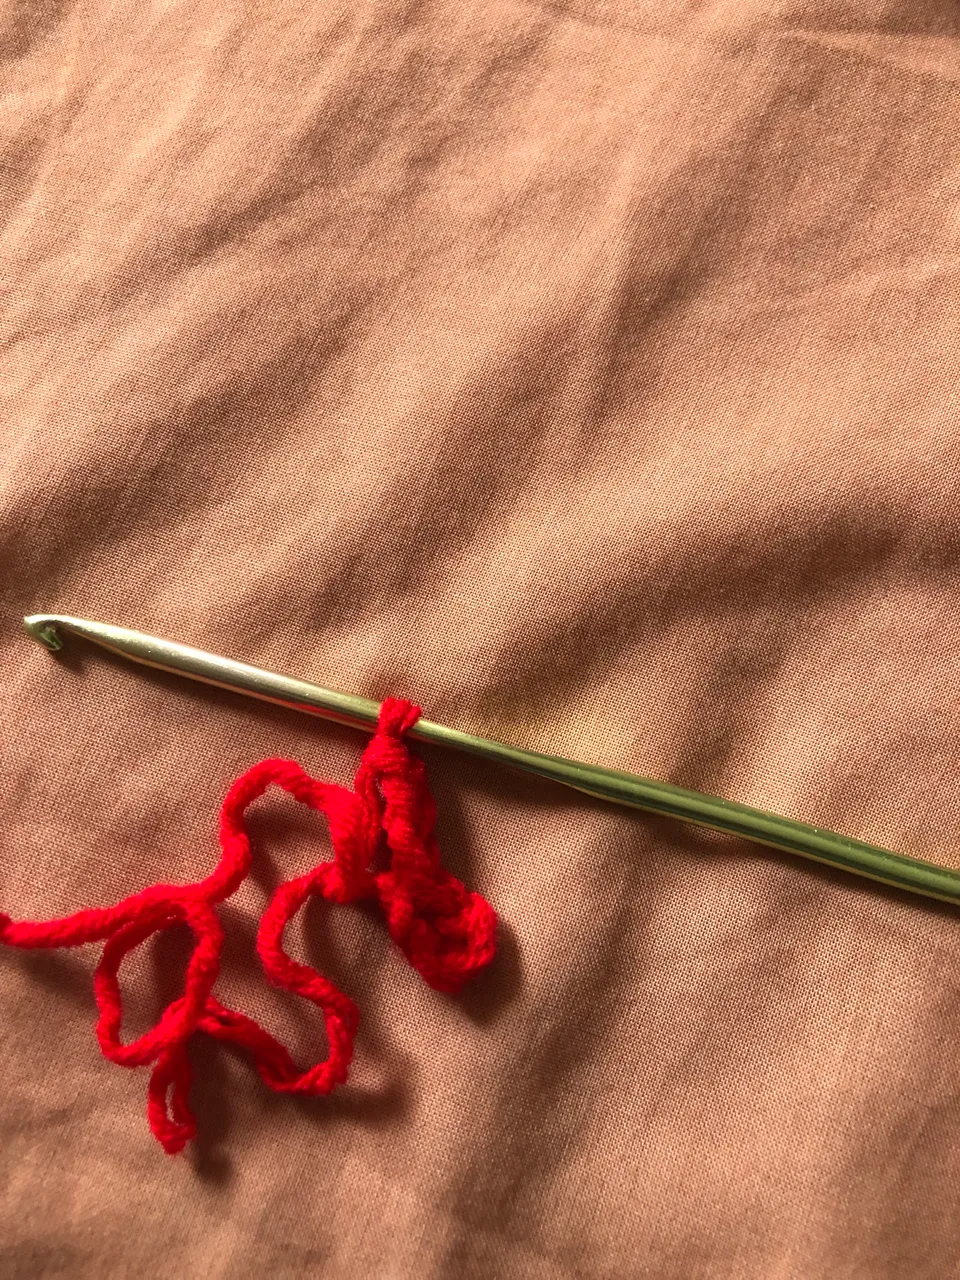
I keep making clusters till I have 4 clusters(i stopped at four because I was making a square)
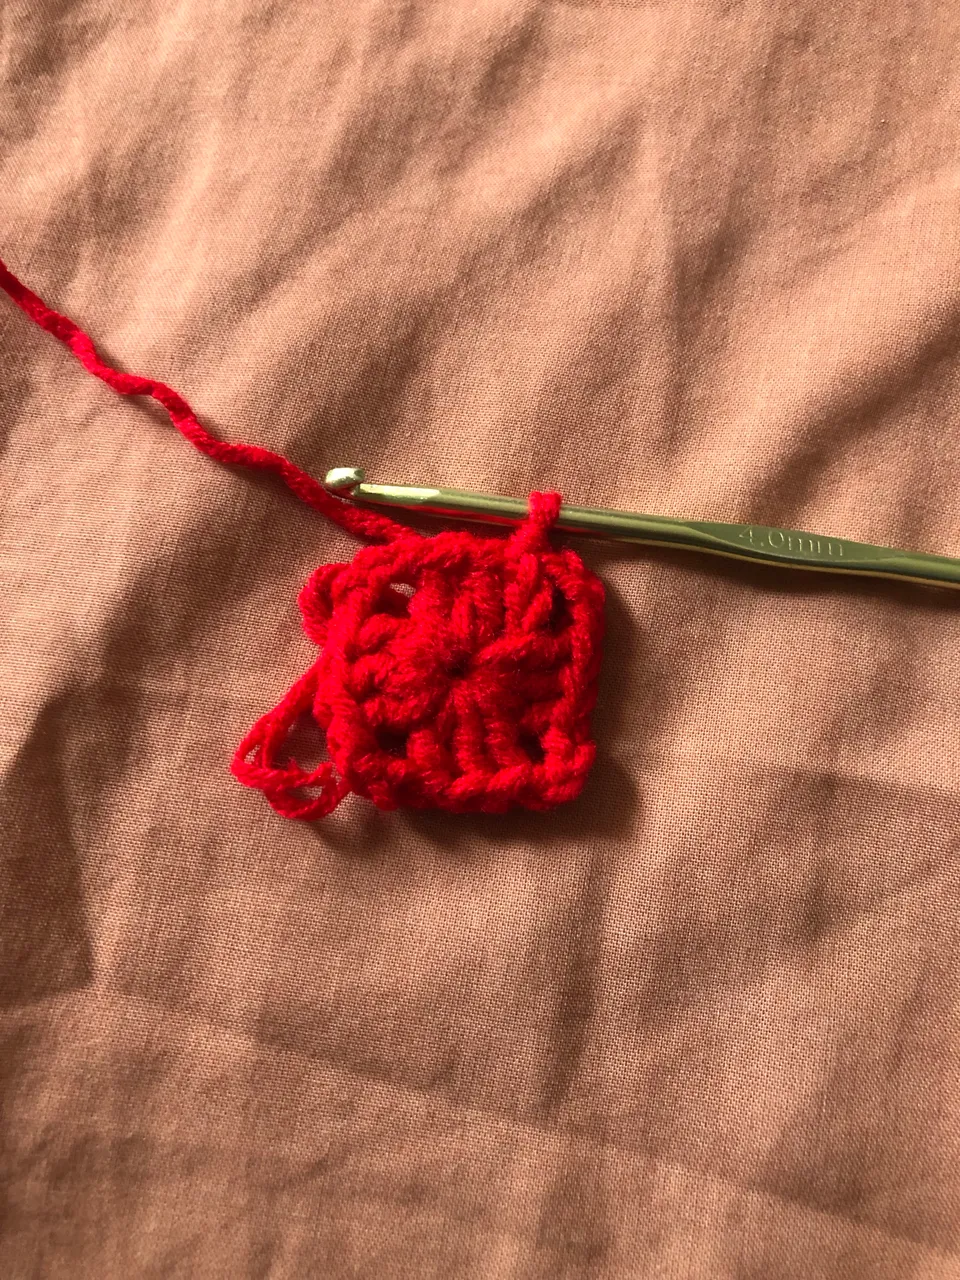
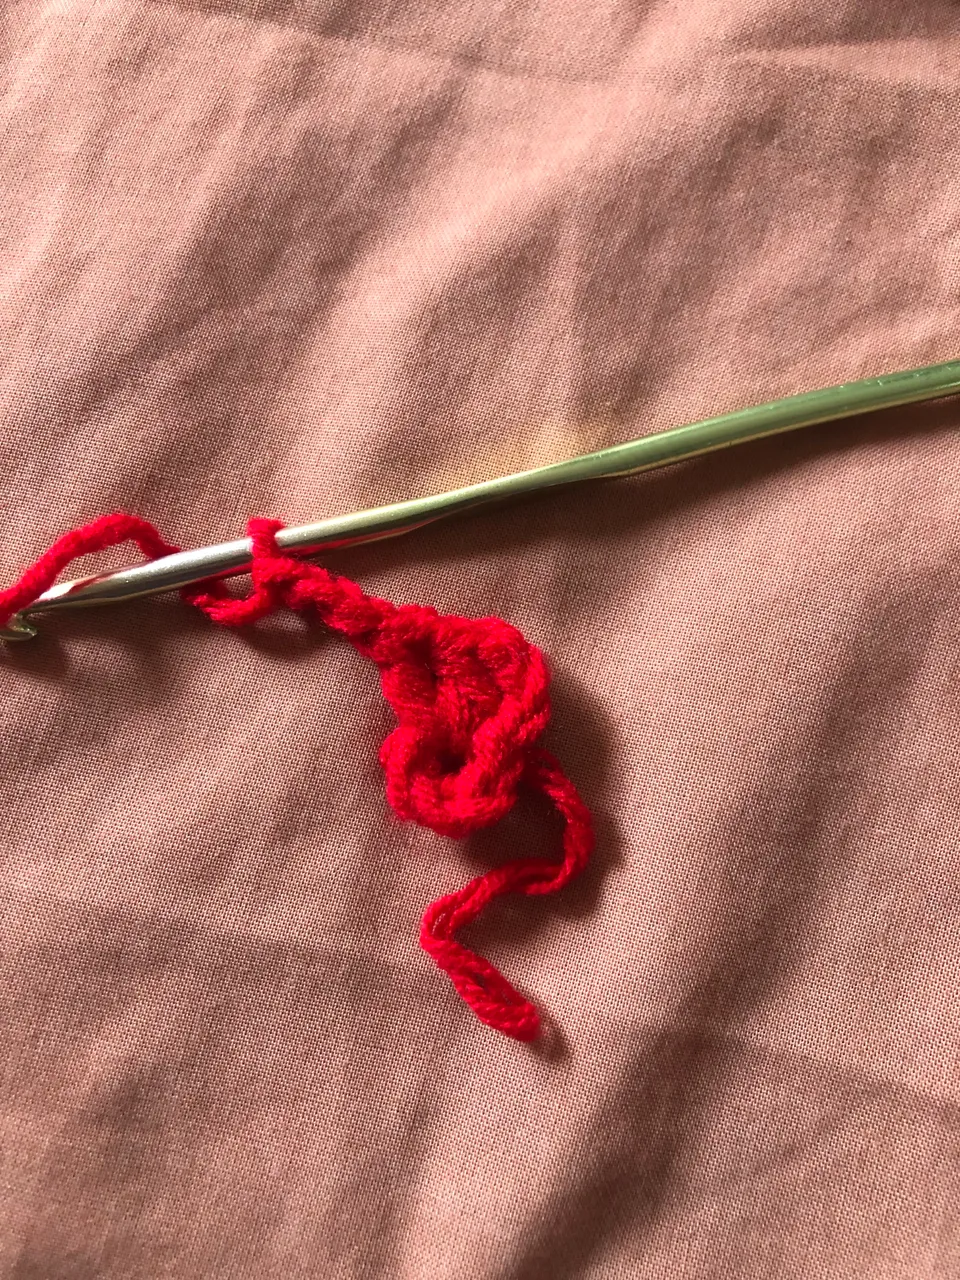
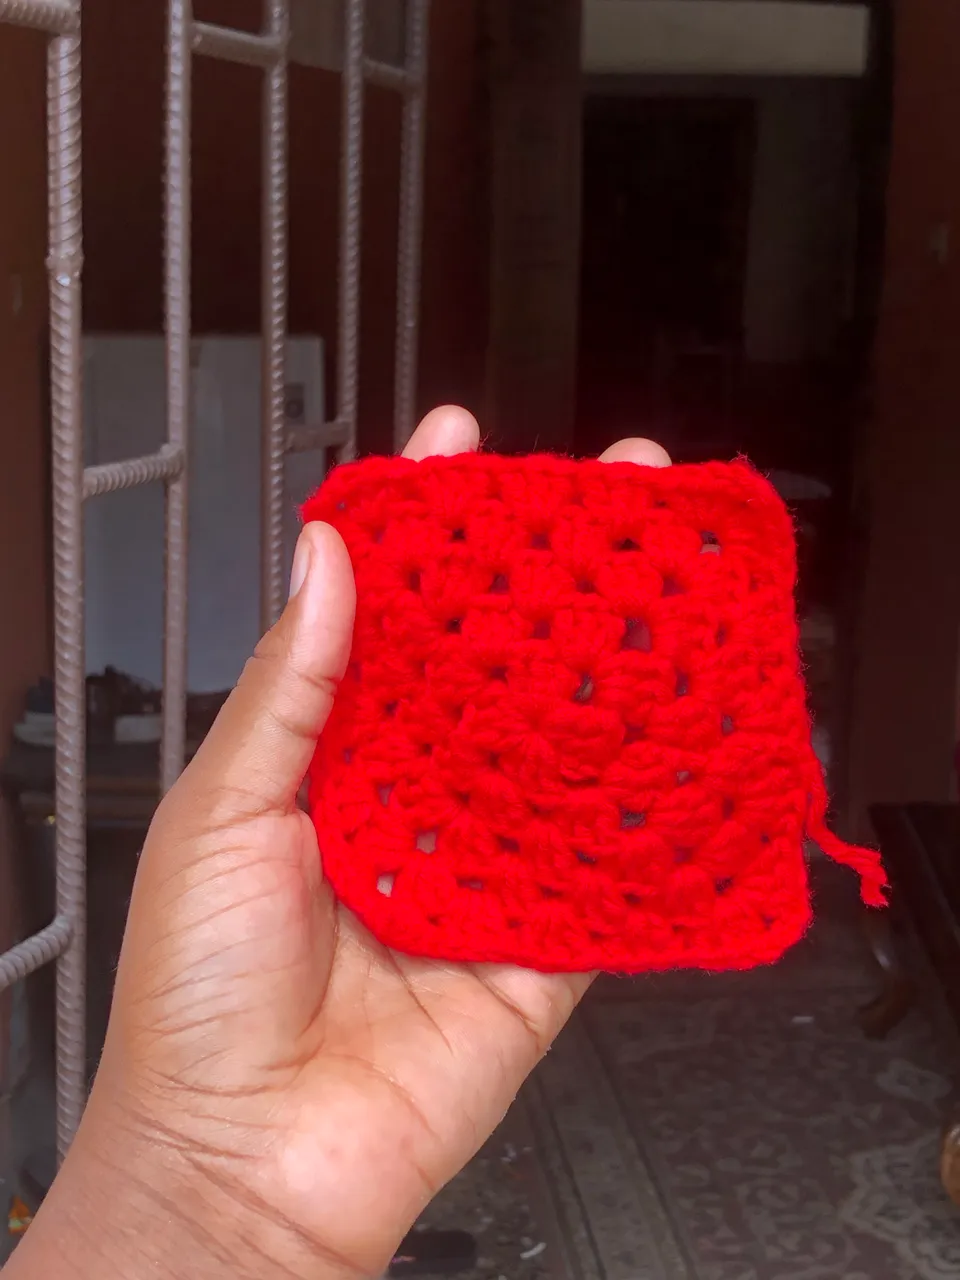
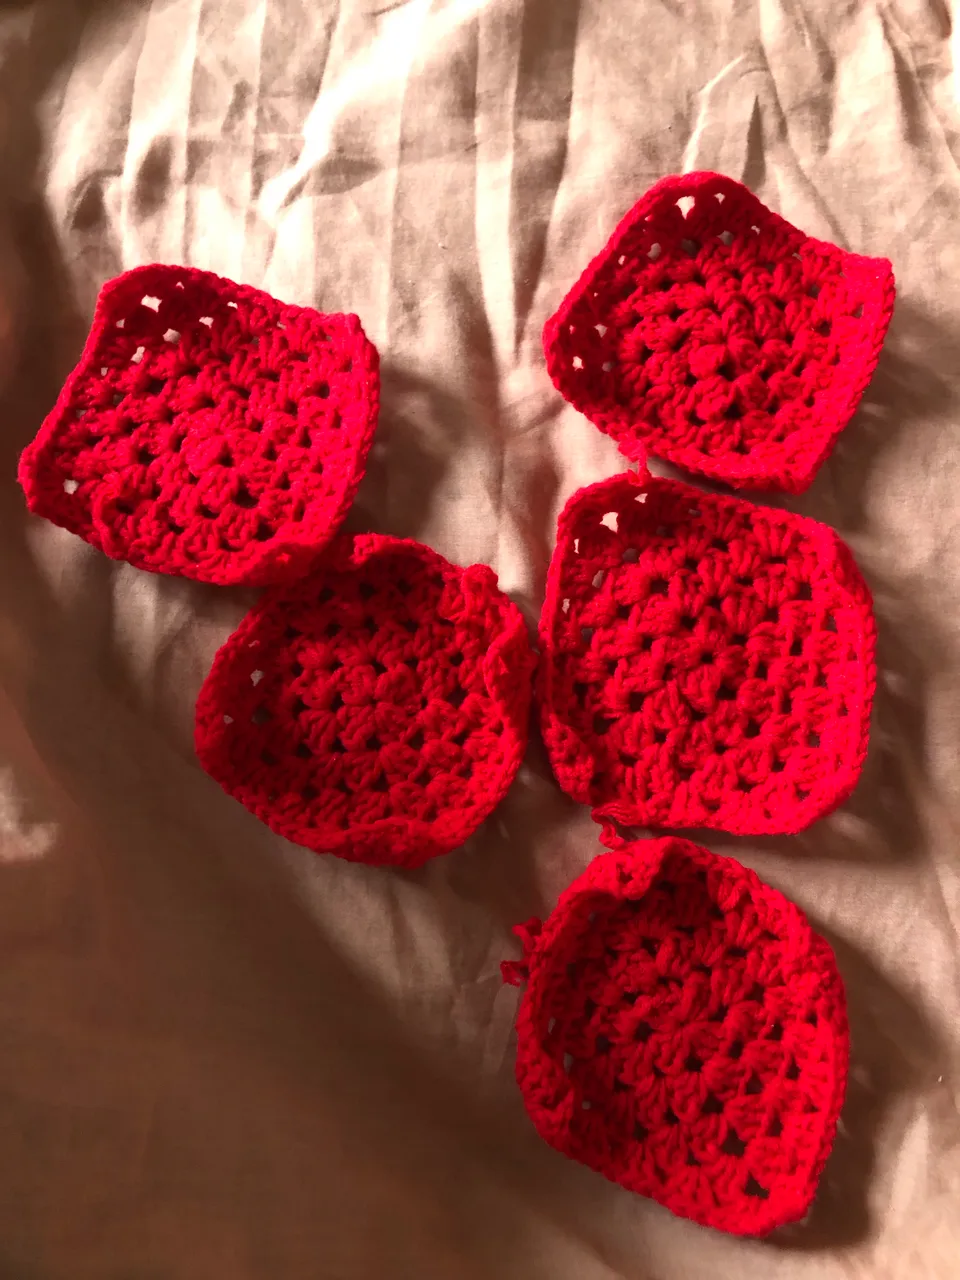
When I was done with the clusters I chained 3 and kept doing more cluster rows till my square measured 4.5 inches for my hat then 7 inches for my bag. I made 5 squares for the bucket hat in total and 2 for the bag.
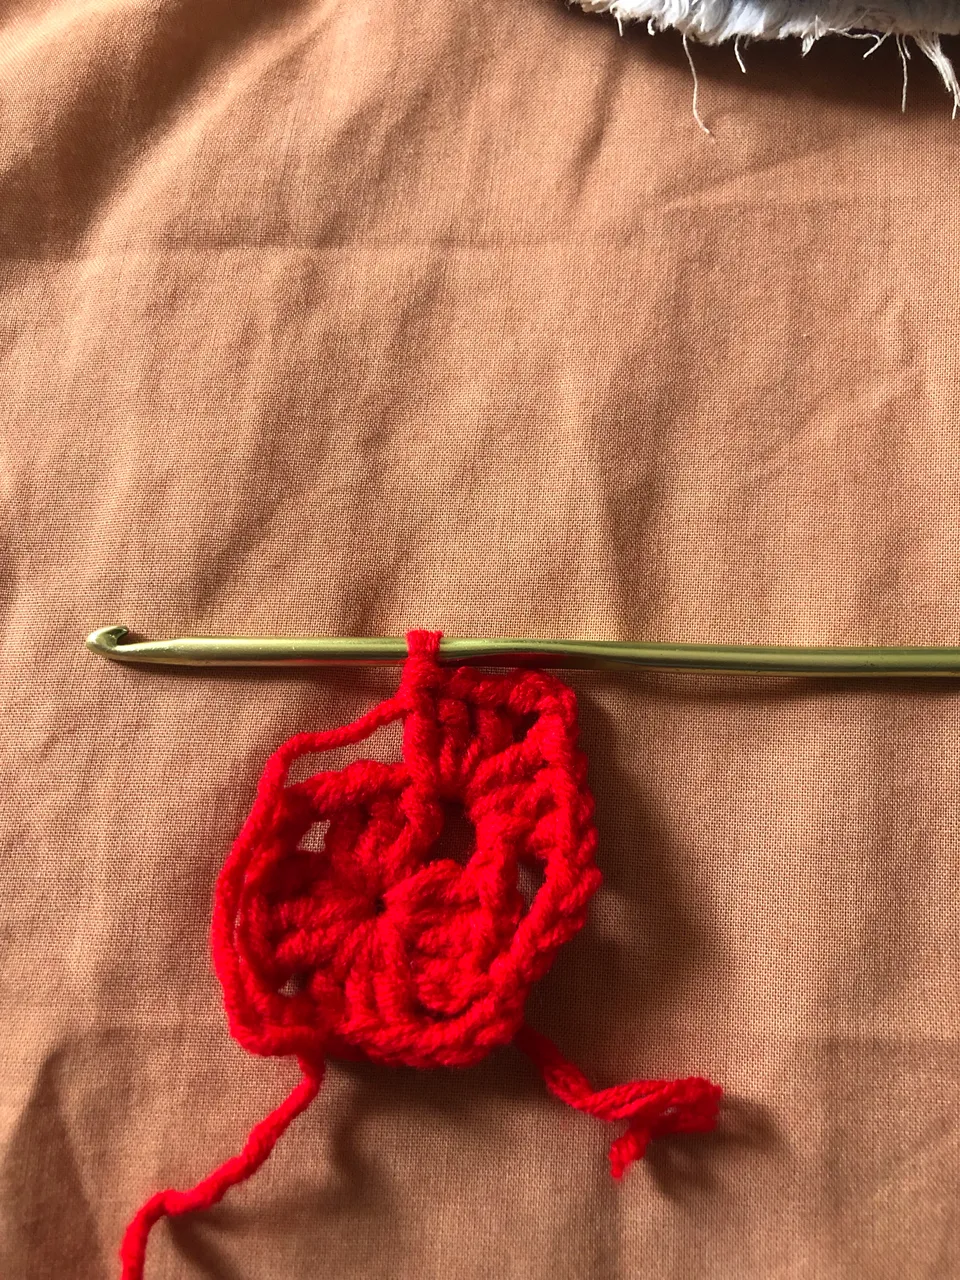
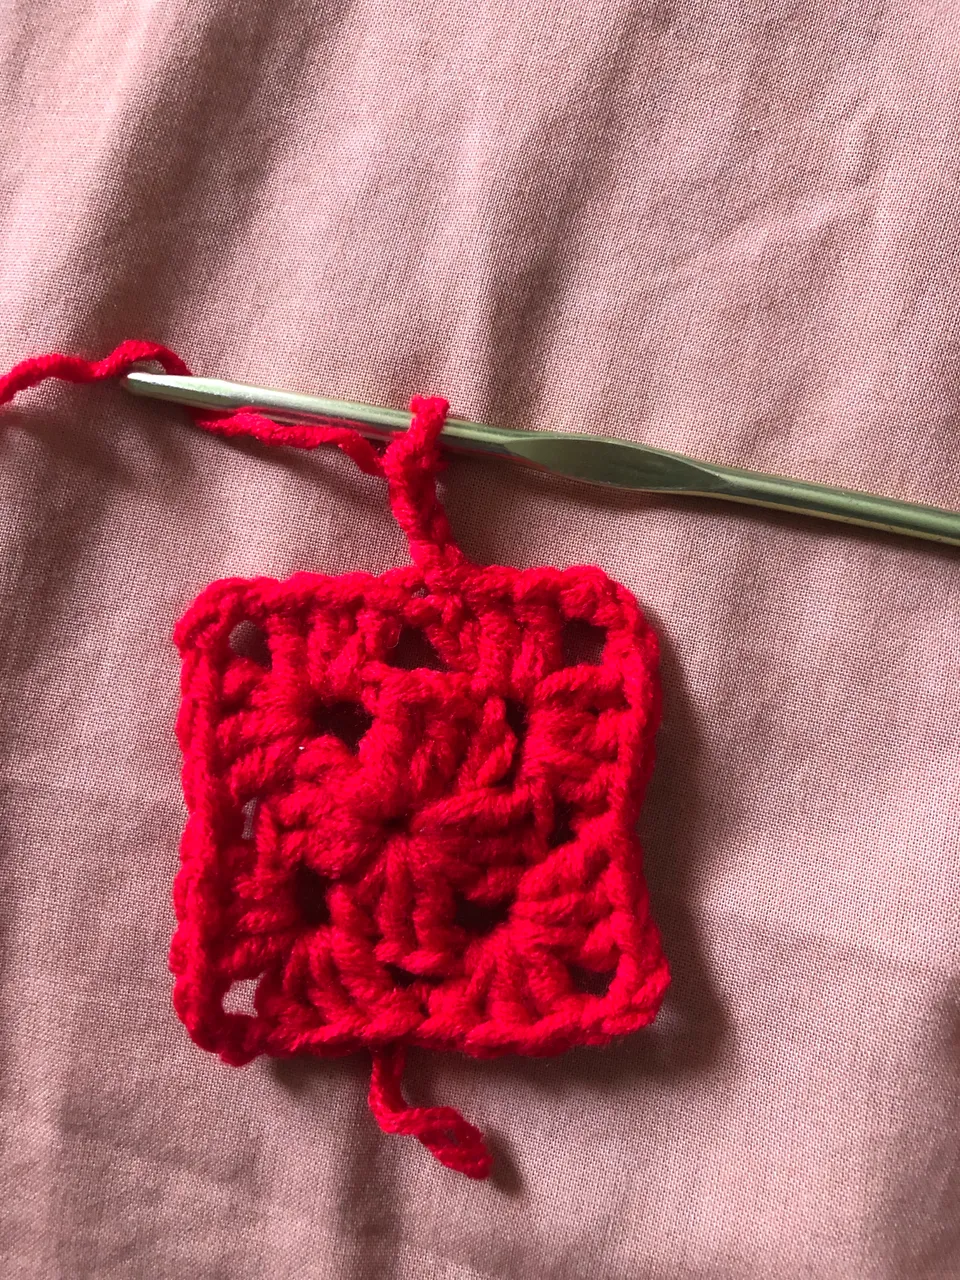
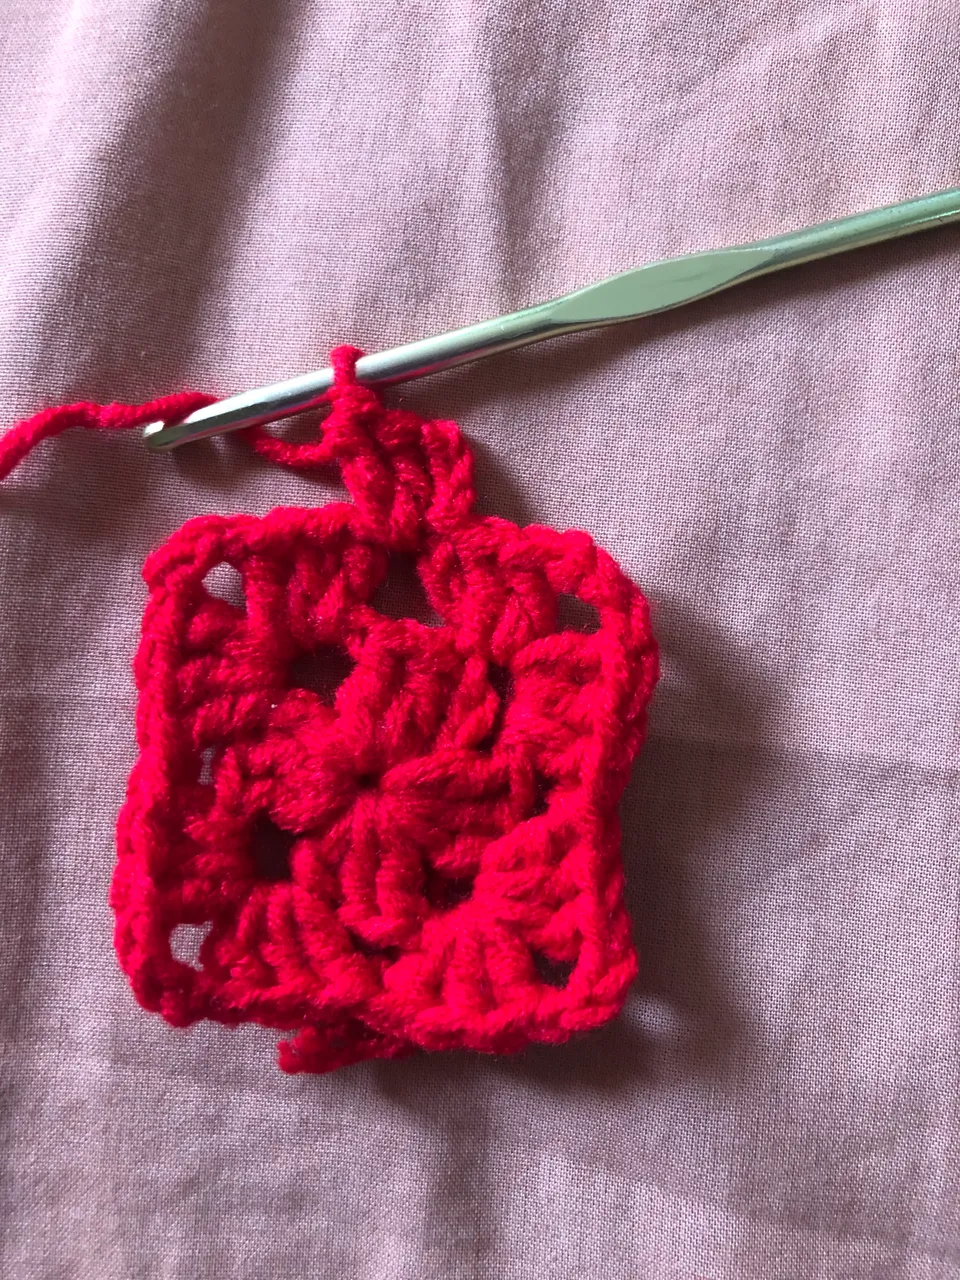
I began connecting the squares using single crochet stitch
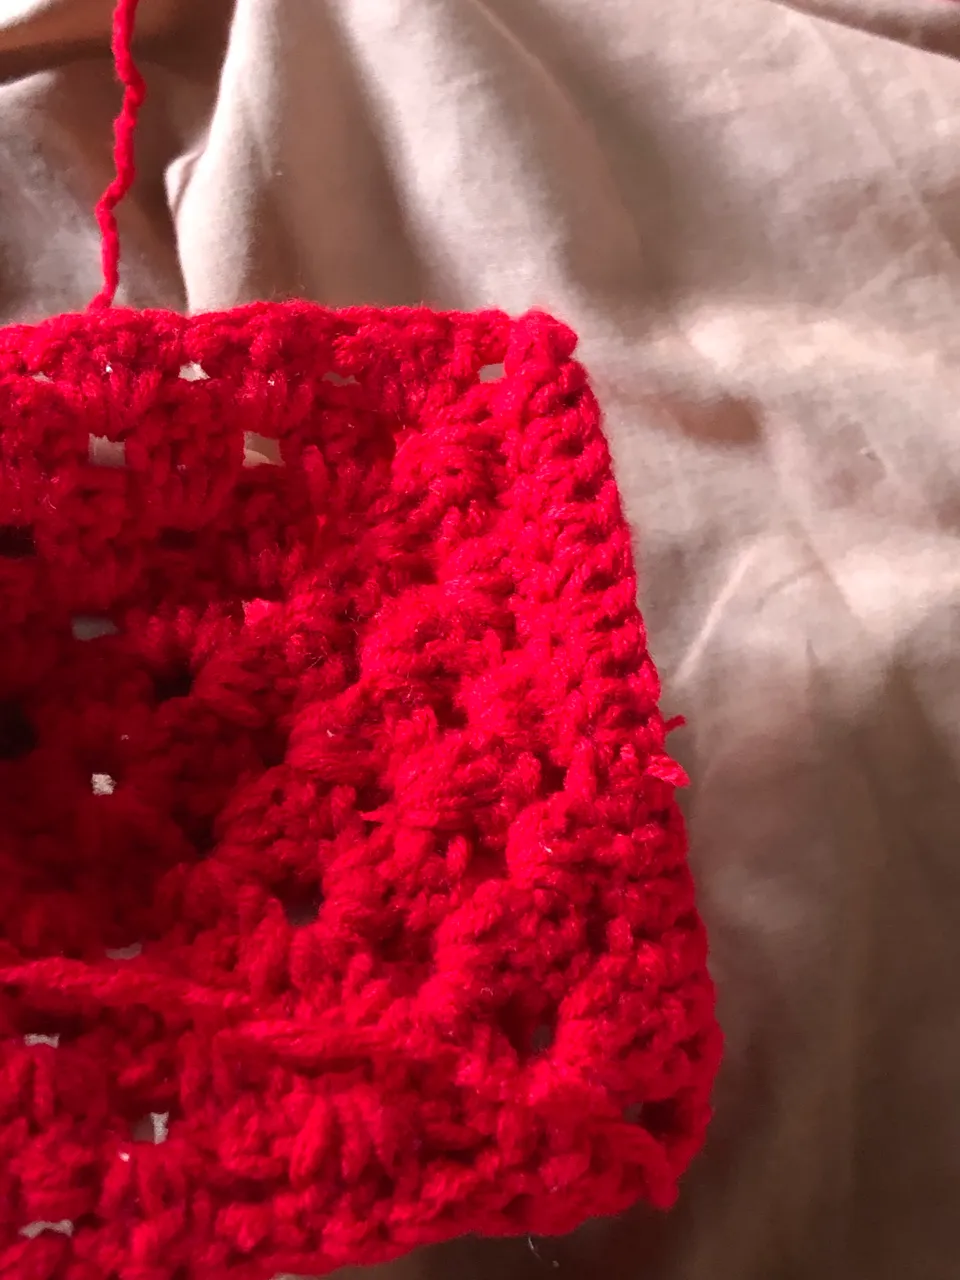
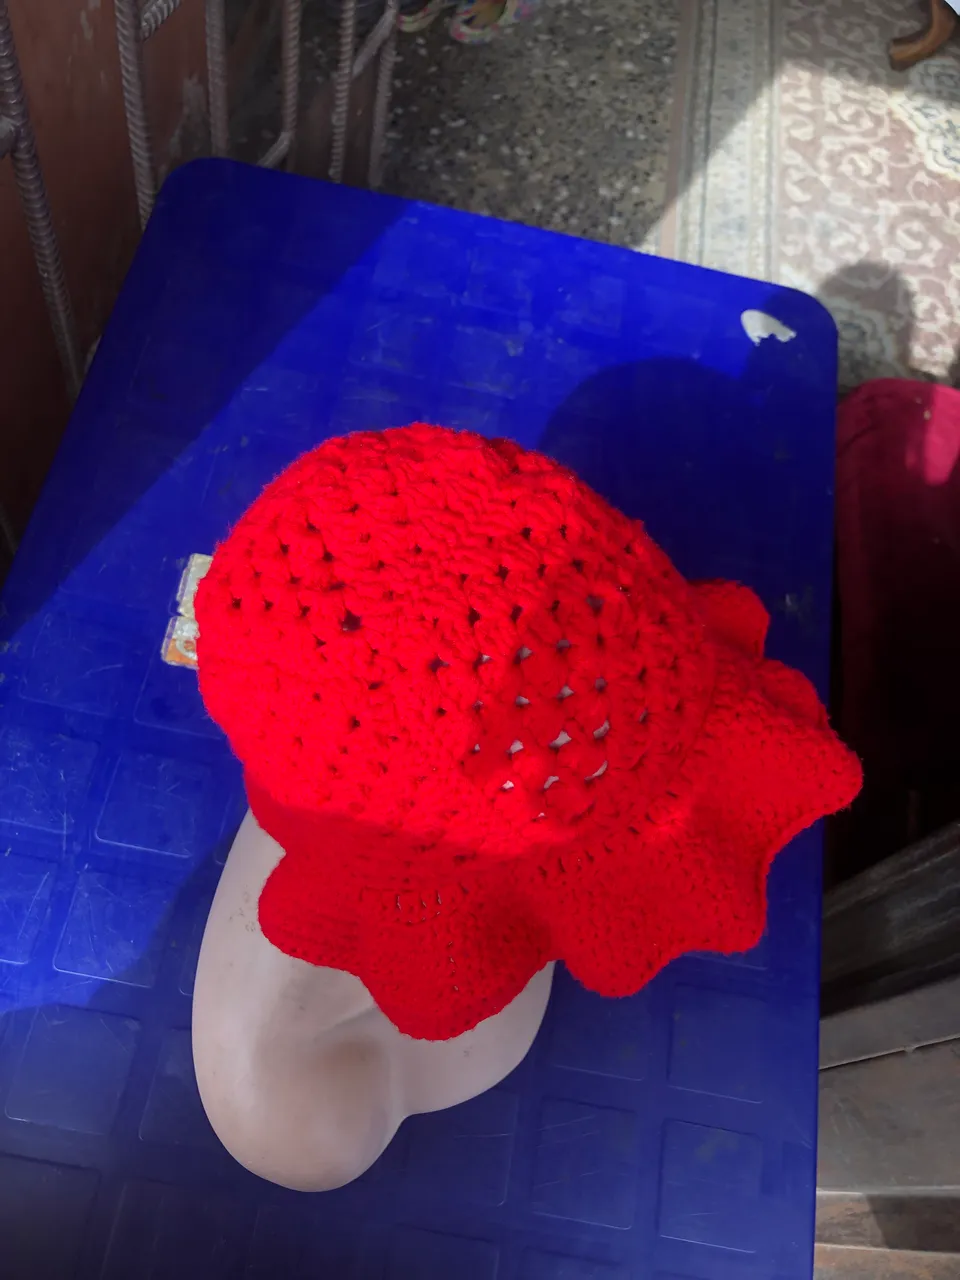
This is how it looks like after connecting all the squares (funny I know🤣)
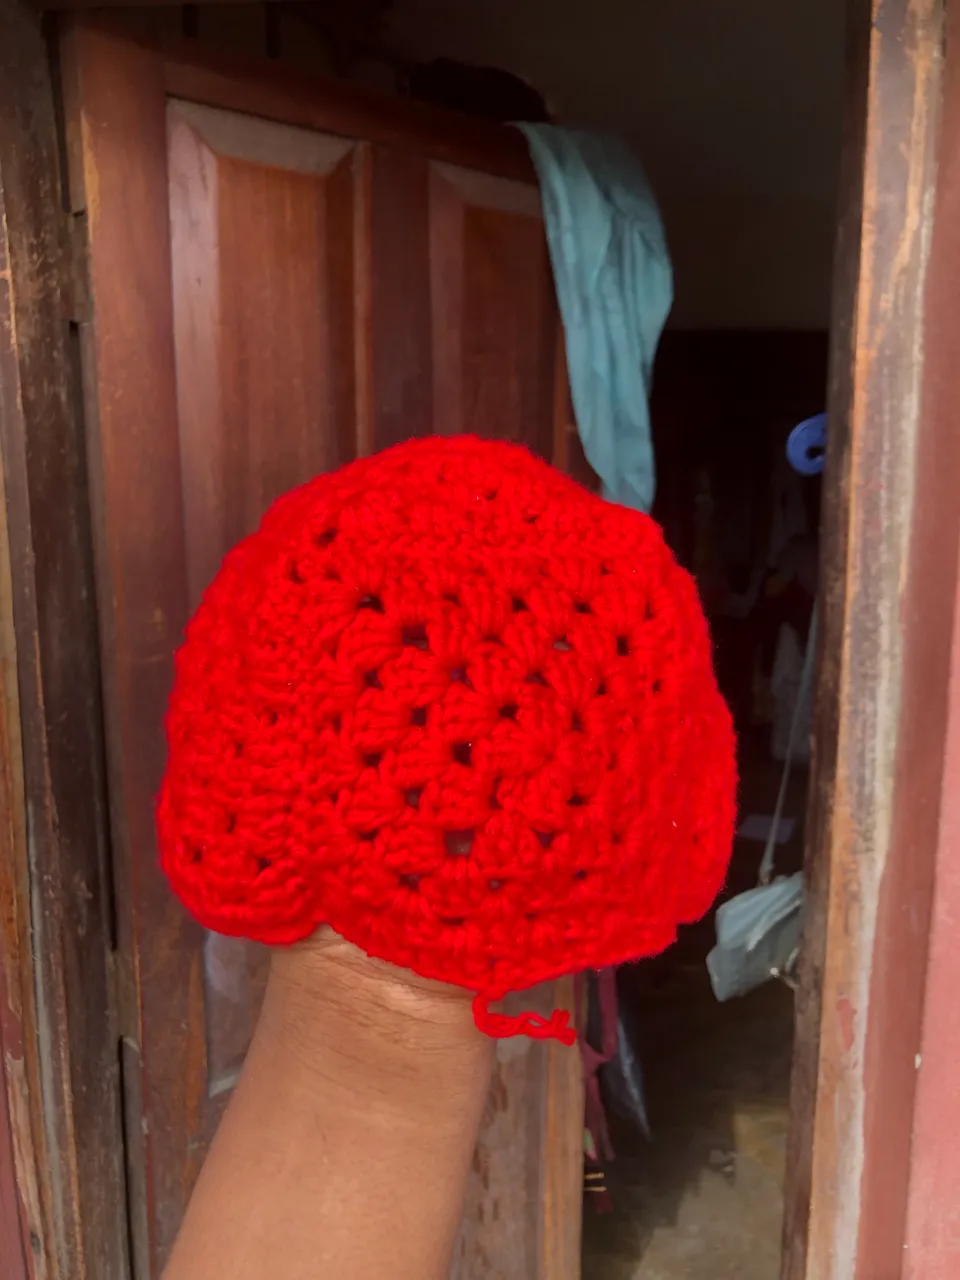
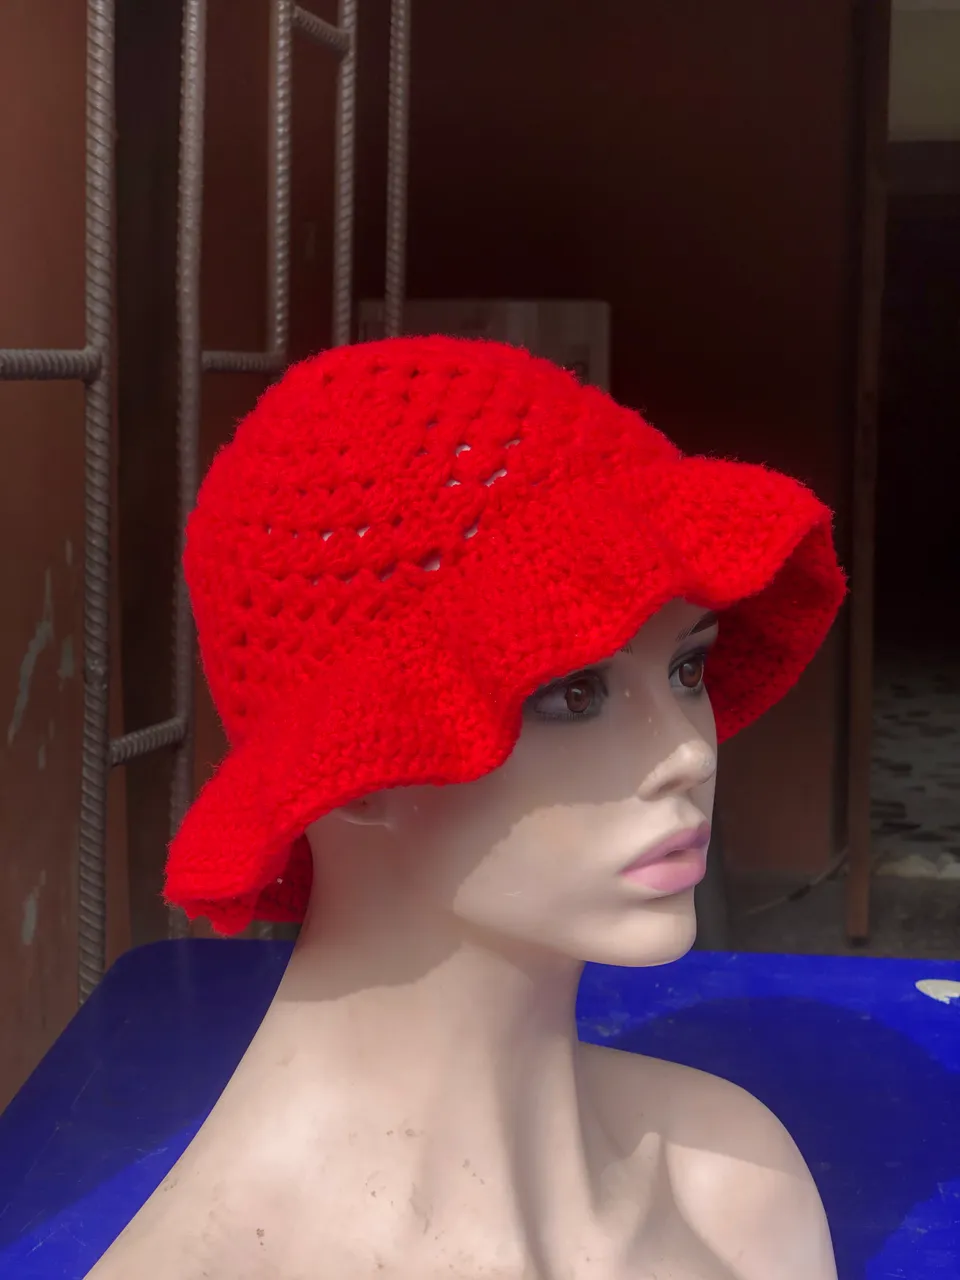
For the brim of the hat I began by doing single crochet stitches all around the base of the hat then for my next to final row I used double crochet
I started off by increasing my stitches so as to make the brim of the hat wider and give it a wavy effect
I increased my stitch my adding 2 double crochet into a stitch
For my first row I did one normal double crochet (which is 1 double crochet per stitch) then my next stitch was an increase I continued this pattern till I got to the end of the row
My next row I did two normal double crochets with one increase I continued this pattern till I got satisfied with the brim of the hat
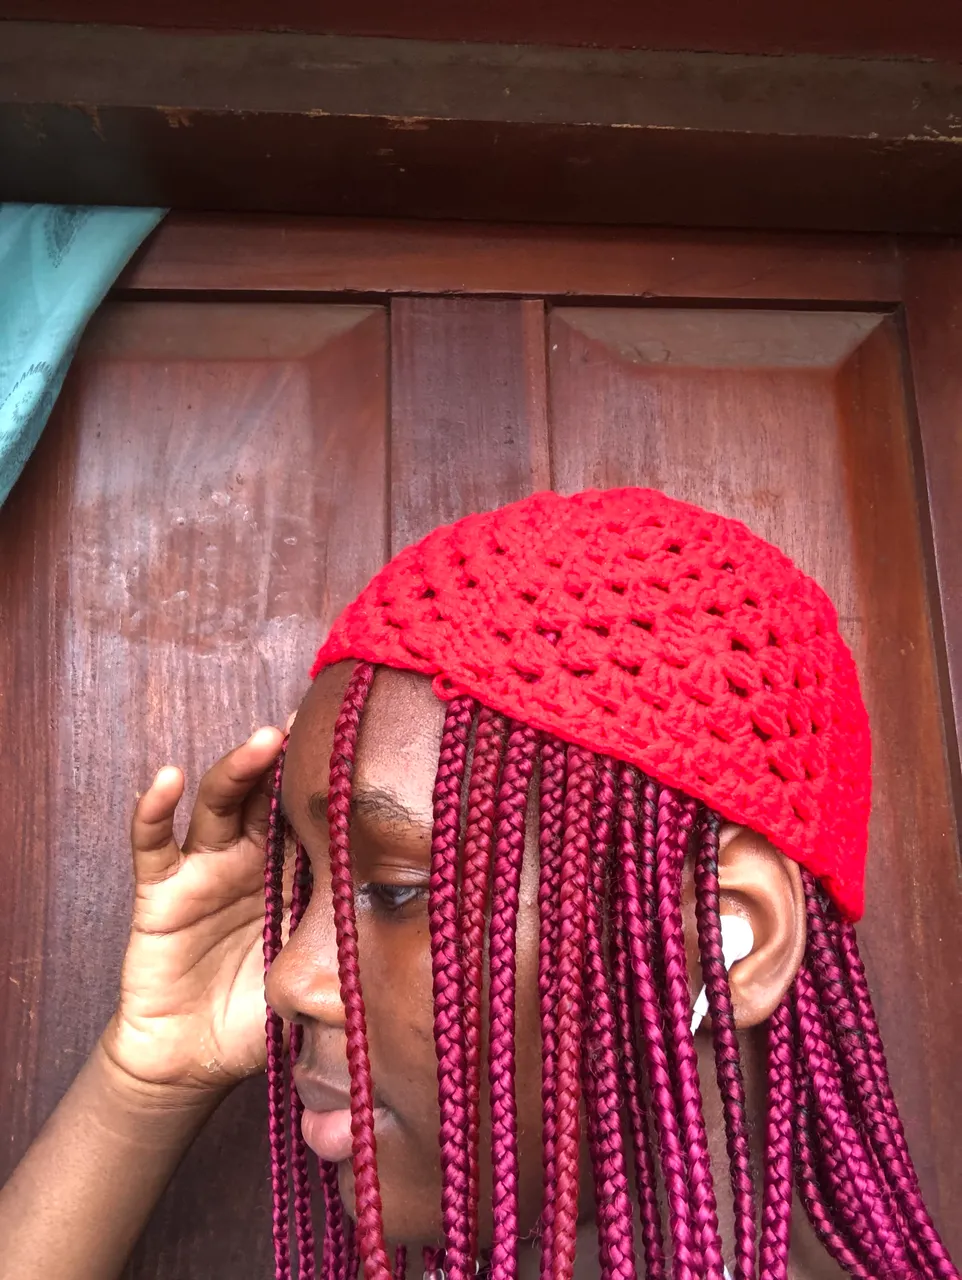
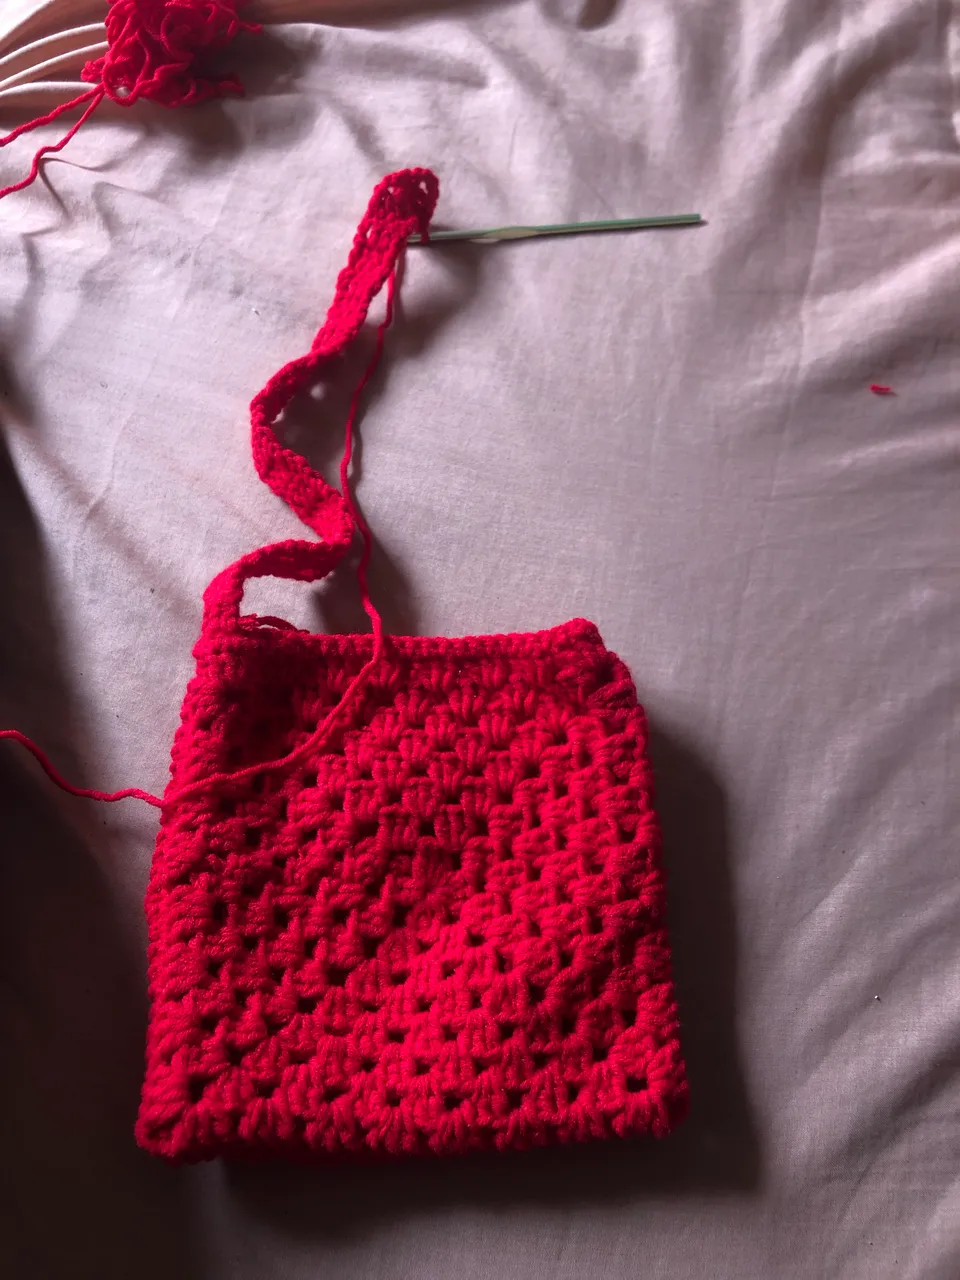
For my edging, I did half double crochet stitches to make it look more defined. When I was done I proceeded to join the squares for my bag using single crochet stitch when I was done I did a row of single crochet stitches on the mouth of the bag to give it a defined look then I proceeded to make the straps using double crochet stitches also my strap measured 35 inches when I was done
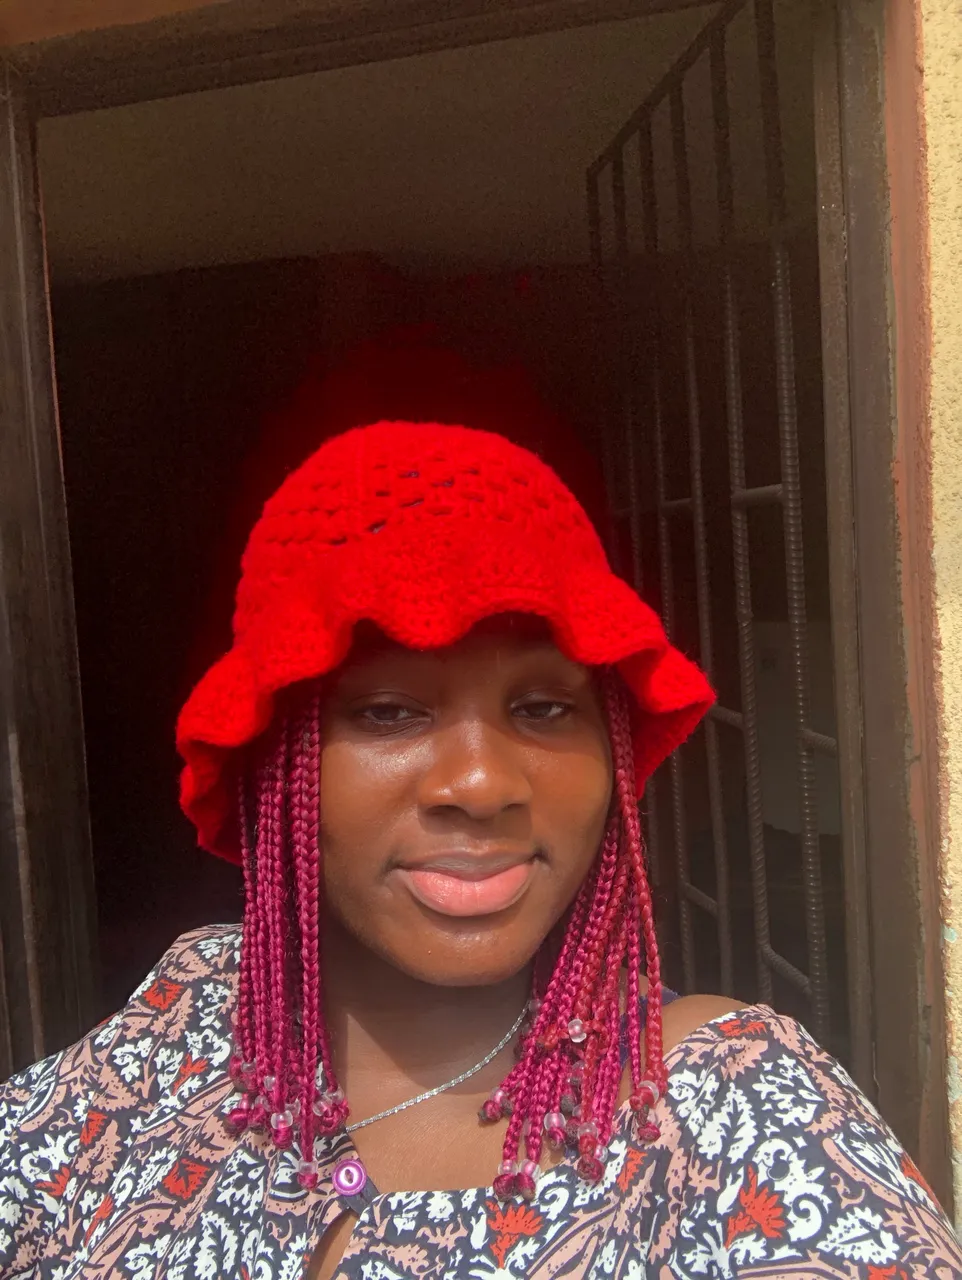
When I was done with both the hat and bag I sewed in my loose yarn with my darning needle and cut off any excess yarn with scissors. This is the finished product I love it and I hope you’ll love it too
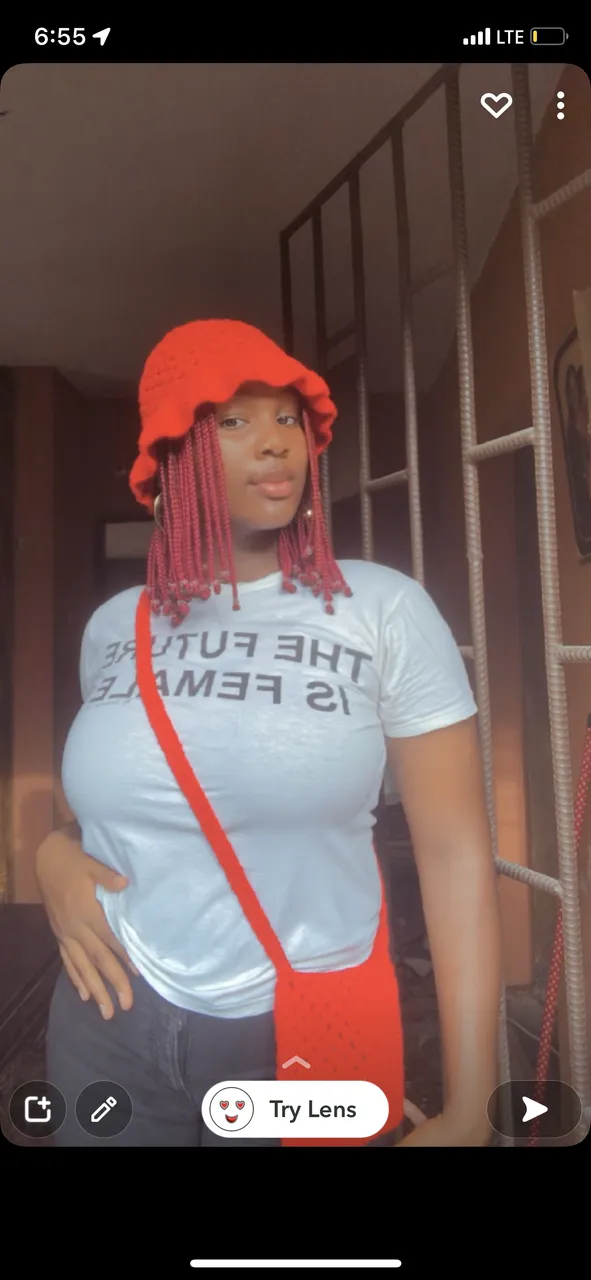
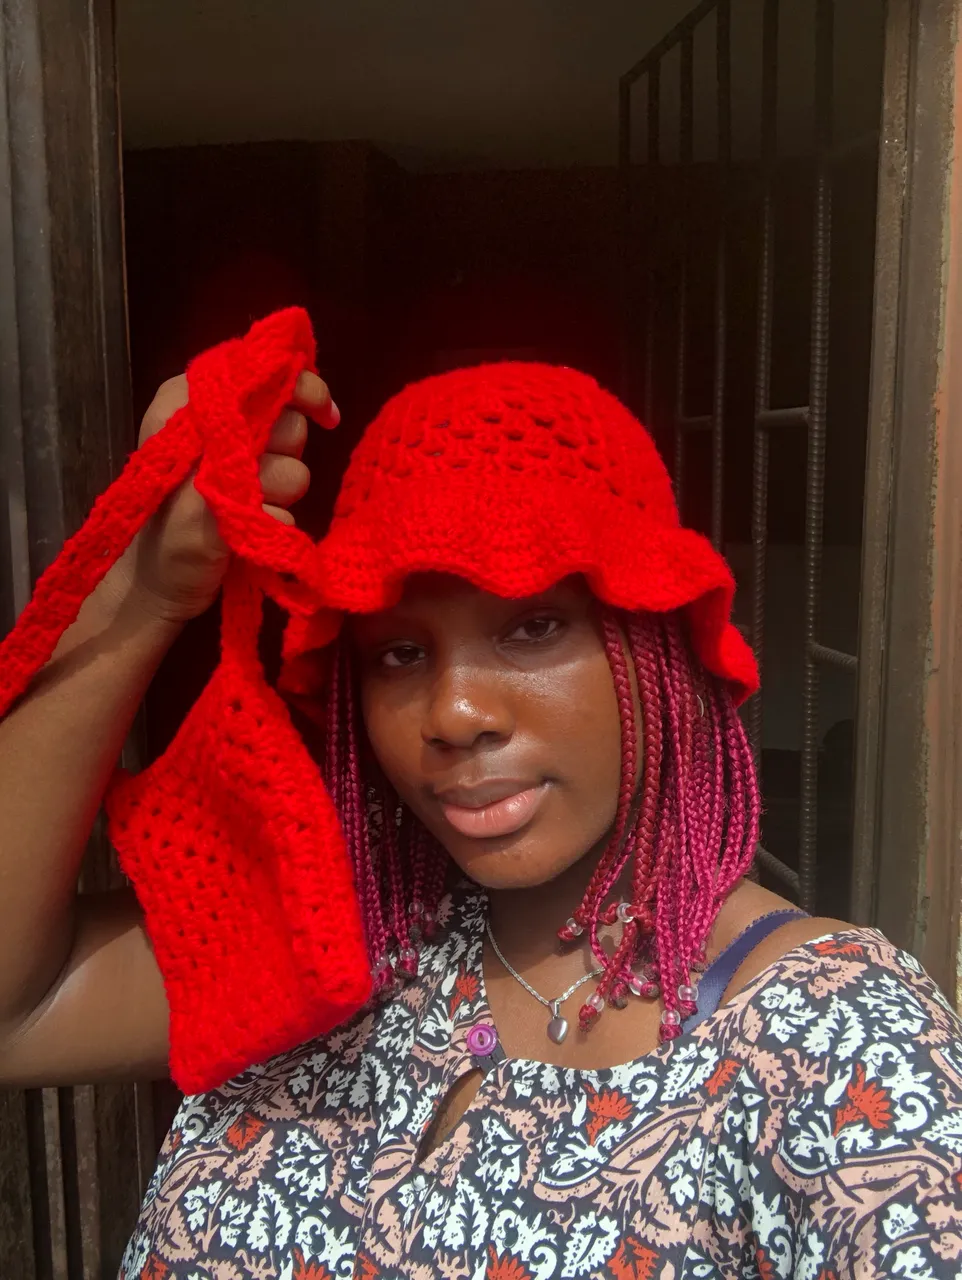
Toosmuch and I hope you guys love it too
inserts pictures