I wanted to make horse characters in the future but don’t want to always starting from scratch.
In this article, I will show you how I constructed my base mesh.
It will be a low detail (low poly) as it will serve as my starting mesh for future horse models.
For the sake of demonstration, I will give it a simple tail, mane, shading and environment.
Construction Method
I started with references – a lot of it. I also viewed some tutorials on how other people made their horses.
For basic process, I followed this method.
I will be using 2 images directly on the editor.
I will be blocking the other reference image as I am not sure if I am allowed to show it here. It’s basically a front view of a certain horse.
Aside from that, I will be using more reference on a different window. I will be using this references when making the eyes, nose, mouth, tail and the hoof.
With that out of the way, let’s get it on. 🙂
I started with a cube positioned around the neck of my reference.
I then extrude and positioned it to match my reference body.
I have to keep in mind to make it low poly as I am making a base mesh.
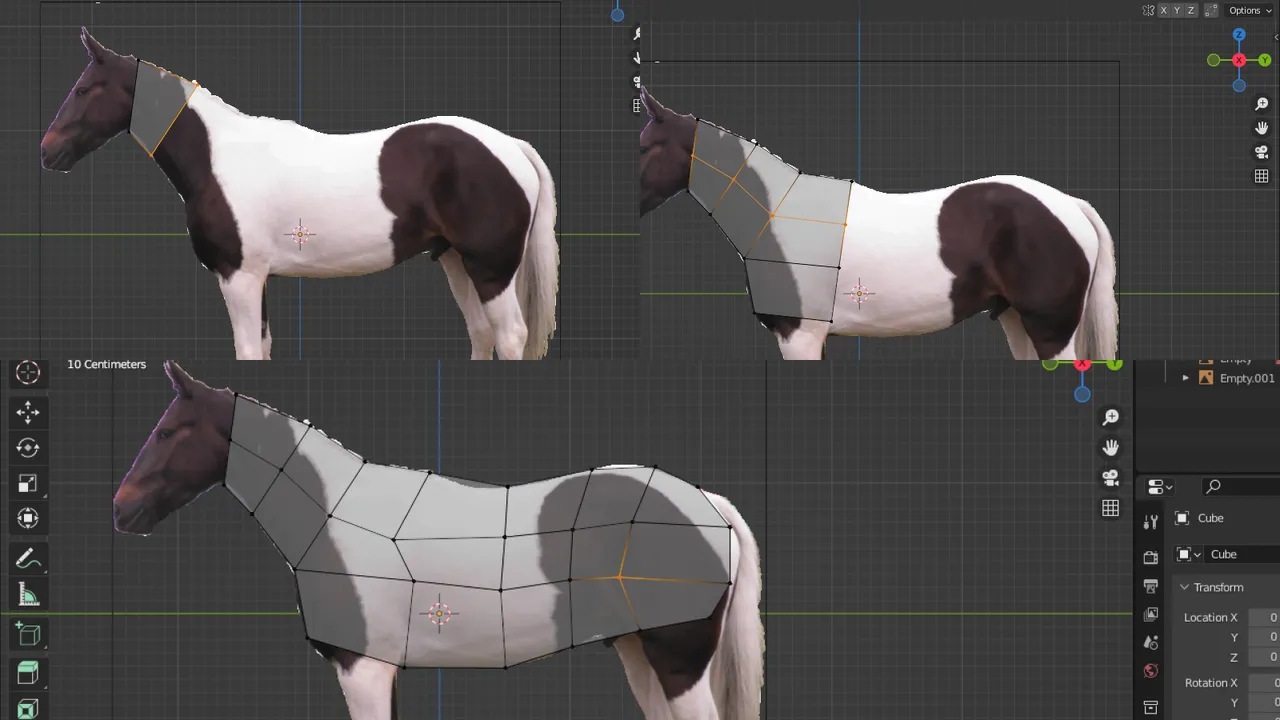
Reference image downloaded from SeekPNG.
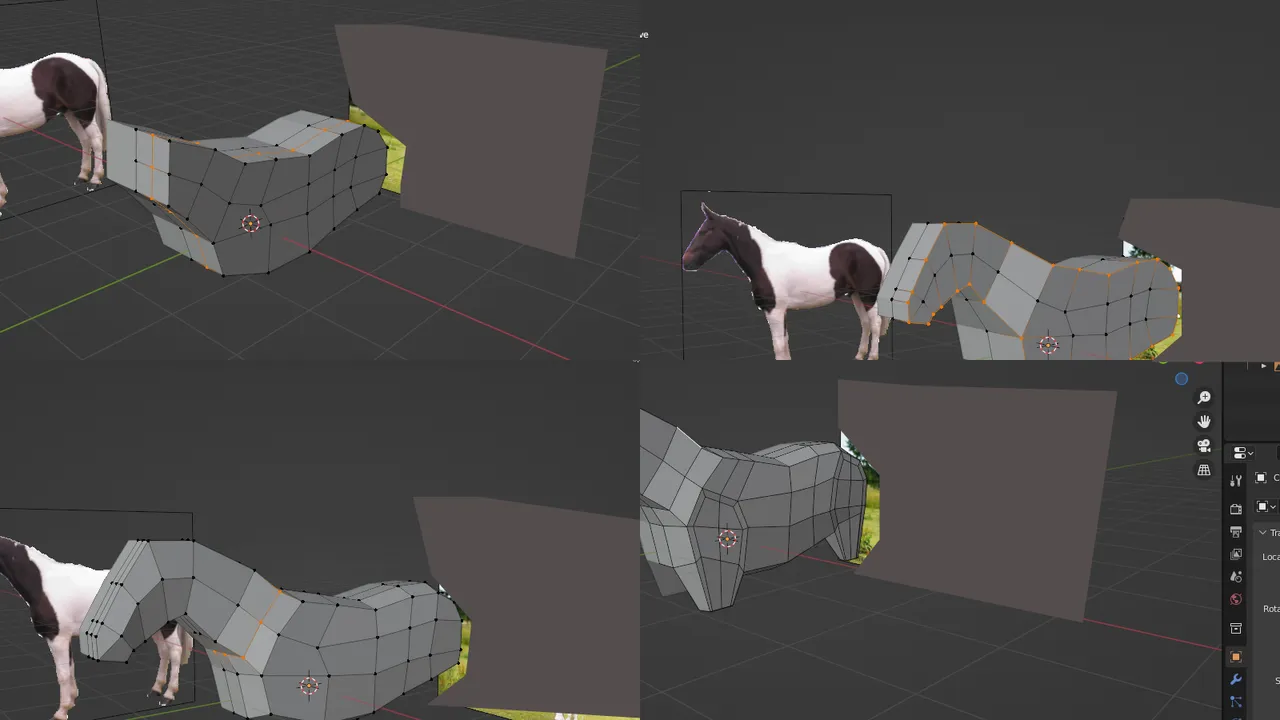
After that, I grabbed and moved vertices to make my box model like a horse body.
I added extra detail as I deem necessary, especially around the legs.
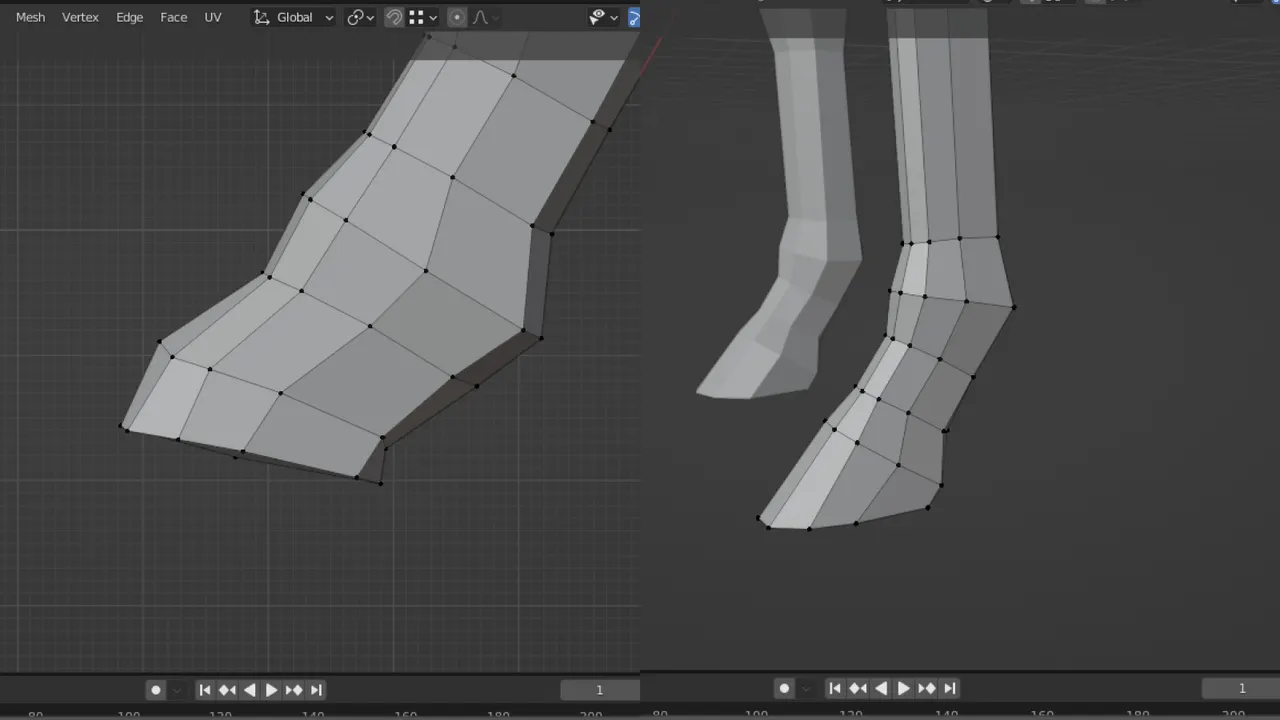
I then polished the shape of the body with sculpting. Next, I completed the legs.
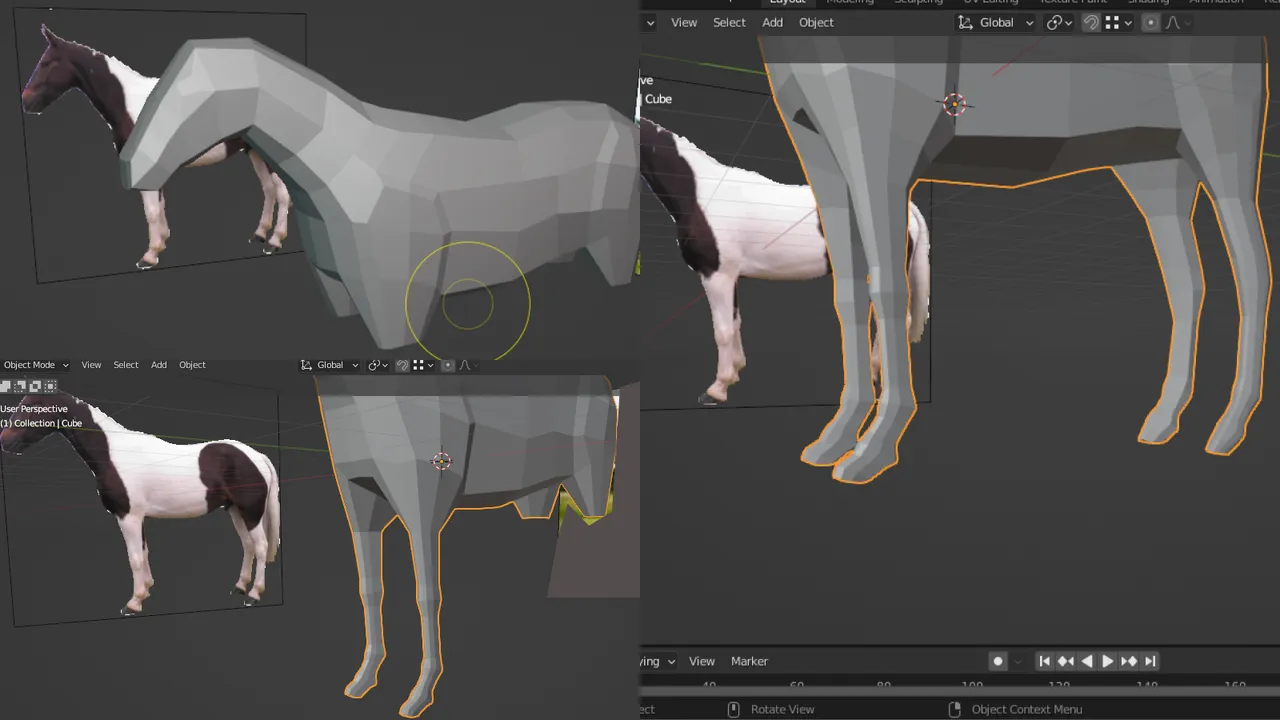
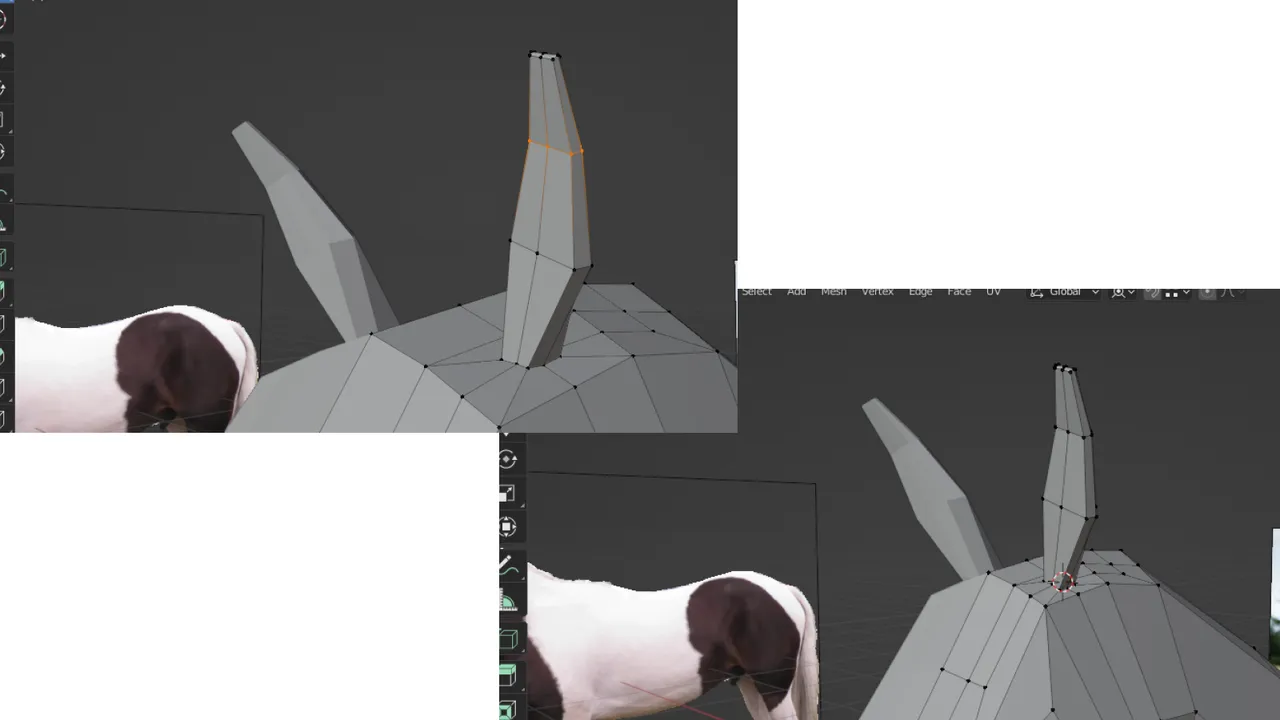
I then moved on the ears next. Again, I am making it low poly as possible – no additional details.
I added more details around the eye area, cut out a hole for the eye socket. I then added a sphere for its eyeballs.
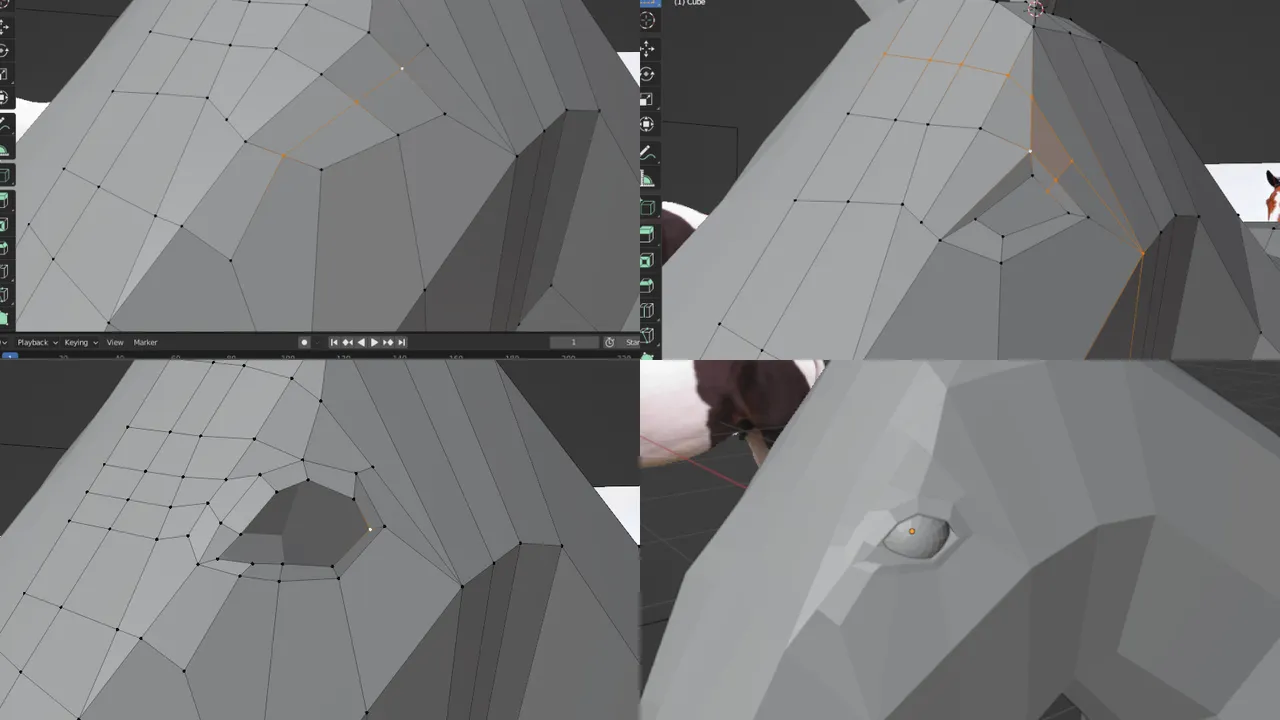
With my reference image, I shaped the bridge of the nose of the horse first. And then proceeded with its nose.

I moved on next making the mouth and a short tail.
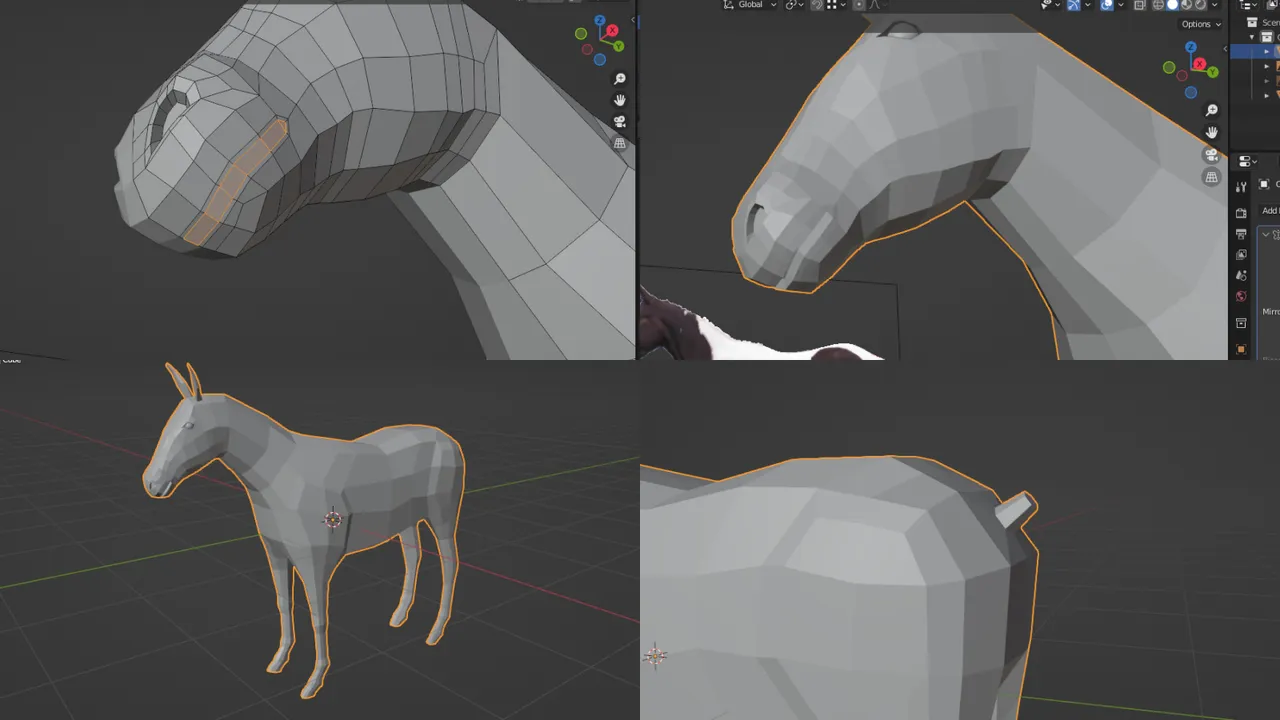
Checking on my reference images, I went back to the hoof and made some adjustments.
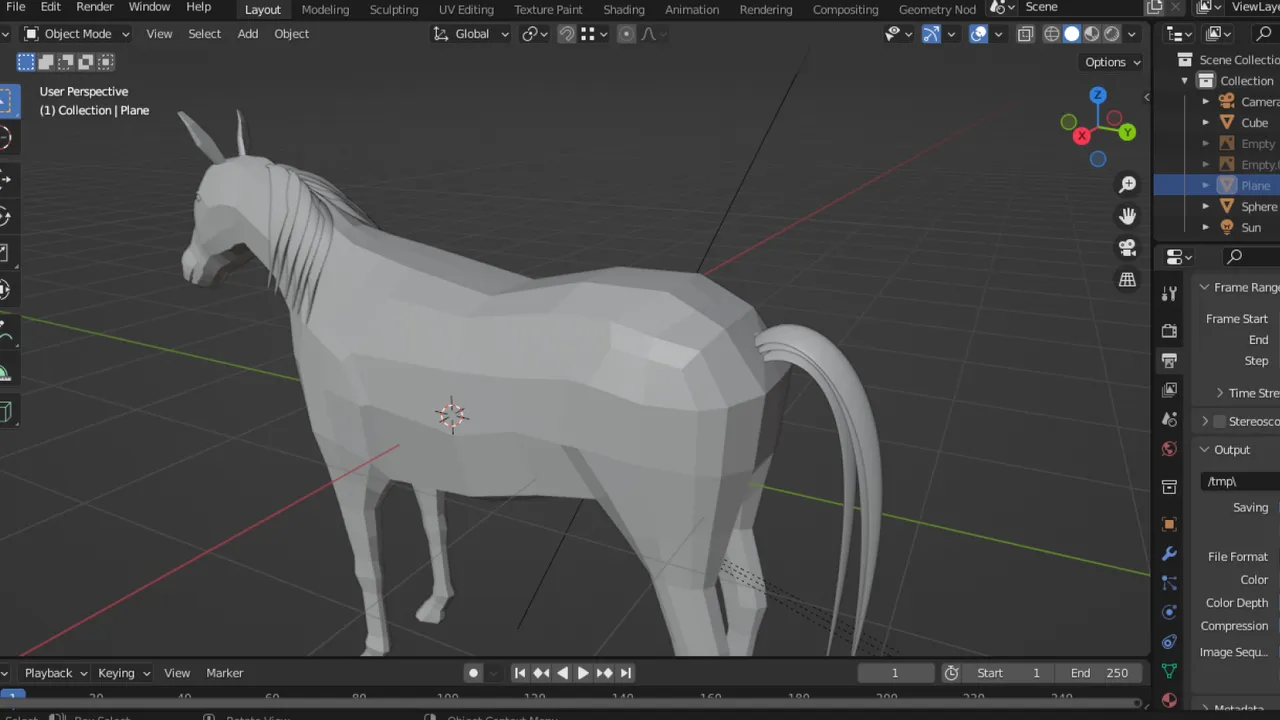
That’s it, I’m actually done with my base mesh.
However, it feels unfinished, it really is, if I will end here.
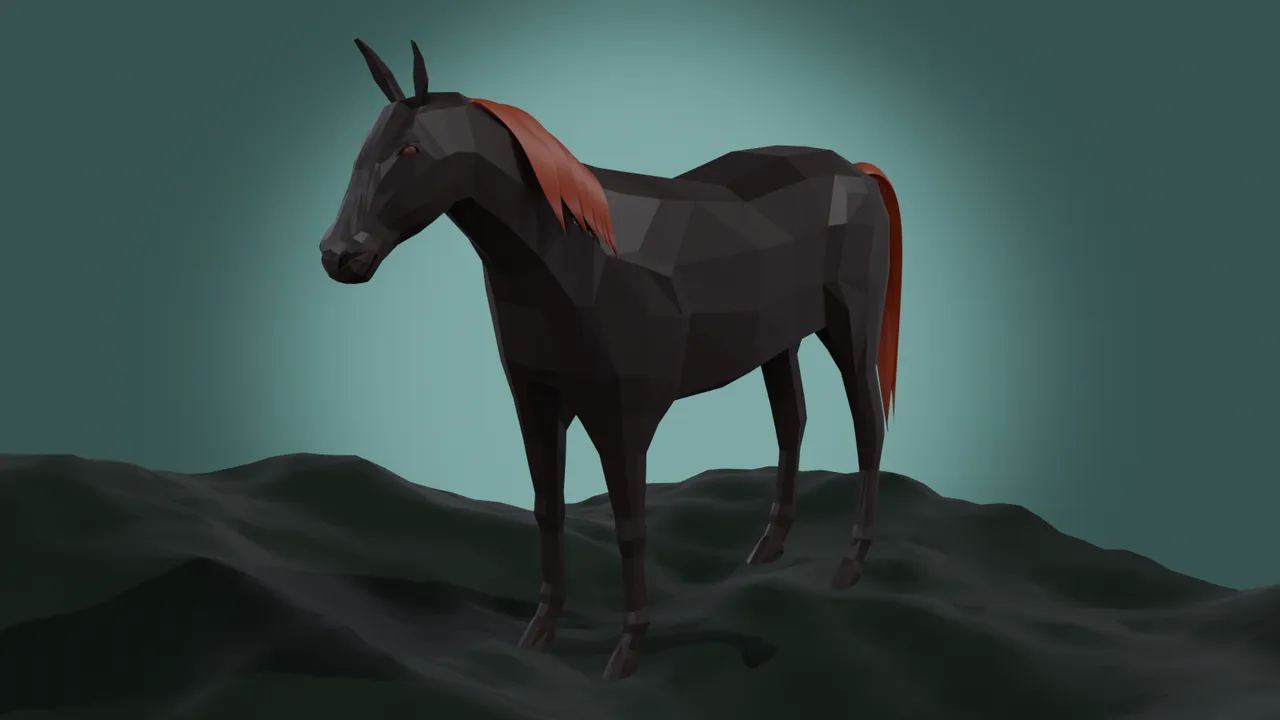
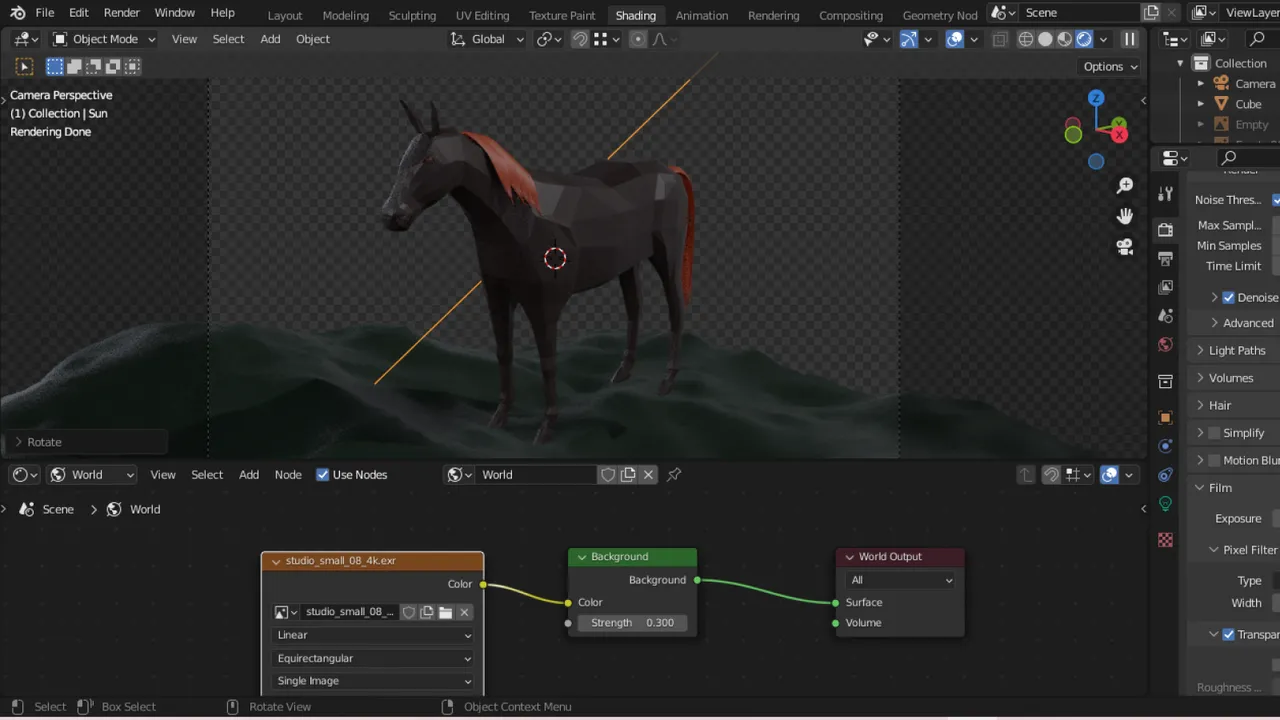
So, I added some simple tail and mane.
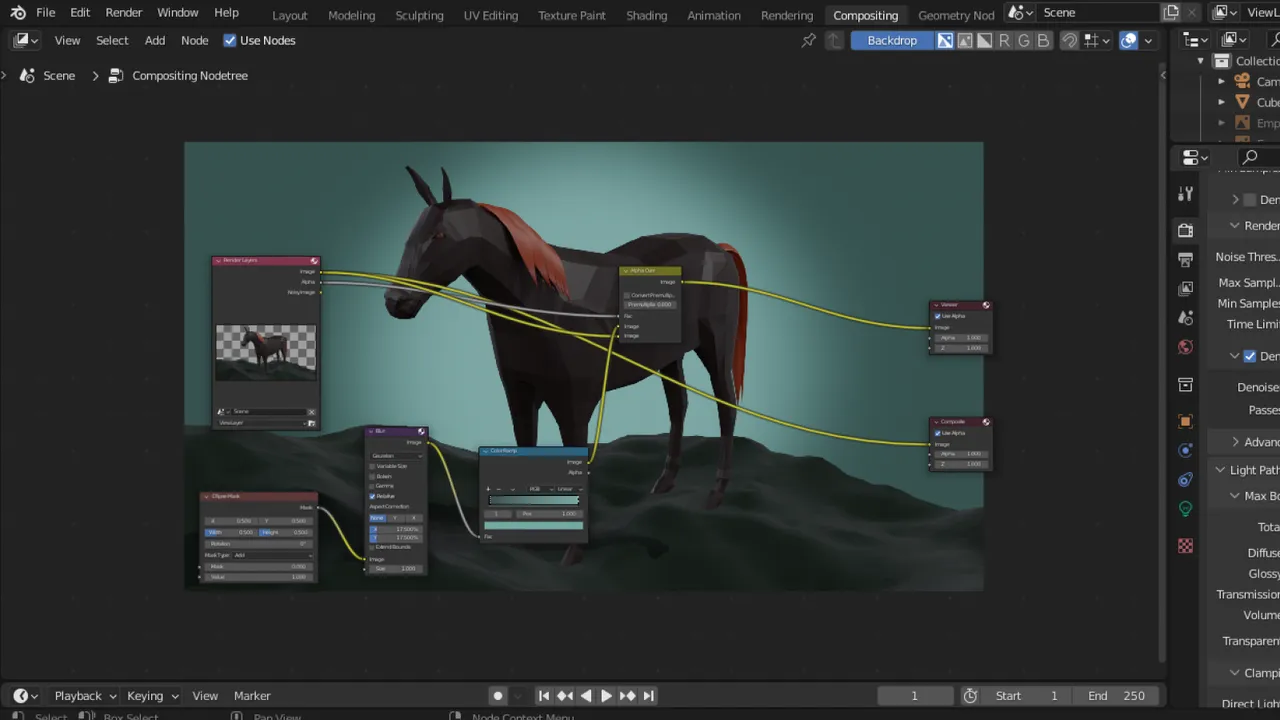
Also, I colored it, made a ground, lighting and did some compositing.
Thanks for making this far reading my article.
Hope you liked it.
Thank you and more power.
Follow me if you want to see what I can make with this base mesh. 🙂
3D Model is created and rendered with Blender.