Helloooooooo!
How are you? I hope you are well and having a nice day. It's raining here, so I'm feeling a little bit moody. Anyway!
Today I want to share with you something I tried for the first time. I tried to apply the shading and lighting techniques I learned in an online course. Of course, the result is not very satisfactory as this is my first time; however, the difference is clearly visible for me when I compared it to my other works. This is also the first time I try to draw and color a portrait. You can see my steps below.

The first step is, of course, sketching. While drawing, I used a photo I saw on Pinterest as a reference. I really love Pinterest, you can easily find anything you're looking for. I think it is very useful for reference, tutorial or creative ideas.
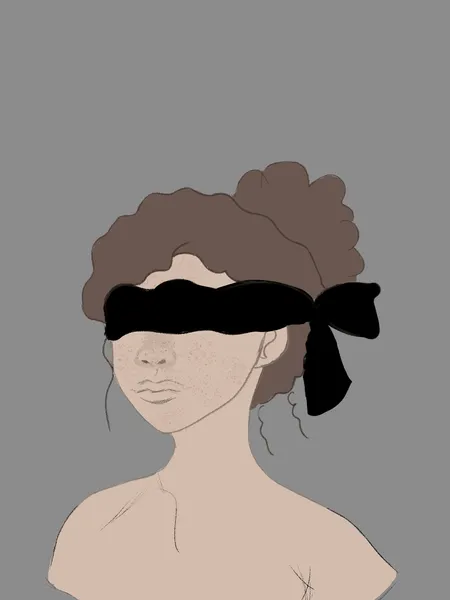
I started coloring in the second step.
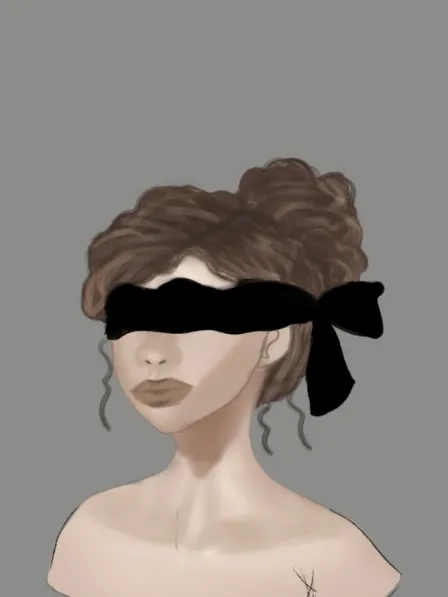
The third step is the shading and lighting. First of all, i added the shadows. After that I applied the lightening process. I blended the layers and moved on to the last step.

In the last part I applied the colors and added some more shadow and lighting, background... I rearranged the things I didn't like or the wrong parts with the help of liquify. For example, the woman's mouth was very big and I thought it would look nicer if it were a little smaller; but in the end, I decided that it would be better to leave it as it was, because as you can see, the face of the woman has completely changed. Of course, it was too late.
And that's it! We have come to the end of another post of mine. Until the next time... Take care of yourselves. <3