Well, I hadn't published for the contest for a long time, but when I do several things at the same time, it also makes it difficult for me to finish the models to publish them, this time I made this model that I had in mind for a long time and it also took time for my team to finish. , I am still in doubt whether or not to buy the new parts that I need for my computer, I have other expenses to do as well hehehehe
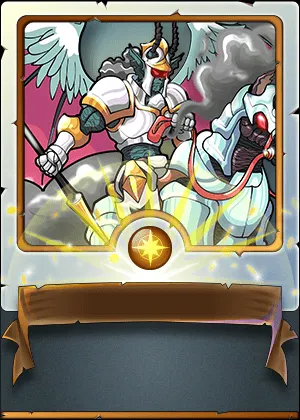
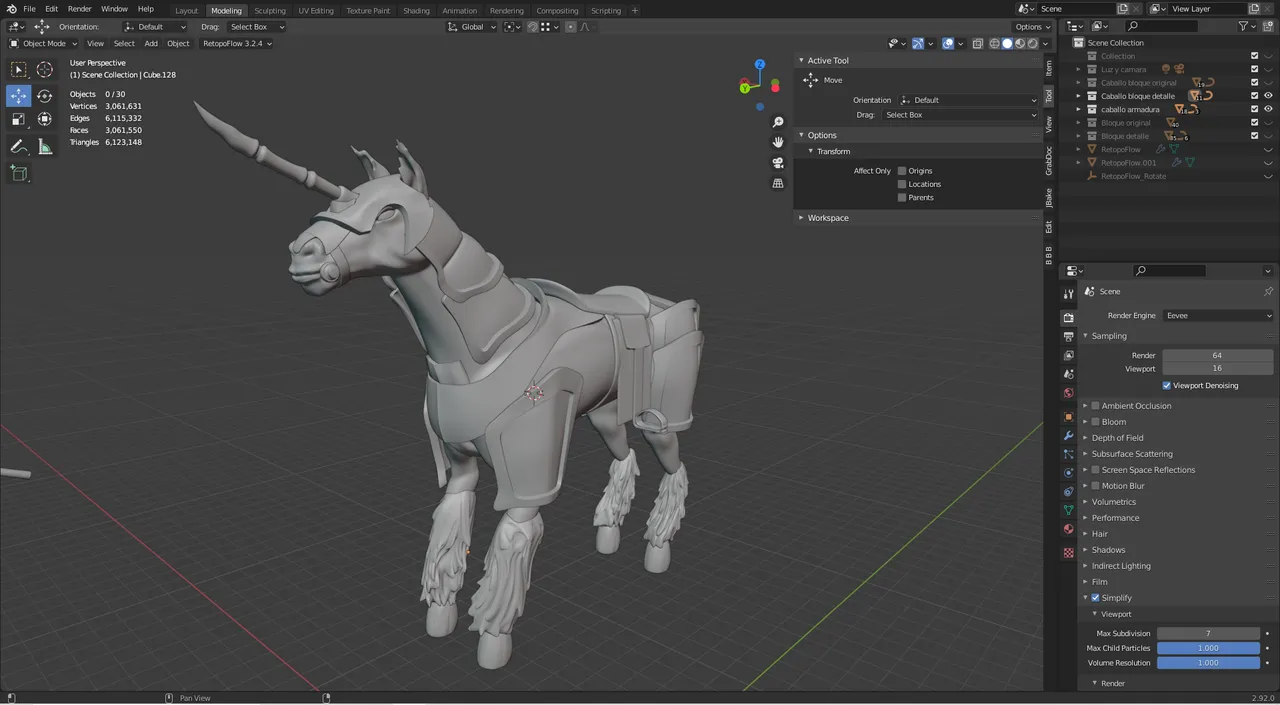
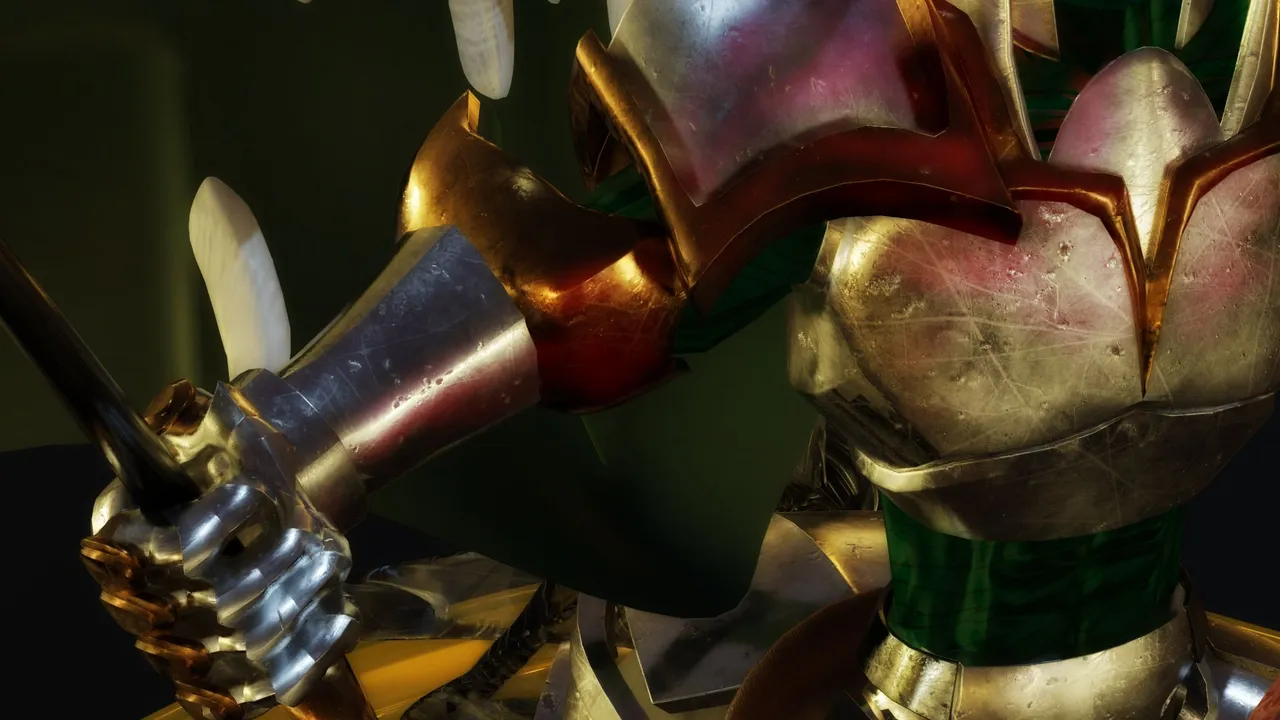
Es caballero is one of the cards that I thought of buying before but with the current prices I would only buy it by collection hehehe, as with all the models I was applying some new things to this one too, for the armor before the same body was used to place it the parts but to optimize I was eliminating the less visible parts of the body to replace them with the part of the armor, I finally focused on the torso for the anatomy.
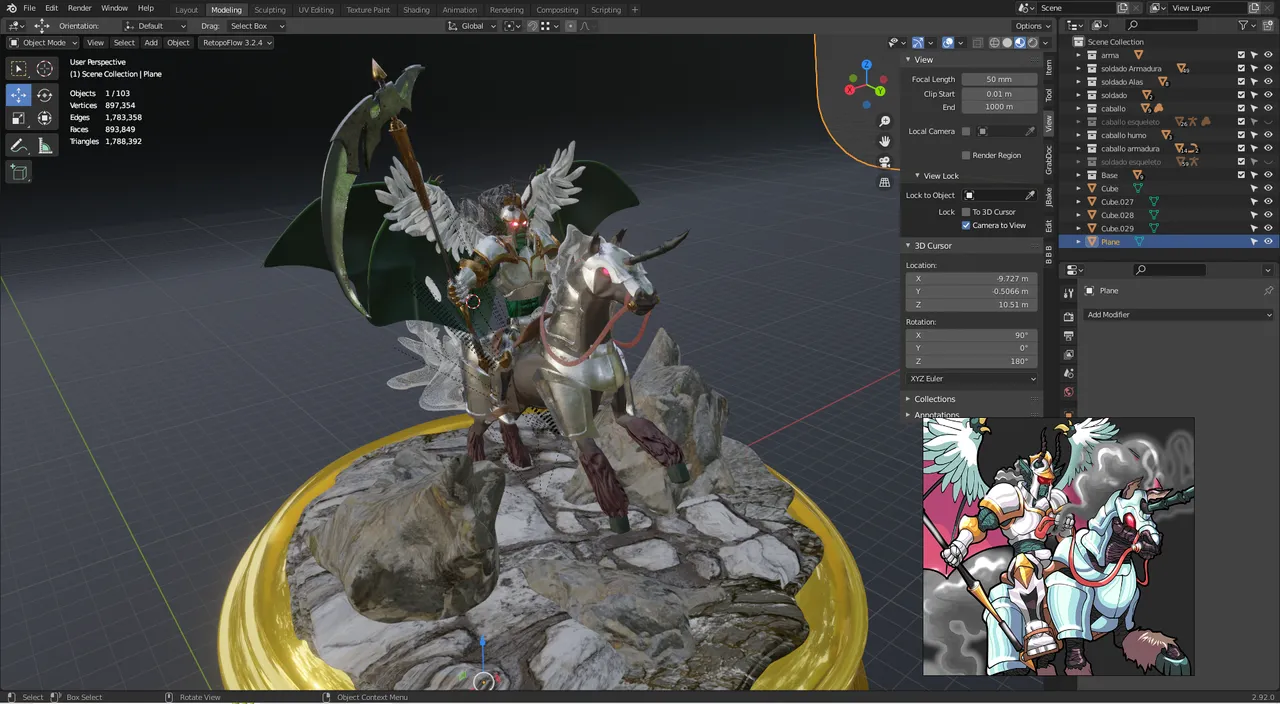
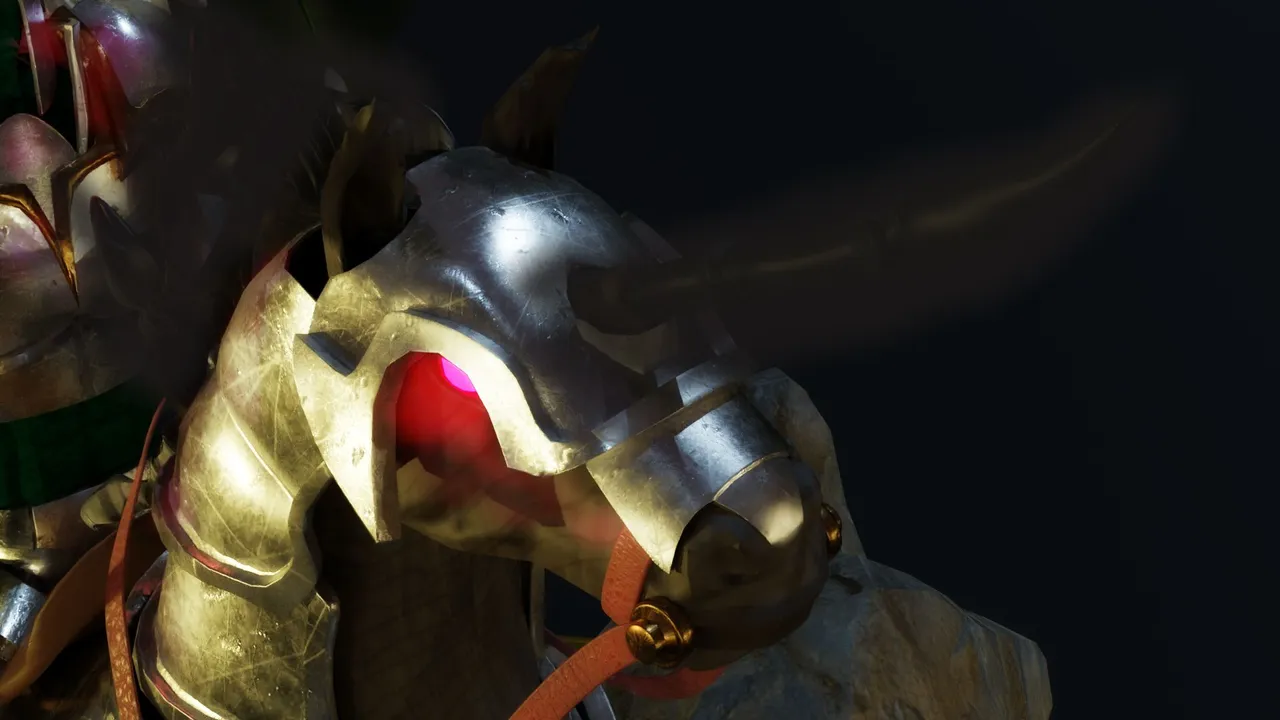
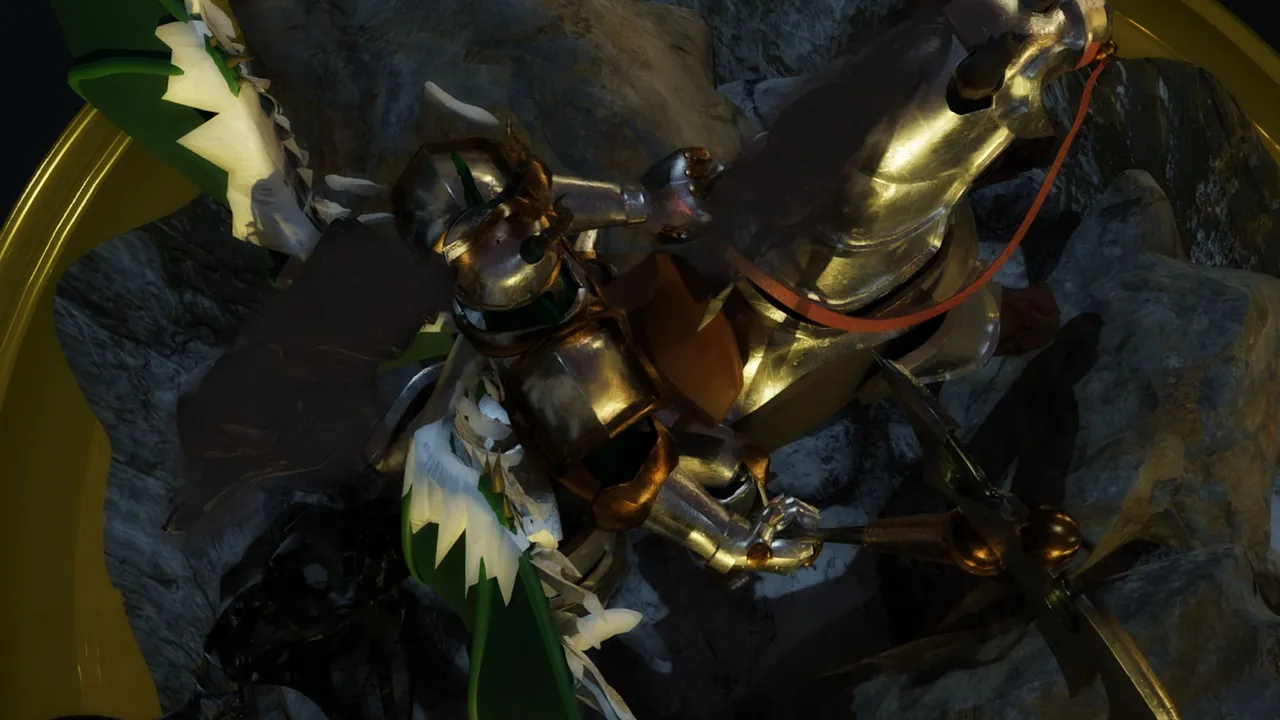
In the horse, if you work more on the anatomy in general since its body is more visible but omitting the tail, the tail is mainly smoke as well as the back of the helmet that instead of cloth or some protruding ornament is only smoke, the final result It was 1.7 million polygons that I lowered to 1 million, I thought I'd lower it a bit more but I'm doing something aesthetic and not something for a video game or animation so 1m is enough to do the renders.
- Work Tools:
Blender 3D
Armorpaint
Tablet Wacom Intuos 5
- High speed video of the 3D model 40 minutes: Here
- Model of card:
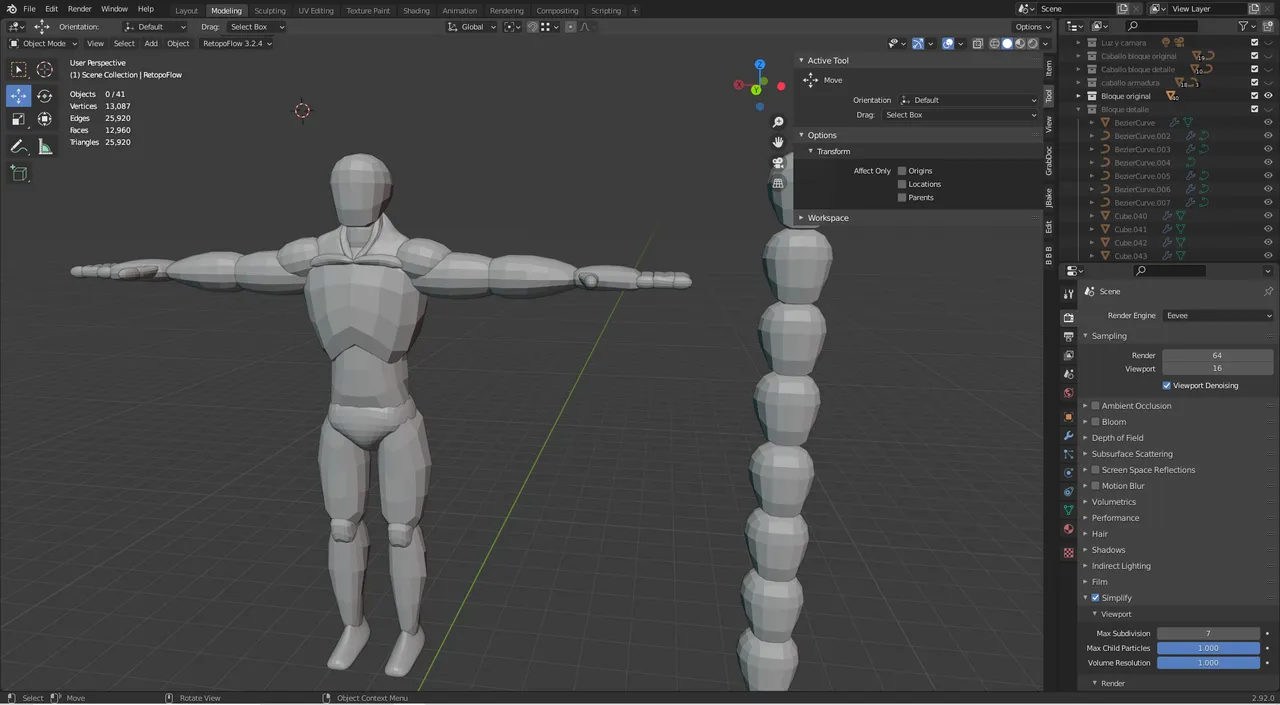
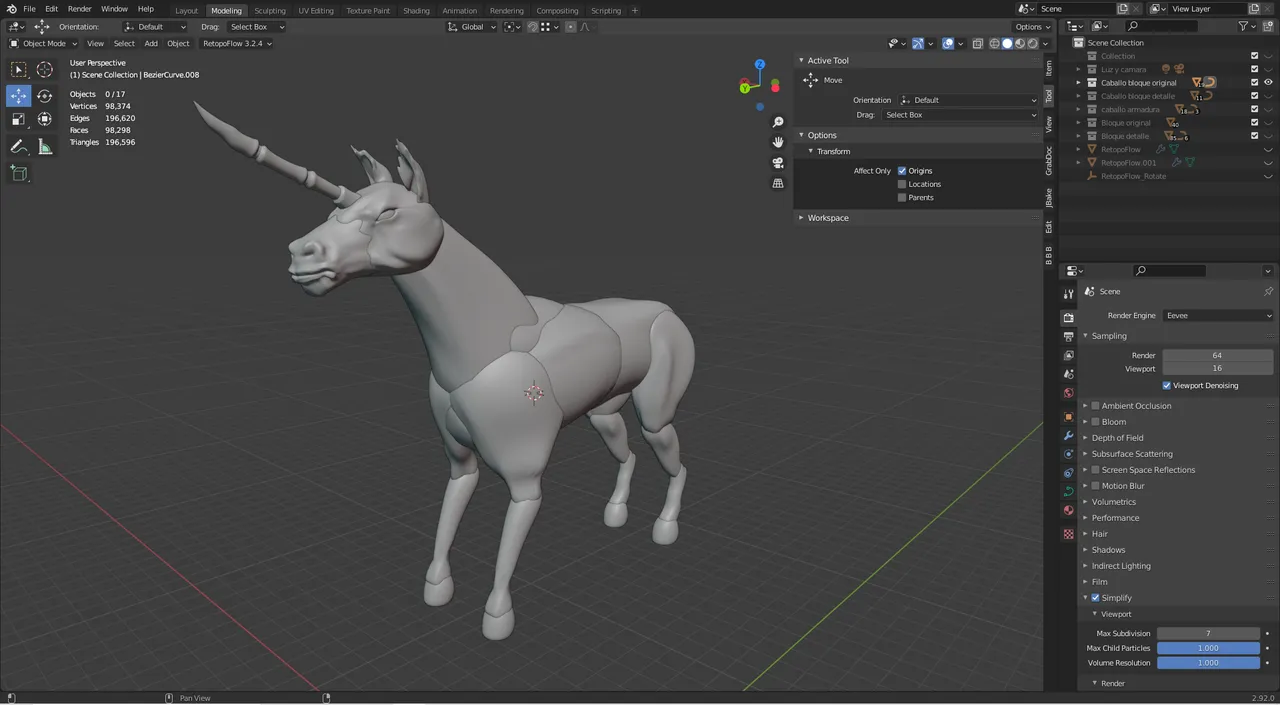
- Carved Model Block:
Rider
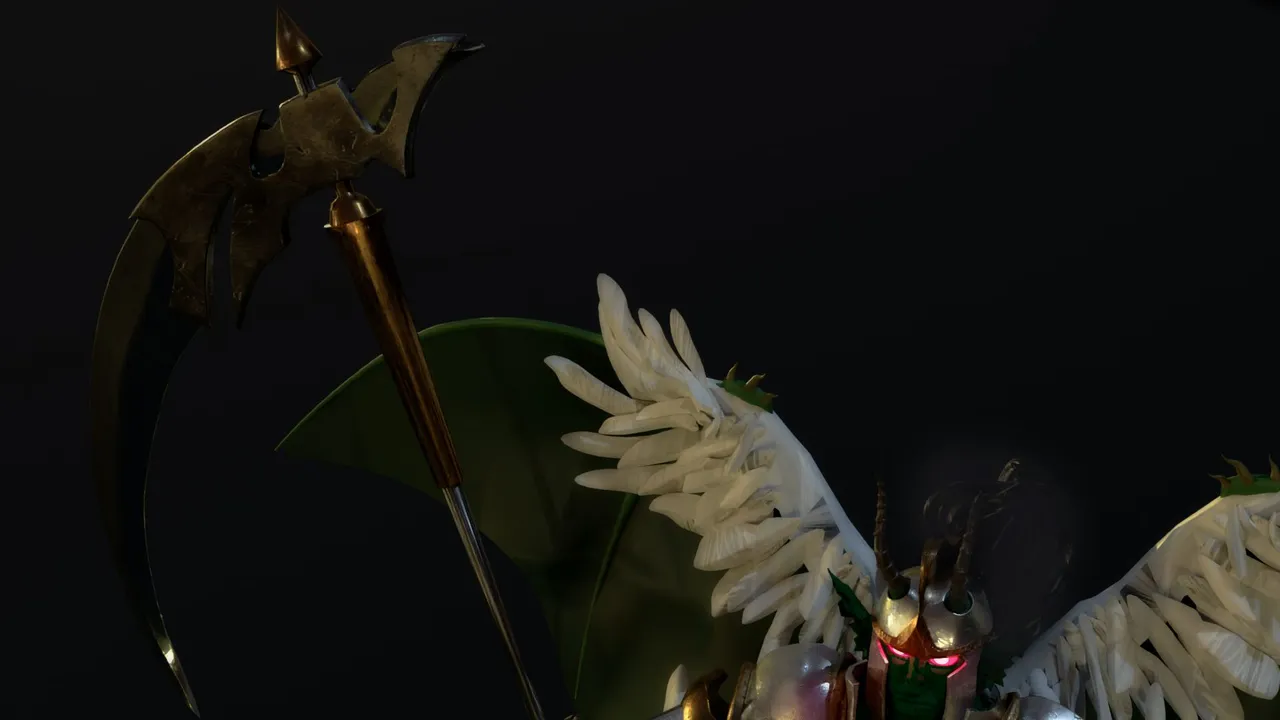
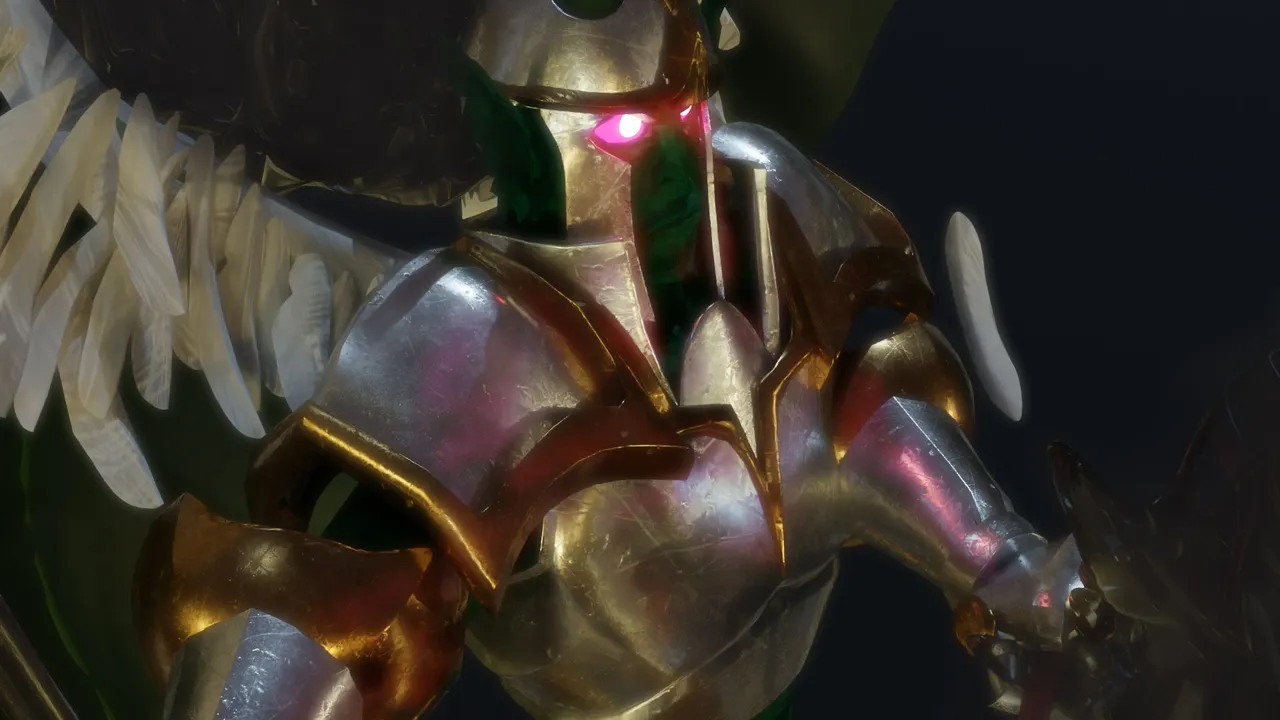
When I was making the face, the mouth part cost me a bit but in the end I finished after the third try since I erased the mouth a few times, I still don't do animations as such or simple face animations but I would like to learn that later, when at the end of the retypology i just left the torso and fit the armor, the wing feathers were easy by having a model made, then clone and group.


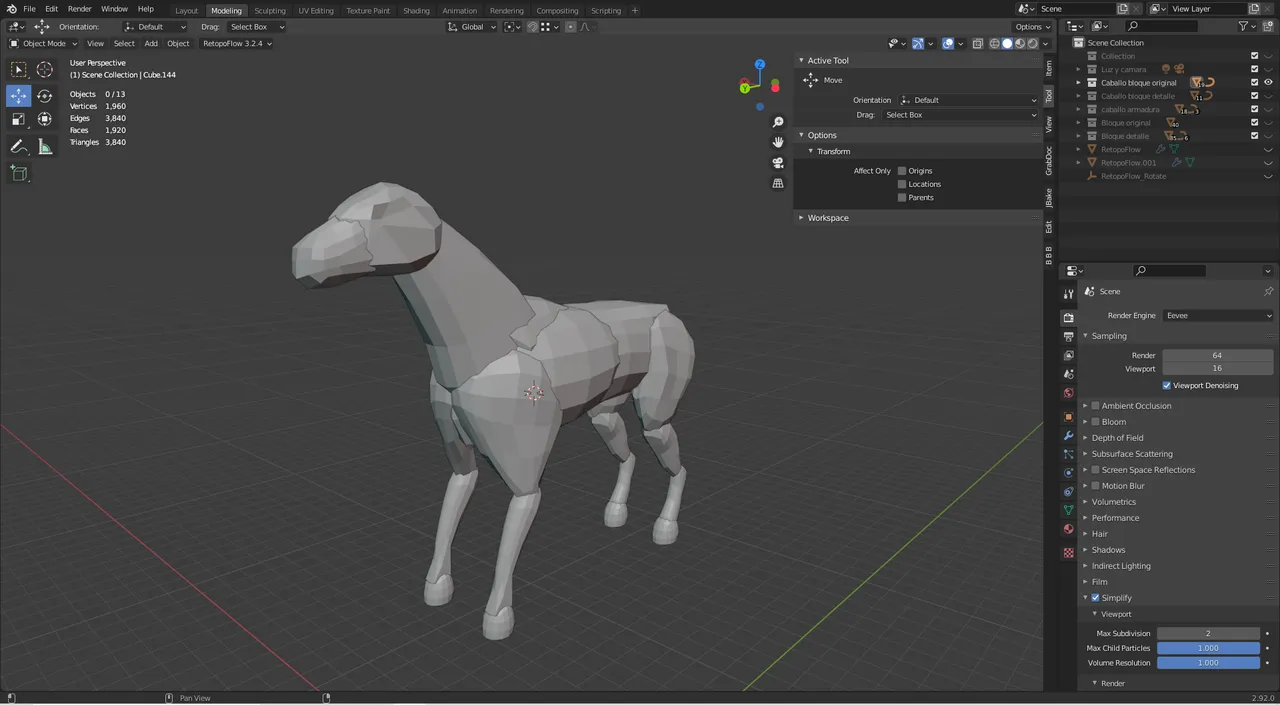
Horse
The horse was a bit complicated because I'm not used to working with other anatomies, it took me a little more time but not that much, when it comes to sculpting it's always relatively easy for me but if it's a different anatomy it takes a little longer, the horn like the other model it was simple.
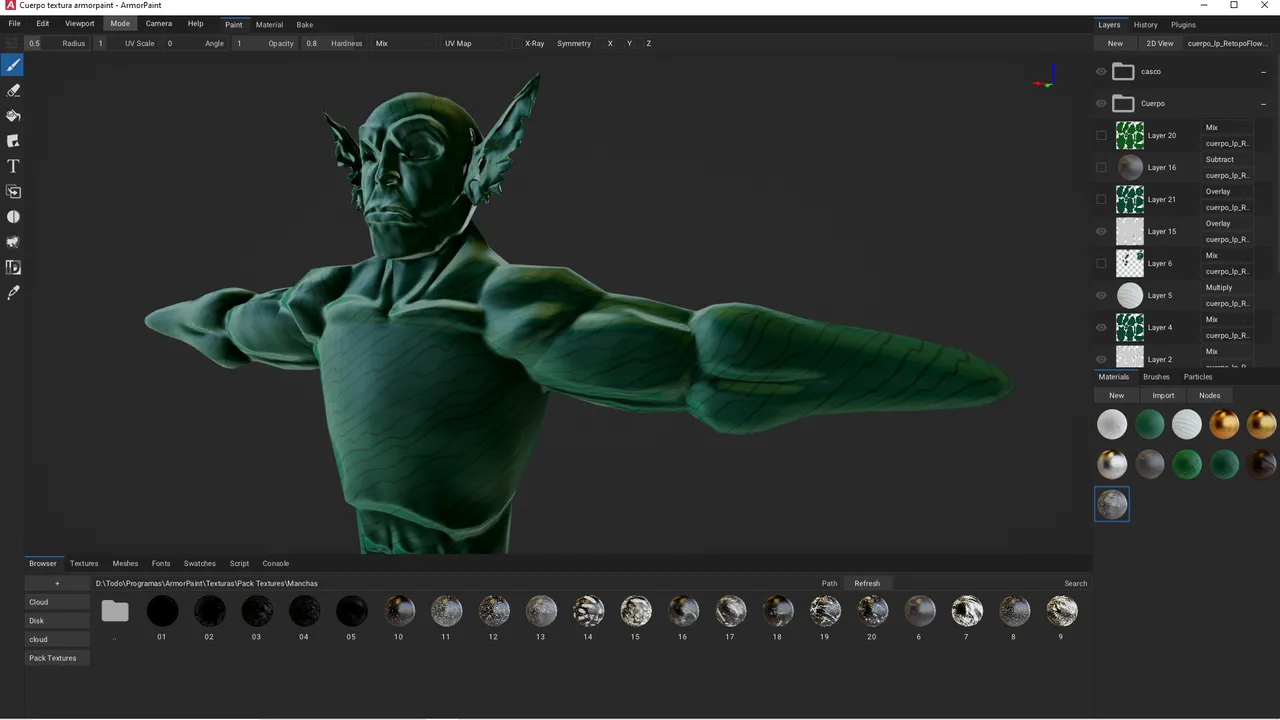
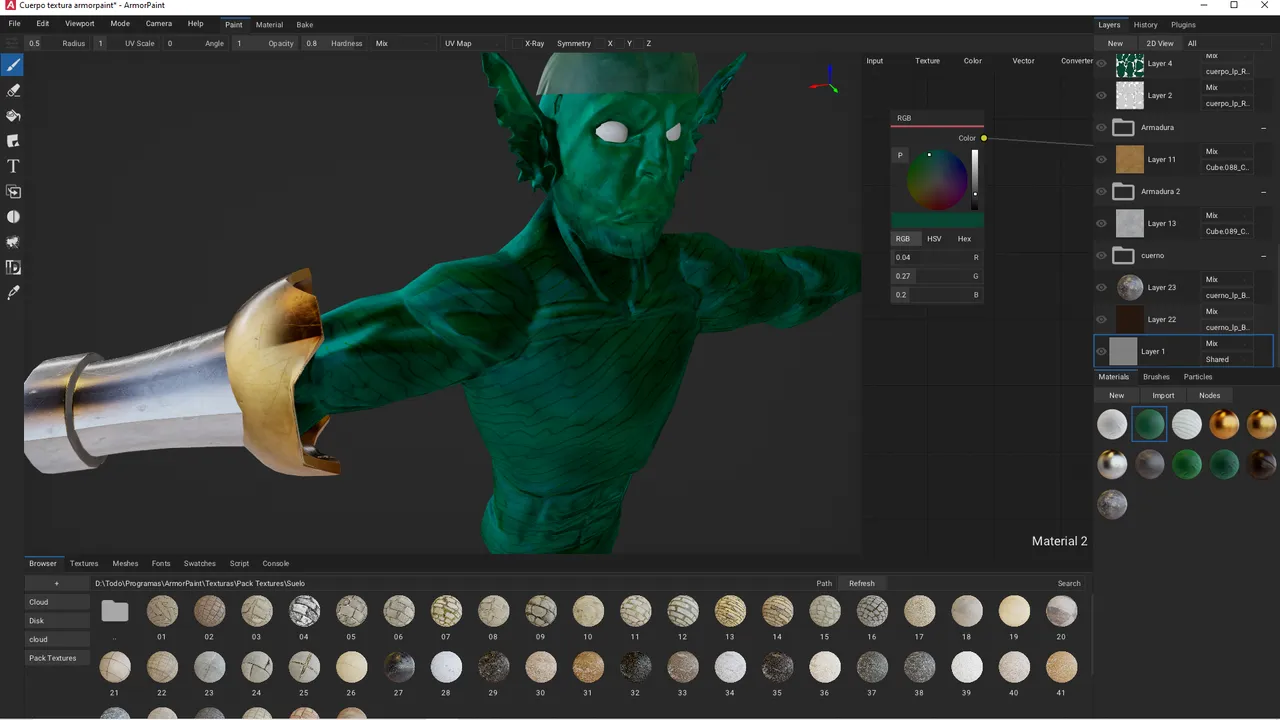
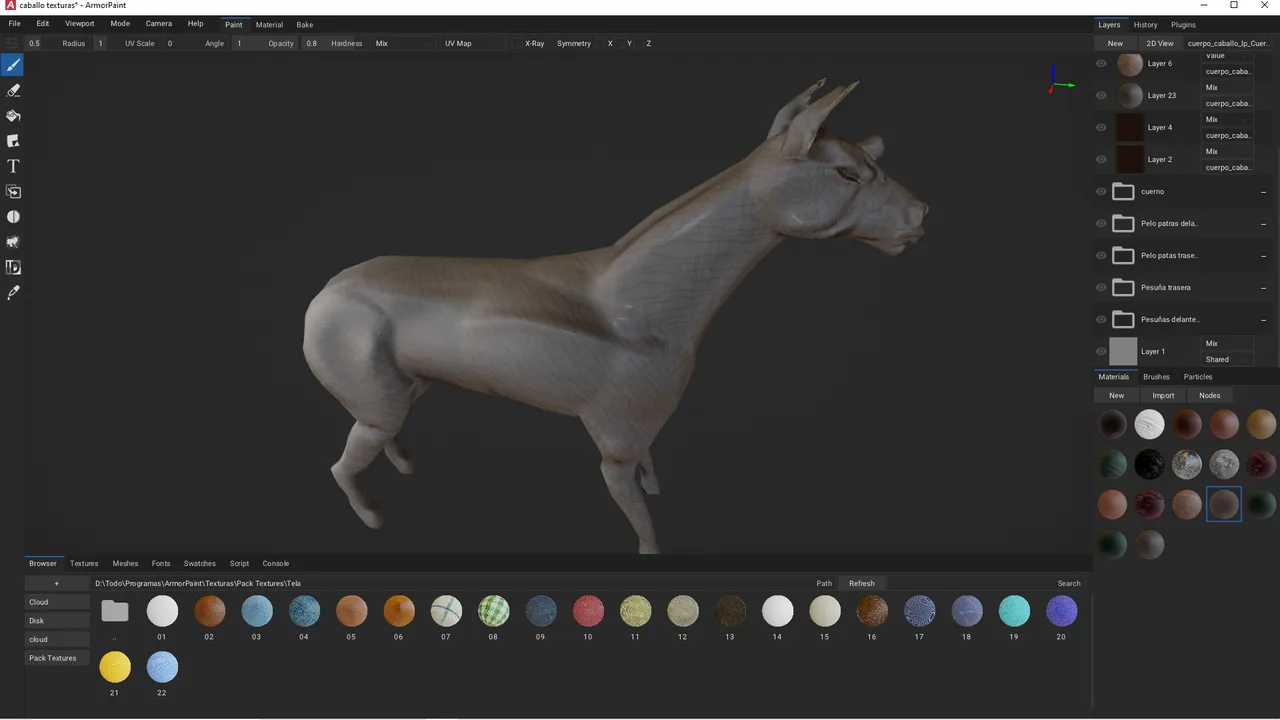
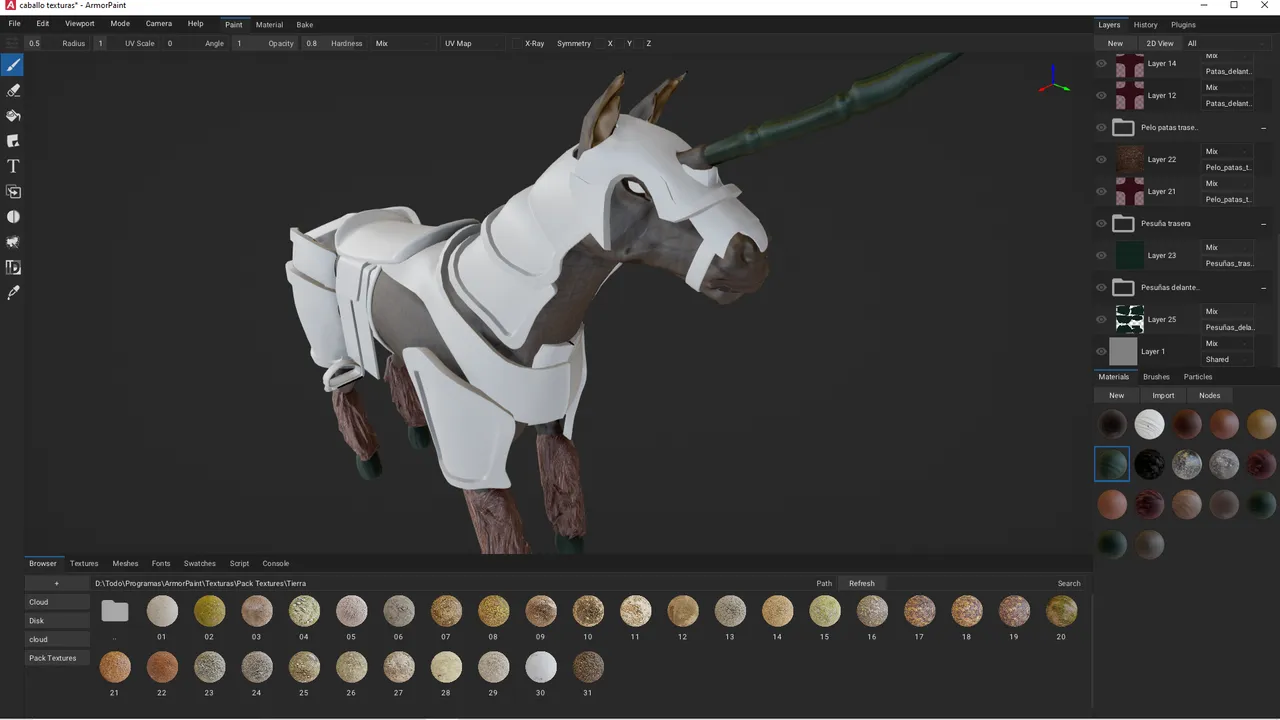
- Textures in ArmorPaint:
At first I thought of making the complete textures of both bodies and armor but to simplify it I only exported a part of the armor to look for two metal textures to export and I focused more on making the textures of the bodies using the maps that I exported after making the retopologies of bodies.
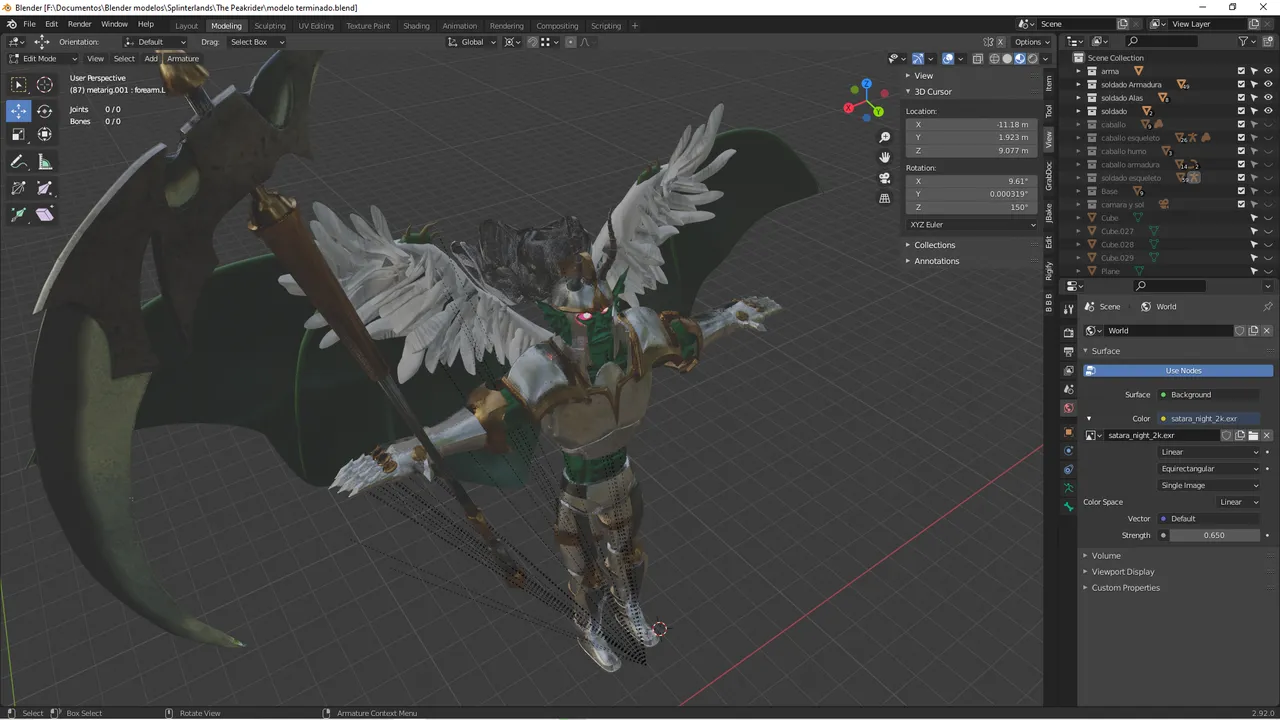
- Adding textures in Blender:
The final result with final textures of the textures in the program is always the part that I like the most xD, this stylized style with some detail in the textures I hope to improve mainly in the speed of work in the future.
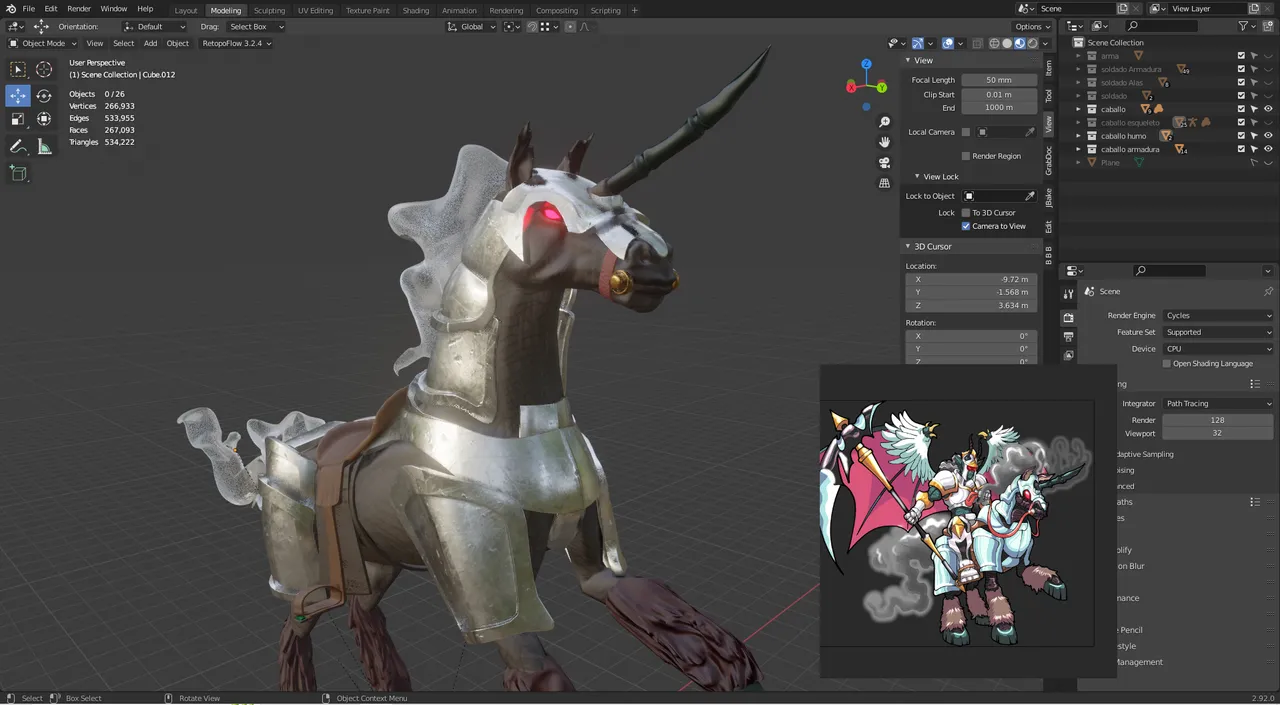
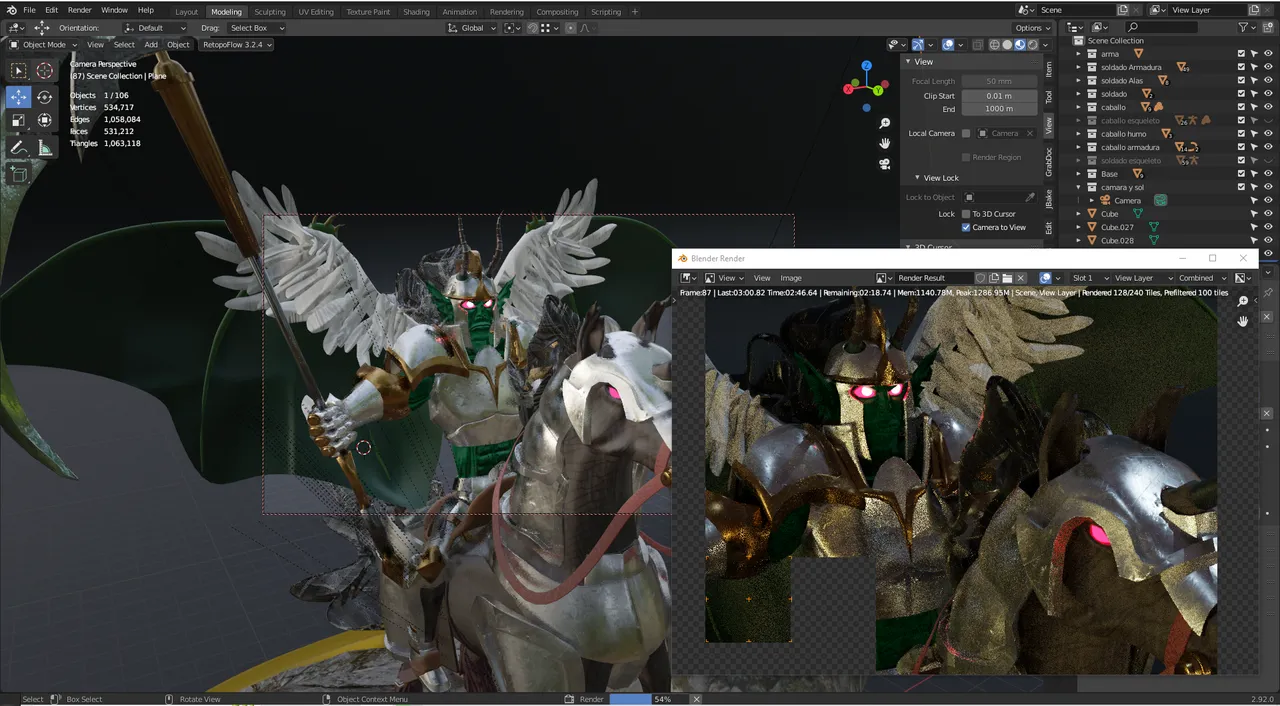
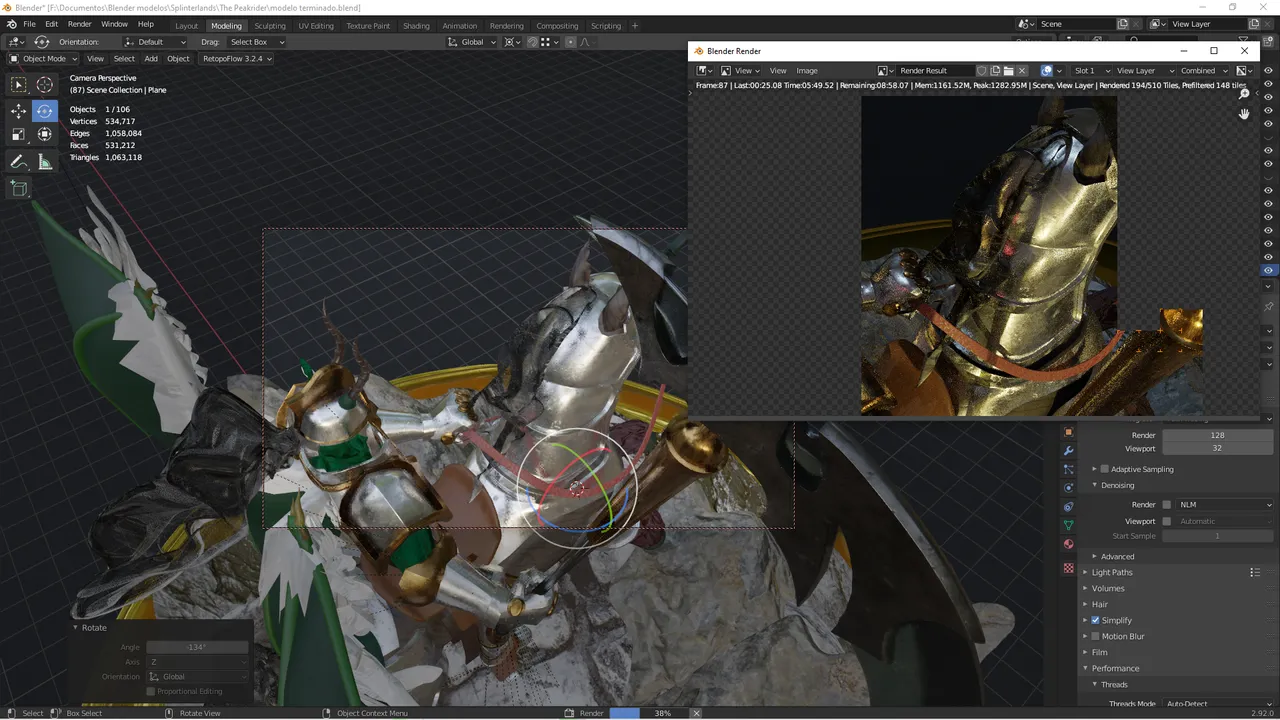
- Textures and render tests:
First I used the motorCycles and then the Eevee and as always the Evee renders in a few seconds but with much less detail than the Cycles.
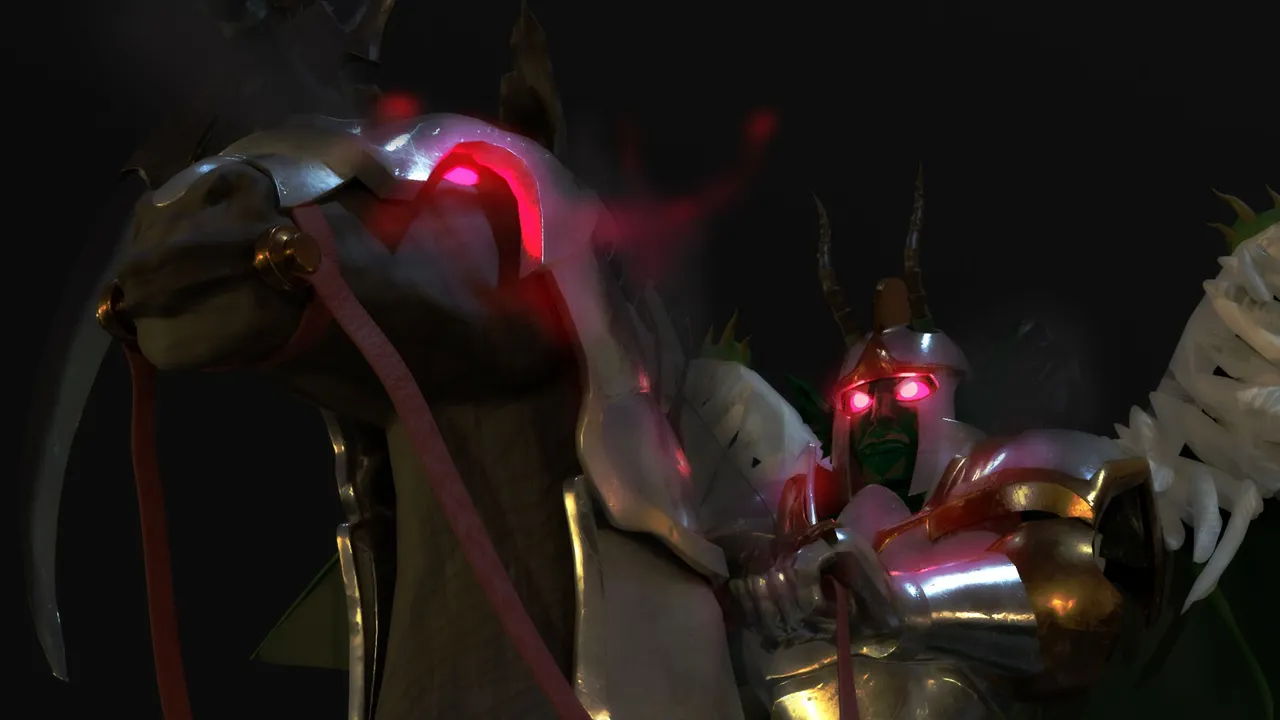
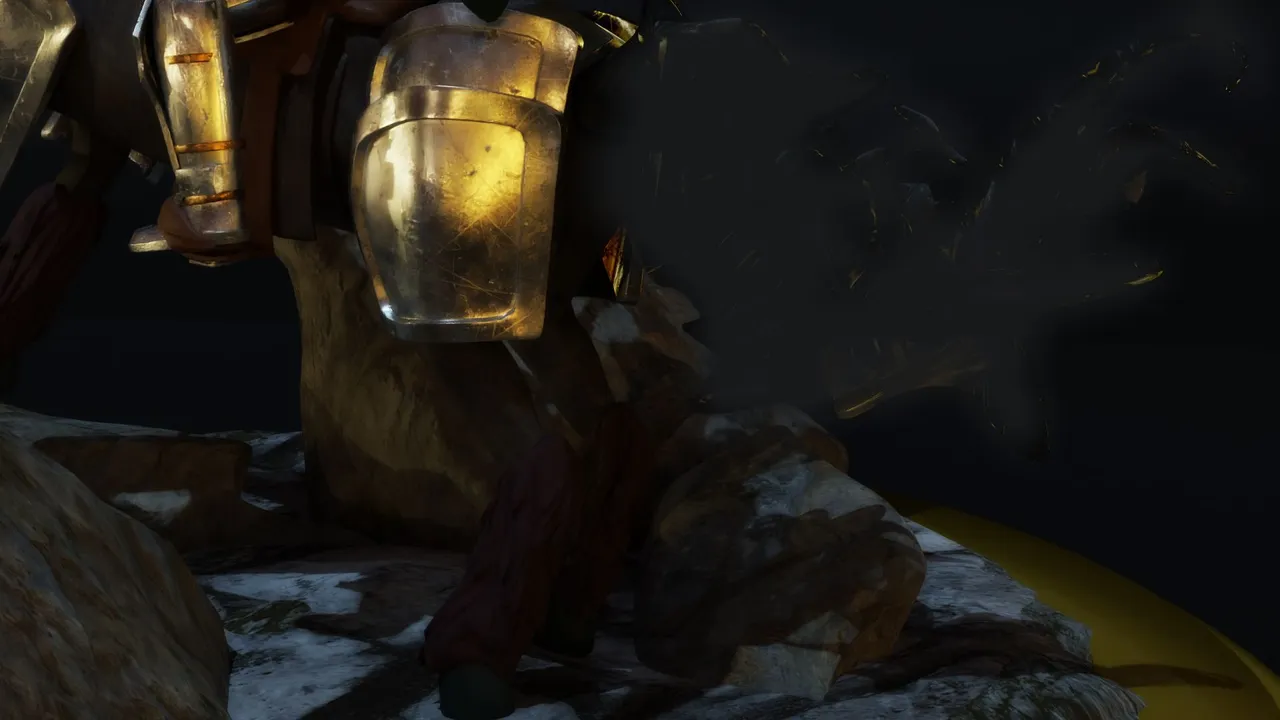
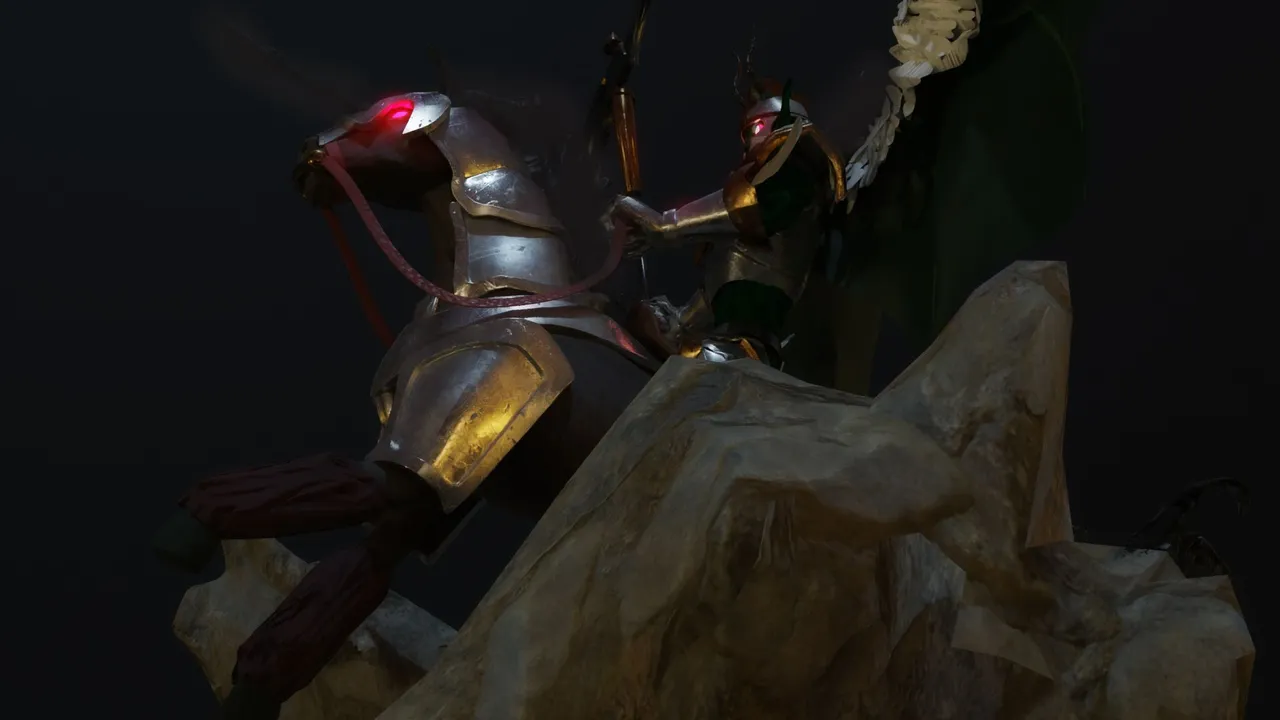
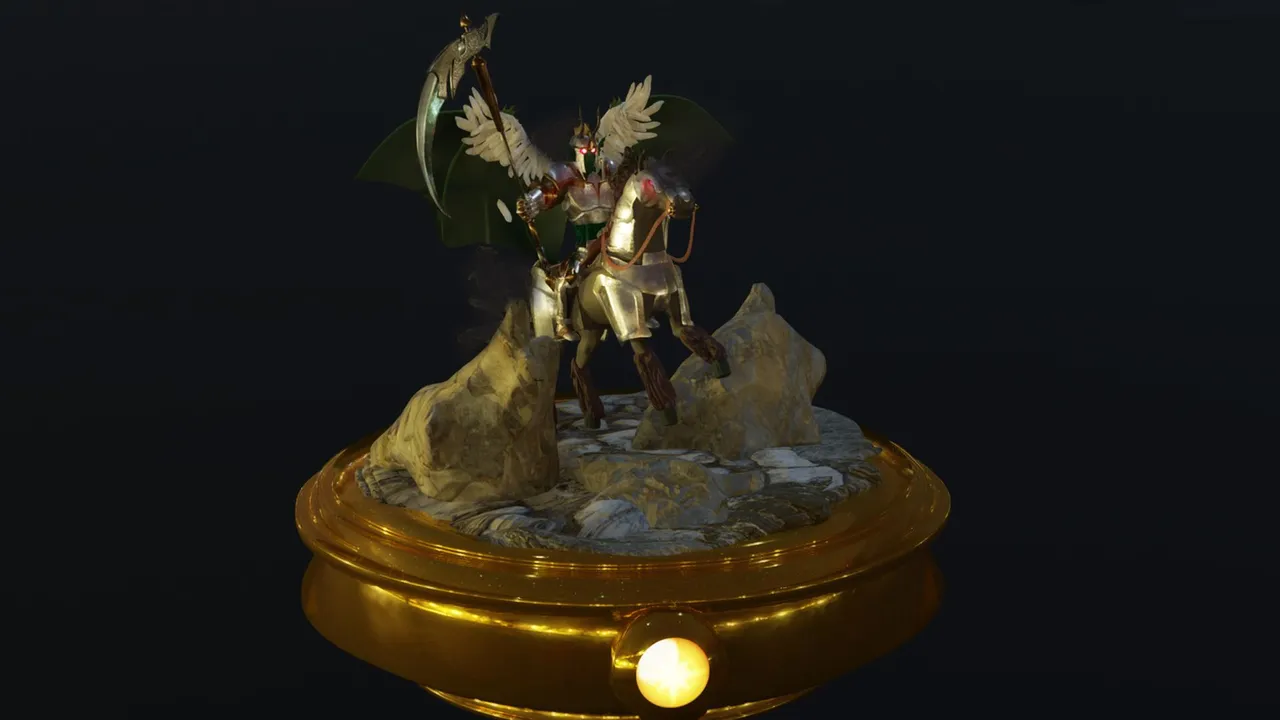
- Renders ready:
And the final result ❤️ I already had a while to make a new character, I hope you like it 😌
Thank you very much and I hope you liked my post Greetings 😄
