Edited in Canva Pro.

Sources and Materials
Below are the materials I used in this art.
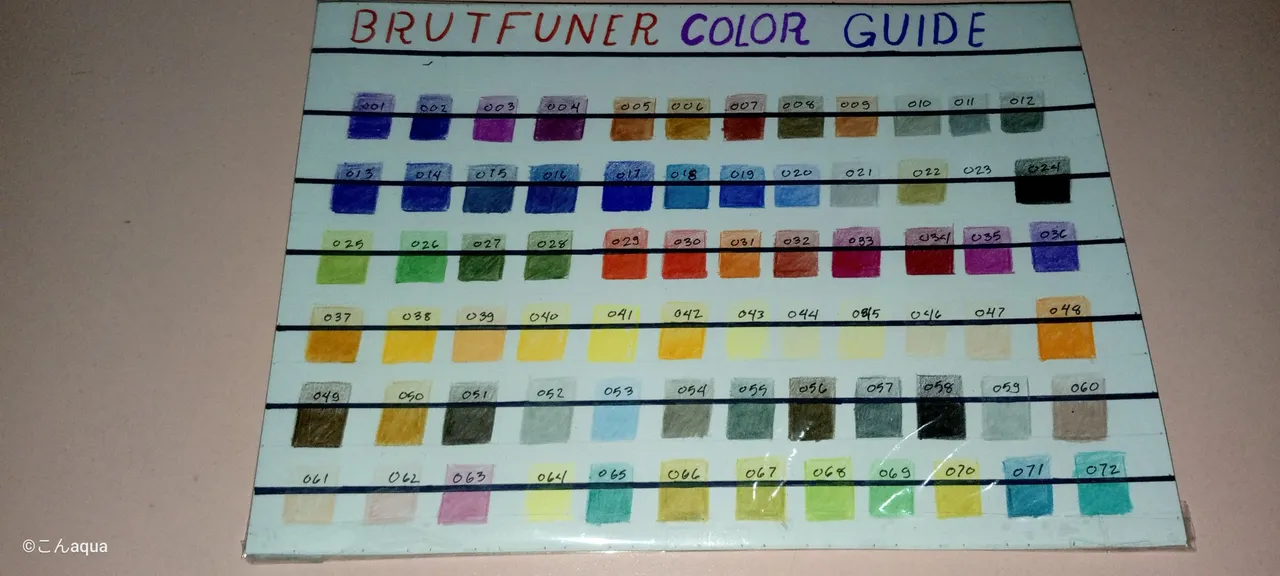
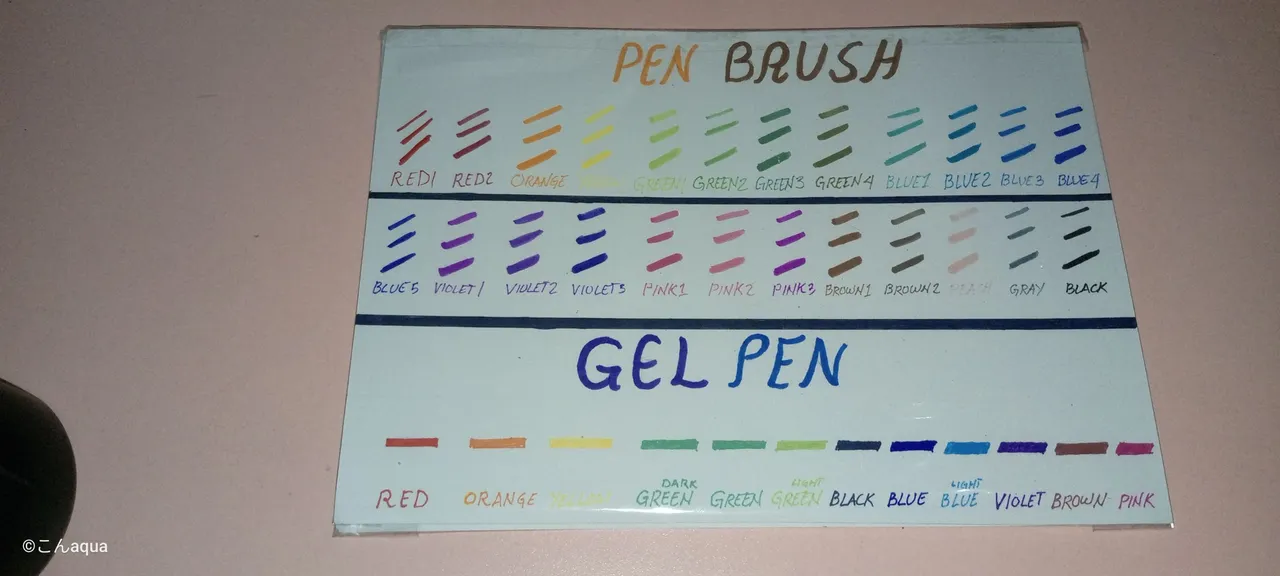
Photo taken using Tecno Spark Go.
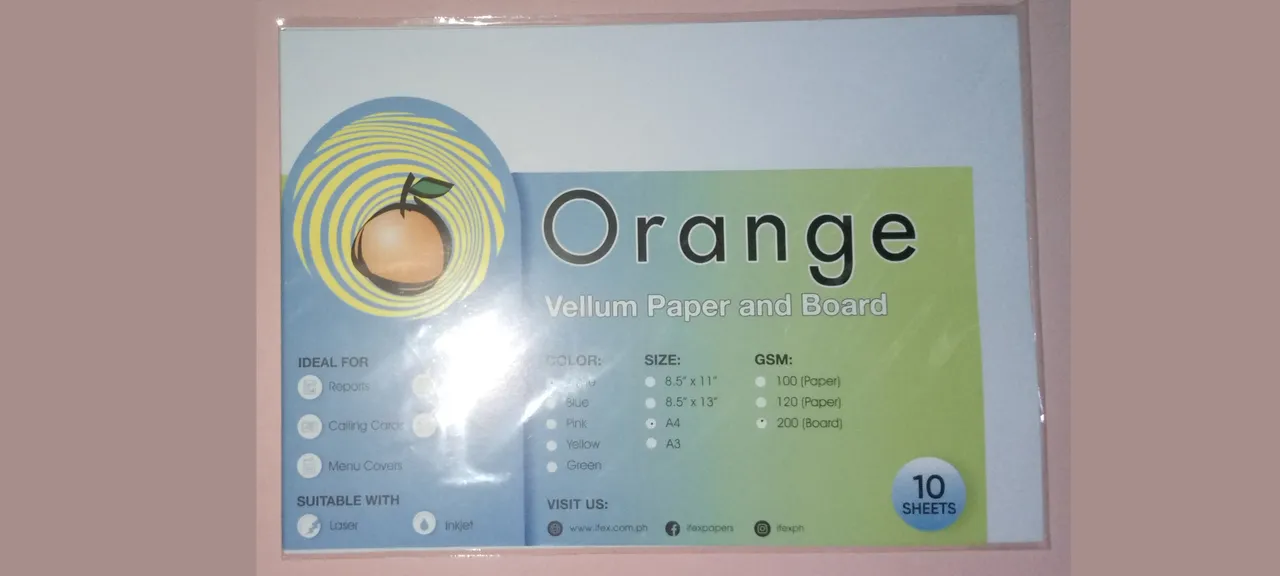
Photo taken using Tecno Spark Go.
My medium of choice. Vellum paper/board is good on colored pencils. It is smooth and yet the colors attach to it quite good. I'd like to describe it as a smoothness of a Bond paper while having the color attachment of Oslo paper.

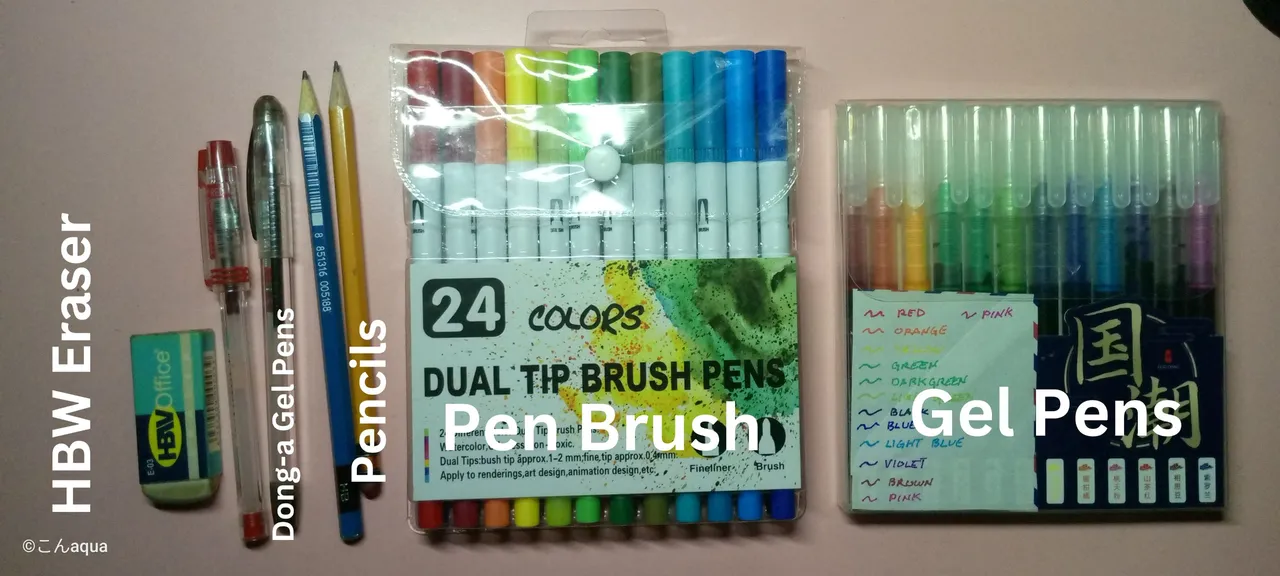
Photo taken using Tecno Spark Go.
- Brutfuner Oily Colored Pencils: Brutfuner is a good cheaper alternative to Faber Castell. The colors are a bit limited even if it's 72 pcs but still good enough to have a good range of color combination.
- HBW Eraser: A cheap and trusty eraser.
- Dong-a Gel Pens: Quite affordable at like $1 each but the quality is super good. Doesn't bleed and lasts a long time.
- Pencils: Needed for drafts. You're not required to use this specific ones. Just use what is available.
- Pen Brush: One side is brush and the other is pen tip. It is also a generic affordable one at around $5 on Shopee. One disadvantage is that they brush of the pens are inconsistent. Some of them are hard tips and some are soft. Although, it is still good for coloring or highlighting parts.
- Gel Pens: I bought this for like $3 on Shopee. Good when using colored lines along with the inking stage. It bleeds but the color is consistent even if you do multiple layers. Good colors for small objects or areas.
You can check this link on another post for a more detailed description on how I use them.
𝕴𝖓𝖙𝖗𝖔𝖉𝖚𝖈𝖙𝖎𝖔𝖓
I've been doing original characters recently so I wanted to do something different for this one and the next art. I decided to do a little bit of a fan art with a bit of fan service (if you can call it that). I would probably try to be a bit more yabai next one but don't call me on it. It depends on my mood (lol).
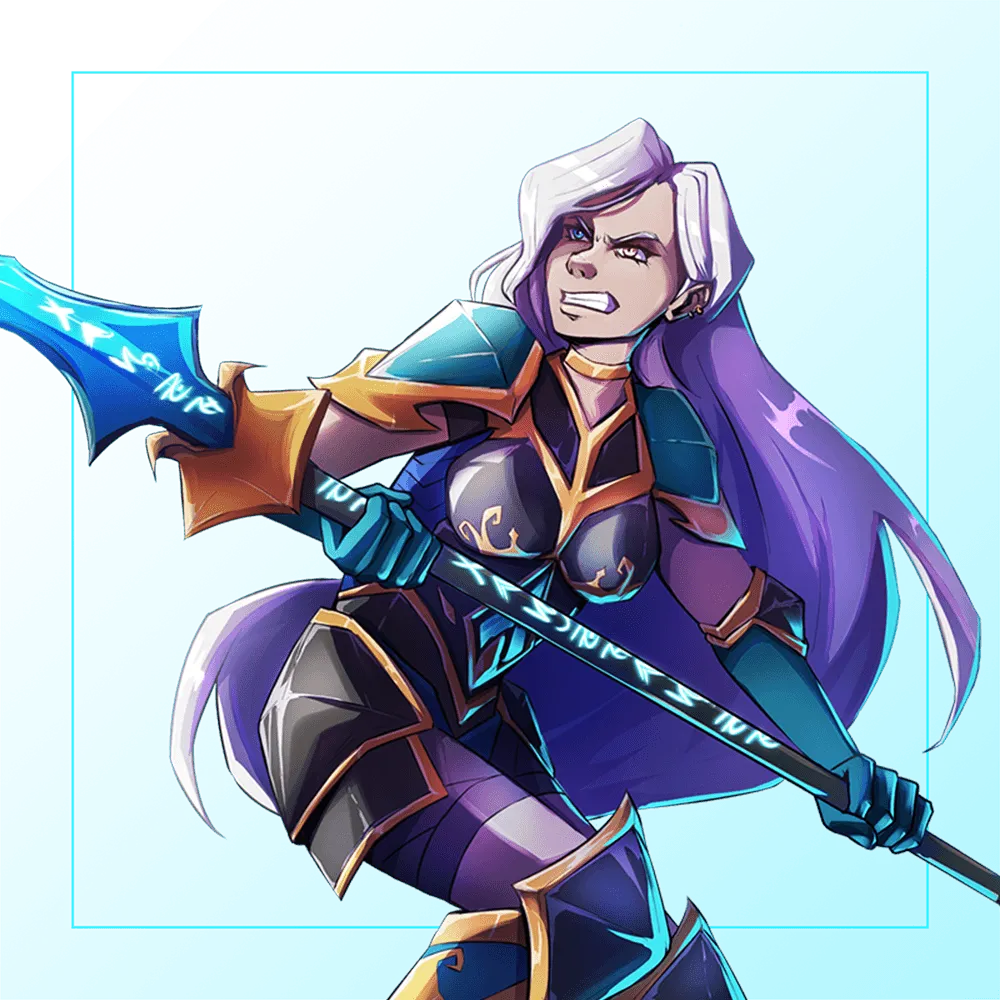
Photo taken from Tecno Spark Go.
For this one, I saw Lemell Refugee and saw an inspiration for it. Please don't ask for the inspiration. The "animes" I've watched recently affected me, okay? Let's keep it at that. (wink)
Hope you enjoy my version of Lemell Refugee from the Chaos Legion.
Step 1 Draft
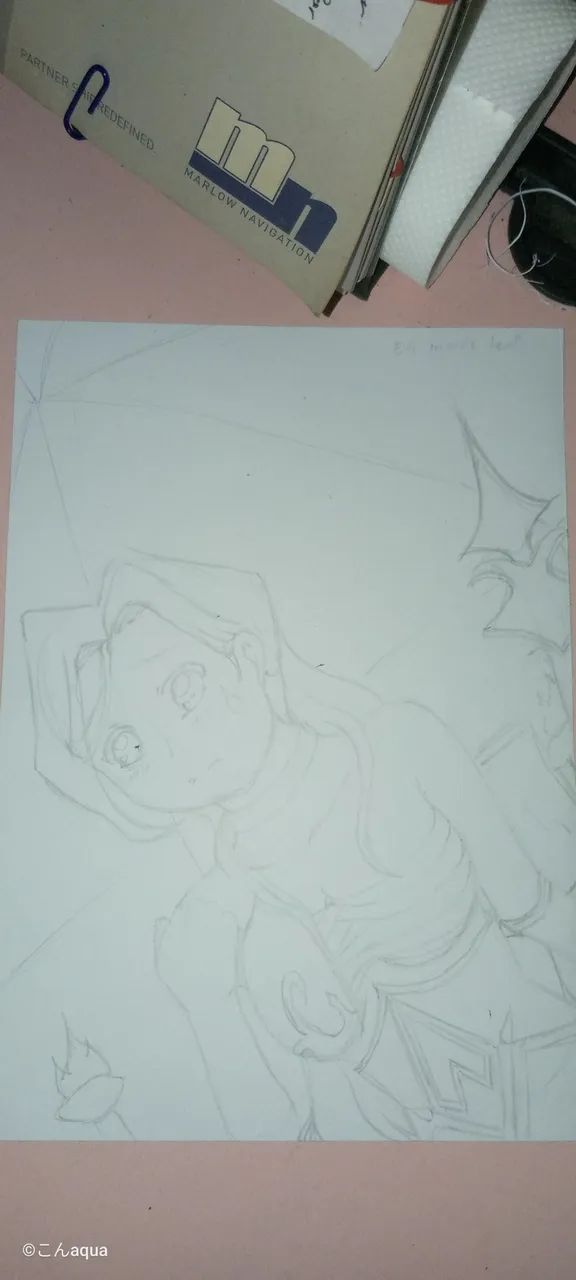
Photo taken using Tecno Spark Go.
I saw some bandage on Lemell Refugee's legs and imagine that she also use that on the middle part of her body so I did that.
For the background, since the perspective is from below looking up, I used this tent reference which furthermore strengthened the narrative I want to say in this week's art entry.
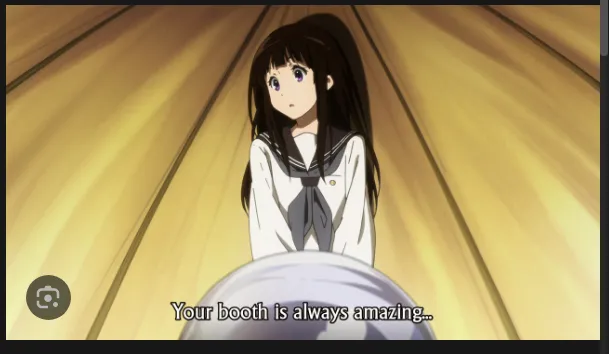
Photo from Google as a result of Google Search.
Step 2 Inking Stage
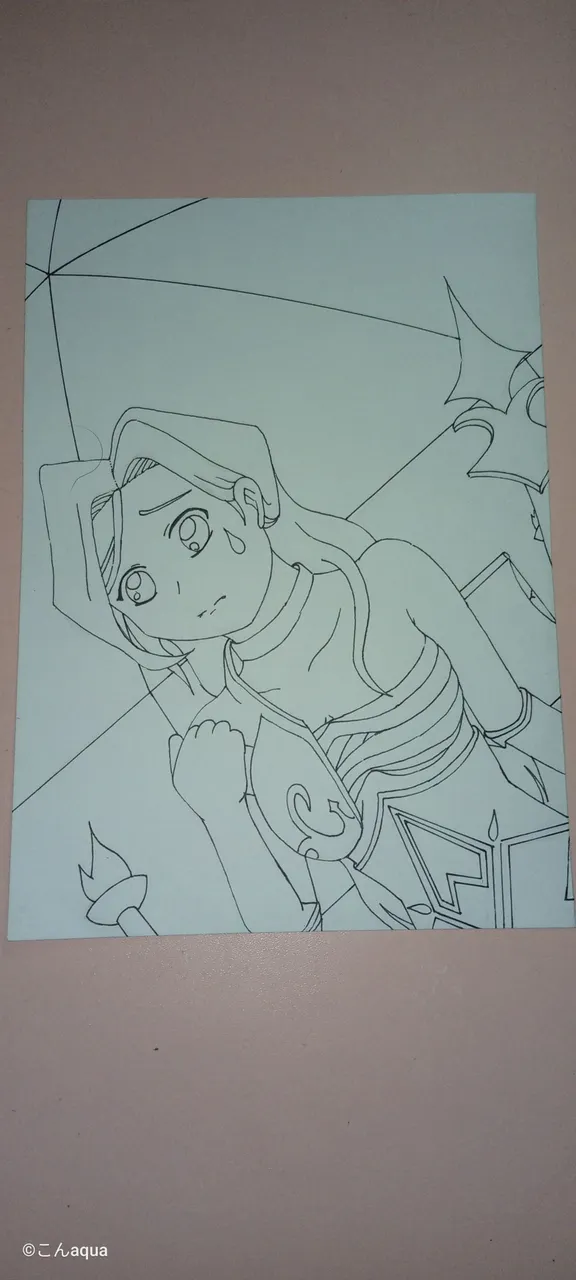
Photo taken using Tecno Spark Go.
Nothing special on this step for the week. I just added some ink to finalize the lineart of the drawing for the coloring.
Step 3 Colored Ink
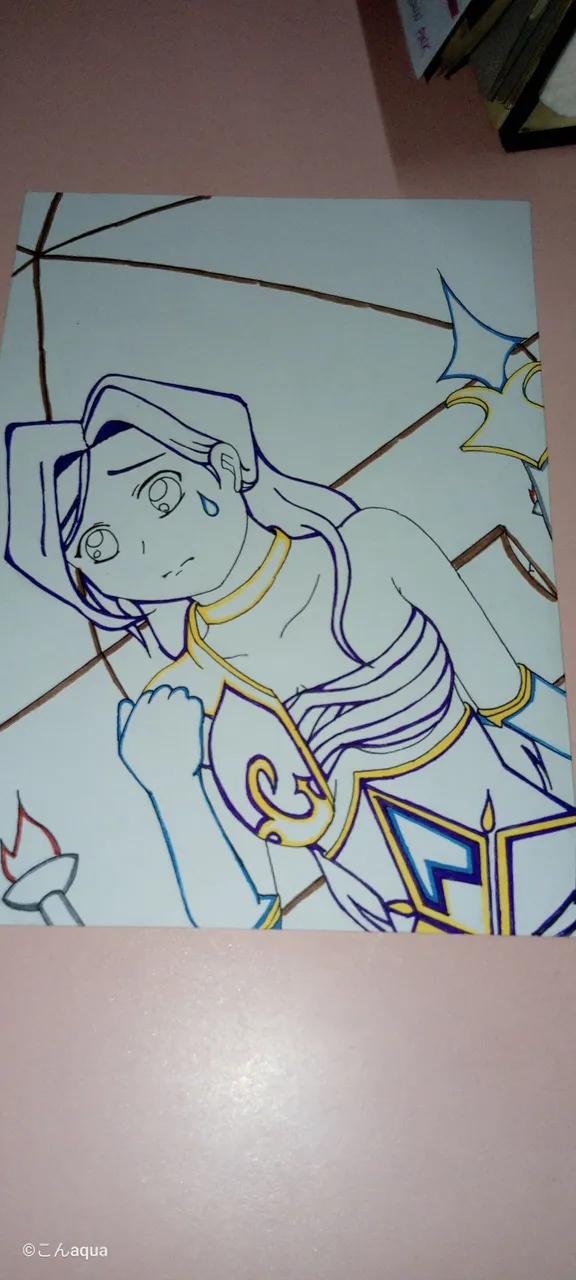
Photo taken using Tecno Spark Go.
I added colored ink using Gel Pens to have a guide for the colored pencils. I also added the background's because it is not as detailed as my other works.
Step 4 Skin Colored
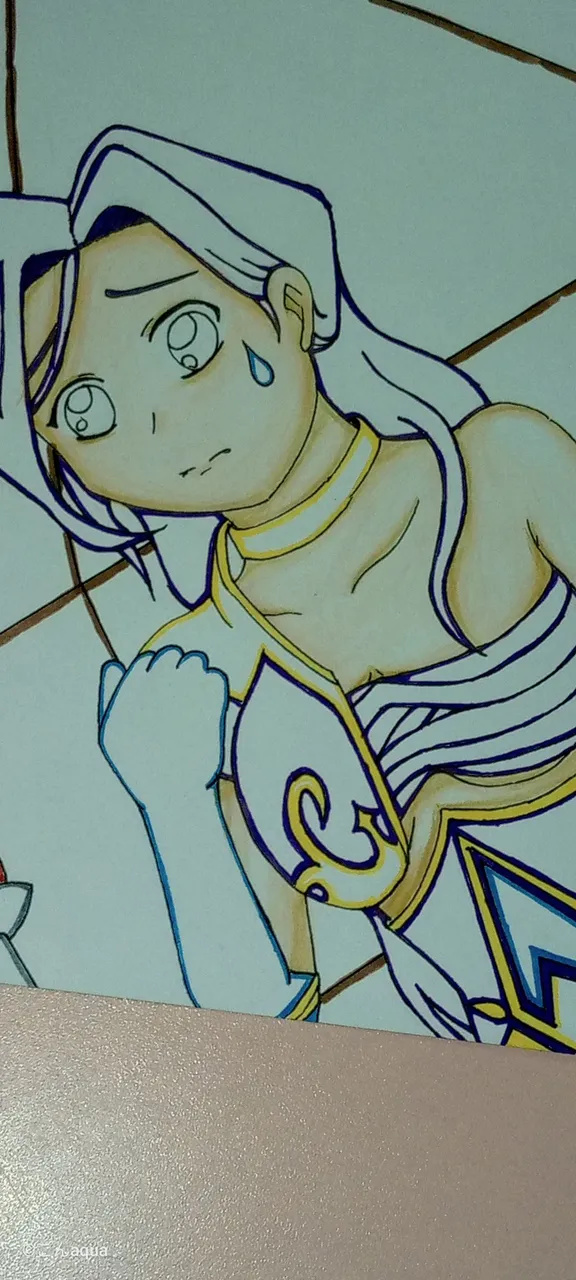
Photo taken using Tecno Spark Go.
I haven't found a better combination than these three. As soon as I found one though, I will switch it up a bit because these three colors are slowly eating up my Brutfuners and I'm at 3/4 of these three pencils.
Colors Used: 061 050 047
Step 5 Hair and Sarashi Colored
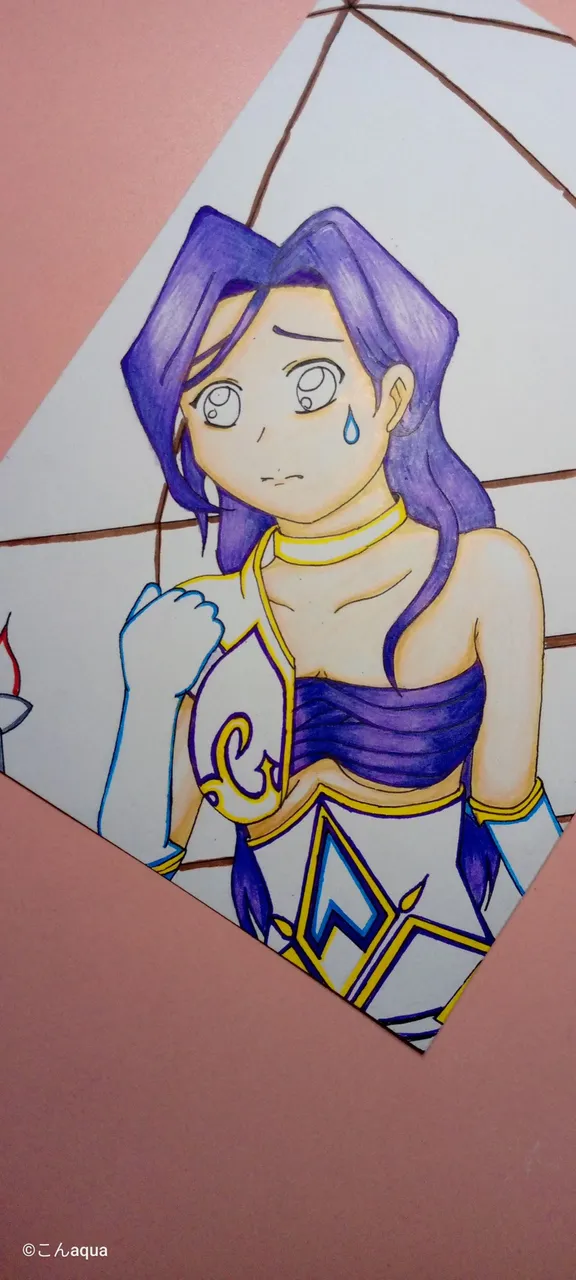
Photo taken using Tecno Spark Go.
I used the same colors for the Hair and Sarashi, which is different shades of violet. Sarashi is the japanese term for chest wrap.
Colors Used: 002 036
Step 6 Armor Colored
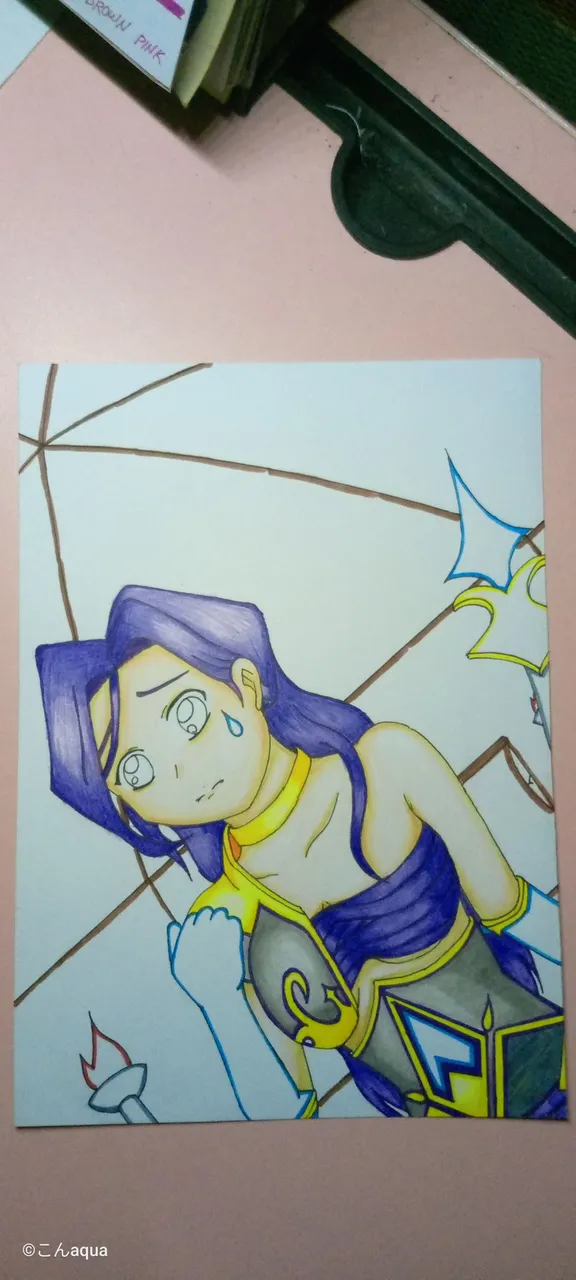
Photo taken using Tecno Spark Go.
I had a bit of an oopsie on this as I thought the armor was violet also but when I looked at it for the nth time, I saw that it was gray. However, it still went good so I have no complaints. I also extremely like the combination of the grays.
Colors Used:
Yellows - 038 041
Grays - 010 012 Brush Pen Gray
Step 7 Gems and Gauntlet
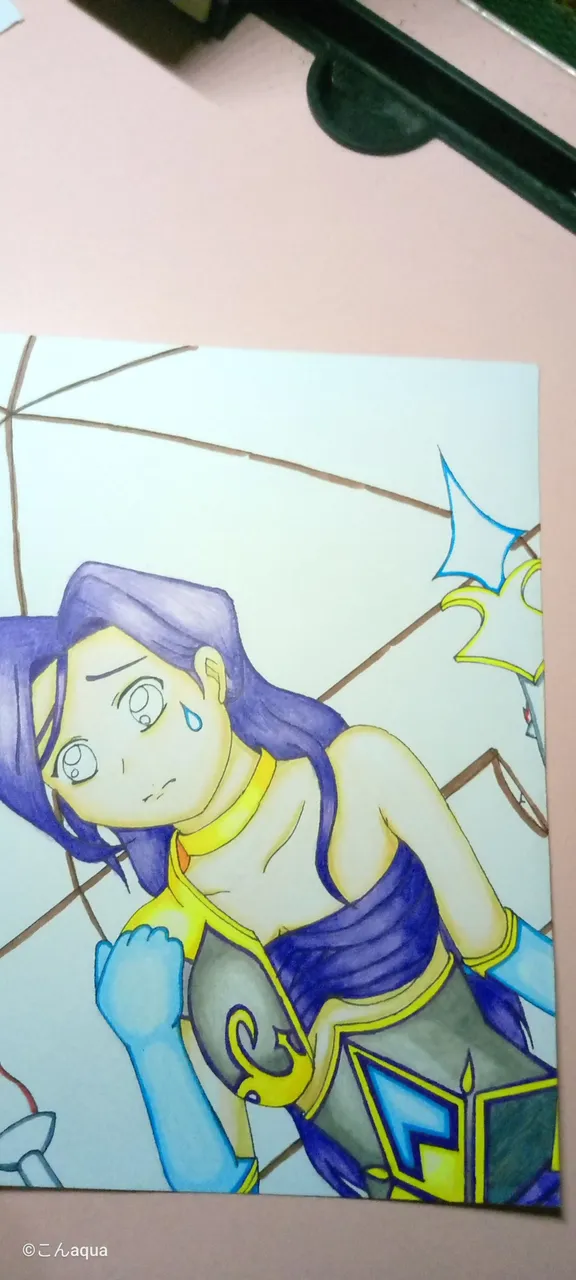
Photo taken using Tecno Spark Go.
I added some blues for both the gems and the gauntlets. However, for the middle part, I used a light pressure then topped it with white.
Colors Used: 053 023
Step 8 Spear Colored
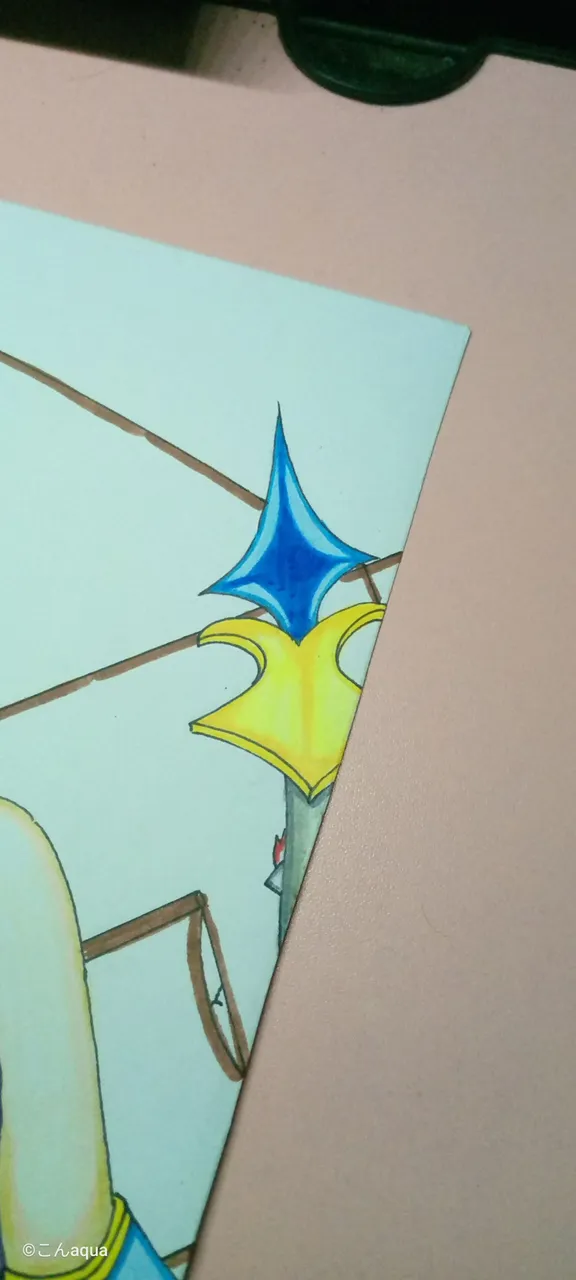
Photo taken using Tecno Spark Go.
On the right part, I added a spear and colored it but left the white characters until the last part. I want to try something for it.
Colors Used:
Point - 053 019 Pen Brush Blue 4
Design - 038 041
Shaft - 010 012
Step 9 Background Colored
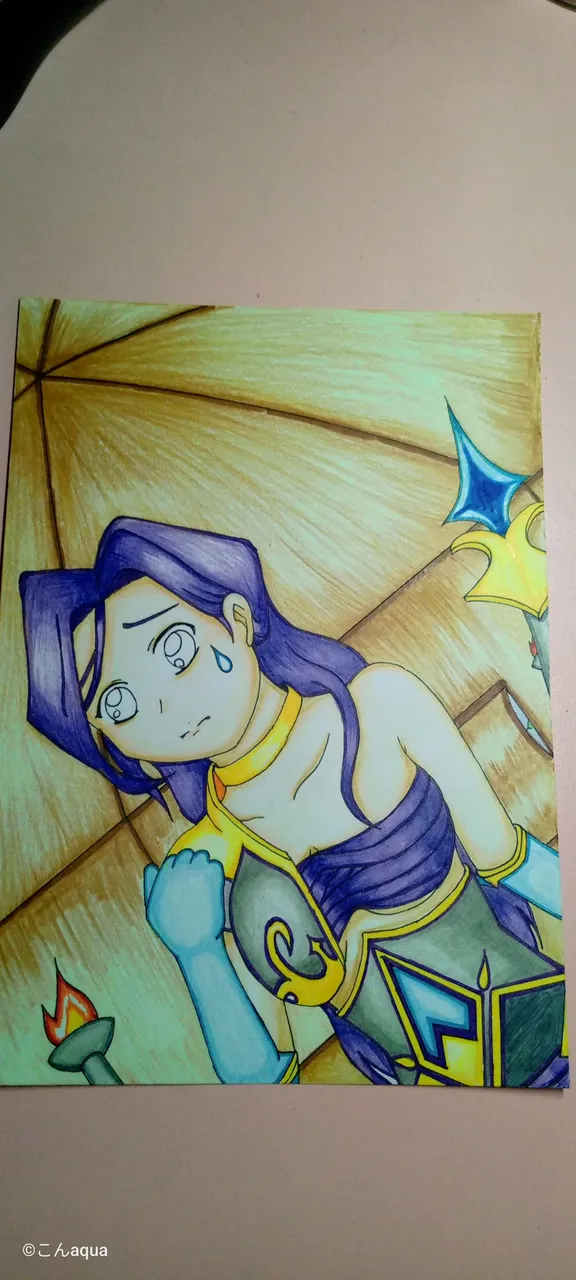
Photo taken using Tecno Spark Go.
For the background, I just added colors comparative to the source. I think it is a good color and design so I added it as is and tried to complete the whole picture.
Colors Used:
Browns - 006 050
Brazier - 010 012
Fire - Gel Pen Red, Orange, Yellow, Brush Pen Yellow
Step 10 Re-ink, Eyes and Sweat Bead Effect
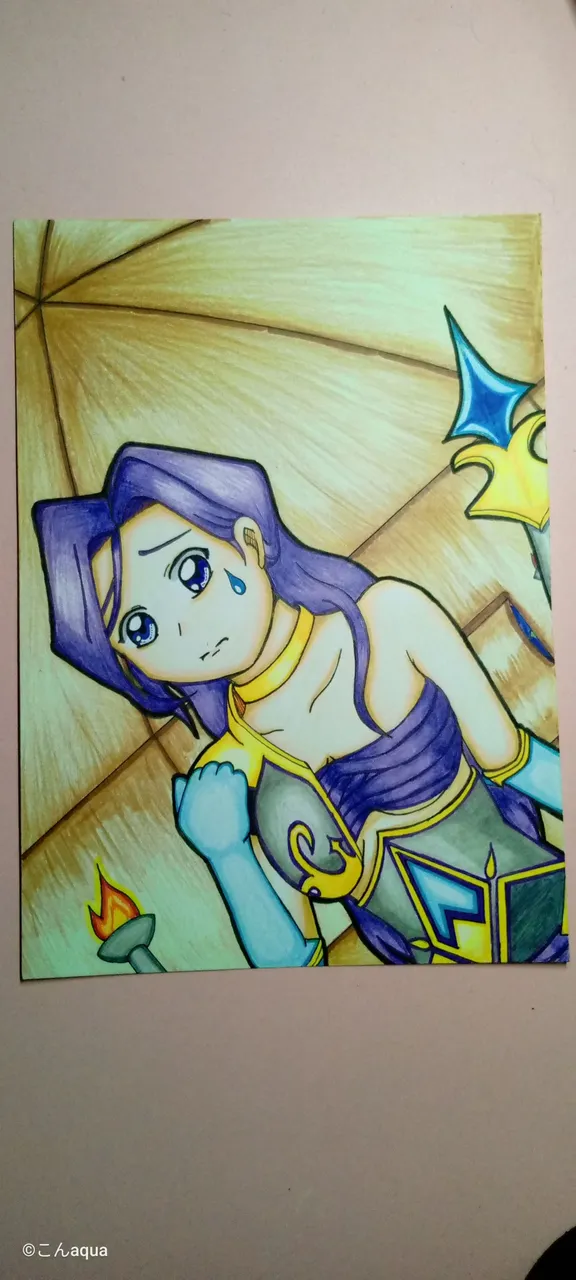
Photo taken using Tecno Spark Go.
Re-ink - I did a test and while it was a bit harder, using pen brush to do the thicker outside lines is better. It is a bit more consistent and while the quality dropped off a bit, (isn't as darker in real life) you can't see that as a photo.
Eyes - I used Gel Pens for the eyes. It is not obvious until you zoom it but the right eye is actually blue and the left one is violet. I also used a pencil to shade the top side of the whites which I learned recently from watching animes and vtubers.
Sweat Bead - I used a Gel Pen Blue to color part of it.
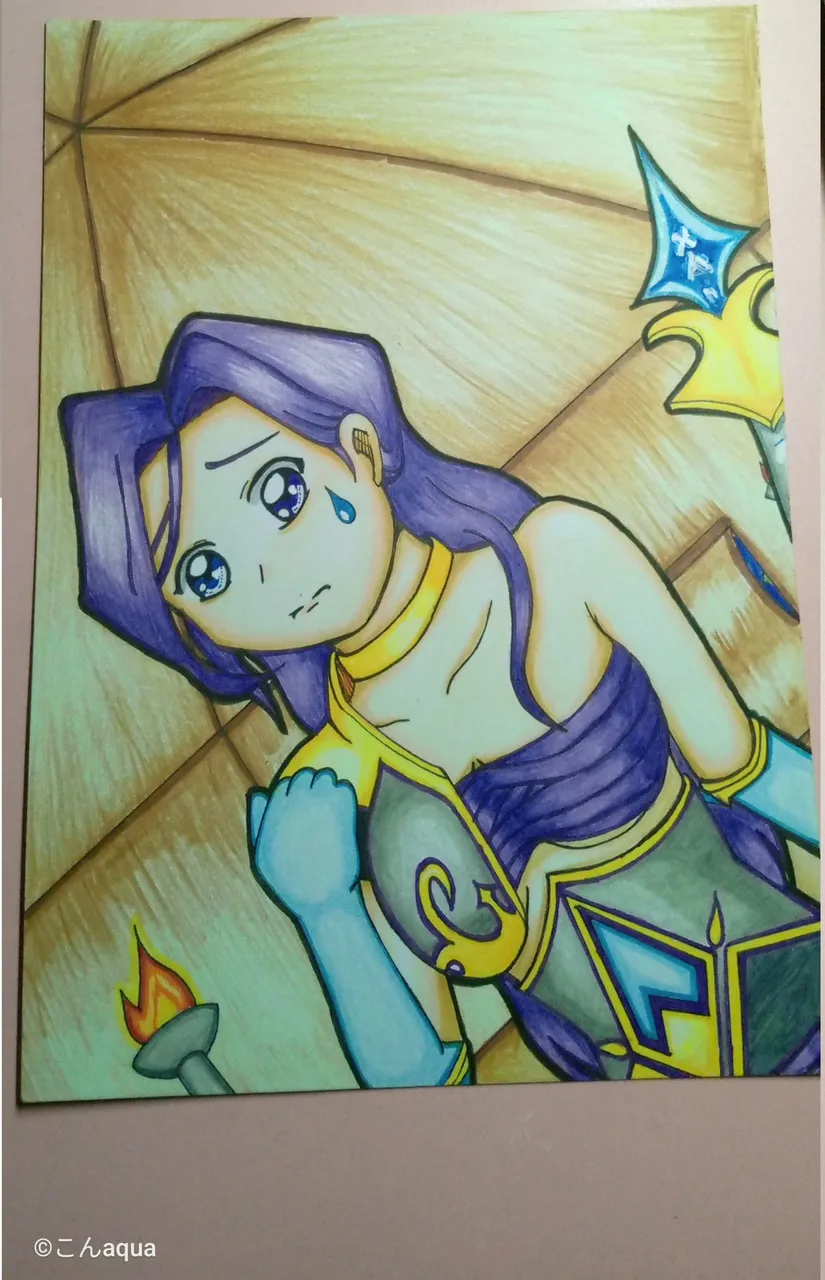
Photo taken using Tecno Spark Go.
This is a trick I learned during my manga-making days. You can use correction fluid to fill up the whites, normally the highlights on the eyes. It looks a lot better when you use scanners for it rather than in photo/camera.
comment: <> (!-- Start of Author's Notes --!)
I actually want to seek advice if any is reading up to this point, do you have any camera app suggestion that do not have an auto beautification effect/filter? The built in app on my phone has an auto filter and I cannot take it off. I am starting to hate it because the colors are being generalized and balanced and some of the colors are taken off. For example, in person, you can see that I used three colors on the skin. In photo, it looks two. The eyes are blue and violet but in photo, both just looks violet.
I will try a bunch of apps next time but if you have any camera app suggestion, I would appreciate it.
- This post is an entry for Splinterland's Art Contest.
- Other sources that I do not own are cited under their respective photos. Photos and drawings without cited sources are mine and made for this post.
- Animated Banners and Dividers are edited in Canva Pro.
- Some of the fonts used are from instafonts.io
If you're interested in playing the game, support me by registering using my referral link here
ᕼᗩᐯE ᖴᑌᑎ ᗪᖇᗩᗯIᑎG!