Edited in Canva
Introduction
I've been buying quite a number of art supplies recently in hopes of improving my art and achieving the art style I will be satisfied with.
These are by no means, on professional standard. These are actually cheaper than they look as I am still on the starting point and I don't want to spend too much on art supplies while I haven't perfected my own style yet.
In any case, I still want to do a spotlight and tell you a bit of what I am using and how I use them.

Brutfuner 72 Oily Pencils

Photo taken using Tecno Spark Go.
These are probably second best when compared to Faber Castell Colored Pencil. I bought this for like a month ago for around $8 on Shopee. Up to now, I don't know why it is "Oily" pencils. It doesn't feel any different when compared to normal colored pencils and actually, it is harder to blend when smudging it with my fingers.
It is cheaper than Faber Castell but the quality is not that bad. I would soon plan to buy a 120 pcs since I find some colors lacking especially when I want a more subtle one for shades and highlights.
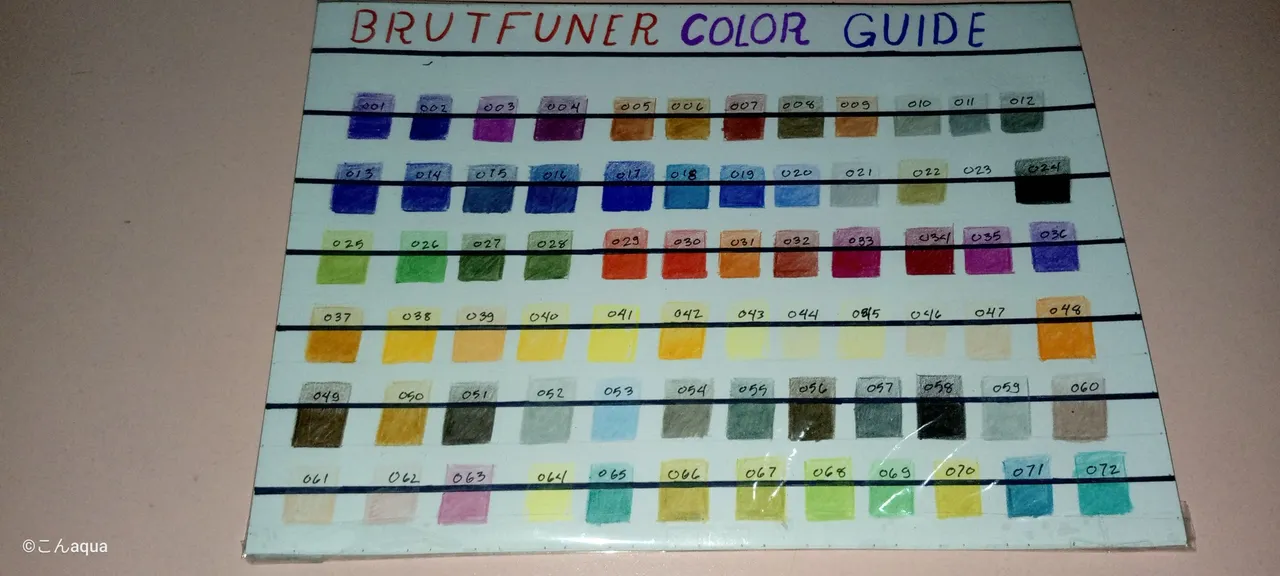
Photo taken using Tecno Spark Go.
One problem I had with Brutfuner is that the pencil colors doesn't suit their lead. What I mean is sometimes, the outer color looks dark brown but when you use it to color, it would turn out dark violet. This happens a lot so I made a Brutfuner Color Guide using all the pencils.
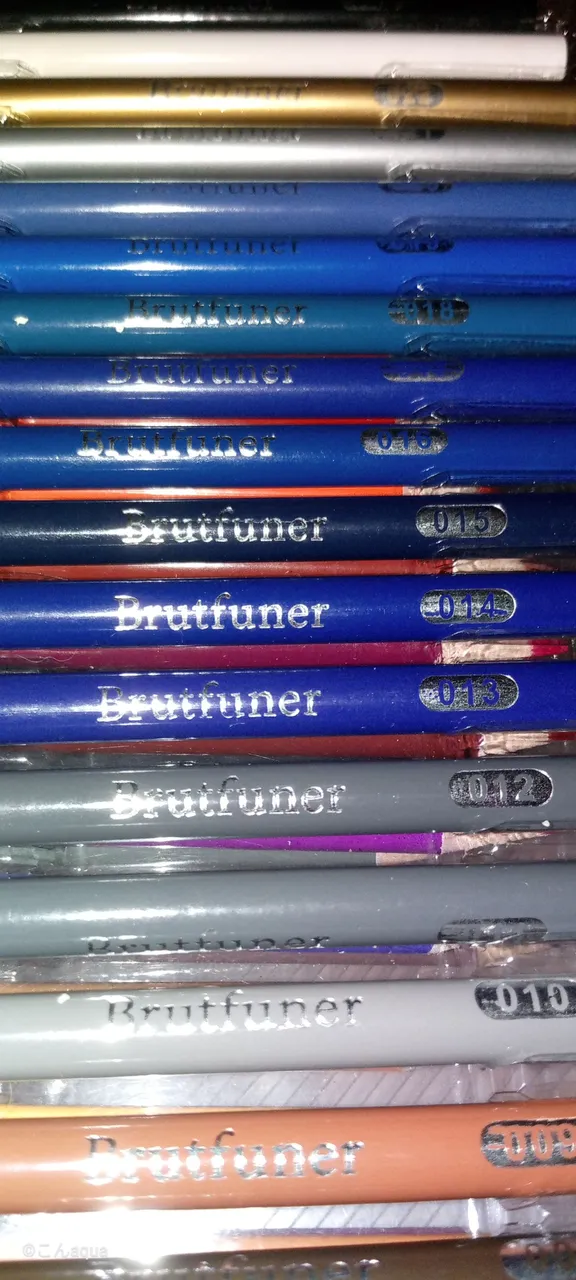
Photo taken using Tecno Spark Go.
Each pencil has a color code on the bottom part. This is the codes I use when you look at my Splinterlands Art Entries. I use the color guide to check what colors I needed first before applying it. This increases my accuracy on what colors I want on my art before I even applied it.
Pencil, Pens, Brush Pen and More
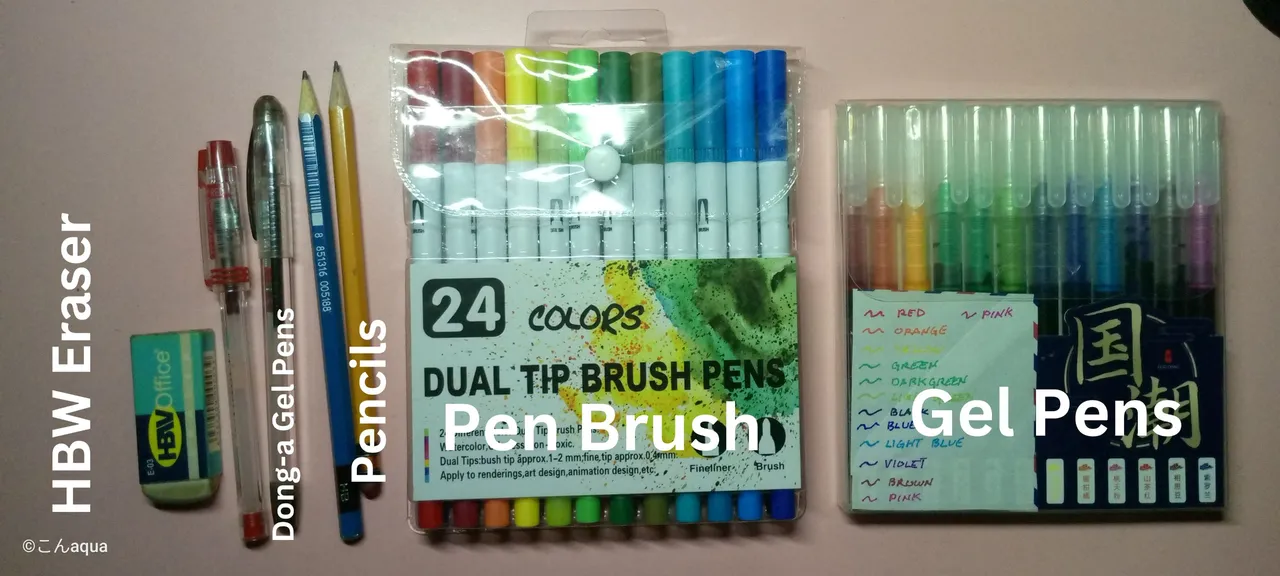
Photo taken using Tecno Spark Go.
I also use some standards like eraser and pencils. You can use any that you have available and not required to use these to follow mine if you want.
I find Dong-a Gel Pens very reliable. They're very affordable for like half a dollar each. They don't bleed and lasts longer than normal pens.
I also use another Gel Pen set. I got this from Shopee for like $3 since I fell in love with using Gel Pens. I use them for lining and most of the time, the eyes. Gel pens have a more vibrant color than colored pencils which makes them very good on the eyes. These, however, bleed so if you use the same kind, you need to be careful.
Pen Brush is the most recent in my collection. One side is a brush like that of a fine point pentel pen, while the other side has a pen tip. I like using this when I want to add additional details on top of an area I already filled with colored pencil. If I overlap a colored pencil with another, they blend. However, when I use a pen brush above my Brutfuner colored area, they both retain their own colors.
This is just my hunch but since my Brutfuner is "Oily" colored pencil, while the Pen brush is actually "Watercolor", then that is the reason they don't blend. As we know, "Oil and Water doesn't mix."
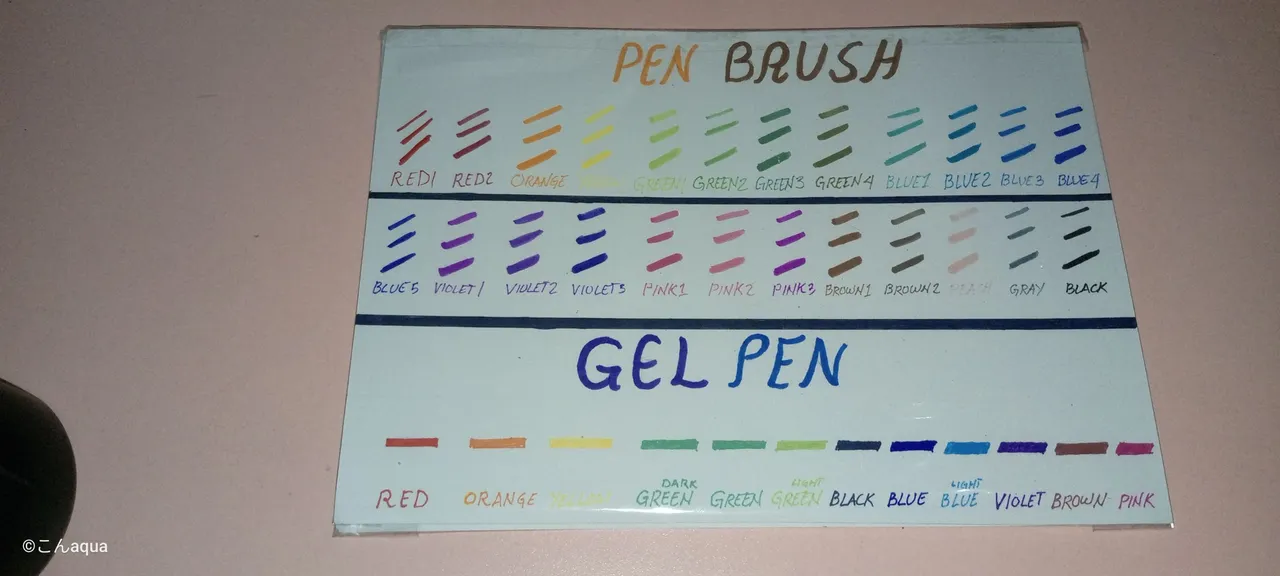
Photo taken using Tecno Spark Go.
I don't usually use this but still handy. It is the same with the Brutfuner color guide. It allows me to choose a good color that I want and imagine the outcome of the colors.
Vellum Paper/Board by "Orange"
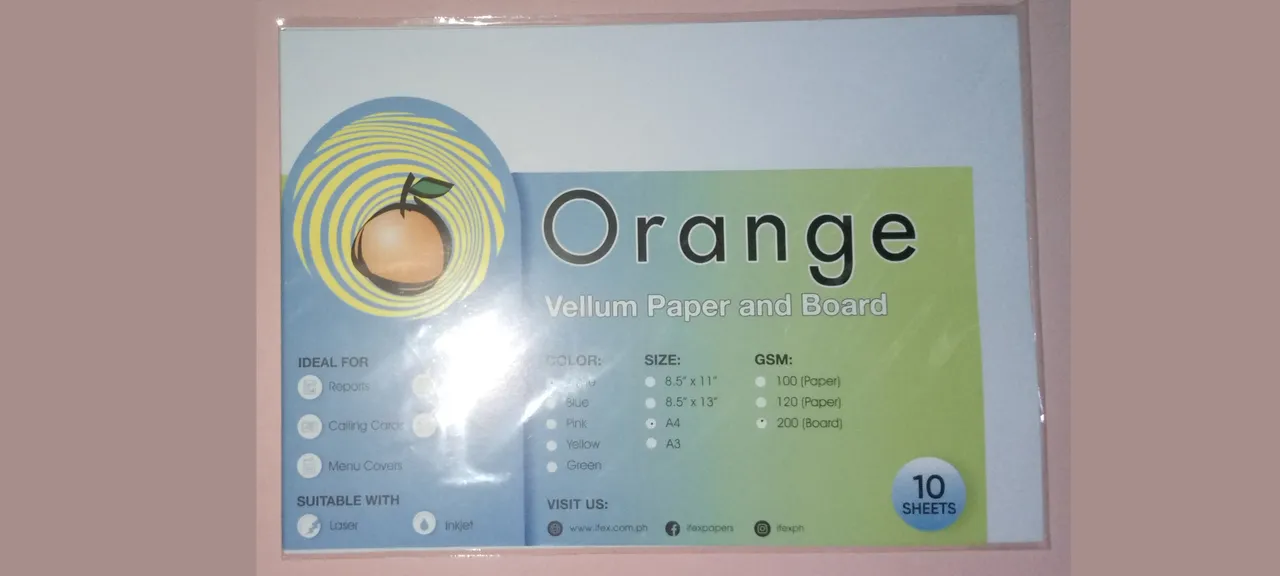
Photo taken using Tecno Spark Go.
This is probably my most important change. I did a test before and realized that paper actually has high effect on my drawings.
Initially, I only use bond paper or printer papers. While it is good, there are times that the colored pencils doesn't stick as much as I want leaving me an unbalanced colored area.
I then changed to an Oslo paper, which is a rougher type than bond paper. While it went more effective, for some reason, it leaves some white spots. I think the pencils cannot reach this and that is why there are white spots here and there. You can actually see this on my latest, "Cordelia Lovelock, the Pirate Gunner" Splinterlands art entry. There are a lot of uneven lines which sometimes annoys me and is the reason I want to try another paper.
I searched google for an answer and landed on Vellum. While the original Vellum parchment is made from calf skin, the mass produced Vellum paper/board (like the ones I use) is made of cotton rag fibers.
The Vellum Paper/Board from "Orange" company is very smooth and white. While it feels like bond paper, it has the color attachment like of an oslo paper. Of course, the white spots from oslo doesn't have it either. Since it is a board, using watercolor based ink (like the pen brush) is also okay. It doesn't bleed and is pretty good to touch. A 10 pieces Vellum board costs half a dollar but the price is way worth for the quality it would provide.

- Other sources that I do not own are cited under their respective photos. Photos and drawings without cited sources are mine and made for this post.
- Animated Banners and Dividers are edited in Canva Pro.
- Some of the fonts used are from instafonts.io
If you're interested in playing Splinterlands, support me by registering using my referral link here.
"Great design is eliminating all unnecesary details."
- Minh D. Tran