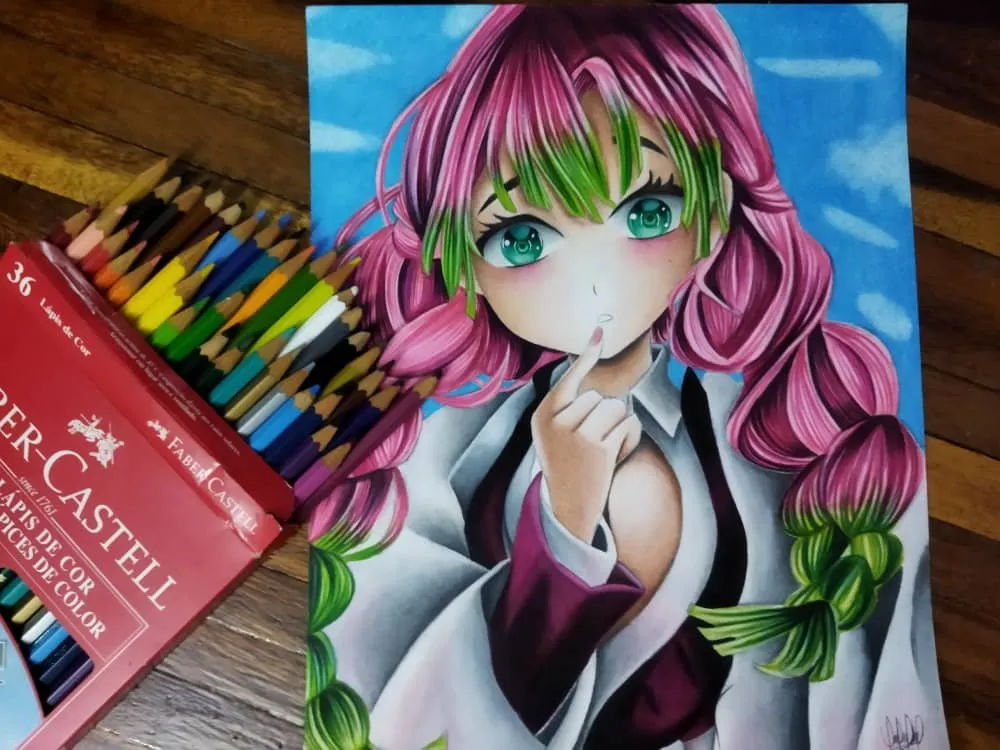
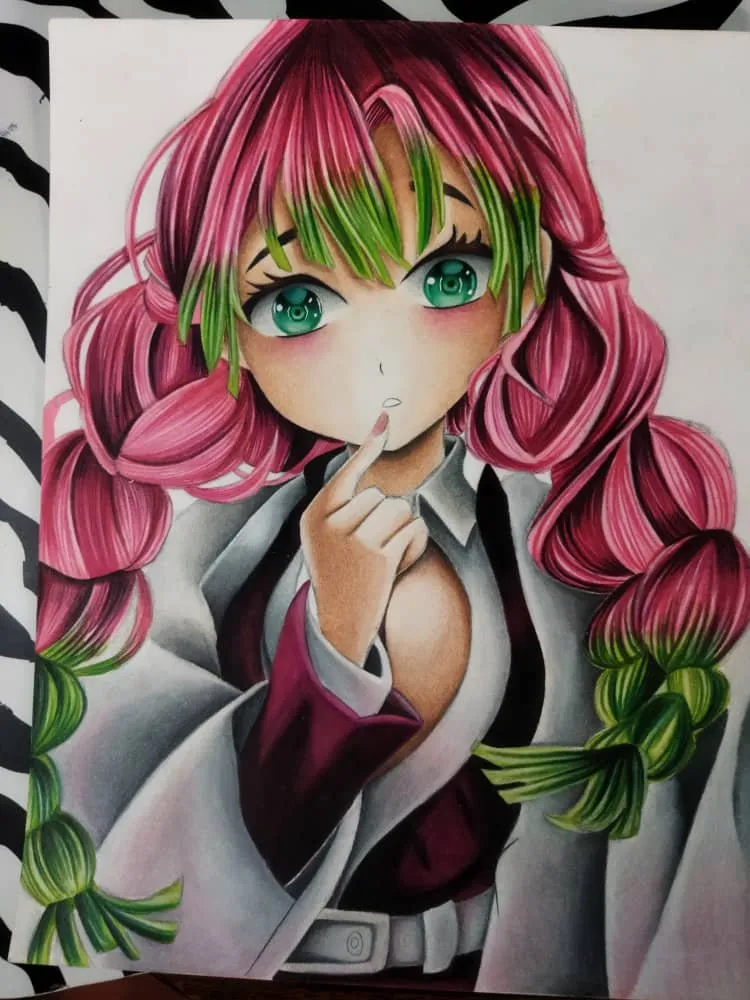
Buenos días Hivers, espero que se encuentren súper bien, feliz fin de semana, el día de hoy les quería compartir este dibujo de que realice de Mitsuri, ella es uno de los pilares del anime de Kimetsu no Yaiba, el anime es muy bueno y entretenido se los recomiendo mucho, el dibujo lo coloree con colores escolares de la marca Faber- Castell de 36 unidades y marcadores de la marca Ohuhu, tarde aproximadamente unas 18 horas en realizar el dibujo por completo porque tiene muchos detalles y quería que quedara lo mejor posible pero el resultado final valió cada hora de trabajo.
Good morning Hivers, I hope you are super well, happy weekend, today I wanted to share this drawing that I made of Mitsuri, she is one of the pillars of the anime Kimetsu no Yaiba, the anime is very good and entertaining I highly recommend it, I colored the drawing with Faber-Castell school colors of 36 units and Ohuhu markers, it took about 18 hours to make the drawing completely because it has many details and I wanted it to be as good as possible but the final result was worth every hour of work.
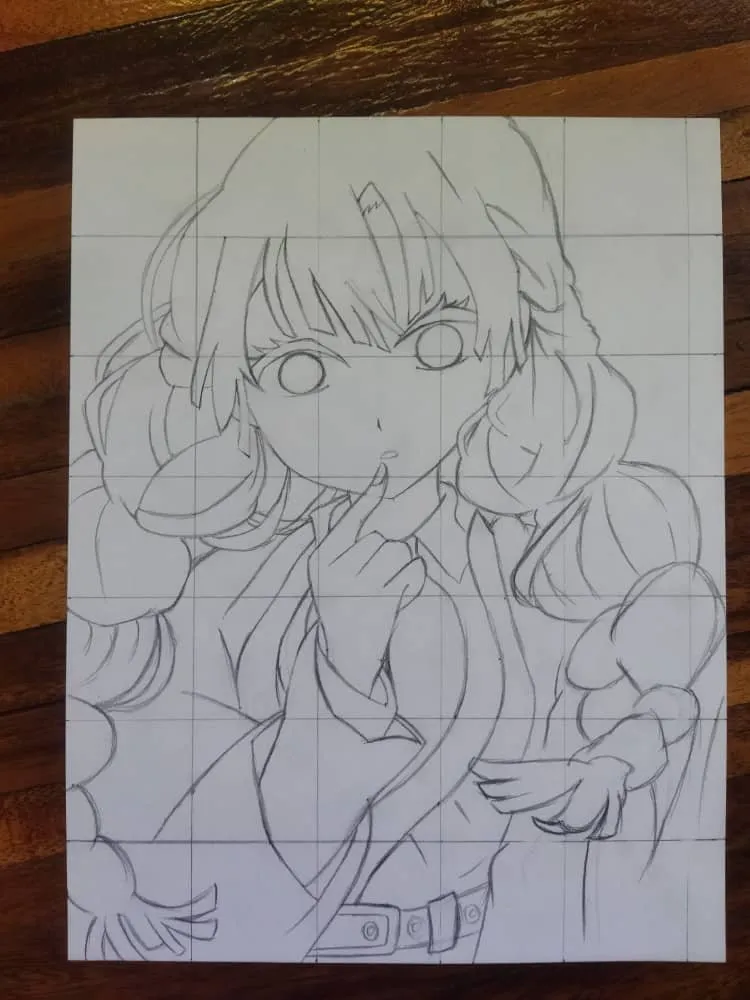
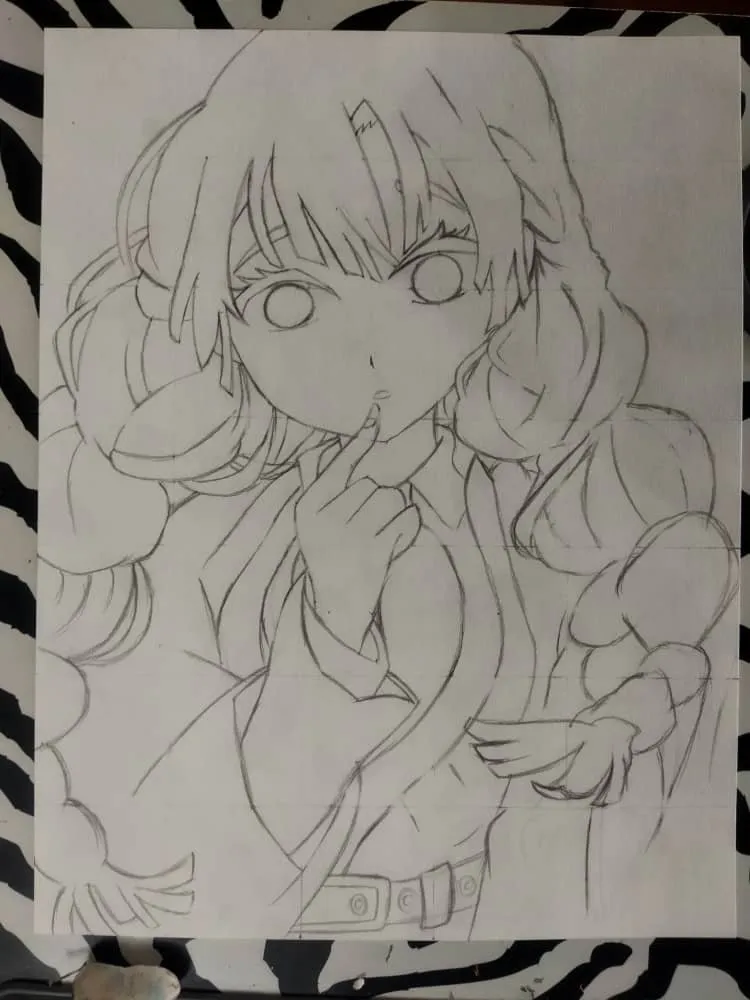
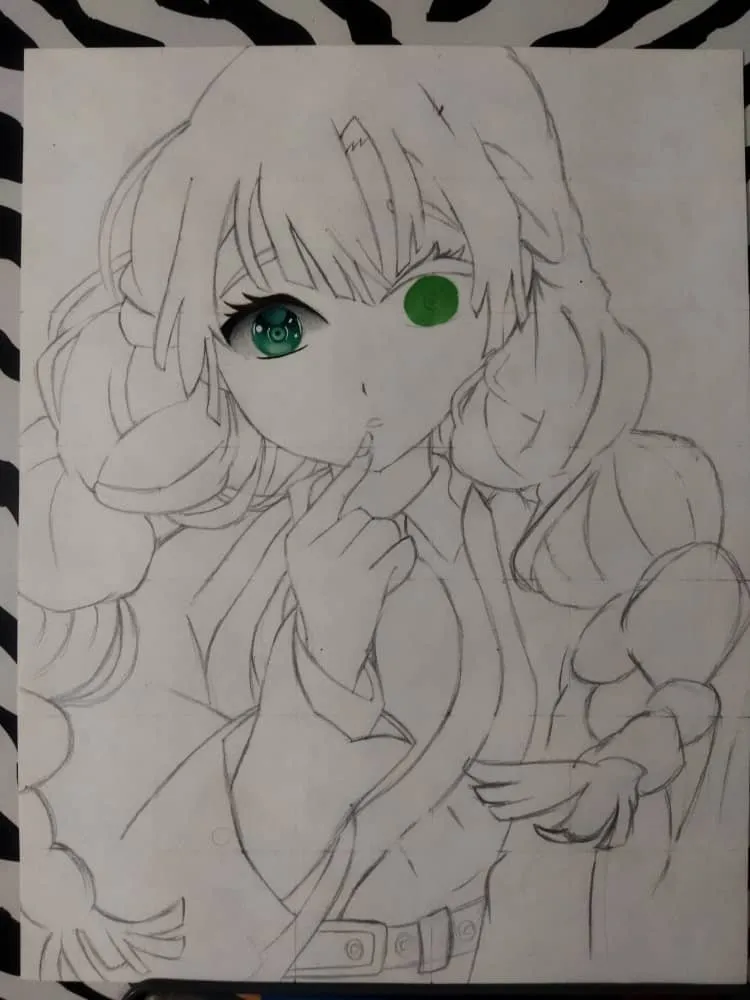
Para realizar el boceto utilice el método de la cuadricula el cual consiste en dividir la imagen de referencia y la hoja o cartulina donde realizaremos el dibujo en cierta cantidad de cuadros gracias a los cuadros podremos guiarnos para hacer el boceto de esa forma todo quedara lo mas proporcionado posible y cada parte quedara del tamaño correcto, una vez tengamos el boceto terminado tendremos que borrar con mucho cuidado las líneas de la cuadricula, tarde aproximadamente unas 3 horas con el boceto ya que es una de las partes más importantes de todo el dibujo y quería que todo quedara lo mas proporcionado posible para que el resultado final se viera genial.
To make the sketch I used the grid method which consists of dividing the reference image and the sheet or cardboard where we will make the drawing in a certain amount of squares thanks to the squares we can guide us to make the sketch in that way everything will be as proportionate as possible and each part will be the right size, once we have the finished sketch we will have to erase very carefully the lines of the grid, it took about 3 hours with the sketch because it is one of the most important parts of the whole drawing and I wanted everything to be as proportionate as possible so that the final result looked great.
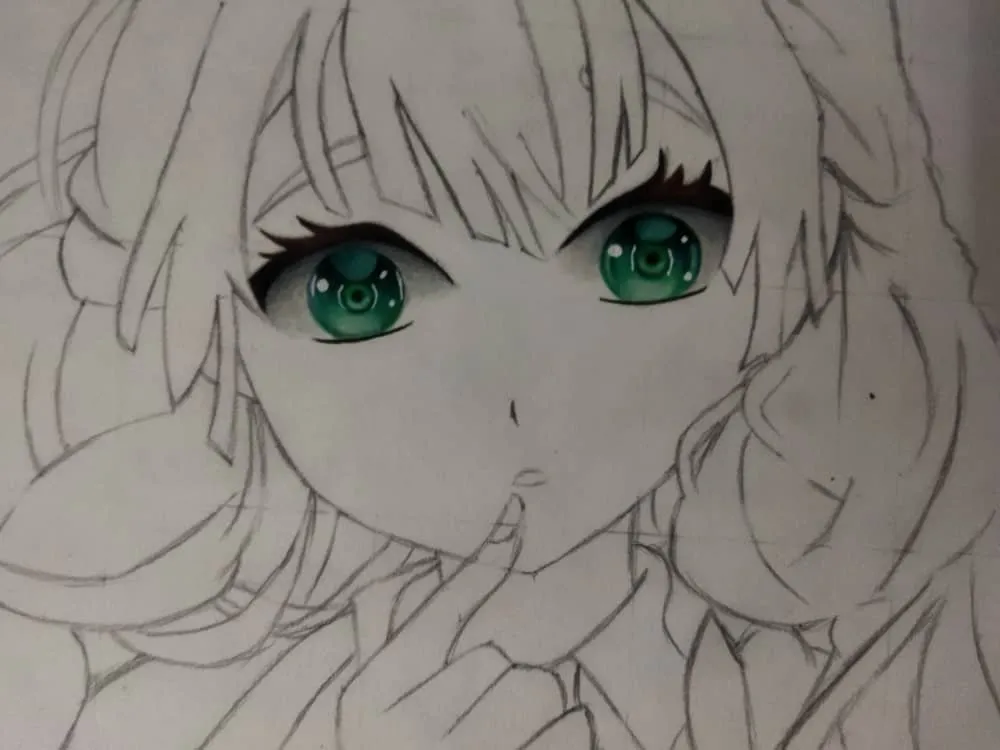
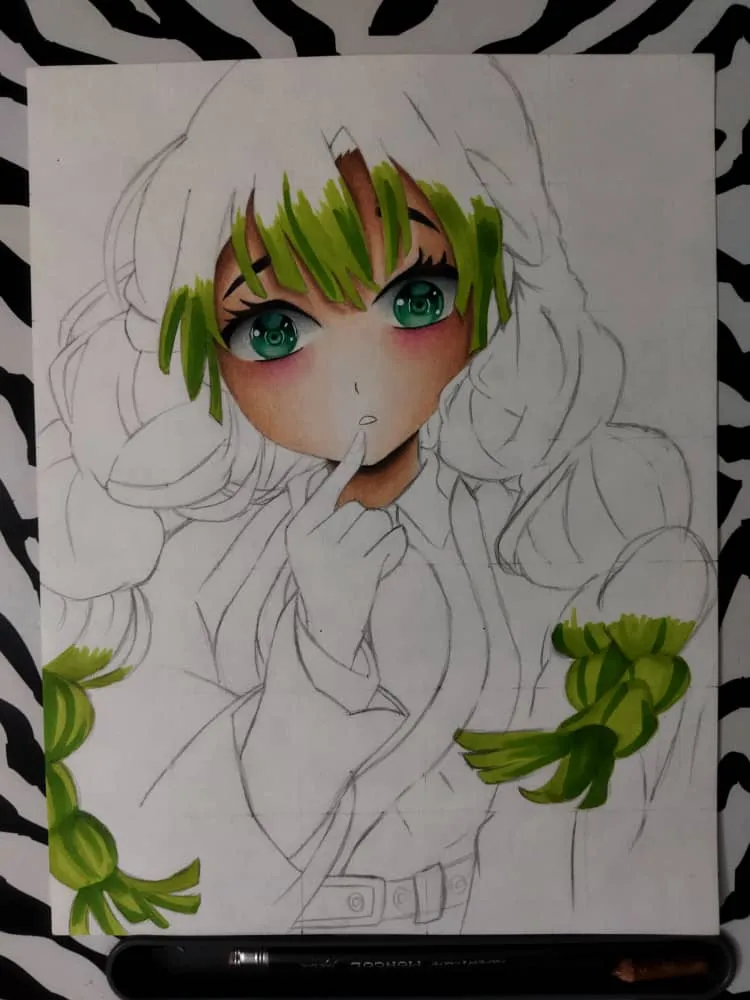
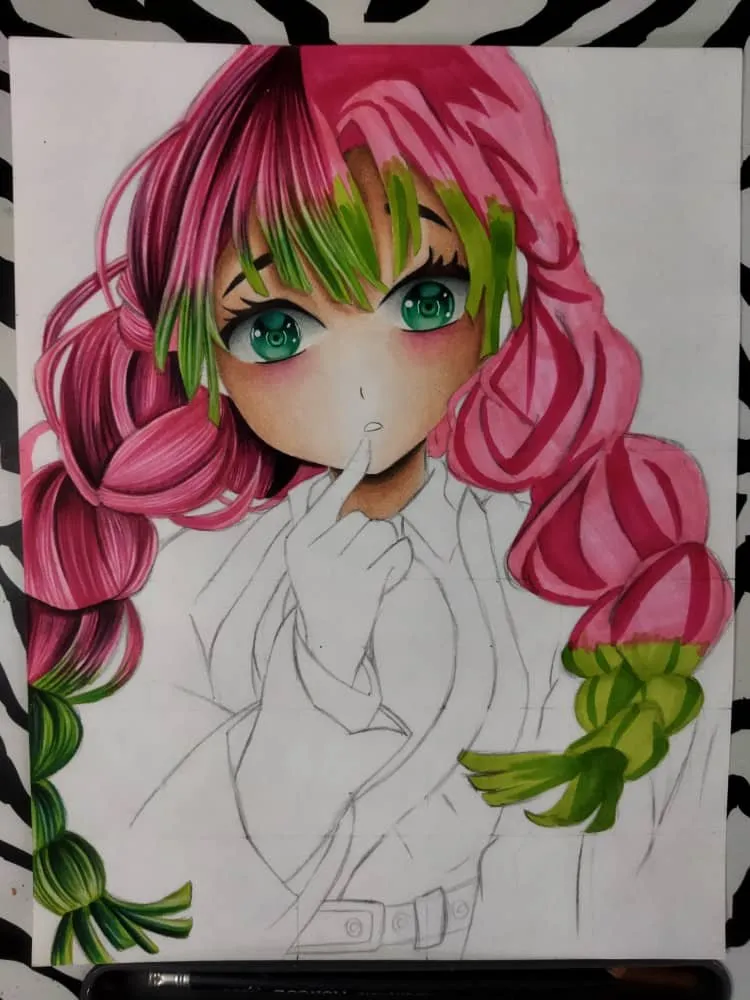
Al momento de colorear siempre me gusta mucho iniciar por los ojos porque es una de las partes que le da más vida al personaje que estemos coloreando, aplico primero una capa base con un marcador súper claro del color de los ojos y después con los colores voy realizando los detalles los cuales de darán más vida, aplicar primero una capa base con marcadores ayuda a que no queden esos molesto puntos blancos, además también ayuda a que algunos colores resalten mucho mas como por ejemplo el color blanco , por otro lado ayuda a que podamos colorear mucho más rápido.
When coloring I always like to start with the eyes because it is one of the parts that gives more life to the character that we are coloring, I first apply a base layer with a super clear marker of the color of the eyes and then with the colors I make the details which will give more life, first apply a base layer with markers helps to avoid those annoying white spots, also helps some colors stand out much more as for example the white color, on the other hand helps us to color much faster.
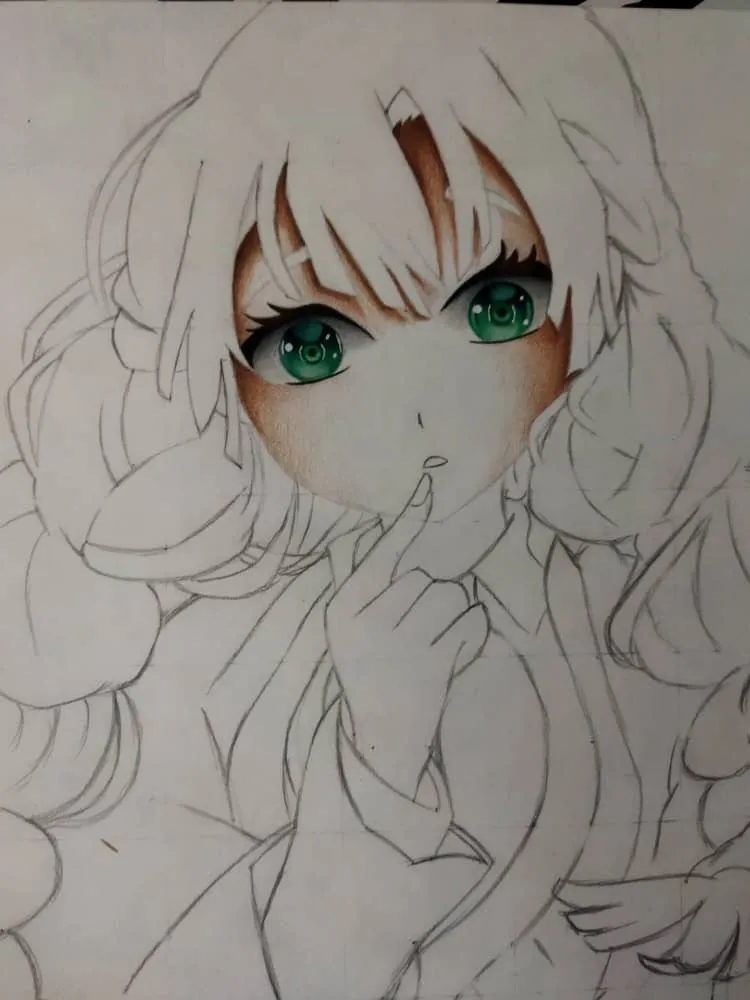
Para realizar la piel aplique primero los tonos oscuros y los degrade poco a poco a los tonos claros, aplicándolos suavemente sin afincar, el momento de colorear la piel tendemos que seleccionar un marrón oscuro, un marrón claro y un color piel o carne, también podemos utilizar algunos colores extras para darle más naturalidad a la piel.
To make the skin apply first the dark tones and gradually degrade them to light tones, applying them smoothly without sharpening, when coloring the skin we have to select a dark brown, a light brown and a skin or flesh color, we can also use some extra colors to give more naturalness to the skin.
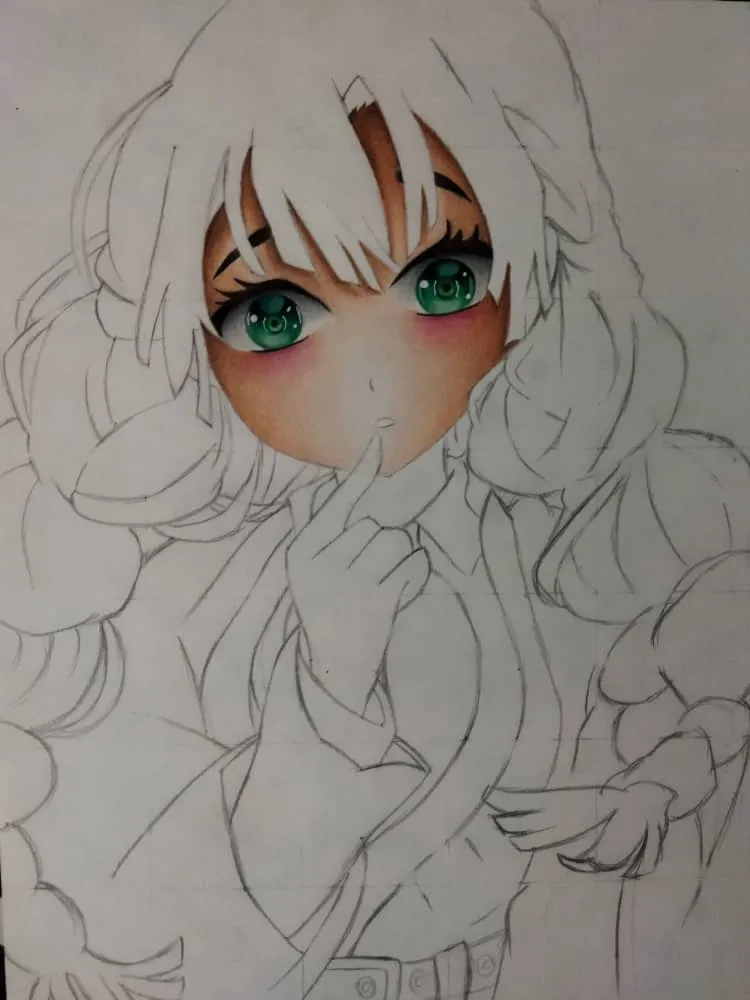
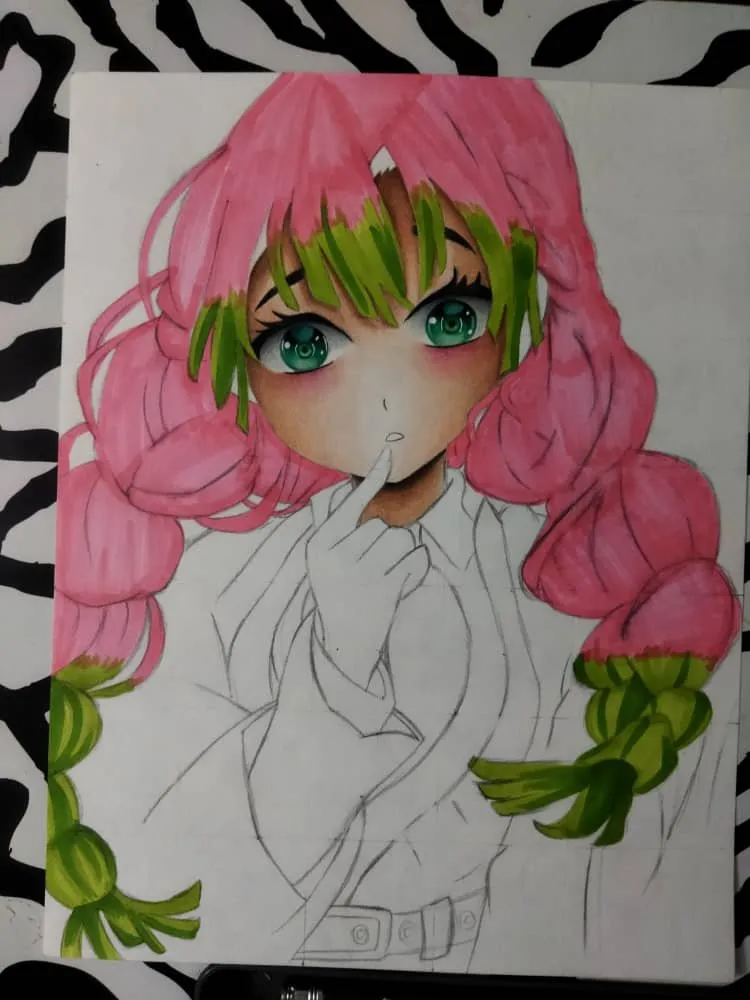
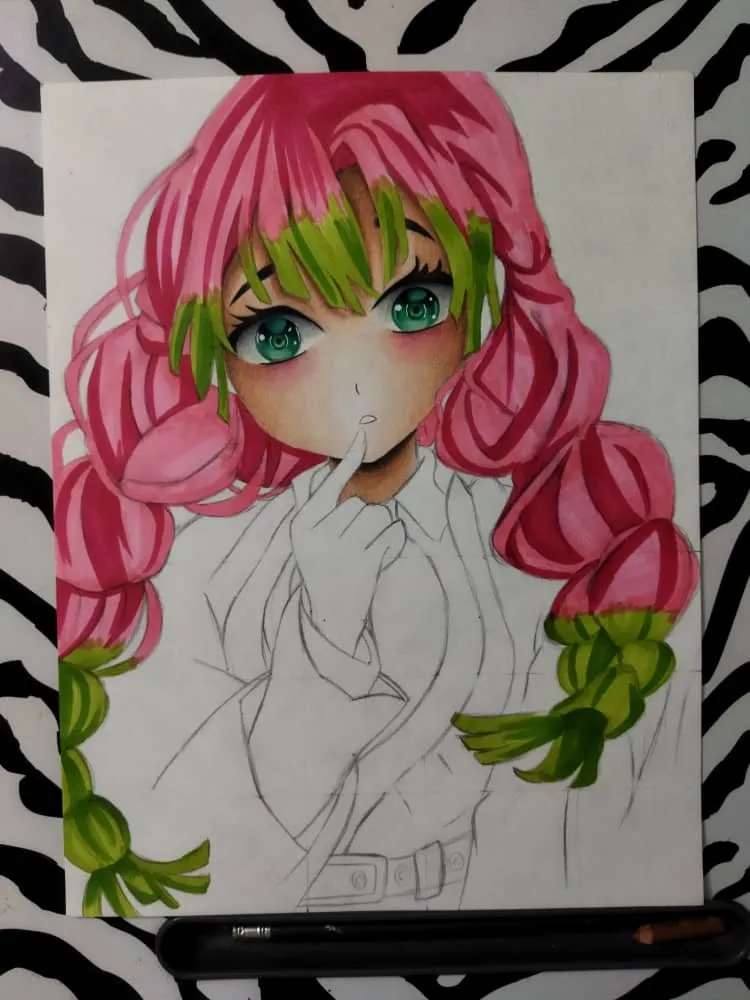
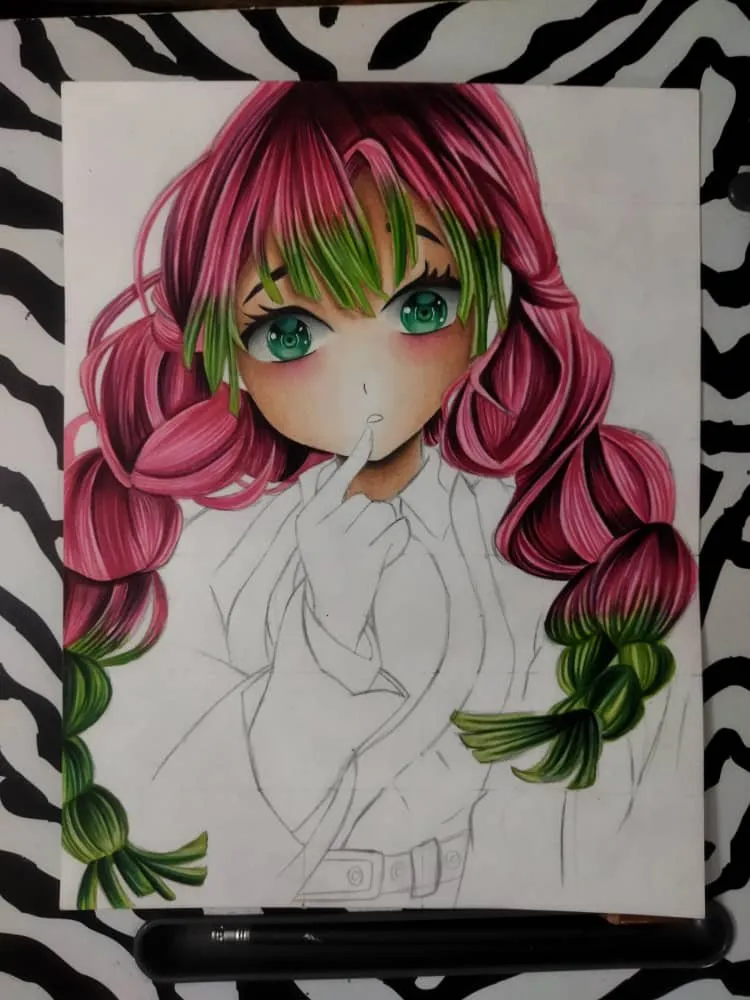
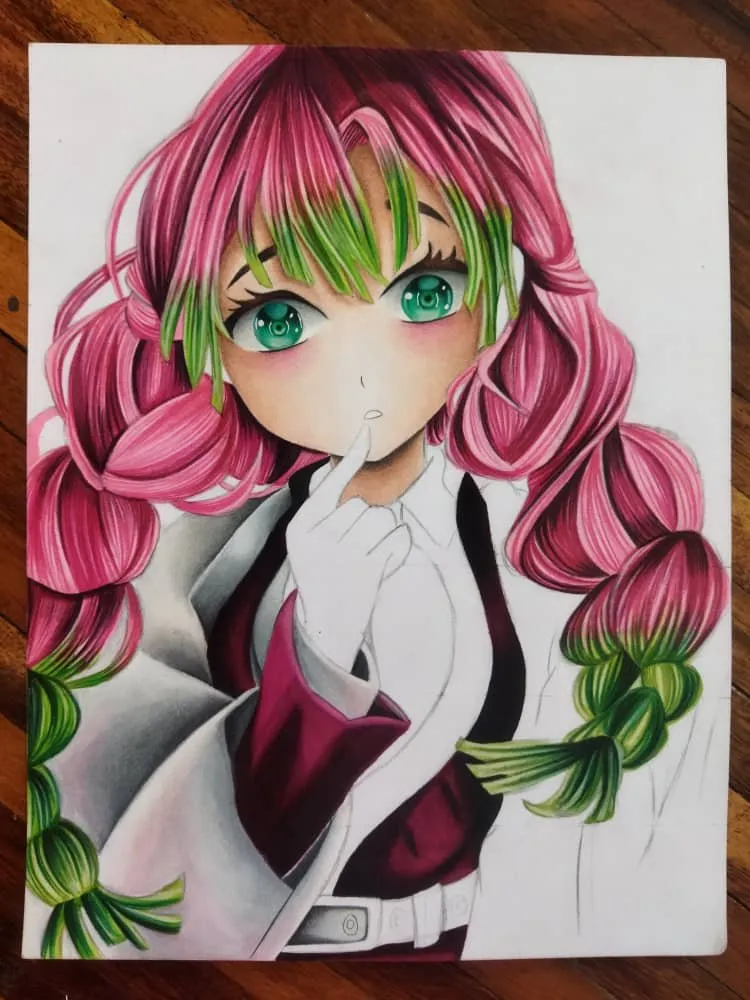
Para colorear el cabello aplique primero los marcadores y después con los colores realice trazos delgados siguiendo la forma del cabello, es decir realice cabello por cabello uno por uno, esta es la parte en la que me tardo mas porque lleva bastante trabajo paciencia y tiempo pero le da un buen efecto al dibujo ya que el cabello tiene más volumen y se ve más detallado, este estilo de coloreado en el cabello me gusta realizarlo en todos mis dibujos. Para la ropa aplique en algunas partes los mascadores y después aplique los colores suavemente degradándolos de tono oscuro a tono claro es bueno tomarse el tiempo necesario para realizar el coloreado para que todo quede lo mejor posible y el resultado final se vea genial.
To color the hair first apply the markers and then with the colors make thin strokes following the shape of the hair, that is to say make hair by hair one by one, this is the part in which I take more time because it takes a lot of patience and time but it gives a good effect to the drawing because the hair has more volume and looks more detailed, I like to do this style of coloring in the hair in all my drawings. For the clothes I applied in some parts the mascadores and then I applied the colors softly degrading them from dark tone to light tone, it is good to take the necessary time to make the coloring so that everything is the best possible and the final result looks great.
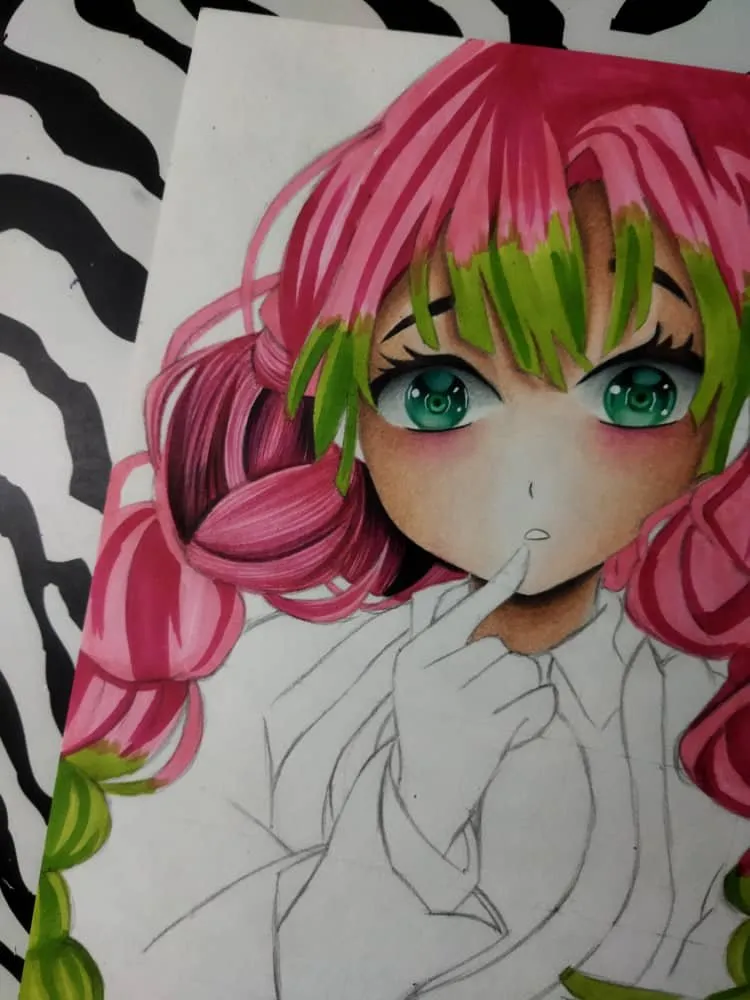

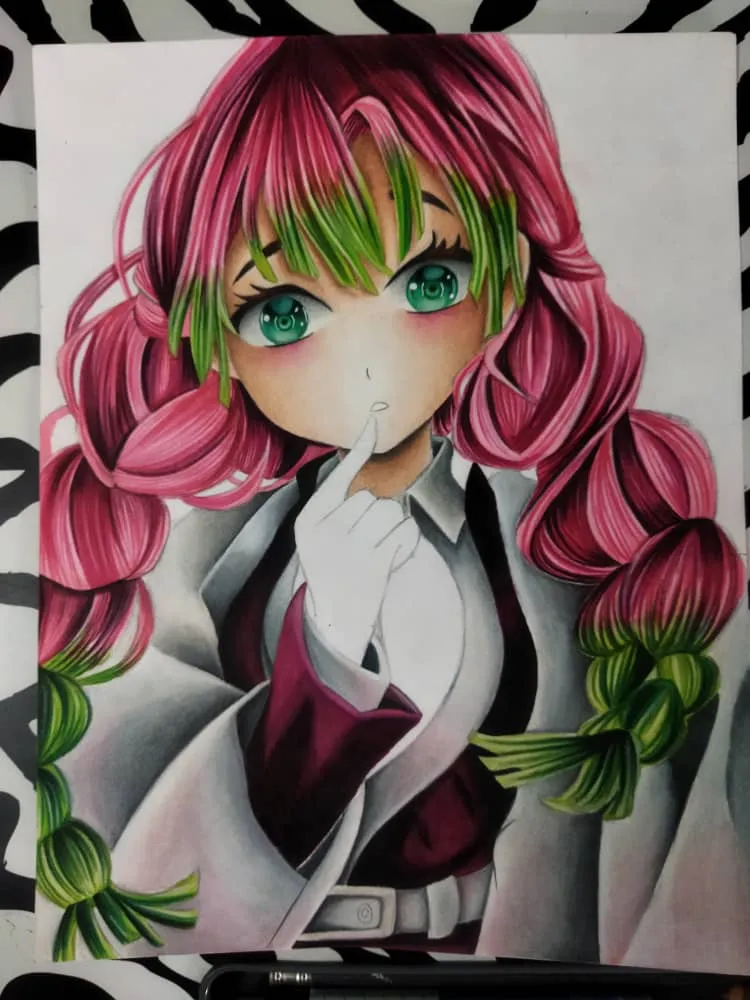
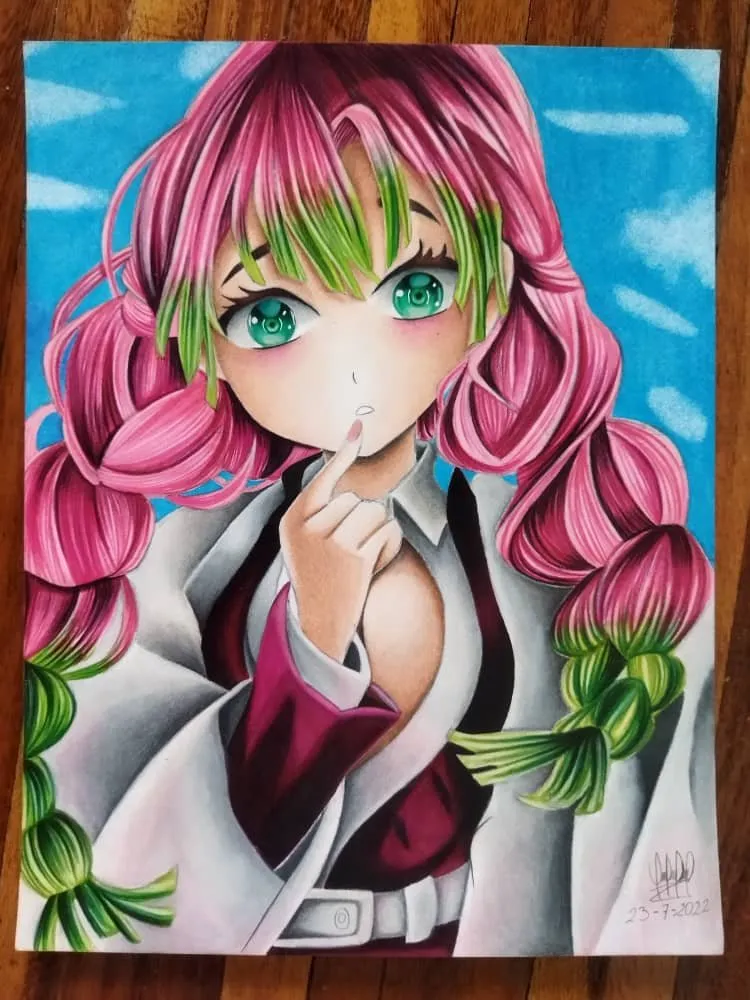
Espero que el resultado final del dibujo les guste mucho en verdad tomo bastantes horas de trabajo realizar el dibujo y el resultado final quedo genial recuerden que cada vez que realicen un dibujo pueden modificarles las partes que deseen o también pueden realizarlos en su propio estilo de dibujo, disculpen si no publico tan seguido es que la universidad me tiene muy ocupado pero en los momentos libres trato de dibujar lo más posible, si tienen un consejo o recomendación pueden dejarlo en los comentarios, muchas gracias por leer la publicación, nos vemos próximamente con un nuevo dibujo.
I hope you like the final result of the drawing very much, it really took a lot of hours of work to make the drawing and the final result was great, remember that every time you make a drawing you can modify the parts you want or you can also make them in your own style of drawing, sorry if I do not publish so often is that the university has me very busy but in my free time I try to draw as much as possible, if you have a tip or recommendation you can leave it in the comments, thank you very much for reading the publication, see you soon with a new drawing.
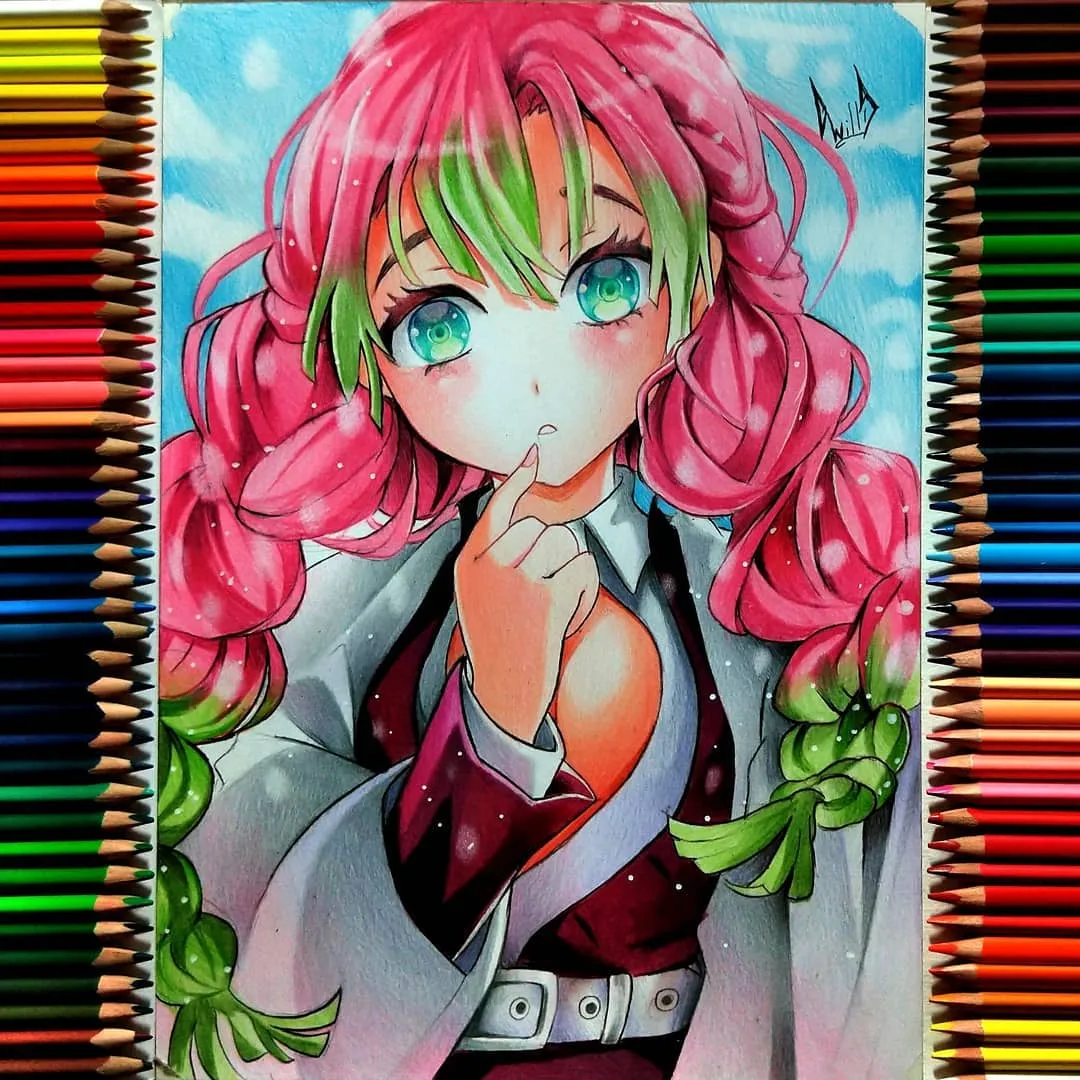
Esta es la imagen de referencia la cual la realizo un youtuber llamado WillD, les dejare un enlace al video de su canal donde realizo el dibujo de la imagen de referencia.
This is the reference image which was made by a youtuber called WillD, I will leave you a link to the video of his channel where he made the drawing of the reference image.