Since painting my office, I've been gathering up the things I need to mount my Star Wars helmets, and also the display cases with the figures I've got.
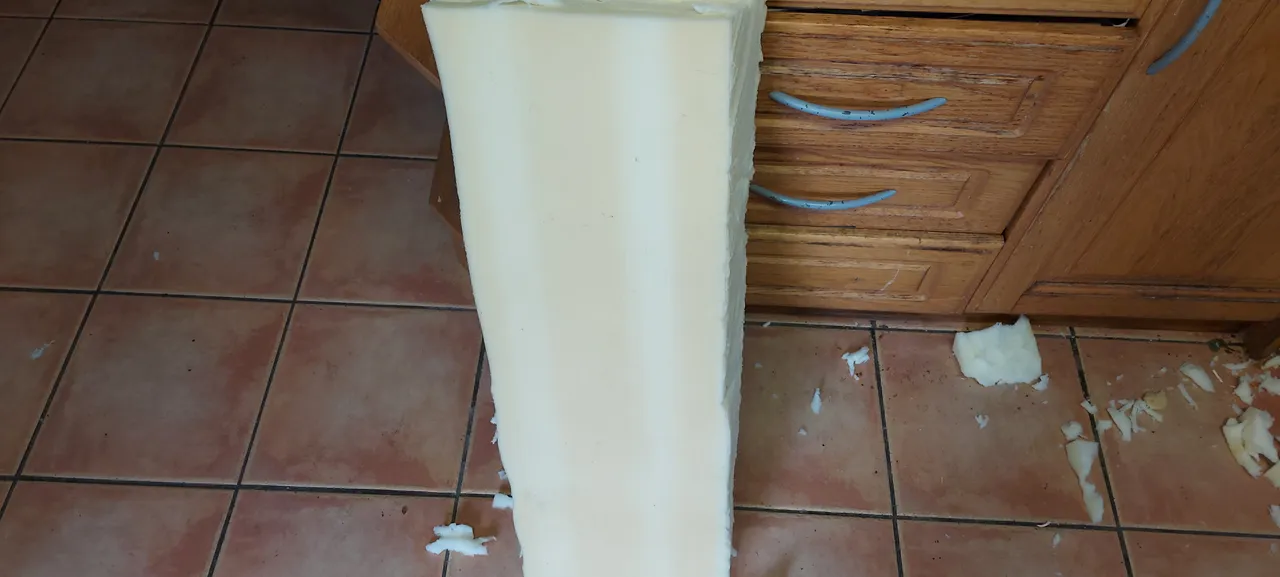
My mum got this memory foam matress she never used, and had up in the attic that she cuts pieces off to make dog beds for Flea, and I was able to cut a slither of it off, to use for padding out the helmet mounts I bought.

These are the tools I needed; a marker, a Stanly blade, and a a large pair of scissors.
The scissors, as it turns out, are a bit blunt, and weren't as easy to use as I'd hoped, so I just used the Stanly blade for the most part.

Here's the mount. They're fairly light wait, and decent, but I didn't like the idea of the helmets sitting on the metal alone, so wanted something with a bit of padding. Hence, the foam.
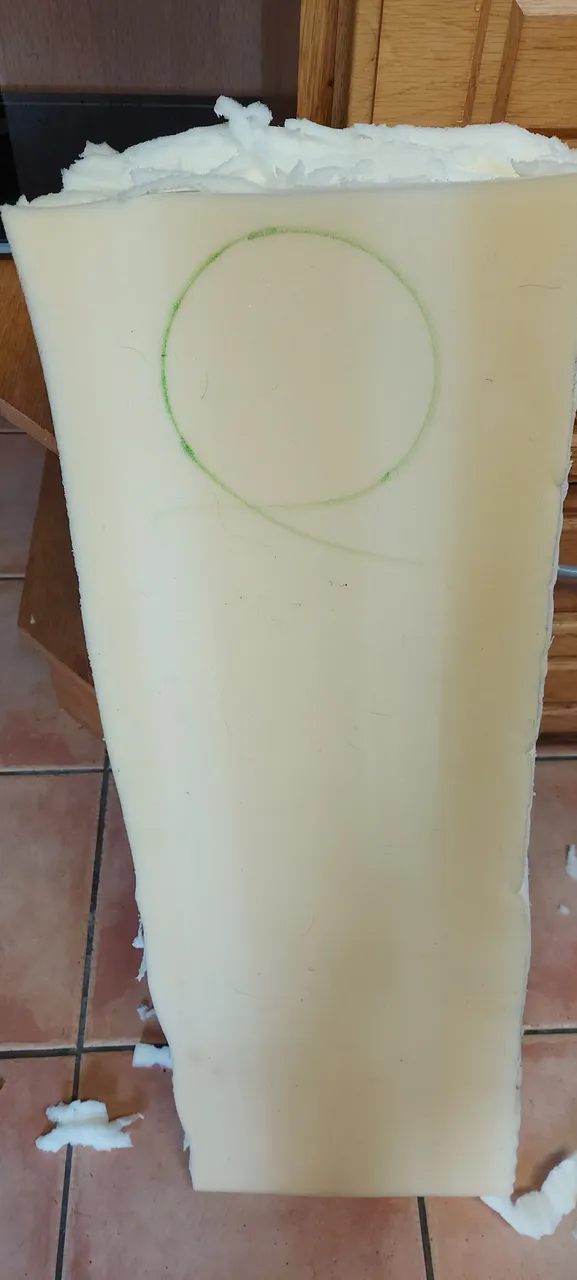
After marking out the size of the mount itself, I got cutting.
It looks kind of yellow. It's not dirty, having been kept in its original packaging from when it was bought. Sadly, the particular type of foam seems to just yellow with age.
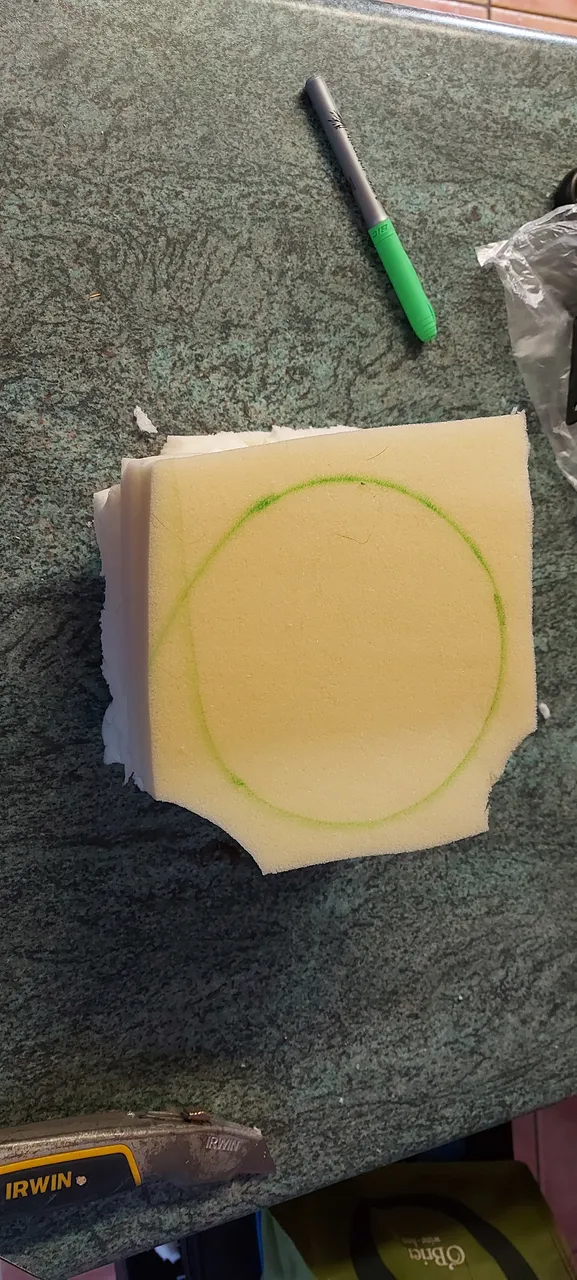
I already started cutting away this piece, but you can get an idea of what I'm doing.
I wasn't too particular about the shape of the foam, as most of the helmets are completely covered. The X-Wing helmet, however, is open-faced.

Once the foam was cut to shape, I measured against it while in the helmet, and cut into the piece of foam to push the stand into it, so it was relatively secure.
Why didn't I use hot glue? Well, while I do have the gun, and some glue, I decided not to.

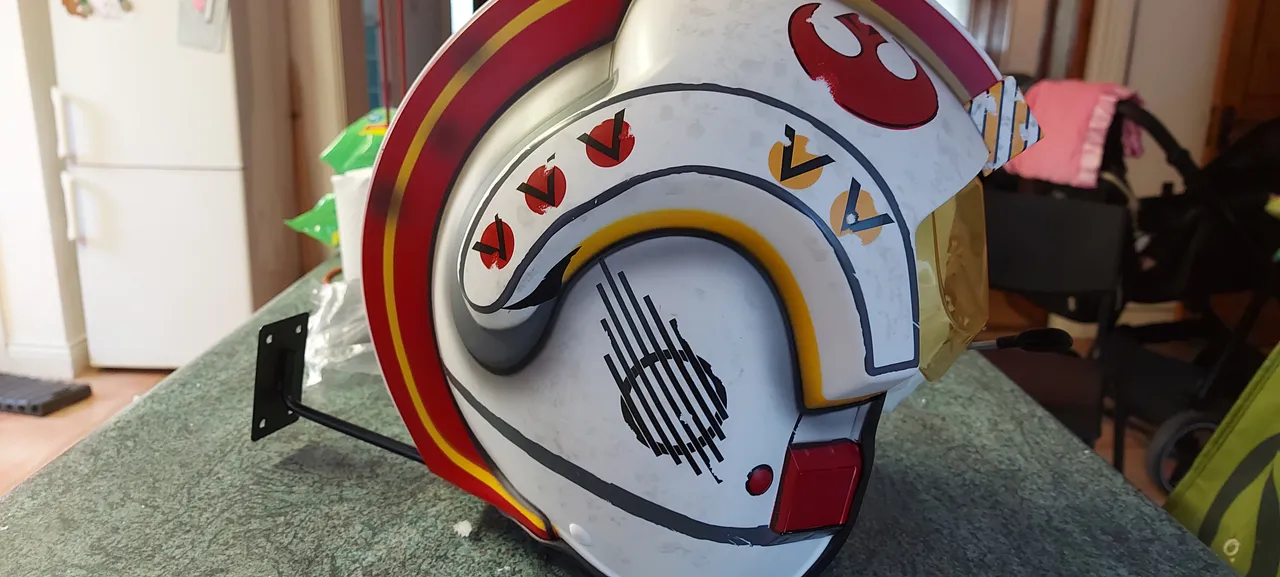
Here's Luke Foamwalker.
My mum was messing around with it after it was attached to the foam and burst into laughter after creating this reject.

Here's the helmet face on.
These black series helmets are kickass, and have some decent weight to them, as well as some amazing details.
I couldn't get a decent picture of the helmet itself with the stand inside it, but it does look cool, and will be great when it's up on the wall.
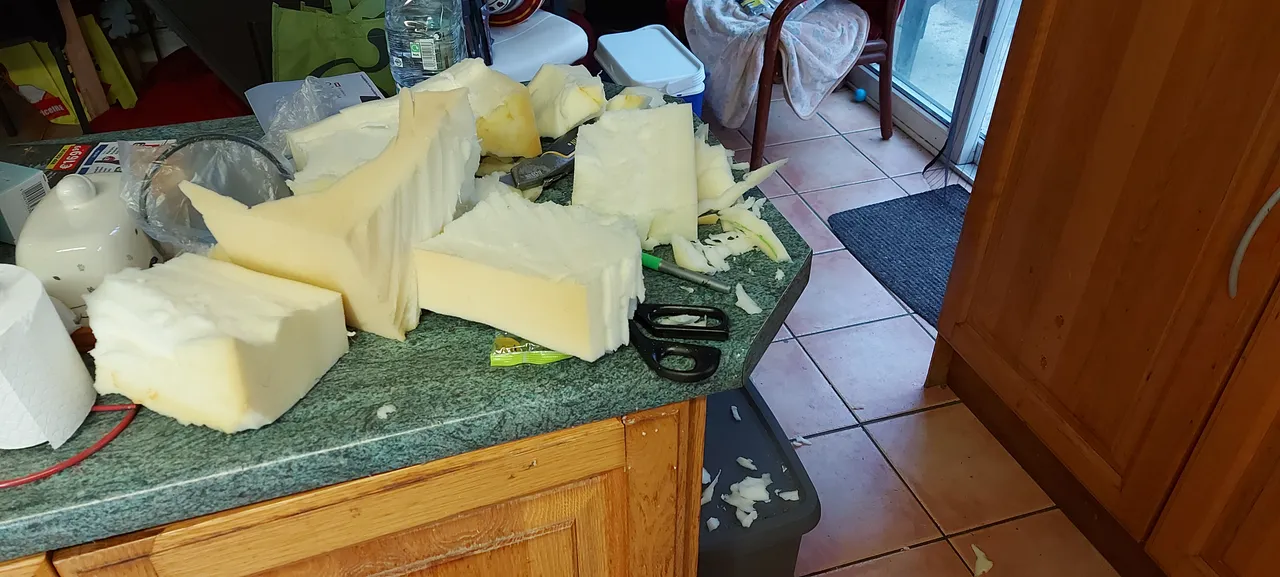
Yup, it's messy work and seemed to take ages to do, but the clean up wasn't too bad, to be fair.

I took this picture before swiping all of the excess foam off onto the floor.
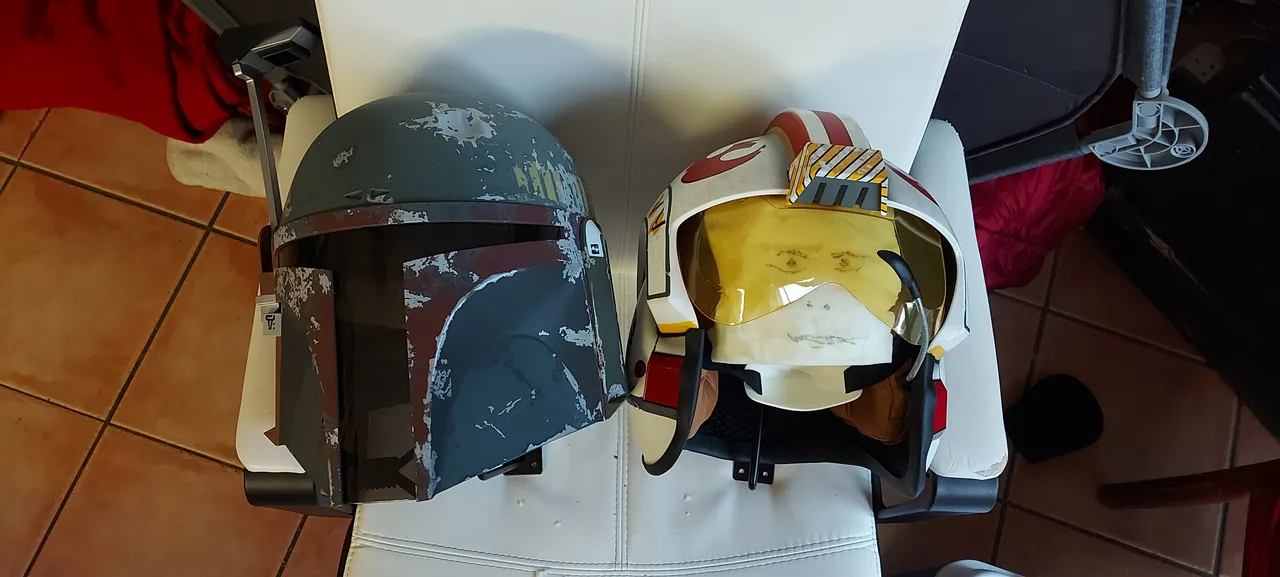
Here's Boba Fett and Luke sitting side-by-side.
The Boba Fett one is class. Then again, they're all really good. The quality from helmet to helmet stayed consistent, and they were well worth picking up.
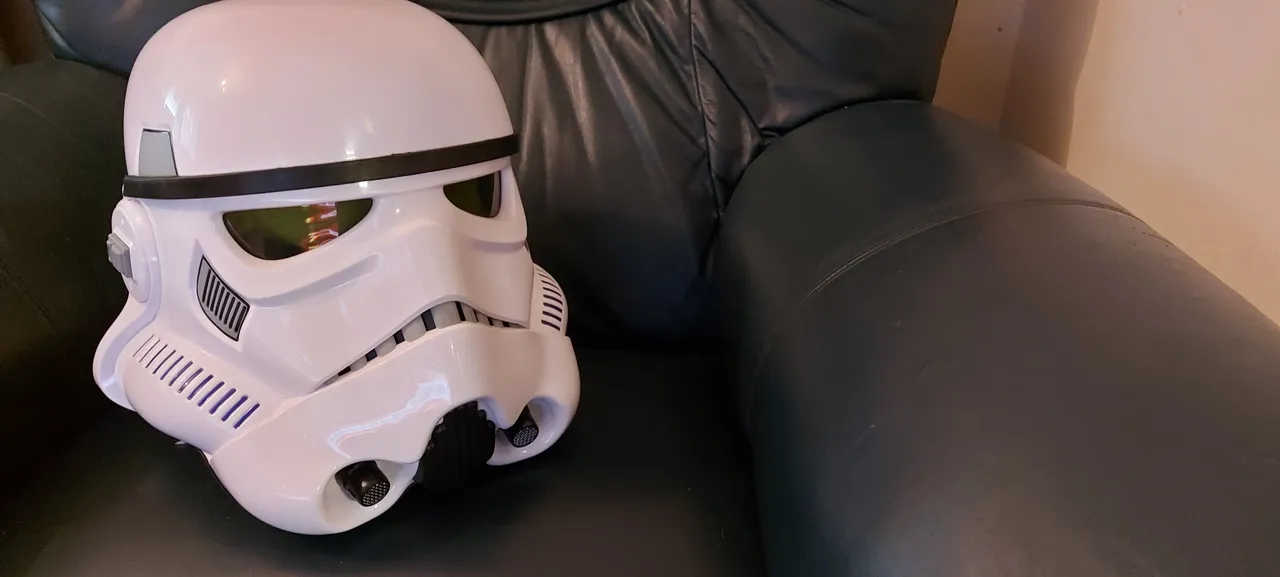
Here's the storm trooper helmet, and even though you can't see it, the mount is also attached to it now.
Again, the detail is amazing, and they look good enough to be used on screen.

The Dark Lord himself, now, this one could have a post dedicated to it, due to the number of removable parts, as well as the sheer amount of detail.
The top comes off, and is magnetically sealed, to actually where it you need to remove that piece, as well as a kind of bar in the back that has to be locked into place.
They're all great, and I can't wait to finish work tomorrow so I can get the stuff up on the walls. It got too late tonight, as I only got off work at 5 and had to run around picking up the bits and pieces I needed.
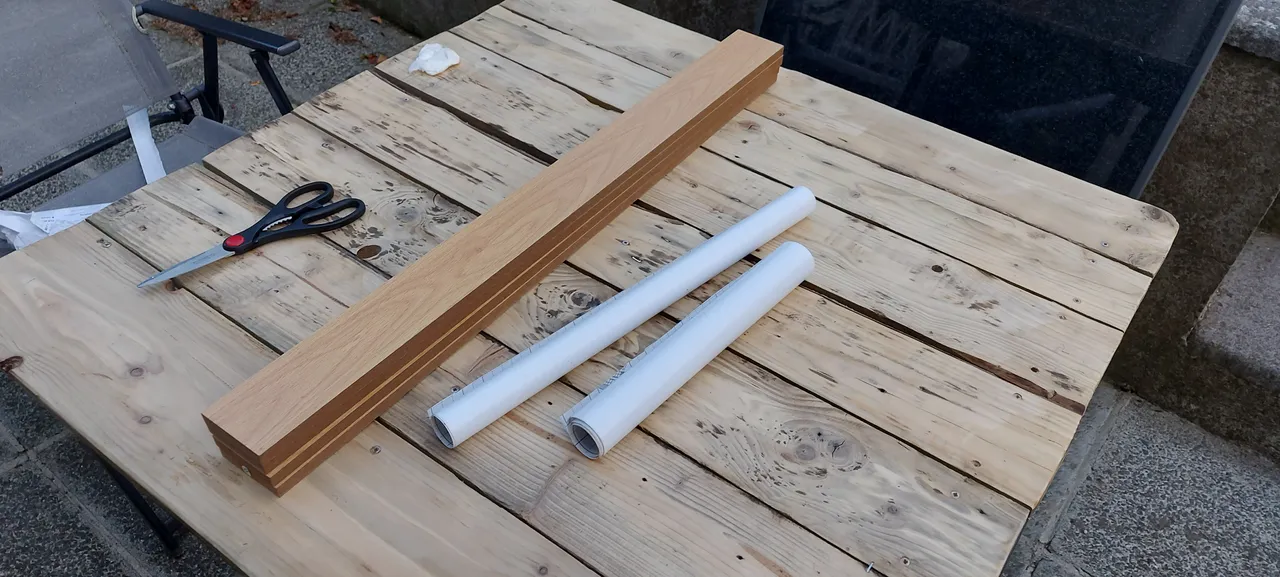
This is what I was also doing. One display mount I have is black and white, but I needed two because one wasn't enough for the figures.
I had to buy another one, and the black and white ones were out of stock, so I had to settle for one that was the colour of those slats.
I used white vinyl paper for the backboard but ran out by the time I got to these, so I'm going to have to buy some white spray paint for them at some stage soon.

Here's the frame of the display case.
I neglected to take a before picture, but here they are after the spray painting.
Tomorrow
I'll do a part 2 for this post tomorrow because I'm going to assemble this case when I get back from work and finally get the stuff mounted up on the walls.
I can't wait to finally have it done, and put my figures out on display properly, alongside the helmets.