Today I would like to go over how to install the Node-Red software on your Raspberry Pi. The Raspbian Operating System comes with Node-Red, but I'm not sure what version, or if it includes the Raspberry Pi nodes, so I like to use the script that I had referred to in post 6 of the home automation series. If you haven't read the home automation series, here is the link to post 1
You can access the Pi specific information from Node-Red here and simply run the script:
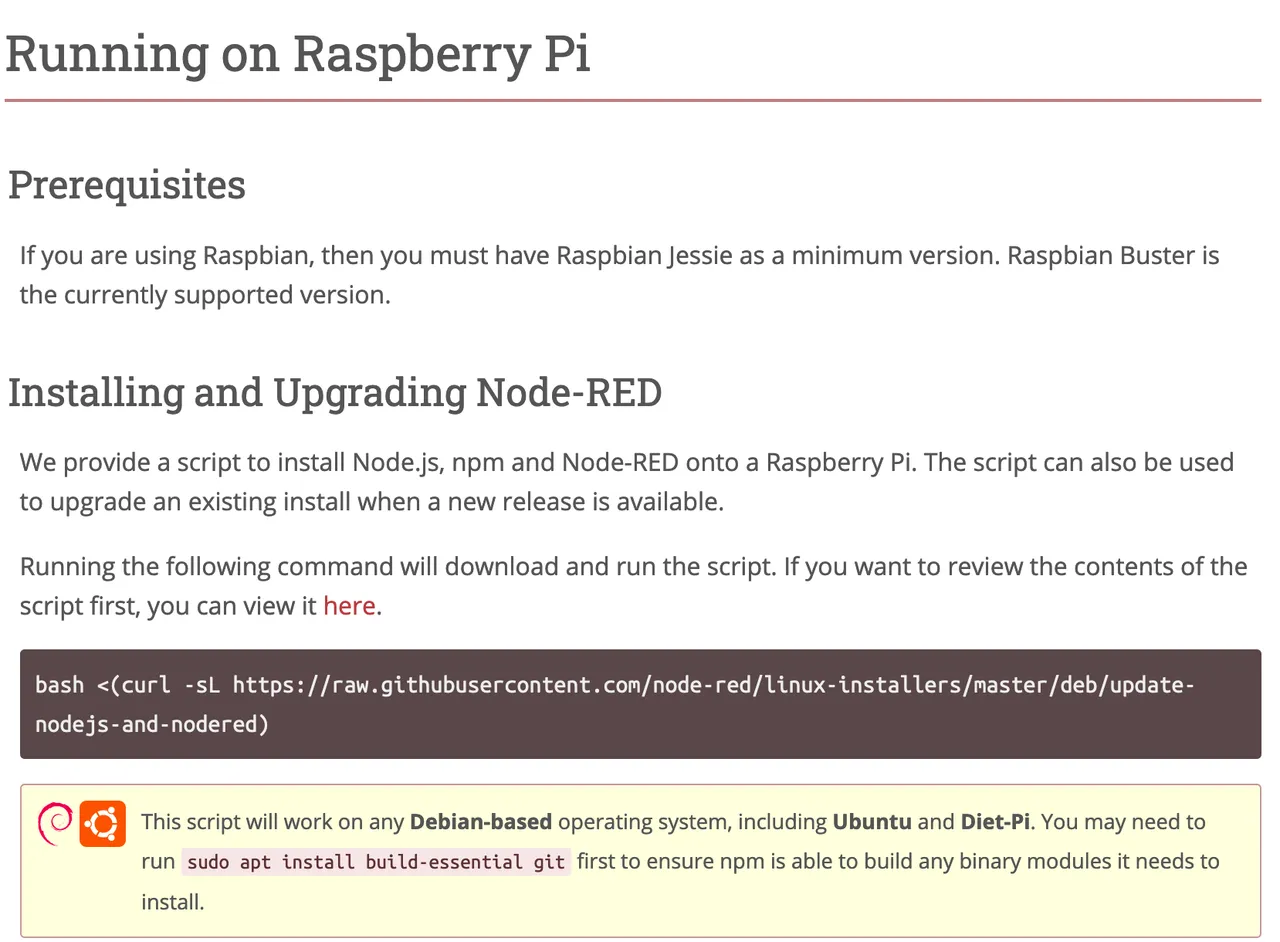
I find it easiest to open a web browser on the Pi that I'm upgrading and copy and paste it so I don't make any mistakes:

It should open up like this:
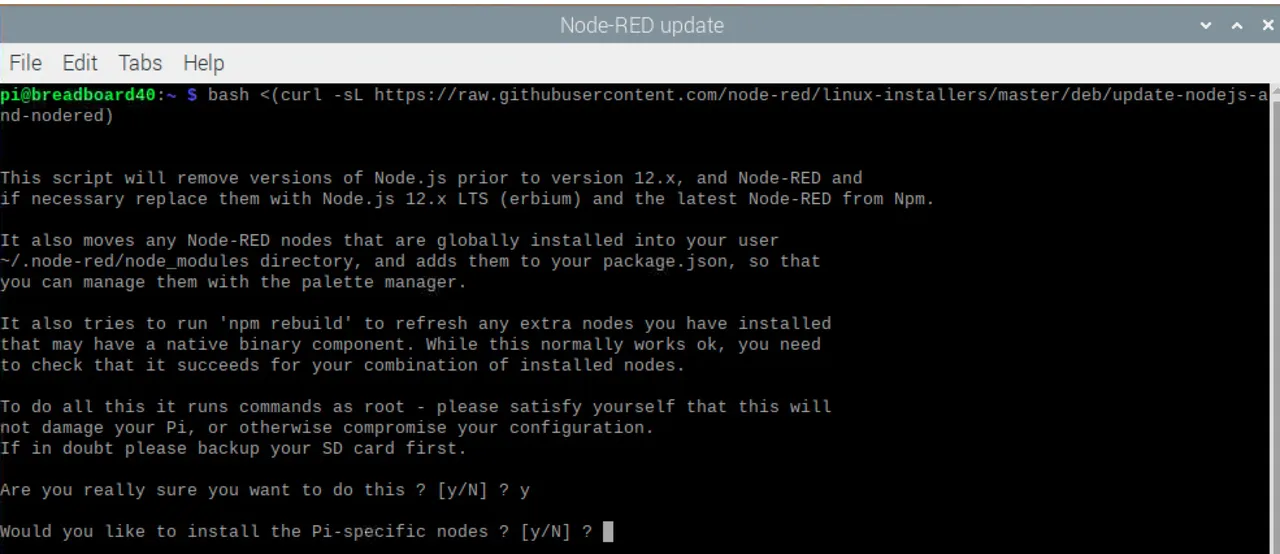
Just make sure to answer "Y" to installing the Pi specific nodes:
And the install make take a few, or quite a few minutes to complete:
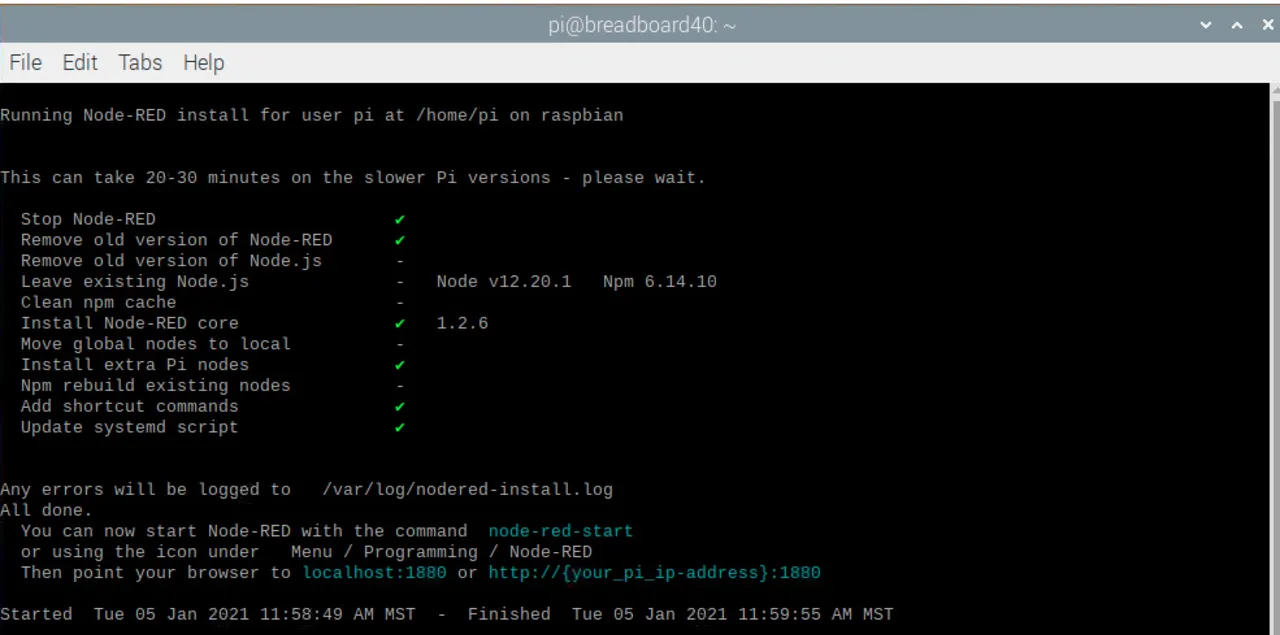
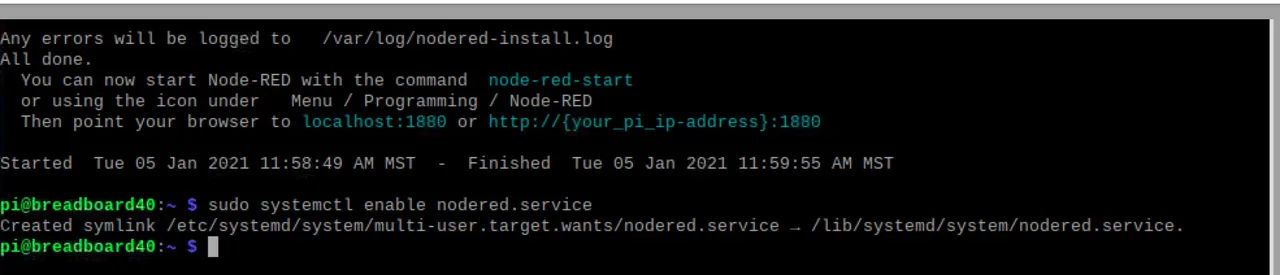
If you read further on the Node-Red Pi page..... you did read the page (grin)? You'll see the command to ensure Node-Red autostarts when the Pi boots, and once it runs the response from the Pi:
Now go ahead and reboot the Pi, and open a webrowser on the Pi and goto "localhost:1880" or if on another machine "your-pi-address:1880". 1880 is the port that Node-Red listens to, and you should see a blank pallette:
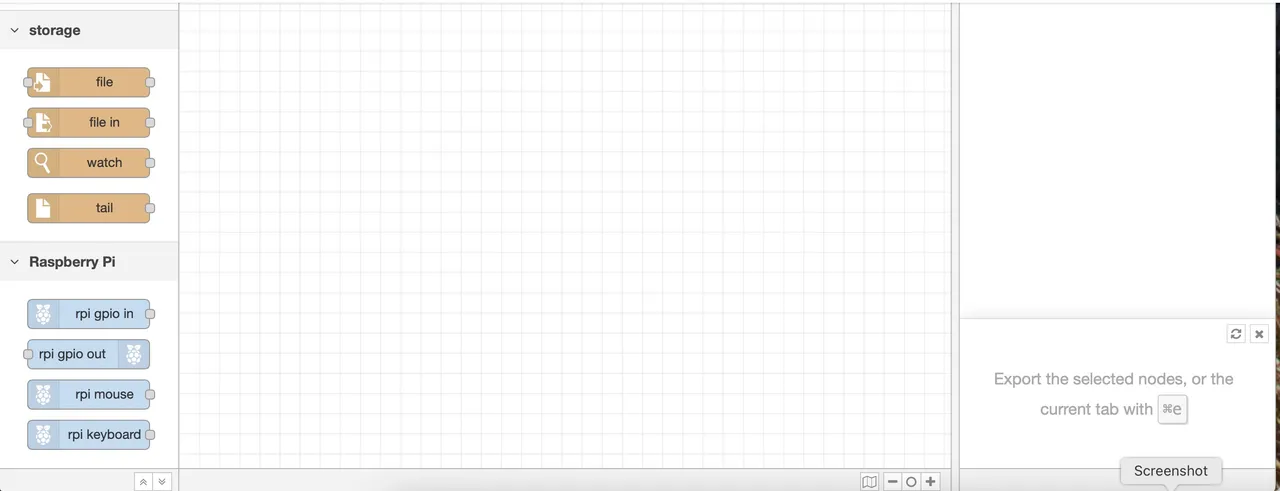
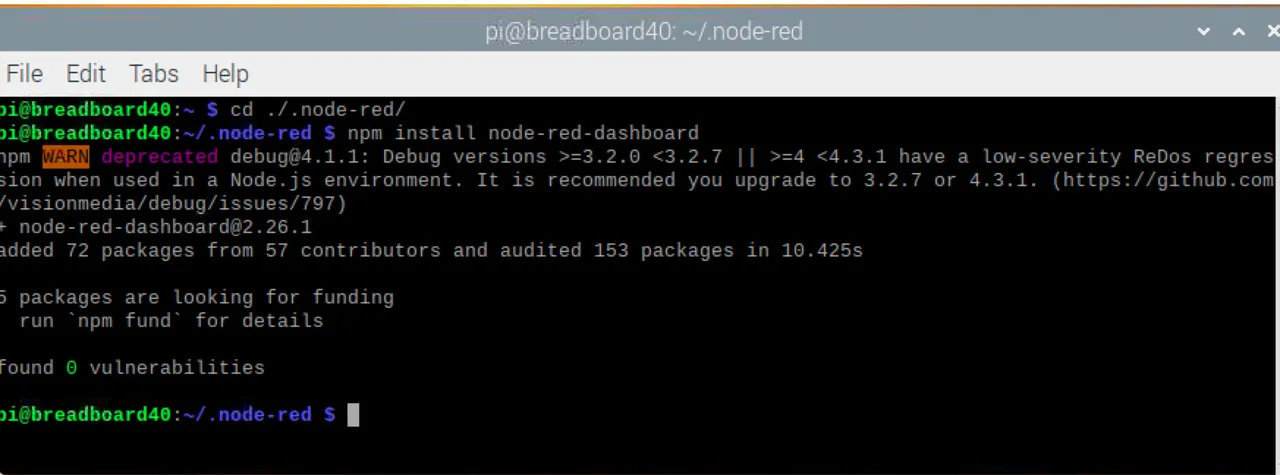
However, we're missing the dashboard nodes that will allow us to develop a webpage that can control the GPIO pins on the Pi, so we need to install that as well. So you want to open a terminal and change the directory from your home directory to the node-red: "cd ./.node-red" Notice the period at the beginning of the directory name indicating that it is a hidden directory. You want to run the following command to install the dashboard "npm install node-red-dashboard":
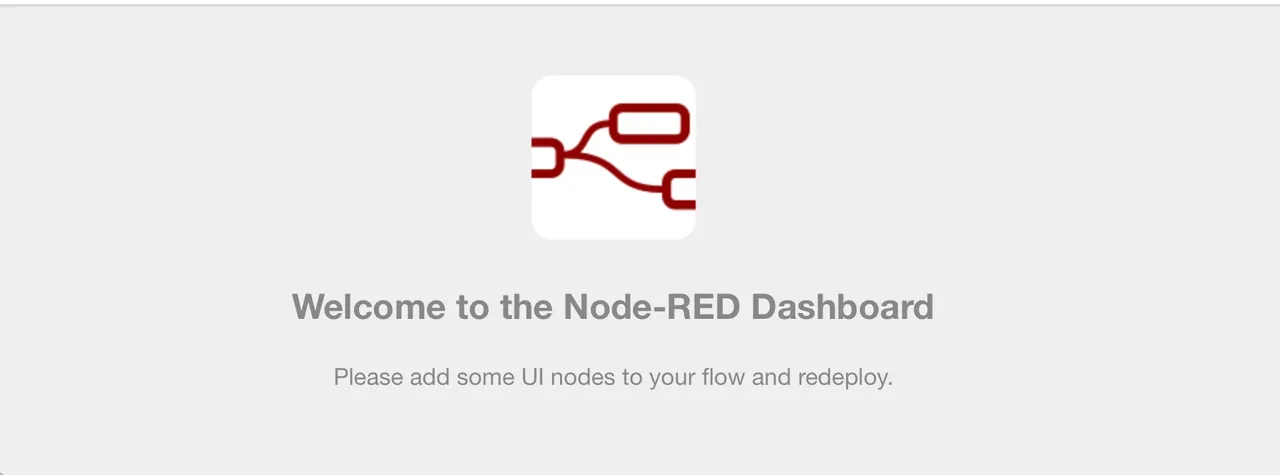
You can restart the Node-Red service by running "node-red-restart". This allows it to reload the configuration file and they you'll be able to access the dashboard. To program the Pi using Node-Red you point your browser to "localhost:1880" and to view the dashboard you point your browser to "localhost:1880/ui". Since we haven't setup a flow yet, this is what you should see on your dashboard page:
The install is complete and now we're ready to build the program that will enable us to press a button on a webpage and have it energize a GPIO pin on the Pi. I'll cover that in the next post.
Thanks for viewing!
Robin