For the ones who lack expertise on JavaScript, Flask can be a very good option to build simple websites, portfolios and online forms. Flask is a Python library that acts as a micro web framework.
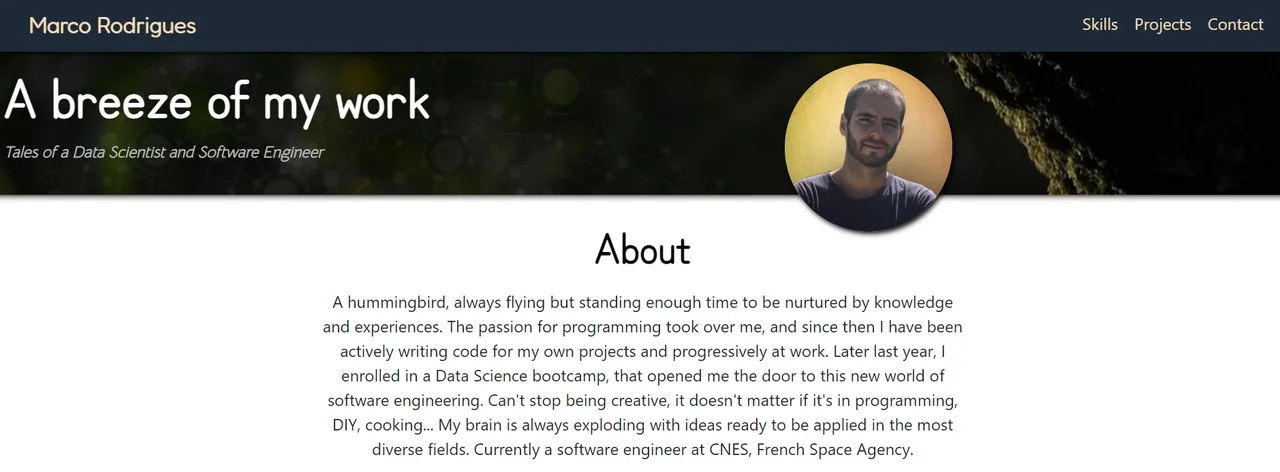
In this post, I'll be describing the steps I took to develop my first portfolio page.

HTML, CSS structure 🛠
In order to find a structure that aligns with my sketches, I basically look into several portfolio templates available online and inspected the code. From those templates, I took the components that I would like to see on my portfolio, and I did my own adjustments. Finally I divided the code into sections:
About section: Having the navbar, a profile picture, an image and short intro about me.
Skills section: With icons and progressive bars.
Projects section: A container with several Divs, with images and links to my projects.
Contact section: A contact form, so people can reach me out.
Flask Web Framework 💻
In order to launch the client (server), the only code needed is the following:
from flask import Flask, render_template, request

app = Flask(__name__)

if __name__=='__main__':
    app.run()
In order to render a certain HTML template, do the following:
@app.route("/")
def html_render():
    current_year = dt.datetime.now().year
    return render_template('index.html', year = current_year)
In the example above, you can see that I defined the variable current_year. In case you are wondering, I have done this, because in my HTML, I have a dynamic variable called year in my footer element:
<footer style="background-color: #f5deb33b; padding-top: 3%;">
<p>Still running in {{year}}. Built with 🧡 by Me.</p>
</footer>
With flask, you can define several variables on the HTML code, that will dynamically change according to your python code. These variables are then rendered in the render_template() function.
Note that for flask to recognize the CSS files, they must be inside a folder called "static".
Domain, hosting and deployment 🚀
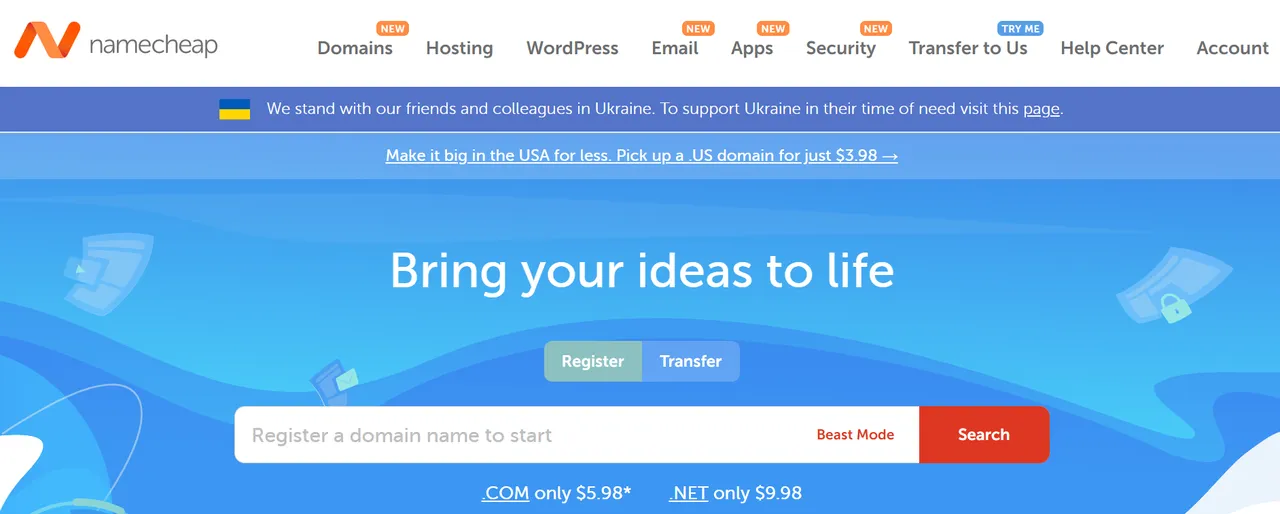
If you are looking to have your own domain for a fair price I advise Namecheap. There you can find domains such as, .com, .org which are a little bit more expensive, but also very cheap options, like .xyz, .io, .tech, you name it 😉

For the hosting I'm using GCP (Google Cloud Platform), and with the help of Zeet I was able to jump all the DevOps steps. I just need to connect my GitHub account to Zeet, and the integrated DevOps tools do the rest. Every time I do a git push of my code, it automatically builds, and deploys it to a Zeet URL, it is indeed very useful and easy to use.
Of course, this easiness comes with a price, but at least it is free for the first 3 projects 😁

The GCP also comes with a certain cost, but since I'm not using Data Bases, Deep Learning or any order expensive computational activity in my website, I get to pay very few cents in the end of the month.
In order to map the domain bought previously, there are some steps to be done on GCP, I won't explain them, but you can easily follow them on this link.
Last Notes 📑
- For the ones curious about the cost 💸: I bought a domain for 2€ per year, and last month I paid 0.20€ for the hosting. Pretty cheap right?
- For the ones curious about the full code 💻: The post lacks a lot of code indeed, because it is quite robust the HTML and CSS part. The same for the python (Flask), part. However it is open source on my GitHub 👍.
- Avoiding spam 🚽: I developed this website a while ago, but I'm just writing the post now, because at the very beginning I did the mistake of not having a reCAPTCHA 😆. Of course I ended receiving a lot of spam messages, so definitely very important to have a reCAPTCHA, if you have a contact form. I followed the steps of this article.
- Ok, what about the website?