Finally, one mini project off my never-ending to-do list!
(No, I haven't forgot about my part 2 for the post about migrations. It's just that I feel like writing this first, xd, enjoy.)
Looking for a header image... Photo by Anete Lūsiņa on Unsplash.
If you had been following my blog for quite some time, you should have noticed that I really love using Unsplash images. It's really hard to not love Unsplash - the photos are really pretty, they are free to use, attribution is optional (although we all do it! <3), and they give you the best possible quality without any questions. Besides that, they also let you hotlink the images! Although I hadn't been doing that (they actually encourage us to do that)...
Usually, my workflow with Unsplash images goes like this:
- Find the image that I want on Unsplash
- Copy the image
- Paste the image onto the blog post
- Manually wrap the image embed markdown (generated by Ecency when pasting in) in
<center>tags - Manually write the description and the template for the attribution info
- Copy paste the links and text.
- Wrap them up in
<center><sub>tags - Done!
It's quite annoying to do this for every image. So, at this point, you probably guessed what I'm going to do now... yep, let's automate that.
Original description: "Zoe robot from España. It is a pretty nice little thing - and it moves and it smiles.." - well, if we have such a cute robot to help us automate stuff, that would be amazing as well! Photo by Everyday basics on Unsplash.
Originally, the idea is to have something that allows me to paste the attribution information in, and it generates the related code for me to paste in. But, it quickly feels unnecessary, because most of the time is already spent on copying and pasting, it will not help! So, we might as well try to do something better than that. Luckily, Unsplash does give us the tools to achieve that.
Unsplash has their own API, which we can use to search for images and obtain information of the images we want. Our aim is really simple: Given an image link, get the information we need and generate some markdown code that I can directly paste in my post! To do that, we will need one particular API from Unsplash - the API to get a photo given an ID. Although Unsplash does provide us with libraries for some programming languages (such as JavaScript) that we can use to easily invoke the API and achieve what we want, I find it quite unnecessary as what we need to do is actually really easy and can be settled with a single web request. So, I am now free to use some alternative languages and implementation options that I can try implementing... like a web app? Or going back to the roots and use the C programming language?
In the end, I chose to do this in the Elvish scripting language. It's not extremely popular, but since I've been a fan of the Elvish shell (I use it every workday in the office) and I almost always have a terminal running on my computer, it makes sense for me to just write a simple script in it to do it. The Elvish scripting language is also not hard to use, and I find it more enjoyable to write compared to Bash and PowerShell scripts. It feels like a real programming language, with proper data types and even a package manager. It even has the built-in capabilities to parse JSON (!), which makes it even more comfy to perform this task in it!
Anyways, let's get started with it... first of all, we need an API key.
Registering for an Unsplash account is free, and is required to get an API key for your application. It allows you to log in with Facebook, but considering it's Facebook... is my Facebook account still alive? Well, let's make a brand new account then.

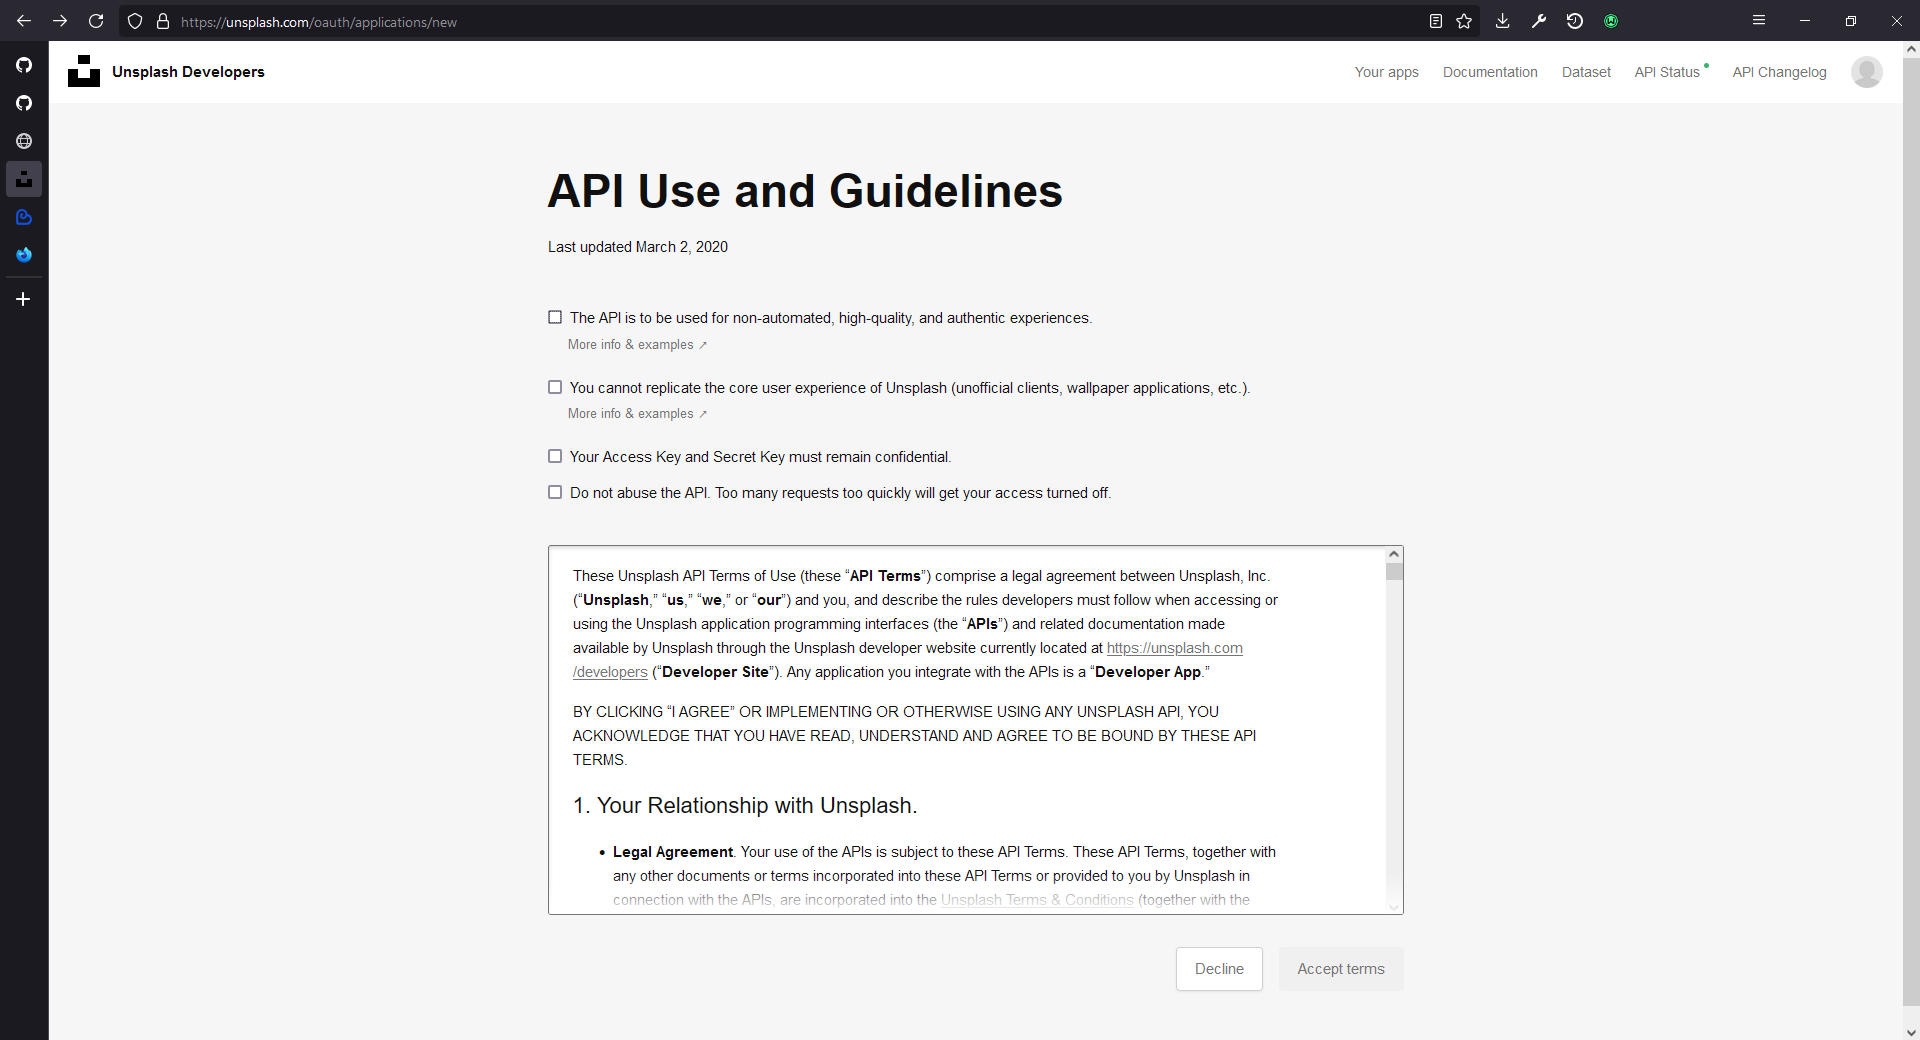
To create an application, you need to agree to some Unsplash rules on using their APIs and some guidelines to follow. Basically, don't be an ass, use common sense... Unsplash gives demo applications a limit of 50 API calls per hour, and although that sounds like not much, it's more than enough for our use case - you are not making a blog post with more than 50 Unsplash images, right? That would be absurd.
Then, you need to give your application a name... I hate this question the most. I ended up just naming it "image markdown generator" because they don't allow "Unsplash" in the name of the application. Well, whatever that works.

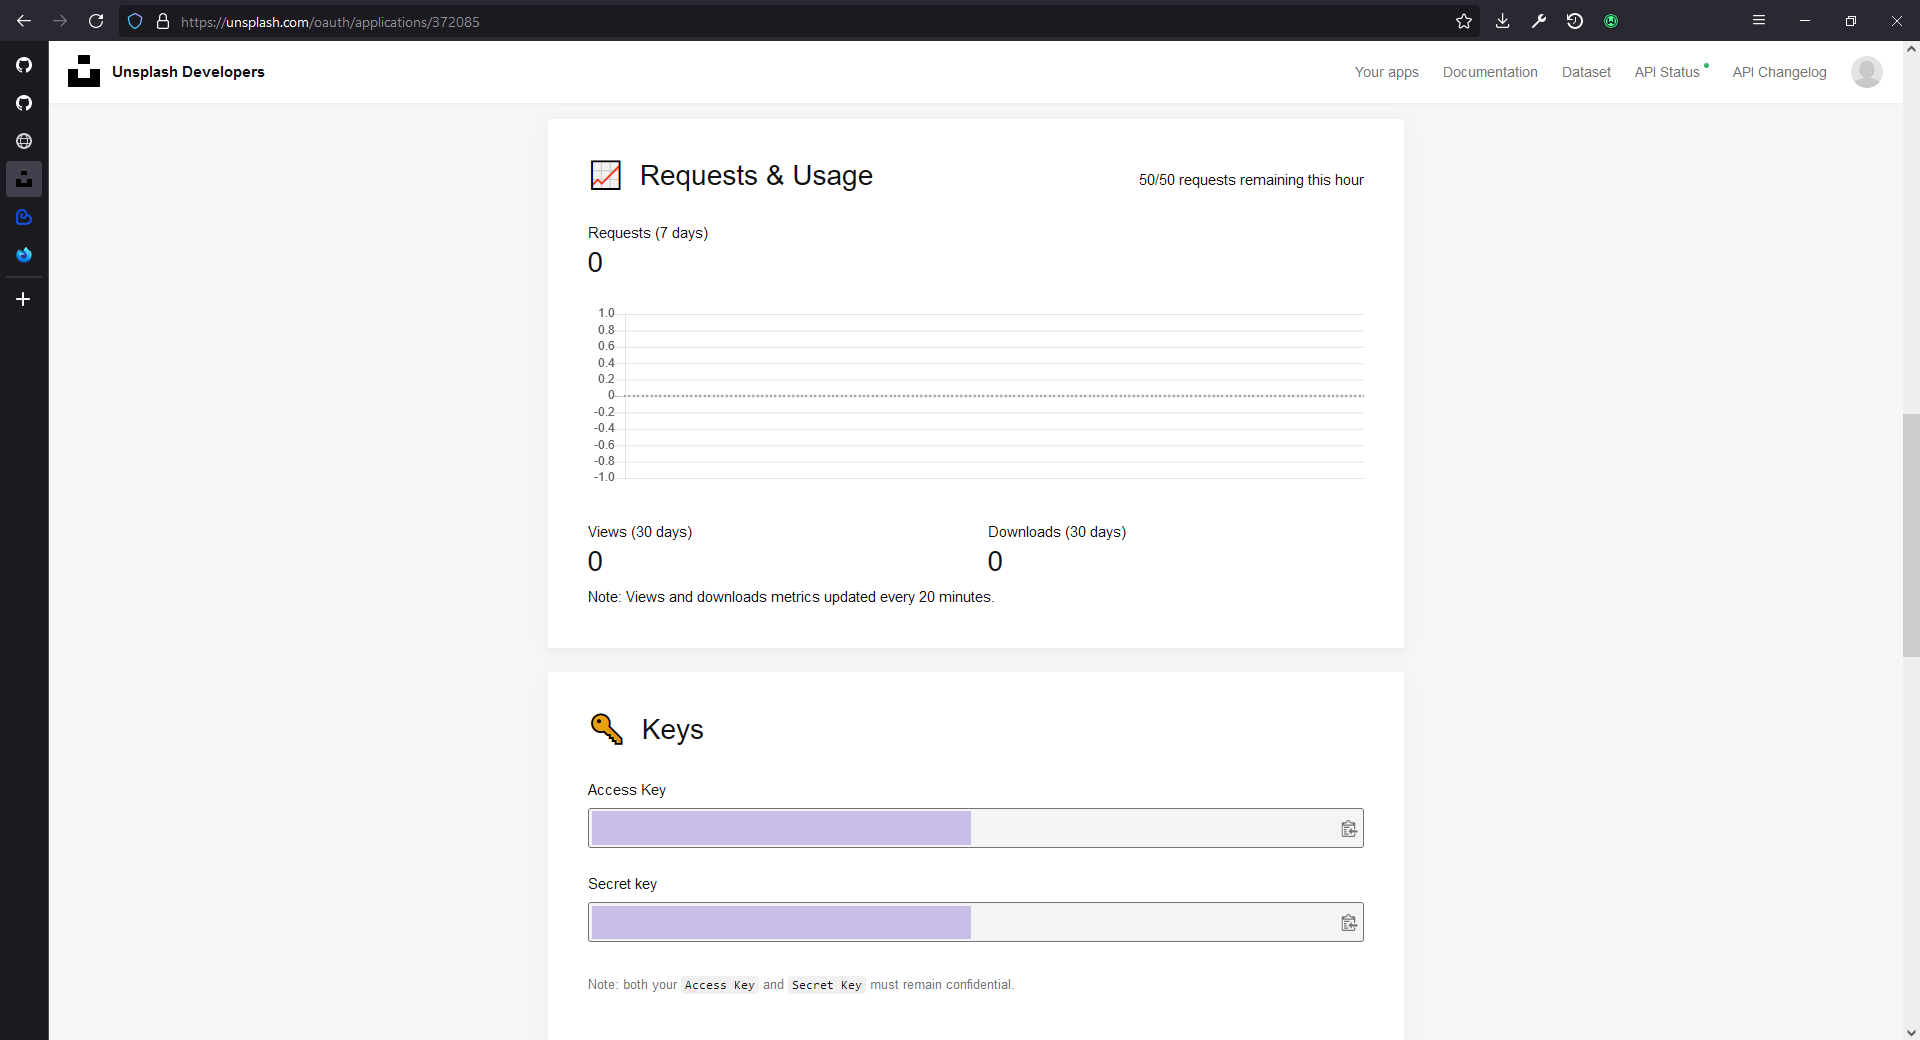
In the next page, you can find your keys after scrolling down a little. We don't particularly need the secret key, since the access key (or the client ID) is all we need to access the API that we want. I just copied my access key and saved it somewhere else, we will need that later. You can find it back by logging into the same page at a later time as well.
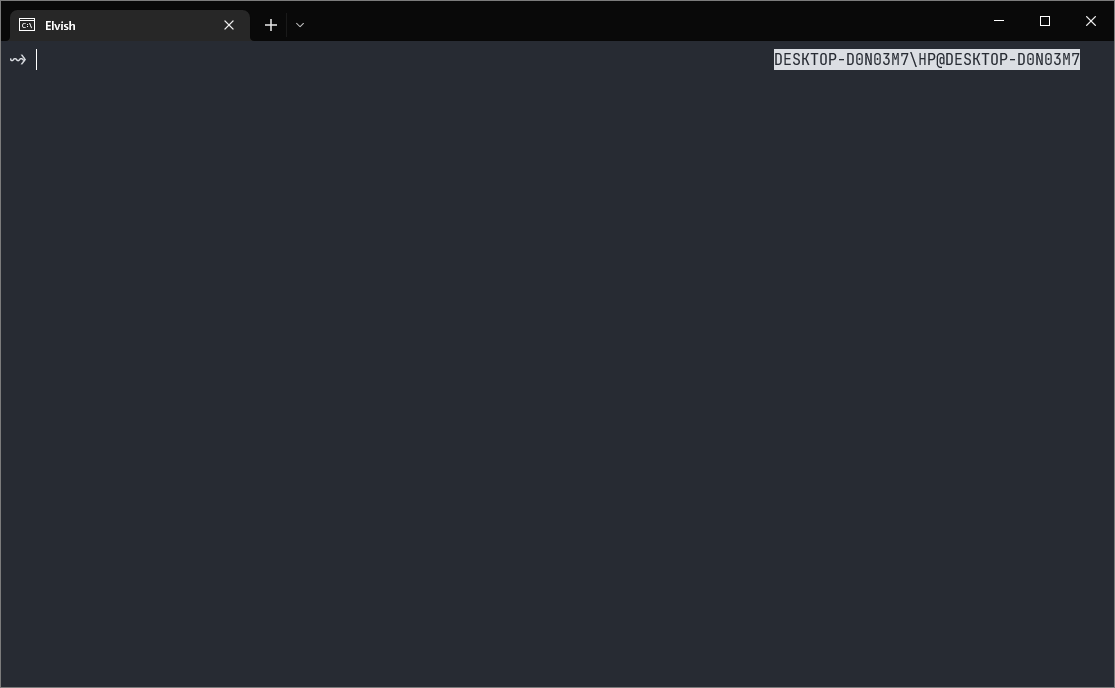
Then, I installed the Elvish shell... wew, it does not look impressive by default. I did some customizations on it on my work laptop (so it looks slightly cleaner and slightly more colourful than default), but not this home laptop. Well, if it is only for running a simple script, maybe this will do. I can do the customization at a later time if I need to, eh?
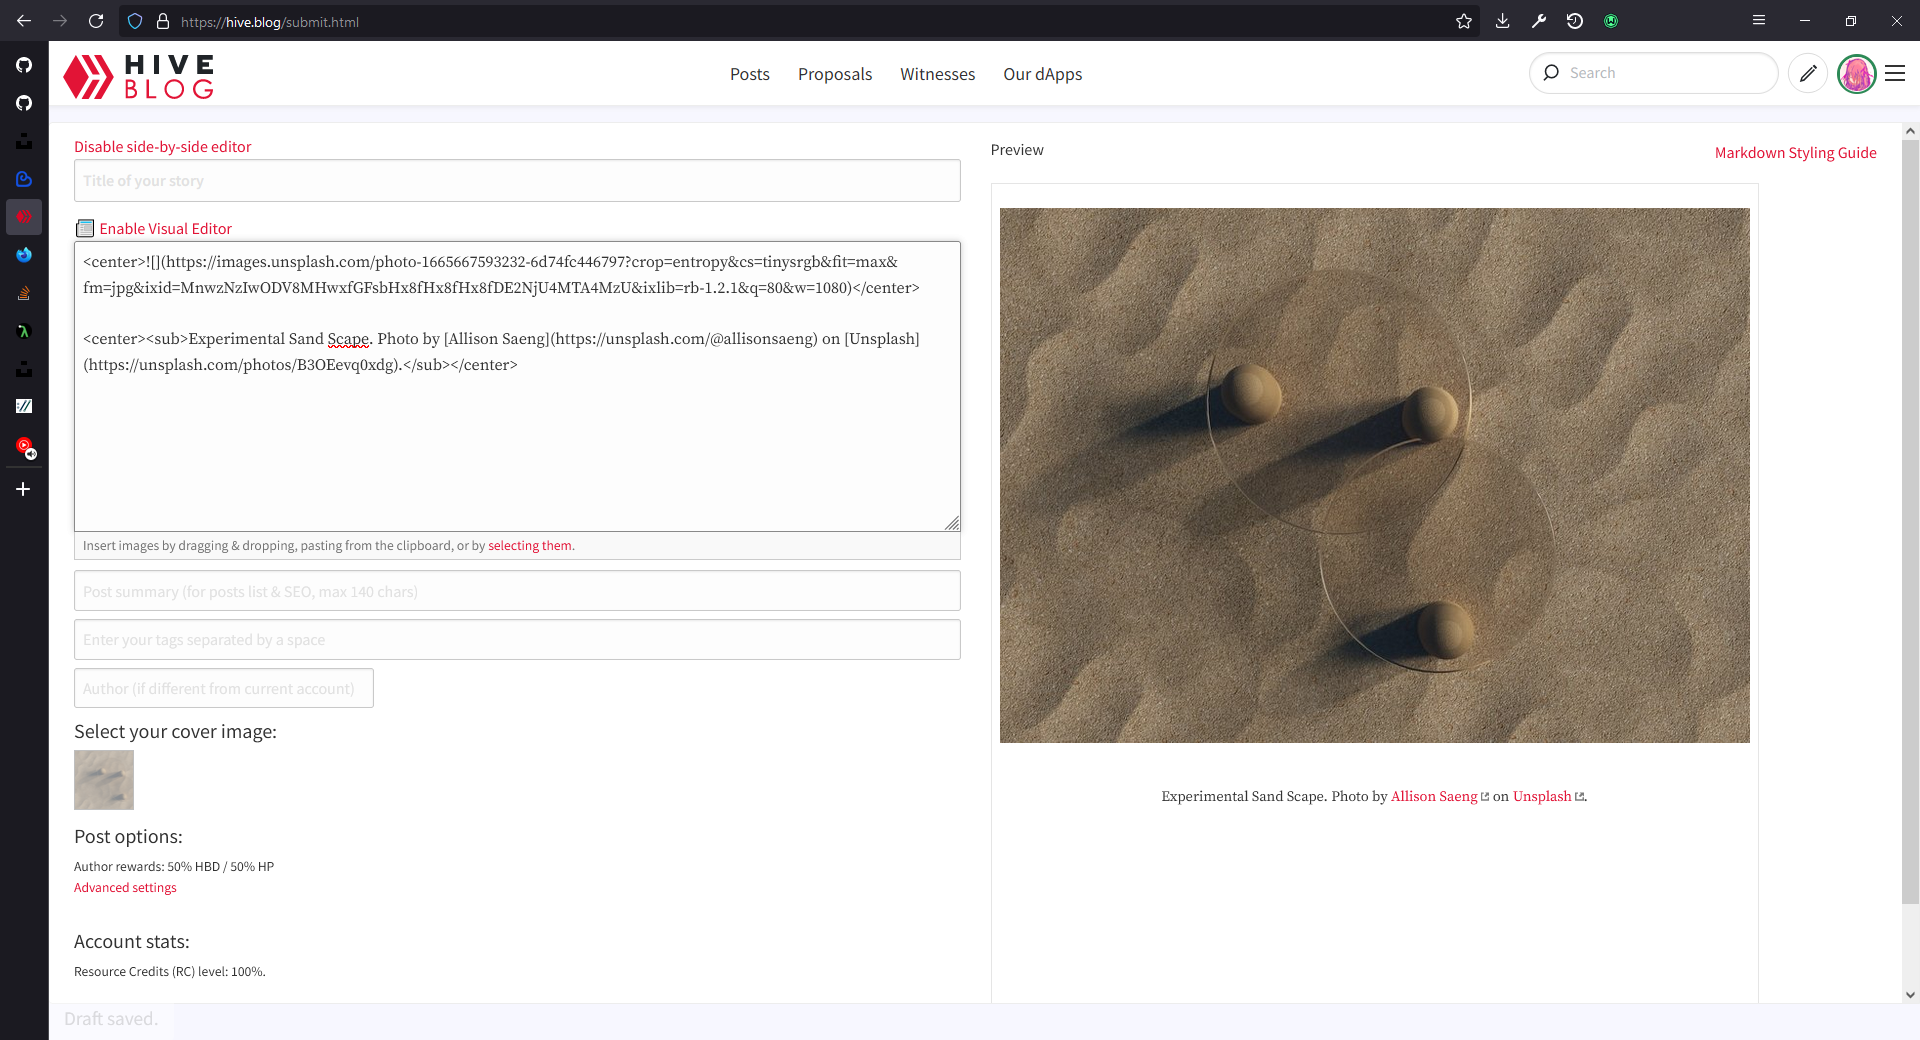
We will need an image to try out our idea and see if it works. Scrolling on the Unsplash home page, I stumbled upon this nice, simple and abstract-ish photo. Guess this is it!
(Yes, the markdown code that I used to make this embed is created by the completed script!)
Experimental Sand Scape. Photo by Allison Saeng on Unsplash.
From the Unsplash API, it is mentioned that to gain access to the APIs, we can either put our access key in the headers of the web request to the API (with an authorization header like Authorization: Client-ID [access key here]), or we can put the access key in the query of the web request (such as https://api.unsplash.com/[endpoint]/?client_id=[access key here]). Both methods work, but, in my opinion, the header approach feels cleaner to use compared to the query approach, so I will stick to that.
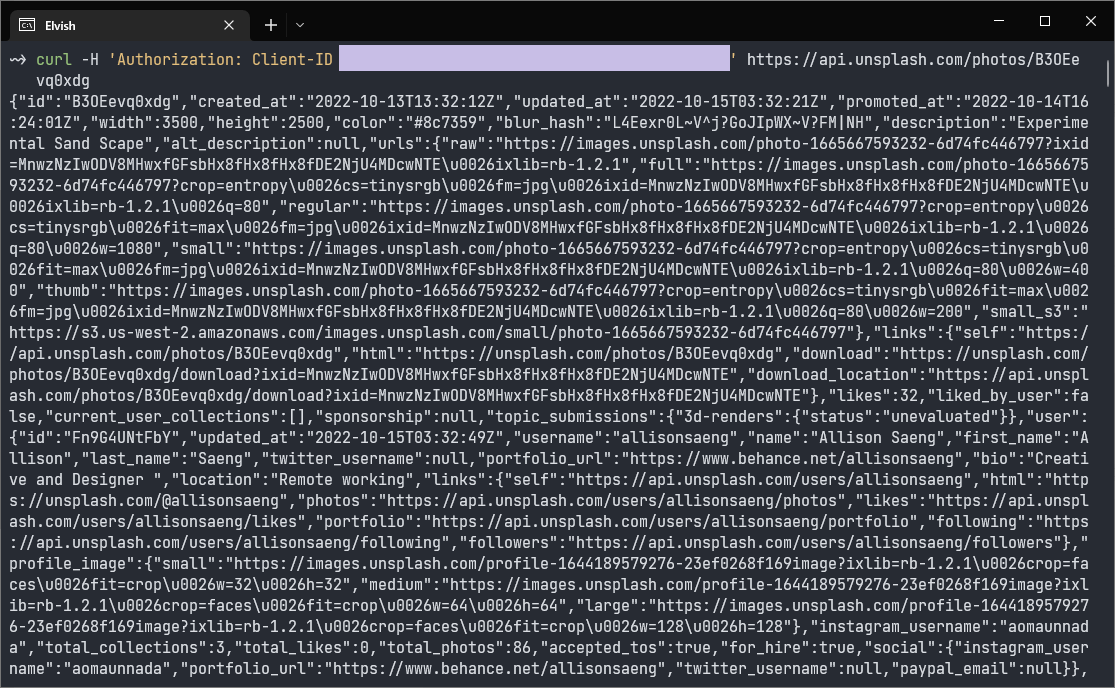
Let's try getting information for that photo we previously chose - with a curl command that goes like this:
curl -H 'Authorization: Client-ID [access key here]' https://api.unsplash.com/photos/B3OEevq0xdg
If you noticed, yes - the string at the end of an Unsplash photo link is the photo ID. You can replace it with any photo you found and it will return you with the corresponding information for that photo. Running that command, we will get a massive wall of JSON text dumped onto our terminal. Honestly, I am also slightly shocked by the amount of output they returned. I didn't expect that much information for a single photo!
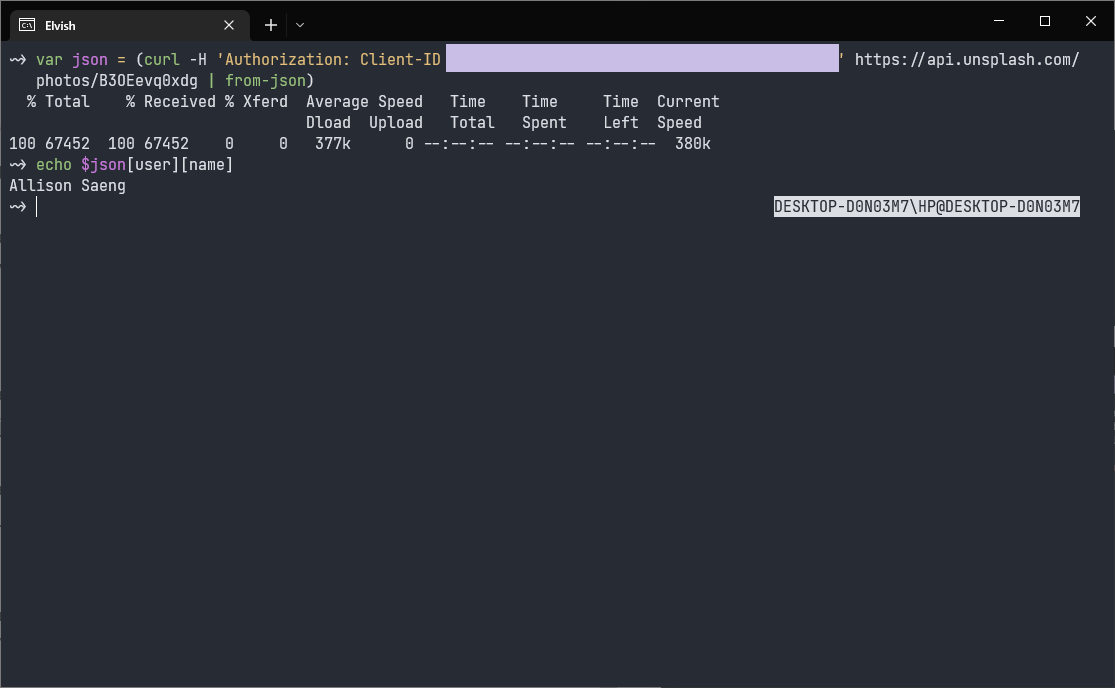
It sure isn't friendly for humans to process this load of text, but luckily, there is a prettily formatted sample output on the documentation that we can use to find out the fields that we are looking for. For example, we can know that the name of the photographer is in the field user -> name. Using the JSON parsing capabilities of Elvish, we can easily turn the output into data structures that can be easily accessed through the language's syntax. So, to get the photographer's name, this is all we need! The rest of the information that we need to extract from the JSON can be obtained similarly as well.
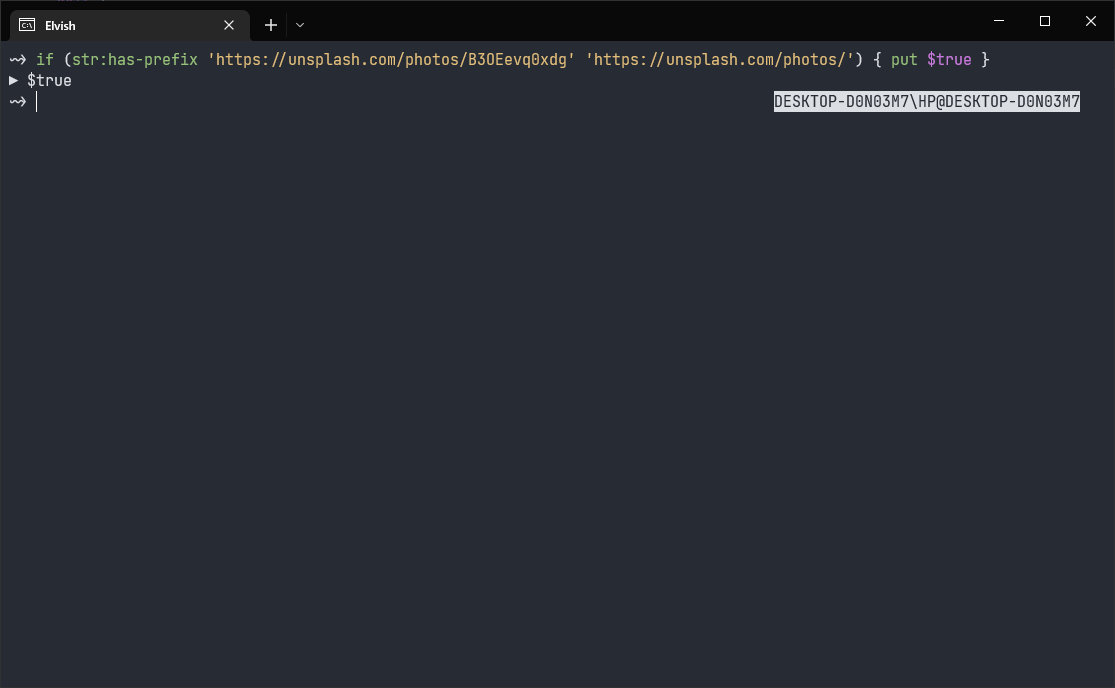
Although this is totally optional, I still feel like adding some validations to the arguments this script will need to process. At the very least, it should be an Unsplash photo link instead of some random stuff that you can use as an argument. There's not a lot of validations that I can do, but checking if the argument starts with https://unsplash.com/photos/ is still something that makes sense to do. Elvish provides a function of str:has-prefix to perform this as well.
Now that we have (almost) everything that this script will need at this stage, we can start writing it!
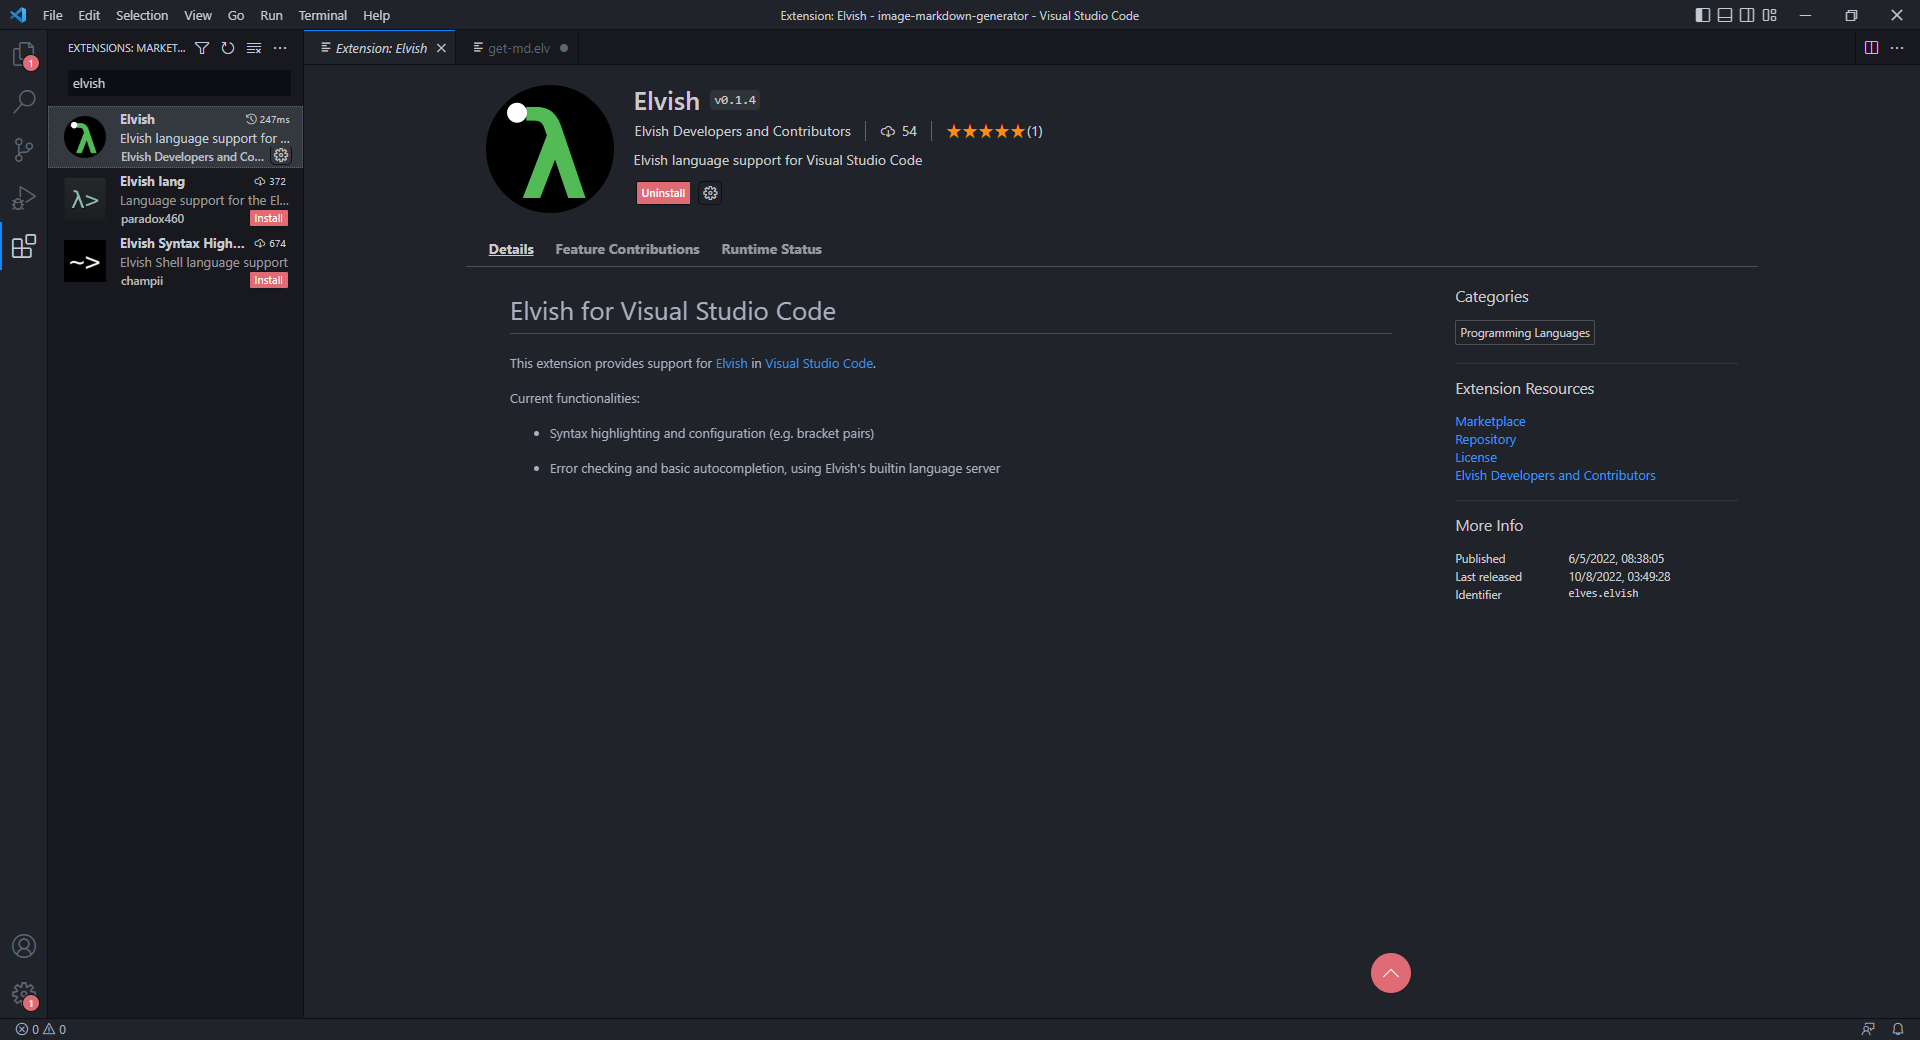
In terms of editors, nothing will go wrong with VS Code. Even if the language is not that popular, it still has its own extension in it, and to be fair it works decently well. Imported functions doesn't seem to get autocompleted properly, but otherwise it does its job. We are just going to use VS Code with this extension to write the whole script out then!
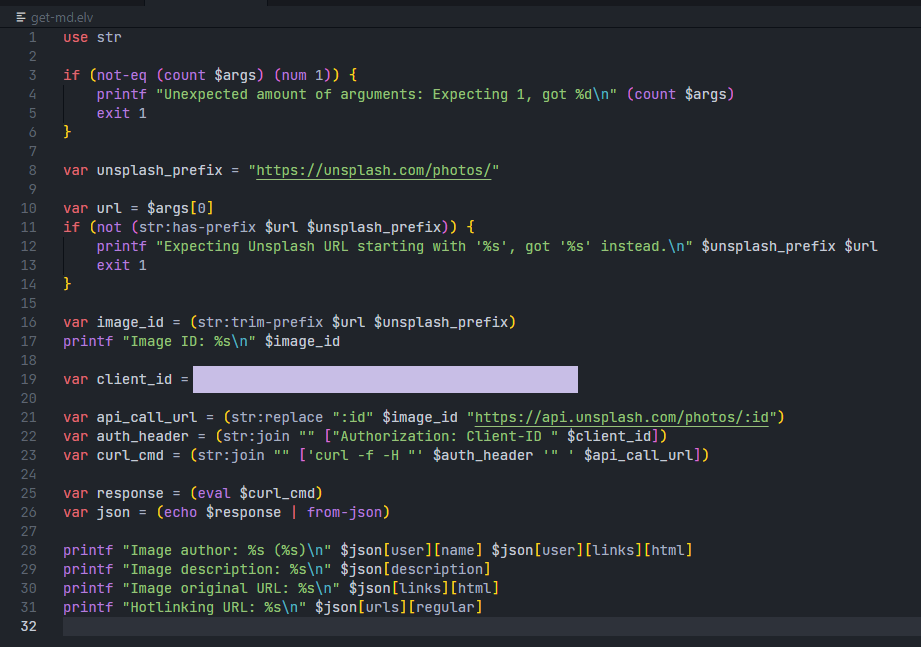
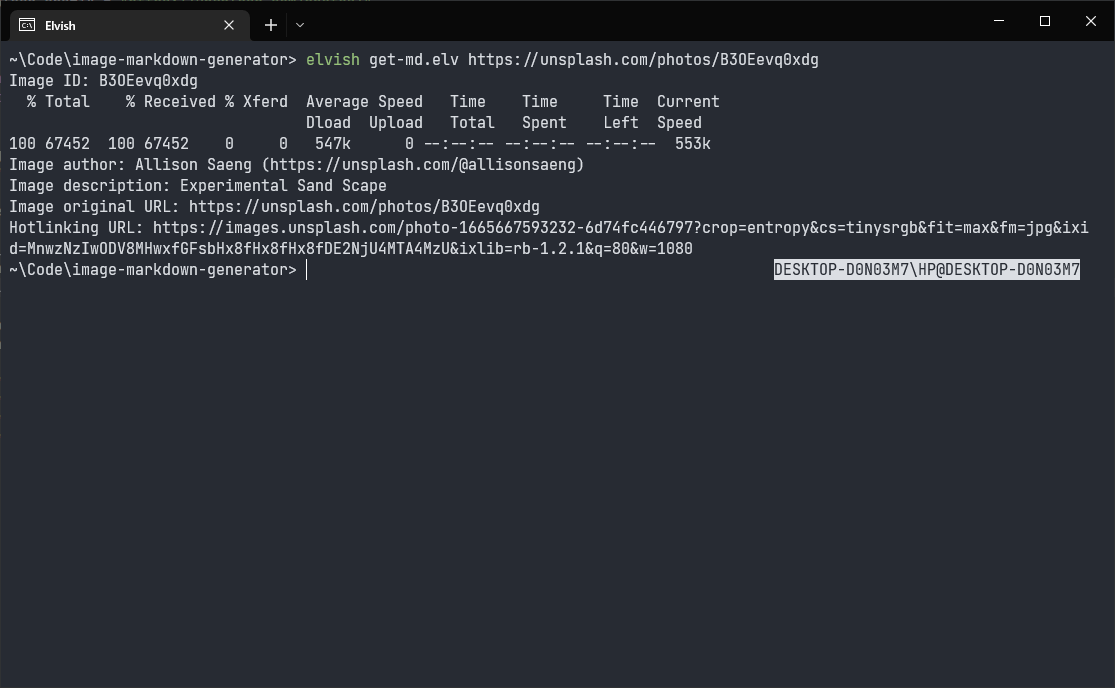
Now that we are dealing with a script, we have more liberty to write things like we are using a real programming language, such as using variables through the var statement. Although it is still possible to use them outside of a script, it does feel more natural using them in a script. We need some string manipulation, so we will be using the built-in import str to provide us with the functions to do them. In planning, the script should take a single argument (an Unsplash photo link) and return markdown code that embeds the image with proper descriptions and attributions. So, at the start of the script, we count the number of arguments we just got to make sure that we are only getting one of them, then we make sure that it is an Unsplash photo link that we're getting. After that, we extract the image ID out from the URL, make the API call, parse the output, and print out the information that we are interested in, just to check if we are doing things correctly before proceeding further. Up until this point, the script looks like this...
Try running it, it looks like we are getting what we want!
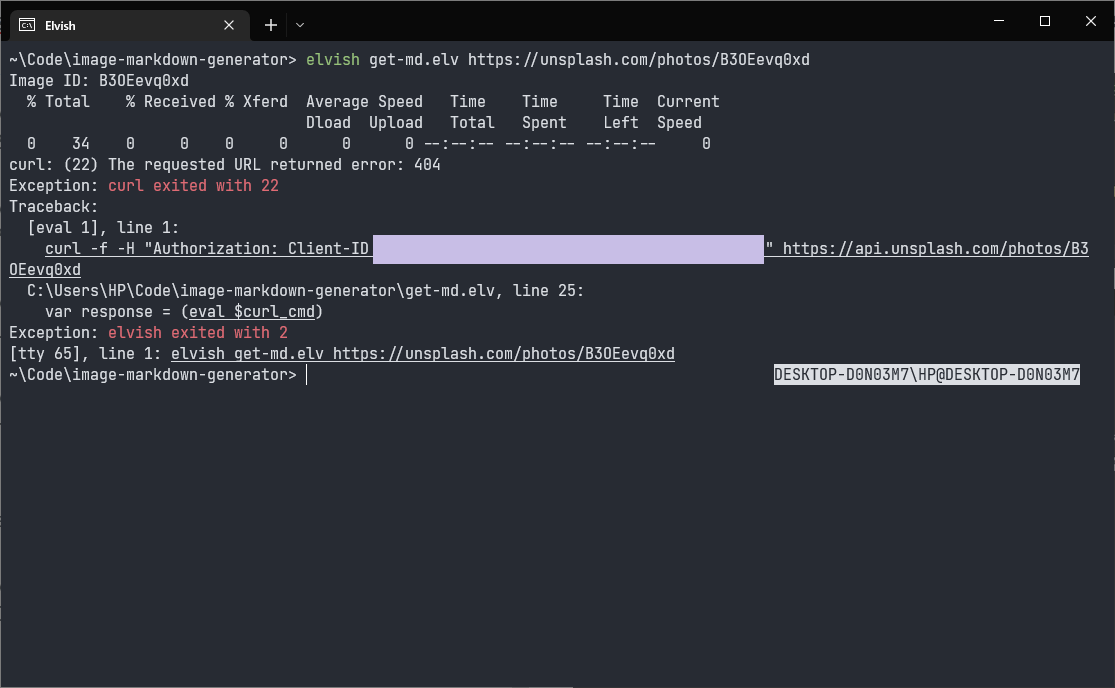
In the script, you might have noticed that the curl command is slightly changed to include the -f flag. It was added so that I can possibly add proper error handling in the script in the future, where if the request fails, it can output a proper error message instead of dumping a bunch of default stuff that leaves the user thinking. I personally don't mind them, but it's a possible future improvement. Maybe next time? For example, this is how the script looks like when the web request fails. Hopefully I can really find a way to improve it in the future.
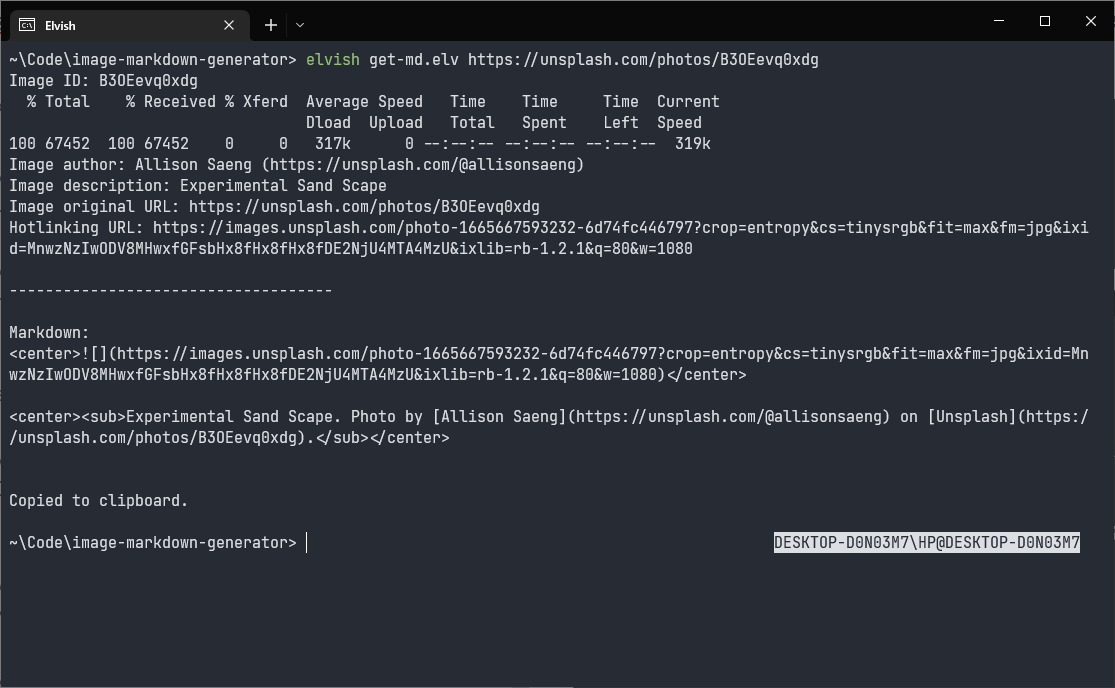
Now, the last step is easy - we are just going to fill in the details that we obtained from the JSON result into a markdown code template. The fields that we are interested in are first put into variables so that we can access them more easily, and we just need a simple printf to finish the job. Because the output has multiple lines, we need to pass the result into slurp so that the output is read as a single result instead of multiple separate results. After that, it's just about printing it out with echo.
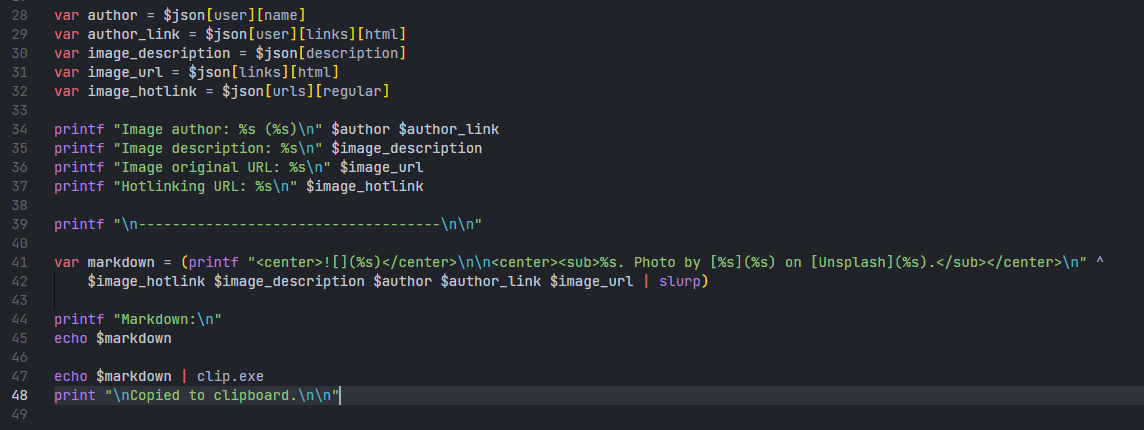
At the end, I added a line to pipe the output to clip.exe so that it gets copied straight to the clipboard. It only works on Windows (obviously), but for now I don't think I will need to add support for other operating systems. It would be tricky to support Linux as well, because I think there are more than a dozen options to copy a piece of text onto the clipboard on Linux. There is xclip, xsel, and maybe there are many more out there that I am not aware of. I might try to add an option for users to customize their copying command in the future, but for now this should be good enough.
Trying to paste the output onto a Hive UI, yep!
That's the end of it! You can find the current code on my GitHub. The repo looks really barebones for now, hopefully I will get to improve it in the future. Feel free to use or edit it for your own customizations and uses, have fun and see you next time.
Cool RGB keyboard :) Photo by Marius Niveri on Unsplash.
(*・ω・)ノ