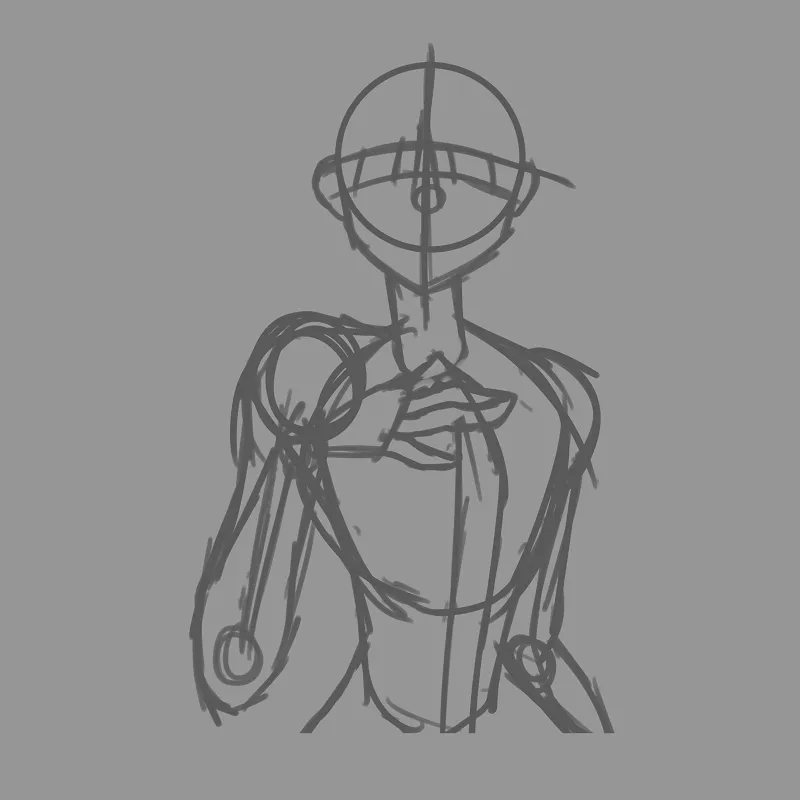
Step 1: I started with the guide where I would draw the sketch of the character using some geometric shapes and joining them with lines to get what you can see, in this part I was very indecisive about the pose but in the end I opted for this one.
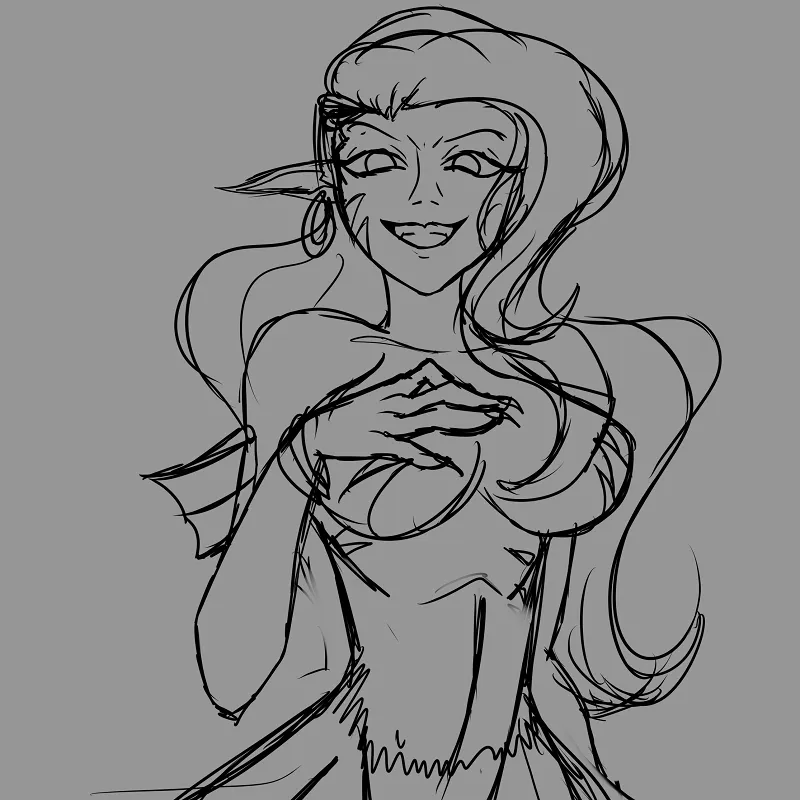
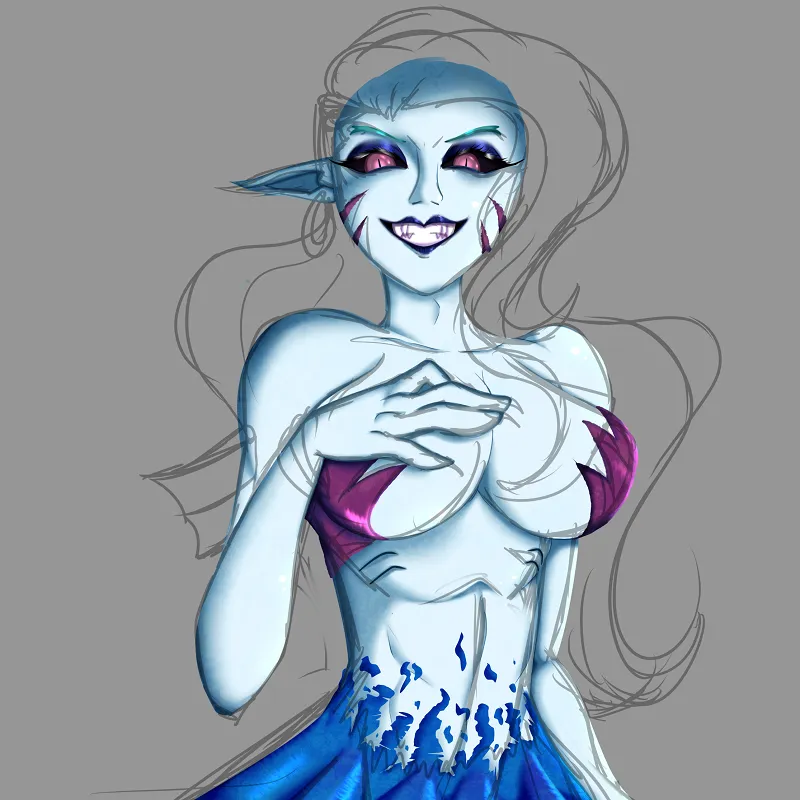
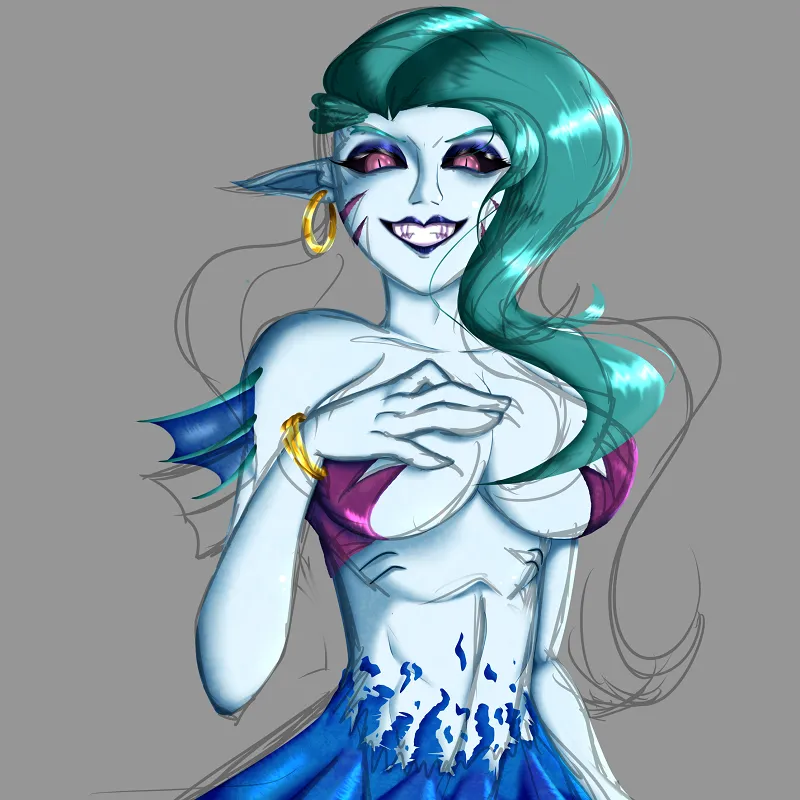
Step 2: then with the guide finished I started to make the sketch of the character taking into account its appearance taken from its reference image, according to the guide I made that pose because I wanted to make it look imposing.

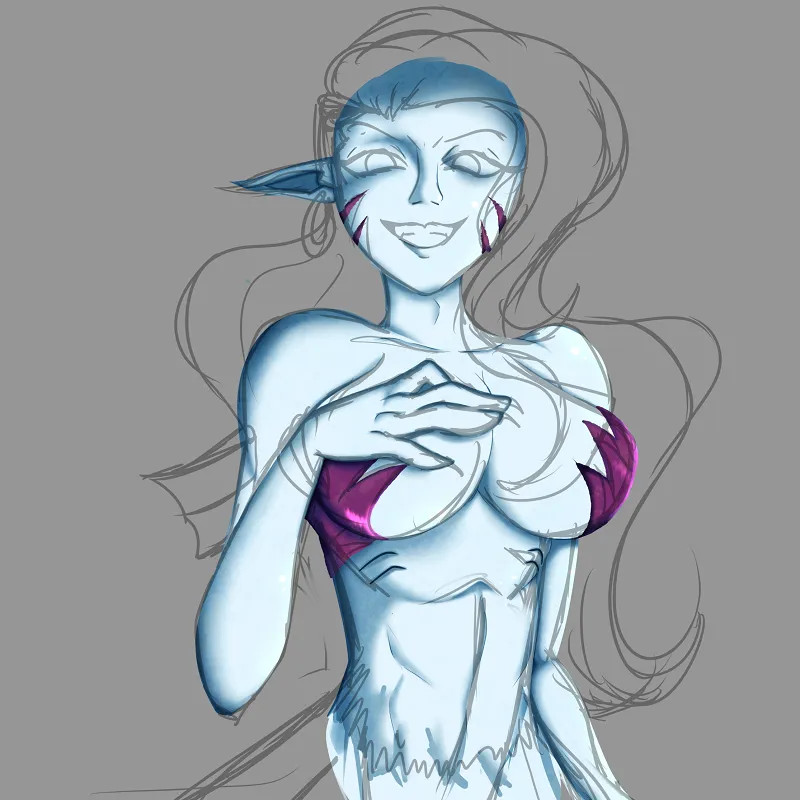

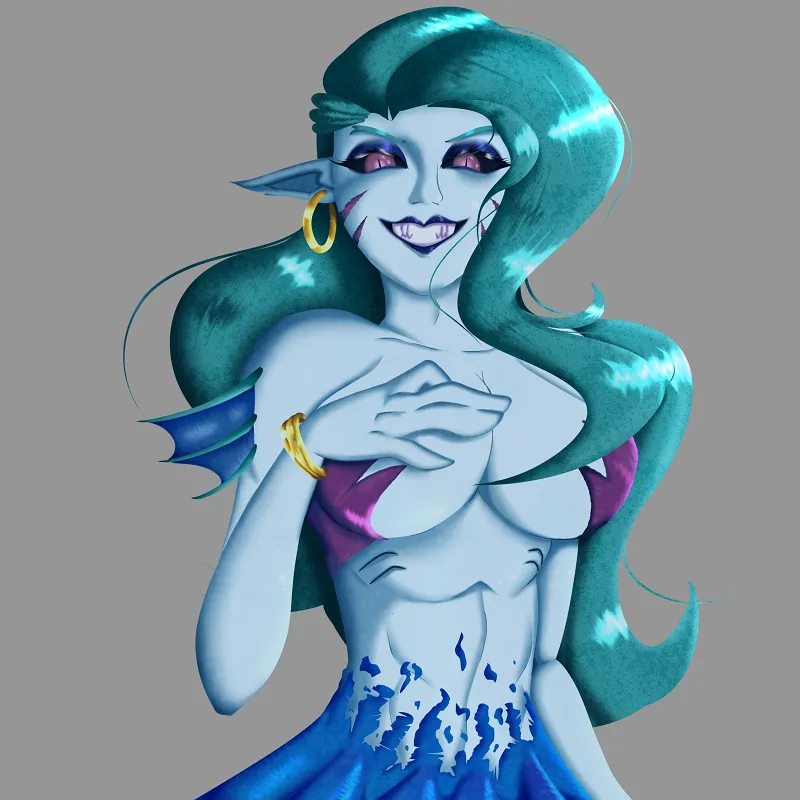
Step 3: here I started with the color, the process began by putting the base color of each body part, then adding their shadows, the render and a texture on everything, I clarify that it is a different texture for each body part because if I used only one for everything would be very noticeable and did not give the realism I wanted and finally I added a blue tone to the whole character and a more pronounced brightness.

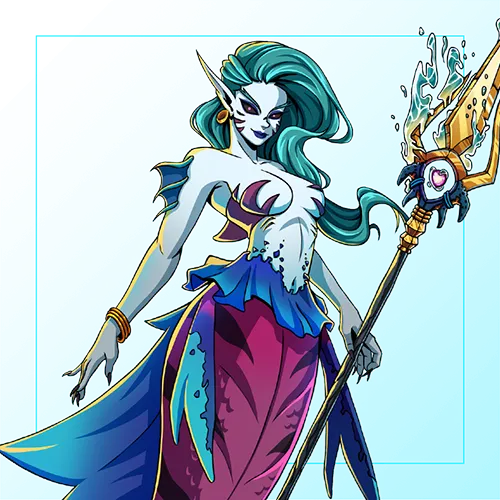
Step 4: here I made a simple background of the ocean with simple seaweed but in the end I put an image created with artificial intelligence in the background which I merged with my background to give it the blue touch that I really wanted and so I got more realism, plus I also added some lights.
I hope I can continue making drawings like this one, thanks for reading my publication.
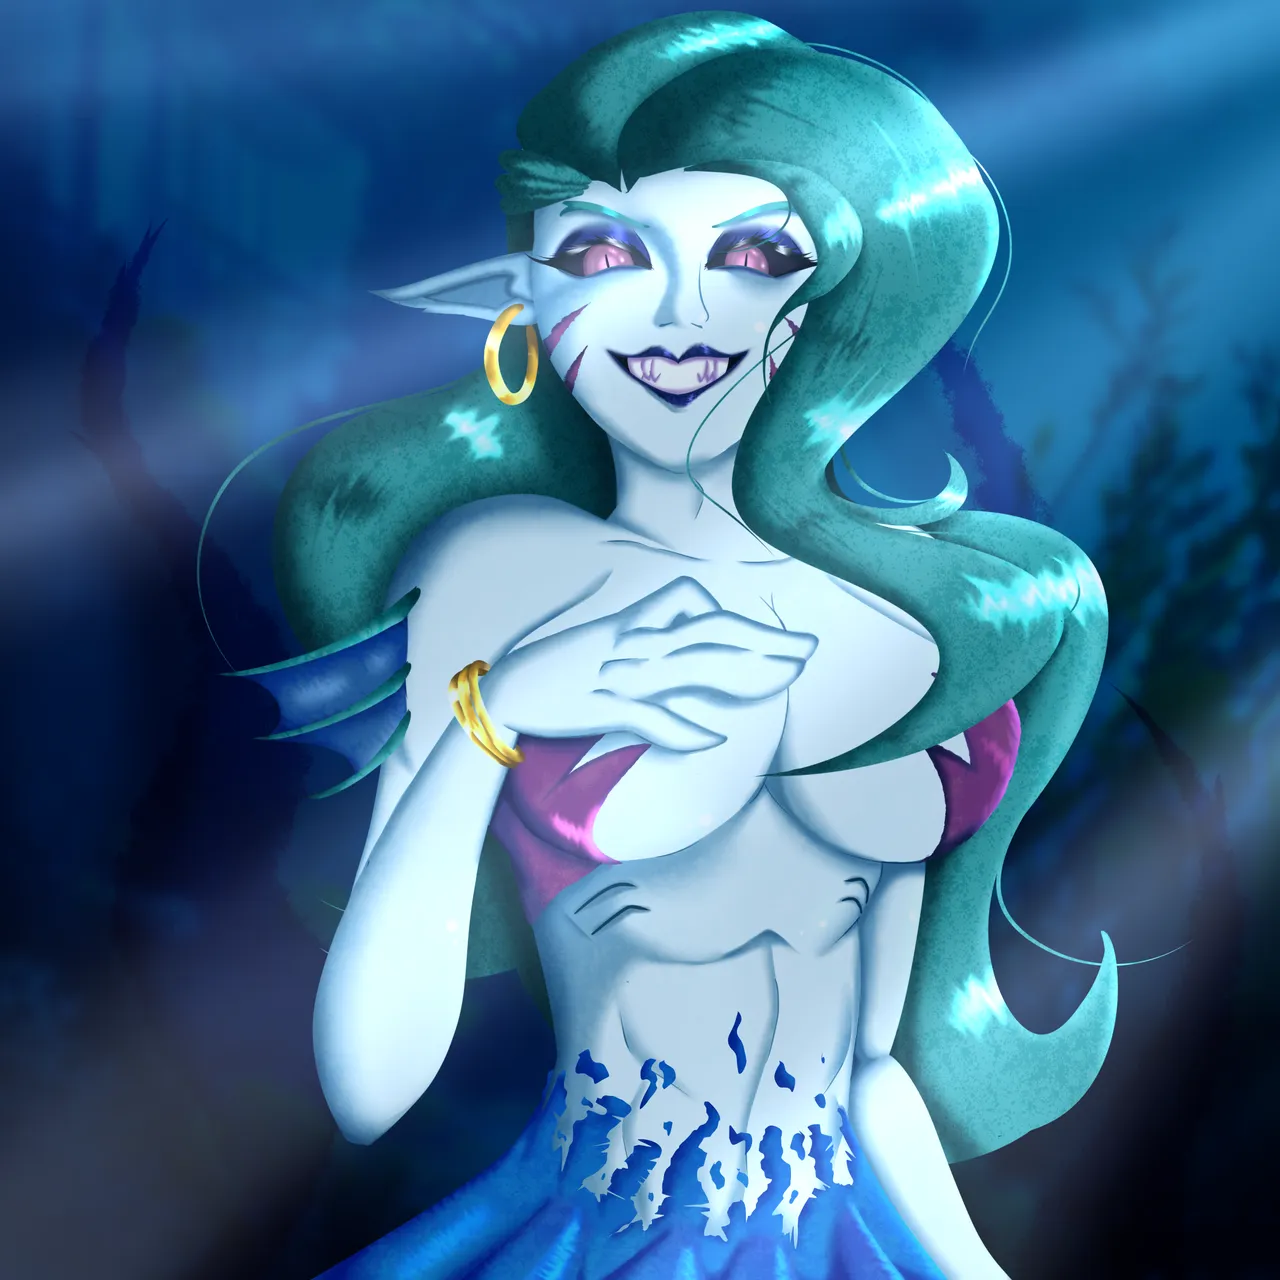
My desing

Thank you for your support and I hope to keep surprising you with new creations in the future!
Twitter: Uri_Assets
Instagram: Uri_Art64.