
Hola amigos de Hive, y un saludo muy especial a la comunidad de Alien Art Hive. Es mi primera vez compartiendoles una ilustración por acá, y les traigo un nuevo dibujo para el concurso semanal de Splinterlands.
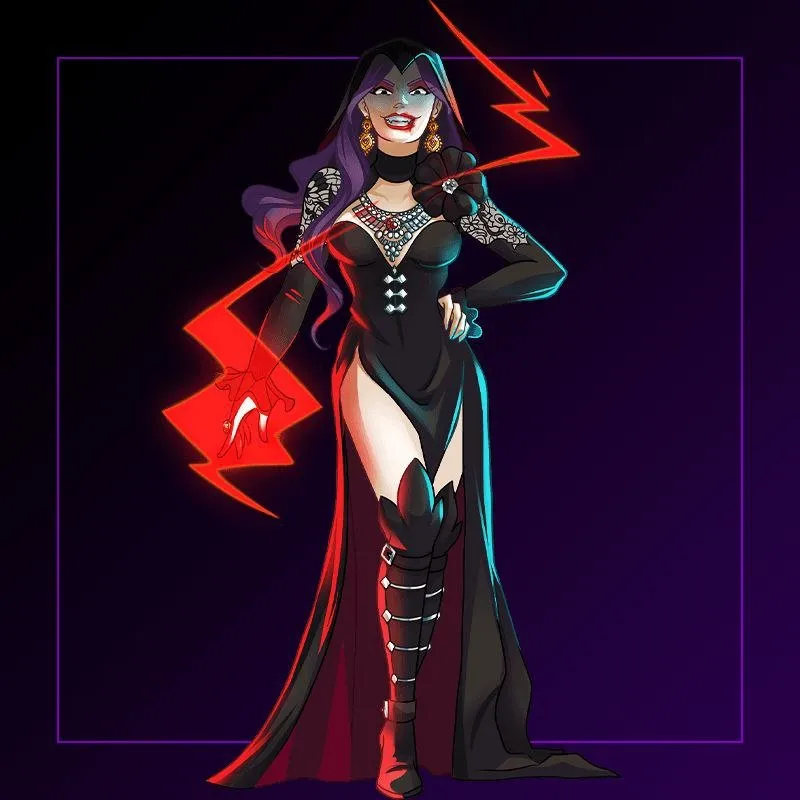
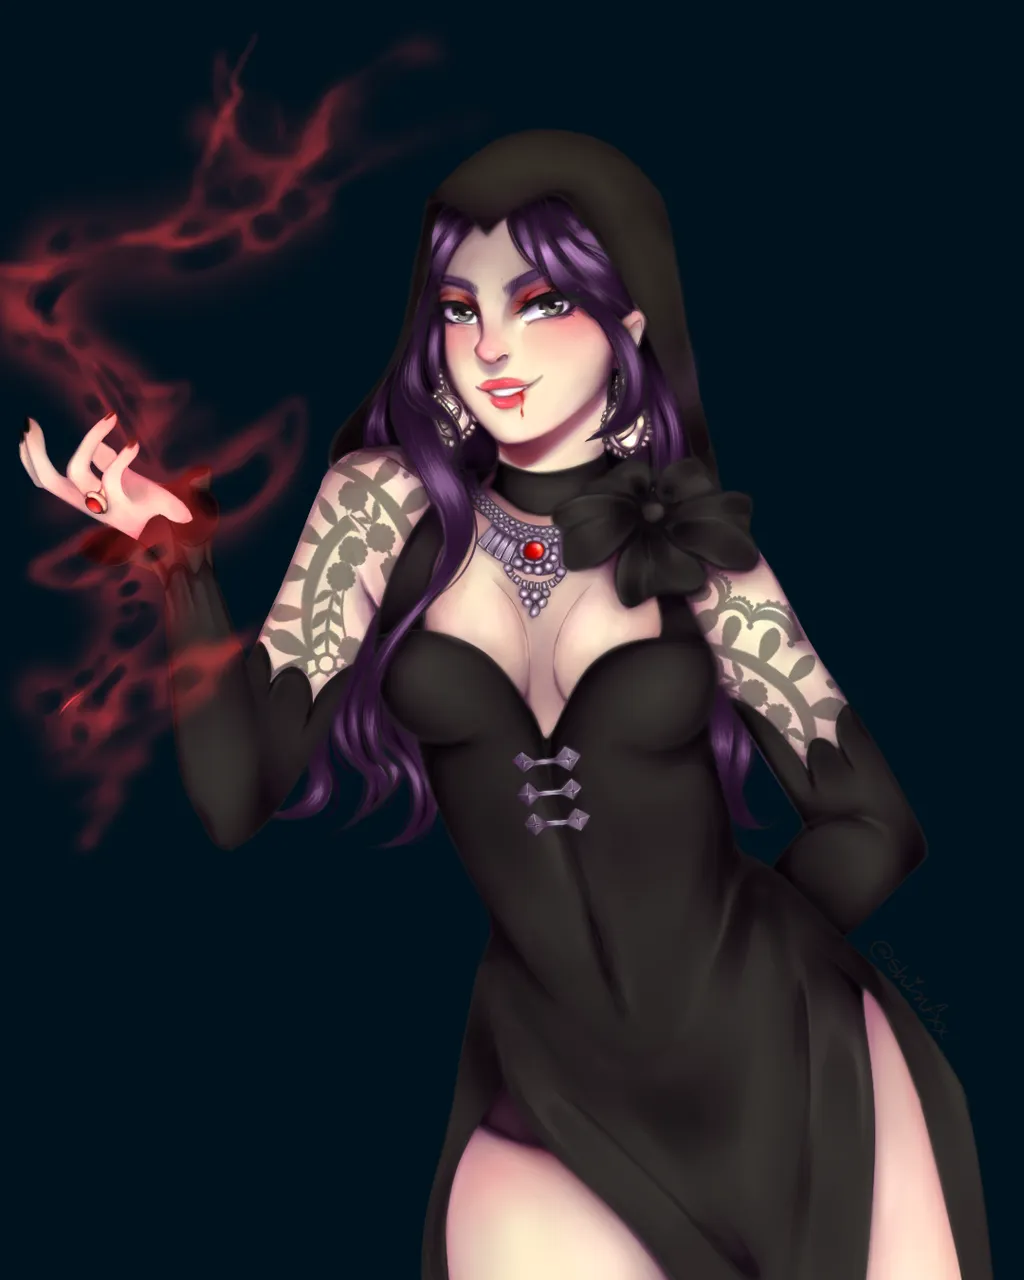
Para el día de hoy decidí dibujar a Lira The Dark. Desde que la vi me gustó mucho el diseño y el concepto del personaje, y pensé que sería interesante colorear los efectos de los rayos, y la iluminación.
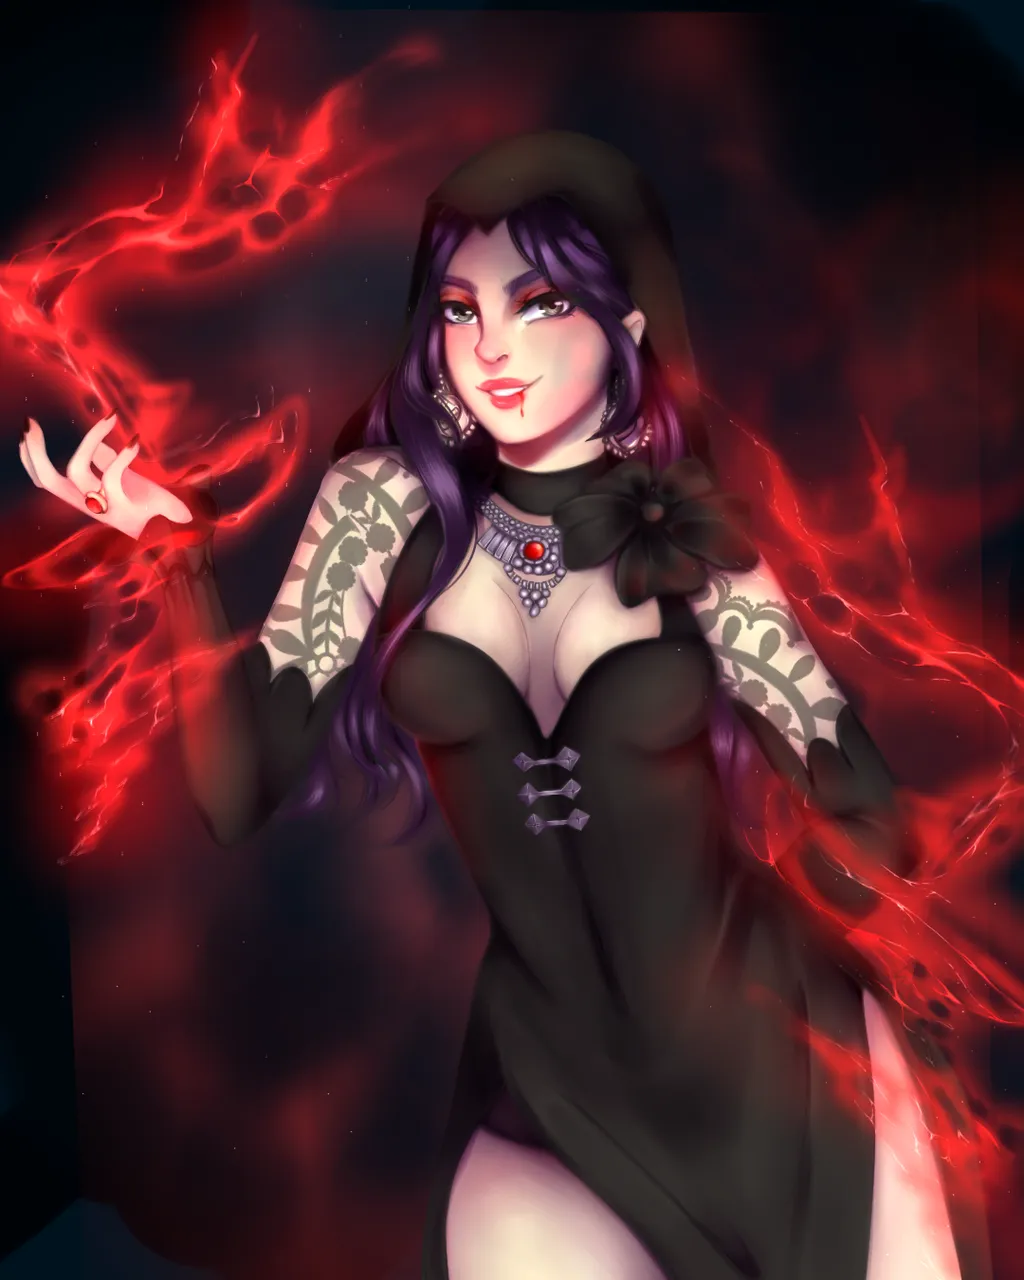
Estuve bastante tiempo trabajando en esta ilustración, pero la trabajé con calma. Algunas cosas no las había probado dibujar con anterioridad como los rayos. No obtuve un resultado óptimo pero se tornó finalmente bastante interesante. Espero sea de su agrado.
A continuación, adjuntaré el procedimiento de la ilustración.

Hello friends of Hive, and a very special greeting to the Alien Art Hive community. This is my first time sharing an illustration here, and I bring you a new drawing for the weekly Splinterlands contest.
For today I decided to draw Lira The Dark. Since I saw her I really liked the design and the concept of the character, and I thought it would be interesting to color the lightning effects, and the lighting.
I spent a long time working on this illustration, but I worked on it calmly. Some things I hadn't tried drawing before, like the lightning. I didn't get an optimal result but it finally became quite interesting. I hope you like it.
I'll show the illustration process below.

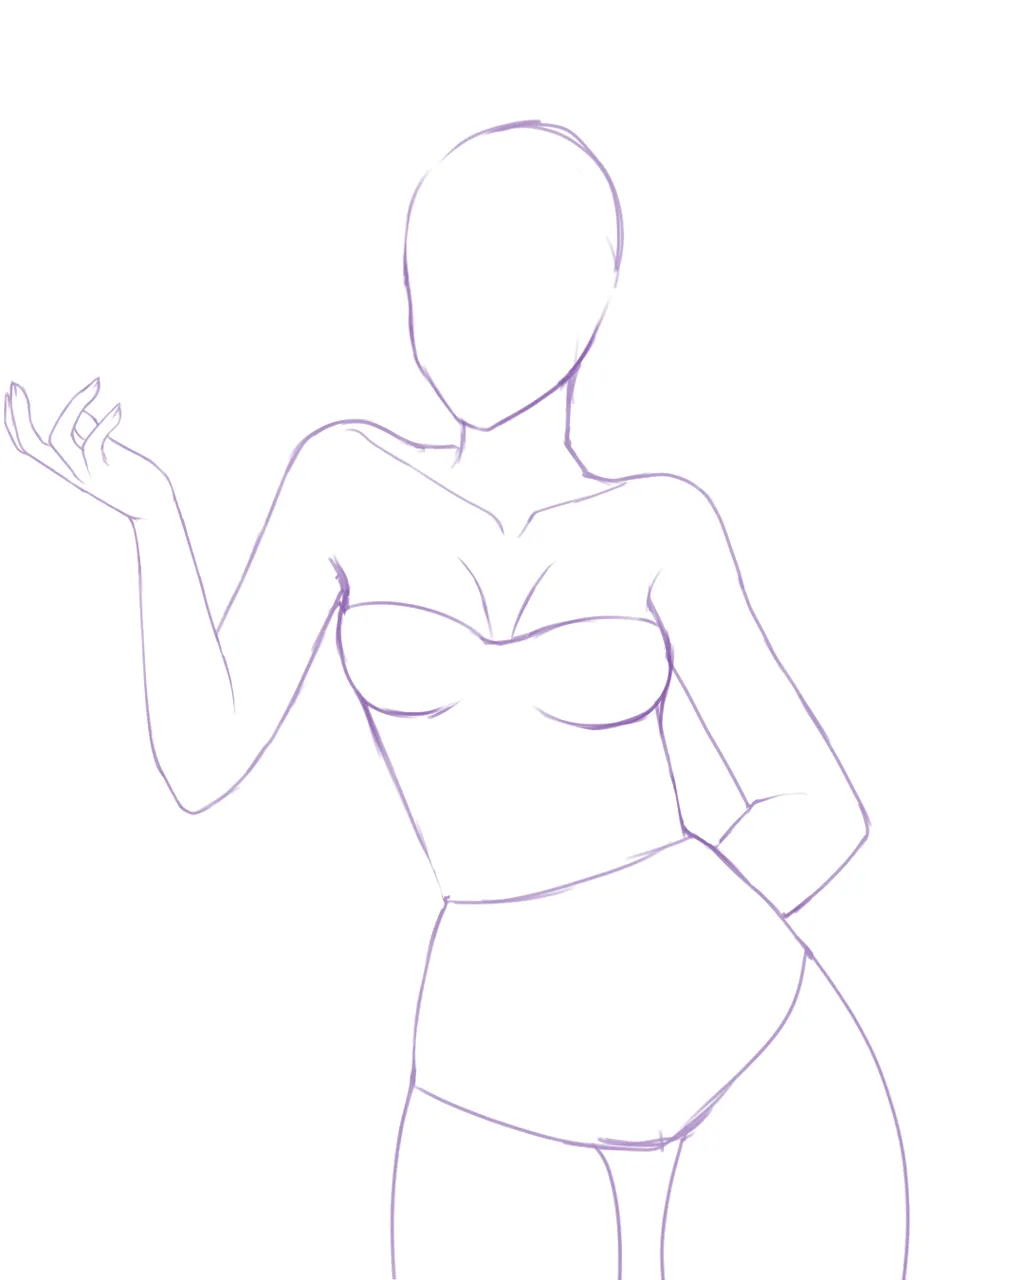
Proceso 🌱 Process
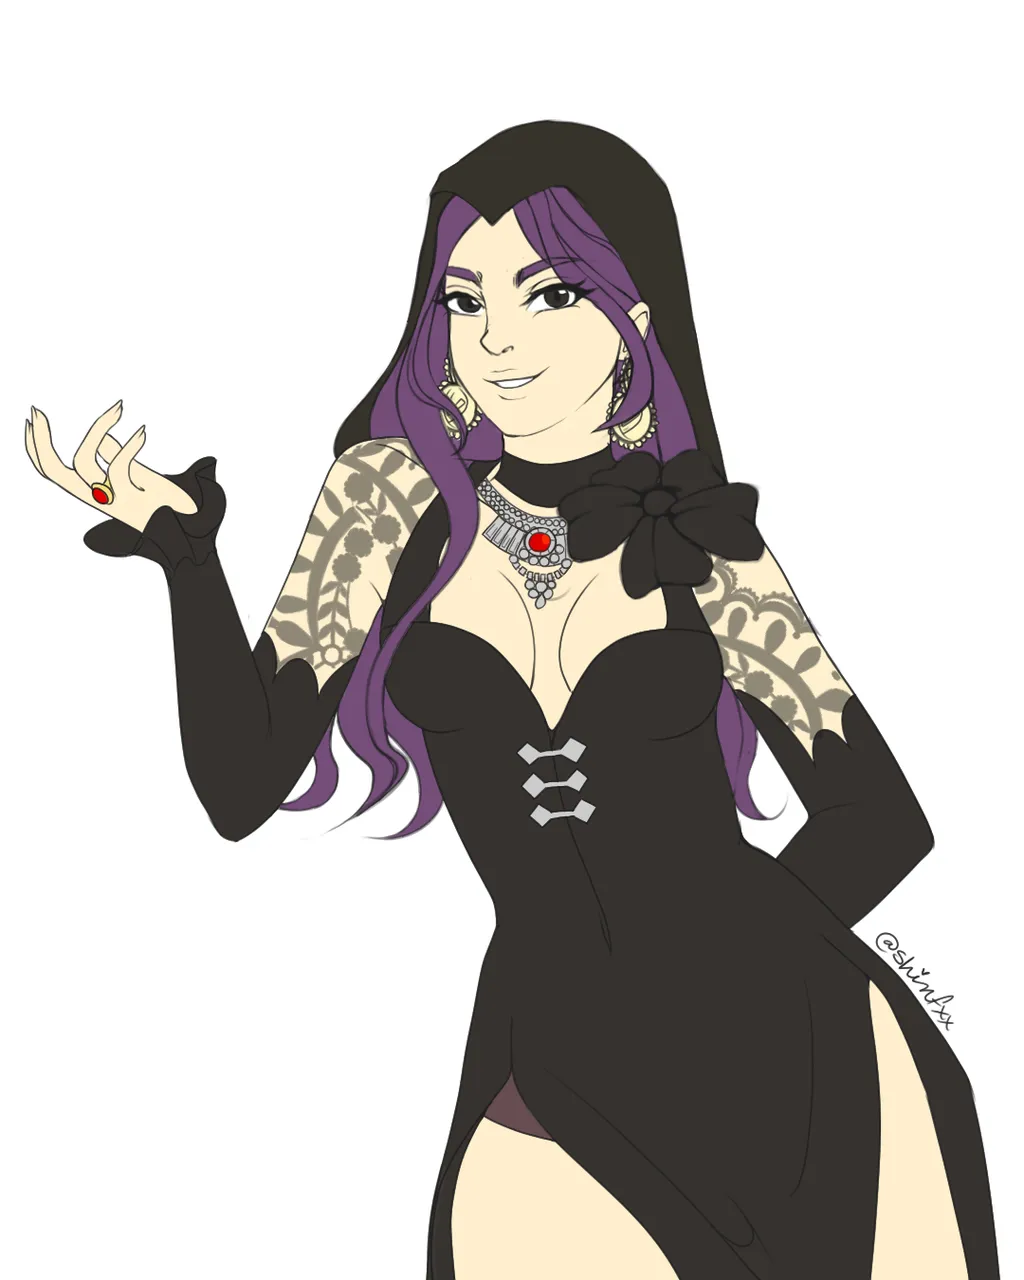
Sketch
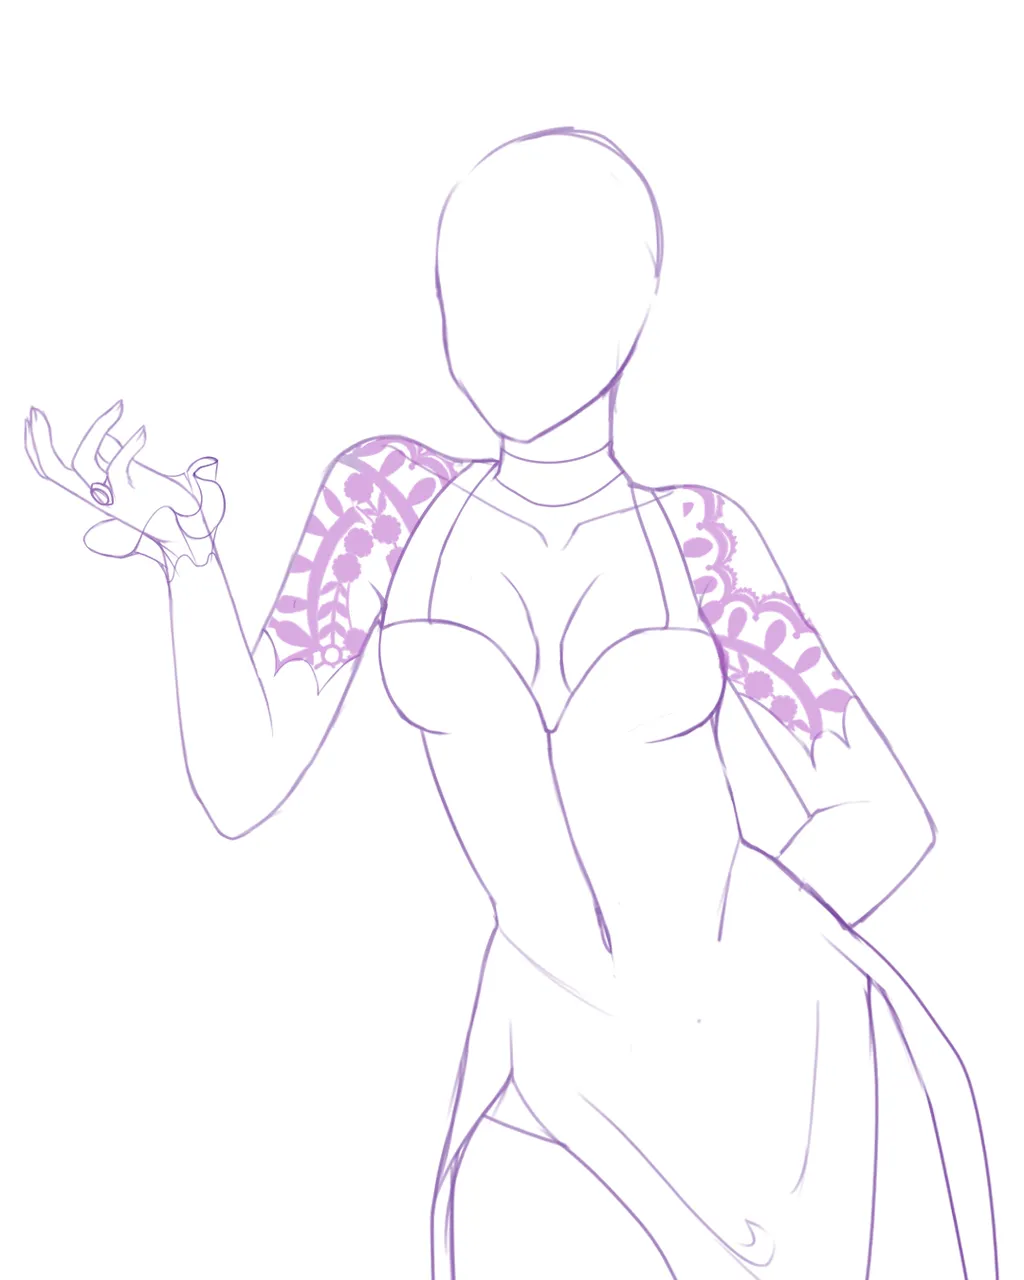
Para el detalle del encaje en las mangas utilicé un pincel especial en clip studio paint. No luce igual al del personaje original pero tiene un patrón bastante bonito y lo mantuve de esa manera.
For the lace detail on the sleeves I used a special brush in clip studio paint. It doesn't look the same as the original character but it has a pretty nice pattern and I kept it that way.
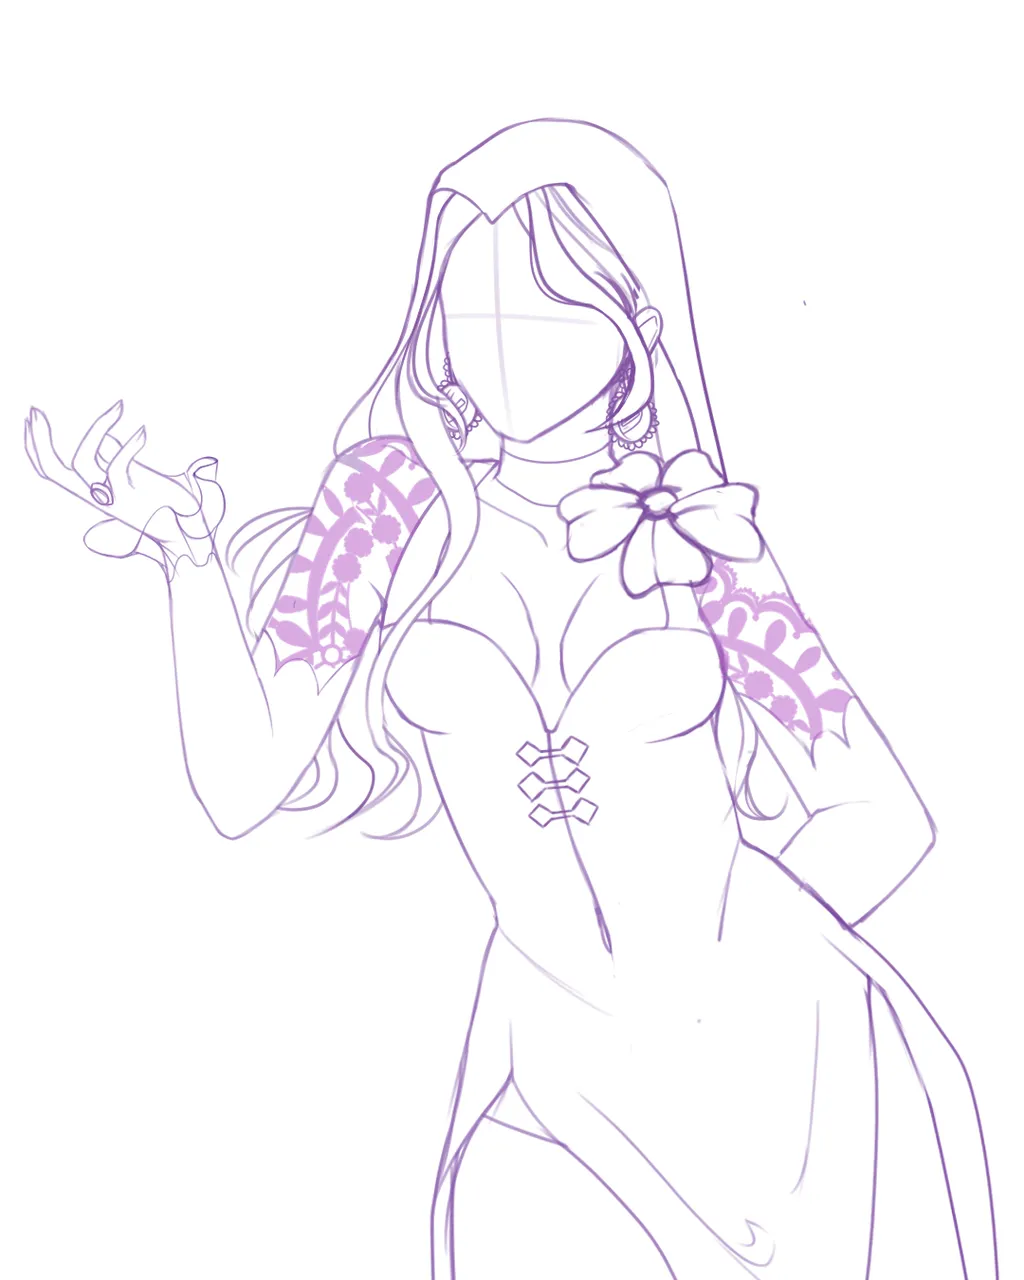
Finalmente para terminar le agregué todos los detalles caracteristicos del vestuario y del personaje.
Finally, I added all the characteristic details of the costume and the character.
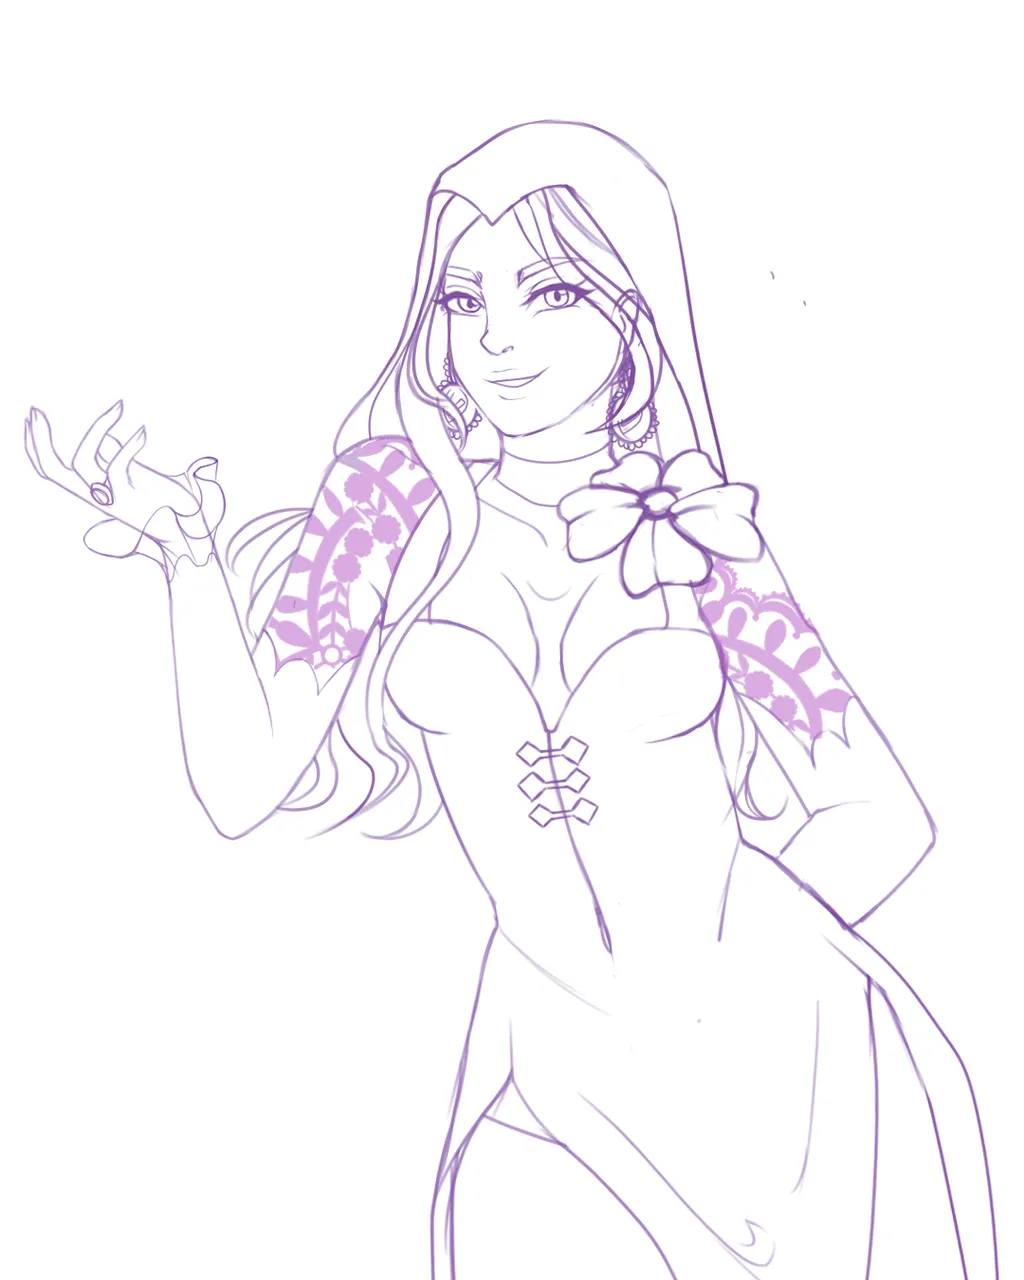
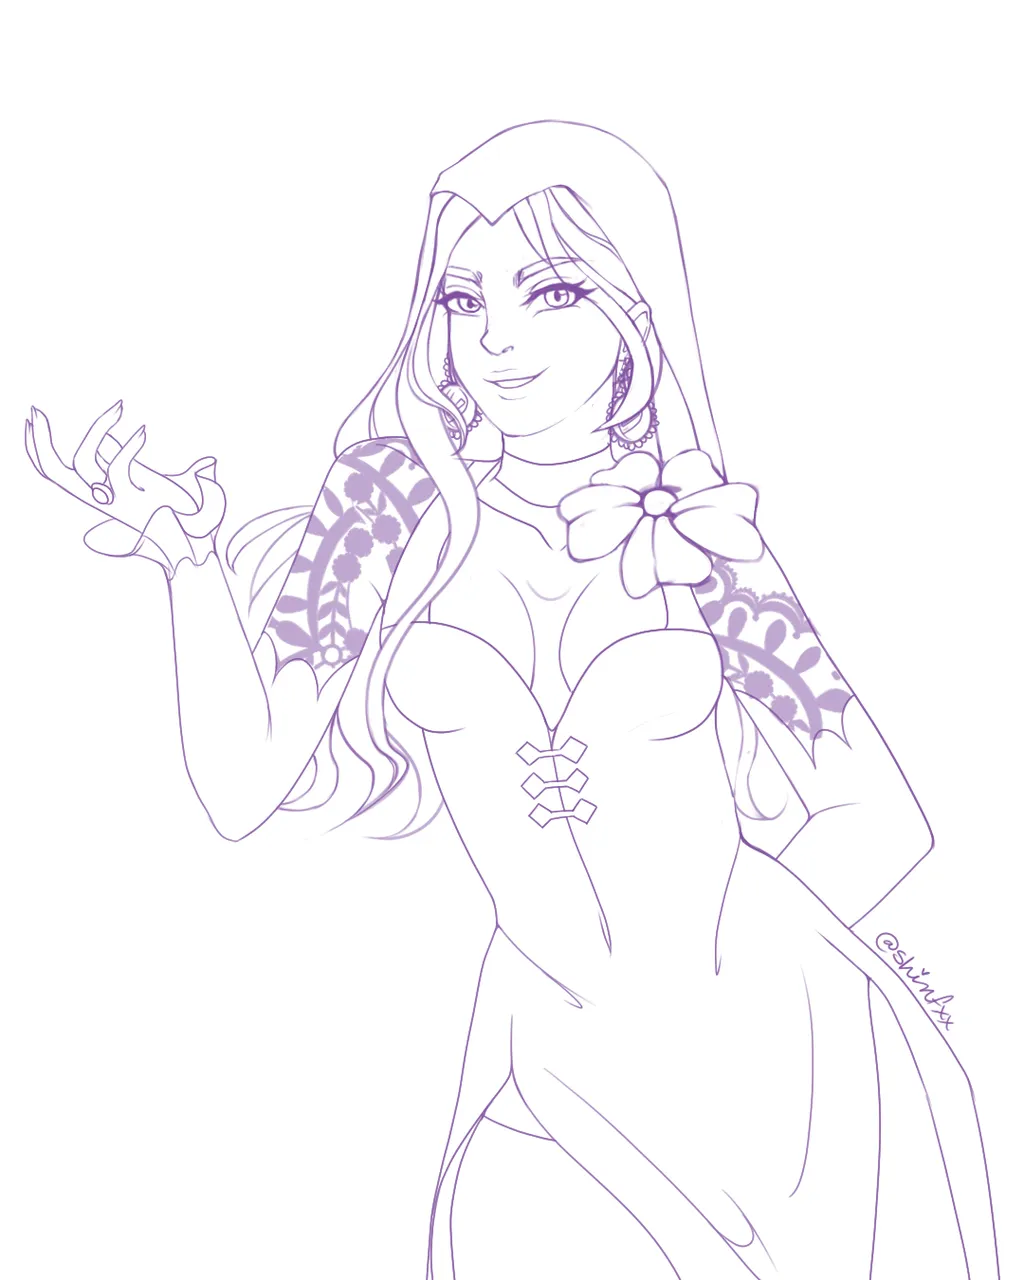
Lineart
Base Colors
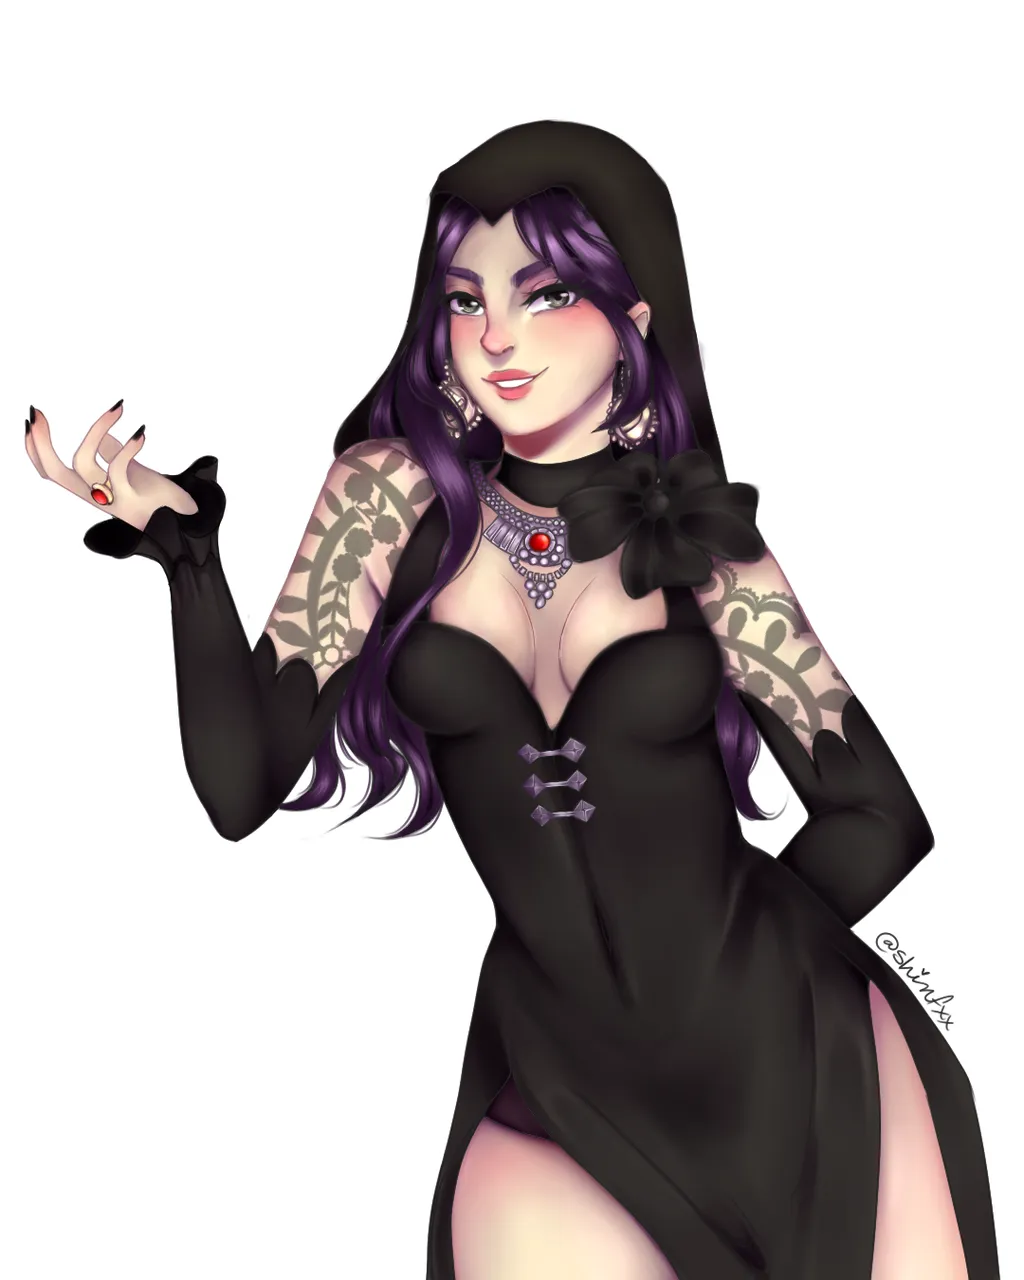
A este punto me di cuenta que me faltó un elemento importante: la joyería lol.
La había dibujado con anterioridad pero no me gustó como quedó, así que la eliminé y olvidé hacerla, pero la agregué finalmente.
At this point I realized I was missing an important element: jewelry lol.
I had drawn it before but I didn't like how it looked, so I removed it and forgot to do it, but I added it finally.
Shading and coloring process
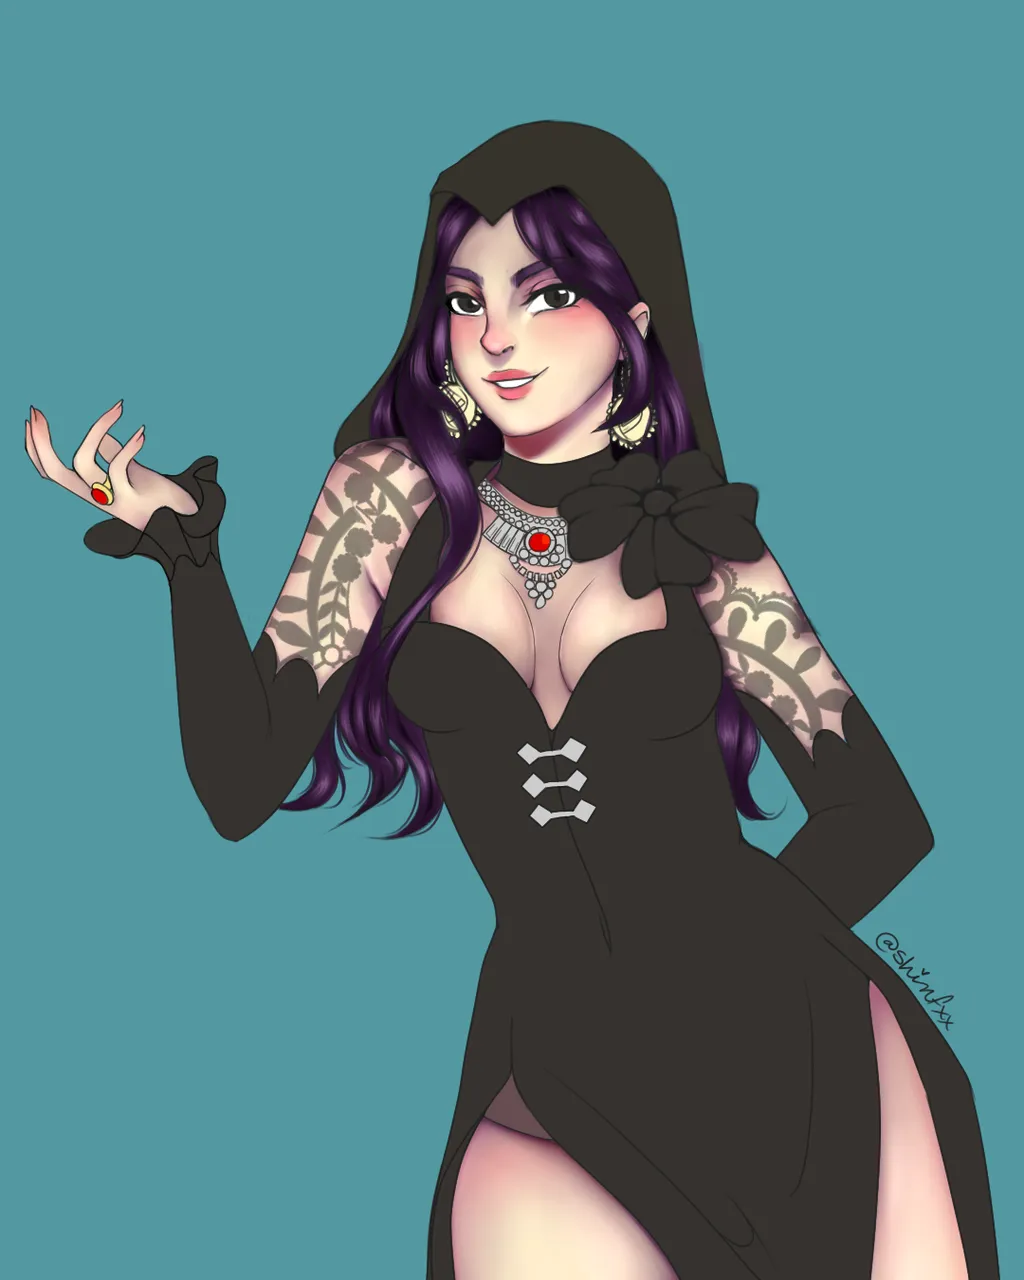


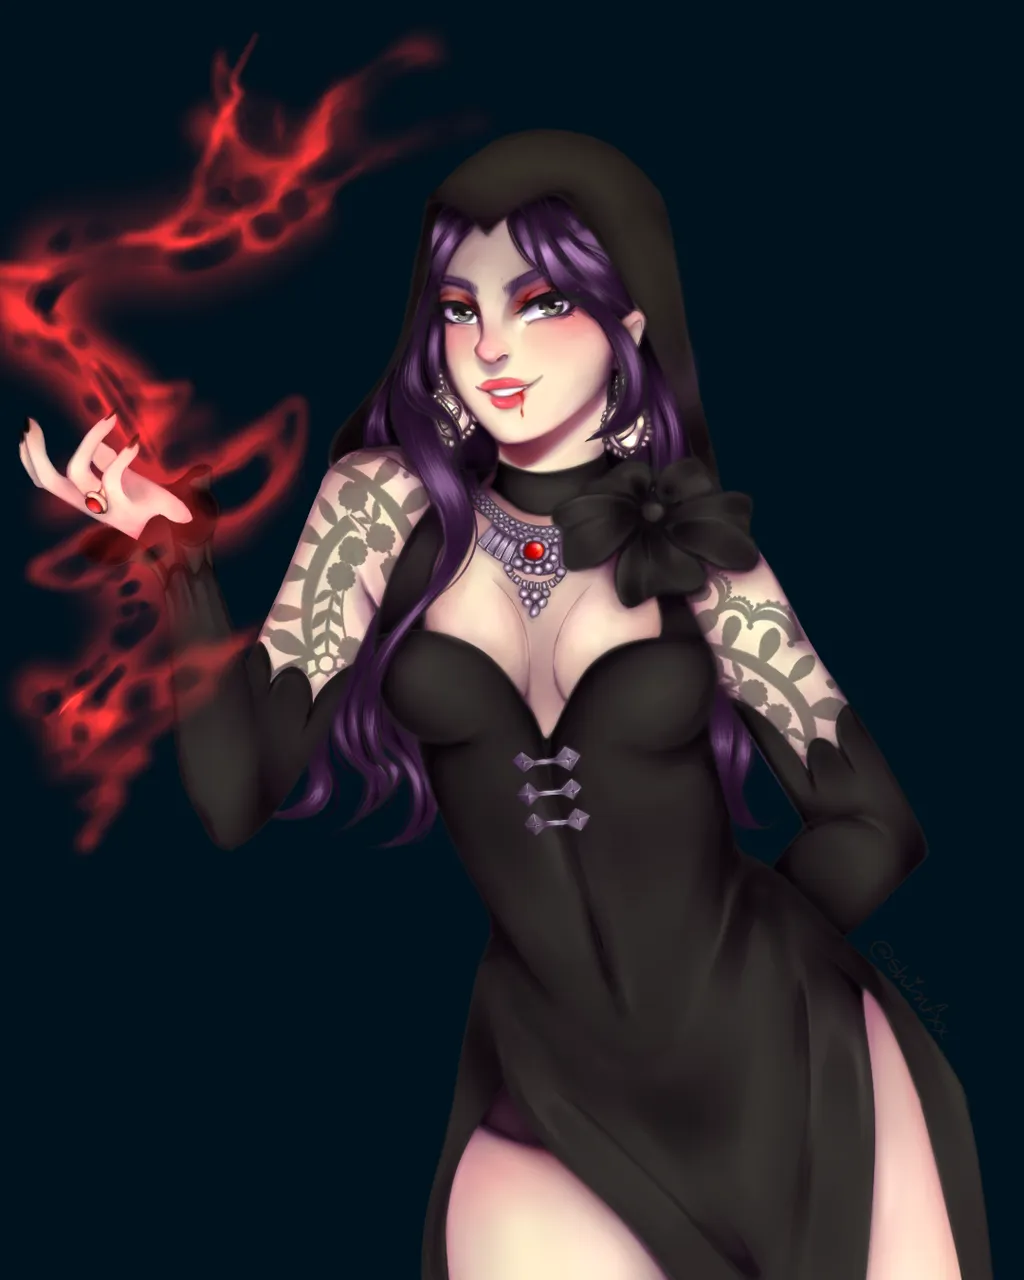
Para sombrear le agregué un fondo color turquesa para poder apreciar mejor los colores y no confundirlos.
Utilicé tonod violetas como siempre y por primera vez decidí utilizar color negro para algunas partes.
For shading I added a turquoise background to better appreciate the colors and not confuse them.
I used violet tones as usual and for the first time I decided to use black for some parts.

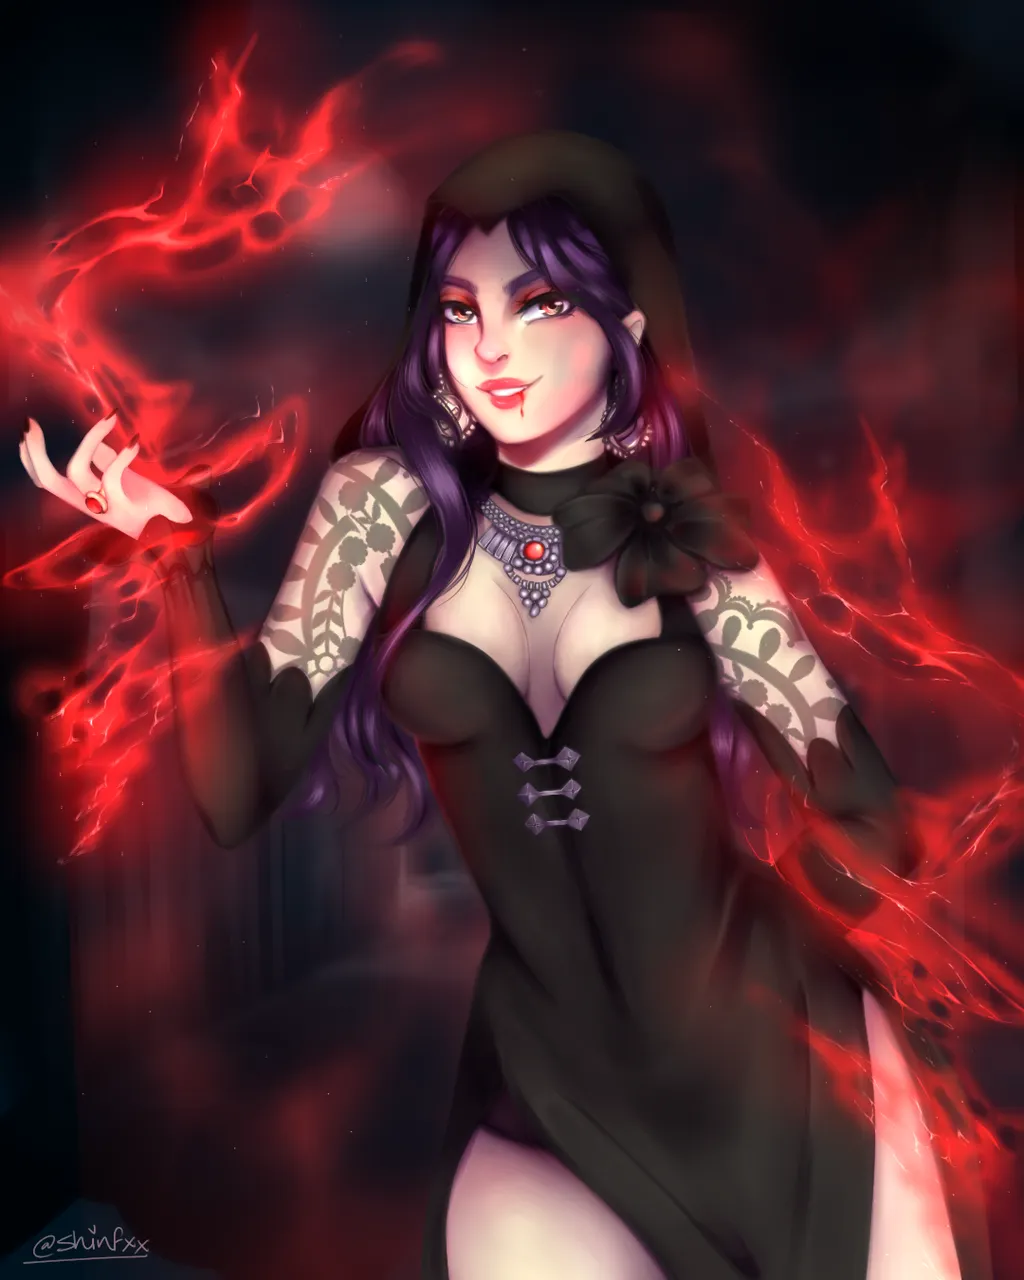
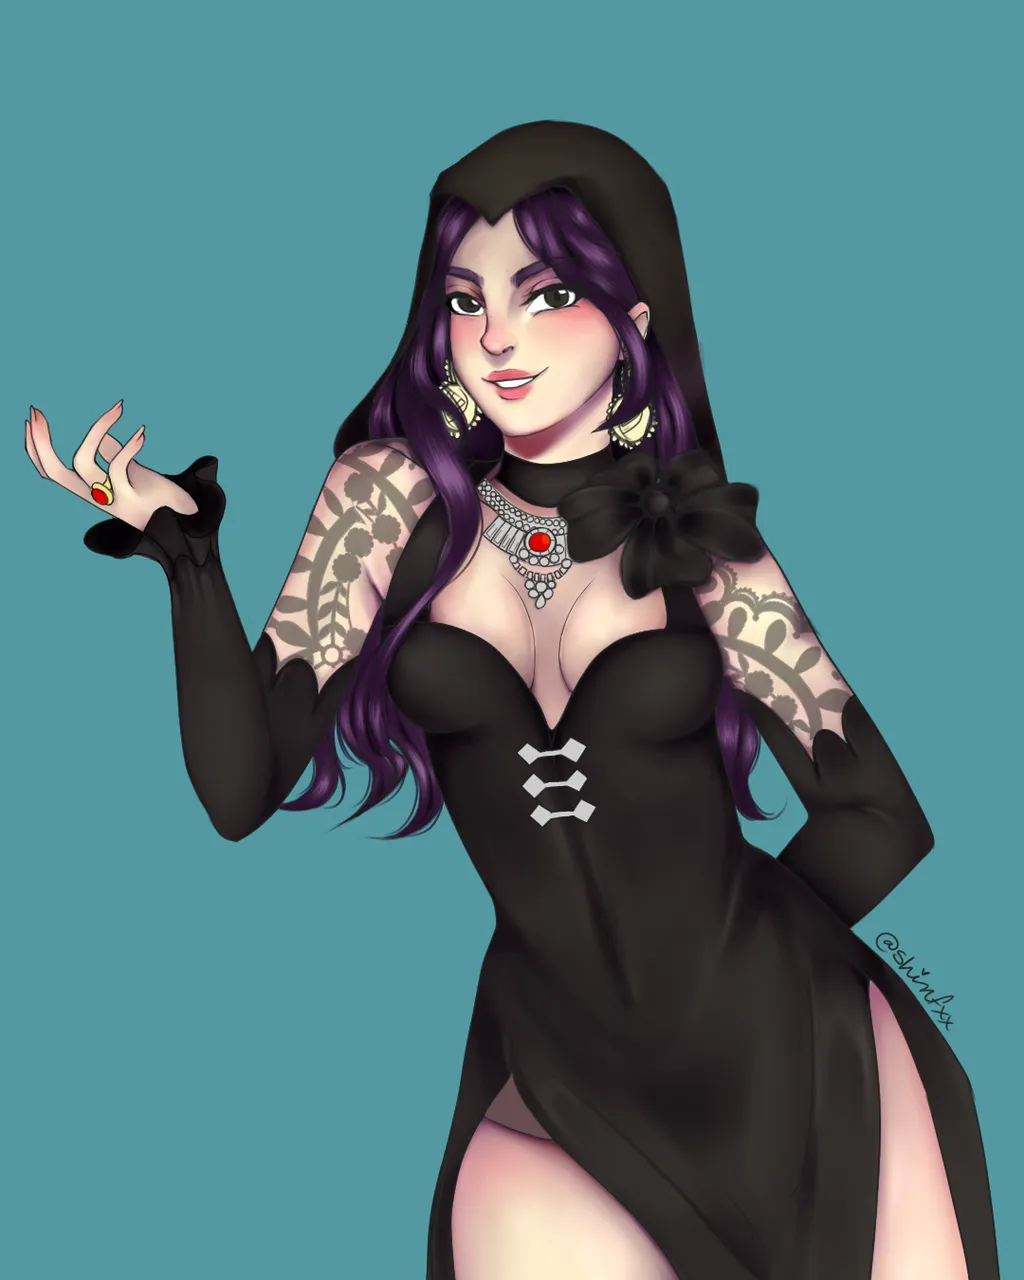
Para culminar, terminé coloreando el lineart con tonos similares a la ilustración, y luego le agregué al personaje un poco de maquillaje y detalles de iluminación, así como la sangre.
To top it off, I finished by coloring the lineart with similar tones to the illustration, and then I added some makeup and lighting details to the character, as well as the blood.
Background
Empecé agregando un fondo negro para poder empezar a trabajar los efectos.
Con el aerografo con poca densidad empecé haciendo una mancha de tono rojo, y luego con el borrador igualmente en baja densidad borré algunos segmentos delicadamente para tomar la forma del rayo.
I started by adding a black background so I could start working on the effects.
With the airbrush with low density I started making a red tone stain, and then with the eraser also in low density I erased some segments delicately to take the shape of the lightning.
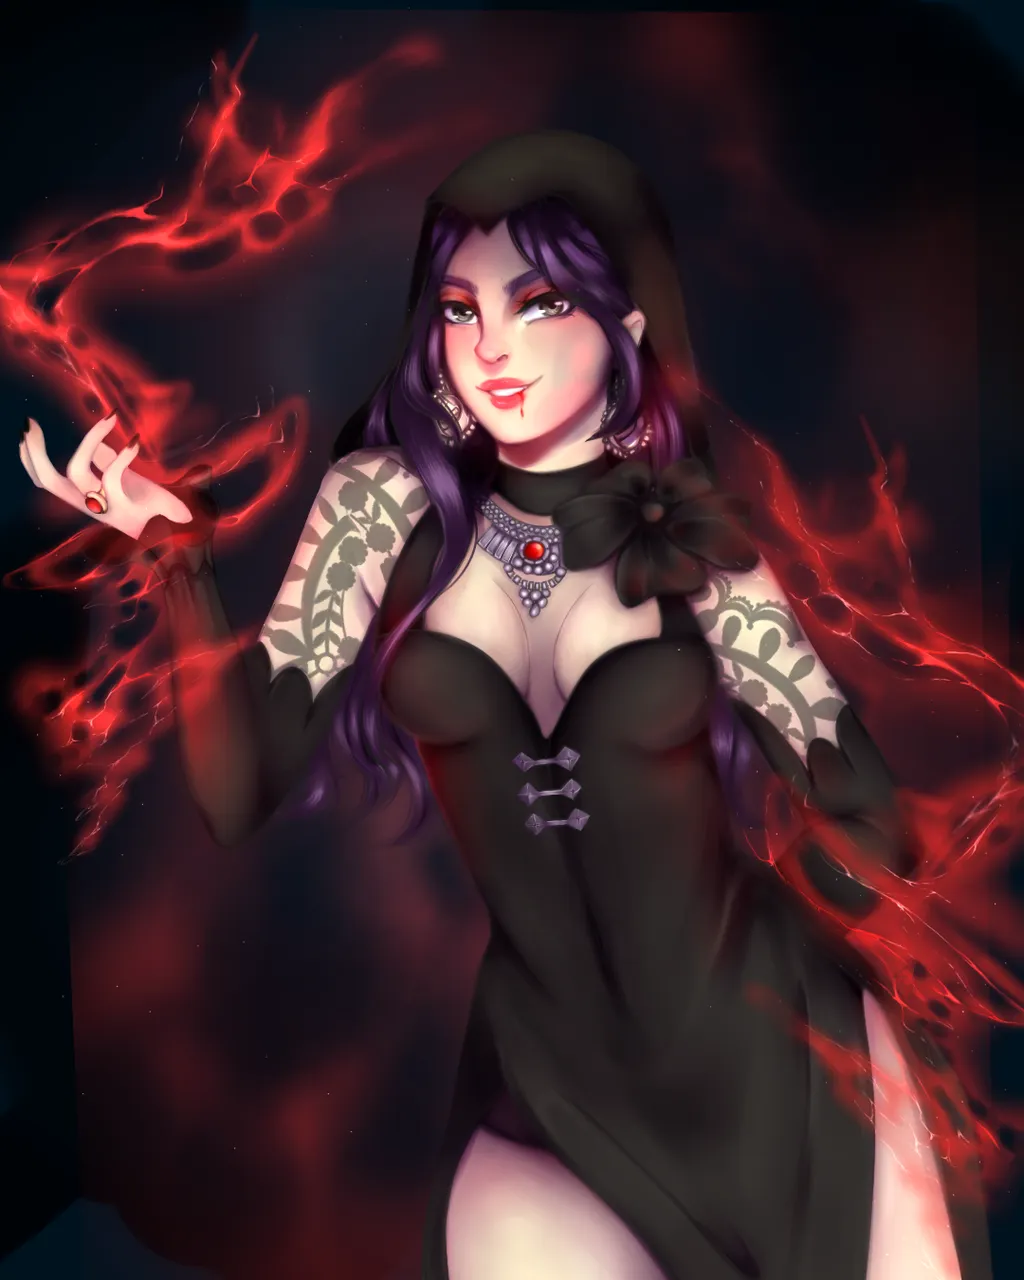
Como me gustó el resultado de la figura, la copié y la pegué al otro extremo del dibujo para dar más volumen y movimiento. Luego de ubicar donde quería, acloplé todo en una misma capa y la pusé en modo de luminosidad para resaltar los colores de manera más brillante.
As I liked the result of the figure, I copied it and pasted it to the other end of the drawing to give more volume and movement. After placing it where I wanted it, I layered everything in the same layer and put it in luminosity mode to highlight the colors in a brighter way.
Volví a utilizar el aerografo para agreguar más brillo y con un pincel fino agregué brillitos.
Background
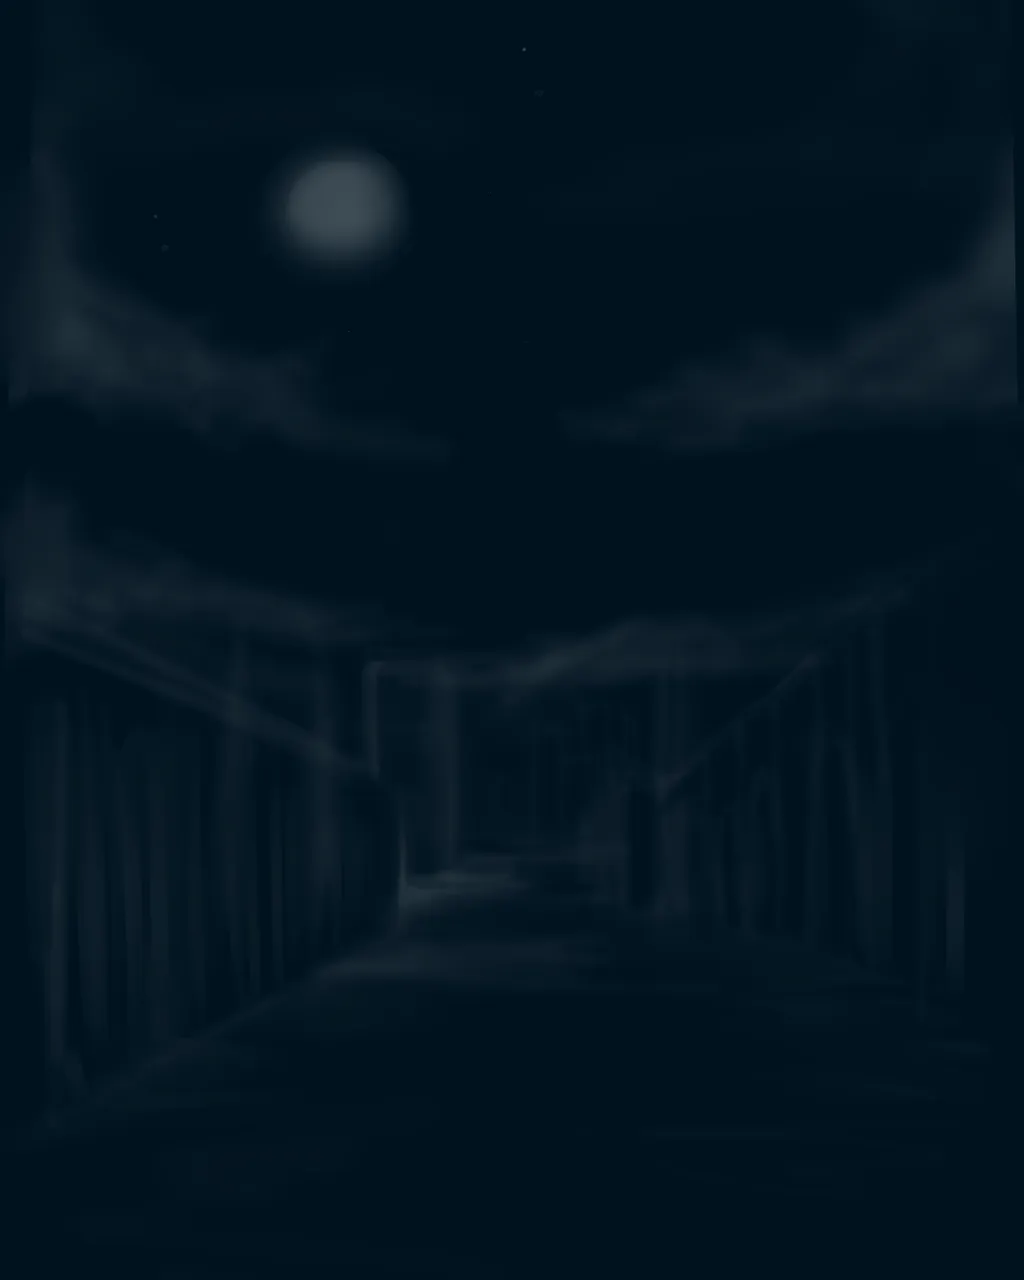
Hice un pequeño boceto de un espacio similar a una calle con el aerografo en color blanco para agregarlo detras de la ilustración.
I made a small sketch of a space similar to a street with the airbrush in white to add it behind the illustration.
Final Result
Step by Step