English version
Hello friends of Hive. Welcome to another post.
I hope you are all well.
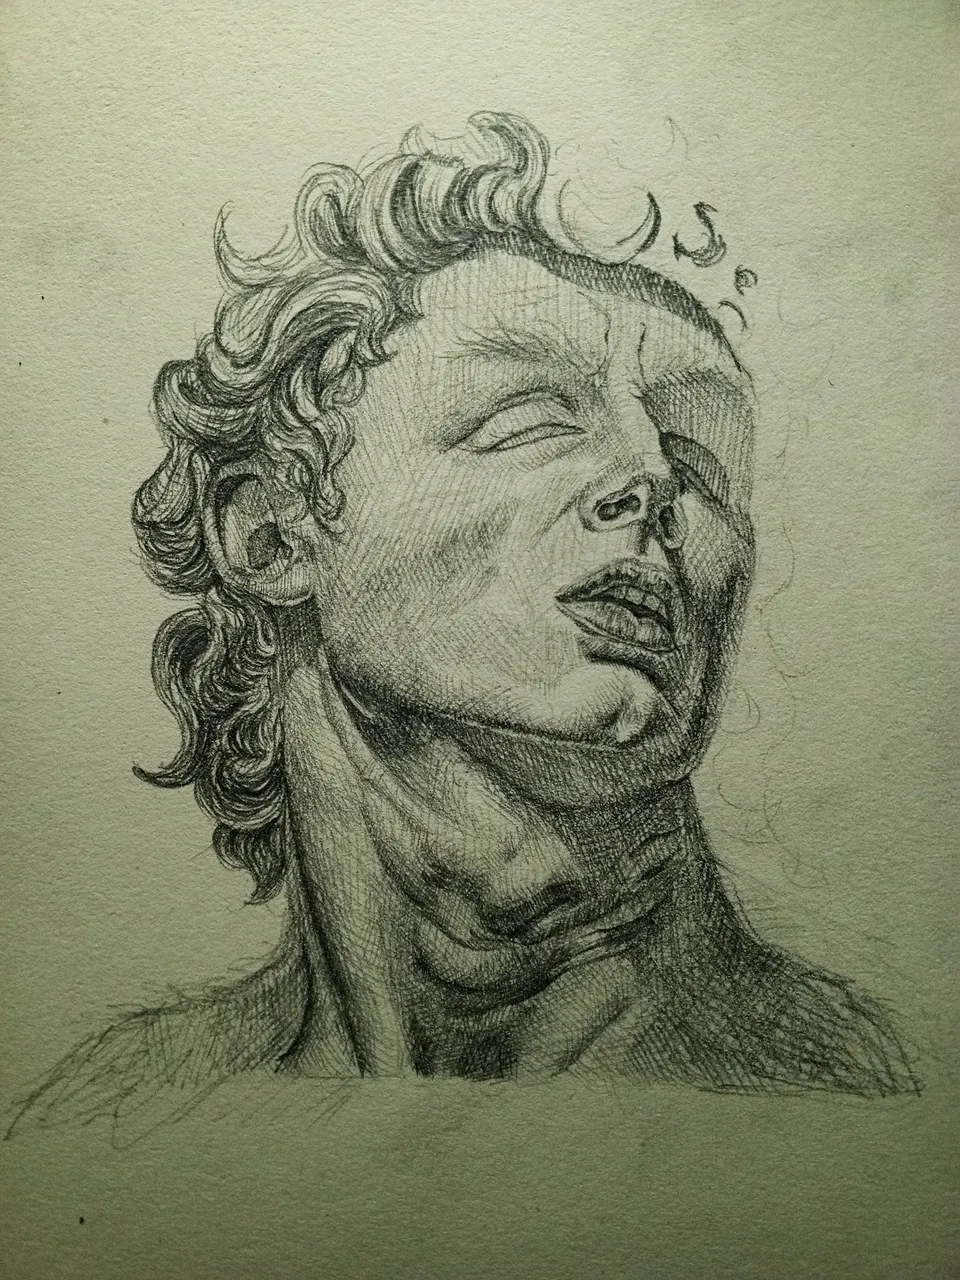
Today I decided to make a portrait that reflects some feelings. I wanted it to be something melancholic and sad.
I wanted to be guided by a renaissance bust and of course I would modify its expressions to achieve this mood. At first I didn't know with what materials to do this work, but I knew I shouldn't think about it, besides, it was a good opportunity to try a new box of pencils that my mother managed to buy me.
Below I share a brief step by step where I show what I was working on.
Step by step:
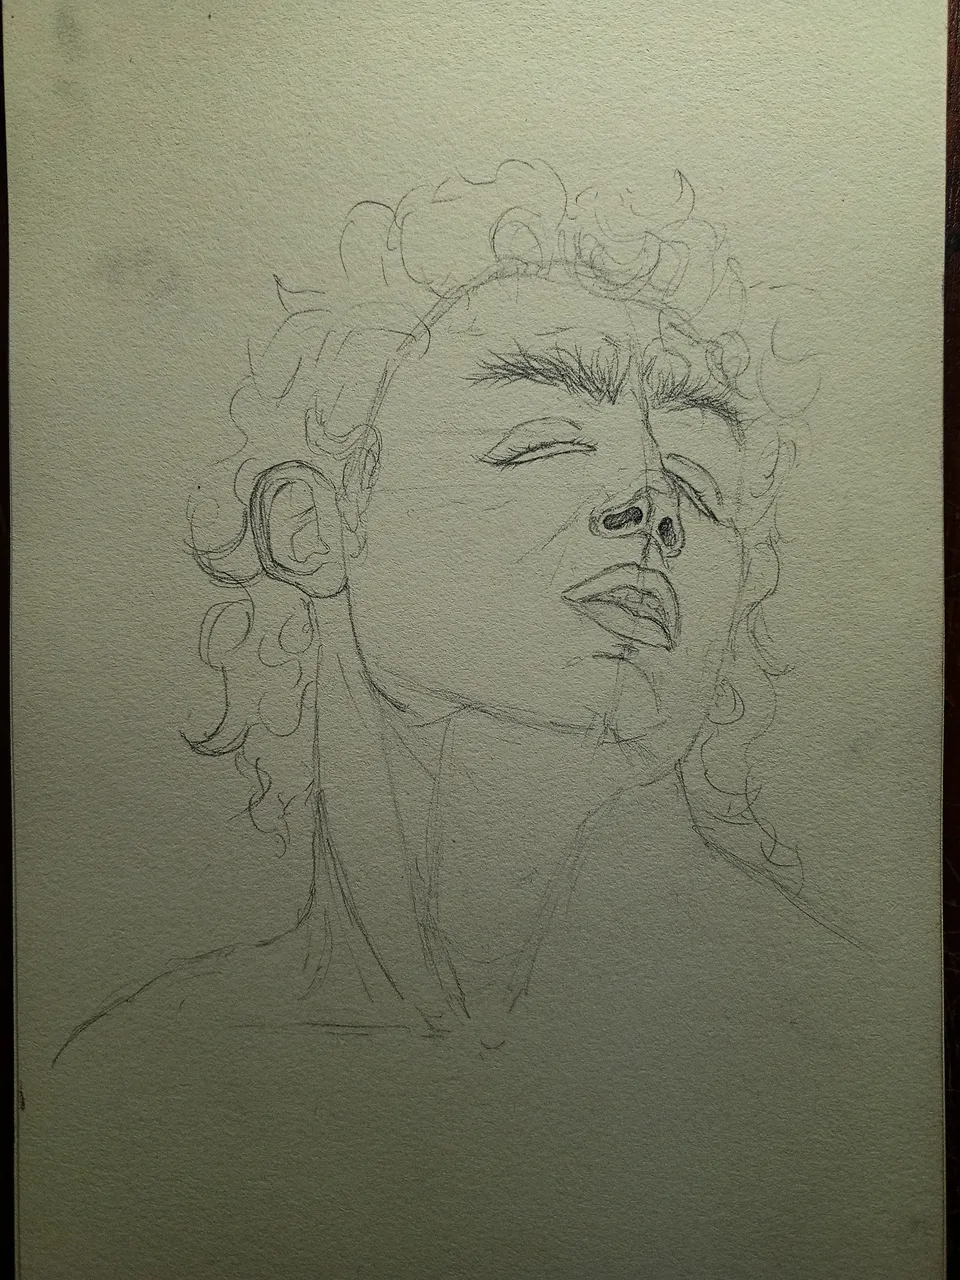
I started by making a sketch with a pencil H. Use diagonal and vertical lines to have better precision in the proportions of her face.
I started shading with various tones from the left side and worked my way to the right hand side of the drawing.
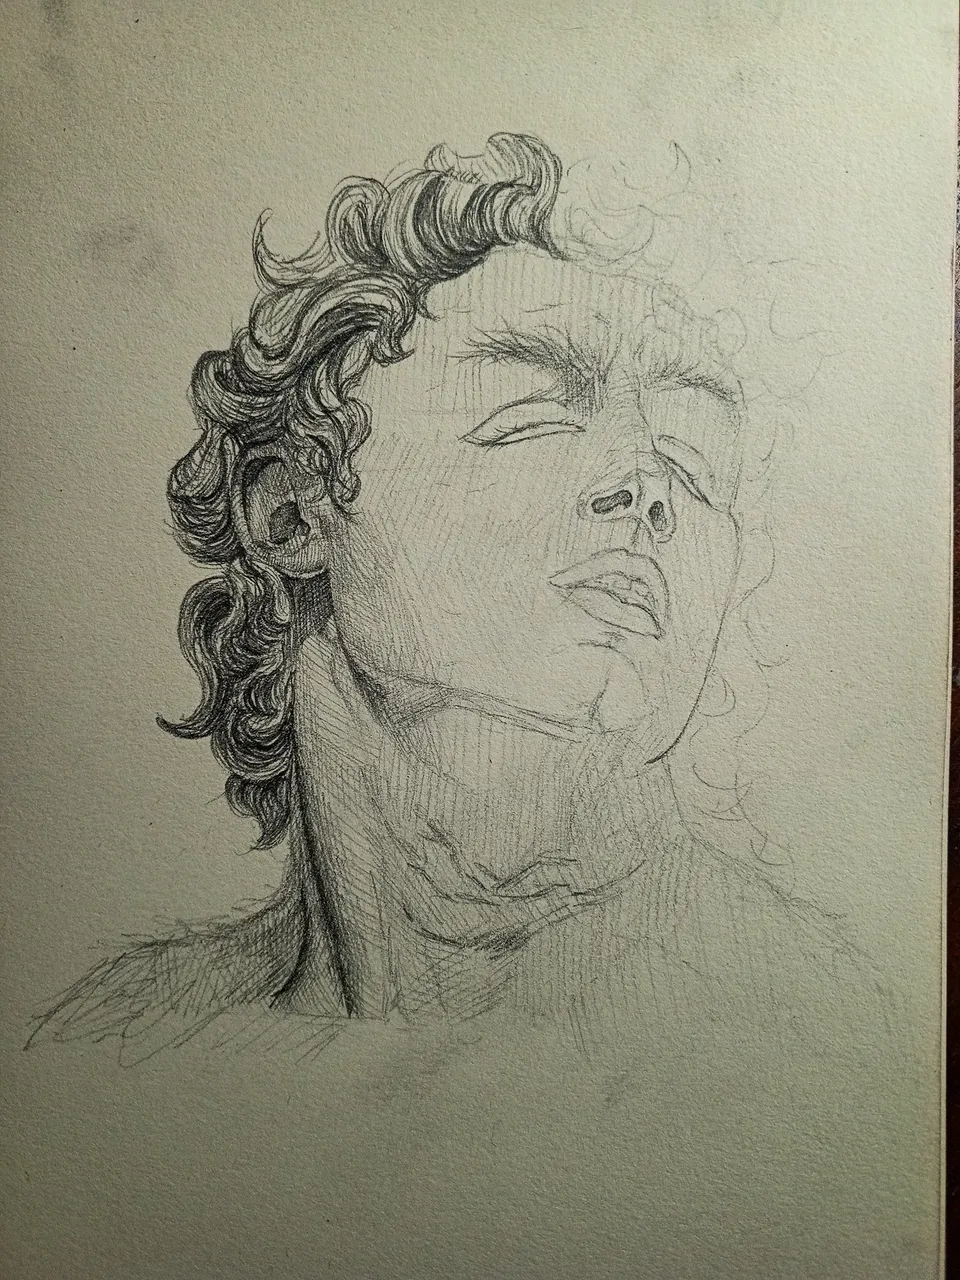
With the B pencil I start to make a base layer and then use the 2B pencil for the lighter shadows and to give transition between a darker shade and the base B shade.
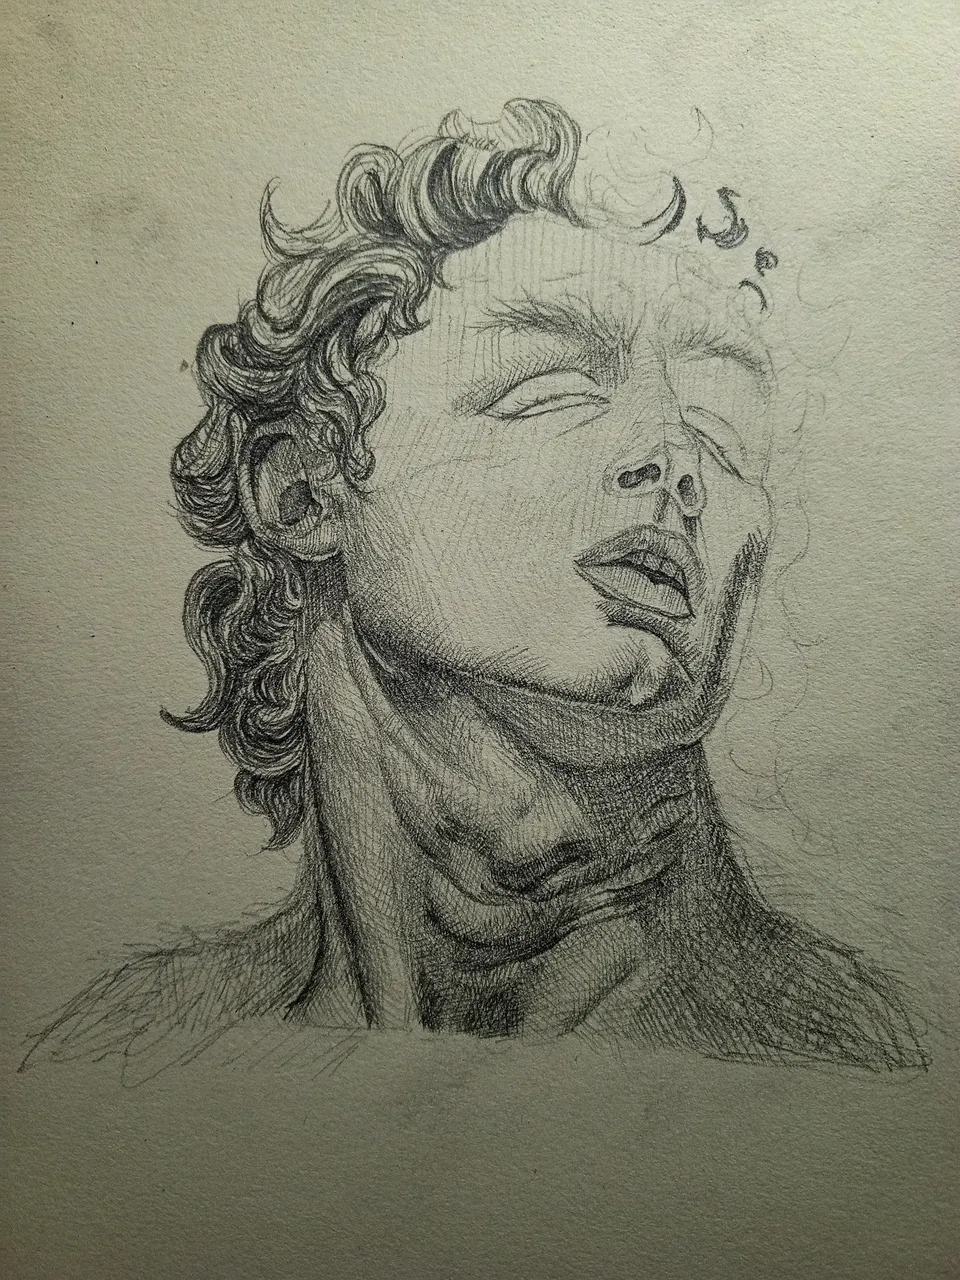
With the 4B pencil I concentrated on making the first shadows darker. With the pencil H and 2B I was polishing more the volumes of the face and neck, I also dedicated myself to make the hair look pretty good.
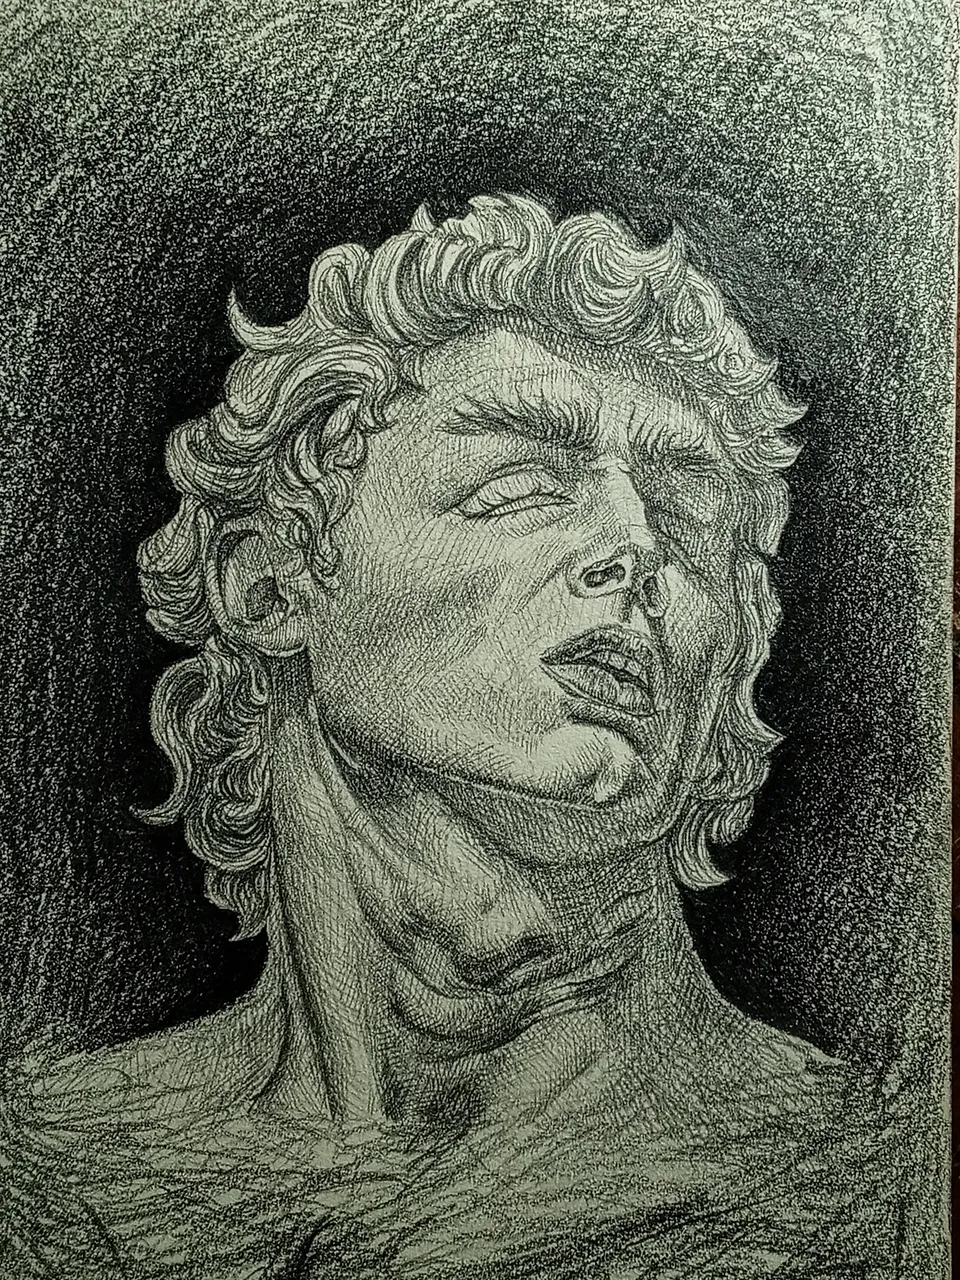
And after finishing a few details I had finished my drawing.
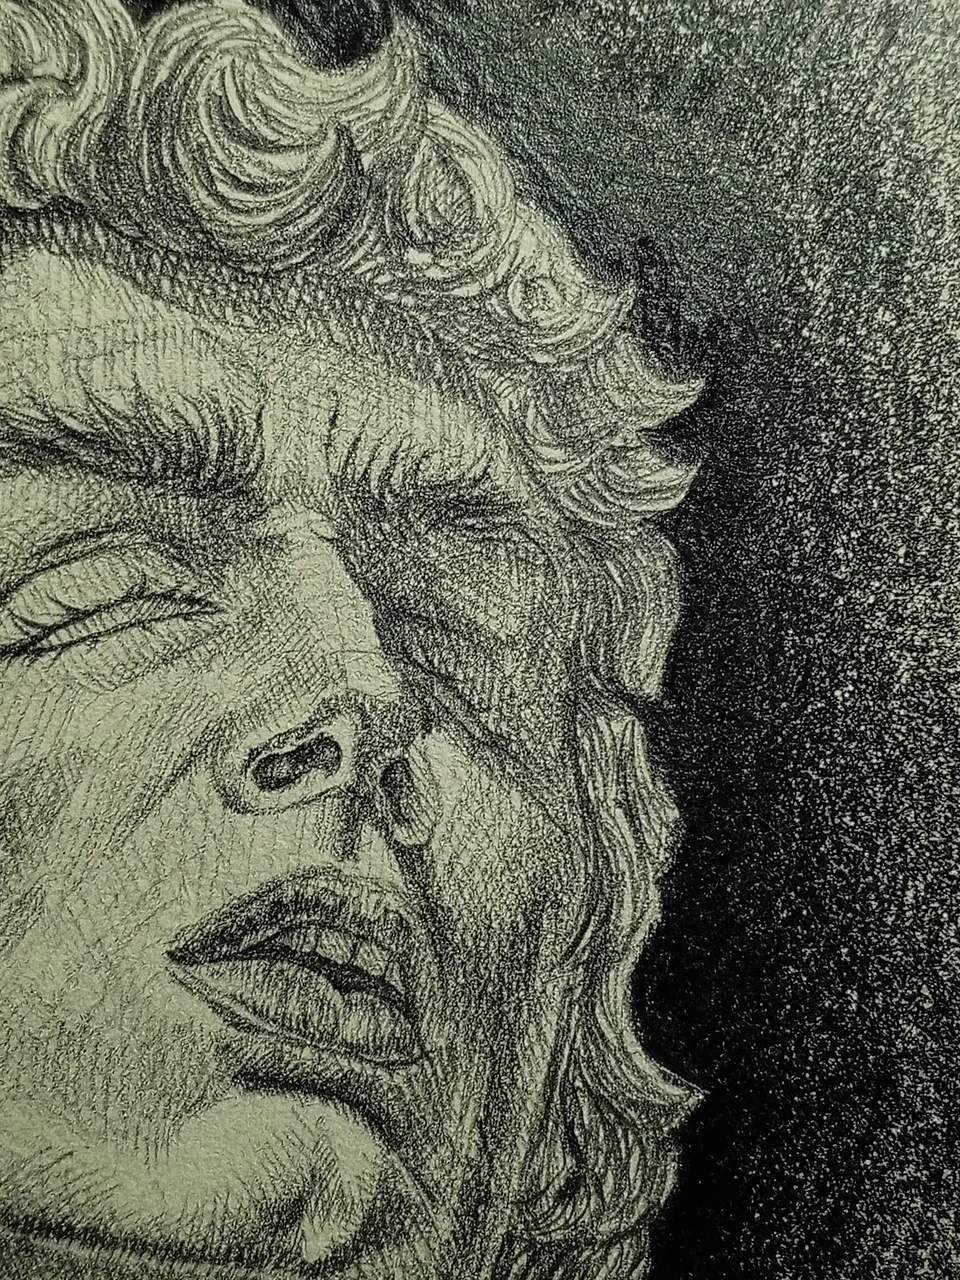
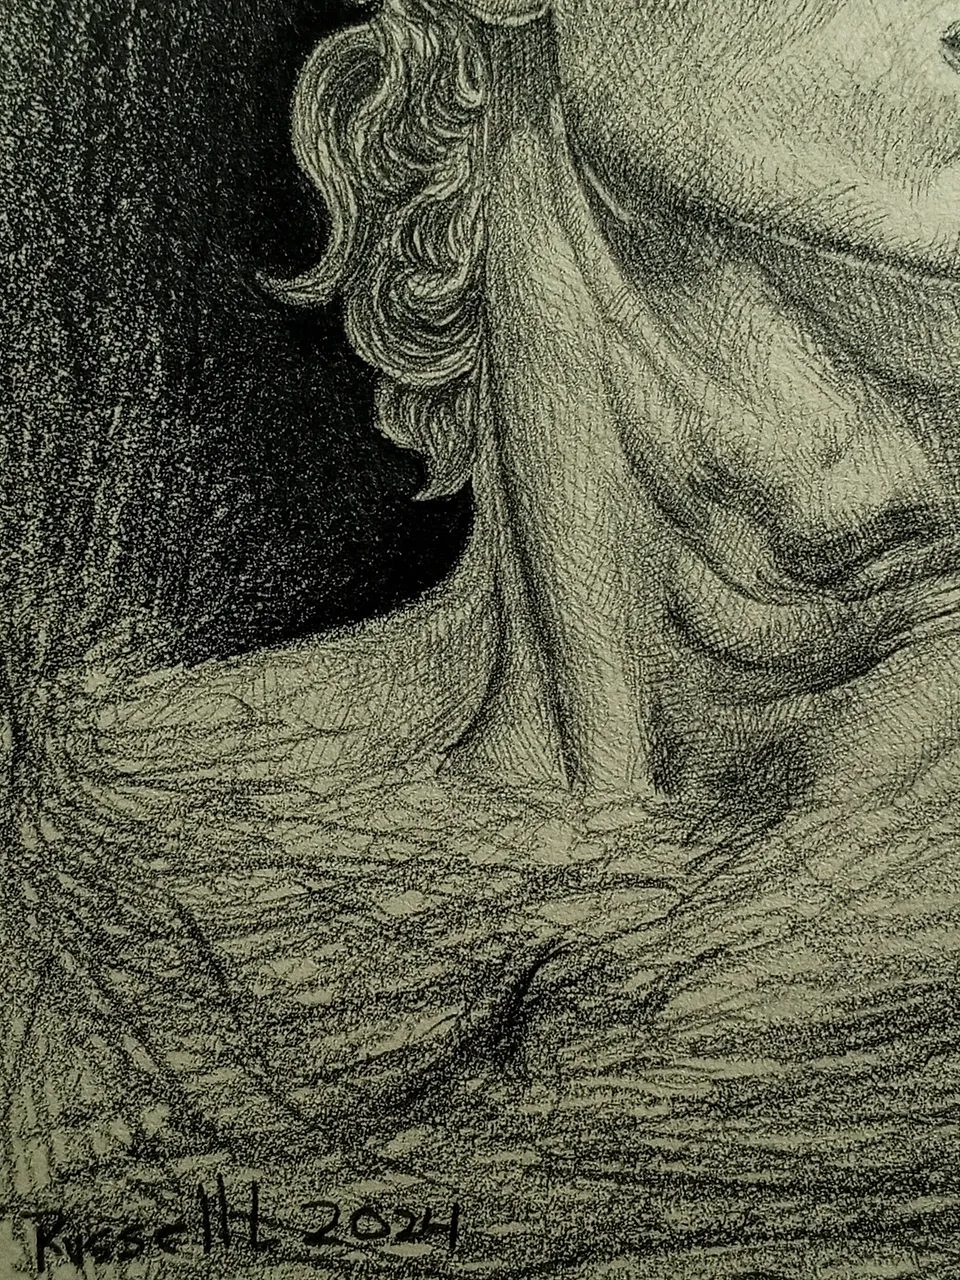
Close up details:
And this is how the work would look like. It was a 6 hour process that I really enjoyed.
Thanks for reading, greetings.
Versión en español
Hola amigos de Hive. Bienvenidos a otra publicación.
Espero estén todos bien.
El día de hoy decidí hacer un retrato que reflejara algún sentimiento. Quería que fuese algo melancólico y triste.
Me quise guiar de un busto renacentista y claro modificaría sus expresiones para lograr este estado de ánimo. En un principio no sabía con que materiales hacer este trabajo, pero sabía que no debía pensarlo, además, fue una buena oportunidad para probar una nueva caja de lápices que me logró comprar mi madre.
A continuación comparto un breve paso a paso donde muestro lo que iba trabajando.
Paso a paso:
Empece haciendo un boceto con un lápiz H. Use líneas diagonales y verticales para tener mejor precisión en las proporciones de su cara.
Empecé a sombrear con varios tonos desde la parte izquierda y fui avanzando hasta la mano derecha del dibujo.
Con el lápiz B empiezo a hacer una capa base para luego usar el lápiz 2B para las sombras mas claras y para dar transición entre un tono más oscuro y el tono B base.
Con el lápiz 4B me concentré en hacer las primeras sombras mas oscuras. Con el lapiz H y 2B fui puliendo más los volúmenes de la cara y el cuello, también me dedique a que el pelo se viera bastante bien.
Y después de terminar unos cuantos detalles tenía terminado mi dibujo.
Detalles cercanos:
Y asi quedaría el trabajo. Fue un proceso de 6 horas que disfrute mucho.
Gracias por leer, saludos.