Muy buenas comunidad creativa de HIVE, espero que se encuentren bien. Hoy les traigo el proceso de un fanart de un enemigo icónico de los videojuegos, el temible Némesis de la saga de juegos de resident evil.
Estuve practicando un poco con Gouache para el tono base, combinando con los lápices de colores para los detalles más importantes, para que tenga un toque semi realista. Así que más preámbulos, comencemos.
Hello HIVE creative community, I hope you are all well. Today I bring you the process of a fanart of an iconic enemy from video games, the fearsome Nemesis from the Resident Evil game series.
I've been practicing a bit with gouache for the base tone, combining it with colored pencils for the most important details, so that it has a semi-realistic touch. So, no more preambles, let's begin
Materiales:
- Cartulina 22,6x 30,5cm (300g)
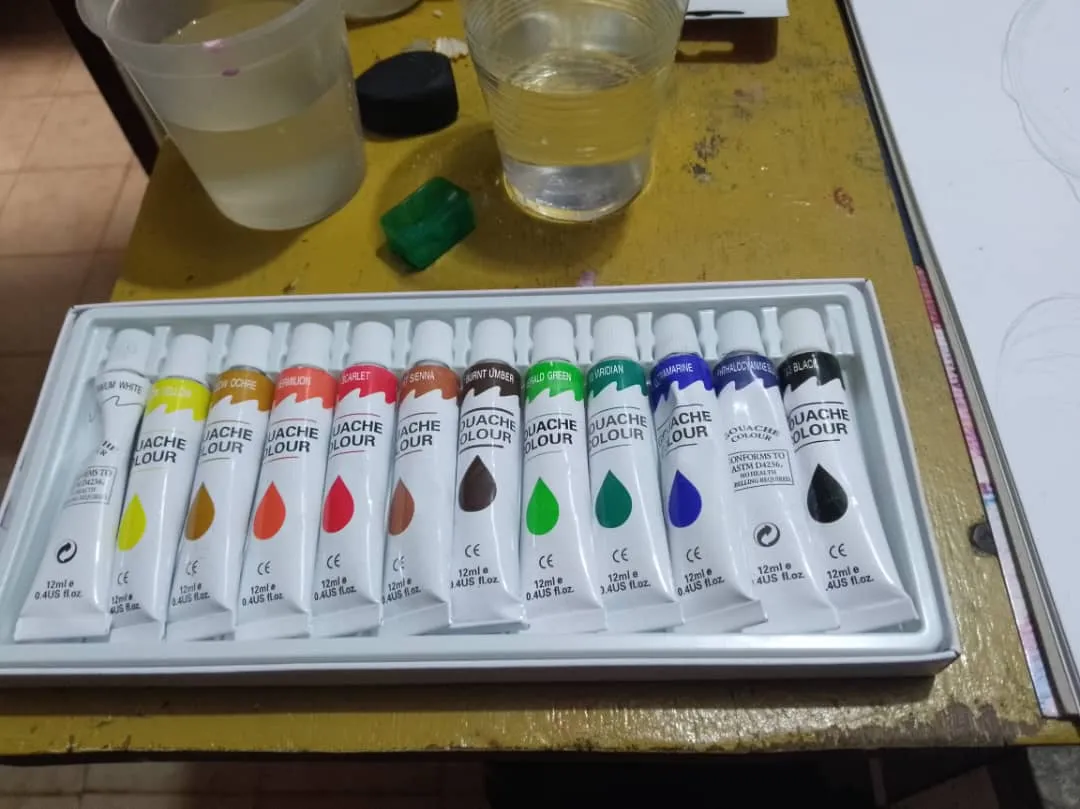
- Gouache
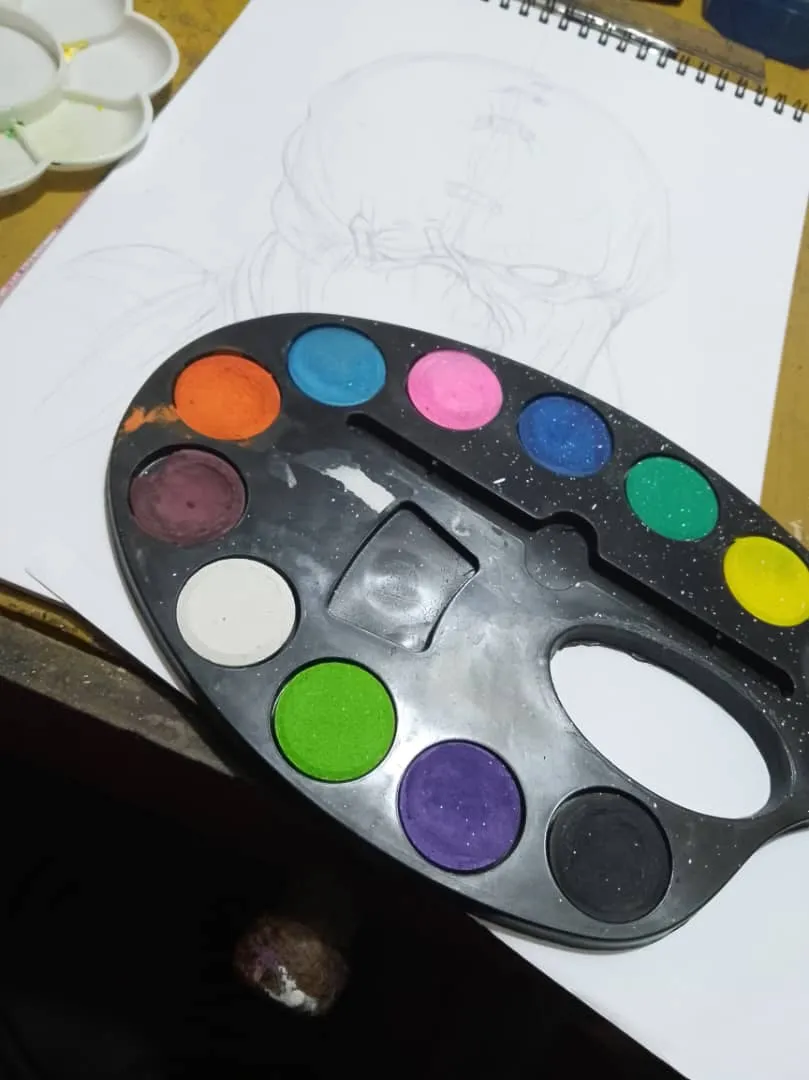
- Acuarelas
- Lápices de colores
Materials:
- Cardboard 22.6 x 30.5 cm (300 g)
- Gouache
- Watercolors
- Colored pencils
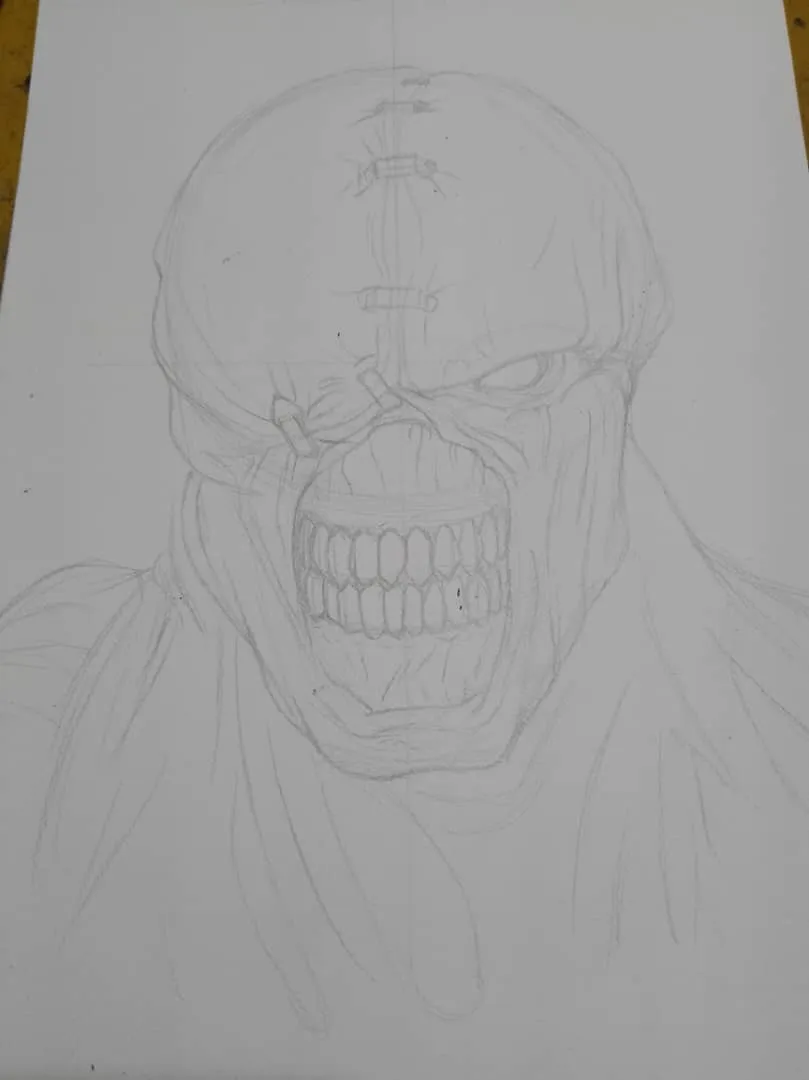
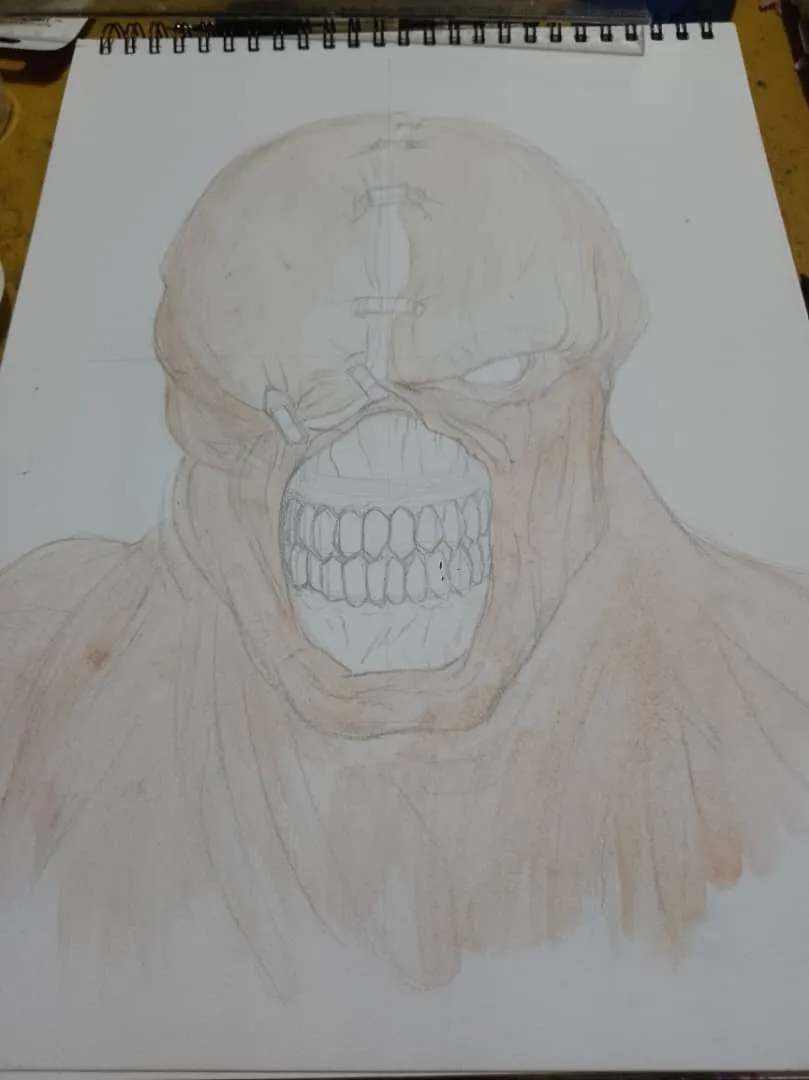
Empezamos con el boceto del personaje sin delinear, haciendo que los trazos sean lo más suaves posibles, para no ensuciar después.
We start with the sketch of the character without outlining, making the strokes as soft as possible, so as not to get dirty later.
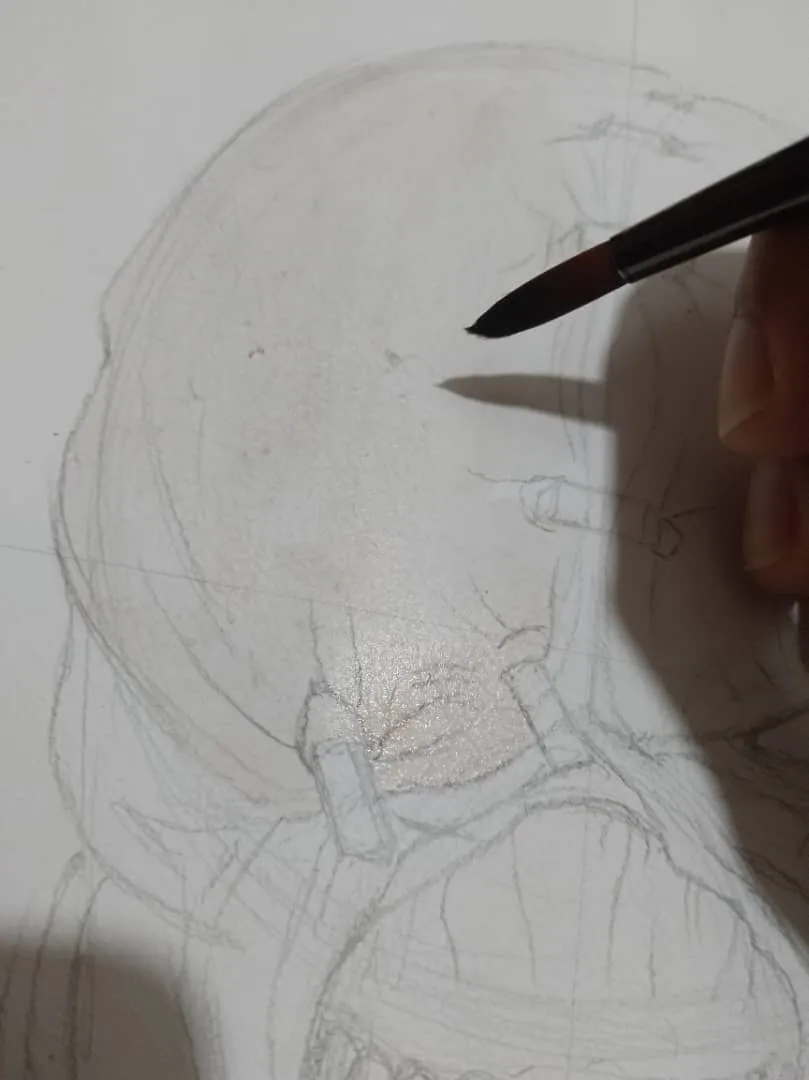
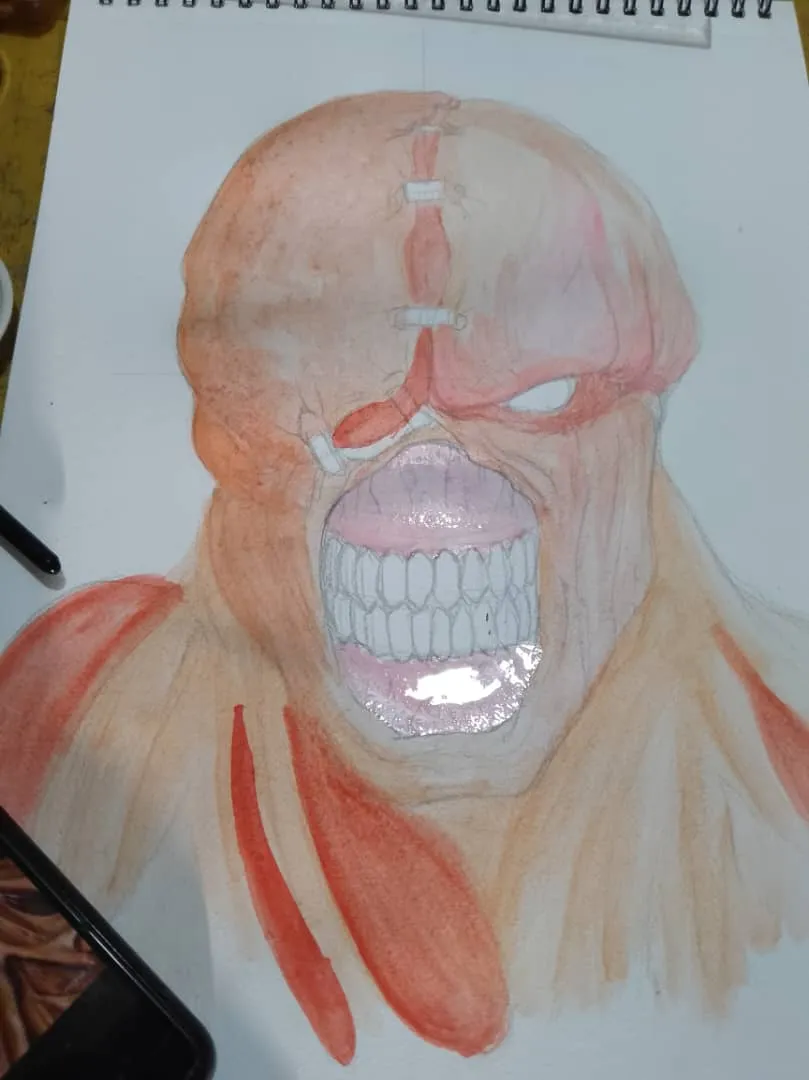
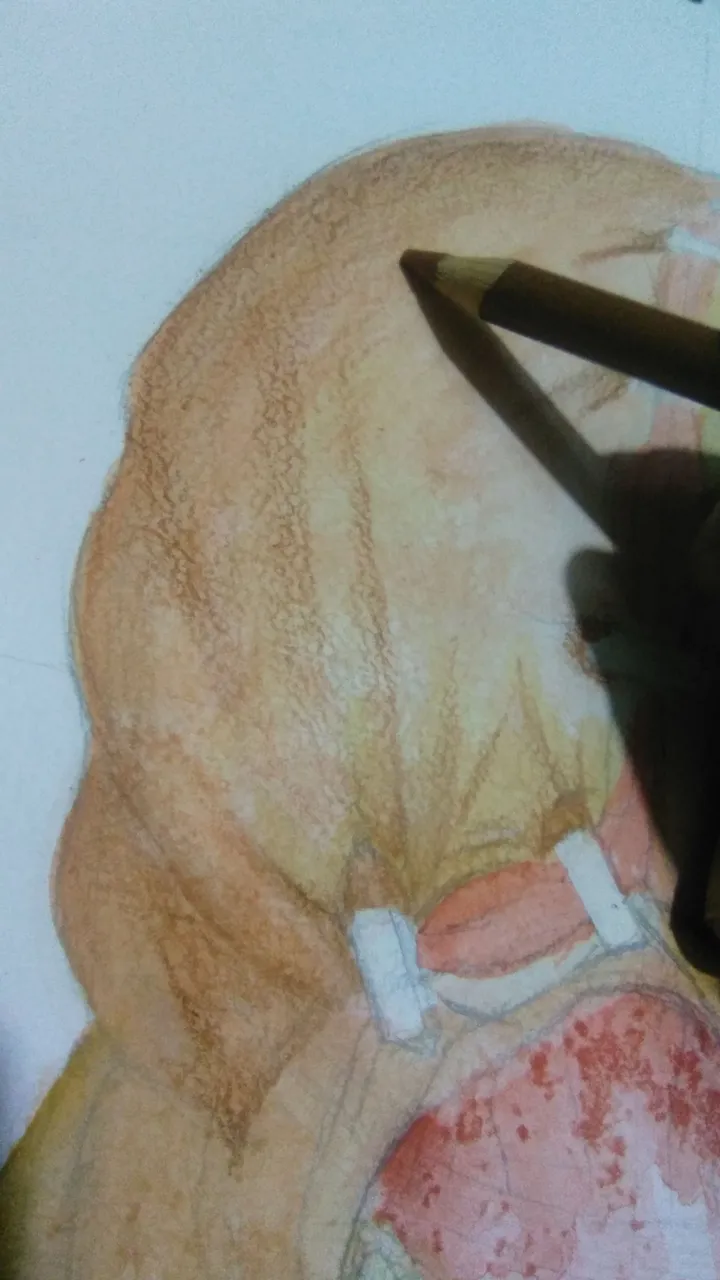
Después comenzamos a aplicar el tono base con las acuarelas por todo el rostro, empezando de los más opaco, sin mucha saturación del color; ya para después en ciertas zonas le daba más intensidad al color para darle profundidad a las arrugas y dónde hay más sombras, hasta completar por todo el área y después con tonos ocres y rojos aplicaba en áreas específicas para darle textura.
Then I began to apply the base tone with watercolors all over the face, starting with the most opaque, without much color saturation; then in certain areas I gave more intensity to the color to give depth to the wrinkles and where there are more shadows, until I completed the entire area and then with ochre and red tones I applied in specific areas to give it texture.
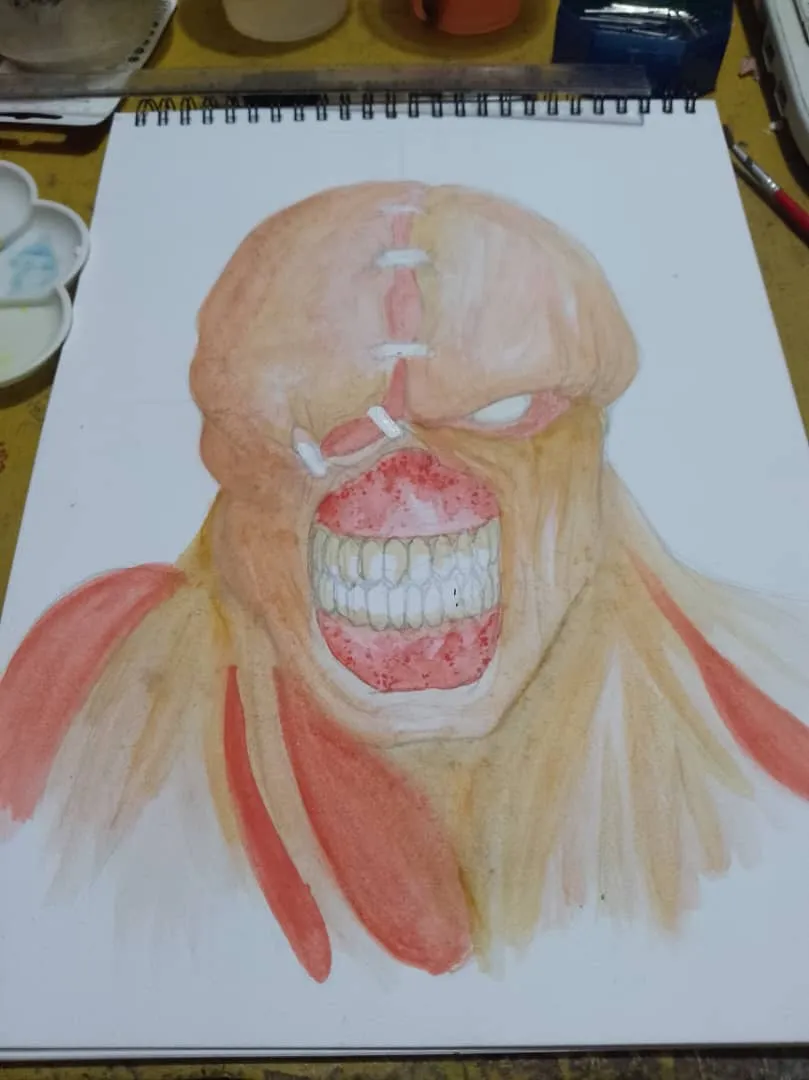
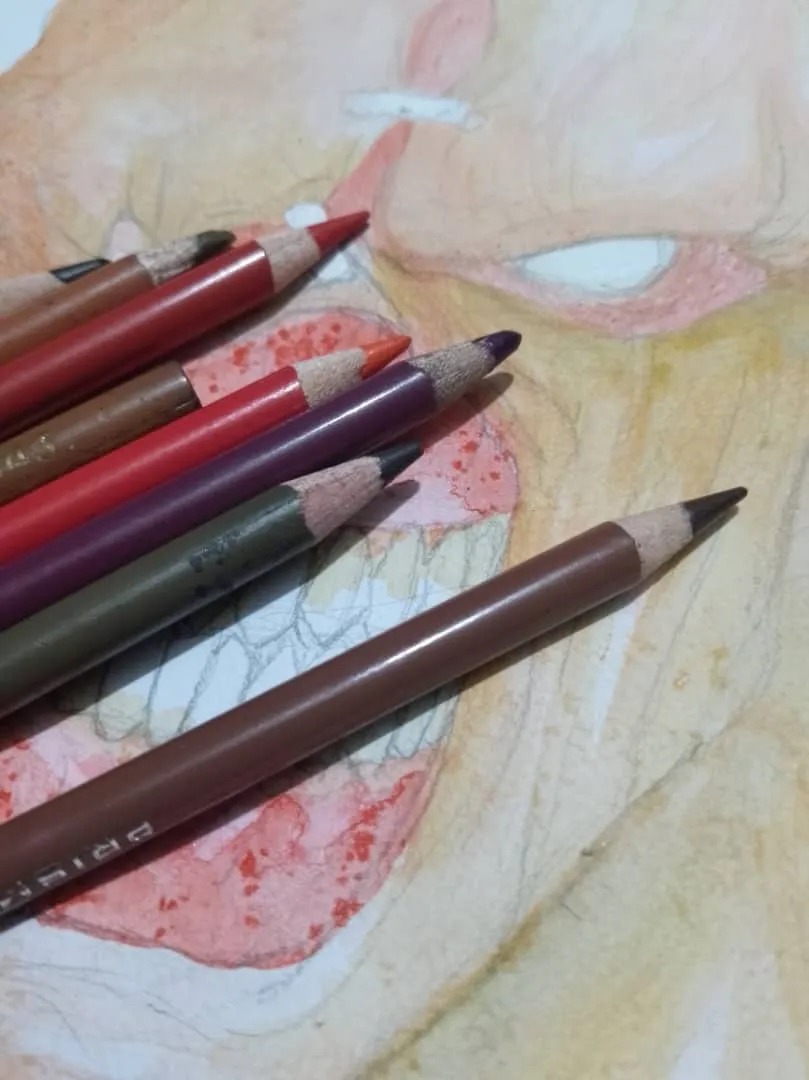
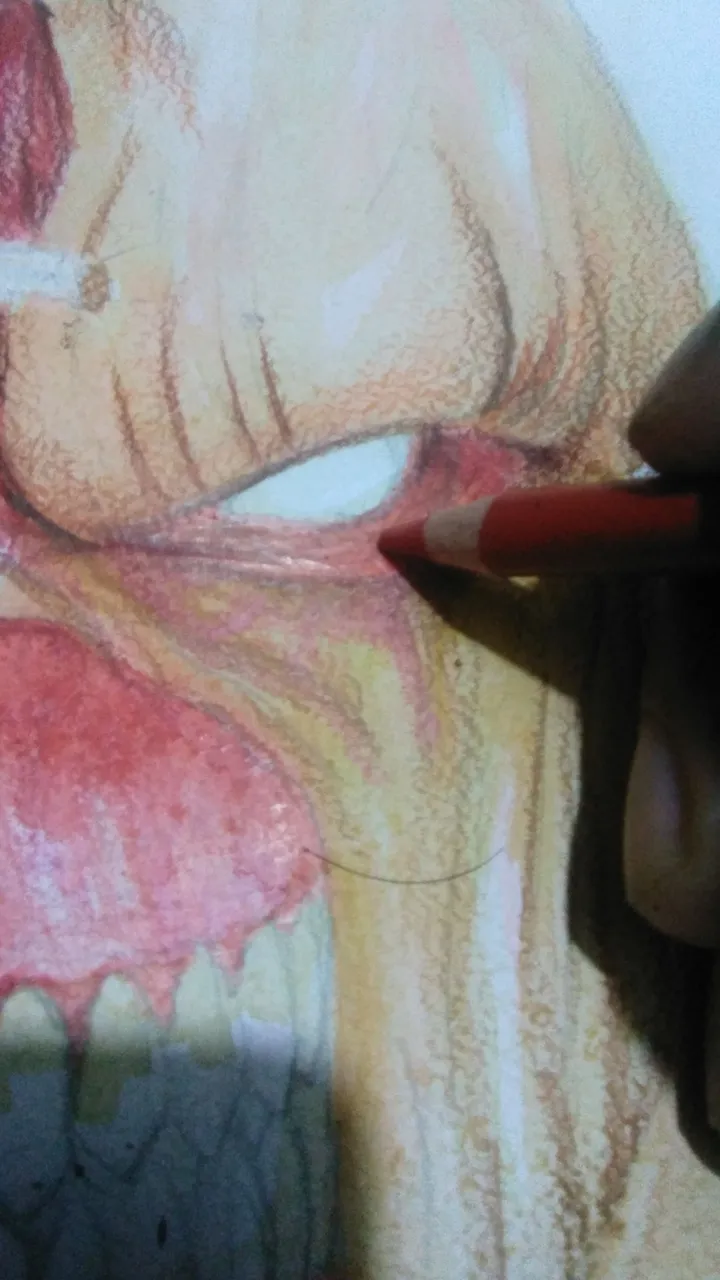
Ahora viene mi parte favorita, aplicamos los detalles con los lápices, usando tonos marrones rojos y magenta. Mi proceso es ir del más claro al más oscuro, para que que se vayan mezclando con el resto, reforzando el tono que se le dio al principio.
Now comes my favorite part, we apply the details with the pencils, using red brown and magenta tones. My process is to go from the lightest to the darkest, so that they blend with the rest, reinforcing the tone that was given at the beginning.

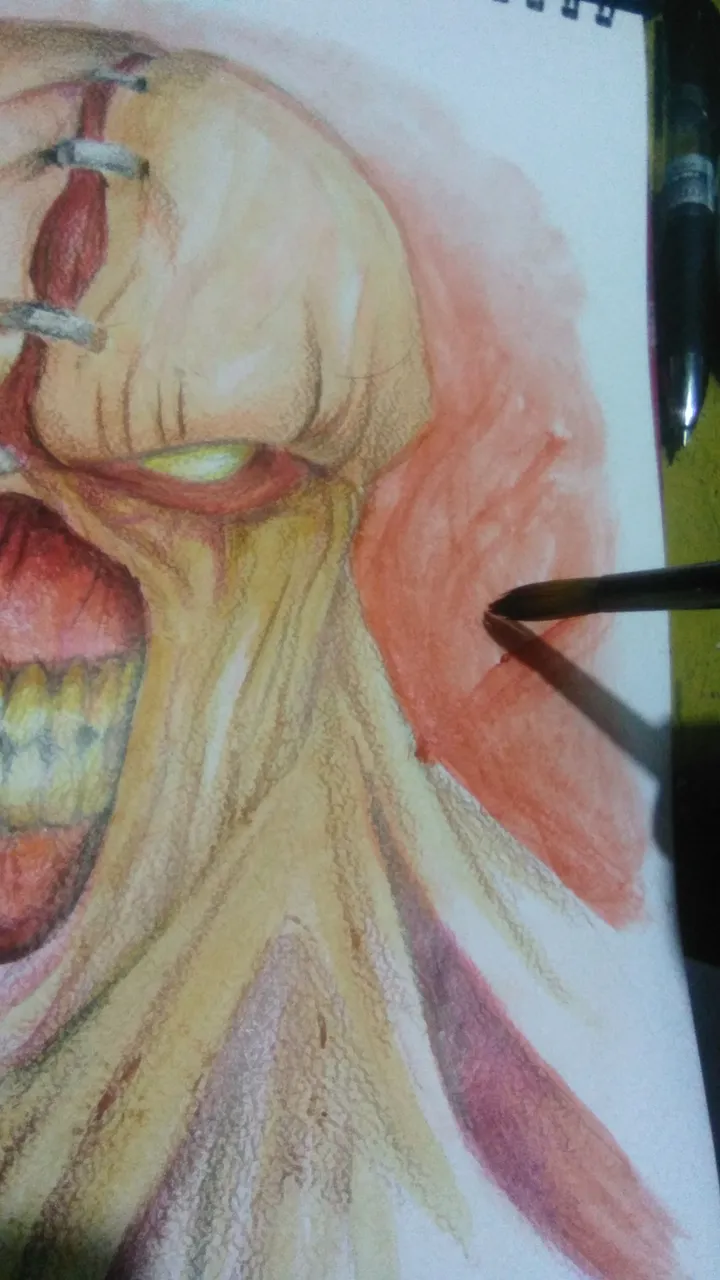
Para finalizar y no dejar el fondo muy vacío, le aplique una capa de gouache rojo por toda la figura.
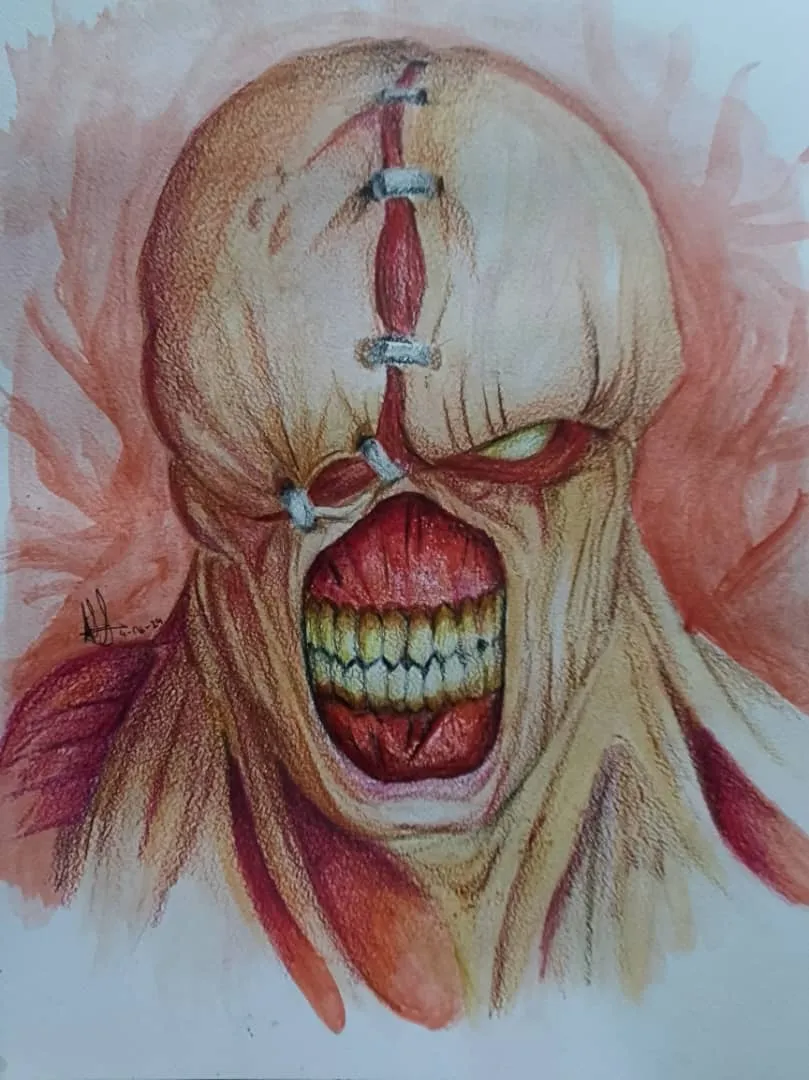
Ya terminamos con el fanart, me encanta como quedó y quiero seguir aprovechando el material para futuras ilustraciones. Espero que les haya gustado el resultado.
To finish and not leave the background too empty, I applied a layer of red gouache all over the figure.
We're done with the fanart, I love how it turned out and I want to continue using the material for future illustrations. I hope you liked the result.
¡Nos vemos la próxima!
See you next!
Traducción: Google traductor
Translation: Google translator