
Hello hivers, I hope we all have a great day. in this post I tried to make a tutorial on drawing Islamic geometry using CorelDraw, while the CorelDraw that I used to draw this is CorelDraw X7. well let's try to draw it.
The first step is to open the CorelDraw application, and this is the first appearance.

Next we select a new worksheet with the settings that I use in millimeters.

The second step is that we choose the rectangle menu or we can use F6 on the keyboard.
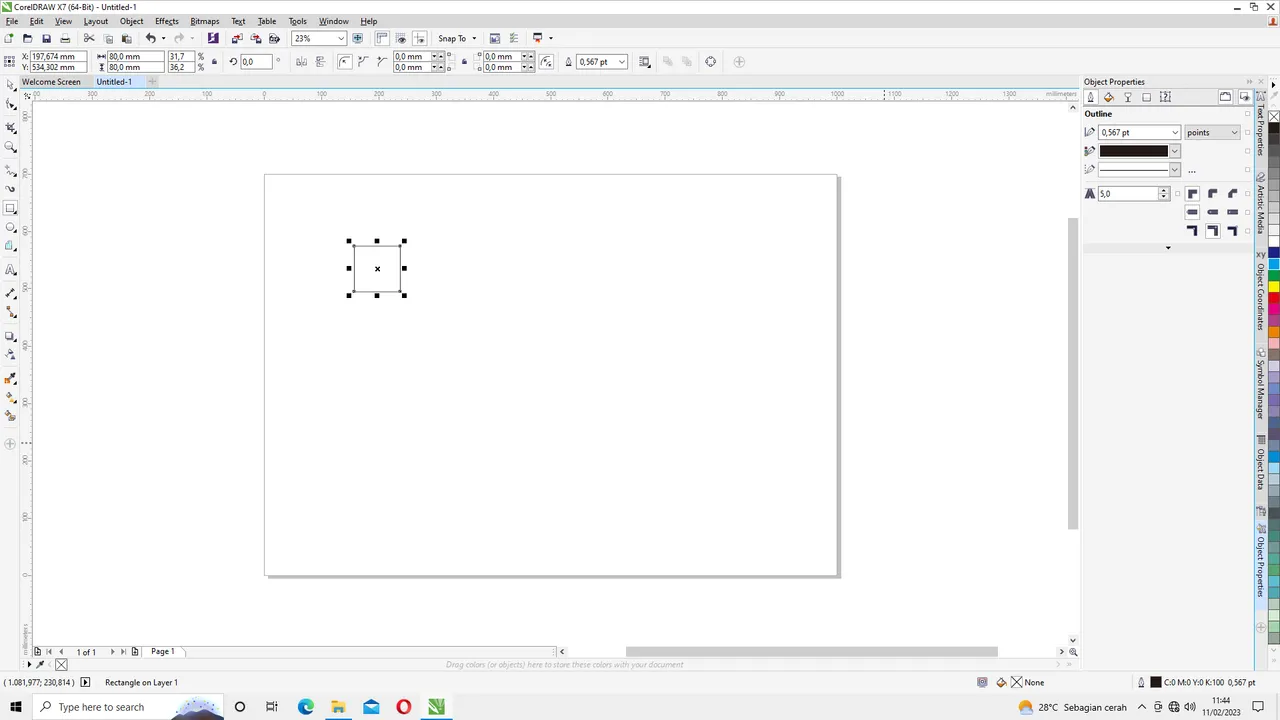
after we create a box with our rectangle menu set the size of the box at the top. here I use 80 mm high and 80 mm wide.
The next step is to add a circle image, by selecting the menu
ellipse or by using F7 on the keyboard. the same as in making the box earlier
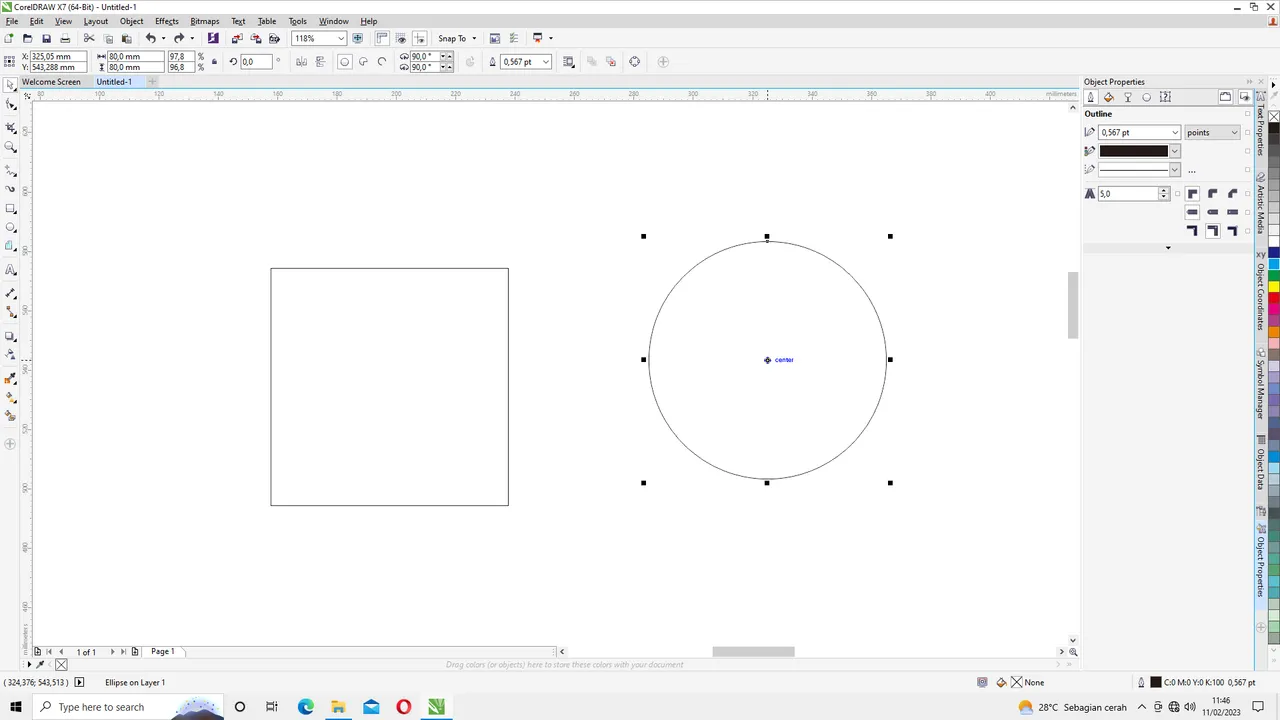
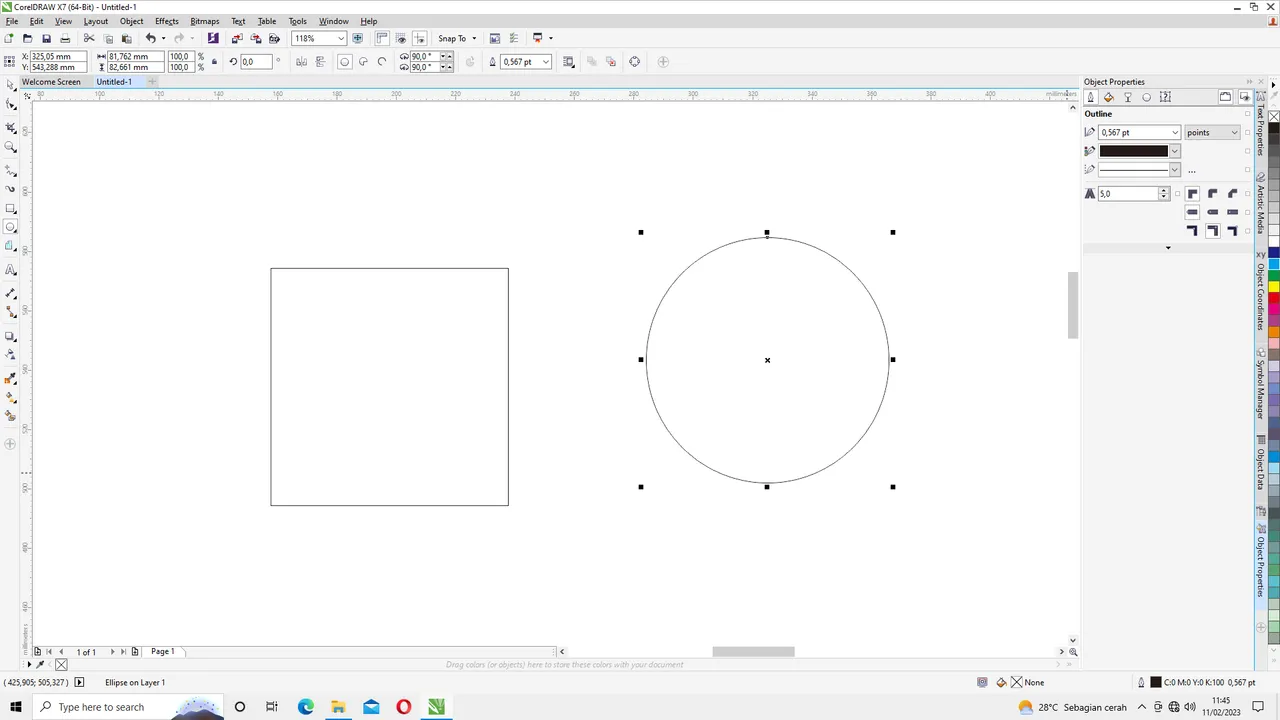 we have to use the same size so that the center point matches the box earlier. we set the circle size to 80 mm high and 80 mm wide.
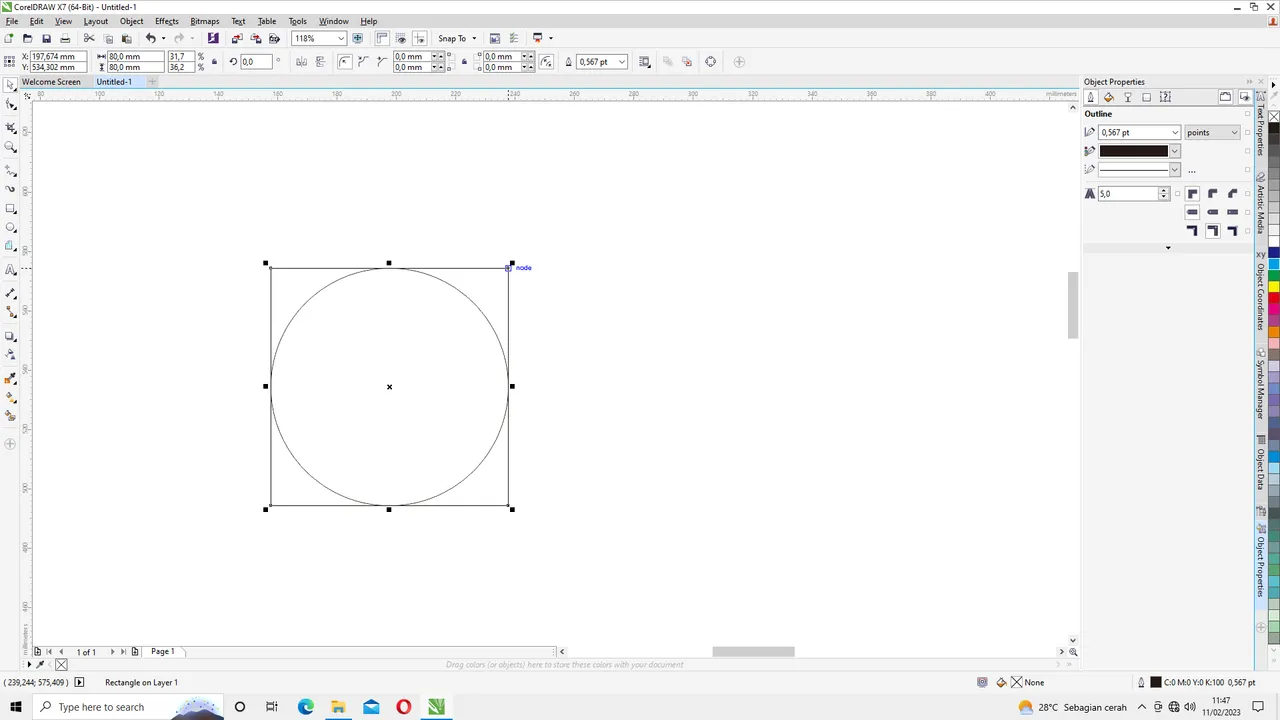
The next step is to insert the circle image into the box image. by positioning the cursor so that it exits the center mark on the circle and right click + hold + drag towards the center of the box.
then Right click on the box image then press Ctrl+C and Ctrl +V then press Shift and hold + Right click and drag the cursor until it is in the circle as shown in the picture.

if so then duplicate the square in the circle and set the slope to 45 degrees .
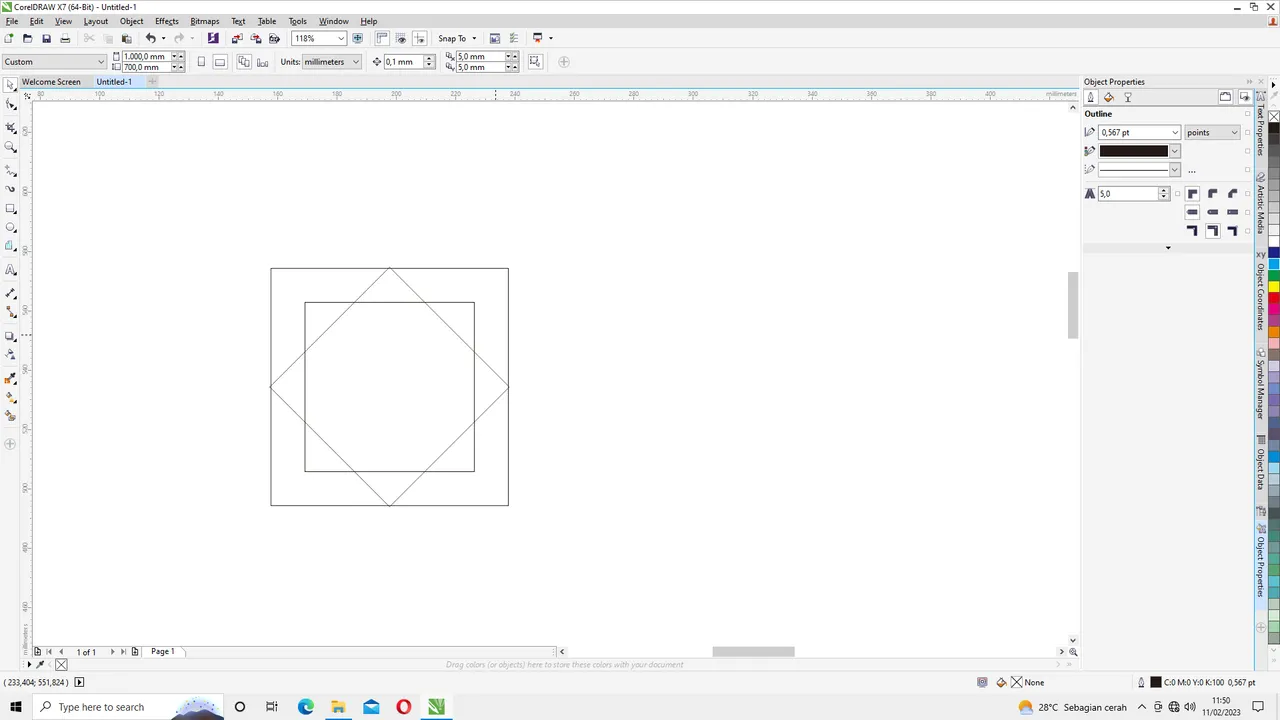
and enter it again into the circle by selecting the box selection and adjusting it to the middle position of the circle. after that delete the circle by right clicking on the circle and pressing delete.

then right click on the second box and press Shift and hold + Right click on the third box (box 45 degrees) so that the weld menu appears above then right click on the weld menu. and the result is like in the picture.
then select the box that was welded earlier, press Ctrl + C and Ctrl + V and slide it in by clicking on the right corner, press Shift and hold it then slide it in to zoom out.Repeat the previous step twice to get three boxes that have been welded 3 pieces.
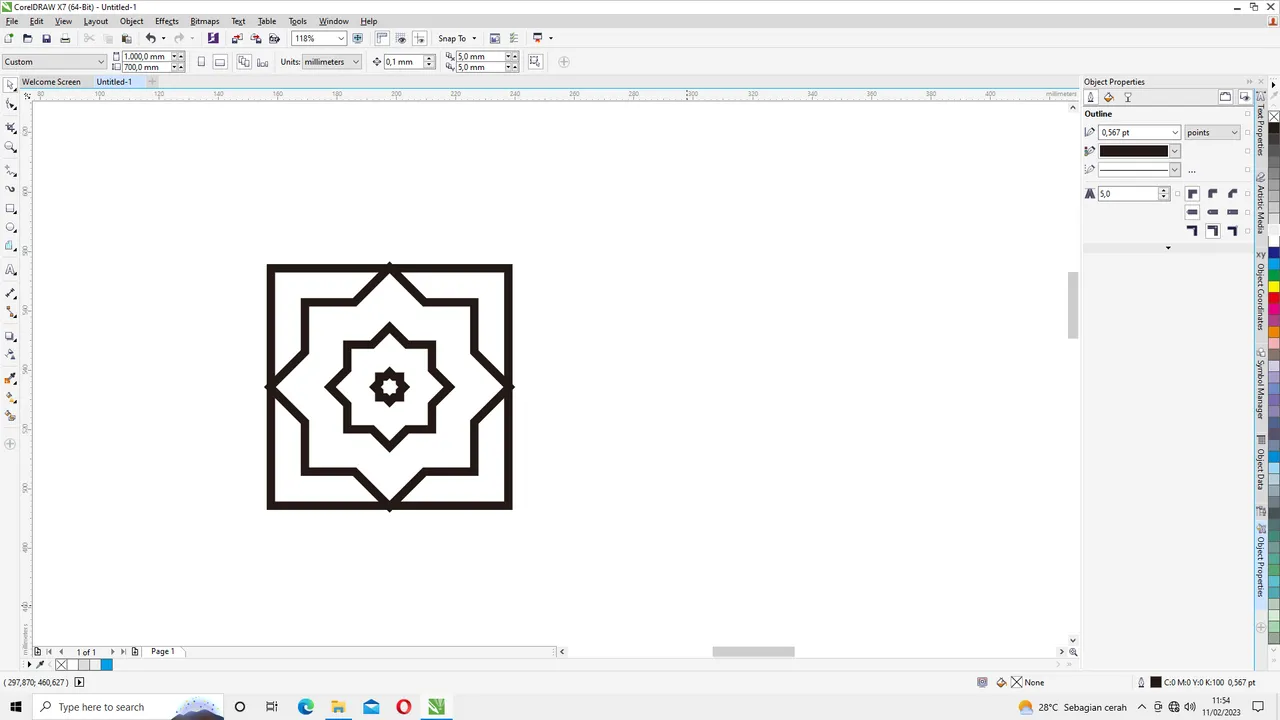
then select all the pictures then enlarge the size of the outline of the picture by giving the point size to the properties object on the right of the screen.
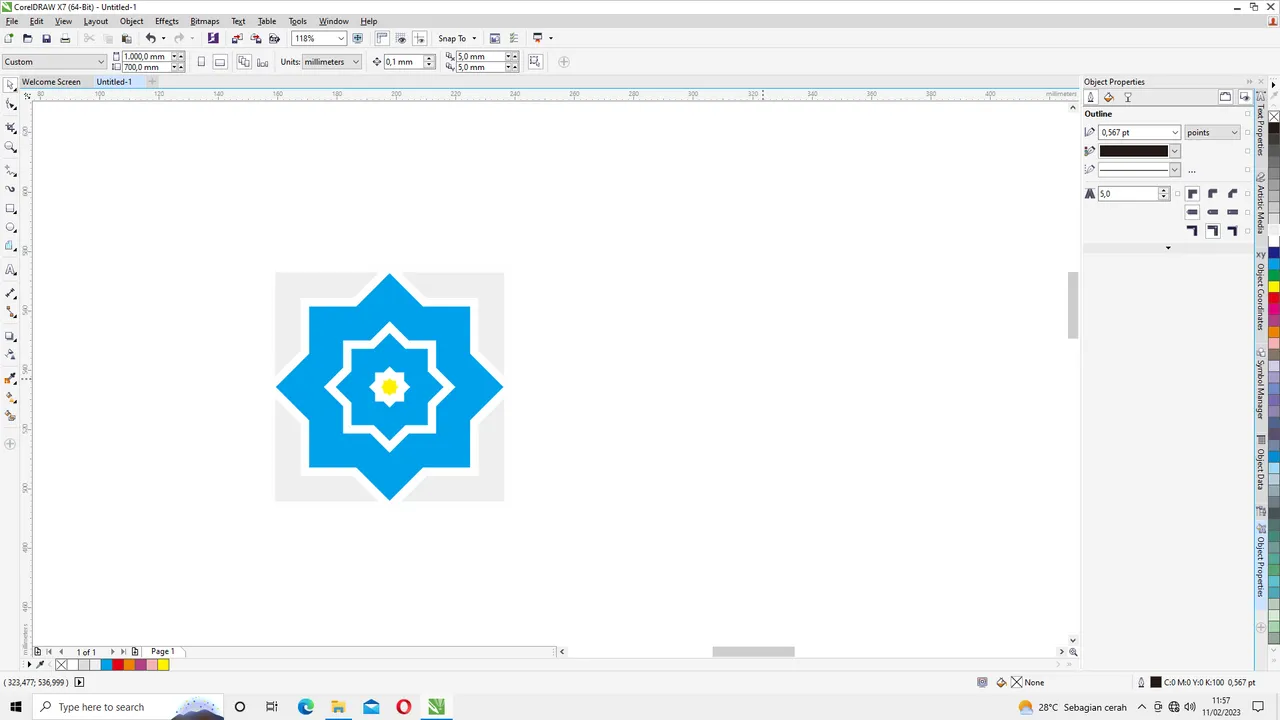
then give the color according to individual tastes on the outline and on the object.
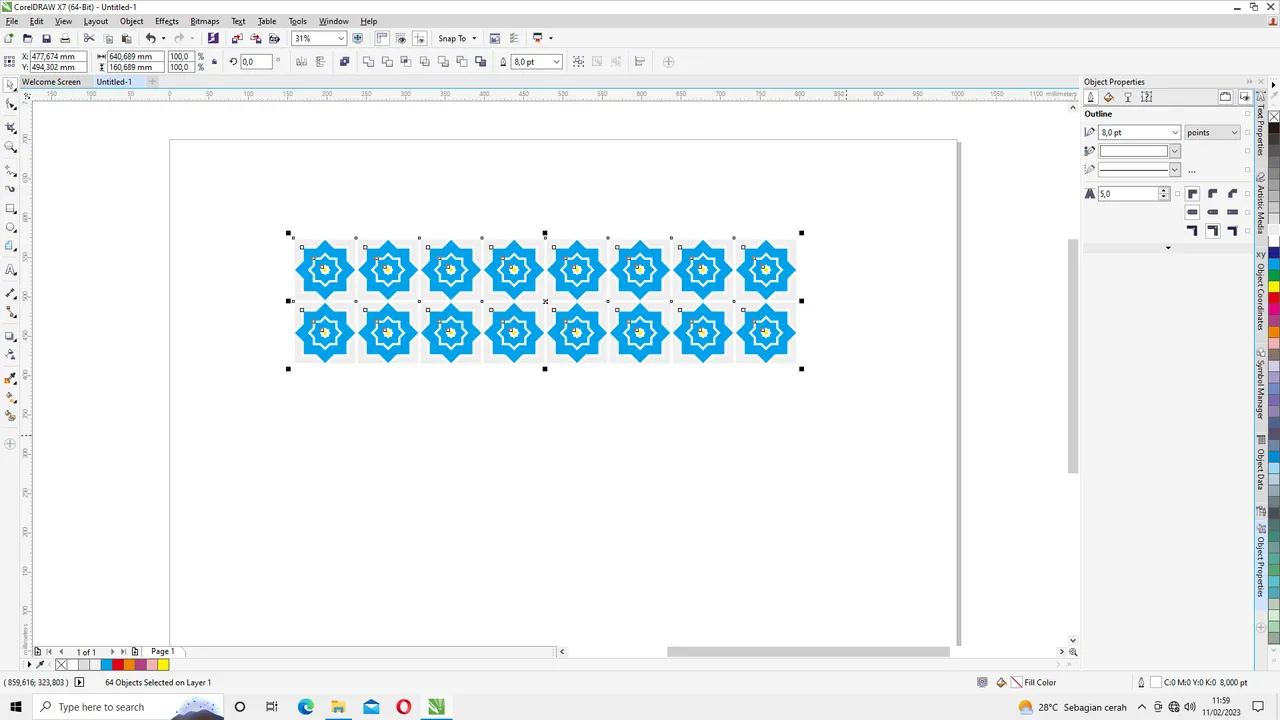
then multiply the image by pressing Ctrl+C and Ctrl+V then drag it with the right click on the mouse and hold it so that it is in the appropriate position then release the mouse.
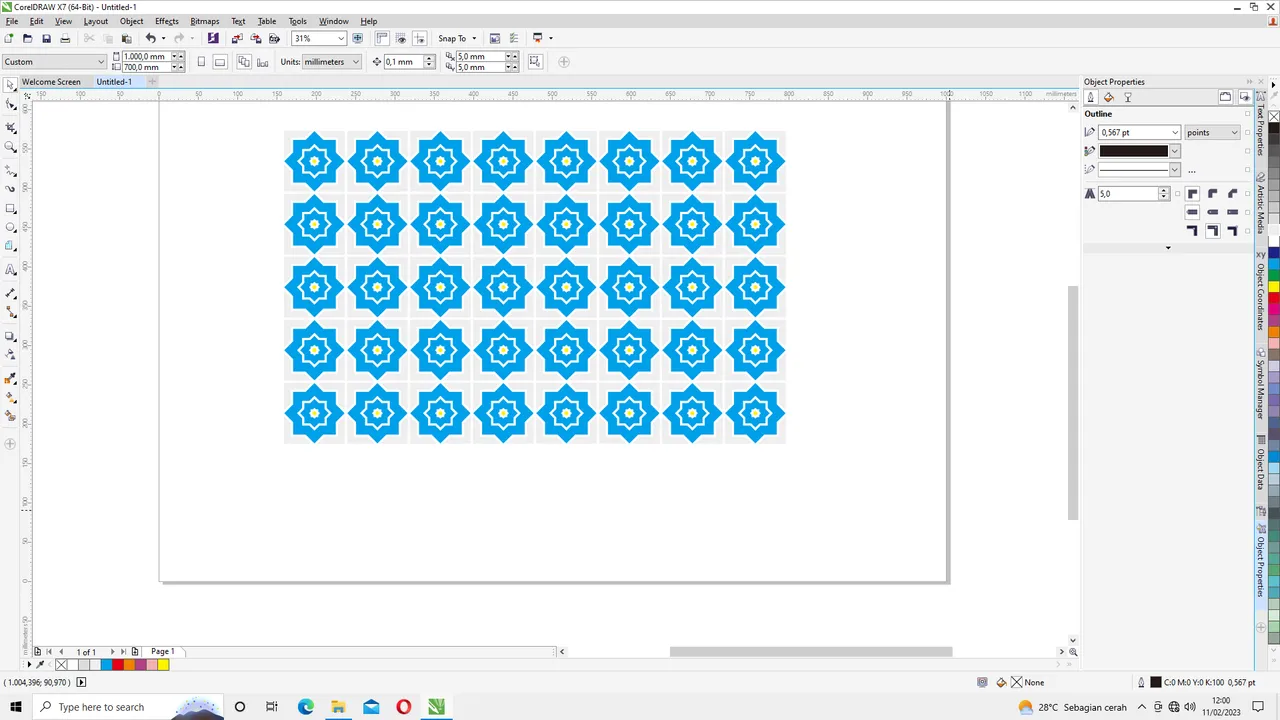
That's all for this tutorial, I hope it's useful for those of us who are just starting to learn CorelDraw. if something is wrong comment in the comments column below.
Good luck