16:9 lover here!
But you have to wait until the end of the post to see the image in its real size, so let's not waste any more time and let's talk about this new art for this Splinterlands weekly contest.
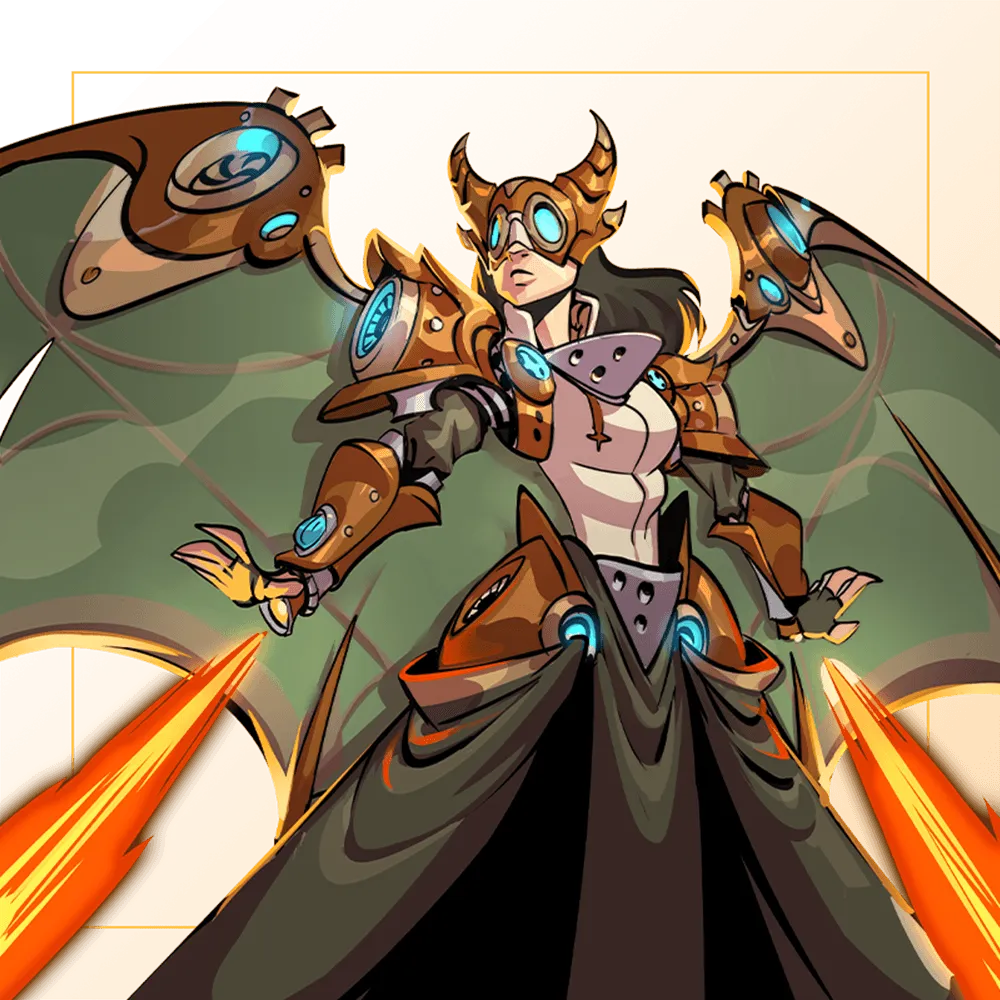
I haven't said hello yet? hello! it's great to see you again! Today I want to show you the Runic Skyclaw art I've made, it's been quite a challenge and I've been putting off this character since his armor intimidated me a bit.
It takes years of training to master one of these incredible suits powered by runic energy, and I needed patience to achieve every detail of the suit and that the flames that come out with precision from the hands looked great and could rival the fire of a real dragon.

Play Splinterlands Now❕

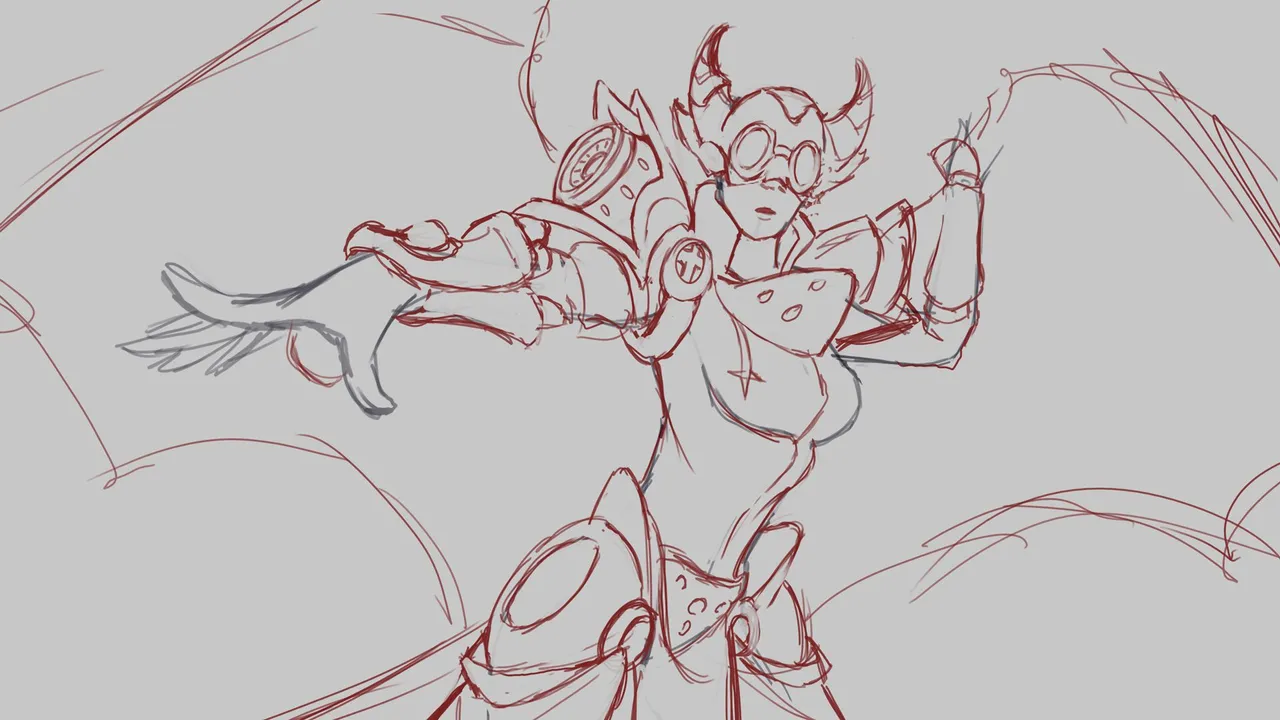
-Step 1:
For this occasion I wanted the character to occupy the whole canvas, but at the same time I wanted the image format to be 16:9, so I tried to establish the character in a dynamic pose where there was nothing more than the main character.
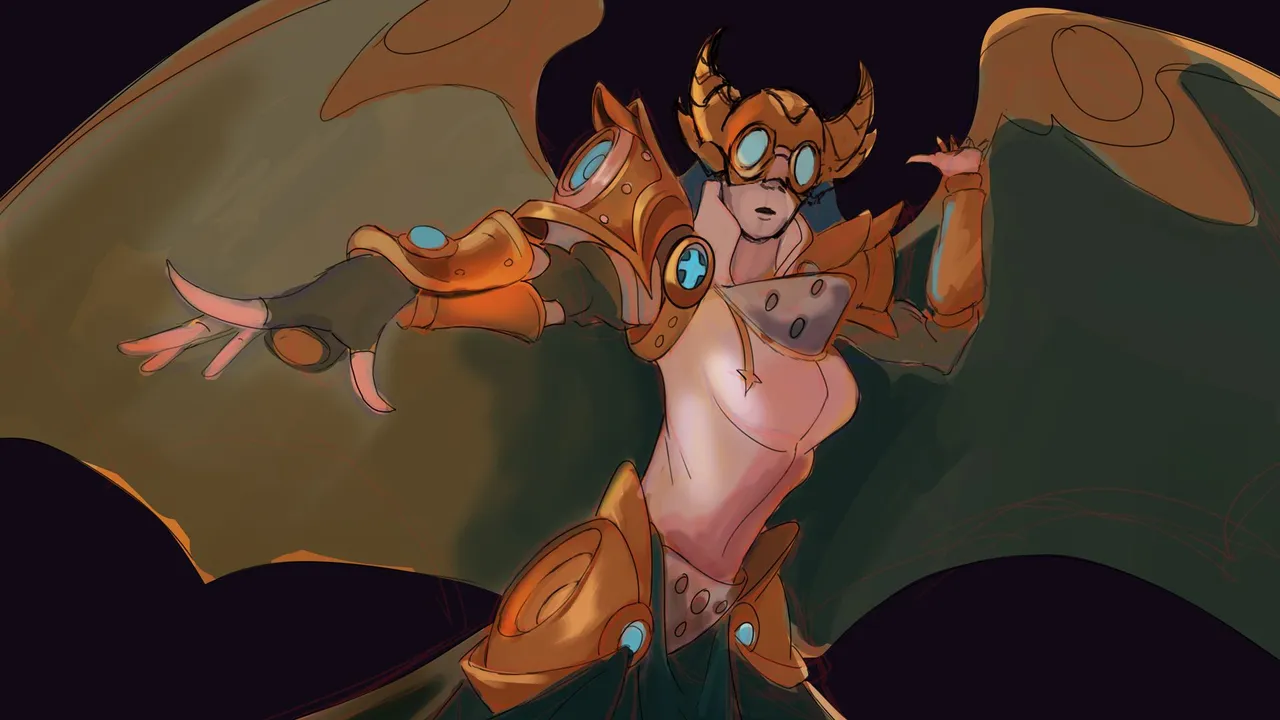
-Step 2:
Starting from the sketch, in a new layer I proceeded to give the base colors of the suit, and the background I gave a dark tone to just focus on the character, something that did not fit me too much was the color of the chest and neck of the suit and the skin tone as they were very similar, but at this point I was not going to worry about that.
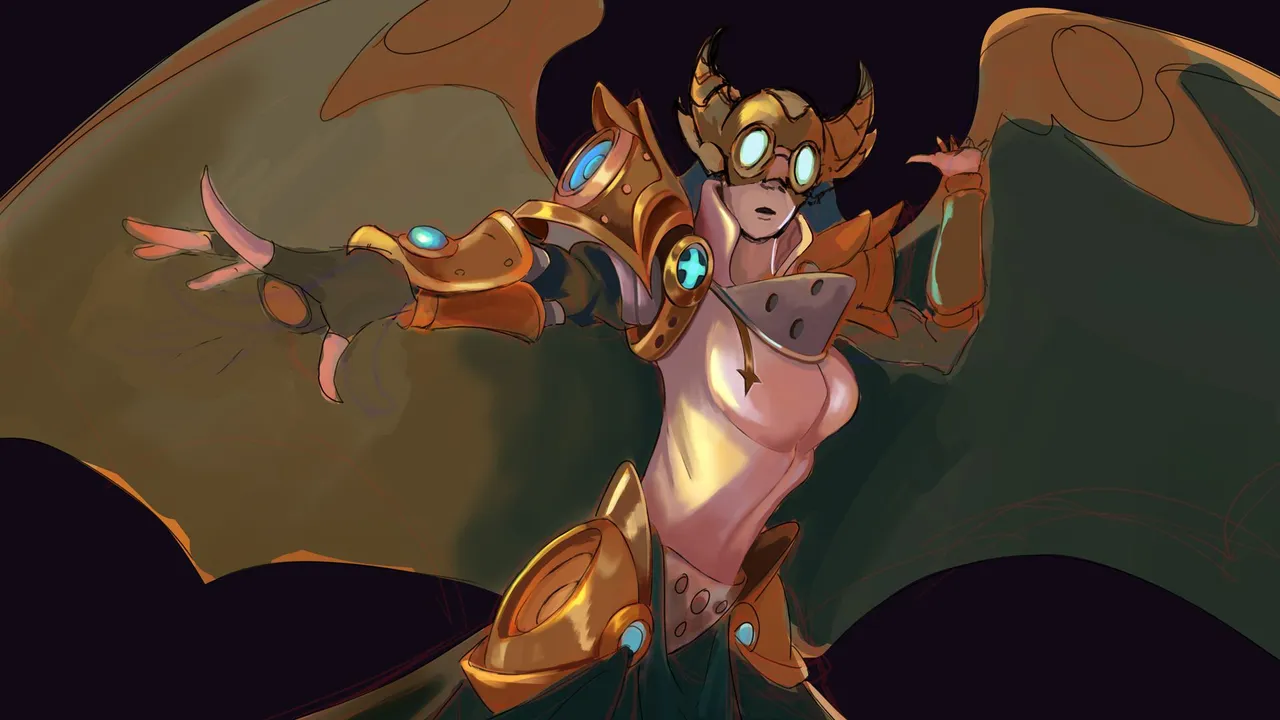
-Step 3:
Something silly that worried me was that the jet of fire would burn the hand of the girl wearing the suit, so I decided to change the position of the hand a bit. Then I progressively worked on the armor, taking special attention on the shoulder thruster, as this would be an important point of attention due to the blue illumination emanating from it, plus it's right next to the head. On the other hand, I thought it would be great to give a metal look to the protection that the suit has on the chest.
 |  |
|---|
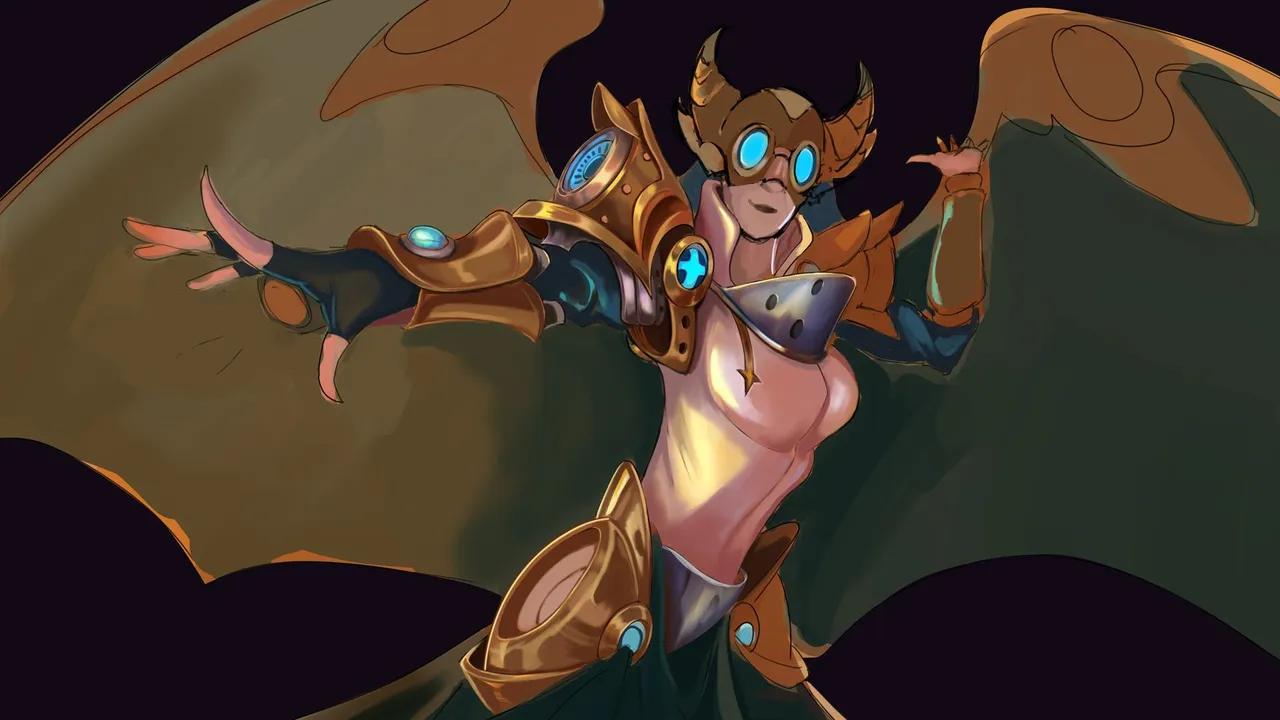
-Step 4:
With a lot of patience I built all the metal of the suit, always using three shades of color to establish the light, medium and dark tone of each piece of armor, it is always important to work using that tonal configuration to achieve metal textures, and then you can add other colors to emulate reflections on the surface of the suit. Earlier I talked about the problem that the color of the suit and the skin tone I wanted to use were practically the same and how I solved it? I only gave prominence to the mouth by painting the lips a deep pink and making the edges of the suit shiny.
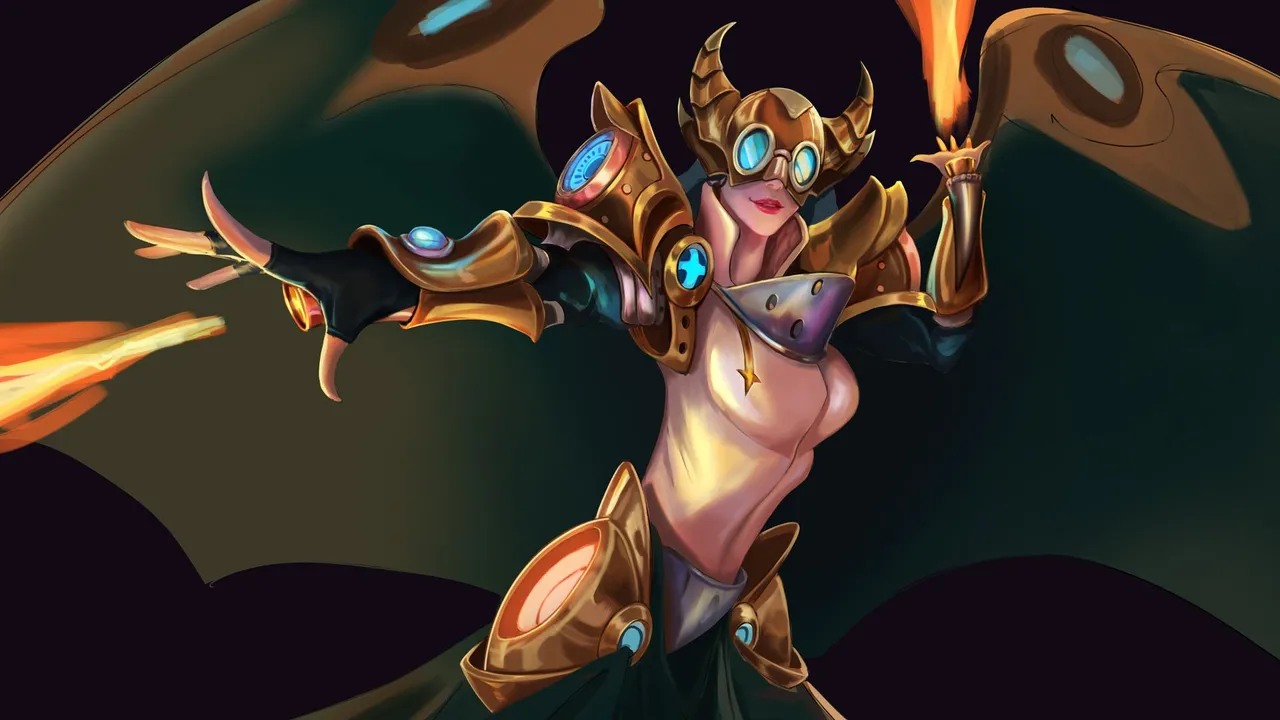
-Step 5:
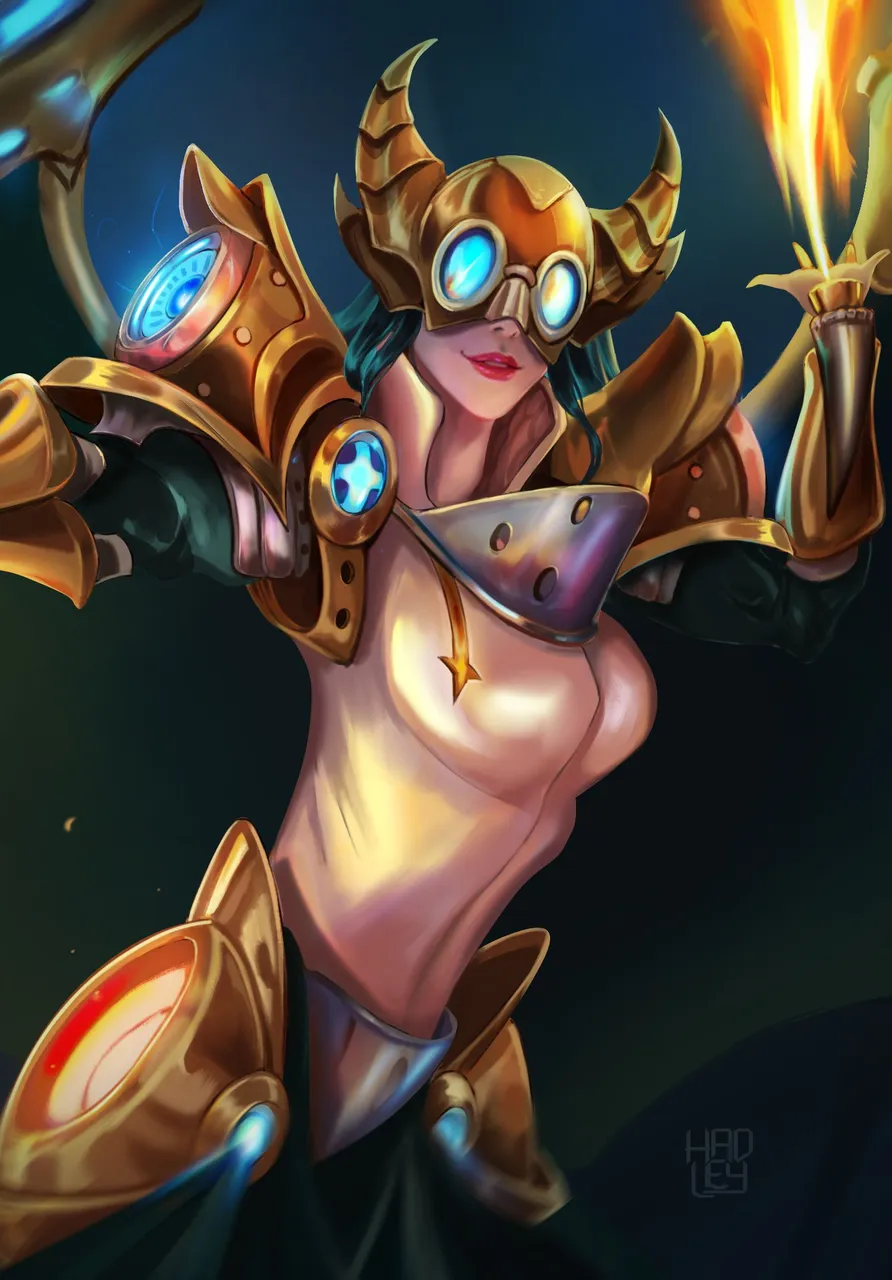
And before going to see the complete result of this art, it is important to talk about what I didn't want to give prominence to, the wings, after having worked on all the metal of the armor, what I didn't want to detail was the propellers of the wings, so I only painted the most prominent features and let the blur do the magic of blending everything and hide the fast painting. Also I couldn't give focus to the wings because I wanted the view to go straight to the flames, to make them brighter I had to use a layer set to the "color dodge" blending mode as this makes anything glow immediately, and to generate more contrast, I darkened the scene a bit, so now those flames look powerful!
And yes! finally here is the complete scene, I hope you like it!
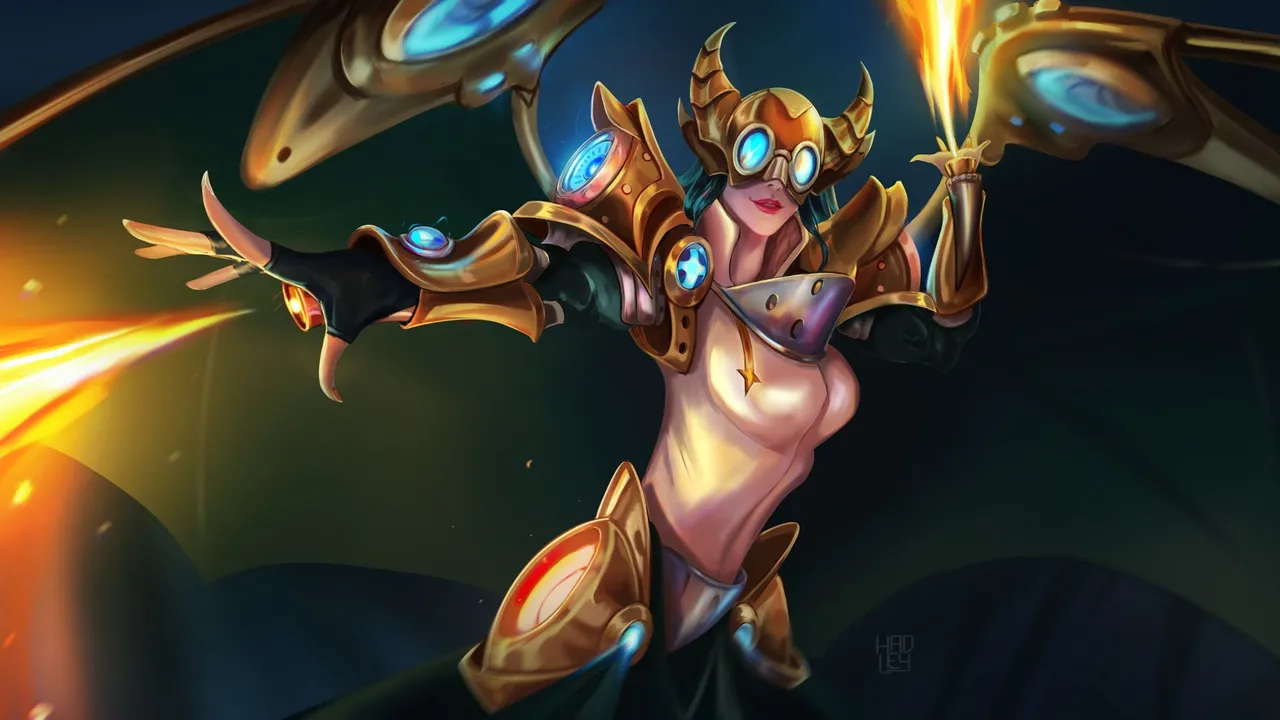
I will leave you a GIF with the whole process on it, so you can better appreciate the illustration process.


See you in a future post!
Thank You for Supporting My Artwork
▶️  |
| |
| |
| |
| |
| ◀️
◀️
TWITTER | GHOSTMARKET |TERRA VIRTUA |NFT SHOWROOM | INSTAGRAM | FACEBOOK
⬆️ Follow ⬆️