
[Esp]
¡Saludos comunidad!
Llevo días en este diseño, o más bien debo decir: Este diseño me llevó días hacerlo, tiene muchos detalles y cierto grado de dificultad.
Hablemos de mi inspiración:
Volver a mis dibujos antiguos, las caricaturas, las flores de huevo y lo "sencillo".
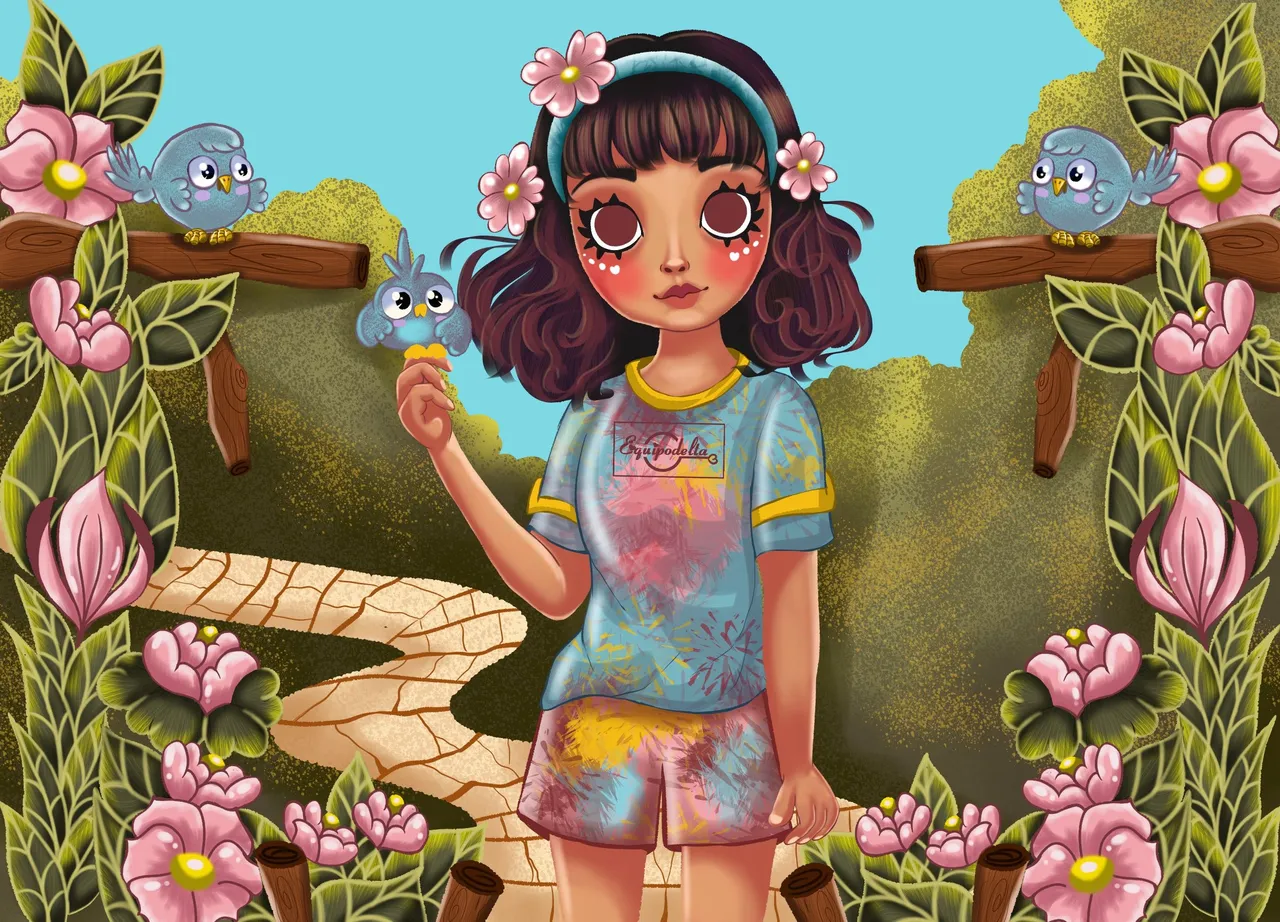
También pensé en muchas palomitas, pajaritos, pajaritos gorditos rellenos como una pelotita con los ojos gigantes.
Como siempre, mis dibujos tienen símbolos, cosas asociadas a mi vida personal.
Flores: Dentro de mí hay primavera, estoy disfrutando de cada cosa que hago y vivo como si fuera una niña pequeñita, con la alegría y la inocencia, lo vivo al máximo.
El camino: Lo que he recorrido hasta llegar aquí, a este punto de mi vida.
Las Aves: La libertad plena que estoy viviendo, sintiendo y disfrutando.
El cielo: Mi conexión con el universo, mi espiritualidad.
Por su puesto que la mirada, la expresión facial de mi personaje, allí inyecto mis emociones mas lindas y positivas.
Ahora los invito a ver mi paso a paso.
! [English version]
Greetings community!
I have been working on this design for days, or rather I should say: This design took me days to make, it has many details and a certain degree of difficulty.
Let's talk about my inspiration:
Going back to my old drawings, cartoons, egg flowers and "simple".
I also thought of lots of popcorn, little birds, chubby little birds stuffed like a little ball with giant eyes.
As always, my drawings have symbols, things associated with my personal life.
Flowers: Inside me there is spring, I am enjoying everything I do and I live as if I were a little girl, with joy and innocence, I live it to the fullest.
The road: What I have traveled to get here, to this point in my life.
The Birds: The full freedom I am living, feeling and enjoying.
The sky: My connection with the universe, my spirituality.
Of course the look, the facial expression of my character, there I inject my most beautiful and positive emotions.
Now I invite you to see my step by step.

Paso a paso / Step by Step
Step 1️⃣/ Paso 1️⃣
 |  |
[Esp]
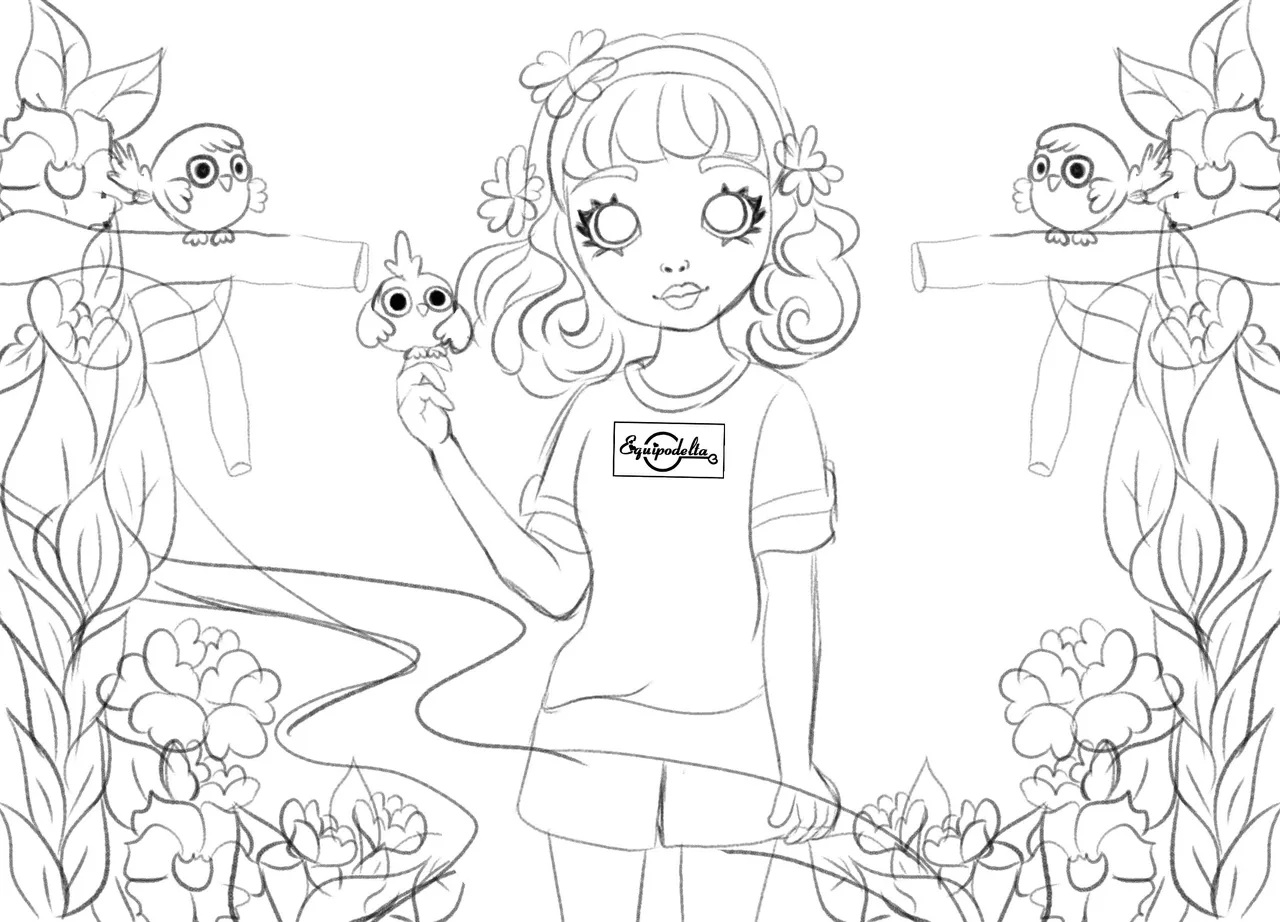
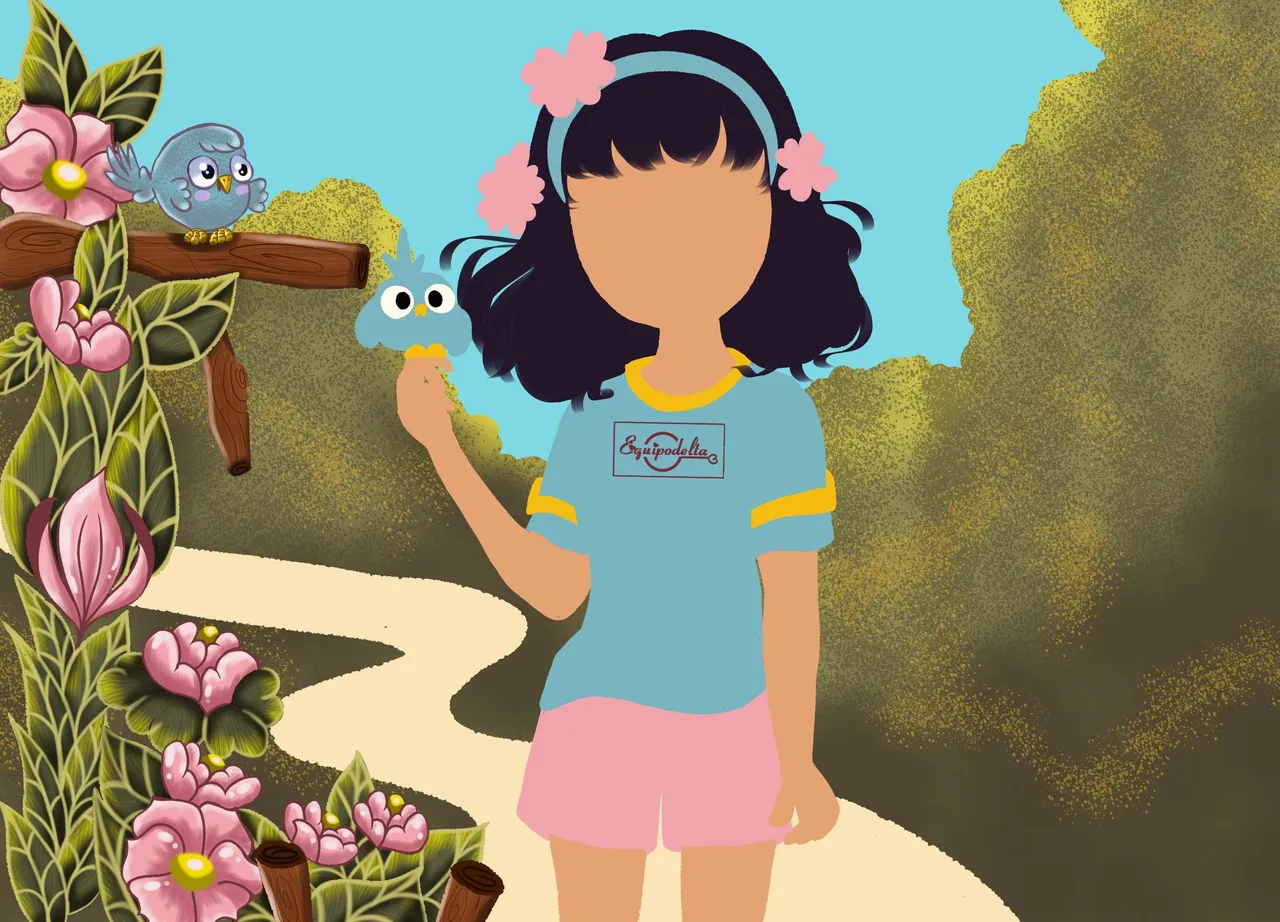
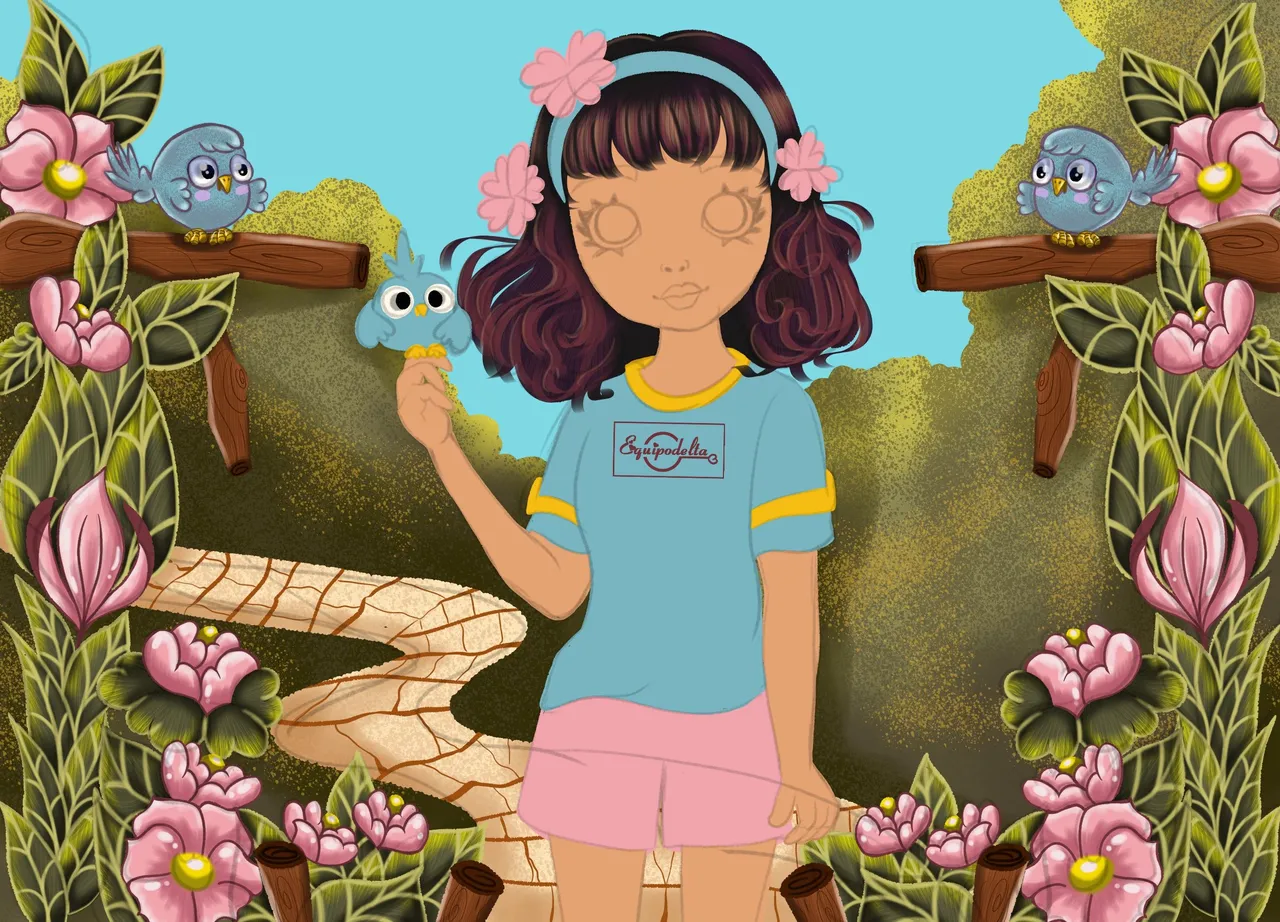
Boceto: comencé por el lado izquierdo, fui dibujando las hojas, las flores, luego la rama y el pajarito, ya había invertido mucho tiempo en el ese lado del dibujo, pensé que si hacía algo diferente del otro lado no quedaría bien por lo cual, reproduje esa sección para invertirla y colocarla del otro lado. Dibujé el camino o la colina y luego el personaje central con un pajarito divertido en la mano, quería que el cabello tenga esa soltura ese movimiento, esto va a estar difícil.
Este diseño me pareció desde su boceta algo muy artístico, por lo cual ya tenía una idea loca acerca de cómo iba a decorar su ropa.
Realizo el color base, que como pueden ver, solo pinté una sección de las flores a la izquierda.
En el siguiente paso apliqué los detalles a las hojas, sombreado y luz, había hecho un lineart oscuro en las hojas pero no quedaba bien así que lo sustituí por las vetas en color claro.
Para el siguiente paso utilicé la misma técnica anterior en las flores, luego en las ramas.
! [English version]
Sketch: I started on the left side, I drew the leaves, the flowers, then the branch and the bird, I had already invested a lot of time on that side of the drawing, I thought that if I did something different on the other side it would not look good, so I reproduced that section to reverse it and place it on the other side. I drew the road or the hill and then the central character with a funny little bird in his hand, I wanted the hair to have that looseness that movement, this is going to be difficult.
This design seemed to me from her sketch something very artistic, so I already had a crazy idea about how I was going to decorate her clothes.
I did the base color, which as you can see, I only painted a section of the flowers on the left.
In the next step I applied the details to the leaves, shading and light, I had done a dark lineart on the leaves but it didn't look right so I replaced it with the light colored streaks.
For the next step I used the same technique on the flowers, then on the branches.

Step 2️⃣/ paso 2️⃣
 |  |
[Esp]
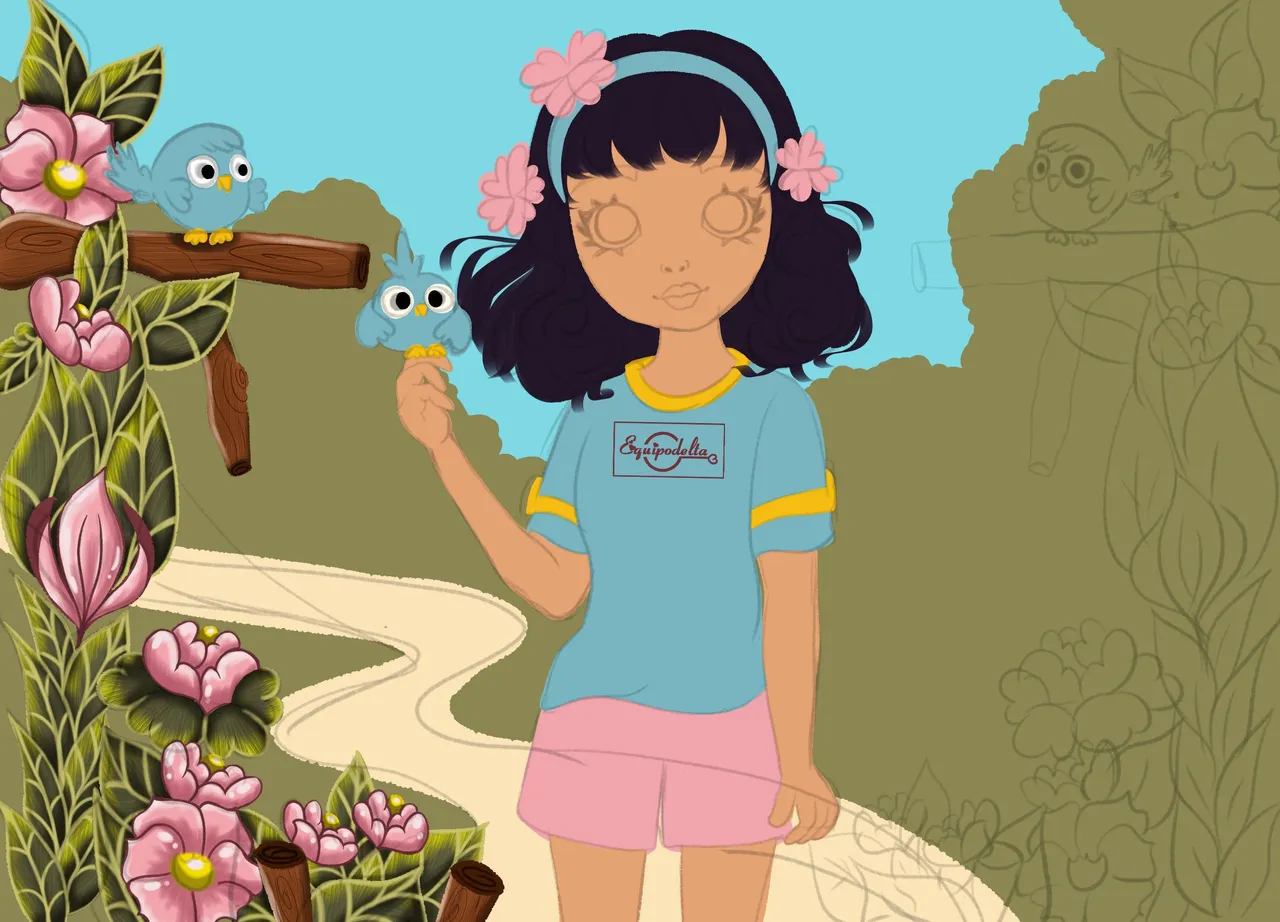
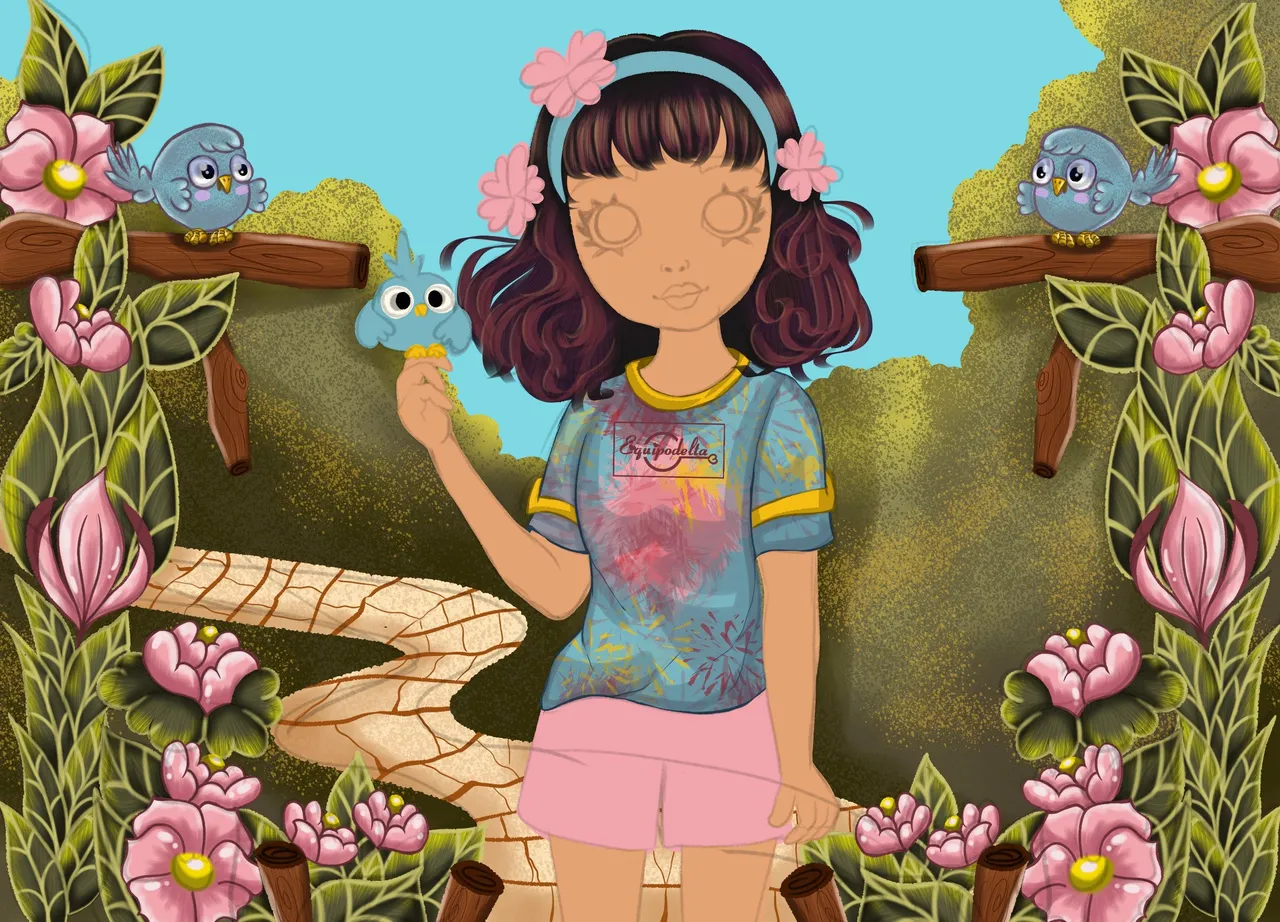
Apliqué pulverización en el follaje, algo de aerografía para sombrear y aplico los detalles al pajarito para dejar el lado izquierdo listo.
Una vez terminado el lado izquierdo, copio la carpeta y el diseño se copia en su totalidad, lo siguiente es voltearlo y clocarlo del otro lado, esto nos ahorra trabajo, también hace que se vea más armonioso.
No tenía idea de cómo pintar el camino, se me ocurrió hacerle unas vetas y aplicarle un simple sombreado. Creo que ya terminé con el fondo, así que apliqué los detalles al cabello, usando aerografía y mi pincel pelo en degradado de color. Aún no logro que el cabello tenga movimiento y soltura.
El siguiente paso corresponde a los detalles de la ropa, quería mantener la misma paleta de colores de todo el diseño, como me parece muy artístico el diseño, quise integrarle a la camisa manchas de pintura, eso lo hice un un pincel de texturas de Medibang, luego apliqué sombreado.
! [English version]
I sprayed the foliage, applied some airbrushing for shading and applied the details to the birdie to get the left side ready.
Once the left side is finished, I copy the folder and the design is copied in its entirety, the next thing is to flip it and sew it on the other side, this saves us work, it also makes it look more harmonious.
I had no idea how to paint the path, so I thought I'd do some streaks and apply some simple shading. I think I'm done with the background, so I applied the details to the hair, using airbrushing and my color gradient hair brush. I still can't get the hair to have movement and looseness.
The next step corresponds to the details of the clothes, I wanted to keep the same color palette of the whole design, as I find the design very artistic, I wanted to integrate paint stains to the shirt, I did that with a Medibang texture brush, then I applied shading.
Step 3️⃣/ paso 3️⃣
 |  |
[Esp]
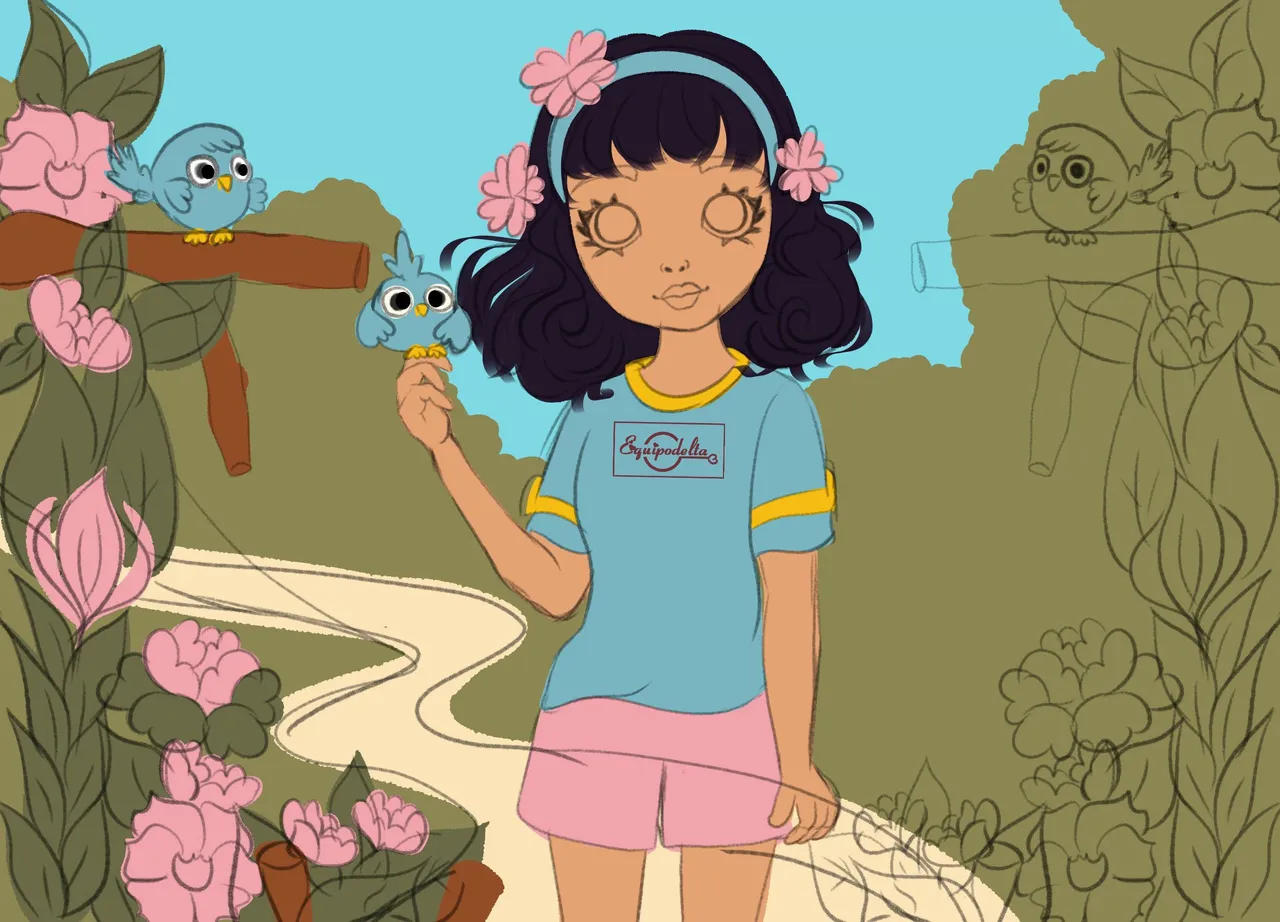
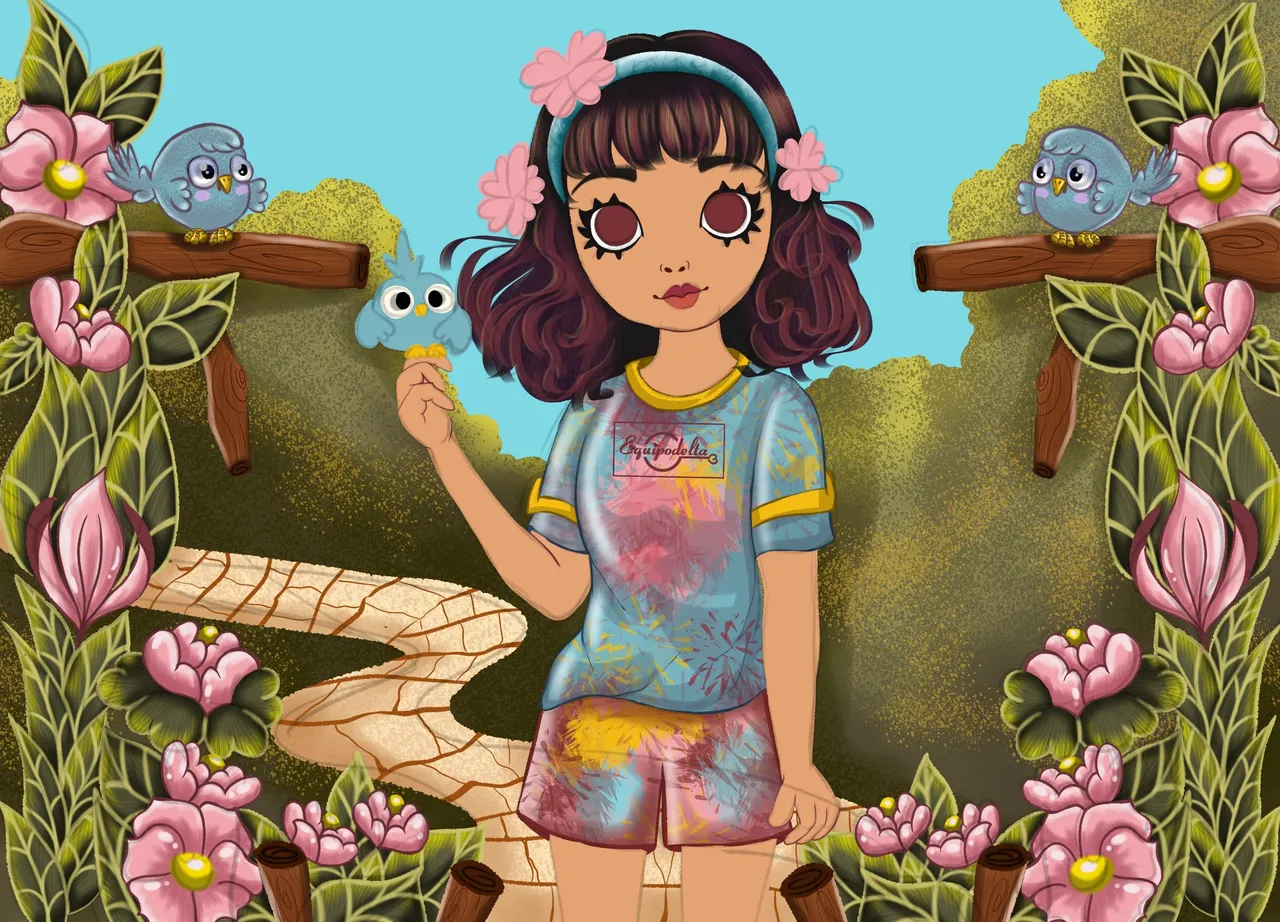
Estaba quedando complacida con los resultados del diseño, ahora hice varias pausas durante días.
Continué con los detalles del short, para ello apliqué la misma técnica de la camisa.
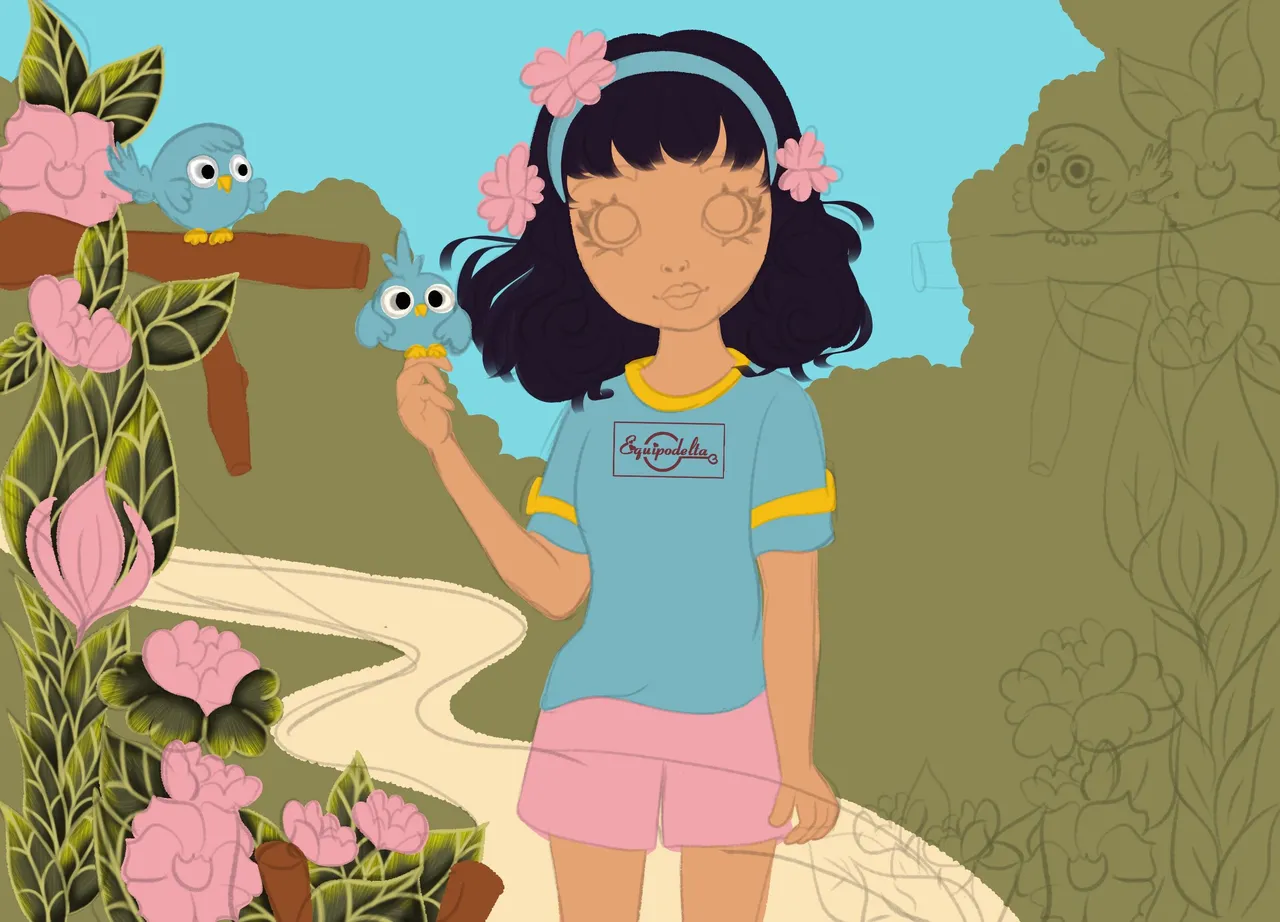
Era necesario realizar la base de los ojos, nariz y labios para proceder a dar el sombreado de la piel, el cual fue realizado con aerografía.
! [English version]
Estaba quedando complacida con los resultados del diseño, ahora hice varias pausas durante días.
Continué con los detalles del short, para ello apliqué la misma técnica de la camisa.
Era necesario realizar la base de los ojos, nariz y labios para proceder a dar el sombreado de la piel, el cual fue realizado con aerografía.
Step 4️⃣/ paso 4️⃣
[Esp]
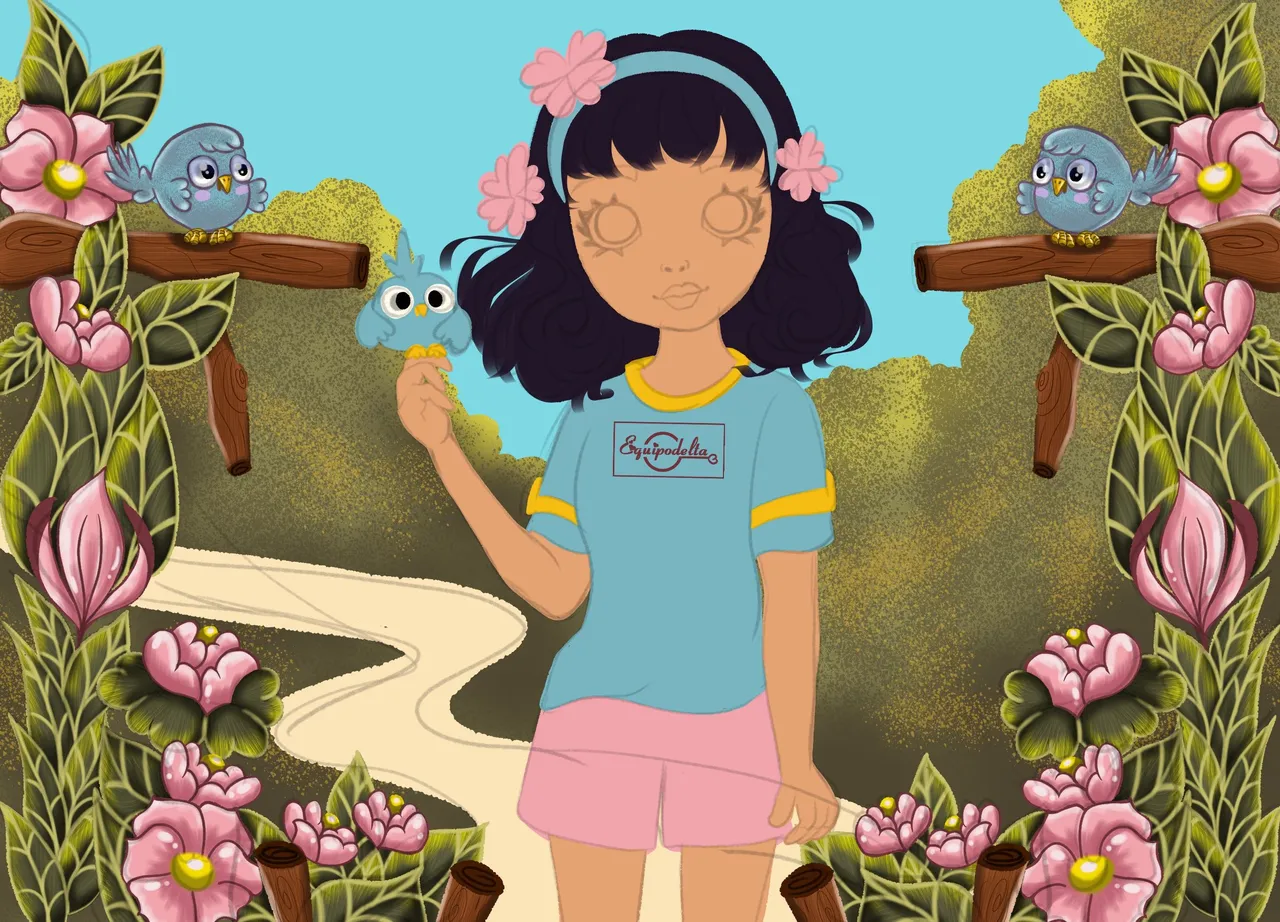
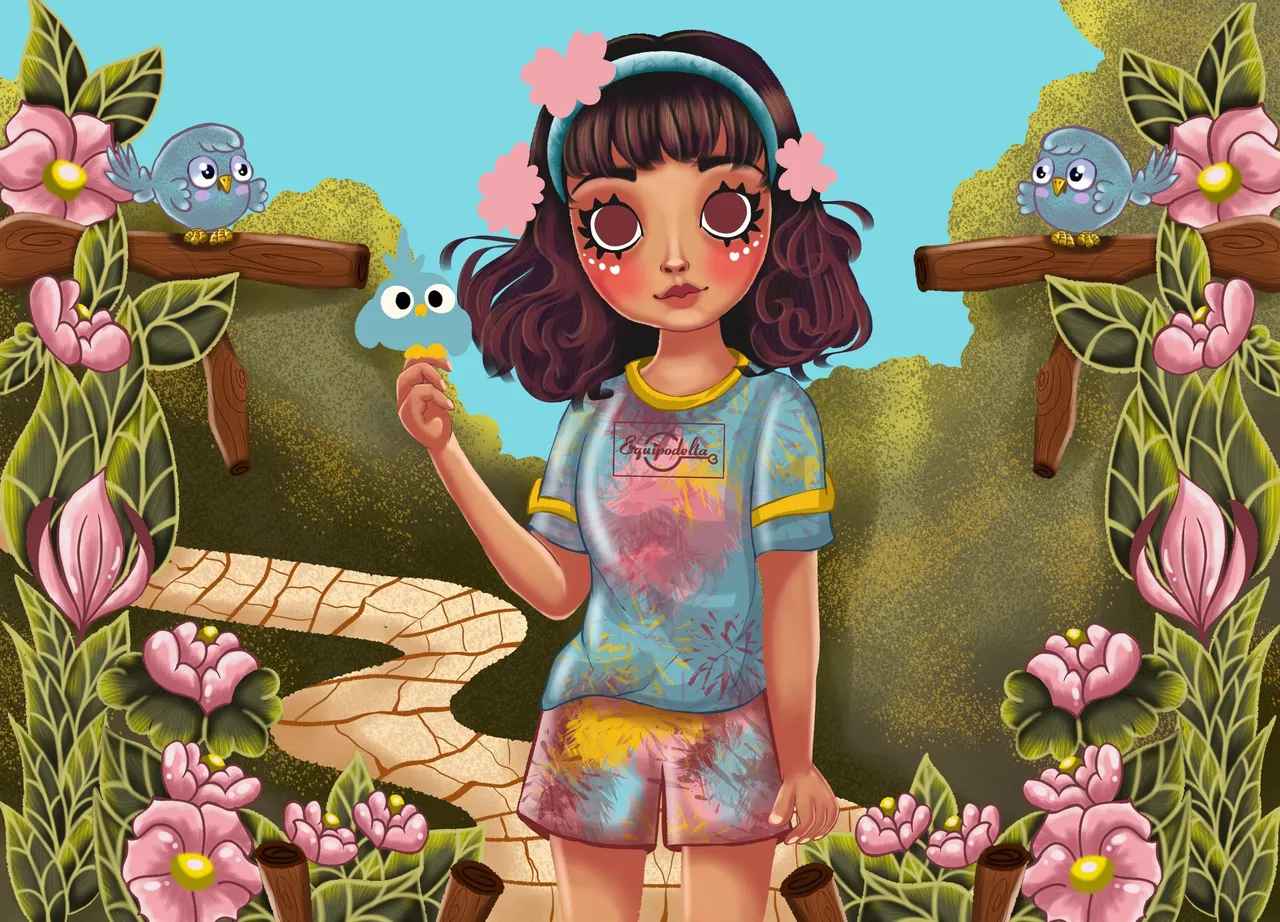
Últimos pasos:
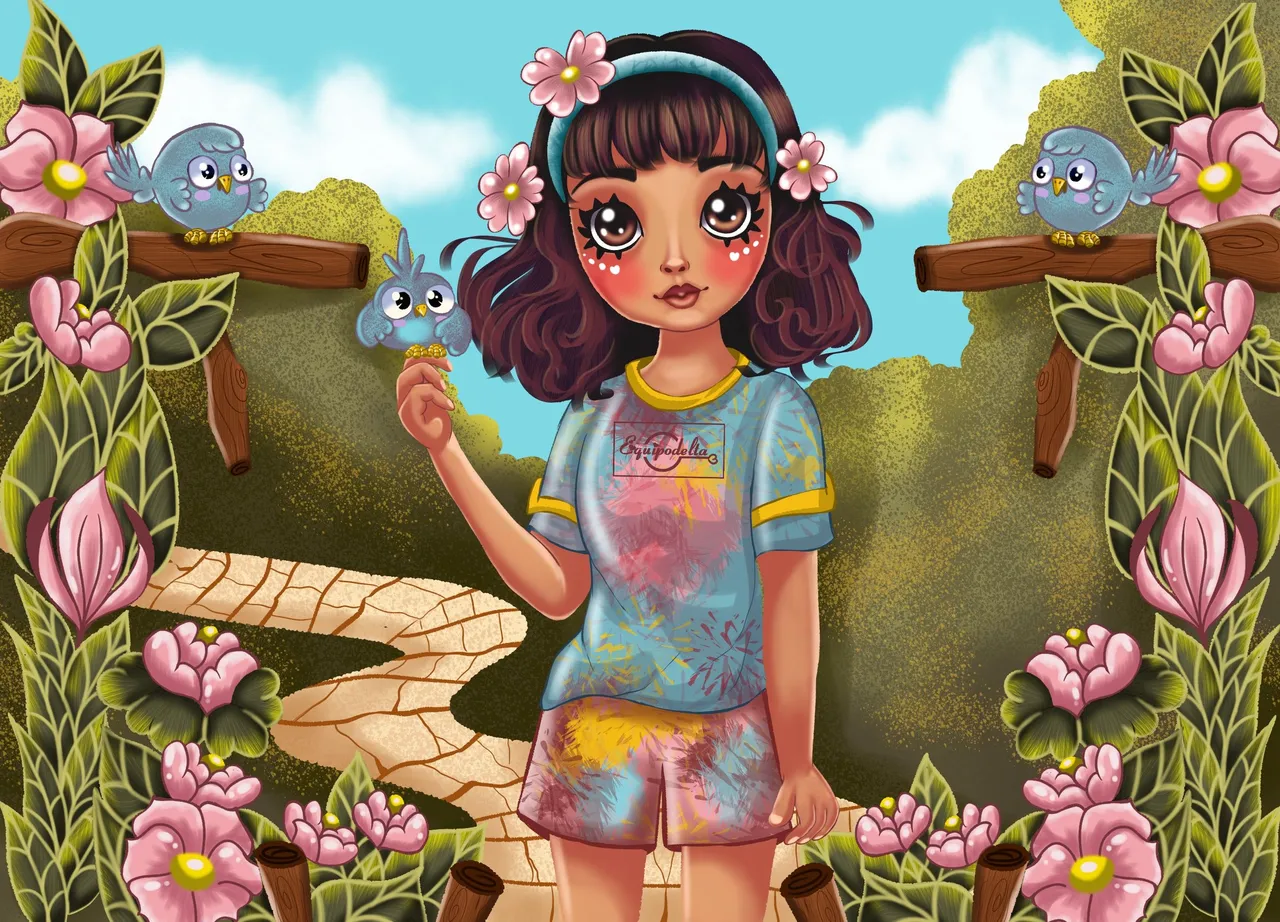
Aplico los detalles de los ojos y labios al estilo kawaii.
Sombreado y luz en el cintillo junto a las flores.
El cielo no podía quedarse sin detalles por lo cual, dibujé unas nubes detrás.
Espero que les guste, lo disfruté mucho de hacer a pesar que tardé días en poder terminarlo, sin embargo valió la pena.
Nos vemos en mi siguiente publicación.
! [English version]
Last steps:
I apply the kawaii style eye and lip details.
Shading and light in the headband next to the flowers.
The sky couldn't be left without details so I drew some clouds behind it.
I hope you like it, I enjoyed doing it a lot even though it took me days to finish it, but it was worth it.
See you in my next publication.

Créditos / Credits

💜💜💜
![]() 👉
👉  👉
👉 ![]() 👉
👉 ![]() 👉
👉 
Here / Bríndame un café