Hola comunidad querida!! 👋😉🌷❤️😙 Les doy la bienvenida a este nuevo post que comparto para todos ustedes! Excelte noche para todos!🌹💕
Hello dear community! 👋😉🌷❤️😙 I welcome you to this new post that I share for all of you! Excellent night for everyone!🌹💕

En esta noche quise compartirles esta pieza llena de colores, me hacía falta volver hacer algo así, que sobresalté al ojos. Que los colores te transporten a un lugar o sentir, y siento calidez al ver esta pieza, que quise representarla bajo un agua de matices y texturas de la vida, titulandolo así Alas en Tintura, el maravilloso proceso de otorgar determinados colores a algo, espero lo disfruten y les guste este hermoso proceso de elaboración que me trajo mucha calma. 😙🍃😌❤️🌷
Tonight I wanted to share this piece full of colors, I needed to do something like this again, it startled my eyes. May the colors transport you to a place or feel, and I feel warmth when I see this piece, which I wanted to represent under a water of nuances and textures of life, naming it like this Alas en Tintura, the wonderful process of giving certain colors to something, I hope Enjoy it and like this beautiful manufacturing process that brought me a lot of calm. 😙🍃😌❤️🌷

Etapas del Dibujo/Drawing Stages
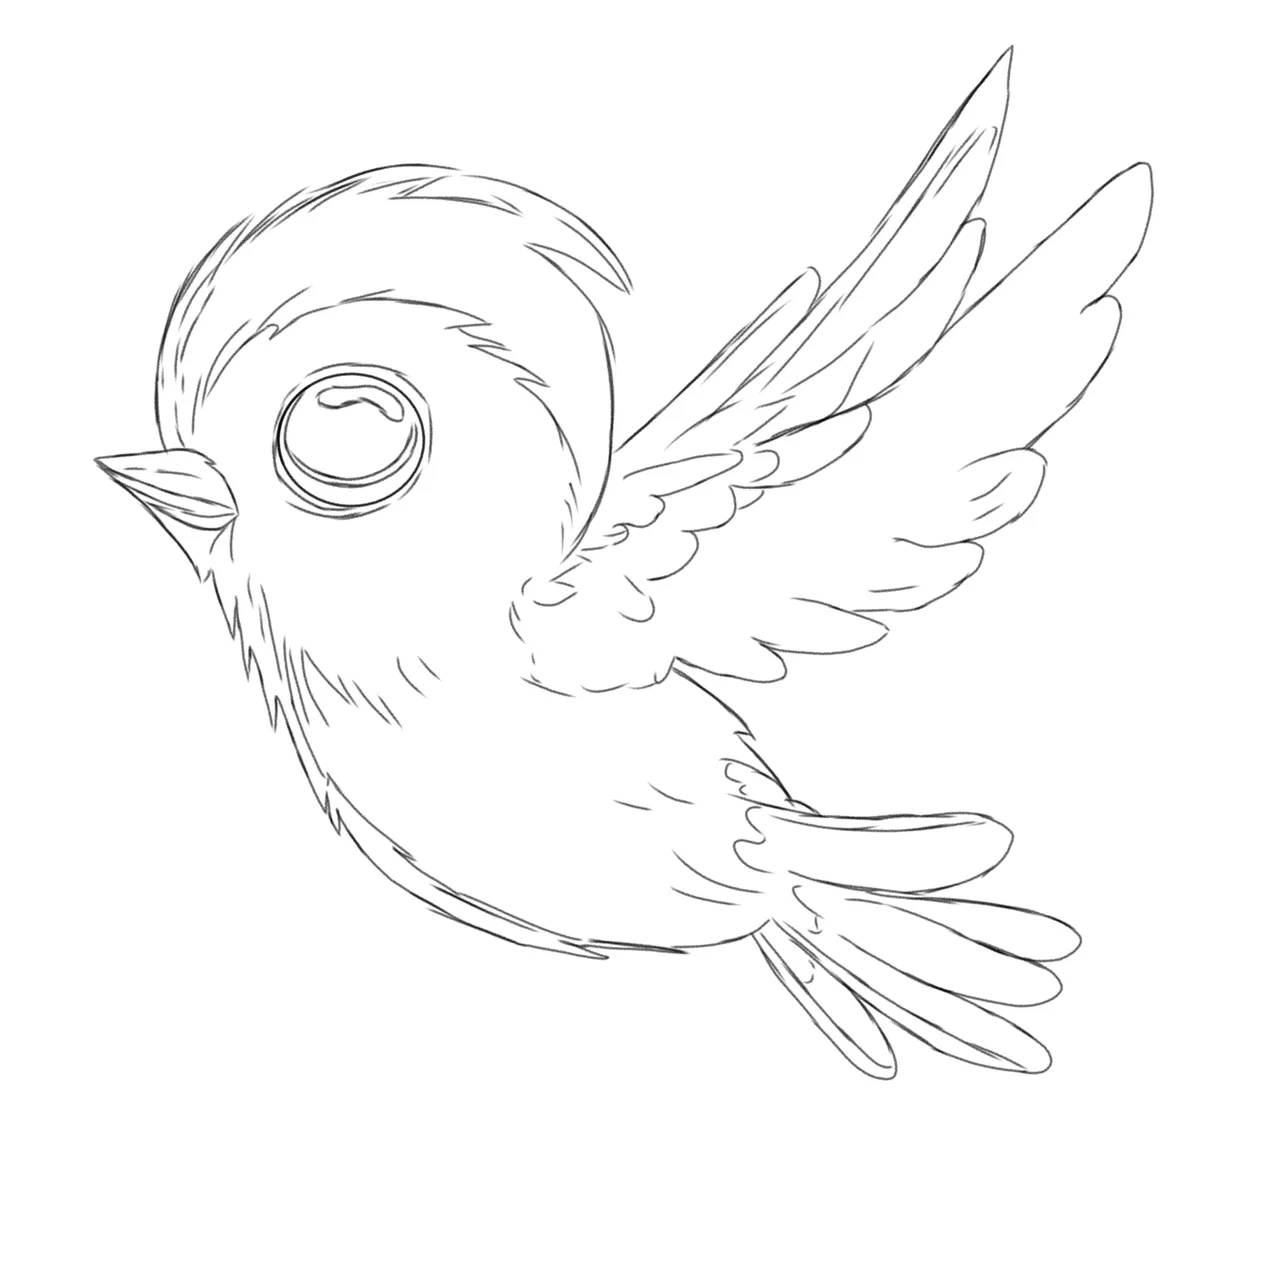
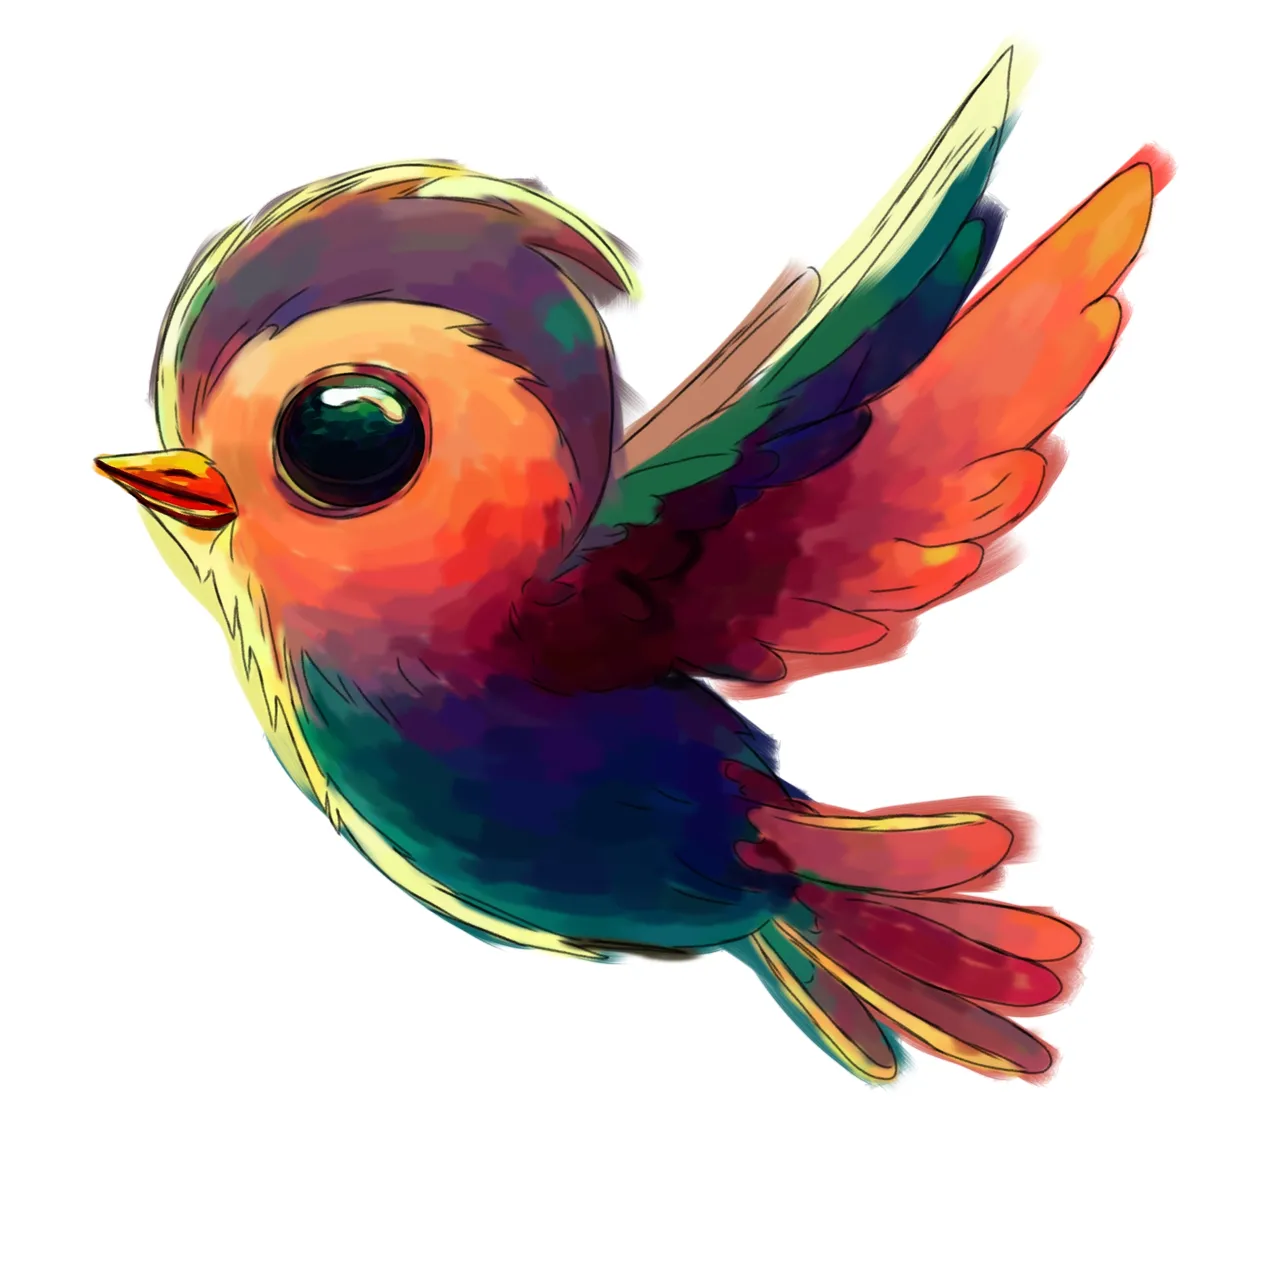
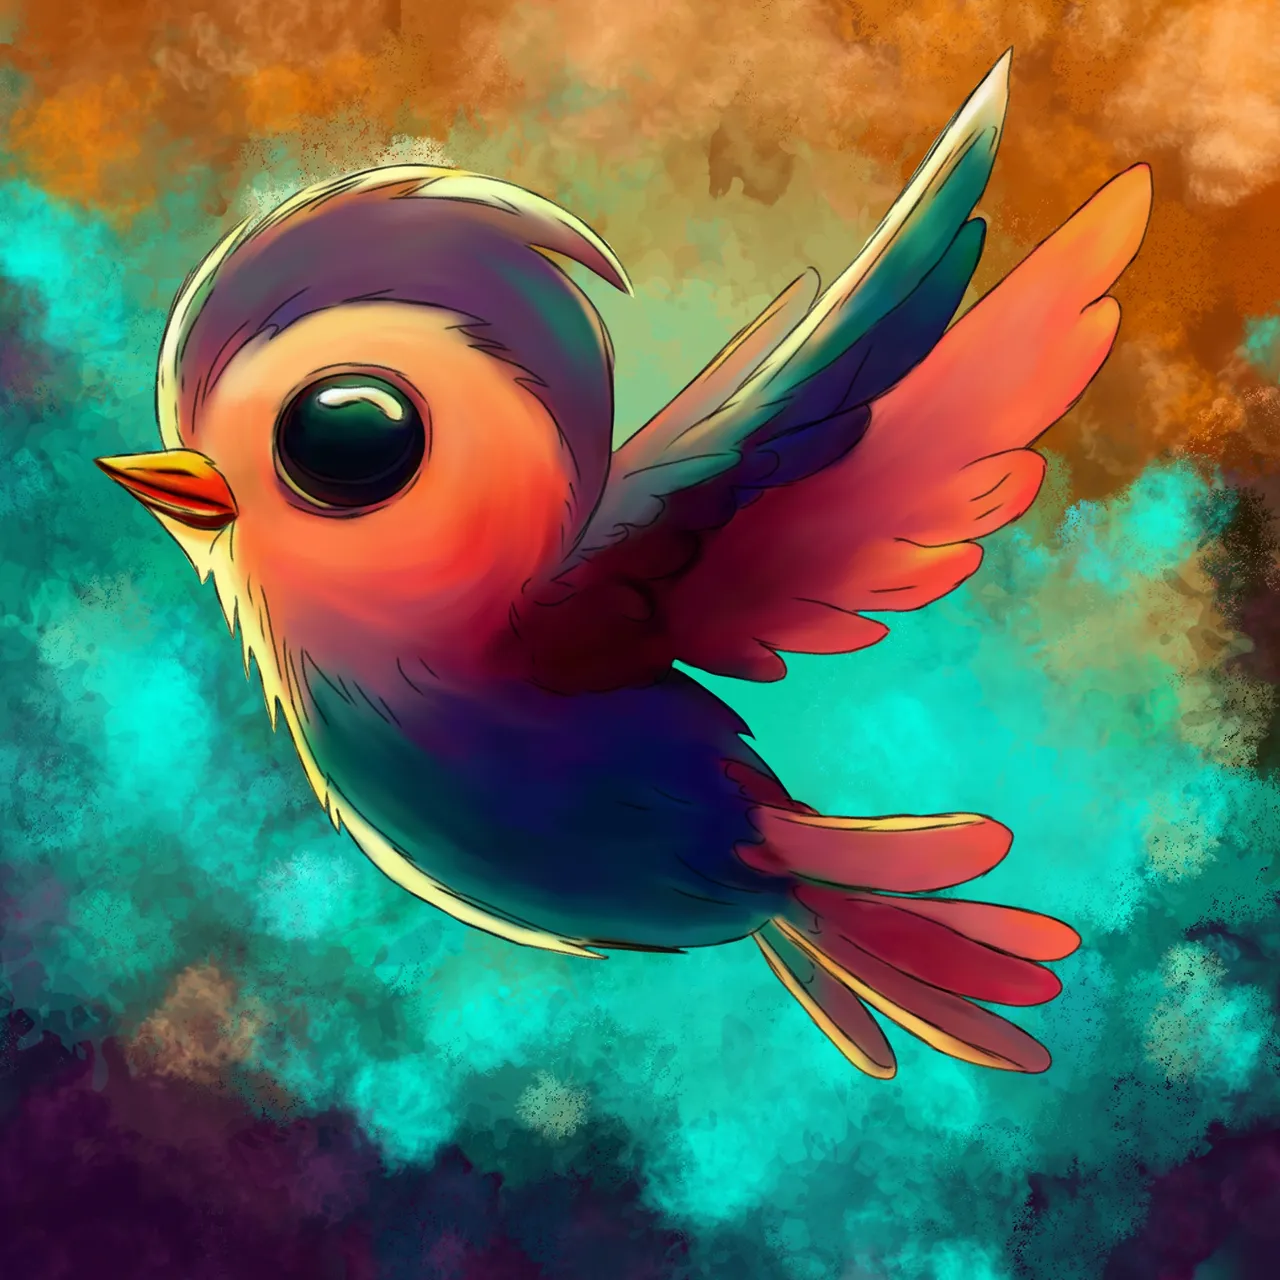
Para el boceto del delineado utilice la brocha tipo lápiz, dándole forma a este tierno pajarito. Luego abrí una capa donde aplique una base de colores con método normal usando la brocha plano real que es la que he venido usando para aplicar color, luego seguí matizando agregando más transiciones de colores que me gustaron mucho, aquí lleve un tiempo. Después pase a la etapa de difumino para suavizar y mezclar, y pase a borrar lo excendente.
For the sketch of the eyeliner, use the pencil-type brush, giving shape to this cute little bird. Then I opened a layer where I applied a color base with the normal method using the real flat brush, which is the one I've been using to apply color, then I continued shading adding more color transitions that I liked a lot, it took a while here. Then move on to the blending stage to smooth and blend, and move on to erasing the excess.


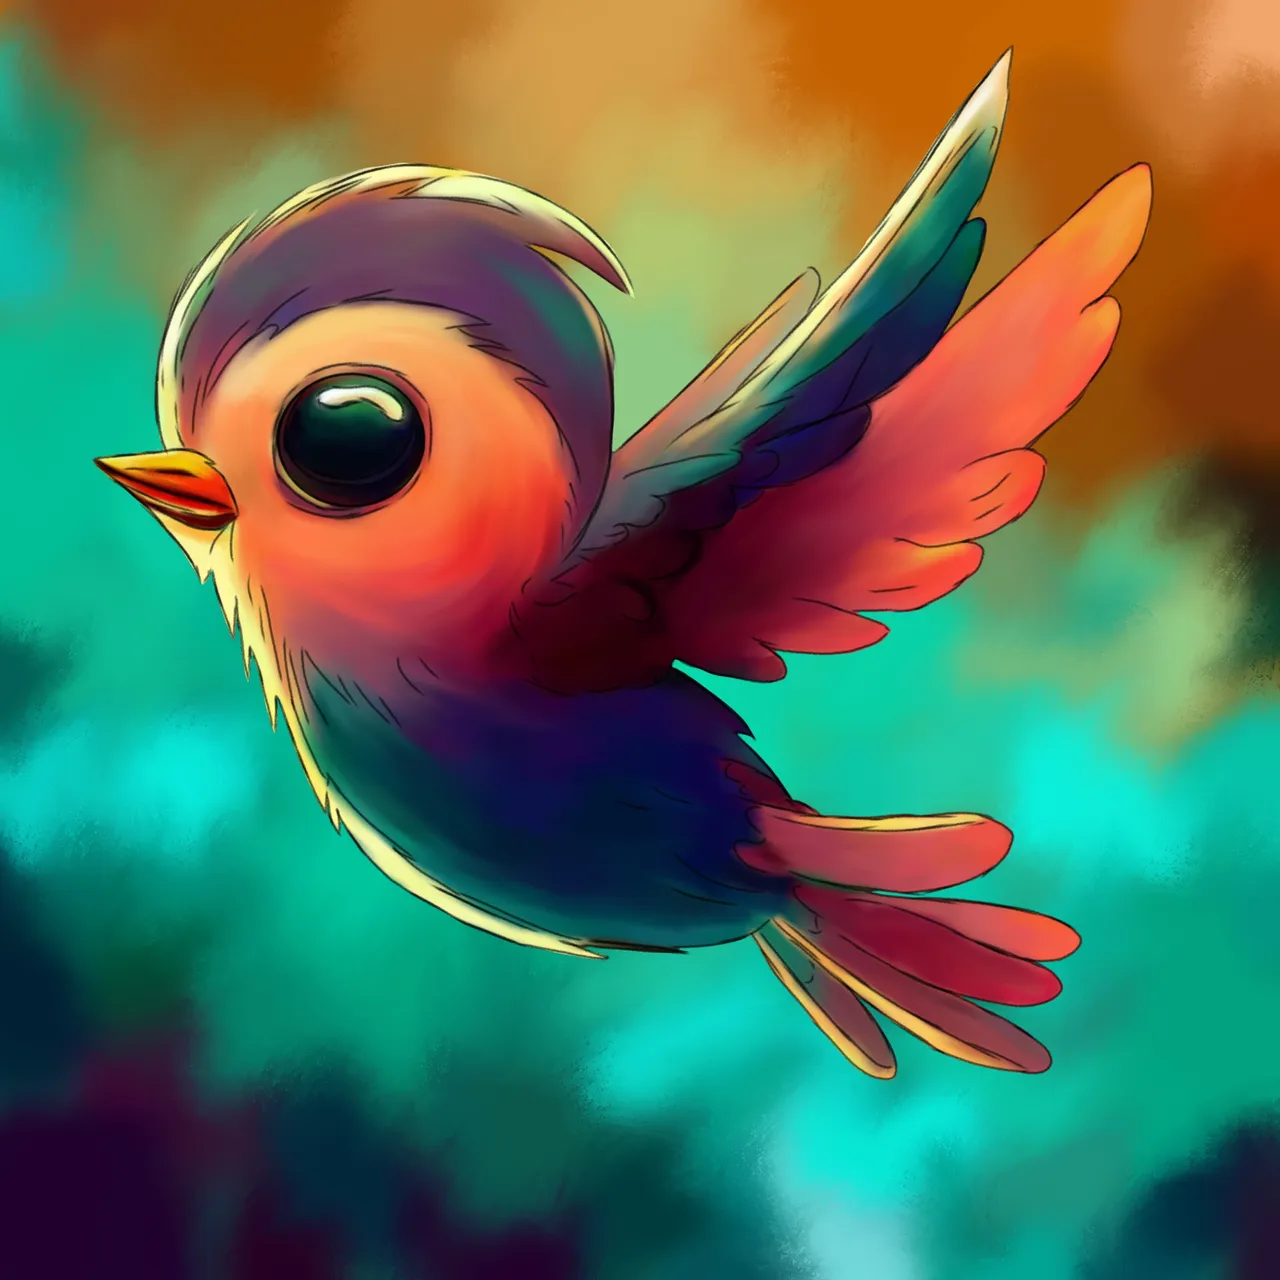
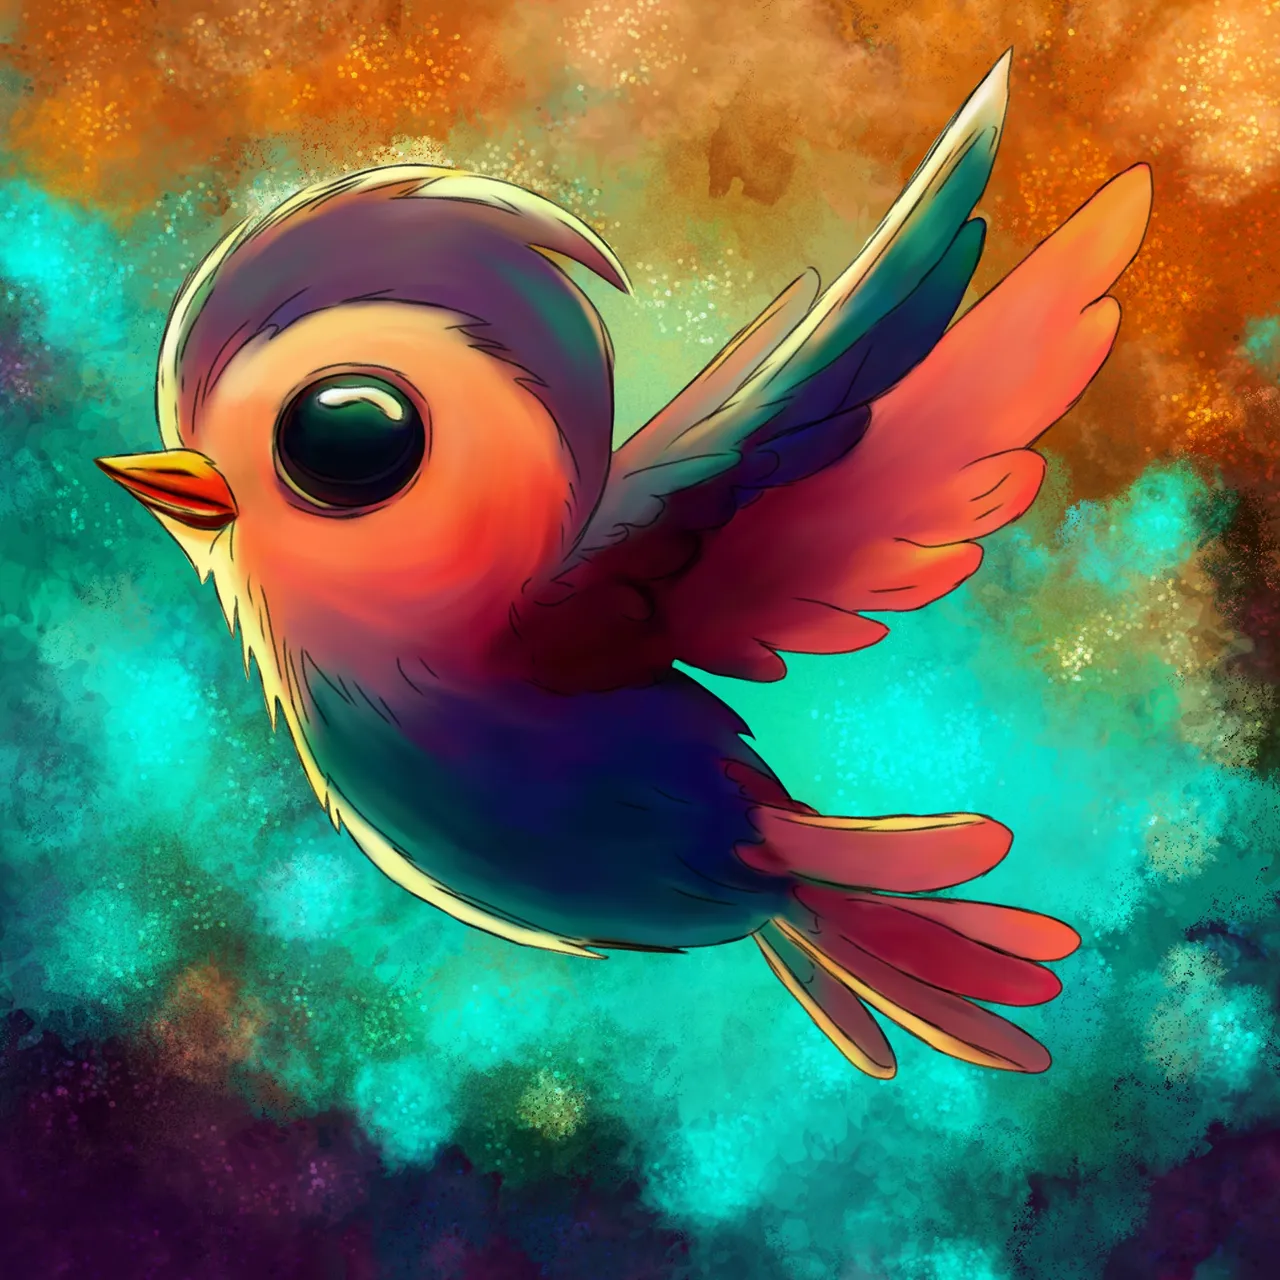
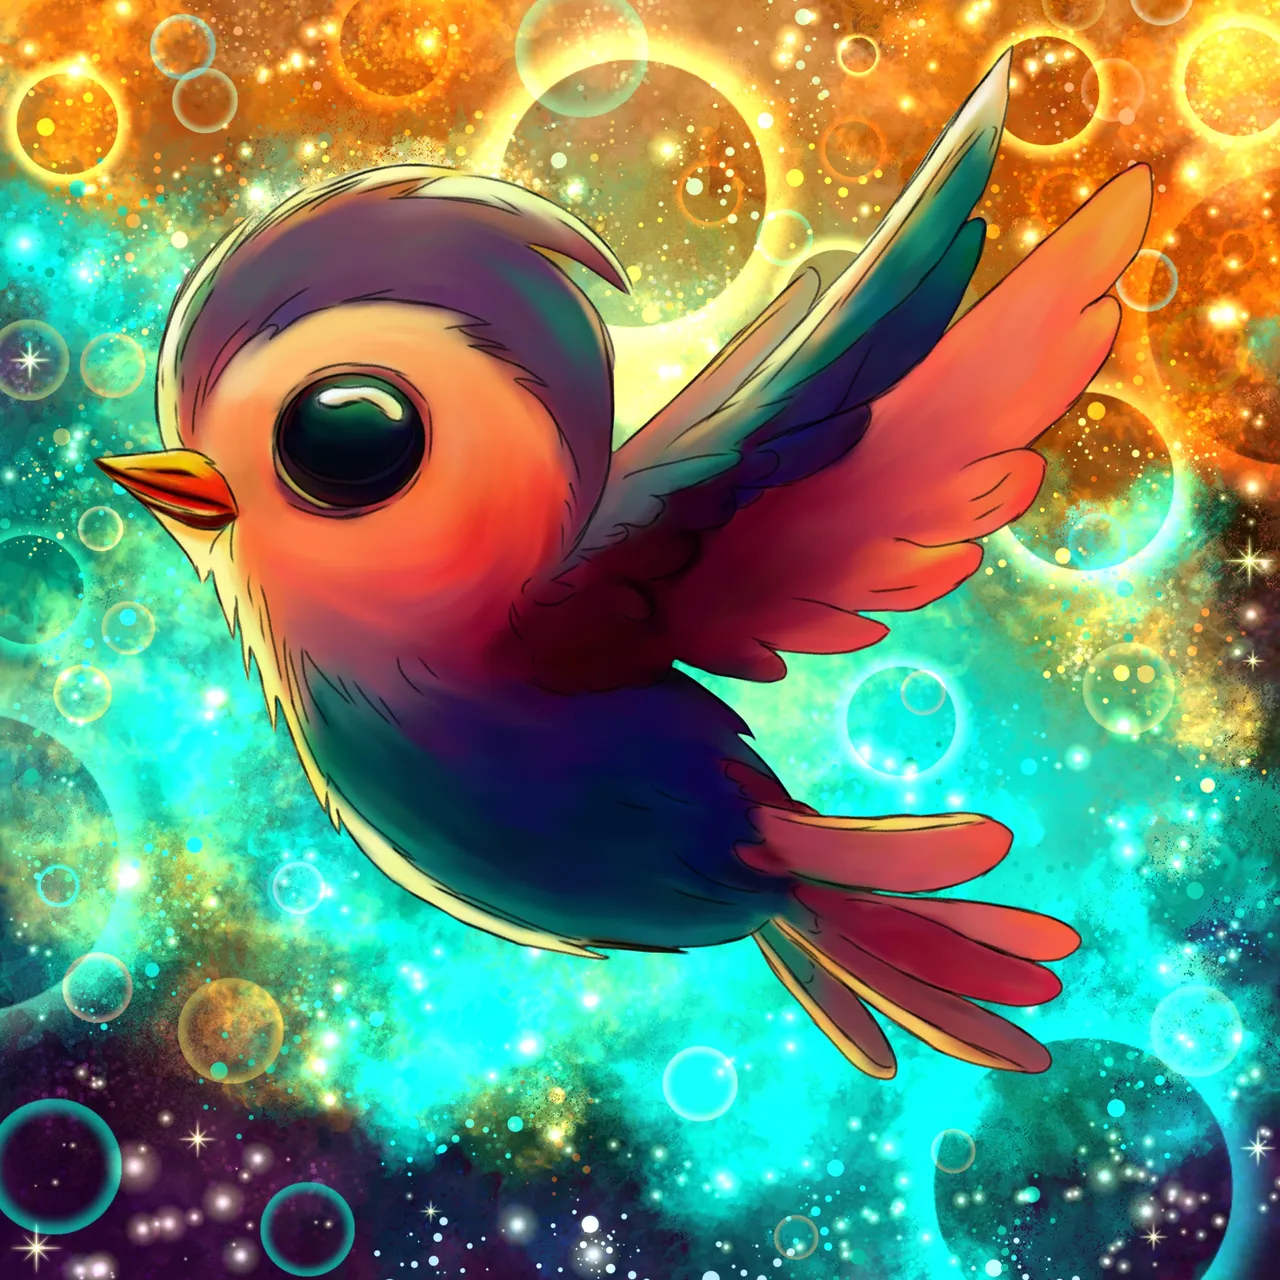
Fui trabajando con el fondo luego agregando varios matices de saturados y fríos, usando la brocha tipo aerógrafo normal y después pase a texturizar con la brocha tipo lápiz grueso. Trabaje en un métodos normal, después seguí agregando más textura con la brocha tipo nube real y la de salpicadura con opacidad baja para ambas brochas, usando con una opacidad mayor también, la brocha tipo lápiz grueso. Seguí con el uso de la brocha tipo purpurina con método en añadir, fui aplicando algunas pinceladas con el pincel tipo pulverizador con añadir y de igual forma use el de erupción con el de burbujas. Aplique un poco de aerógrafo de partículas y de Puntillismo con opacidad muy baja, y añadir con el punto de brillo más iluminación junto con la brocha tipo luz.
I worked with the background then adding various saturated and cool shades, using the normal airbrush type brush and then I went on to texturing with the thick pencil type brush. I worked in a normal method, then continued adding more texture with the real cloud brush and the splatter brush with low opacity for both brushes, using the thick pencil brush with a higher opacity as well. I continued with the use of the glitter brush with the add method, I applied a few strokes with the spray brush with the add method and in the same way I used the eruption brush with the bubble brush. Apply some particle airbrush and Pointillism with very low opacity, and add more highlight with the highlight brush along with the light brush.

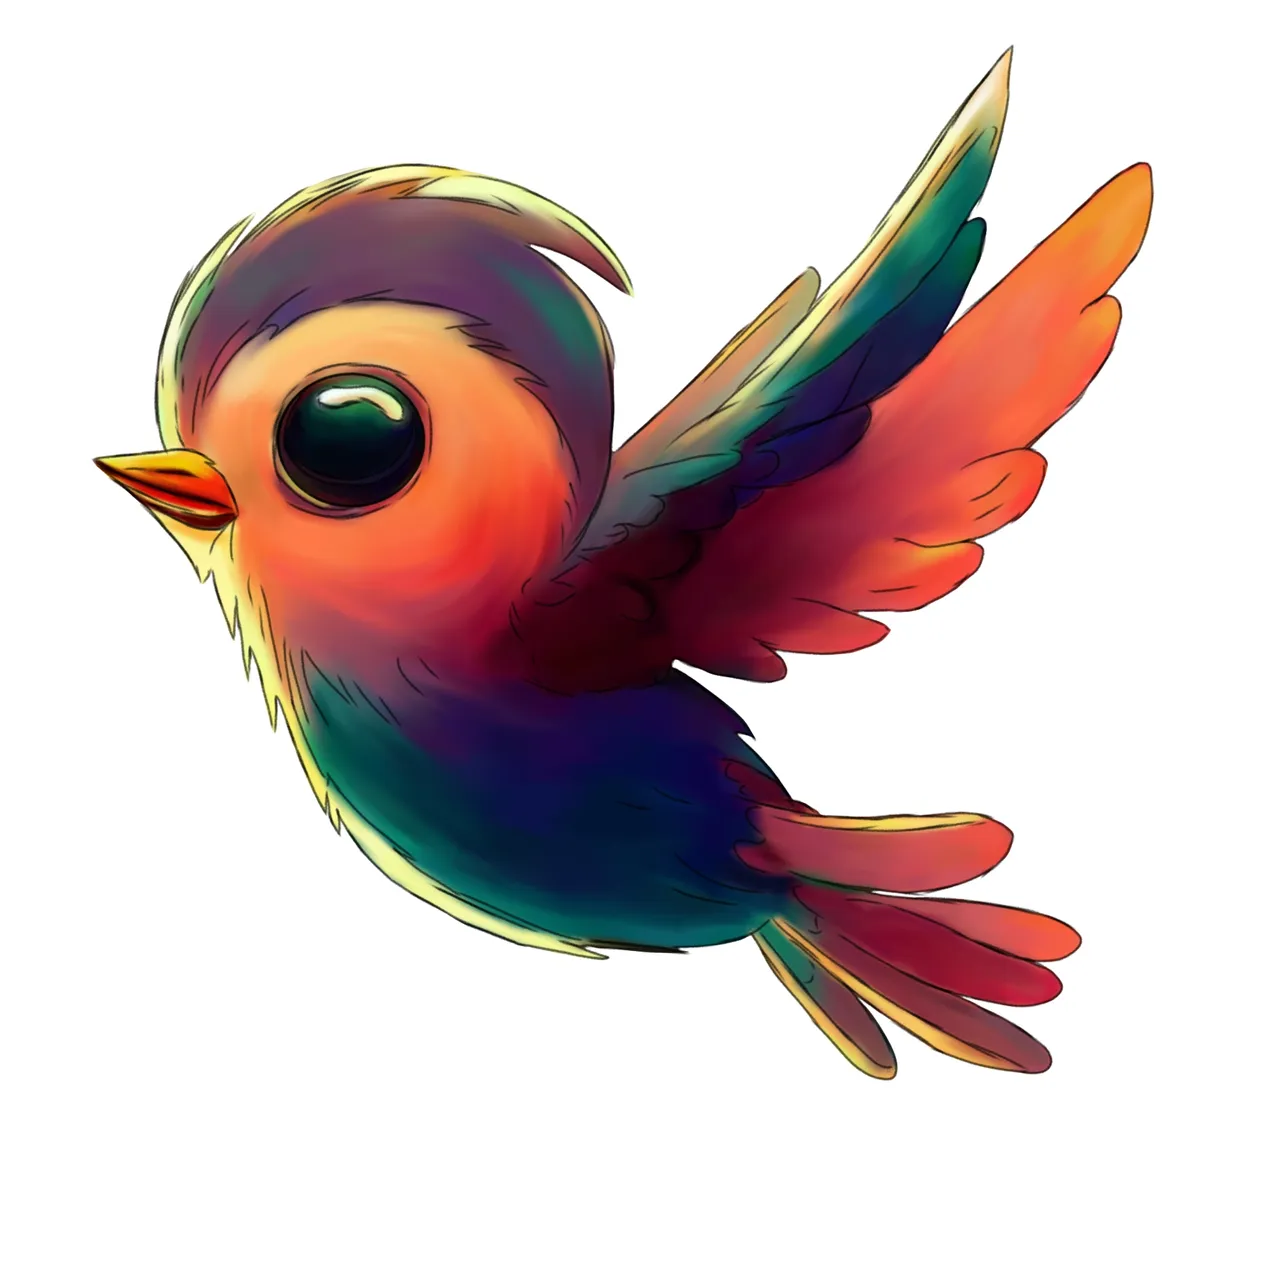
Finalizado la recreación del fondo, fui agregando texturas y salpicadura al ave con el pulverizador, usando un método de añadir, también con el pincel tipo Puntillismo, dándole brillo a los ojos con el pincel de purpurina y también la de punto de brillo, termine agregando le más burbujas con las brochas de erupción y también de burbuja. Para finalizar y hacer más fuerte el delineado pase a clonar la capa de delineado tres veces para hacerlo más pronunciado. Espero hayan disfrutado este paseo y puedan compartir aquí conmigo!🌷😘😊😙😄👋 Gracias mis queridos amigos!
Finished the recreation of the background, I was adding textures and splashes to the bird with the sprayer, using an add method, also with the Pointillism brush, giving shine to the eyes with the glitter brush and also the shine point, I finished adding Add more bubbles with the eruption and bubble brushes. To finish and make the outline stronger, clone the outline layer three times to make it more pronounced. I hope you enjoyed this walk and can share here with me!🌷😘😊😙😄👋 Thank you my dear friends!
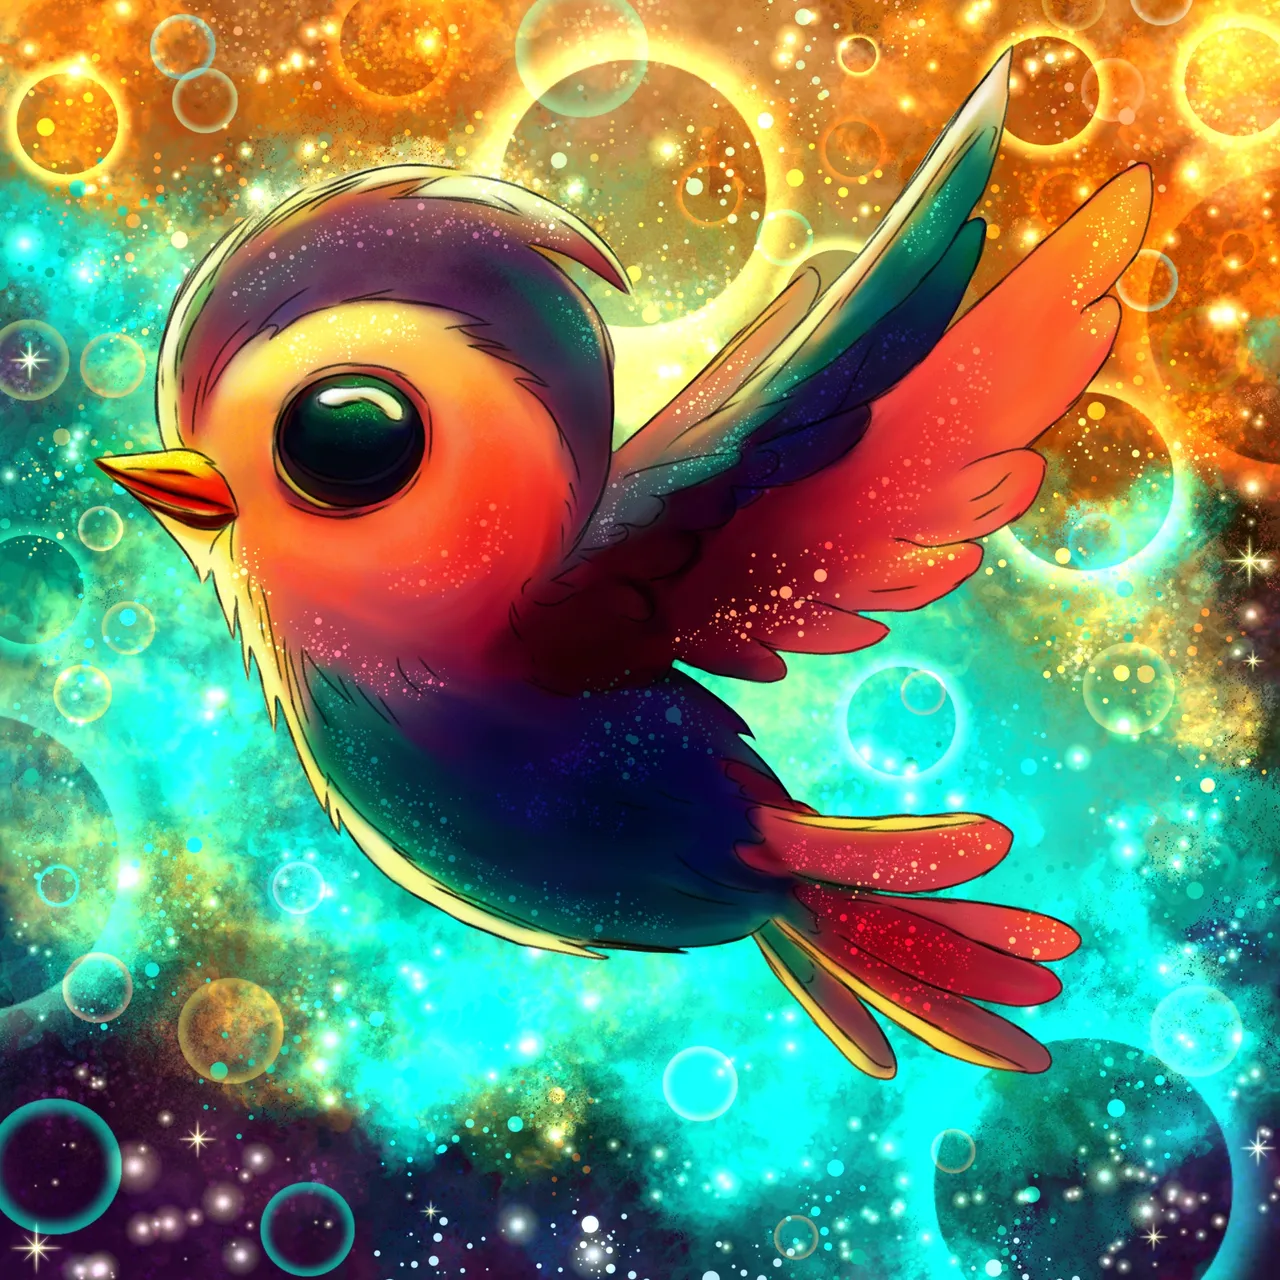
ILUSTRACIÓN FINAL/End Illustration
Redes Sociales/ Social Networks
Sigueme en/ Follow me in:
👉Instagram: @catrynart
👉 Twitter: @catrynart
Herramientas Usadas/Used Tools
- Tablet Android/ Android Tablet
- Programa Ibis Paint X/ Ibis Paint X Program
- Traductor Deepl/ Deelp Translator
- Servidor de Imagenes Imgbb/ Imgbb Image Server
- Dactilopintura Digital/ Digital Fingerprint Painting
🌺¡HASTA EL PRÓXIMO POST!🌺
Detenerse es Retroceder
To Stop is to go Backwards