
-------------Español--------
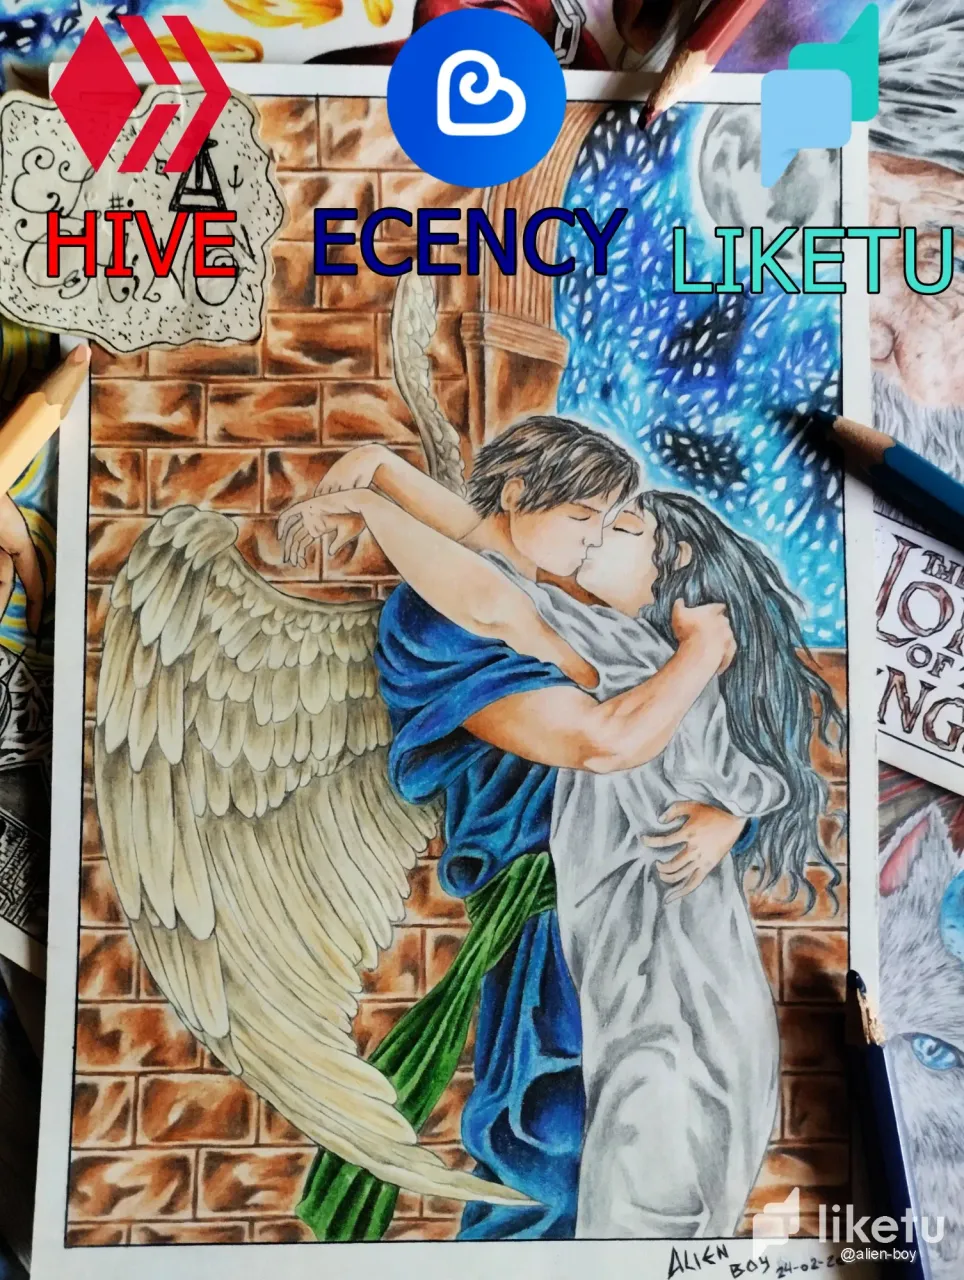
🖤Δ 𝓐𝓛𝓦𝓐𝓨𝓢 ・゚Always 🦇 ✧ Quiero estar contigo para contemplar la luna en todo su esplendor 🌕 Ahora y siempre ・ ¥ 👽
-Finalizado: 24/02/2024 ✍️
-Materiales: Lapiz de grafito HB, Boligrafo negro, Cartulina de dibujo, Colores escolares marca Kores.
Hola muy buenas noches, Hoy les comparto este dibujo que empecé a hacer a principios de este año 2024, Me inspiró un cuarto que encontré por internet, Por eso verán que mi final es diferente ya que lo hice antes de unirme a HIVE.
Paso 1 - Lo primero que hice fue recortar una hoja del block de dibujo, La recorte con unas medidas de 14 centímetros horizontalmente y 20,5 centímetros verticalmente. Luego de recortar la hoja agregué un marguen de 0,5 centímetros alrededor del dibujo, Esto con la intensión de crear un marco de retrato.
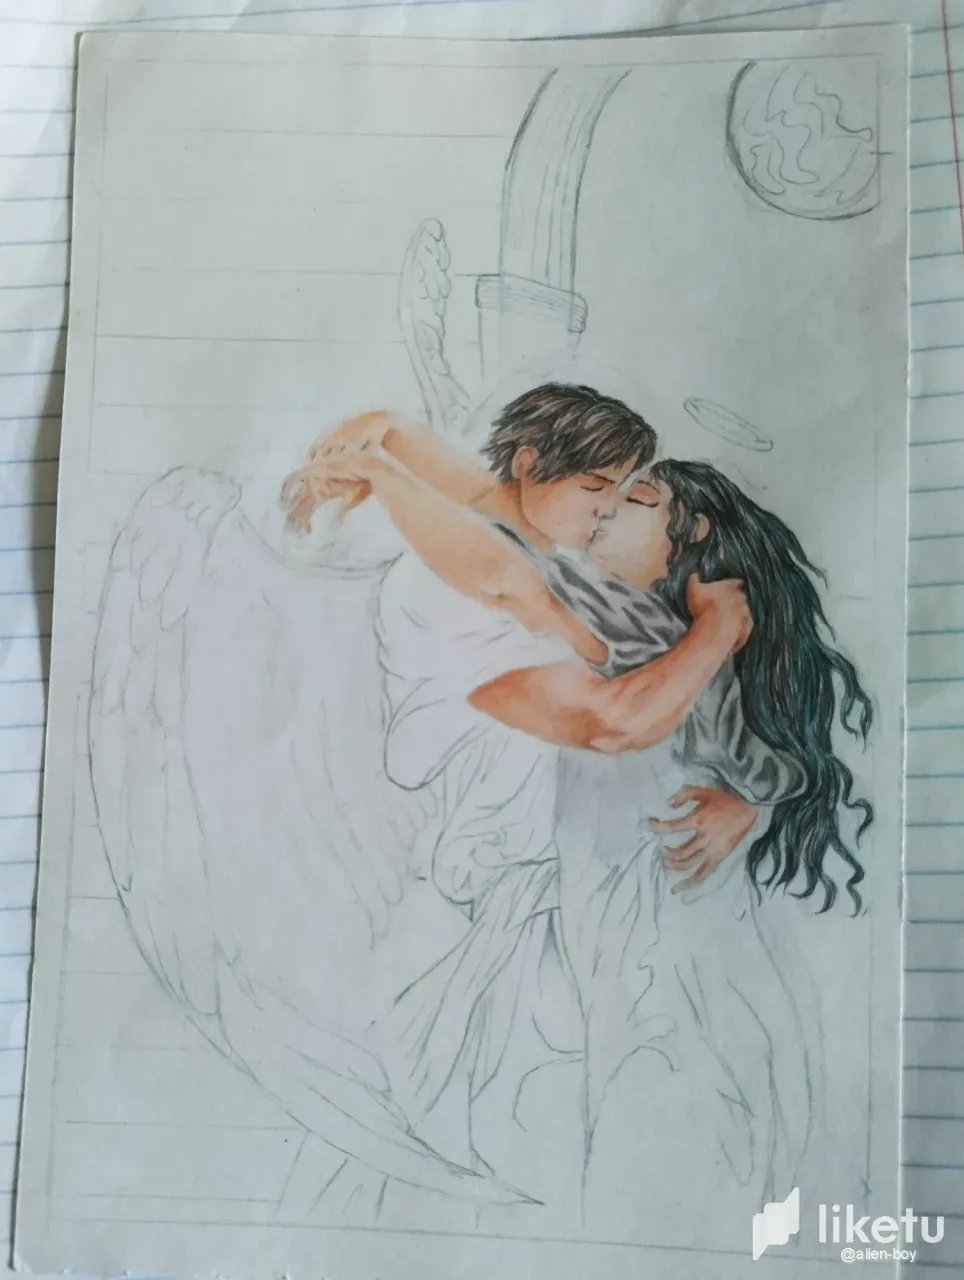
Paso 2 - Luego de tener la hoja de dibujo lista me propuse a iniciar con el boceto, Para el boceto utilice un lápiz de grafito HB.
Primero empecé a hacer figuras geométricas simples para luego pulirlas y así ir definiendo un poco mejor el boceto con el lápiz.
Paso 3 -Una vez finalizado el boceto principal. Me propuse a empezar con el coloreado, Primero empecé por la piel con lo cual utilicé los colores: Marrón, Durazno y arena.
Primero aplique el tono mas claro, En este claro el color arena, El cual utilice en toda la piel levemente, Para luego con el color marrón crear algunas sombras en la piel, Para finalmente combinarlo con el color durazno, Creando una combinación de colores perfecta.
Paso 4 - Luego continúe con el cabello, Aquí solo utilice el color: negro.
El cual le saque mucho filo a la punta, Ya que para el cabello debo de seguir la ondulación de cada mechón para crear un acabado realista.
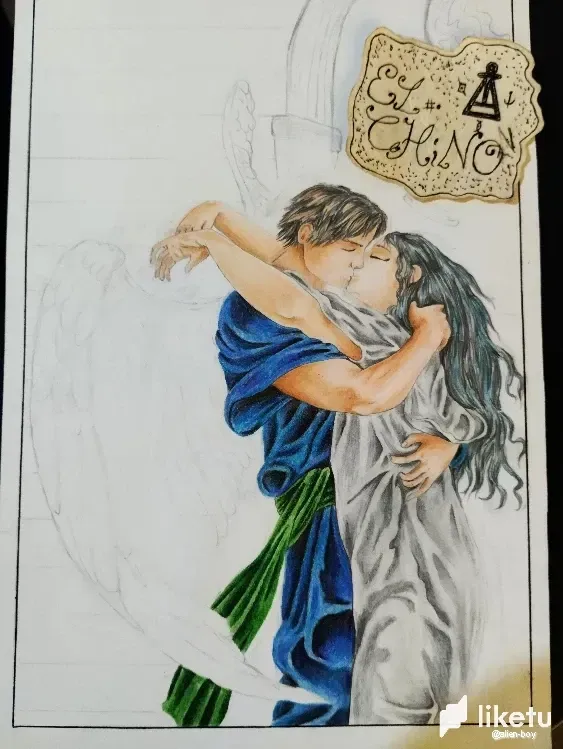
Paso 5 - Una vez finalizado el cabello me propuse a colorear la ropa, Para el hombre utilice los colores:Negro,Azul marino, Azul cielo y verde. Primero identifique las zonas oscuras en su ropa para aplicar el negro con un suave degradado, Para luego aplicar el azul marino encima del color negro y combinarlos, En las zonas más claras de la ropa utilice el azul cielo.
Para el cinturón del hombre realice lo mismo, Primero identifique las zonas oscuras para luego utilizar el color verde en toda la zona del cinturón.
Para la ropa de la mujer, Sólo utilice el color: Gris, Aquí solo aplique el gris por toda la zona de la ropa para luego identificar las arrugas de los pliegues y aplicar el color con un poco mas de fuerza.
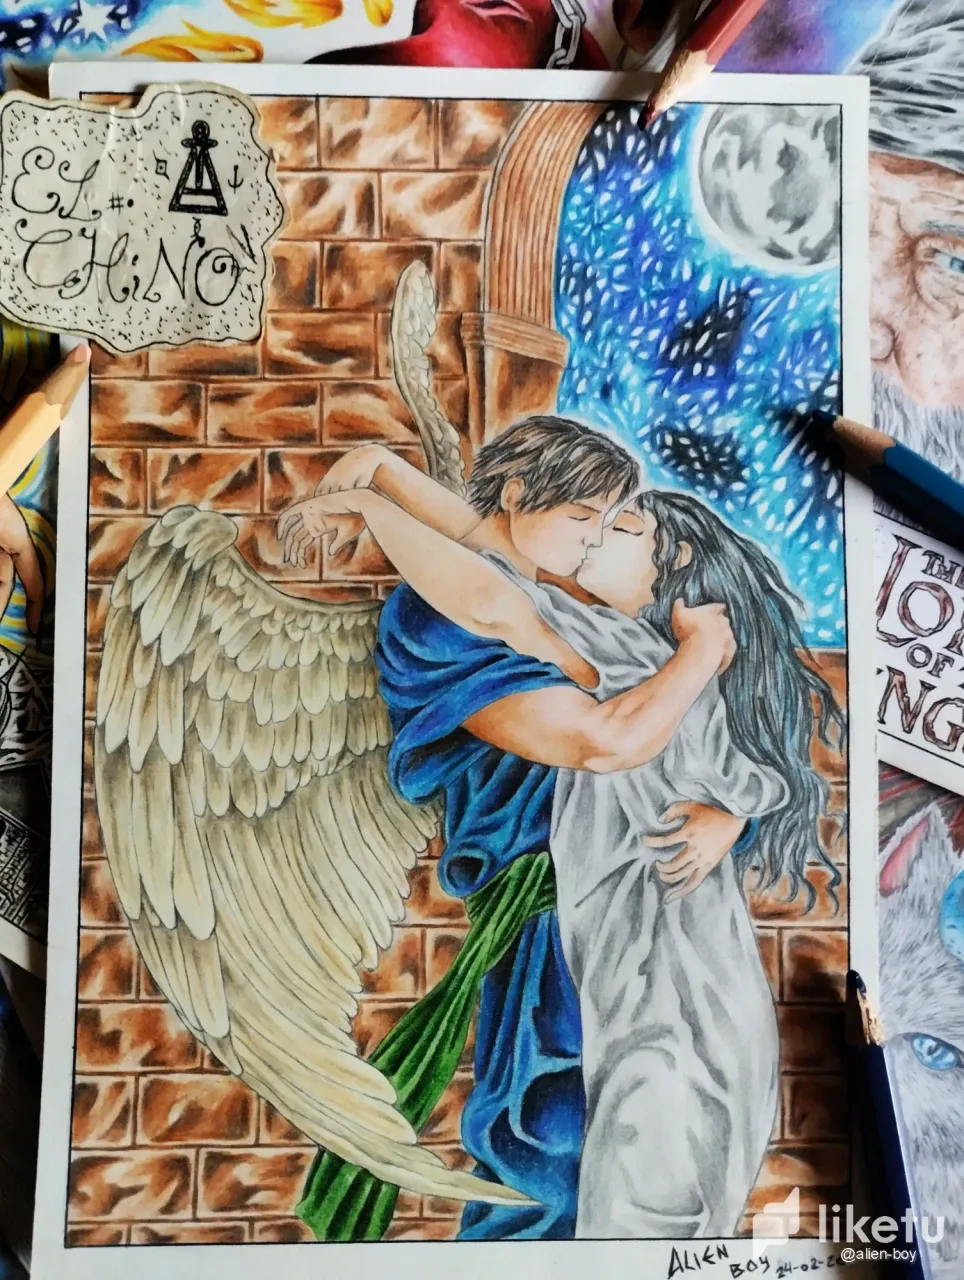
Paso 6 - Para las alas del hombre ángel utilice solo utilice los colores: Café oscuro y arena. Primero aplique todo el color arena por las plumas de las alas para luego utilizar el café oscuro en las zonas adecuadas para crear un gran efecto realista.
Paso 7 - Para la pared de fondo sólo utilice los colores: Negro, Café oscuro y marrón. En esta parte del dibujo solo improvise para crear un efecto de ladrillos
Paso 8 - Y por último el cielo que se ve a través de la ventana utilices los mismos colores que en la ropa los cuales son: Negro, Azul Marino, Azul cielo y Gris.
Realmente espero les haga gustado este dibujo, Si es así no olviden votar y compartir. Les deseo una feliz noche y nos veremos en otra publicación
-----------------English-------------
🖤Δ 𝓐𝓛𝓦𝓐𝓨𝓢 ・゚Always 🦇 ✧ I want to be with you to behold the moon in all its splendor 🌕 Now and forever ・ ¥ 👽
-Finished: 02/24/2024 ✍️
-Materials: HB graphite pencil, Black ballpoint pen, Drawing cardboard, Kores brand school colors.
Hello very good evening, Today I share with you this drawing I started to do at the beginning of this year 2024, I was inspired by a room I found on the internet, So you will see that my end is different because I did it before joining HIVE.
Step 1 - The first thing I did was to cut out a sheet of paper from the drawing pad, I cut it out measuring 14 centimeters horizontally and 20.5 centimeters vertically. After cutting out the sheet I added a 0.5 centimeter border around the drawing, this with the intention of creating a portrait frame.
Step 2 - After I had the drawing sheet ready I set out to start with the sketch. For the sketch I used an HB graphite pencil.
First I started to make simple geometric figures and then I polished them to define a little better the sketch with the pencil.
Step 3 -Once the main sketch was finished. First I started with the skin with which I used the colors: Brown, Peach and sand.
First apply the lightest shade, in this case the sand color, which I used on the whole skin lightly, and then with the brown color create some shadows on the skin, and finally combine it with the peach color, creating a perfect color combination.
Step 4 - Then continue with the hair, here I only use the color: black.
Which I took a lot of edge to the tip, Since for the hair I must follow the undulation of each strand to create a realistic finish.
Step 5 - Once the hair was finished I decided to color the clothes. For the man I used the colors: black, navy blue, sky blue and green. First identify the dark areas on his clothes to apply the black with a soft gradient, Then apply the navy blue on top of the black color and combine them, On the lighter areas of the clothes use the sky blue.
For the man's belt do the same, first identify the dark areas and then use the green color throughout the belt area.
For the woman's clothing, only use the color: Gray, here only apply the gray all over the clothing area and then identify the wrinkles of the folds and apply the color with a little more strength.
Step 6 - For the wings of the angel man use only the colors: Dark brown and sand. First apply all the sand color all over the wing feathers and then use the dark brown in the right areas to create a great realistic effect.
Step 7 - For the background wall only use the colors: black, dark brown and brown. In this part of the drawing just improvise to create a brick effect.
Step 8 - And finally the sky that is seen through the window use the same colors as in the clothes which are: Black, Navy Blue, Sky Blue and Gray.
I really hope you like this drawing, if so do not forget to vote and share. I wish you a happy night and I will see you in another publication.
Translated with DeepL.com (free version)