Join me in making my new sketchbook, since the one I am currently using has only a few pages left and before I run out, I'd rather have a new one made.
Acompañenme a hacer mi nuevo cuaderno de dibujos, ya que el que estoy usando actualmente le quedan pocas páginas y antes que se me acabé, prefiero tener hecho uno nuevo.


🌵PROCESS // PROCESO🌵
This is going to be a little blog of how I make my sketchbook, but not going to make a tutorial of it. I just want to share with all of you how I make my homemade art sketchbooks.
Este va a ser un pequeño blog de como hago mi cuaderno de dibujos, más no va a hacer un tutorial del mismo. Solo quiero compartir con todos ustedes la forma en que hago mis cuadernos caseros de arte.
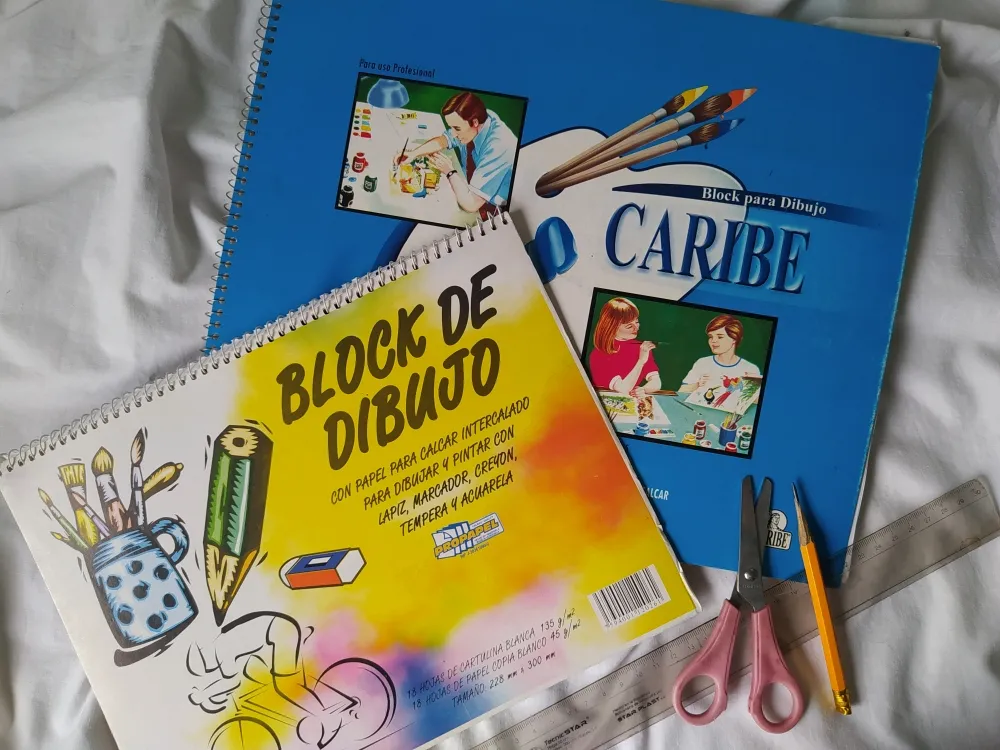
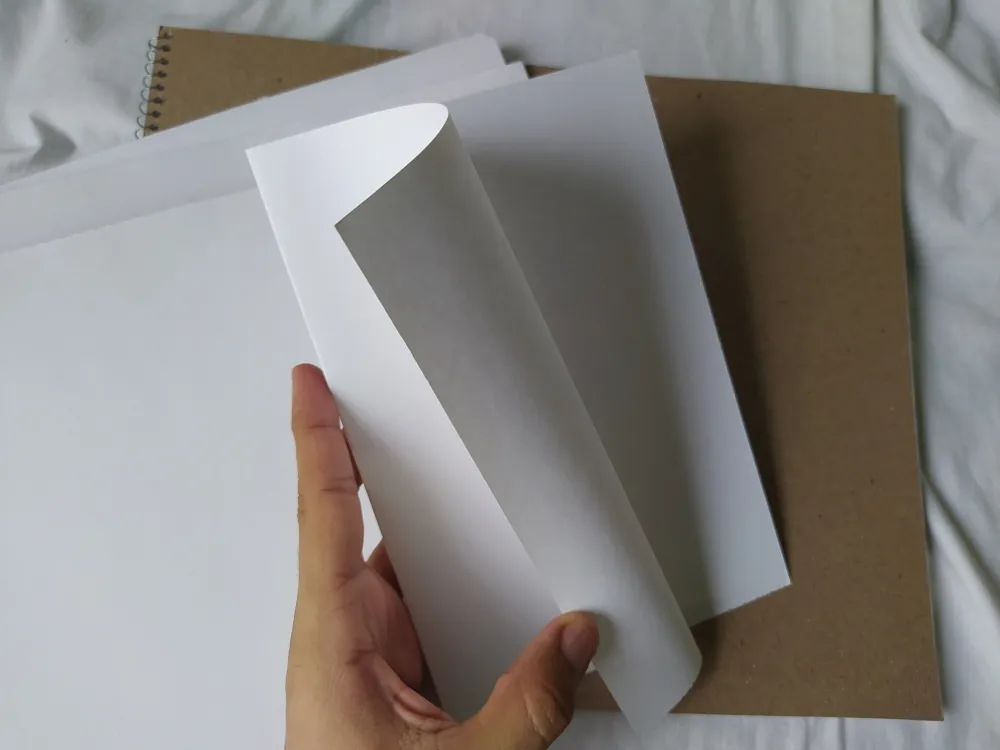
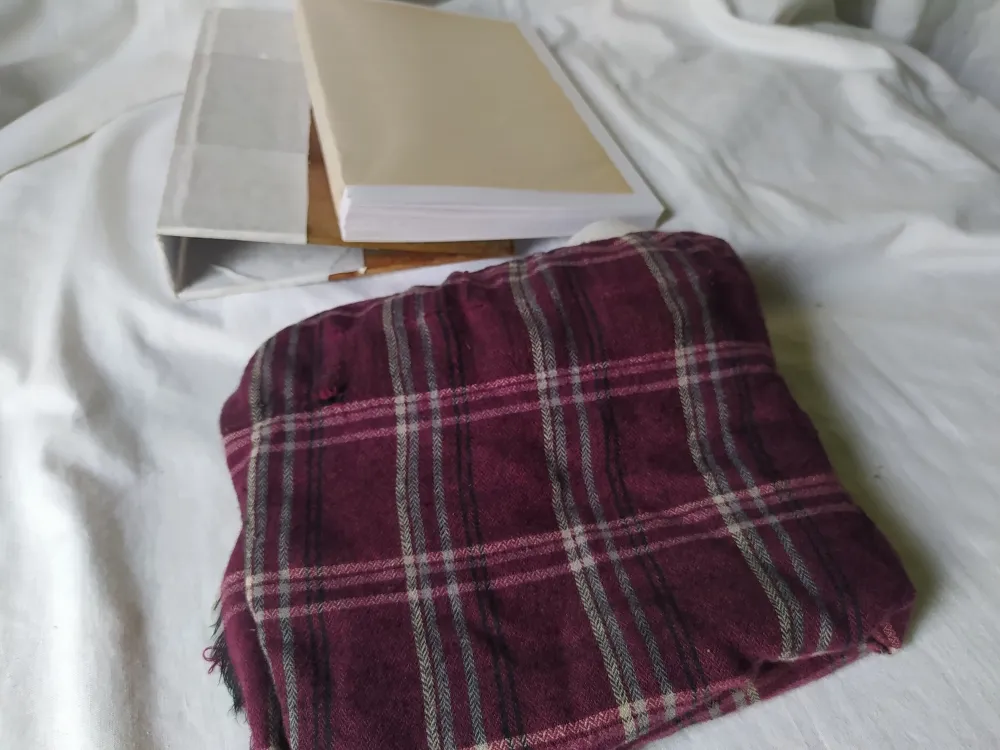
The first thing I do is to have an art pad in hand, in my case I always have mixed sketch pads, that is; you can use these pads to work with any type of material, such as watercolors, markers and so on.
Lo primero que hago es tener en mano un block de arte, en mi caso siempre tengo blocks de dibujo mixto, es decir; puedes usar estos blocks para trabajar cualquier tipo de material, como acuarelas, marcadores y demás.
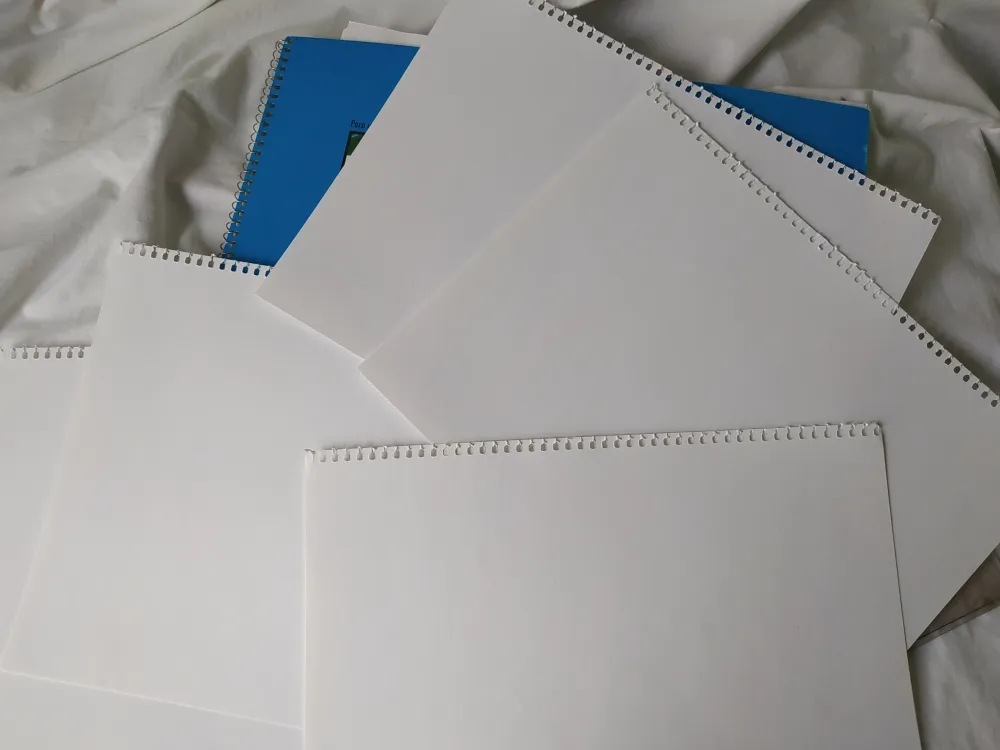
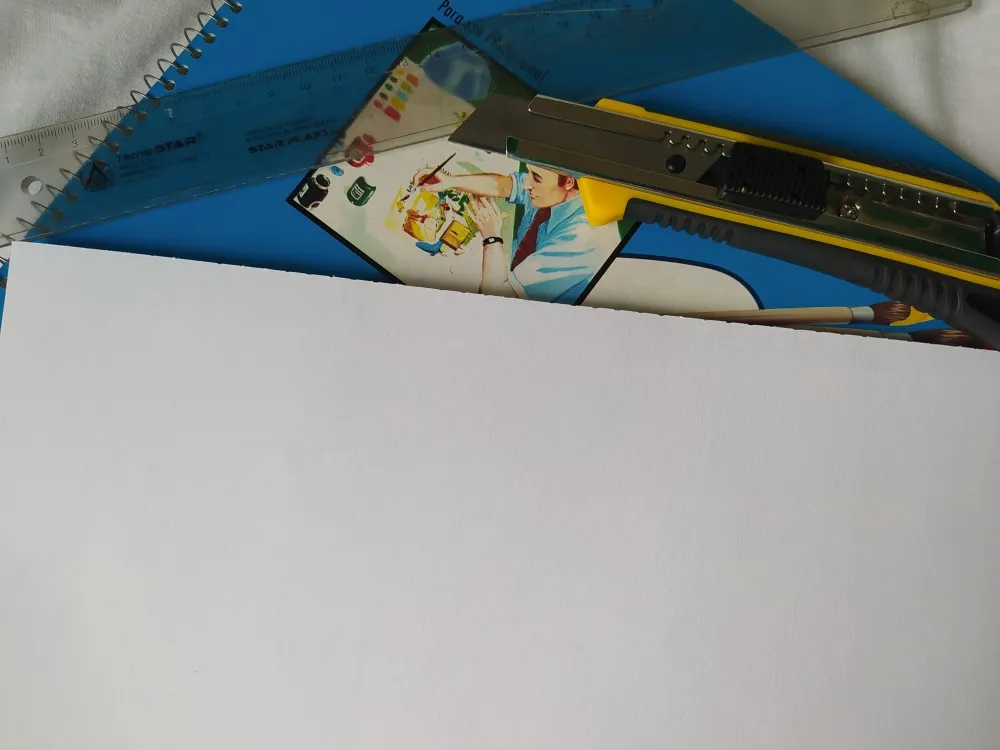
The next thing I do is to tear off the pages of the blocks to assemble what would become the notebook. The number of pages I tear out of the block will depend on the number of pages I want the notebook to have. For the notebook I want this time, it will be about 40 pages, so I would have to tear out about 20 pages in total.
Lo siguiente que hago es ir arrancando las hojas de los blocks para armar lo que vendría siendo el cuaderno. El número de páginas que arranque del block va a depender del número de hojas que quiero que tenga el cuaderno. Para el cuaderno que quiero esta vez, será de unas 40 páginas, así que tendría que arrancar unas 20 páginas en total.
After I have torn out the pages I want, what I proceed to do is to remove the eyelets or holes that are on the edge of each page, which are the ones that help keep the page in place at the edge of the block, so that it does not come unstuck.
Luego que ya he arrancado las páginas que quiero, lo que prosigo a hacer es quitar los olluelos o huecos que están en el borde de cada página, que son los que ayudan a mantener en su lugar la página al aro del block, para que no se despegue.
Well, now what I do is to take each sheet and I'm going to fold them in half one by one, to form what would become the notebook.
Bien, ahora lo que hago es tomar cada hoja y las voy a ir doblando por la mitad una por una, para ir formando lo que vendria siendo el cuaderno.
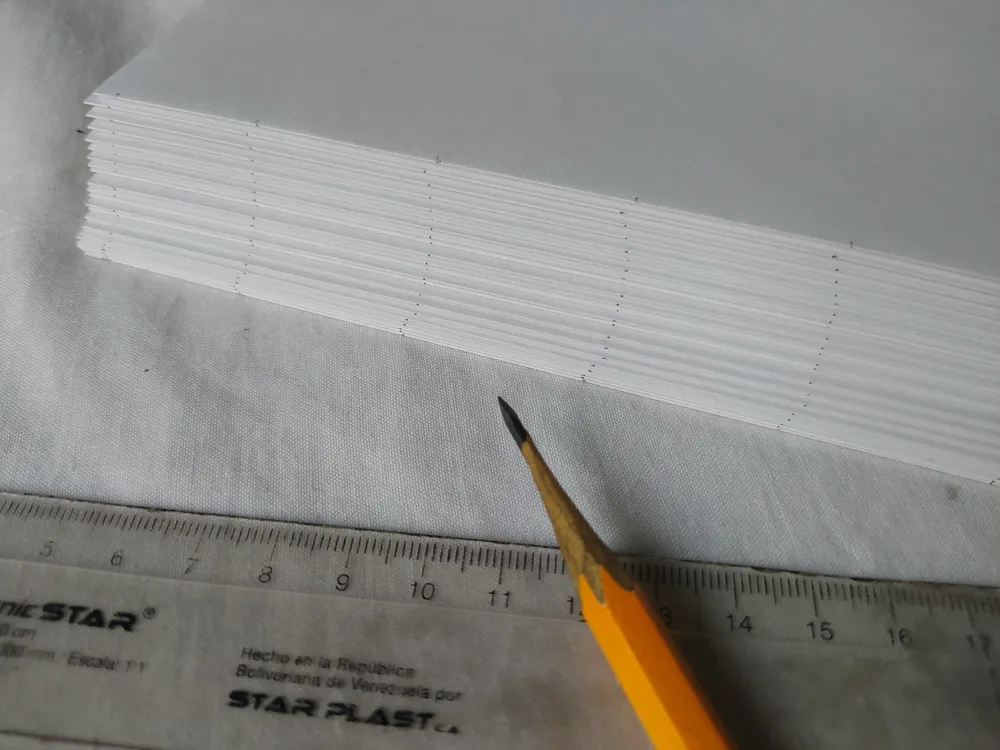
After having folded all the sheets in half, what I do now is to take a ruler and a pencil to mark the margin that will have the holes where I am going to sew each sheet together.
Luego de haber doblado todas las hojas por la mitad, lo que hago ahora es tomar una regla y un lápiz para marcar el margen que tendrán los agujeros dónde voy a coser cada hoja entre si.
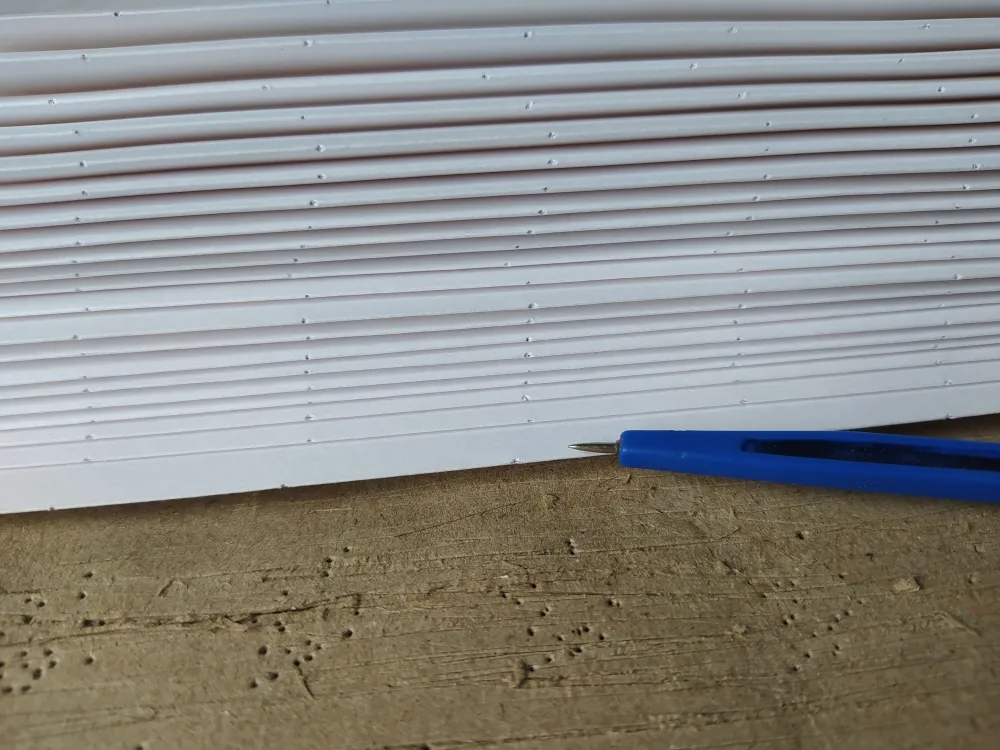
When I had already marked each point to make the holes, I took any tool or thing that would allow me to make the hole on each page. To make the holes, I took a compass, as it has a very sharp point and it was very easy to make each hole on each page.
Cuándo ya he marcado cada punto para hacer los agujeros, tomó cualquier herramienta o cosa que me permita hacer el hoyo en cada página. Para hacer los agujeros, tome un compás, ya que tiene una punta muy afilada y fue muy fácil hacer cada agujero en cada página.
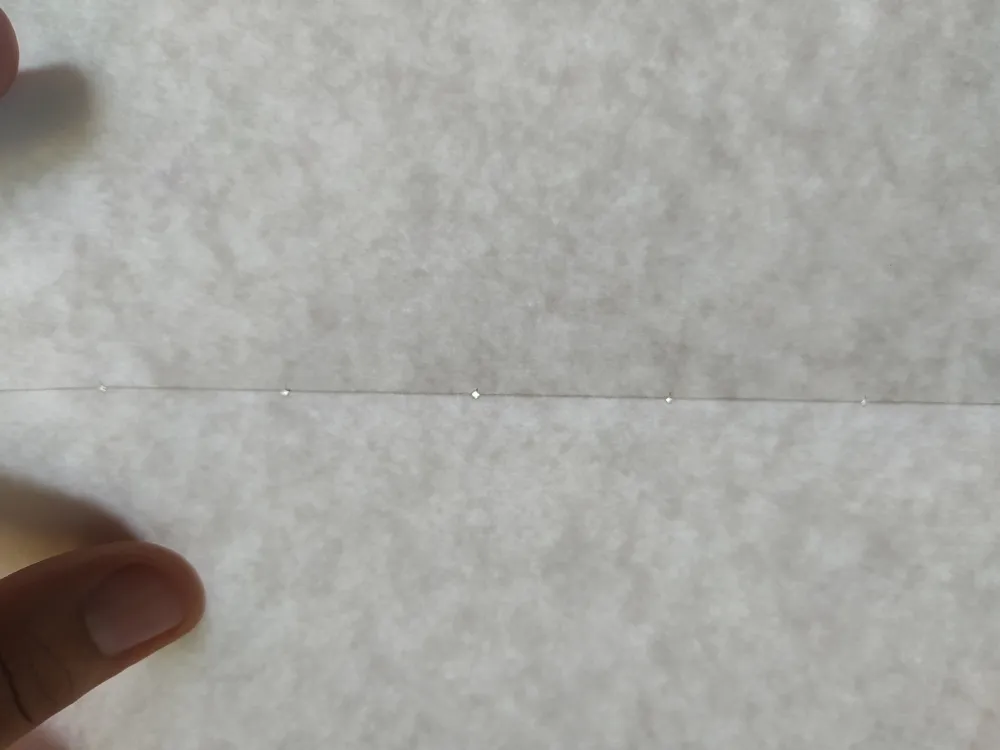
The holes should look something like this:
Los hoyos deberían verse algo así:
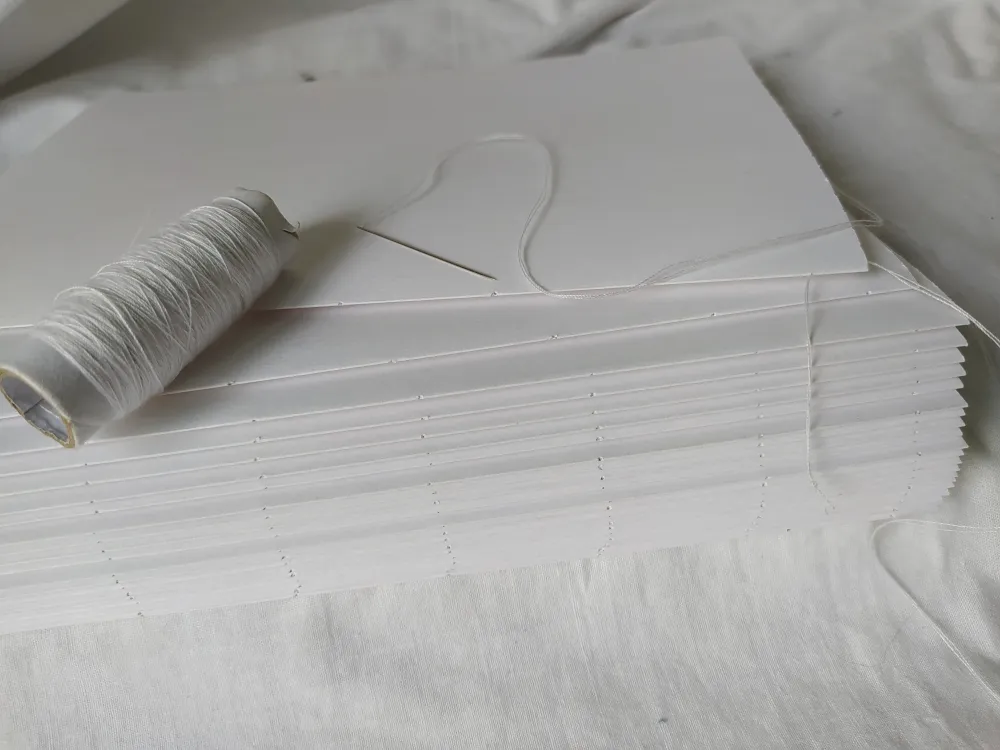
What I continue to do afterwards is to start sewing all the pages together, so that they don't come off in the future and have a better "grip", so to speak.
Lo que sigo haciendo después, es comenzar a coser todas las páginas entre si, para que no se despeguen a futuro y tengan un mejor "agarre", por decirlo de alguna manera.
On YouTube there are many videos on how to sew pages for sketchbooks, you can look for them if you want to make one for yourself.
En Youtube hay muchos videos de como coser páginas para cuadernos de dibujos, pueden buscarlos si desean hacer uno para ustedes.
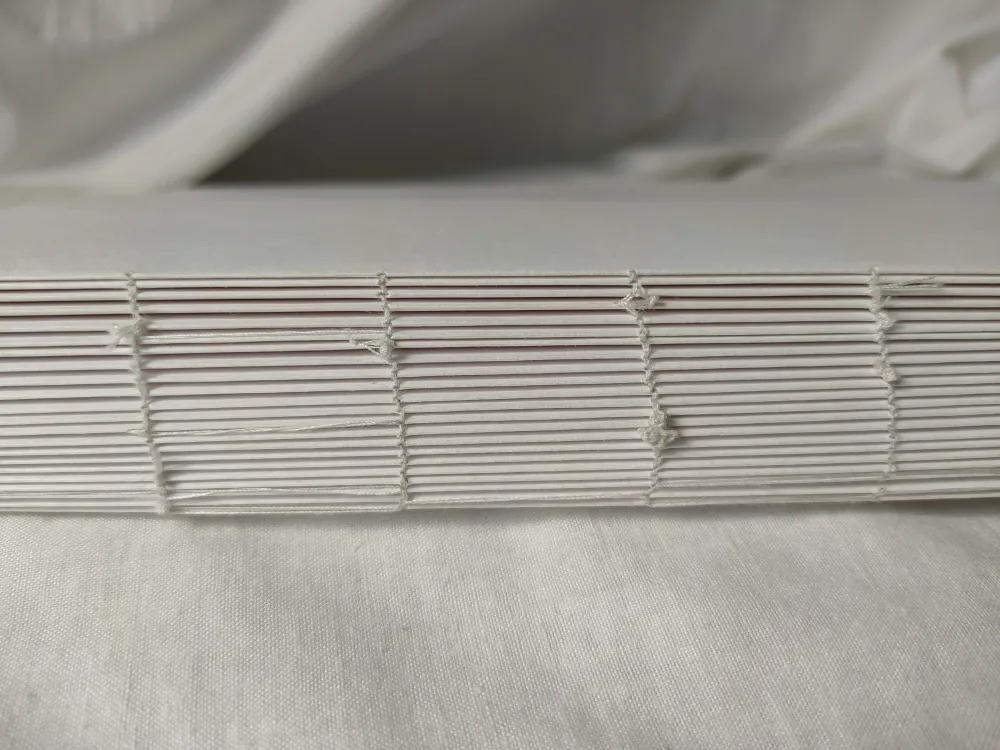
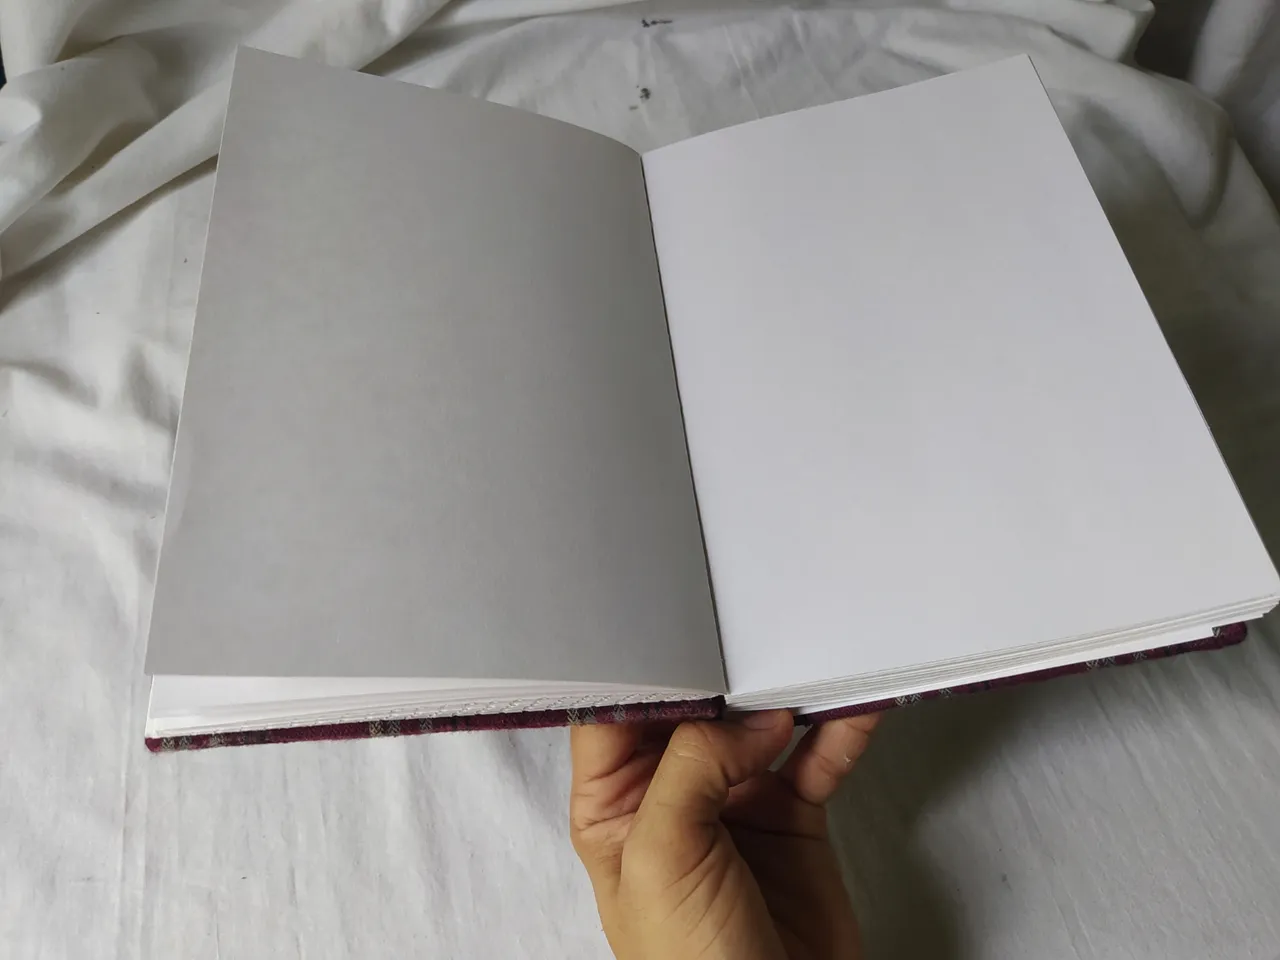
Once the pages are sewn together, it now looks like a sketchbook. But what I still do now is stick a little support on the stitched pages. This will help hold all the pages firmly, without any of them shifting.
Una vez cosidas las páginas, ahora sí se ve como un cuaderno de dibujos. Pero lo que sigo haciendo ahora es pegar un pequeño soporte en las páginas cosidas. Esto ayudará a contener todas las páginas firmemente, sin que ninguna se mueva.
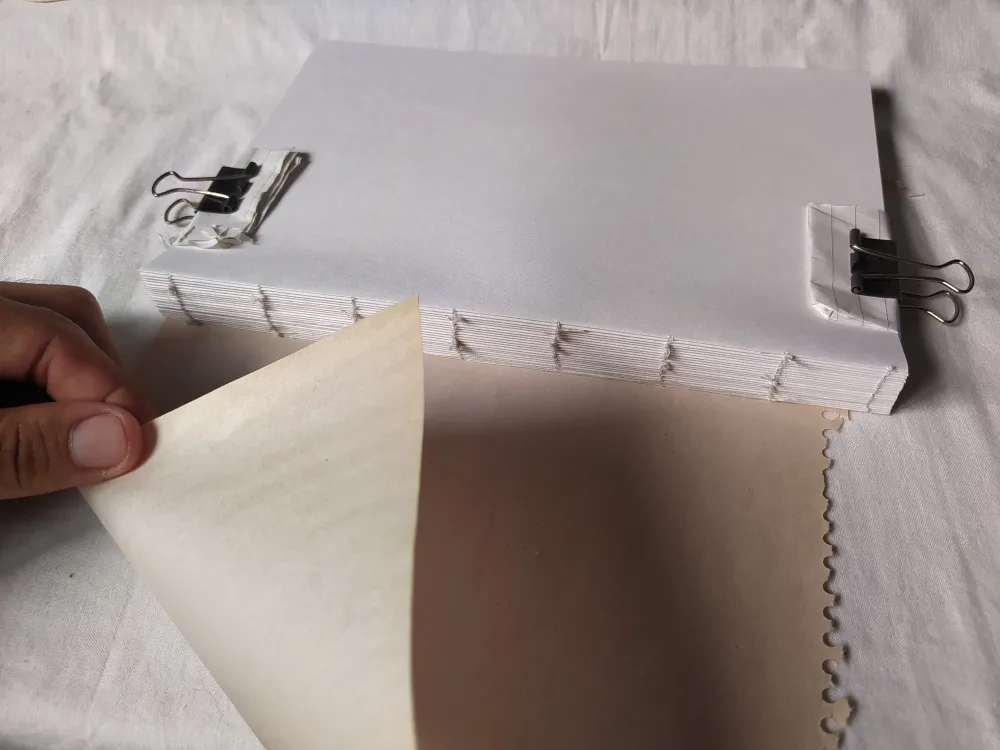
What I do is take any material, in this case I use a page and paste it into the stitched page block. Obviously from the outside.
Lo que hago es tomar cualquier material, en éste caso use una página y la pegué en el bloque de páginas cosidas. Obviamente del lado de afuera.
The next thing I do is look for any material, be it cardboard or others, to cut and make the covers of the notebook.
Lo siguiente que hago es buscar cualquier material, ya sea cartón o demás, para cortan y hacer las portadas del cuaderno.
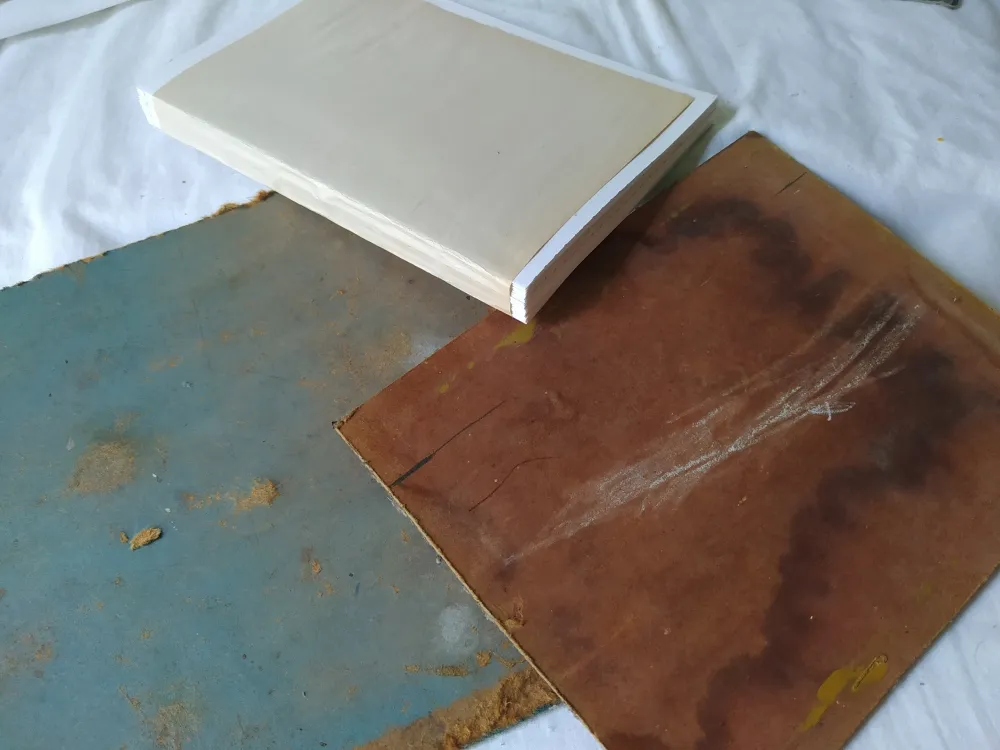
In my case, I used papier-mache, that's how I've known it all my life. It is a very hard type of cardboard and is perfect for making covers for notebooks.
En mi caso, use un cartón piedra, así lo he conocido yo toda mi vida. Es un tipo de cartón muy duró y es perfecto para hacer portadas para cuadernos.
What I do is take the measurements of the notebook and mark them on the cardboard and then cut and remove each cover. Also adding a small separator between the two covers, which is where the pages would go.
Lo que hago es tomar las medidas del cuaderno y marcarlas en el cartón para luego cortan y sacar cada portada. Añadiendo también un pequeño separador entre las dos portadas, que es en dónde irían las páginas.
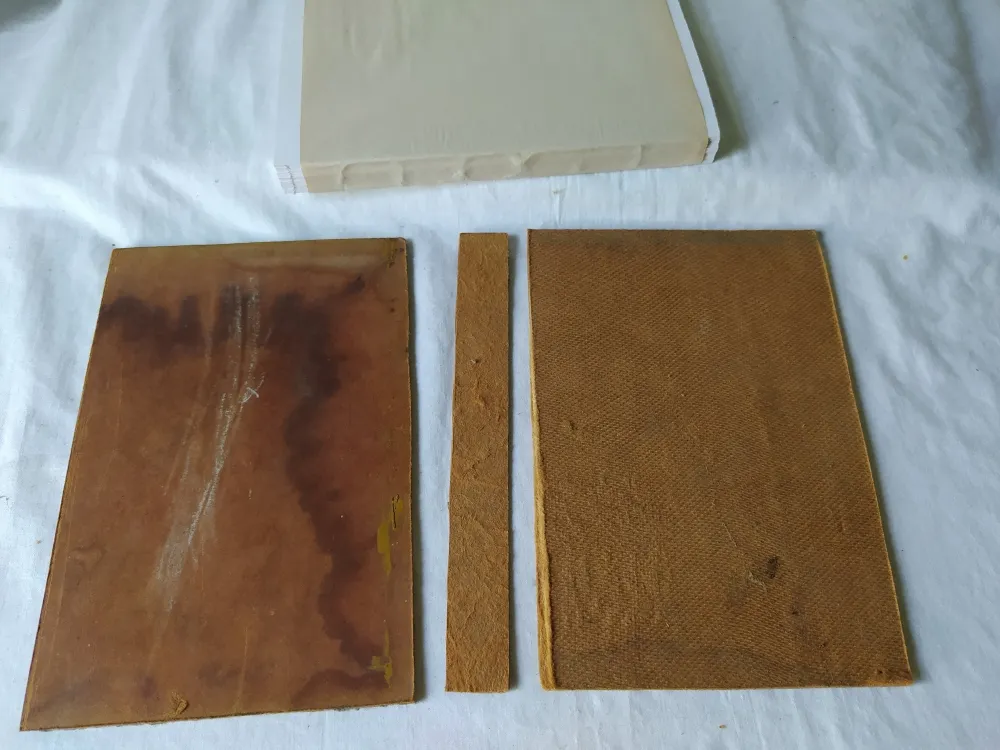
Once I have cut the two covers and the separator, what I do is put everything together. You can use any material, I used recycling pages to glue everything together.
Una vez que he cortado las dos portadas y el separador, lo que hago es unir todo. Puedes usar cualquier material, yo use páginas de reciclaje para pegar y unir todo.
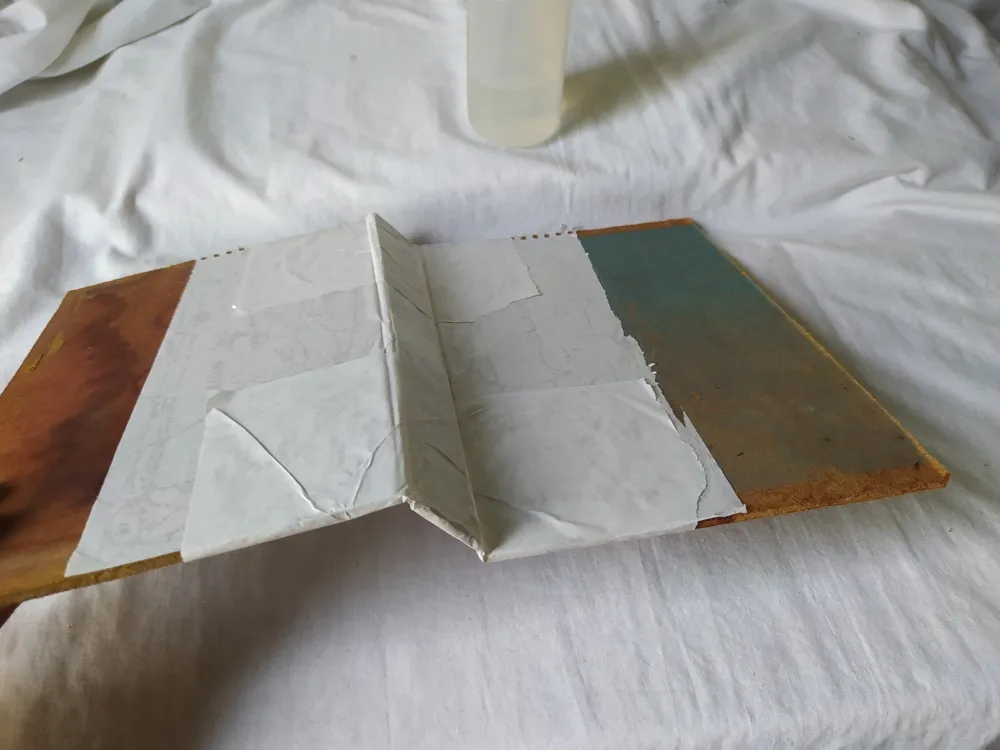
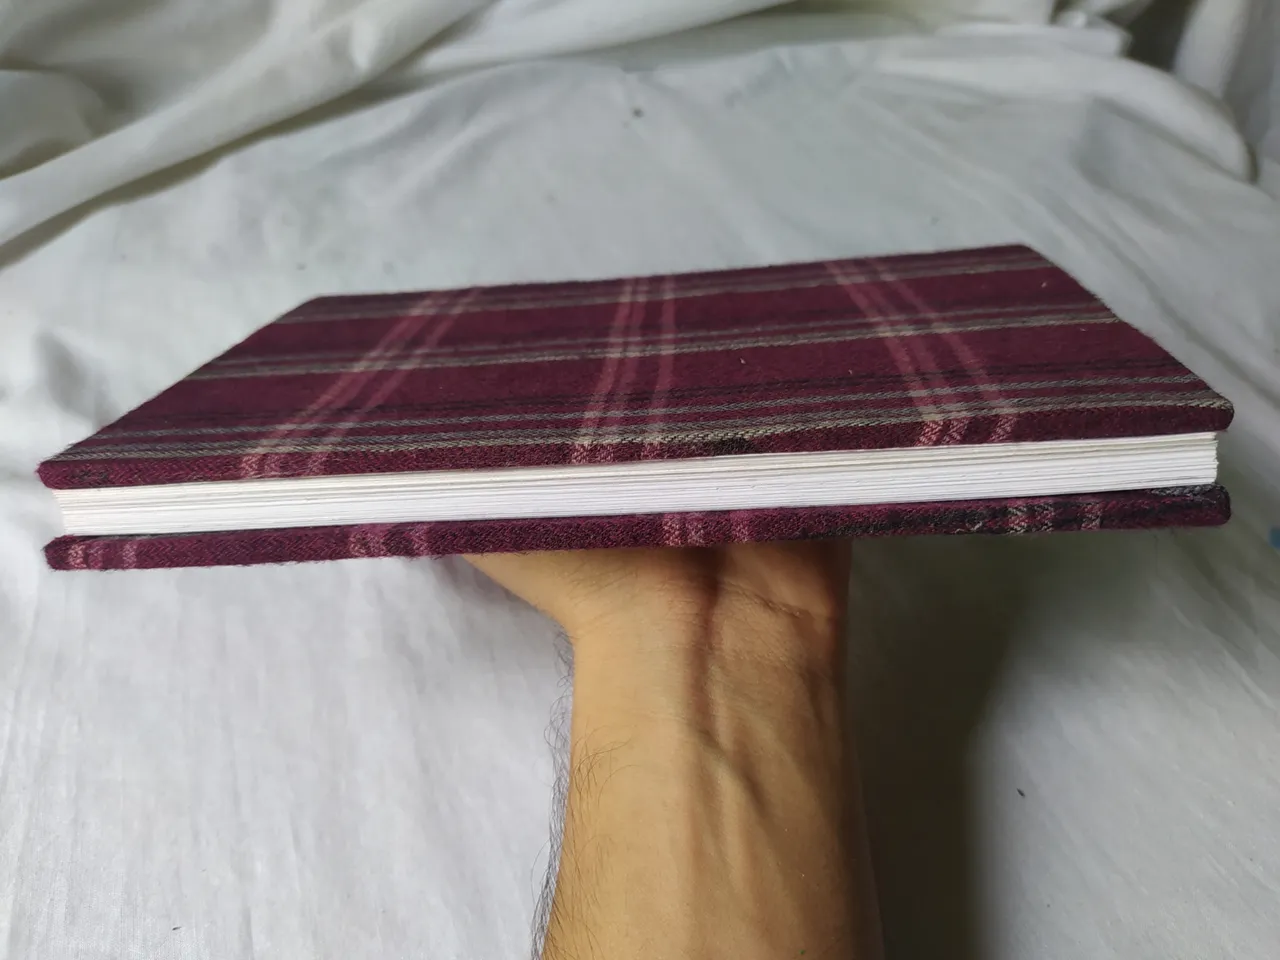
Once everything is attached, it should look like this. This would already be in the body of the notebook.
Una vez unido todo, debería quedar así. Ya esto sería en cuerpo del cuaderno.
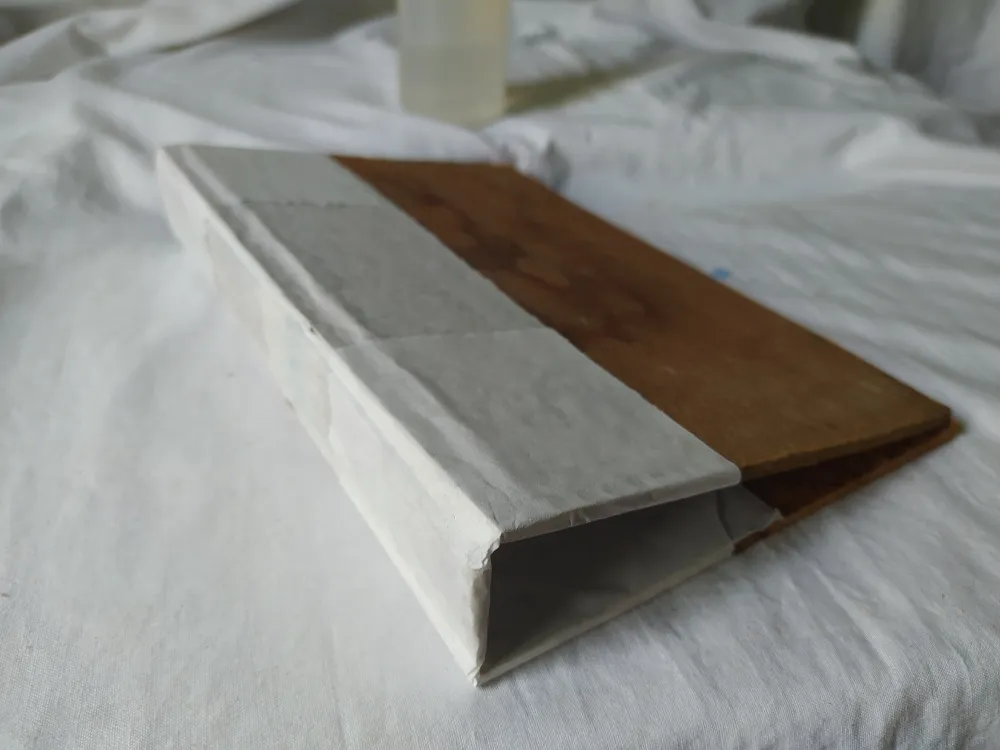
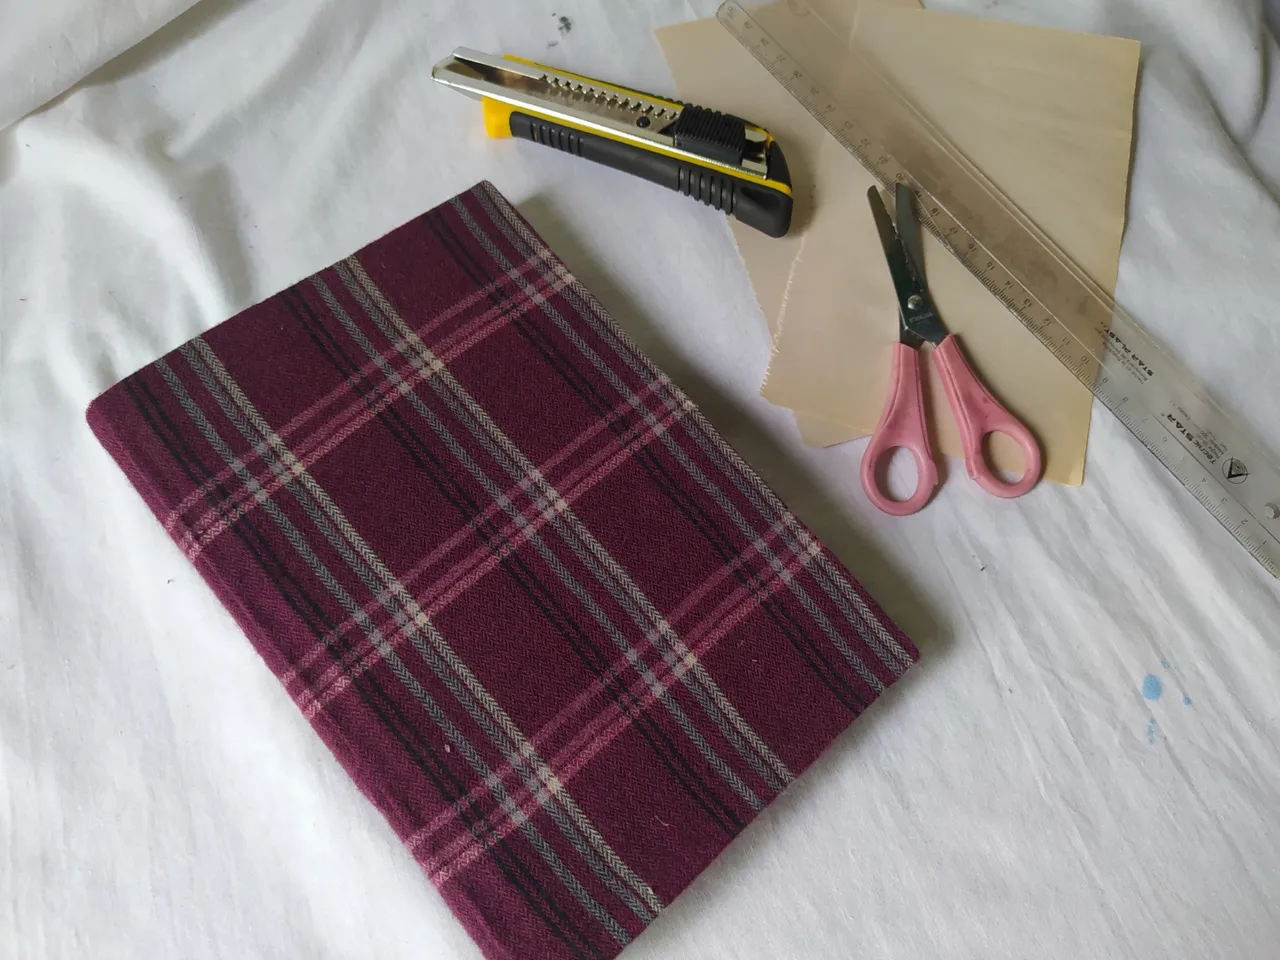
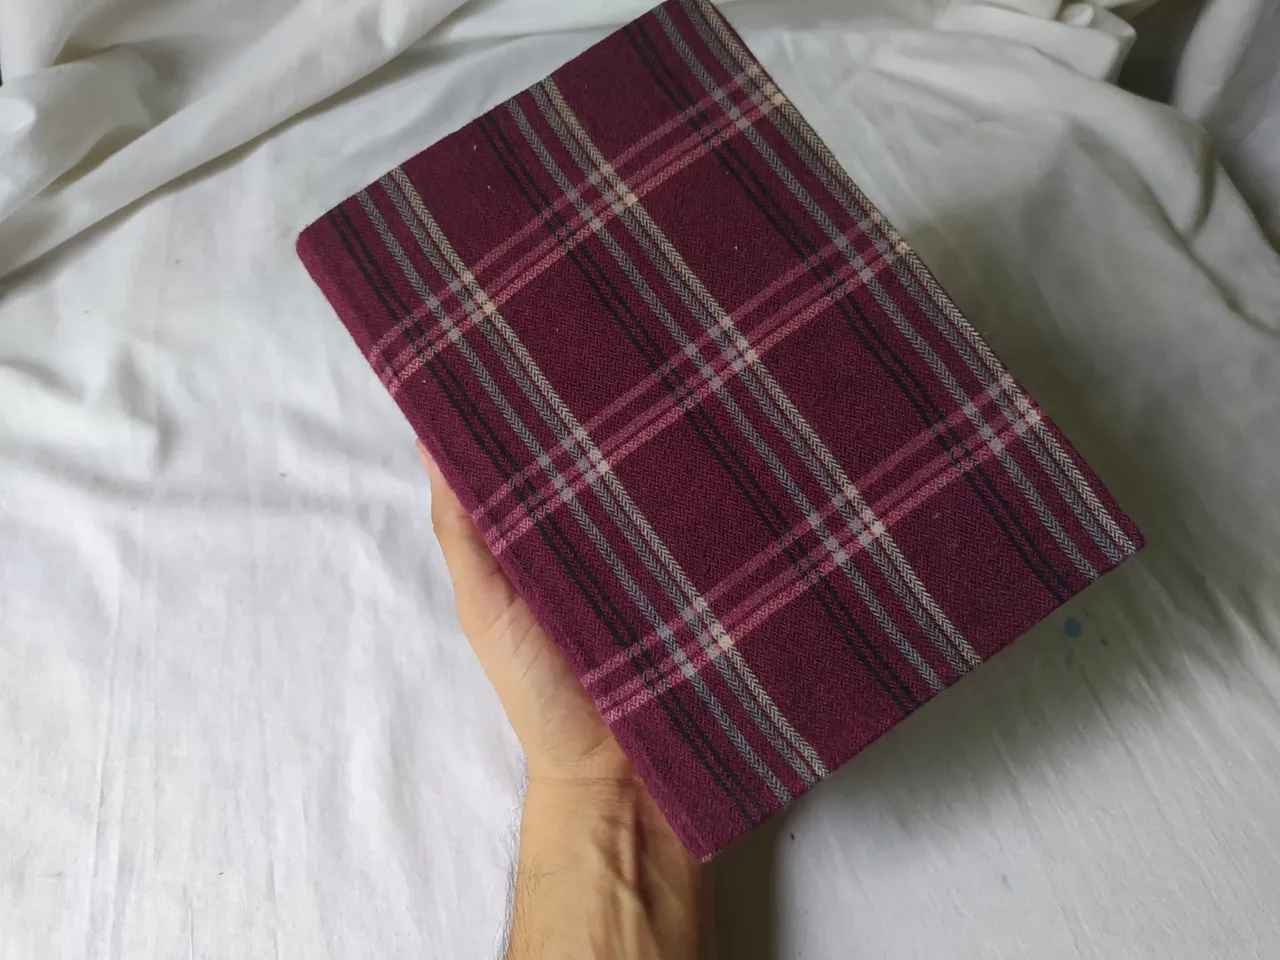
By this point we would have the notebook ready, but since one likes to have pretty things, we are going to decorate it or cover it with whatever material we have at home. For example, I used an old fabric that I had, but you can use decorative paper or something else.
Ya para este punto tendríamos el cuaderno listo, pero como a uno le gusta tener sus cosas lindas, lo vamos a adornar o cubrir con cualquier material que tengamos en casa. Yo por ejemplo, use una tela vieja que tenía, pero puedes usar papel decorativo u otra cosa.
Take measurements of the covers and cut out the fabric you would need to cover them.
Tome medidas de las portadas y corte la tela que necesitaría para cubrir las mismas.
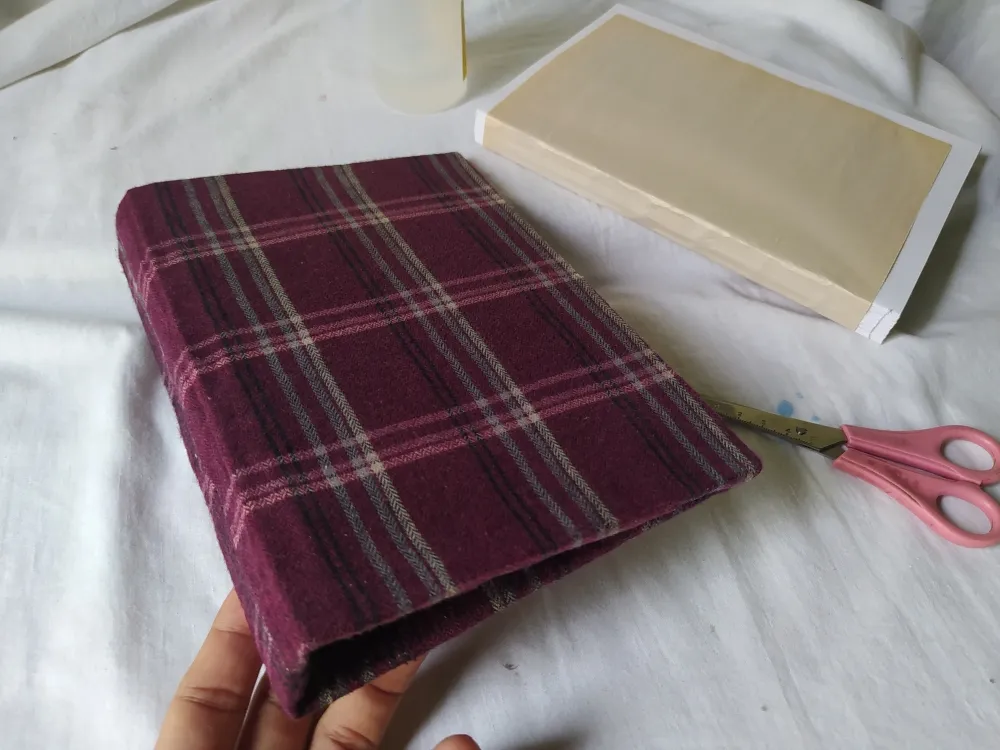
After cutting the fabric, what I did was paste it on the covers or body of the notebook, looking like this:
Luego de cortar la tela, lo que hice fue pegar en las portadas o cuerpo del cuaderno, quedando de la siguiente manera:
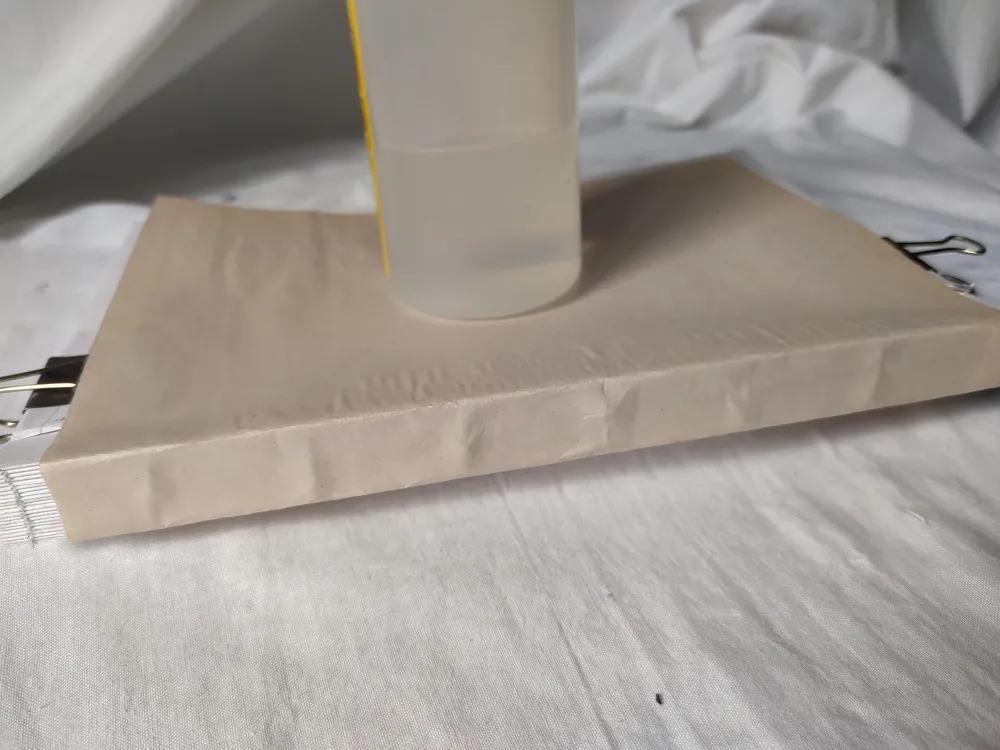
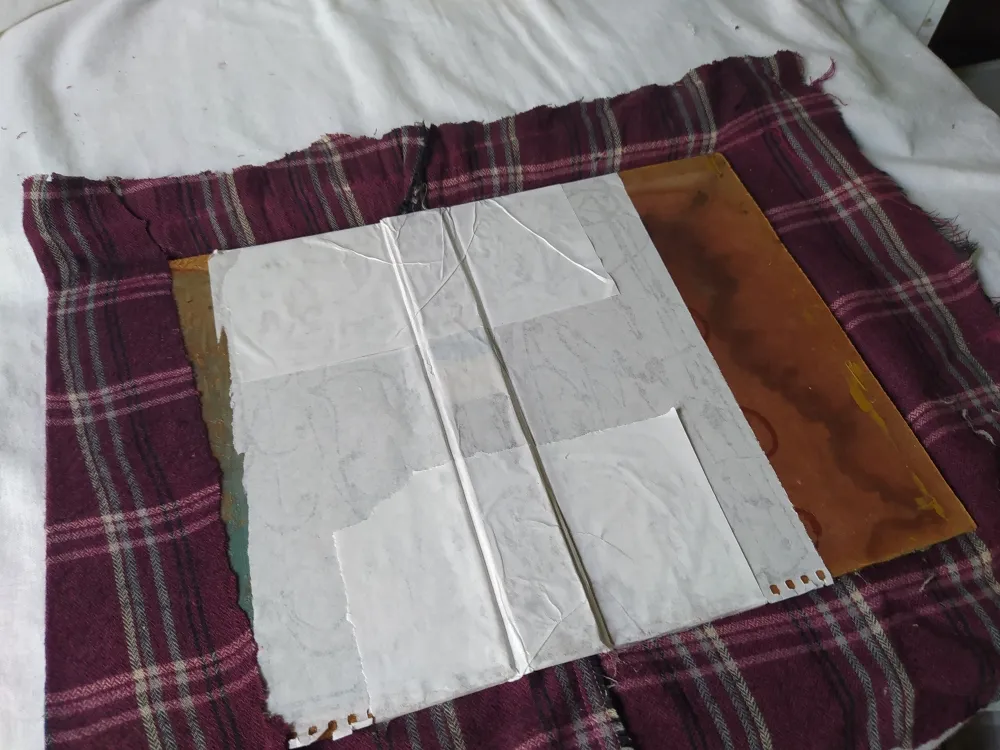
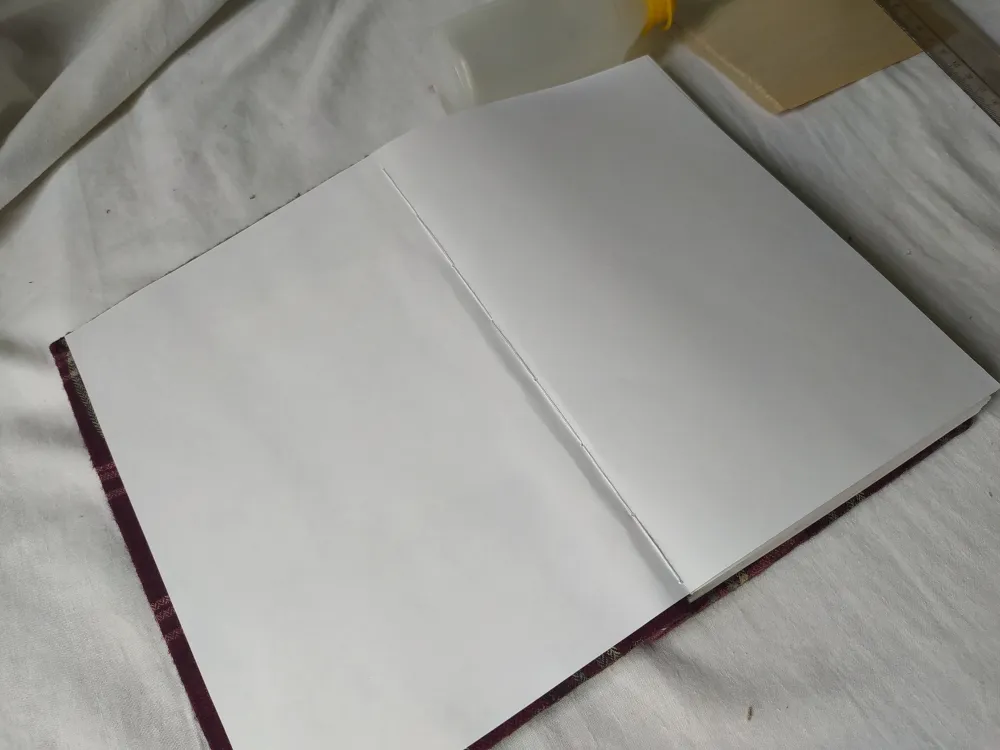
The last step of the whole process is to glue the pages to the body of the notebook, that is; glue the pages on the covers of the body of the notebook.
El último paso de todo el proceso, es pegar las páginas al cuerpo del cuaderno, es decir; pegar las páginas en las portadas del cuerpo del cuaderno.
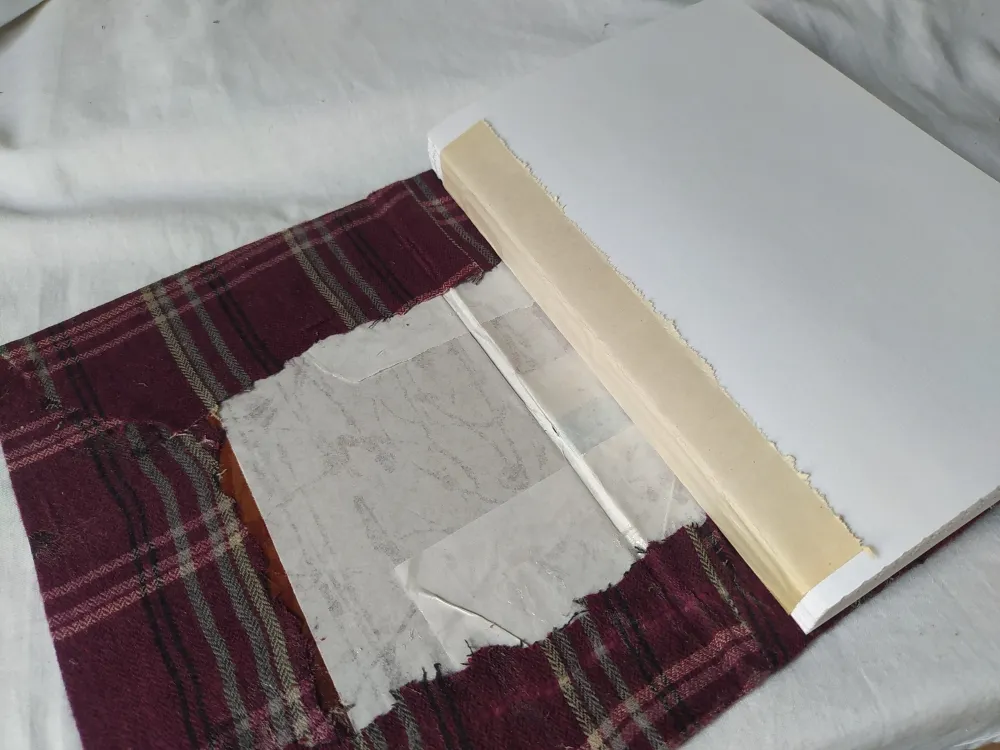
We will take a back cover and paste it on the body of the notebook, this on both sides, as seen in the image.
Tomaremos una contraportada y la pegaremos en el cuerpo del cuaderno, esto por ambos lados, así como se ve en la imagen.
In short, you are going to take the first page and you are going to paste it on the cover of the notebook and the same with the last page, you take it and paste it and that's it.
En pocas palabras, vas a tomar la primera página y la vas a pegar en la portada del cuaderno e igual con la última página, la tomas y la pegas y listo.
It can be seen as a long and locked process, but in truth it is not. It's very easy actually. And an apology for my no tutorial, I'm not very good at explaining things, I did my best.
Puede verse todo un proceso largo y candado, pero en verdad no lo es. Es muy fácil en realidad. Y una disculpa por mi no tutorial, no soy muy bueno explicando las cosas, hice lo mejor que pude.
¡Espero que te guste!
⬜◾Final Work◽⬛
⬜◾Trabajo Final◽⬛
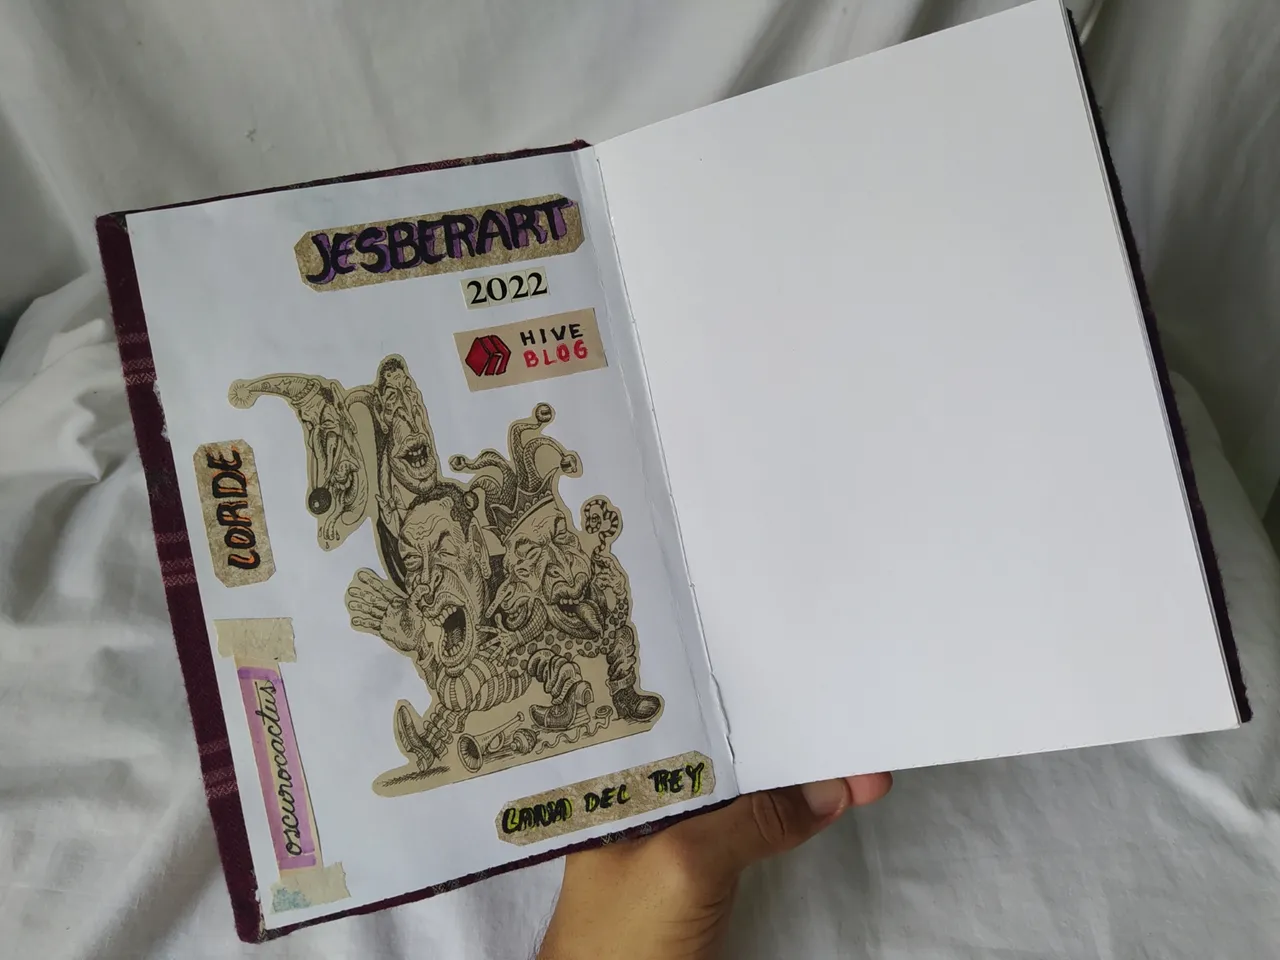
Summary of the whole Process
Resumen de todo el Proceso
 |
Rarible
GhostMarket
Traducido gracias a Deepl