Hello everyone, welcome to another creative Sunday here in the hive-learners community. Merry Christmas to you all and a prosperous new year in advance.
So today I'll take you through the process of how I made another lovely knotless braid. As much as I love braids knotless braids have stolen my heart completely because of it's softness, neatness, and it's styling patterns.
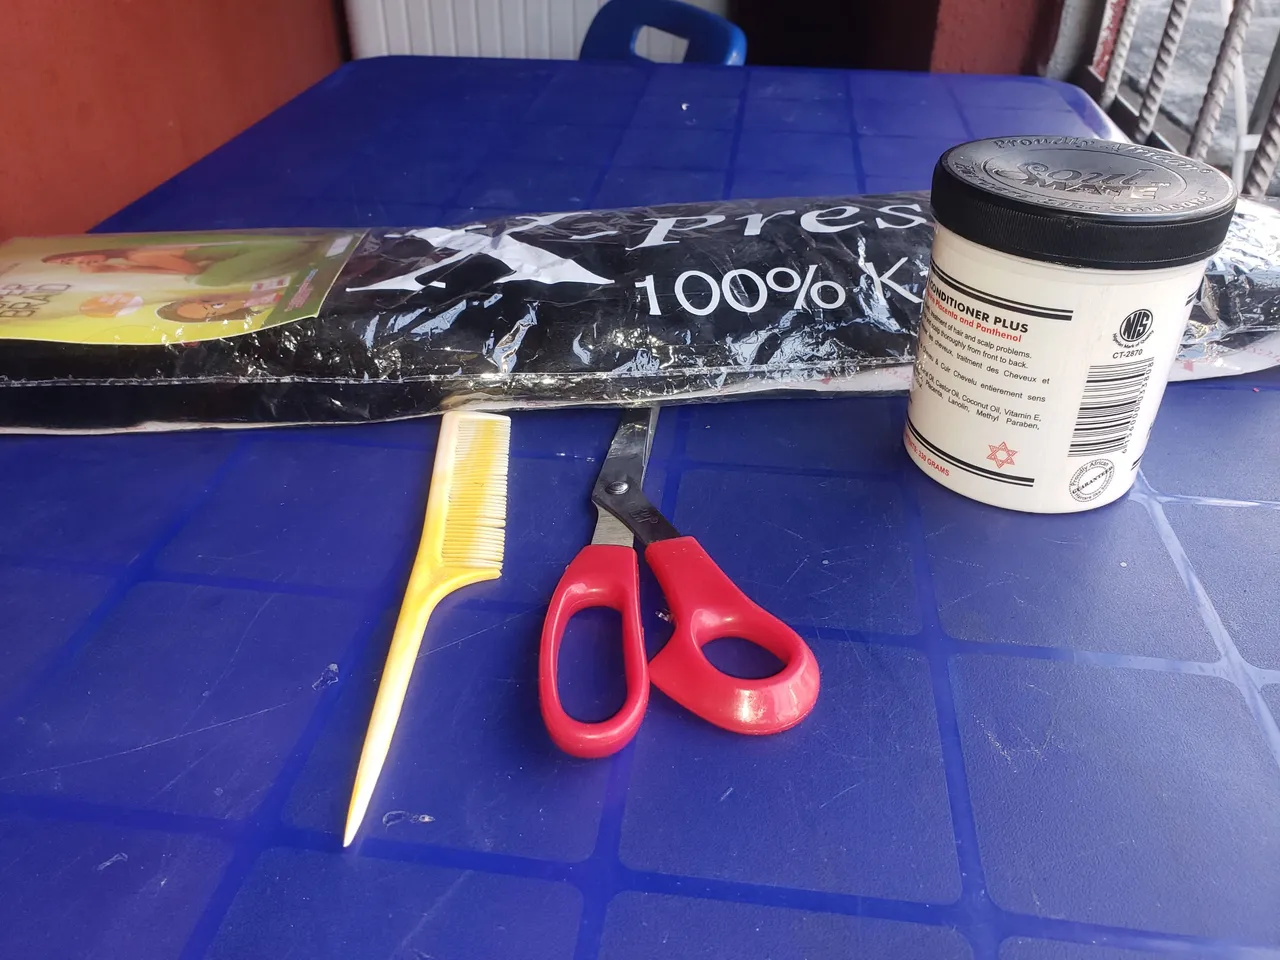
Material used
Hair extension (color black and brown)
Scissors
My comb
Hair cream
The first step is to cut your hair extension to the desired length you want, and then detangle it to make it smoother, use your hair cream to soften the hair and comb the hair extensions, to make it tangle-free.
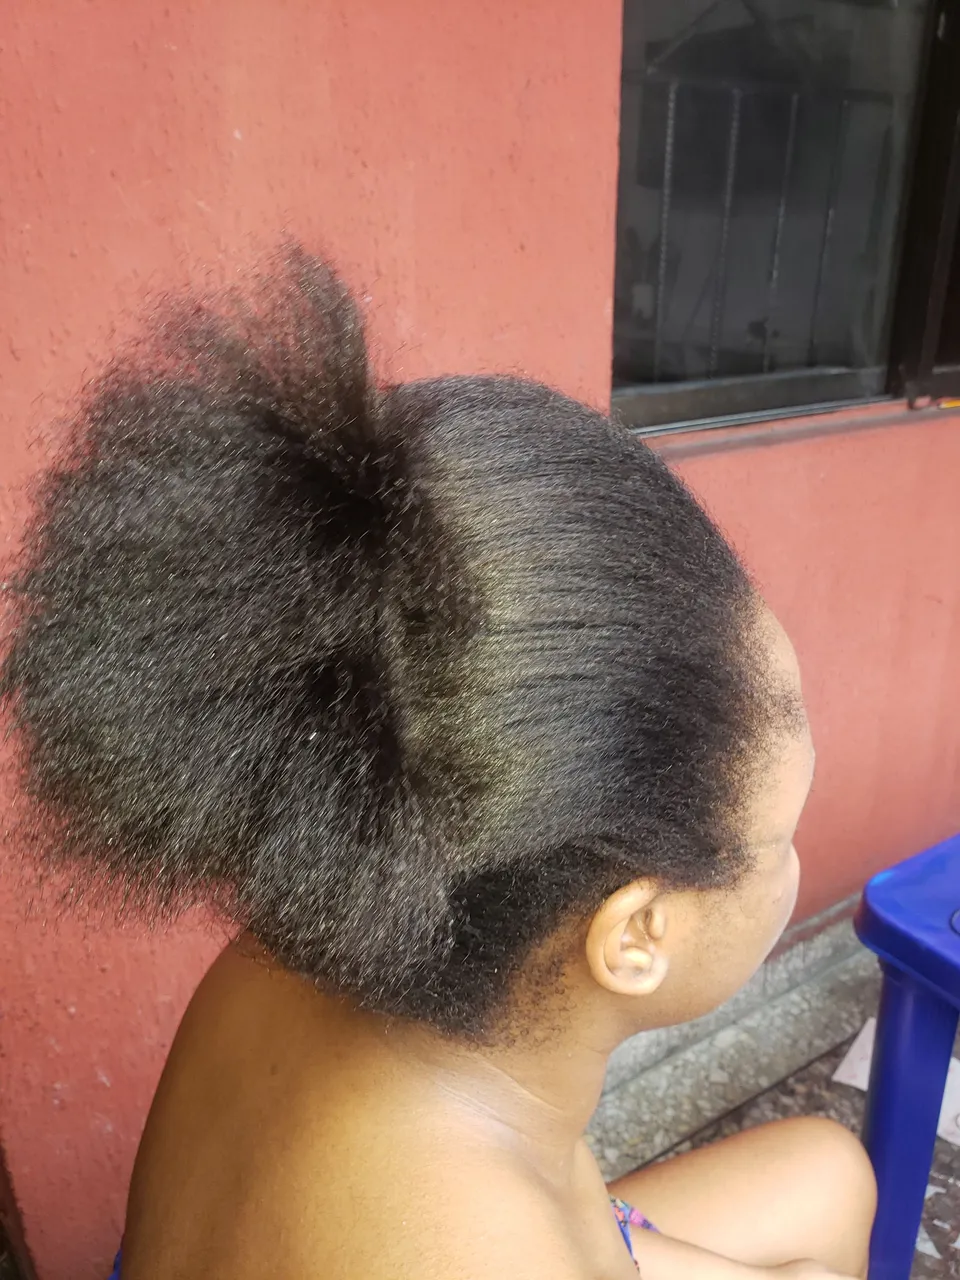
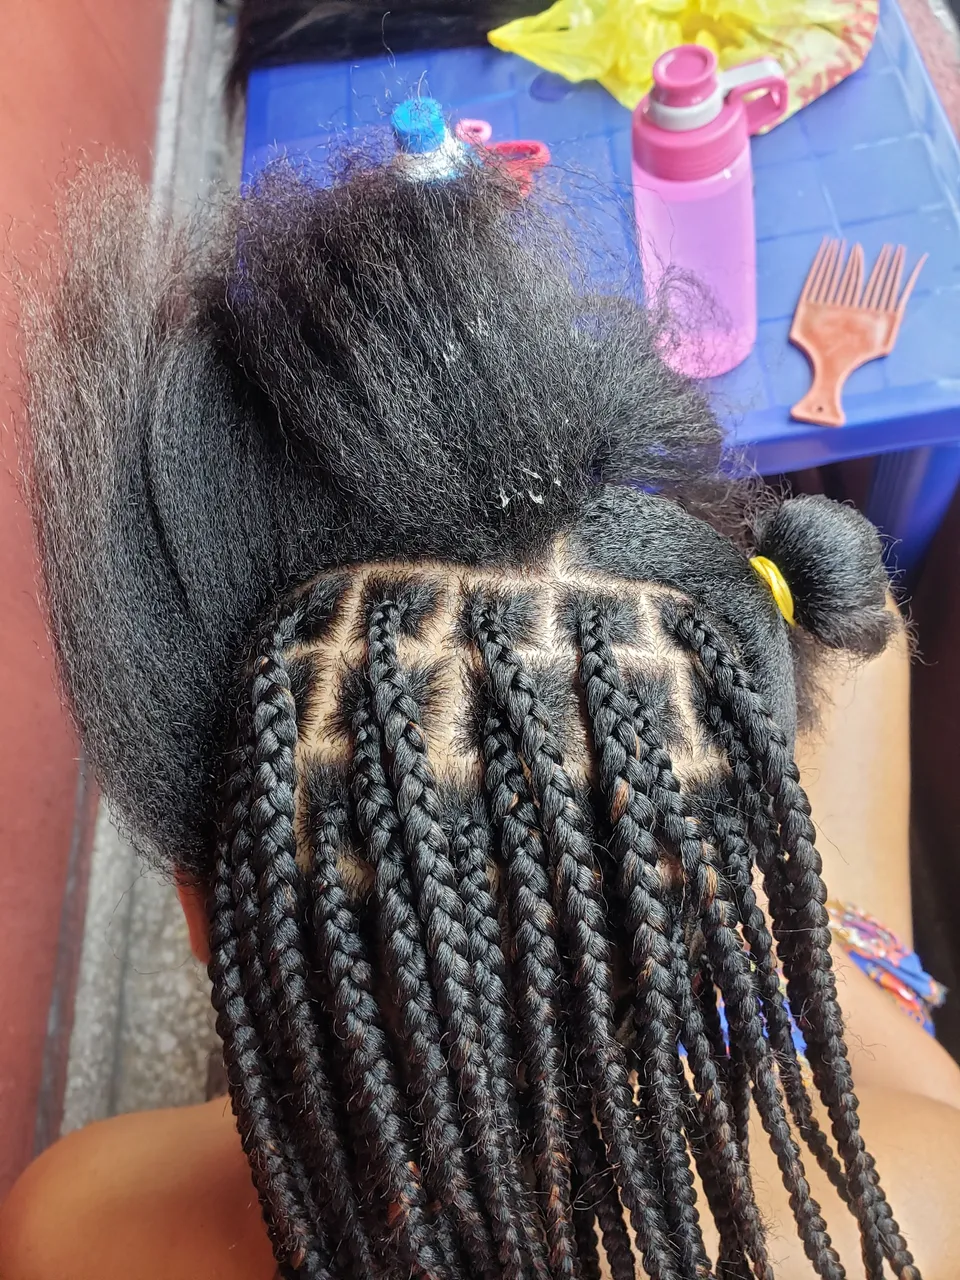
Here is my client sitting pretty, at first I was scared of making the hair because her natural hair was very full and tick. Before starting I asked my client the kinda cut she wanted then she said box braid, remember braids come in different sizes and shapes, it's always good to know what the client wants before starting the whole process, so you don't go back and forth, losing and rebraiding.
Procedure
First, use your comb to create your parts, that's dividing the hair into small sections depending on the size you want, my client picked the box braid so I have to give it that cut, after creating a part, on the root of the hair you make three strands and start weaving with the natural hair of your client before adding the hair extensions to get the knotless look, you'll keep adding the hair extension till the desired length of the client then finish the braiding.
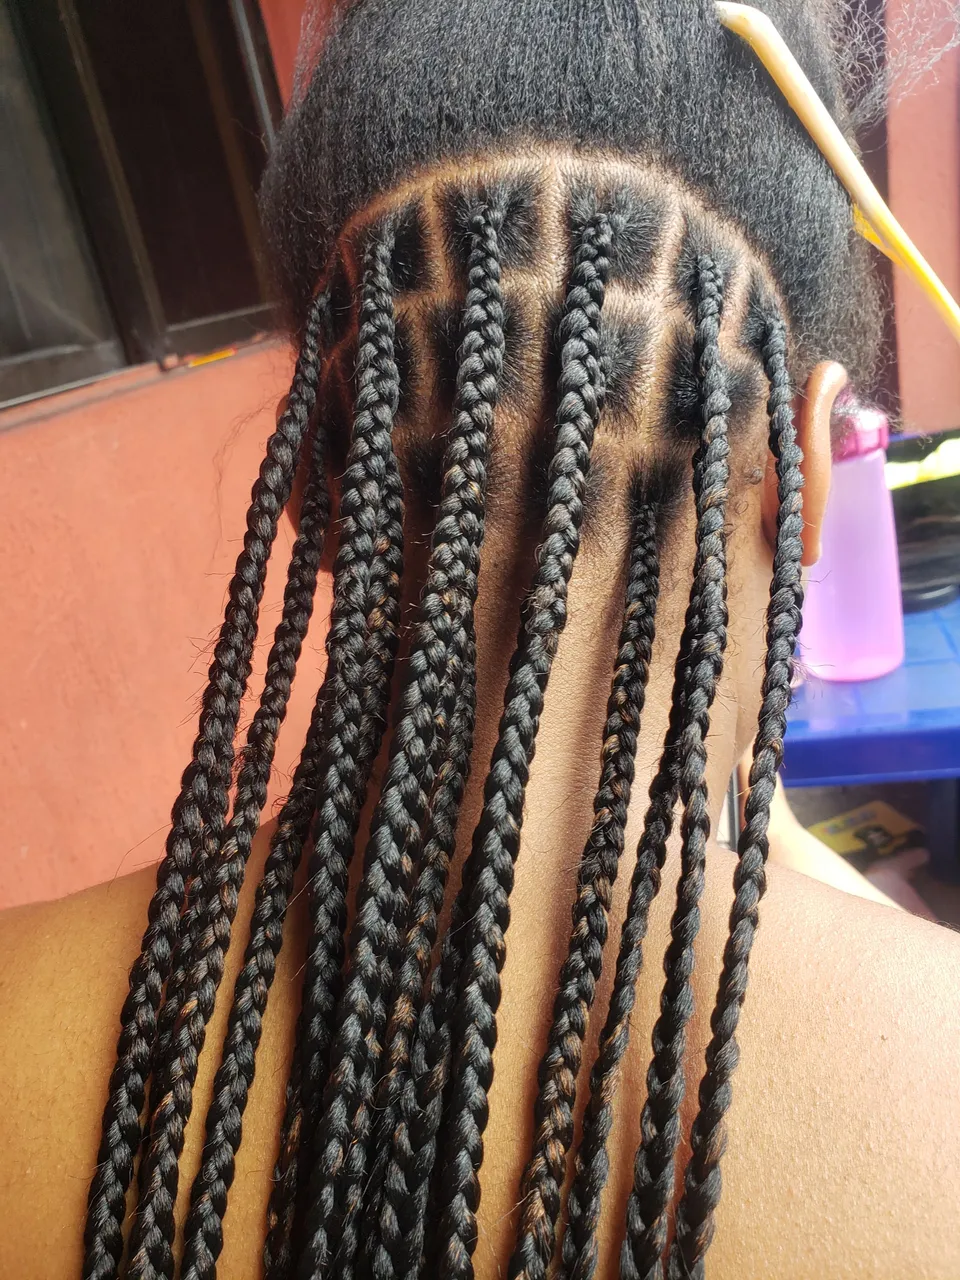
Right here we just started the process, you'll repeat the same process till you have a head full of knotless braids.
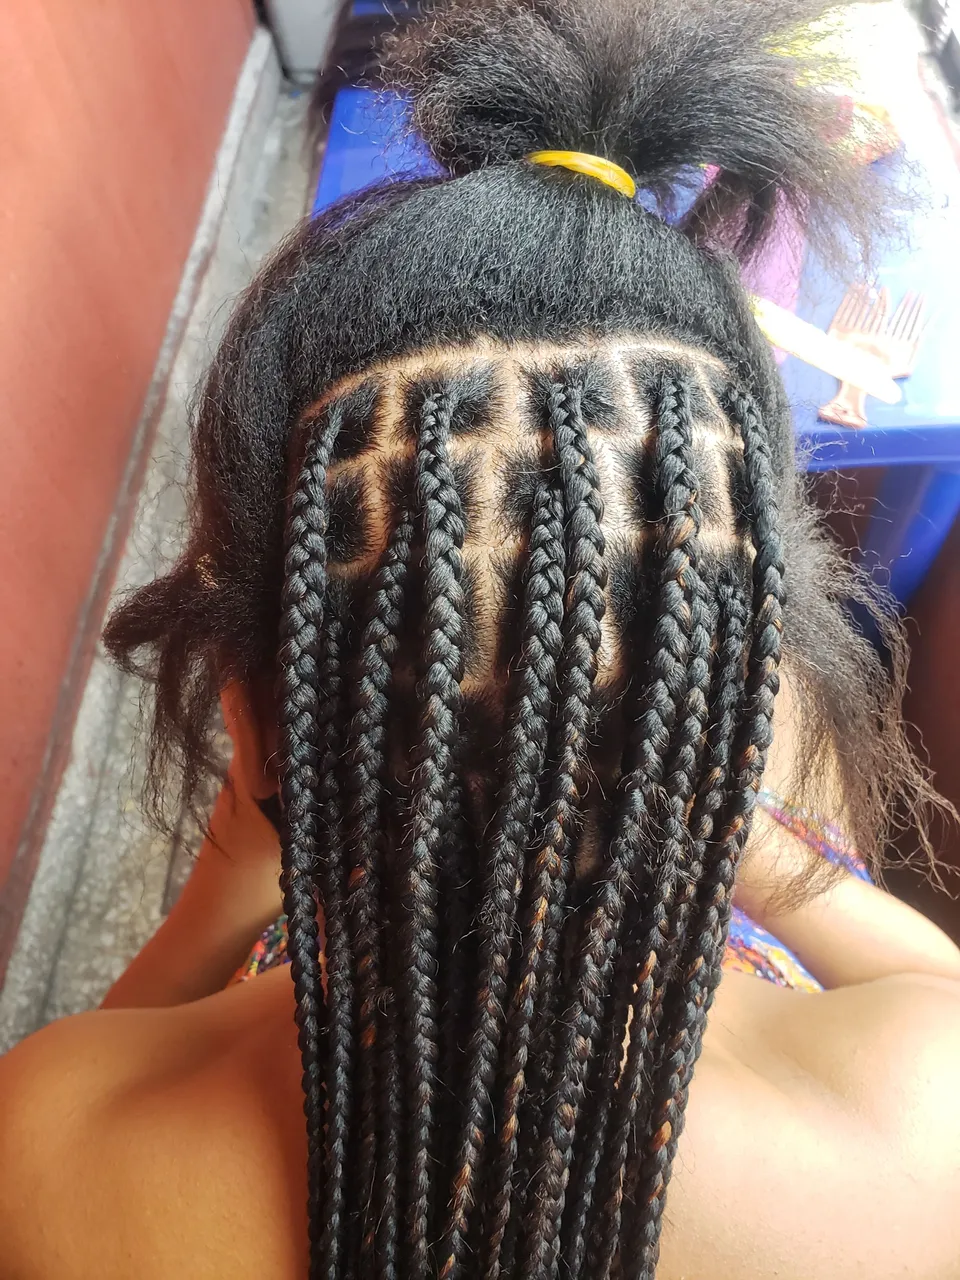
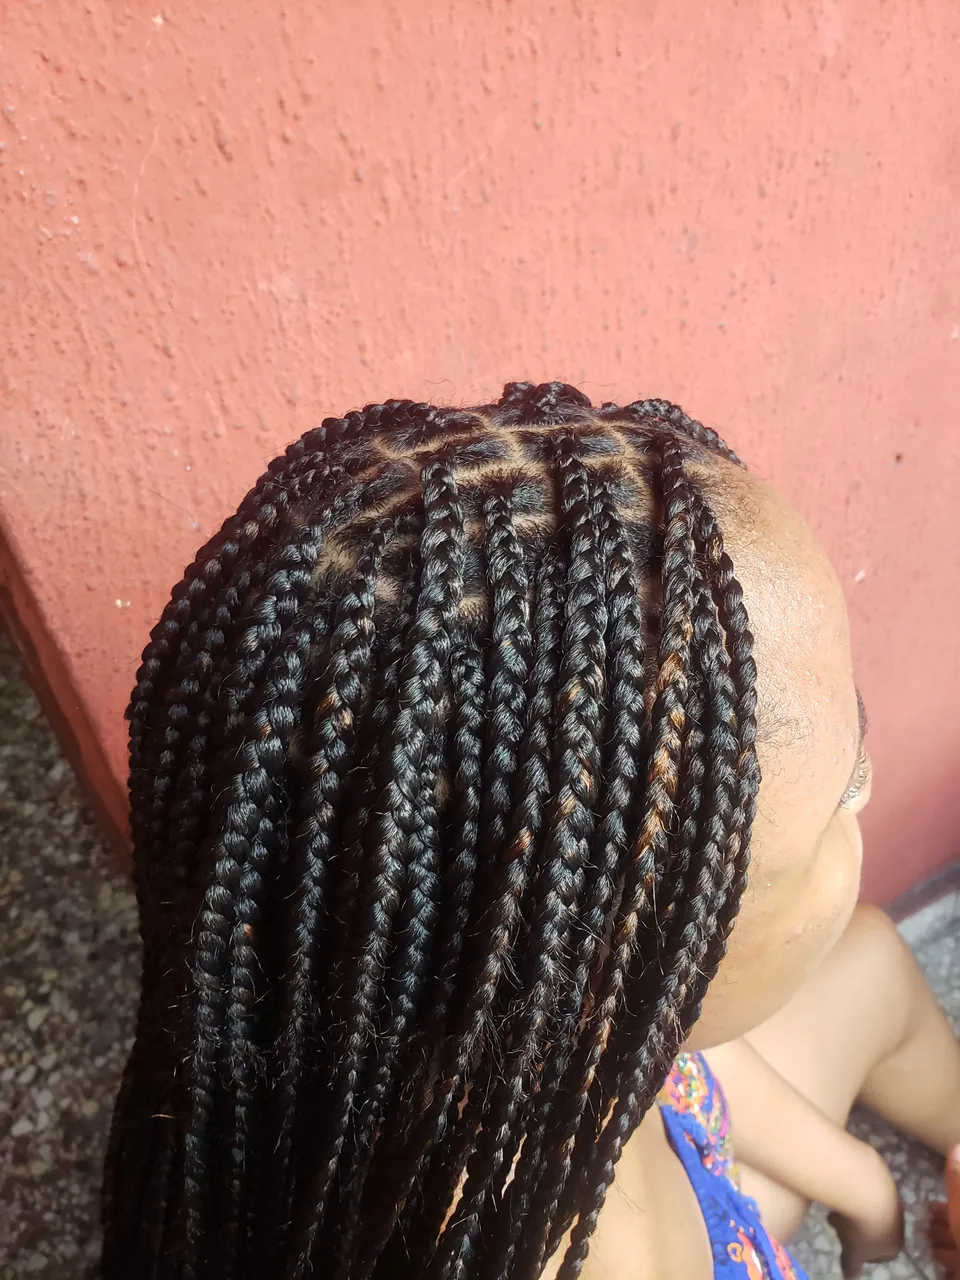
At this point, we were almost done with the hair, I enjoyed making this hair because my client and I were just busy gisting and making the hair, it's like a two-packed package.
Here I was done with the braiding aspect of the hair, so I had to use my scissors to start the trimming process, to be sincere as a stylist I don't enjoy the trimming aspect but I got to do it, so I can have more clients and money has to be made. Before starting the trimming I'd already set the hot water so I don't have to wait for the water to boil for long before using it.
How to use the hot water set
Firstly divide your braids into two sections, then pour your hot water inside a bowl and insert the first set of braids, repeat the same process for the second set, always be careful when doing this because it's hot water.

This is the desired length of my client, she doesn't like her hair to be very long cause of discomfort.
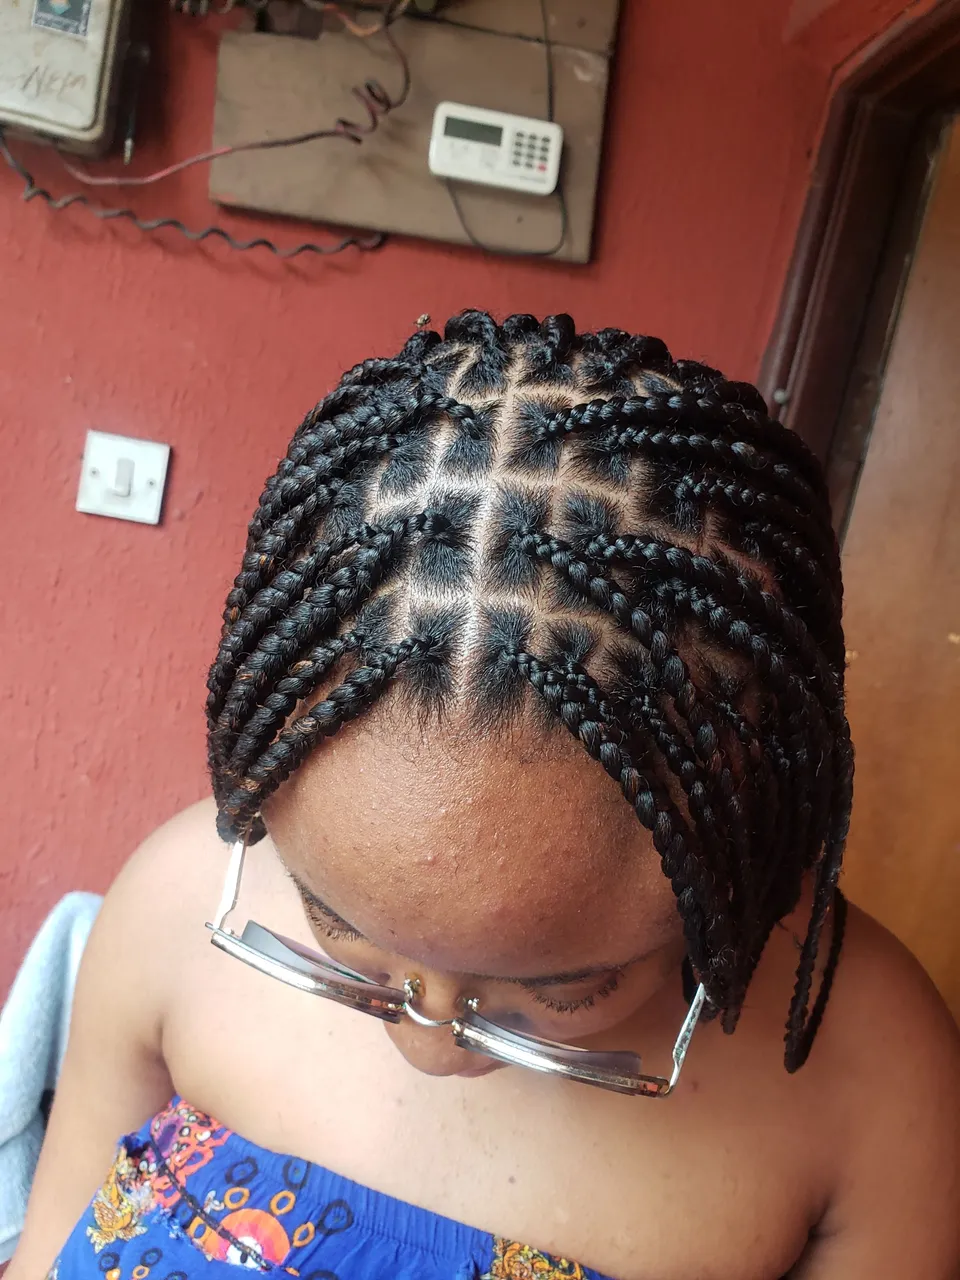
The front view
thanks for reading🌹