Hello everyone, welcome to my blog this beautiful Sunday afternoon, it is always a pleasurable time for me everyday Sunday, because I get the opportunity to feed my eyes with as many creative talent as possible in the hive learners community, and today I'll love to grace your sight with a piece of my creativity as well.
If you are familiar with my blog from my early days on the blockchain, you will know that I frequently shared shoemaking DIY guides and the like. However, moving to a new environment has forced me to stop exploring it for the time being. However, when looking through my phone gallery, I discovered the step-by-step photos I took for how I made the palms slippers, and since I have not previously published this particular one, I decided to use it as an entry for my creative Sunday publication.

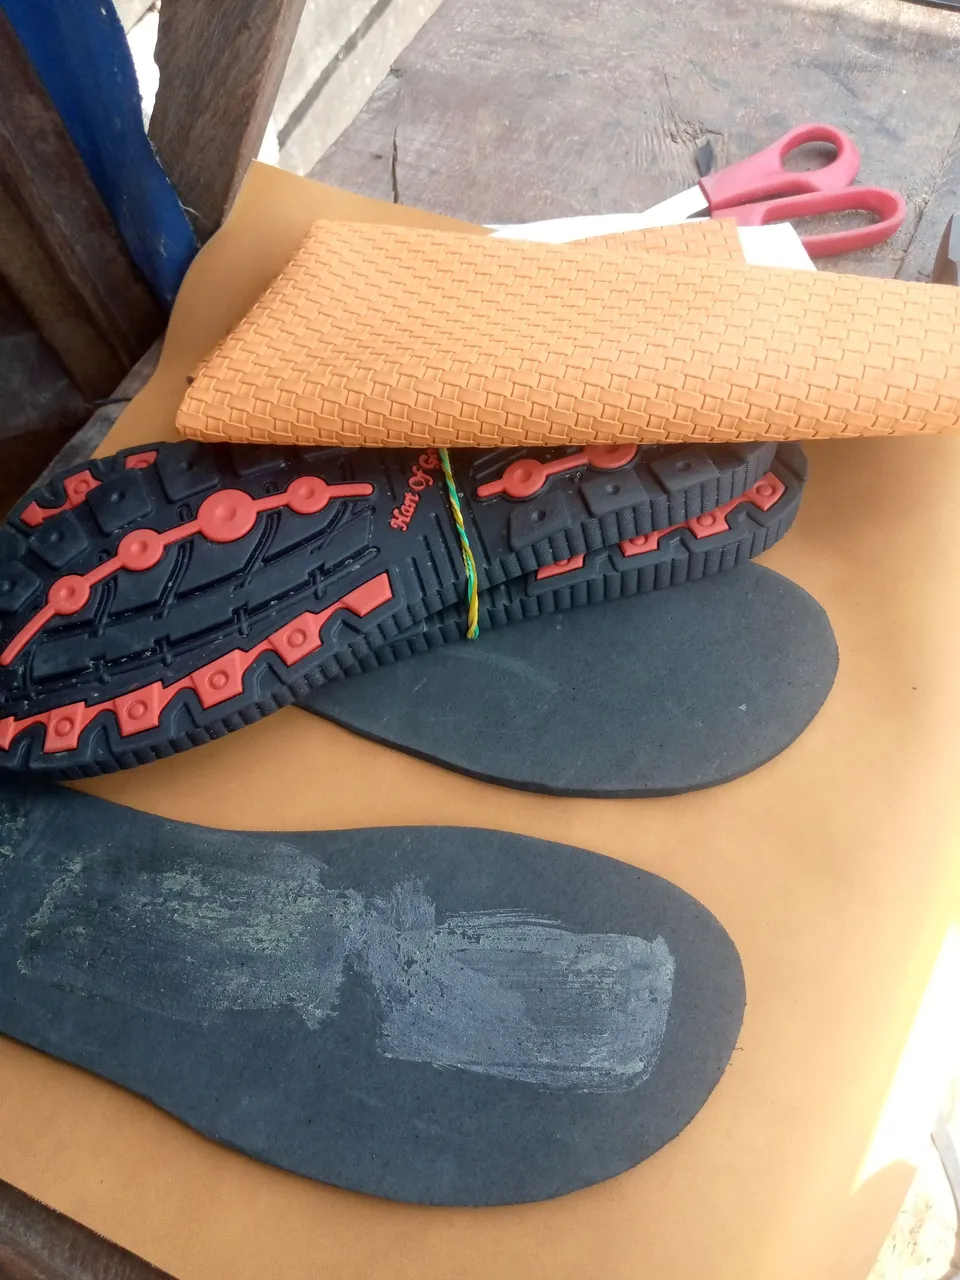
TOOLS AND MATERIALS USED
- Brown leather material
- Black linning
- Marco size 4
- Brown leather linning
- Polyurethane outsole
- Gum
- Scissor
- Brush
- Logo design
MAKING PROCESSES
After purchasing the necessary materials and putting aside the tools, I began work on the palm slippers by:
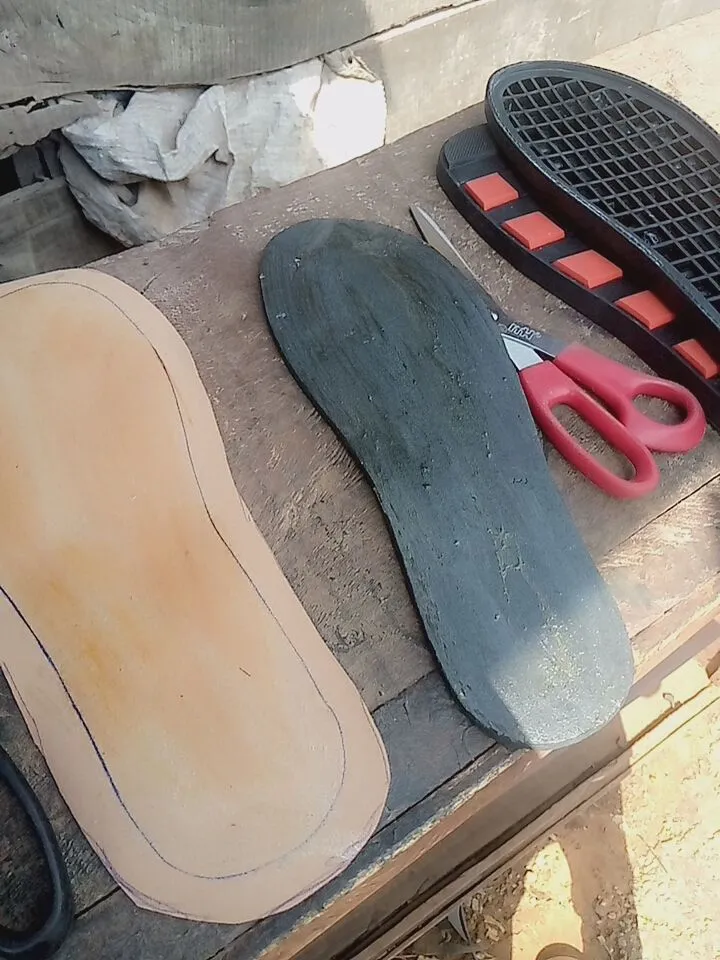
- Cutting the brown leather material and Marco for the insole, which I drew a pattern of my Leg on with a leather, and then cut out the shape with a scissor.
| Materials | drawing pattern | cutting |
|---|---|---|
 | 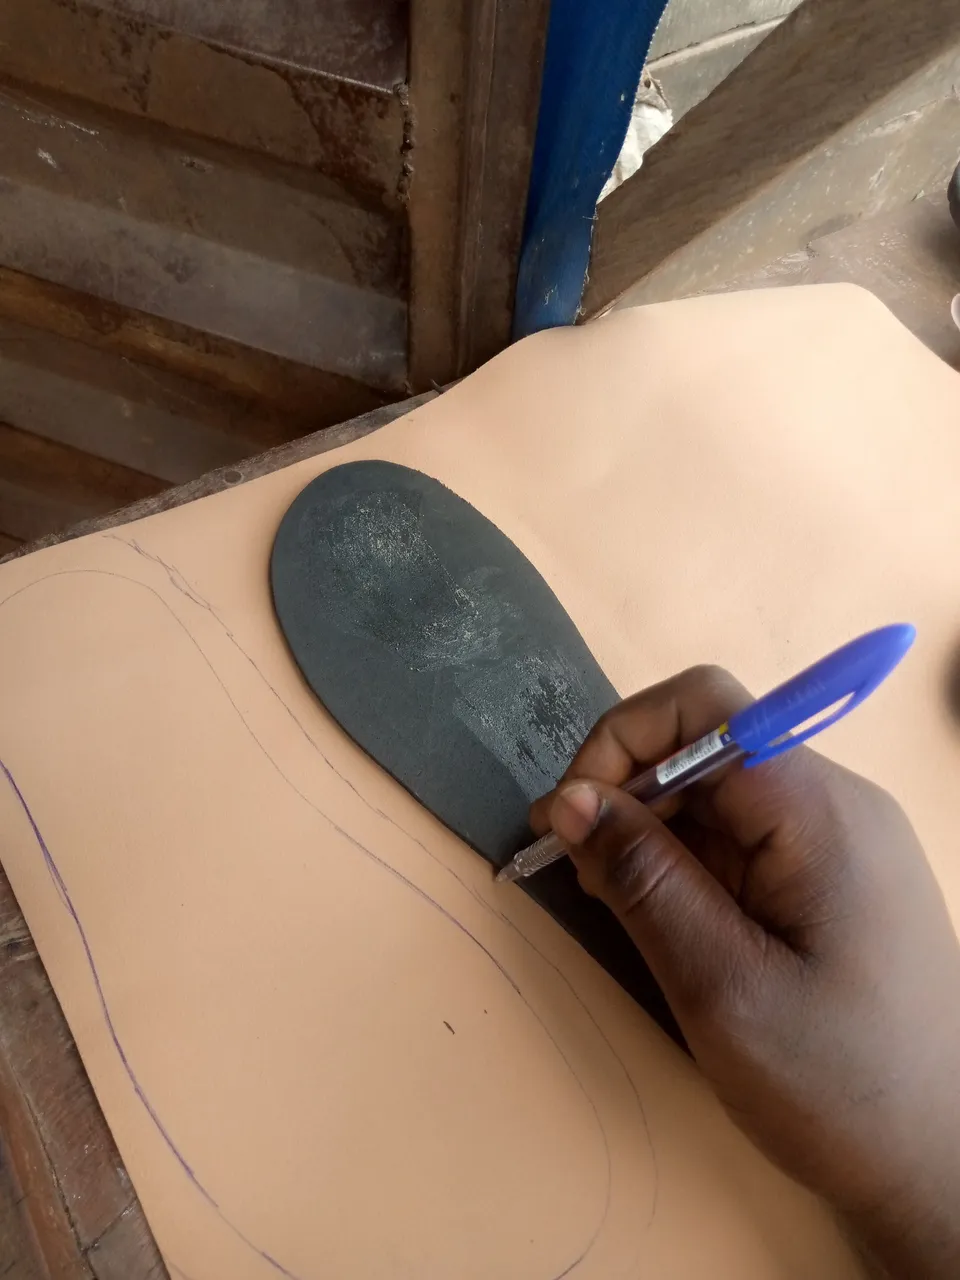 | 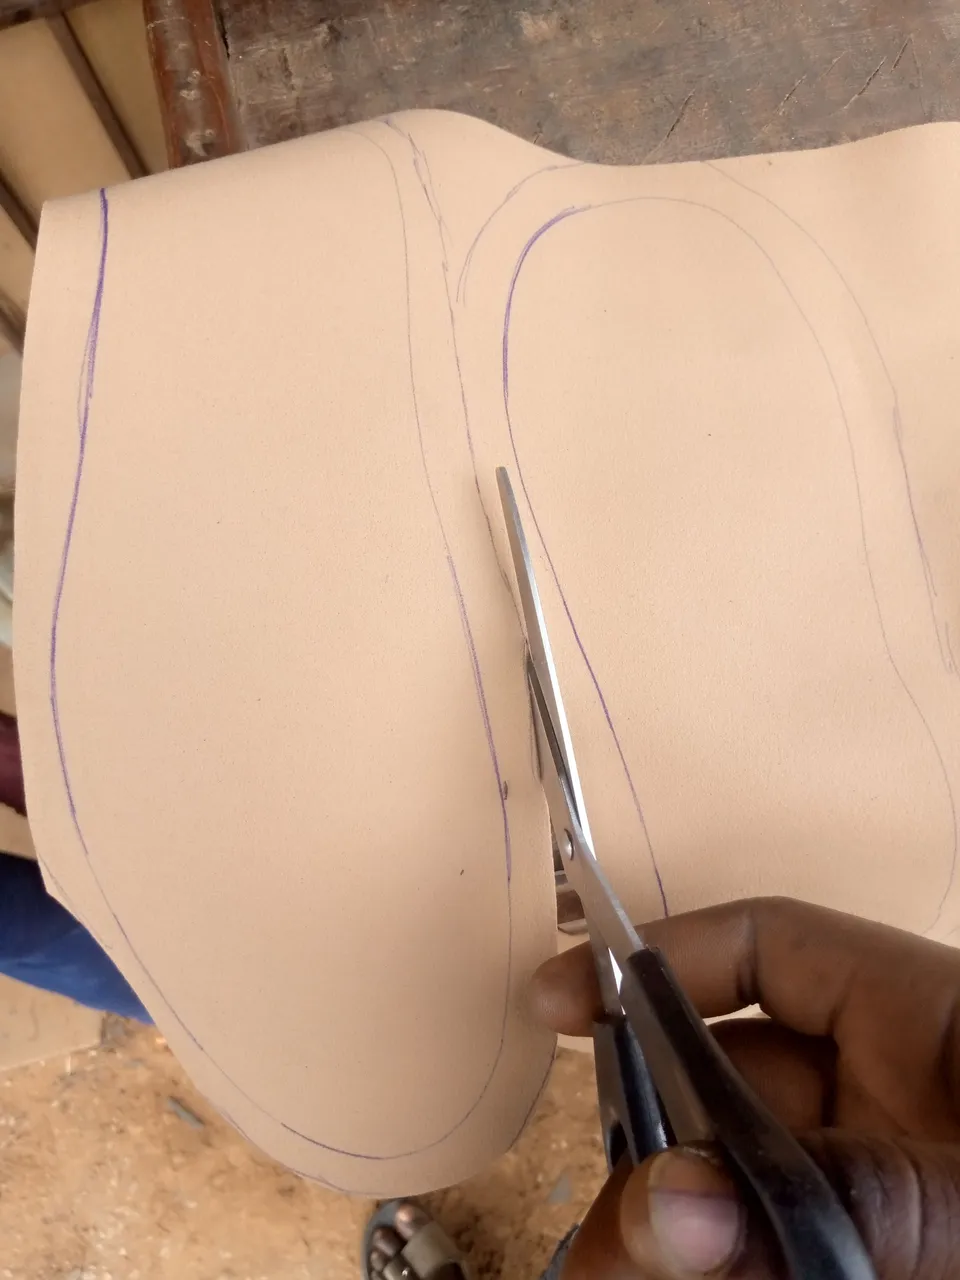 |
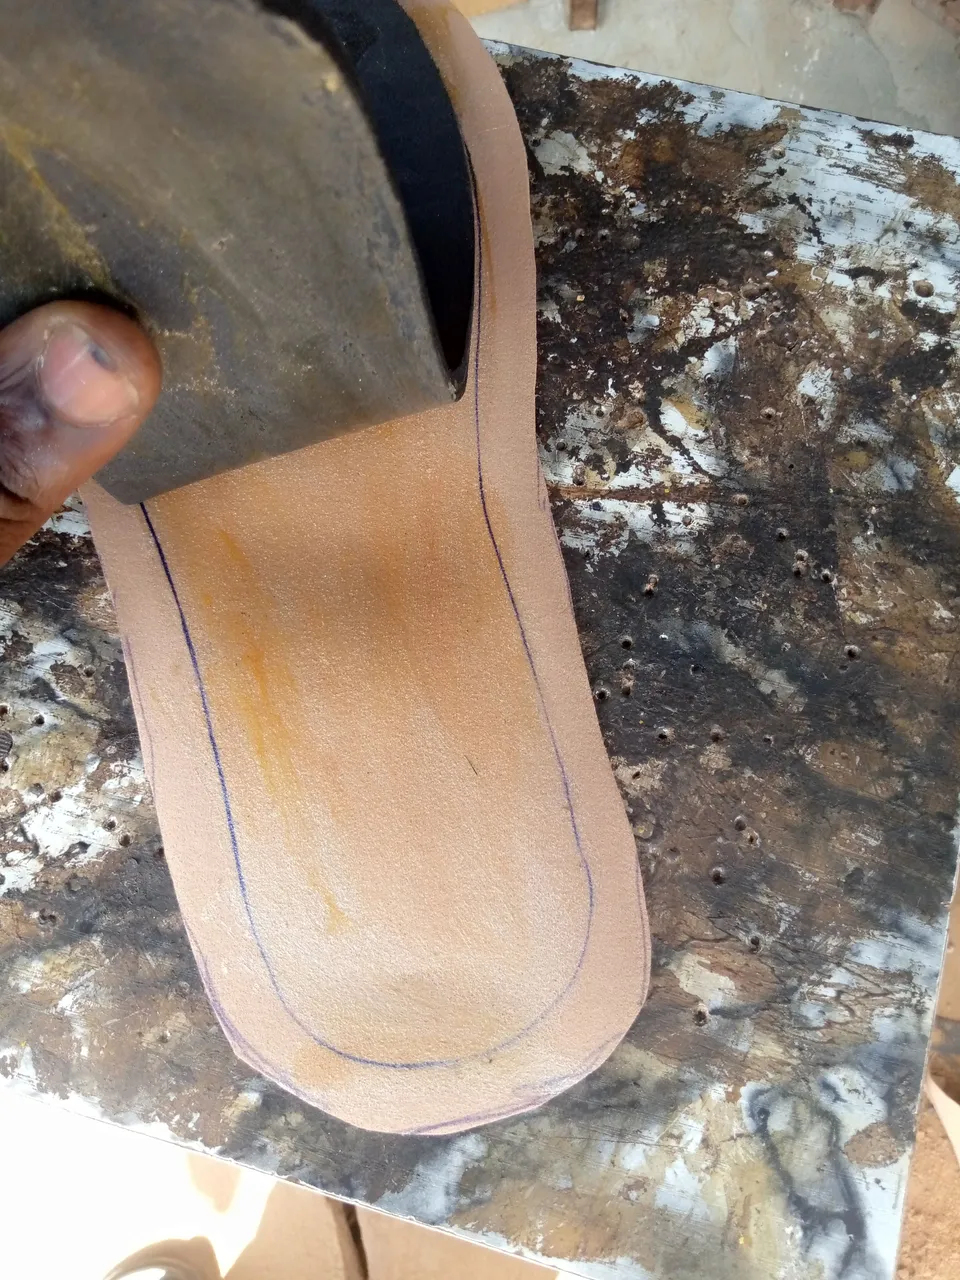
- Applying gum on the back of the brown leather linning and the Marco, and joining them together, by wrapping the brown linning on the Marco.
 |  |  |
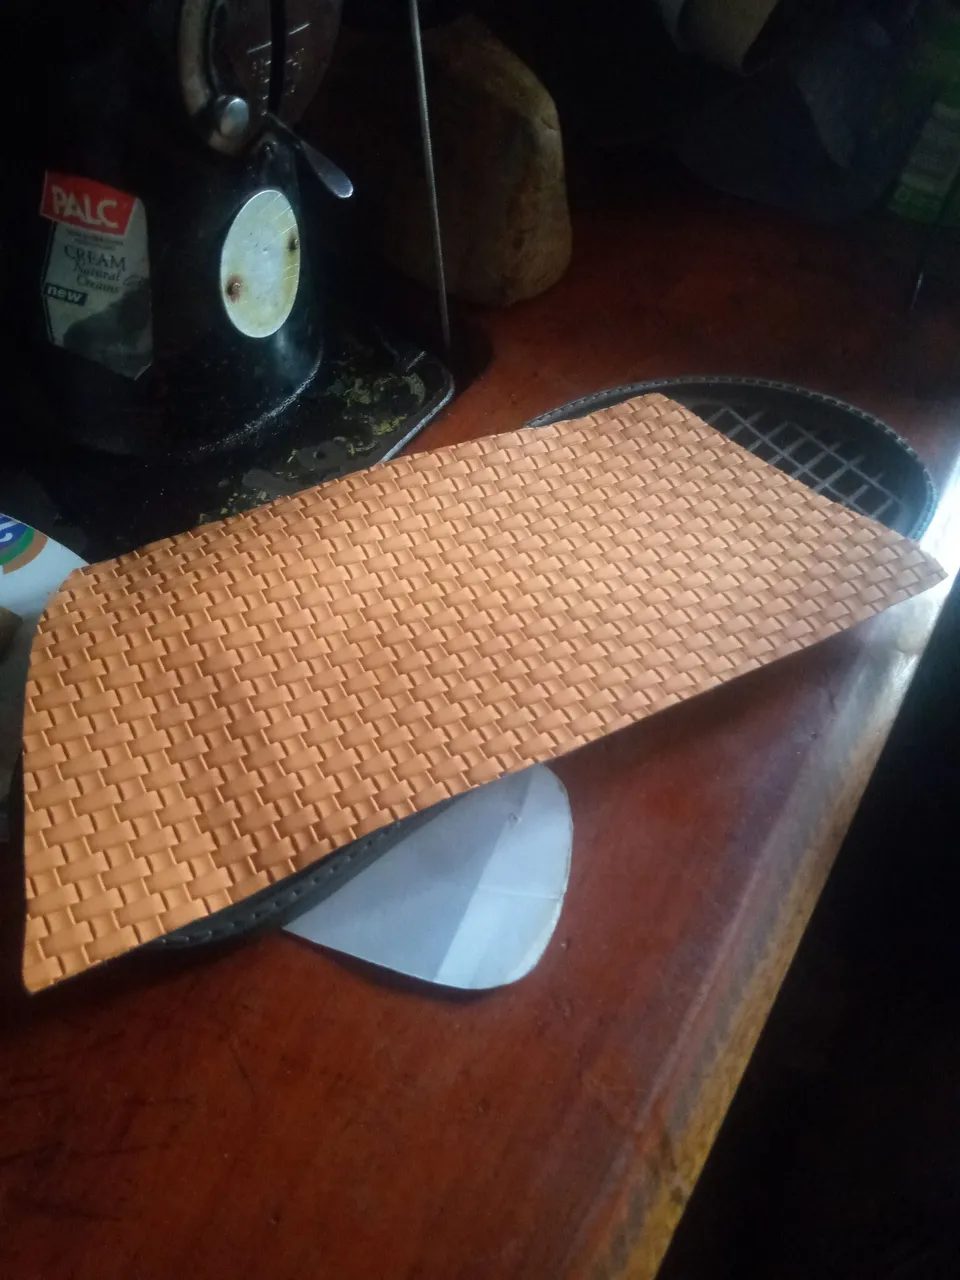
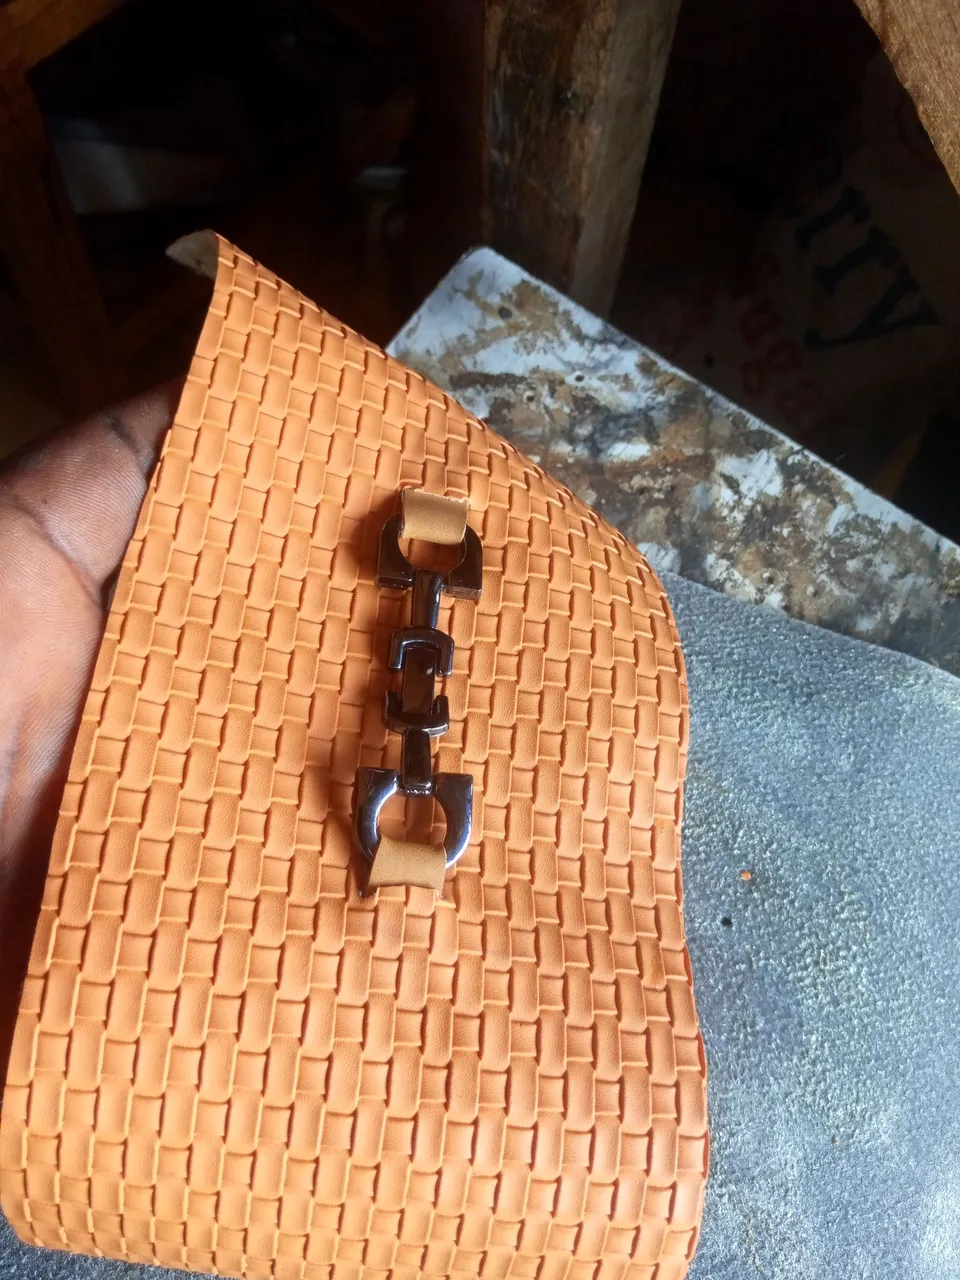
- To make the upper of this palm slippers, I cut brown leather into my desired shape, after which i attach the logo design on the upper and place the upper on the black linning.
 |  | 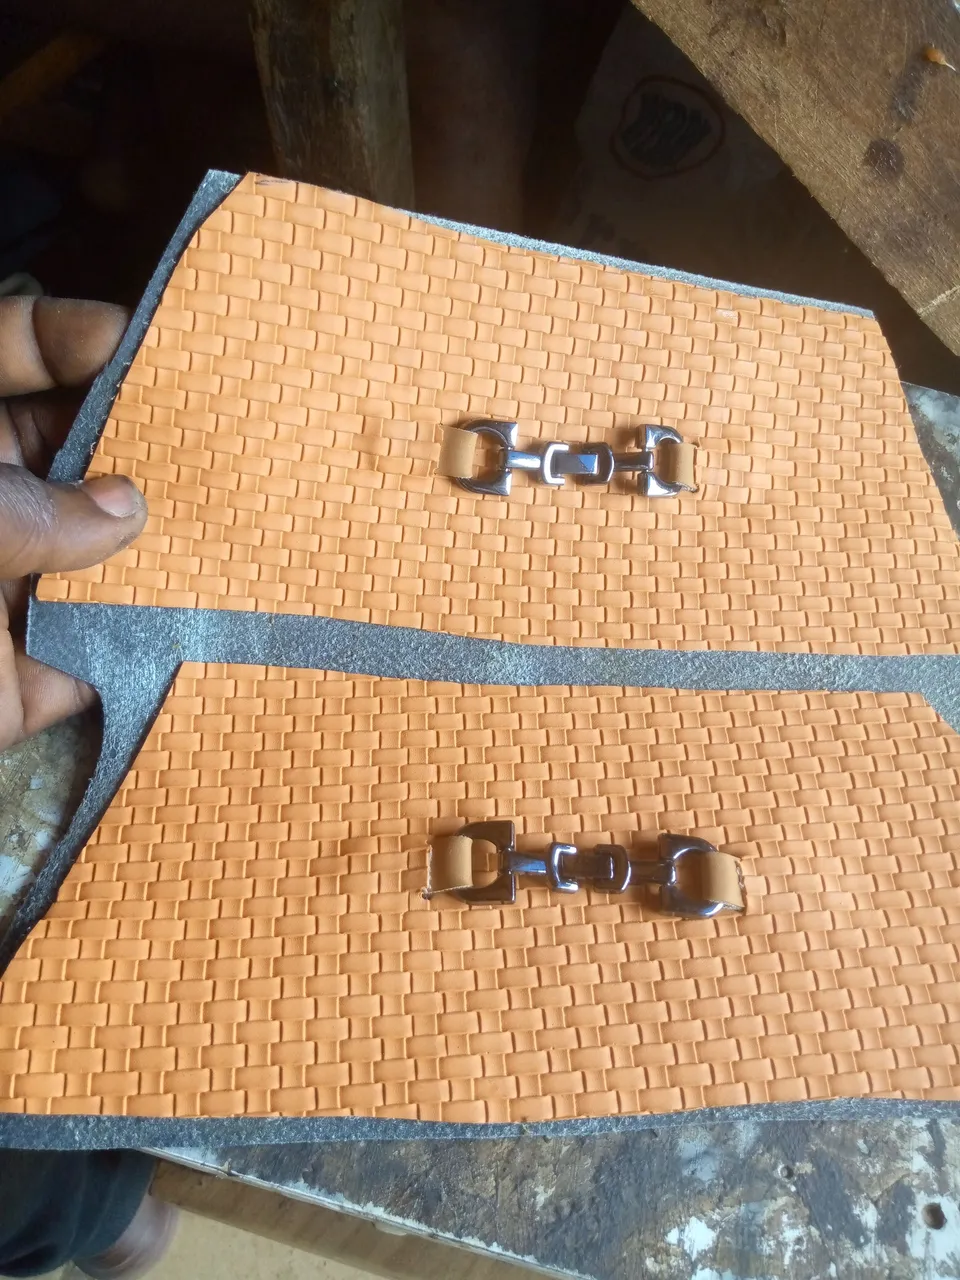 |
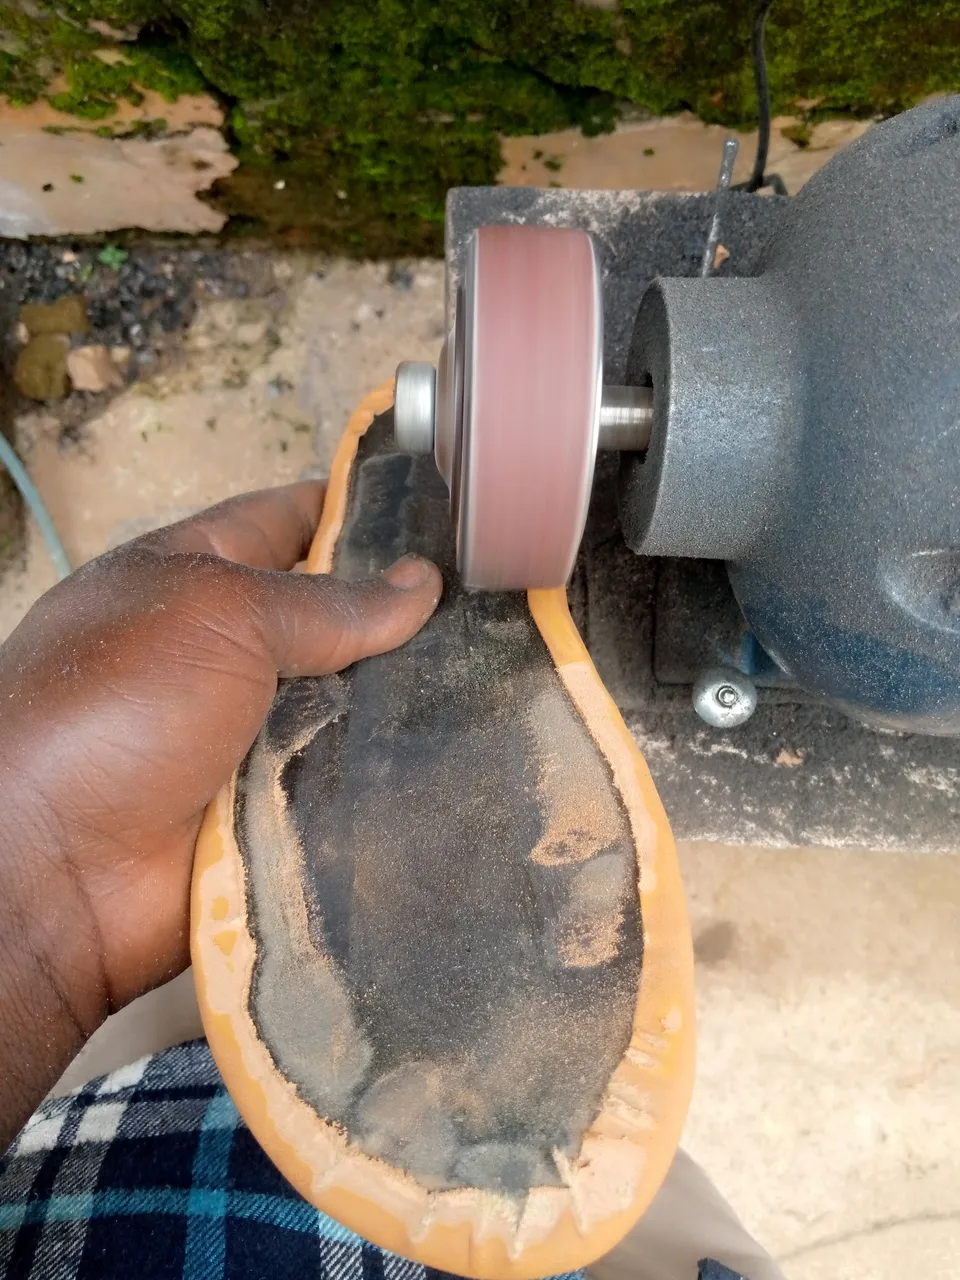
- After completing the upper design and the insole, I both to the filing machine and file their edges, so it can have a rough surface that's perfect for joining.
I rub gum on the side of the upper design and the back of the insole after filling both.
I joined them together, and apply gum on the outsole and attached everything together.
| Guming | Lasing | |
|---|---|---|
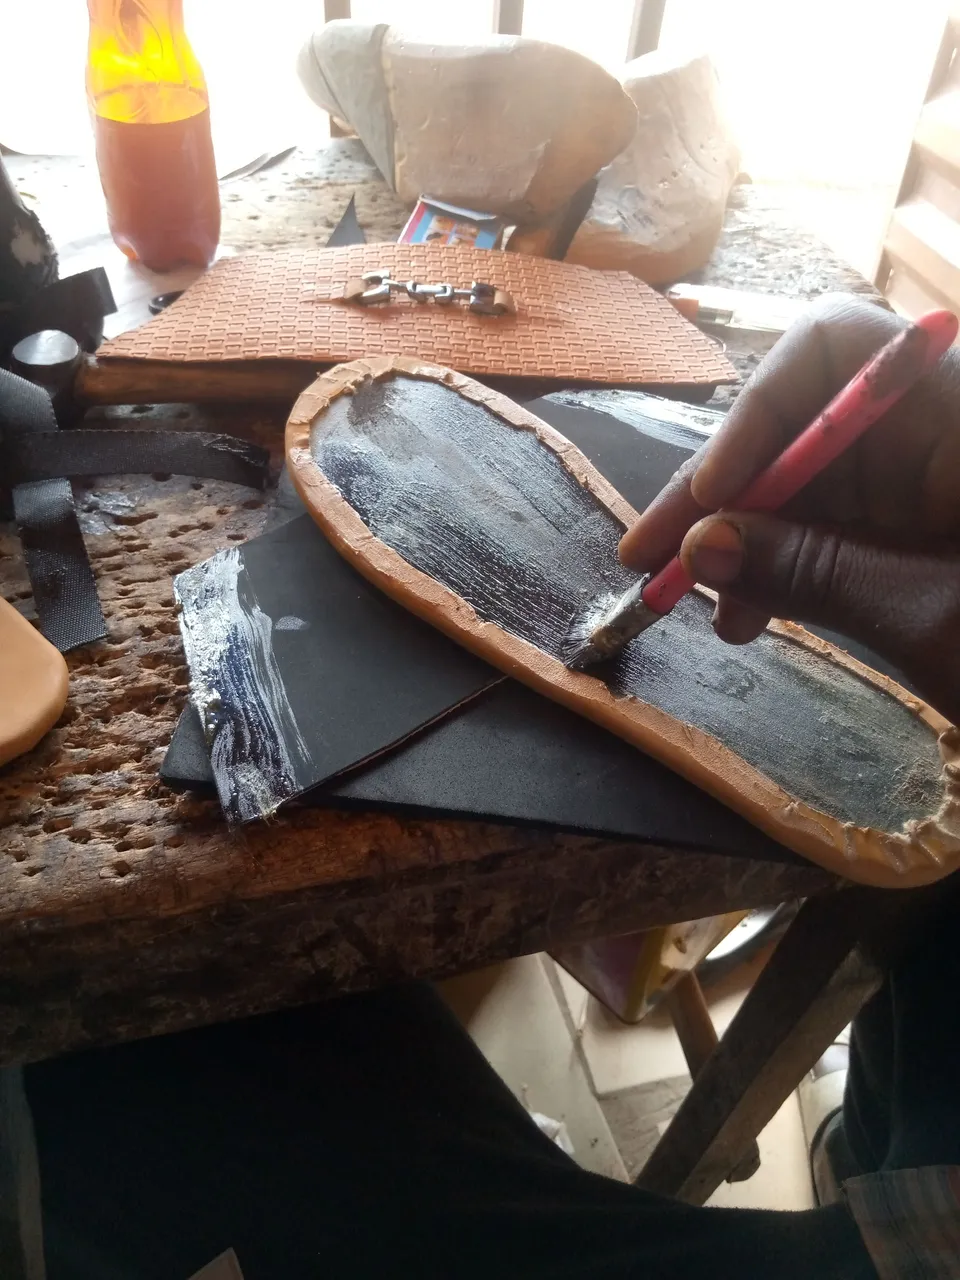 | 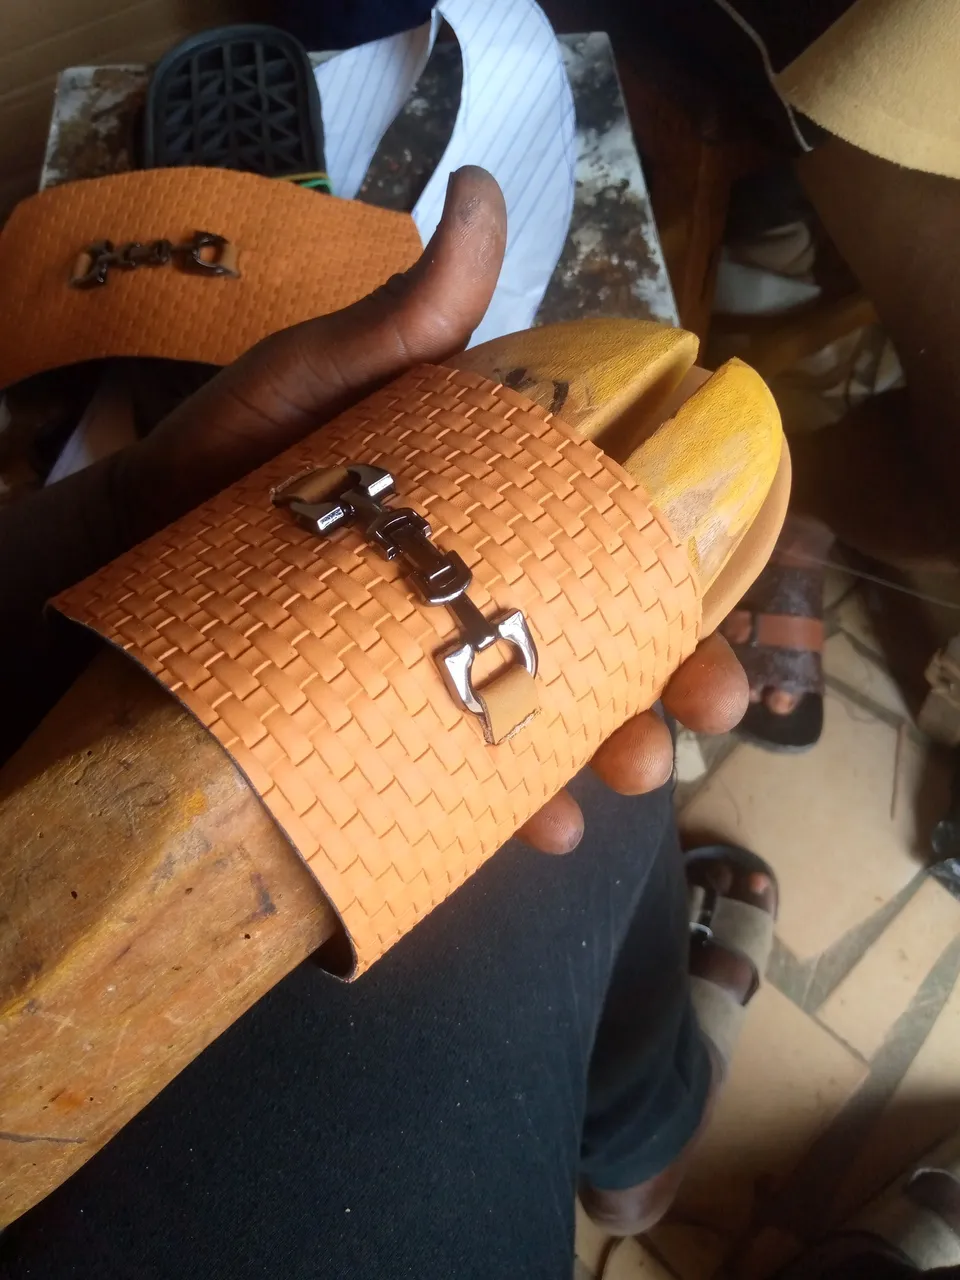 | 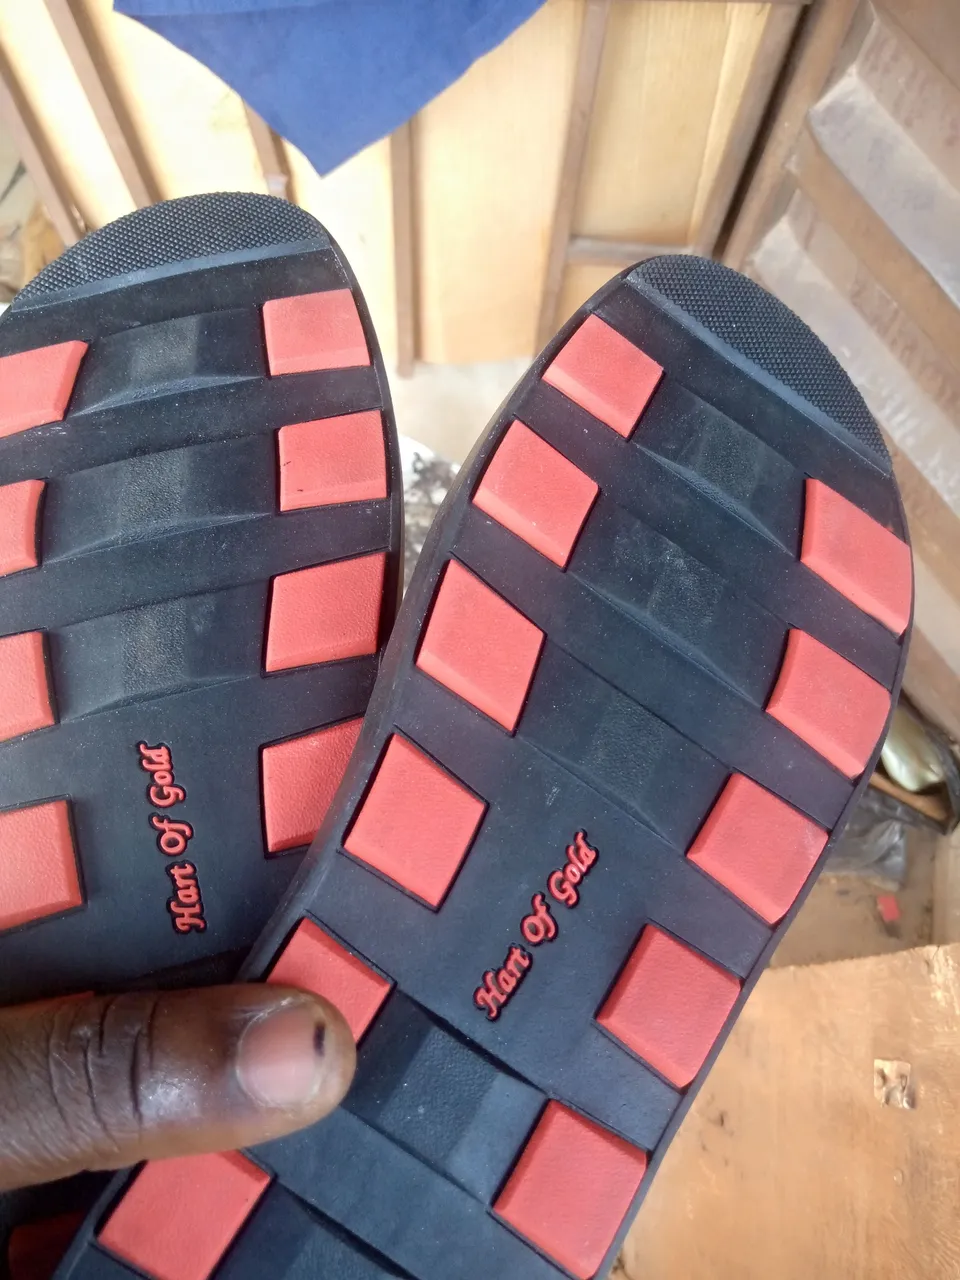 |
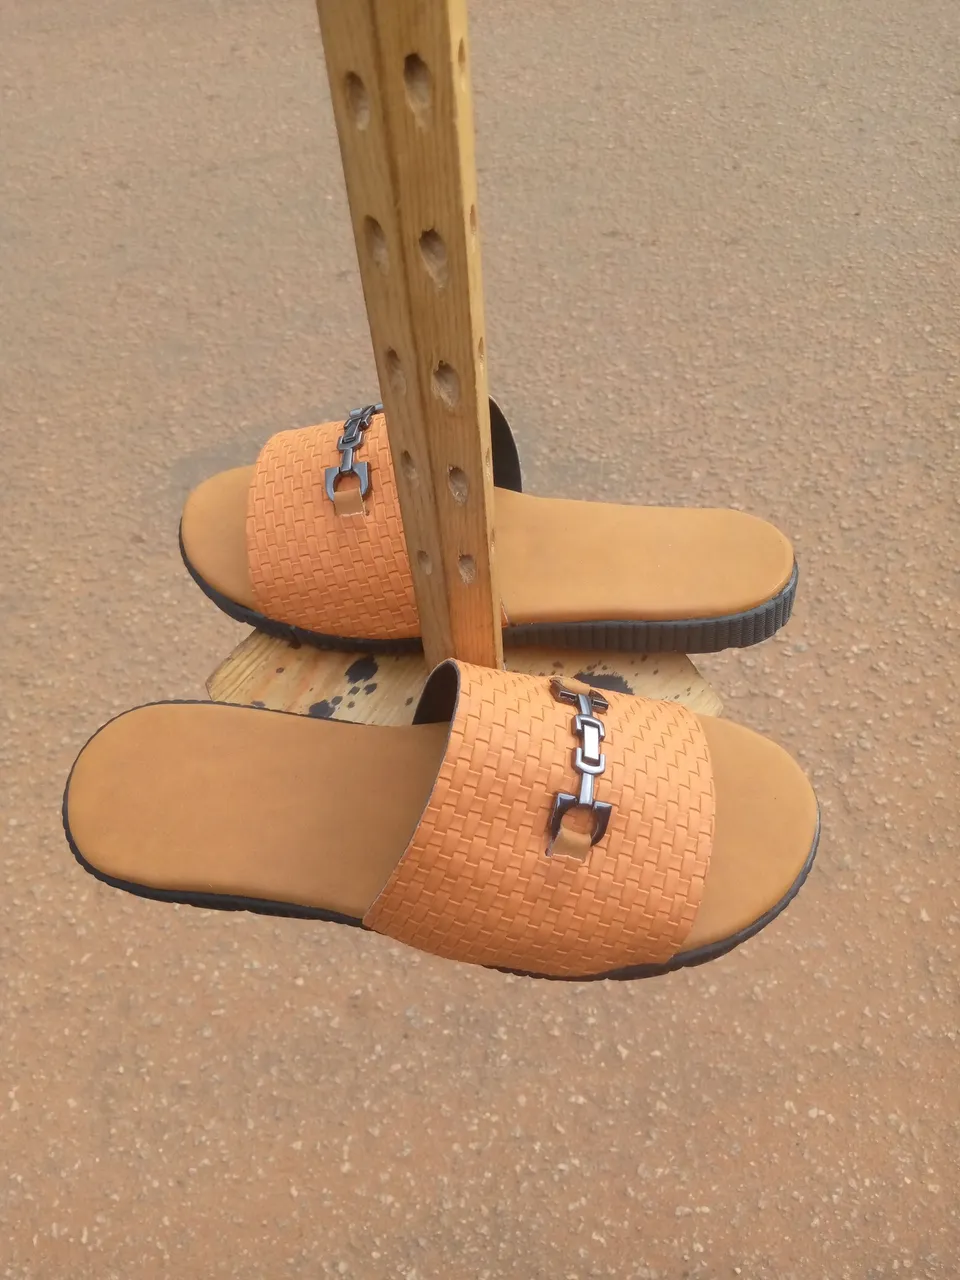
- Here is how the palm slippers I made looks like after the final touch.
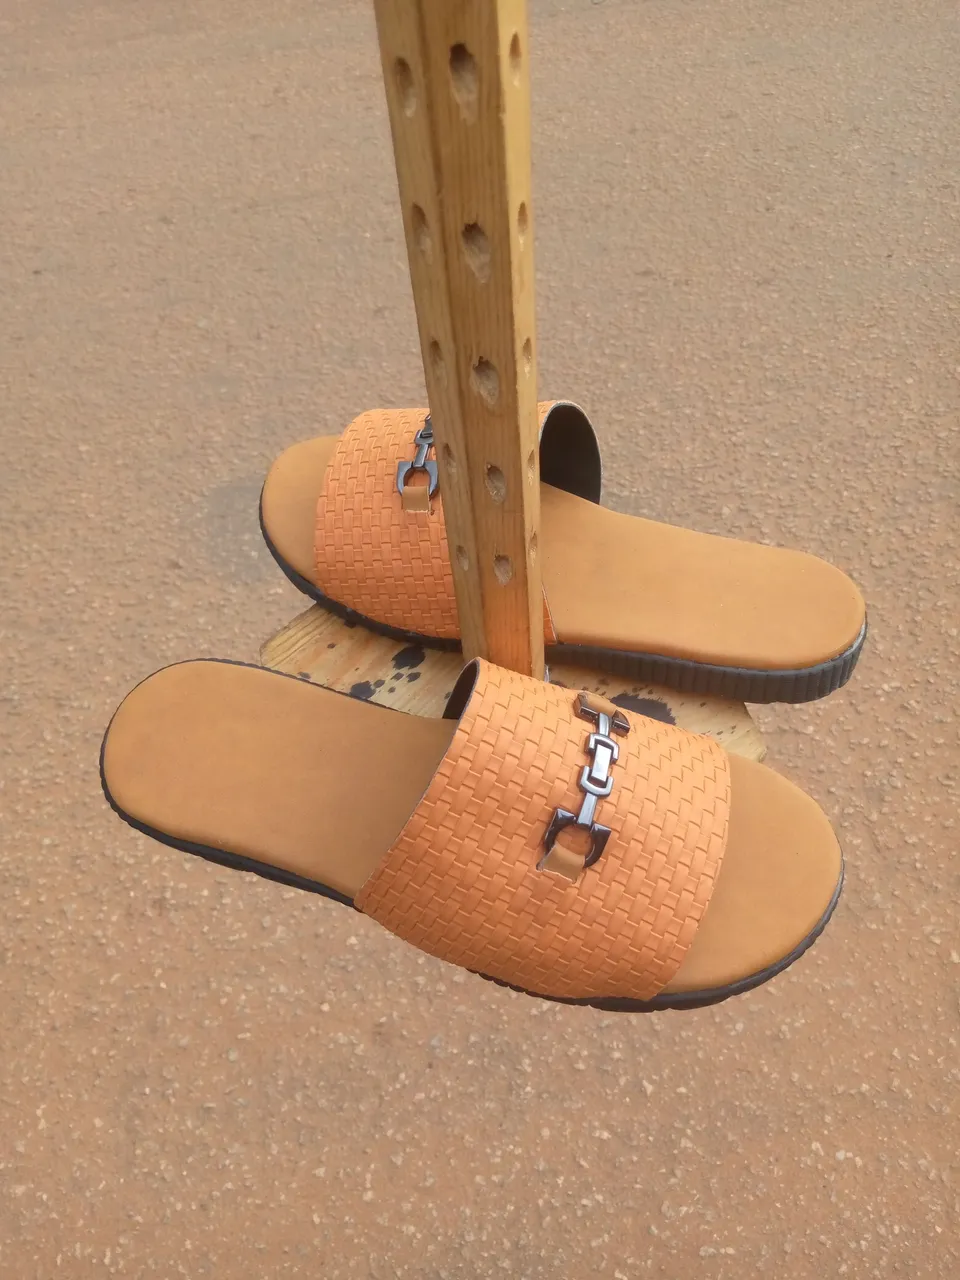
That's about all on my creative Sunday project for today, which entails the step by step process of how I made these palm Slippers.