Happy Sunday Hive!
I hope we are all having a fun and restful weekend? Even though for me it has been kind of hectic as my daughter was down with a flu, thankfully she feels better now and gives me some bit of peace and calm to be on hive today, especially for another creative Sunday edition.
Some months back, I shared the making process if a beautiful town I made for a nursing mum, she had issues with finding the right style that can provide both comfort, style and utility as a nursing mum, as it's my joy solving these wardrobe issues, I made her a functional and stylish wrap dress that perfectly suited what she desired whichhh she was so happy for.
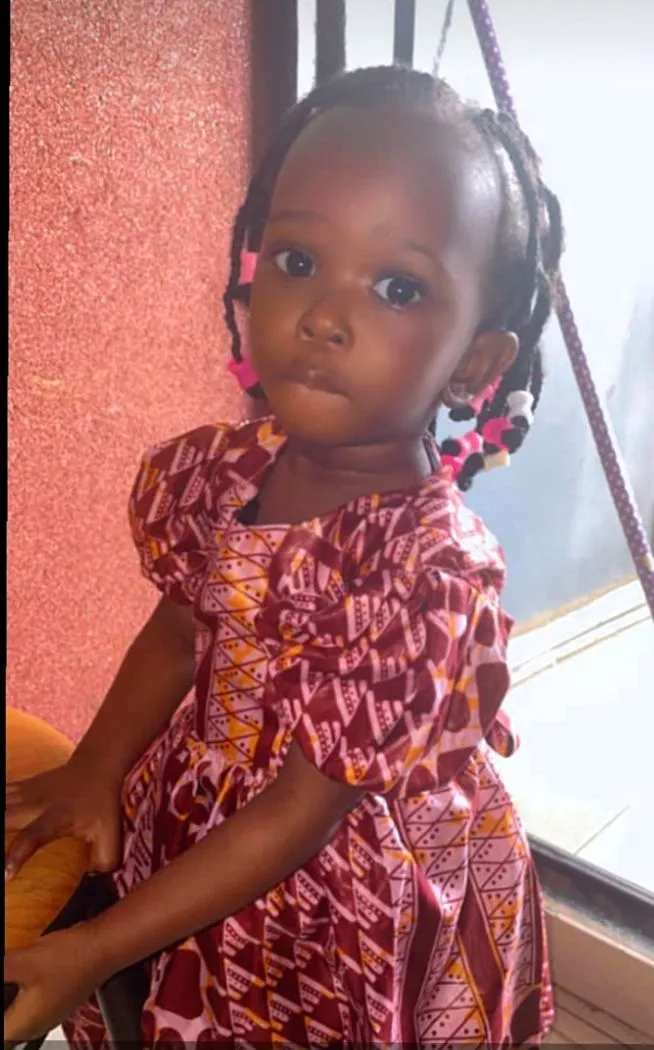
Luckily for us, there was some fabric left after making that dress, trust me to put it into good use instead of leaving it as a leftover, so I took it upon myself to make a dress for her adorable daughter who is soon to be one year old, and she happily accepted my offer as it also gives mother and daughter the opportunity to be fashion twin.
So today, I will be sharing with us the making of the dress process I made for little girl of about 11 months, it is easy and pretty straight forward to make, anyone with a little sewing skill can replicate same dress style.
Materials used are
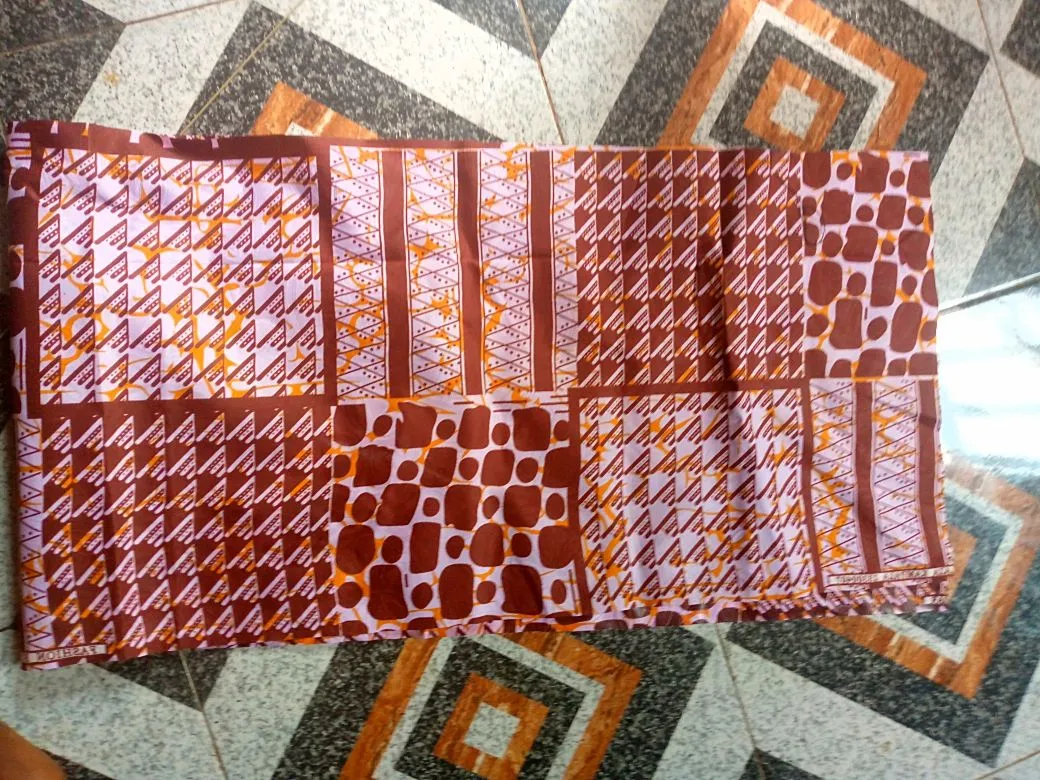
- Kampala Fabric
- Matching thread
- Zipper
- Long fabric
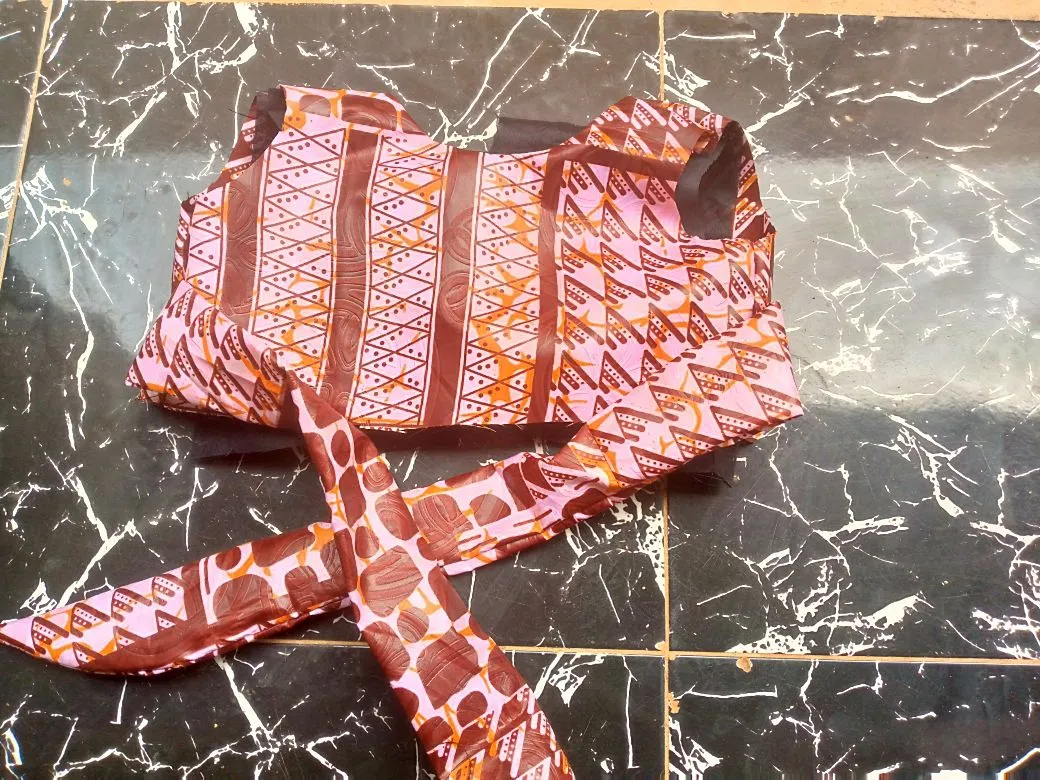
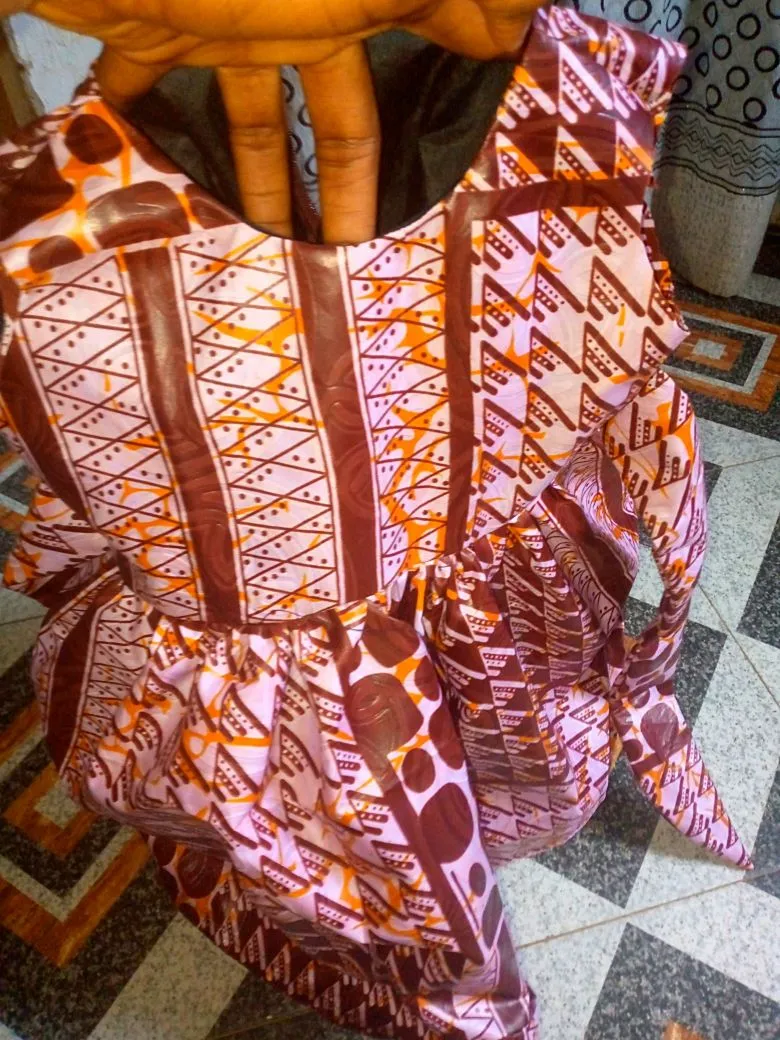
Step 1 I started by drafting the upper part if the dress using a basic bodice pattern then I turned it with its lining piece, also adding a zipper at both sides
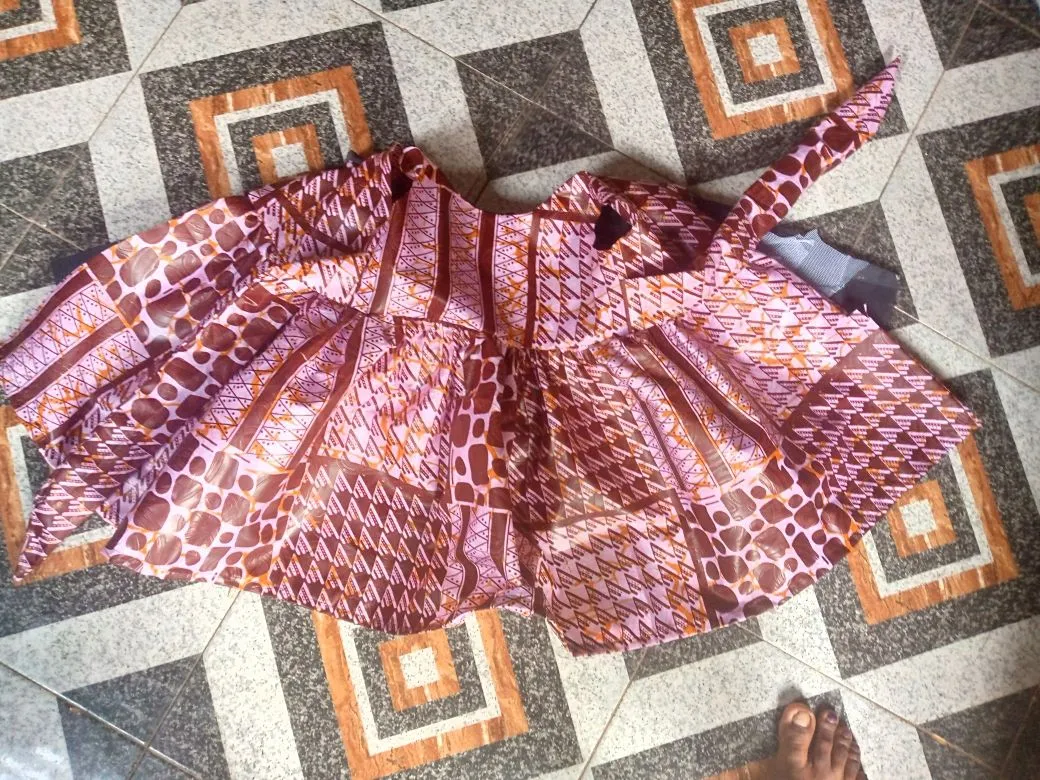
Step 2 For the lower part of the free, I minused the upperbodice length from the actual full length of the dress, to determine the length of the rectangular fabric cut out, the width of the fabric is achieved by the waist measurement multiplied by 2.5 inches
Step 3 Here I joined the upper part of the dress to the lower gathered part
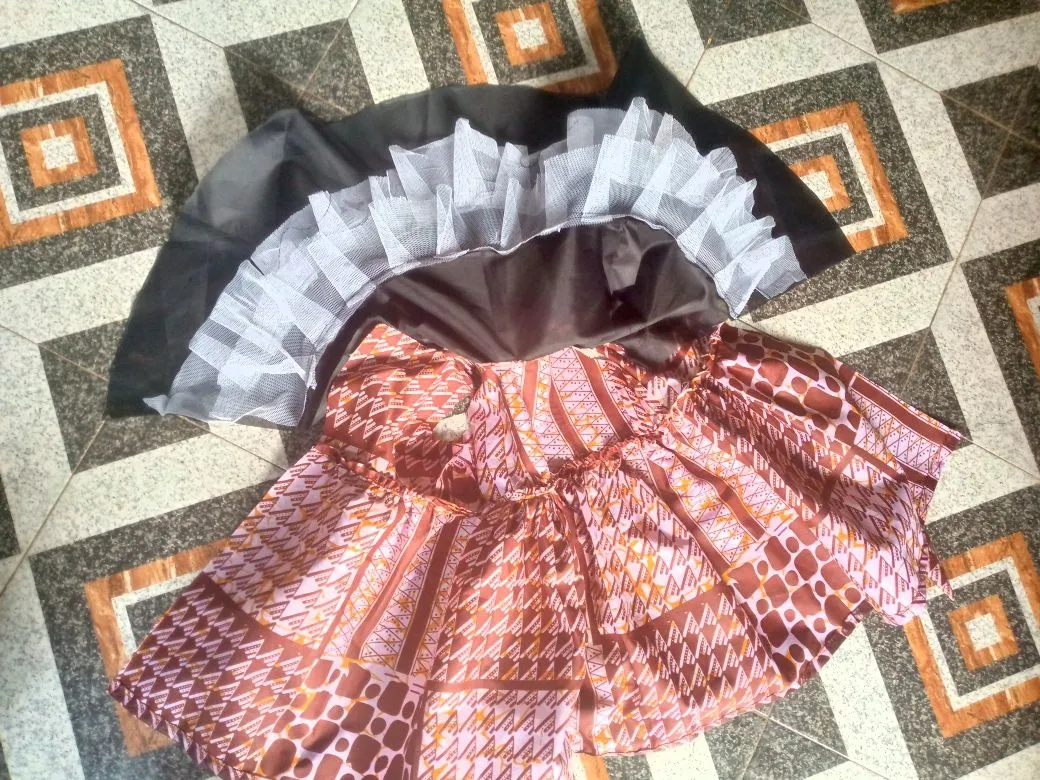

Step 4 I repeated same process with the inner lining and also sewed hard net to the lining for more fullness.

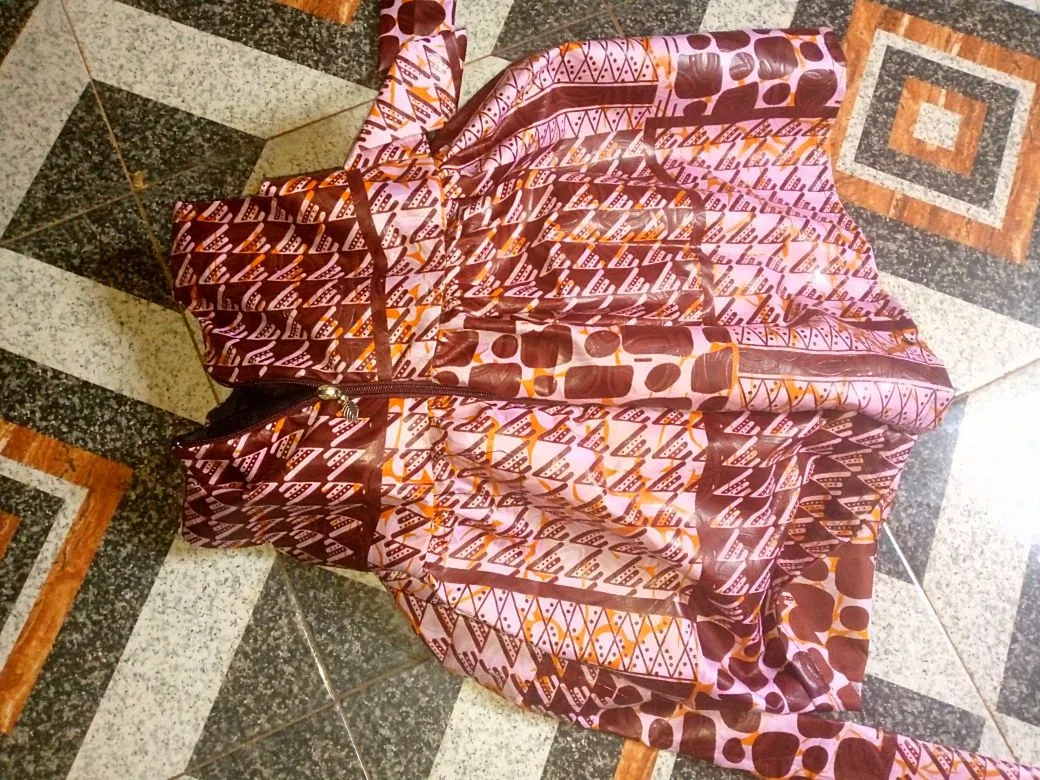
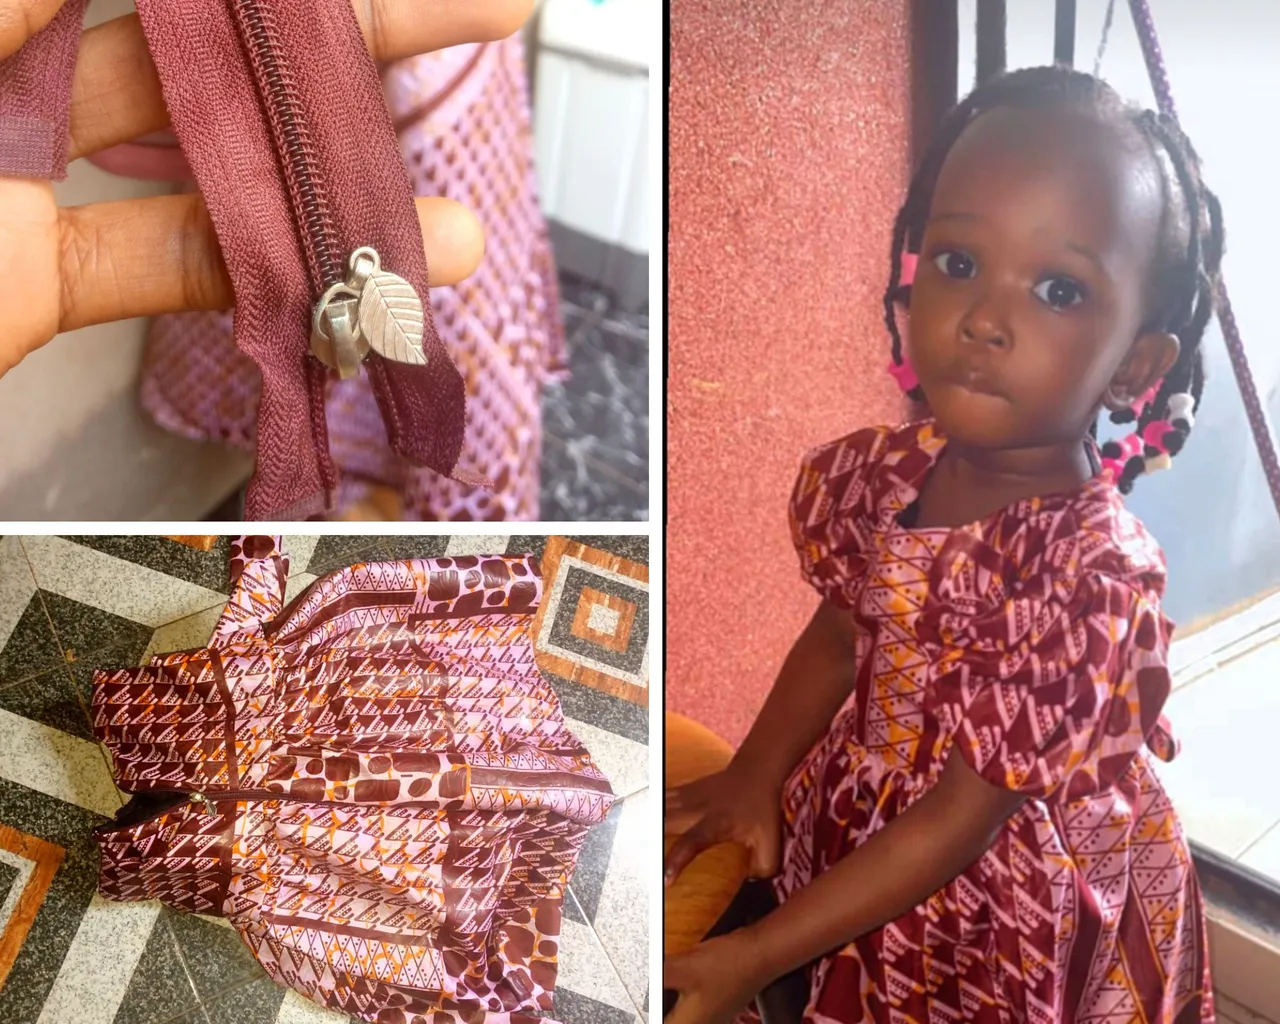
Step 5 Continuing, I sewed in a zipper to the back side for easy wearing.
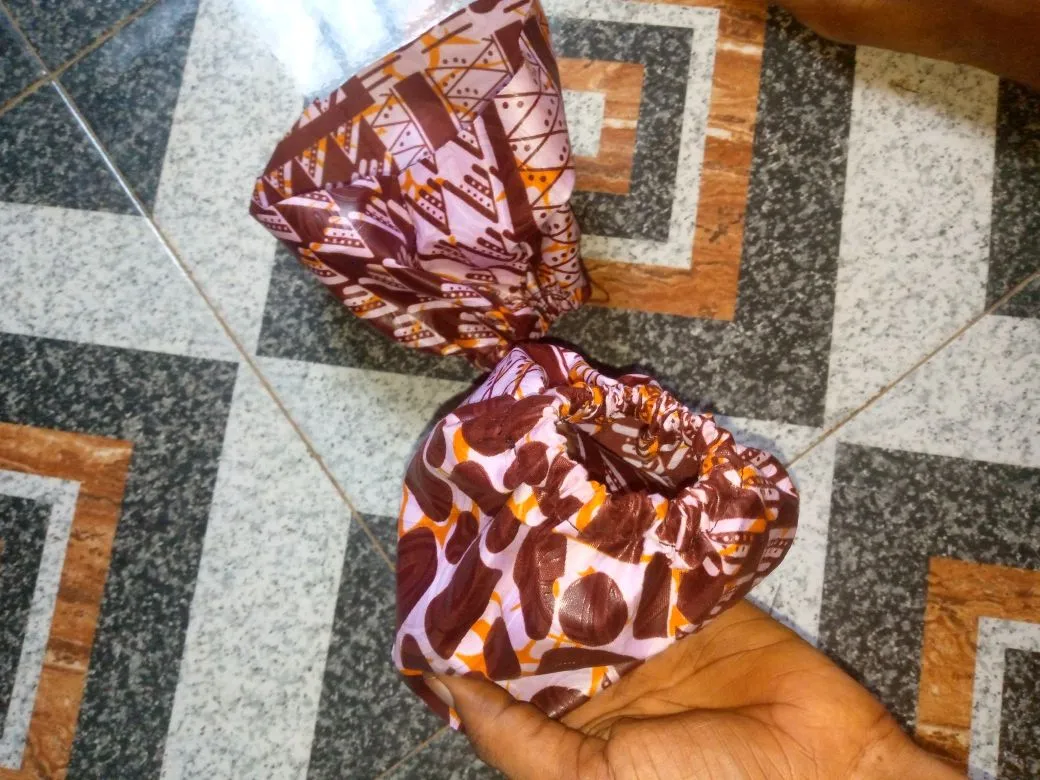
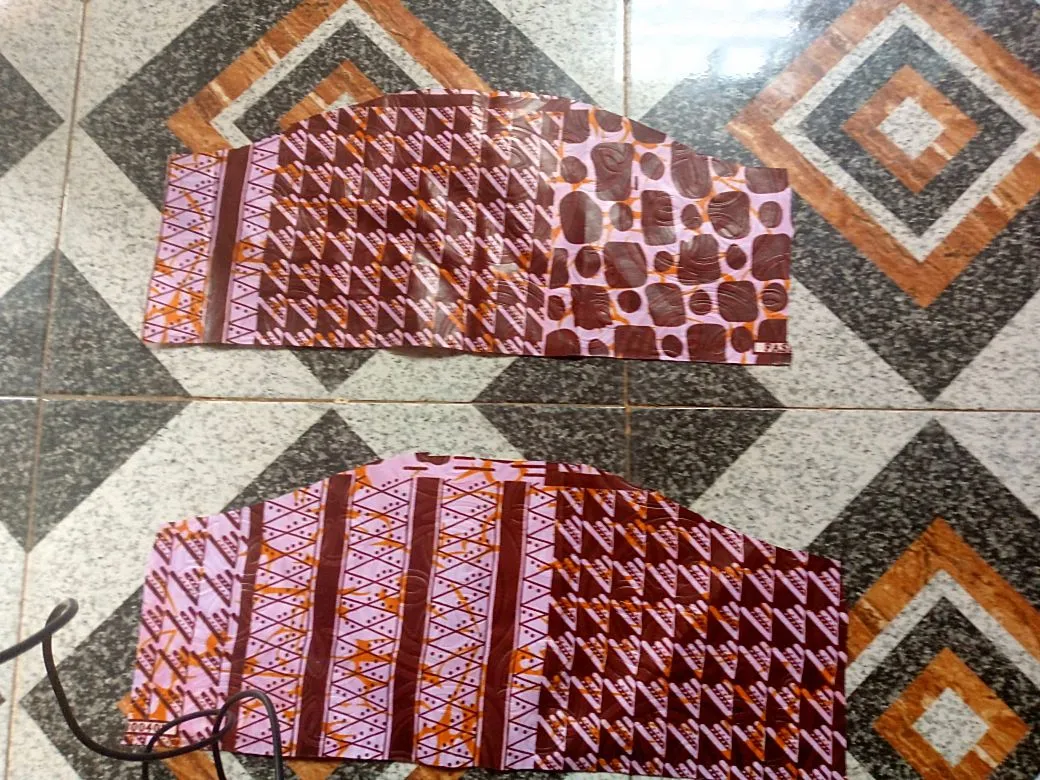
Step 6 Finally, I drafted the puff sleeve pattern, which I pleated around the armhole and also used elastic at the hem,
And here is the final look of the dress on her, beautiful, isn't it?
All images used in this post are mine