It's a creative Sunday, am so glad to share the little things I put together to create a lovely smile on someone's face. What can put a smile on your lovely face today? Let's find out what I have for you.
Greetings everyone and welcome to my blog, am always excited when it's Creative Sunday because it is always fun to share and learn from others.
Today I intend to put a smile on someone's face with the beautiful flowers I made with "tissue paper" Yes tissue paper let's see how it was made its a DIY and you too can make.
Materials used
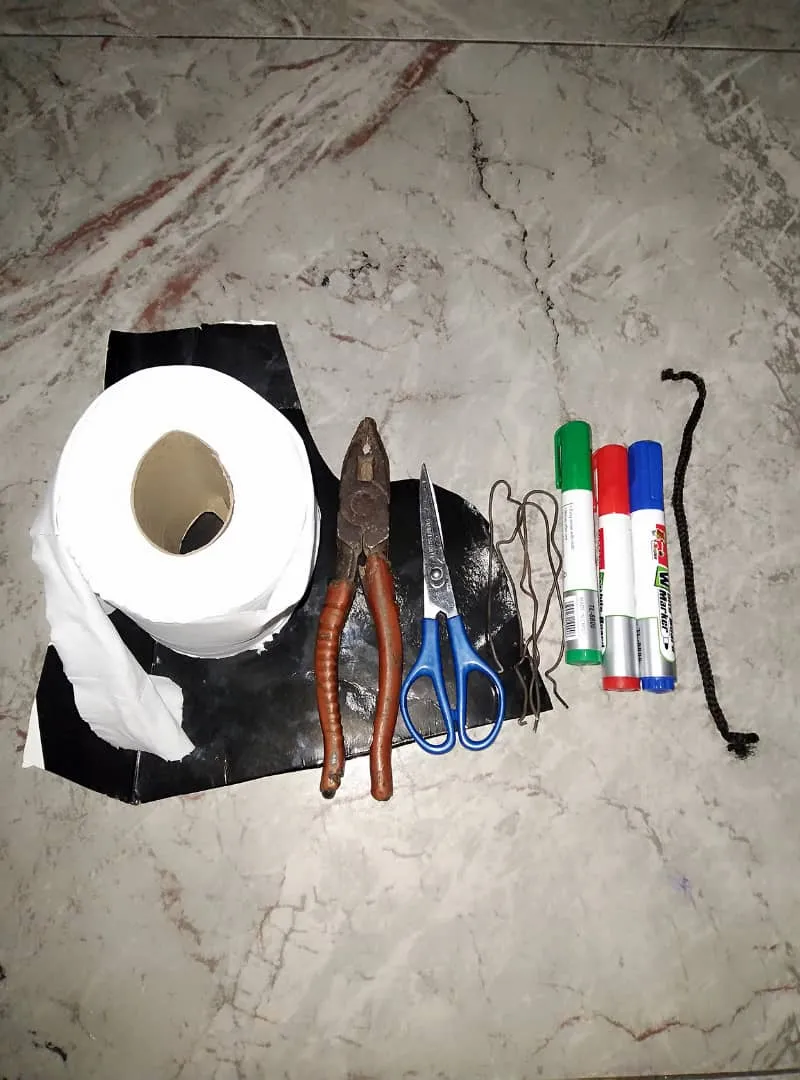
- tissue paper
- Coloured Board marker
- Binding wire
- Black hard paper
- scissor
- Plier
The making
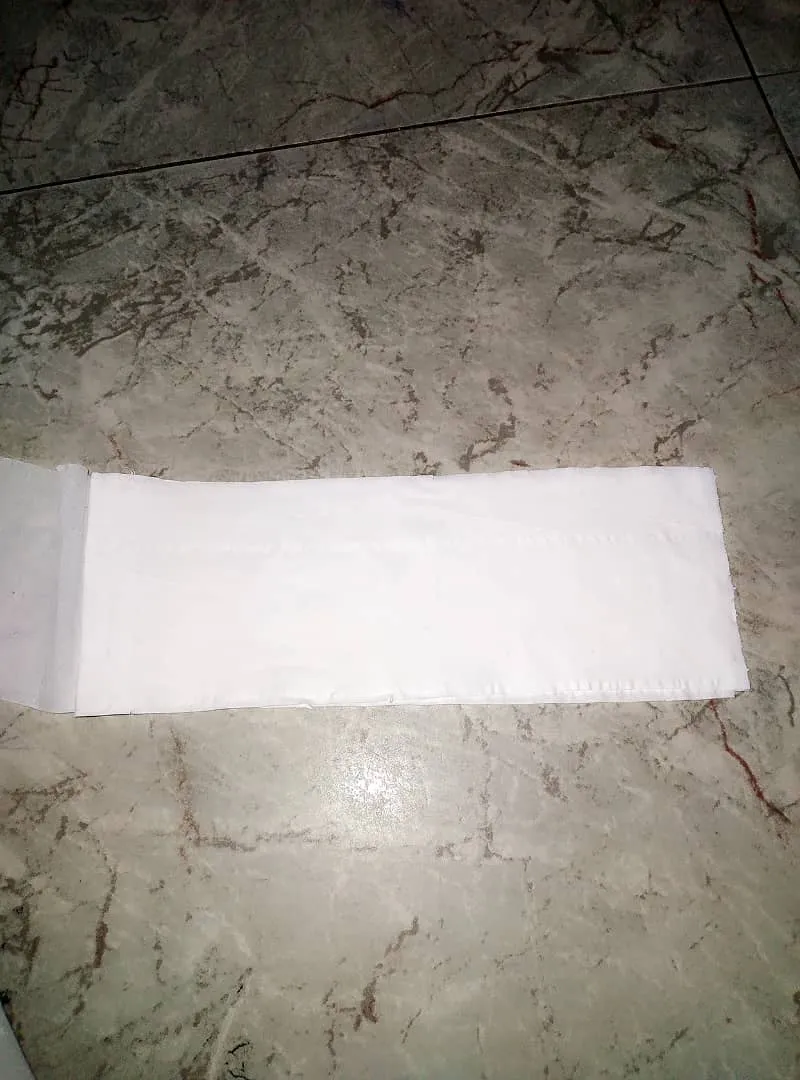
Get a beautiful white tissue paper, there are lines on it to enable you to cut the tissue paper easily, count three lines on the tissue paper and cut out, count another three lines and cut out making it three cut out tissue. put them in a straight line and begin to fold them together.

After folding them in a straight ply bind them with the binding wire and after which you can start separating them to form a flower.

After separating all the tissue your flower is almost ready but needs colouring to give it a final touch.
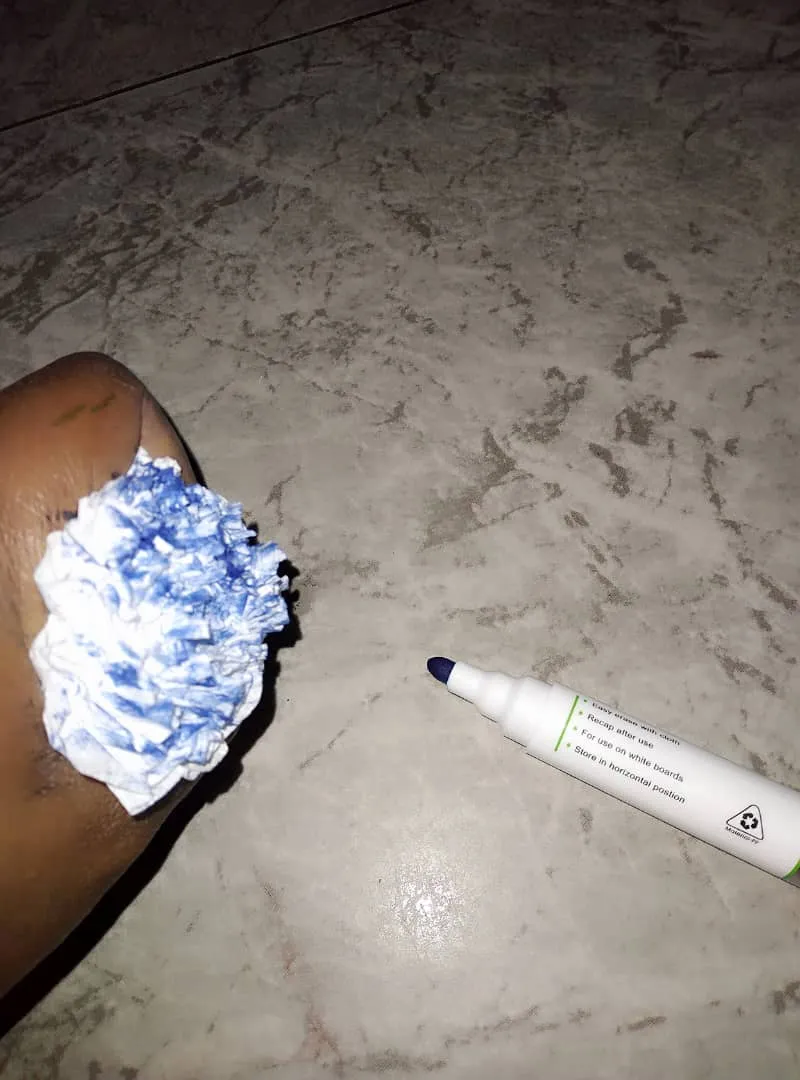
we add colouring with our board marker of your choice on the tip of the tissue that has already formed the flower.
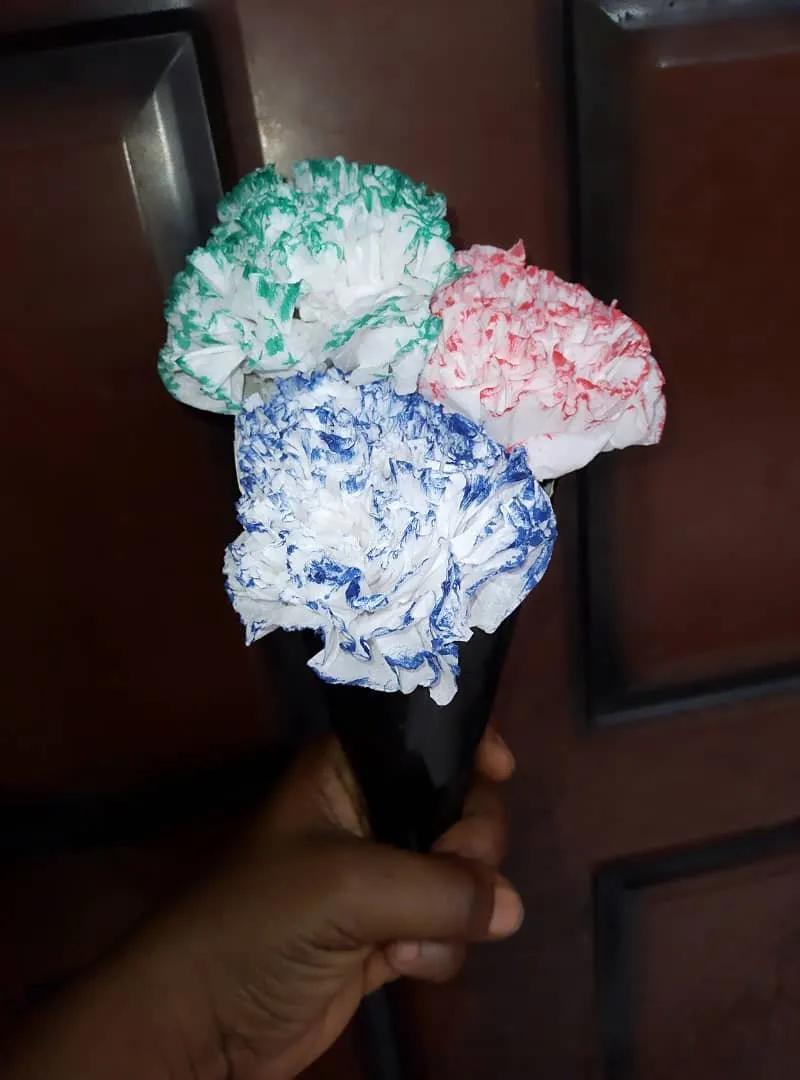
Behold our flower is ready. You can do as many as you want, put them together and make a beautiful cone with the hard black paper and put all our flowers inside.
Our beautiful bunch of flowers is ready to gift to our loved ones. you could spray a sweet perfume on it to give it a sweet smell.
I hope this craft would be helpful to someone, you could teach your kids on holiday how to make and you could also gift someone too.
Thanks for reading and learning
