
Esta es la publicación que da la guía para la tarea. Gracias por pasar por aquí de antemano, @justfavour.

This is the post that gives the guidance for the assignment. Thanks for stopping by in advance, @justfavour.

Tarea de la semana
A su entender, explique qué entiende por "miniatura". Por lo tanto, discuta por qué tienen que ser impactantes y qué importancia tienen en relación con la creación de contenidos.
La miniatura es la imagen que está junto al título de nuestra publicación cuando estamos navegando en cualquier feed.
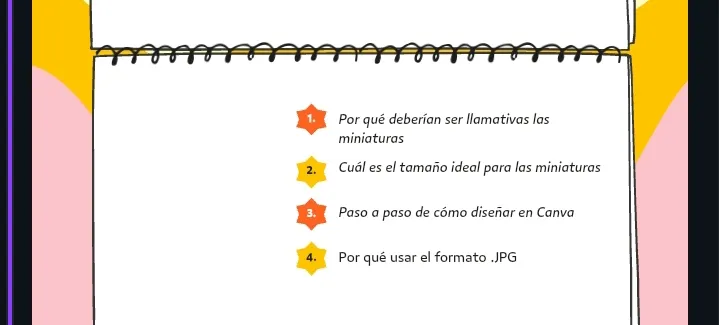
¿Por qué deberían ser llamativas?
Dicen que una imagen vale más que mil palabras. En todas la redes sociales se lucha por atraer la atención, y esta no es la excepción.
Una manera de hacerlo es creando una miniatura visualmente atractiva, que le de una idea a la persona que la ve de qué va a tratar la publicación.
Esto nos puede generar más visitas.
¿Qué son las dimensiones en relación con la creación de miniaturas? ¿Cuál es el tamaño (o dimensiones) general de una miniatura y explica por qué es así?
Las dimensiones de una miniatura es el tamaño exacto de esta, tanto de alto como de ancho.
El tamaño perfecto para una miniatura en Hive es 1920 x 1080 px, que es el conocido 16:9.
Si hacemos que nuestra imagen de portada mida eso, no tenemos que preocuparnos porque una parte de ella falte cuando ya hayamos publicado.
Para esta tarea, haz dos miniaturas. Utiliza una como principal y proporciona la otra en el post. Ambas imágenes deben ser diferentes pero relevantes para el post. Por lo tanto, proporciona una explicación paso a paso de cómo consigues cada una. Recuerda que no es necesario pensar demasiado; simplemente fluye y hazlo de forma sencilla pero creativa, algo que transmita suficiente información y resulte atractivo.
- Imagen #1
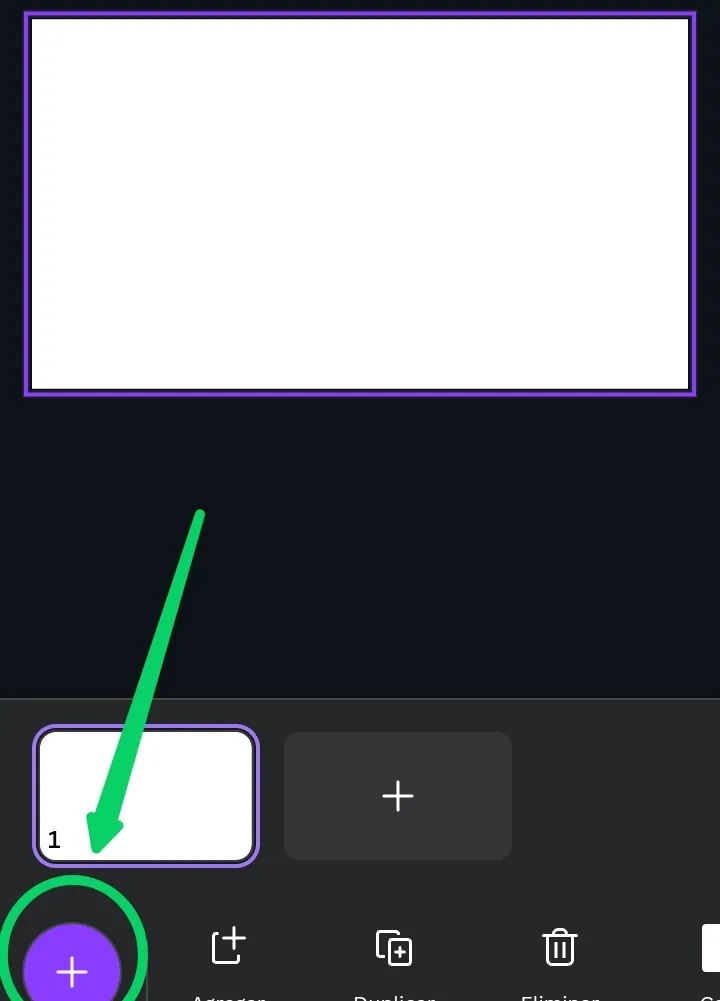
Para empezar, desde nuestro teléfono, abrimos Canva y presionamos en el signo de "+" de la parte inferior.

Cuando nos pregunte las dimensiones elegimos la que dice "Presentación".

Ahora que tienes tu página en blanco, busquemos una plantilla que puedas adaptar a tu contenido. Justo en el signo de "+" en la esquina inferior izquierda.
Pon en el buscador alguna palabra clave.

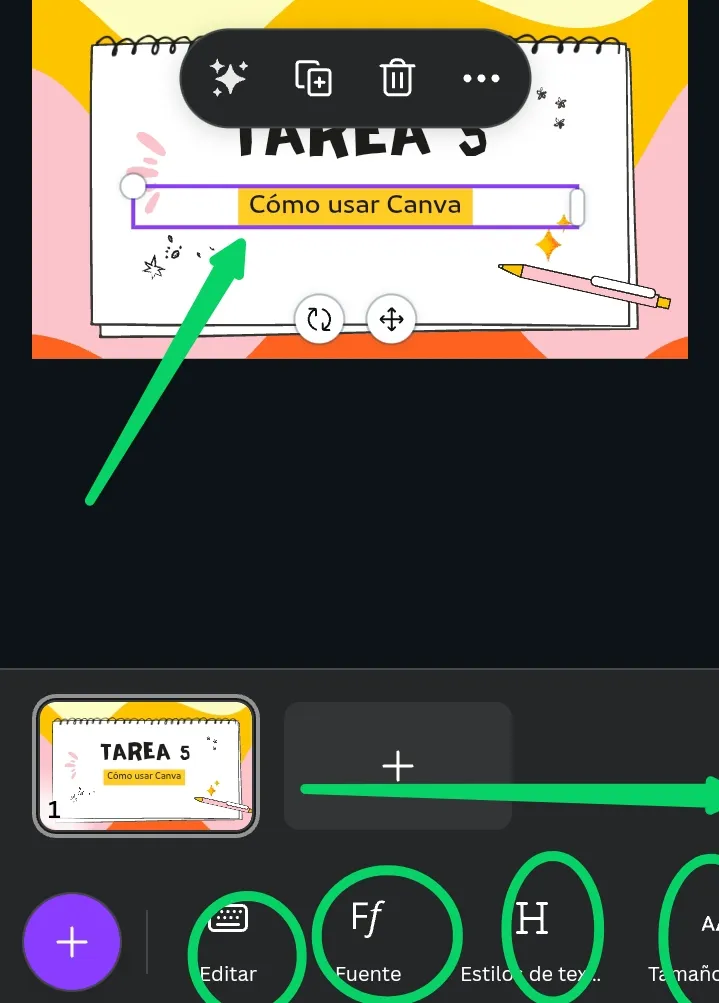
Al decidirte por una, comienza a editarla. Solo tienes que reemplazar los textos que ya están por los tuyos. También puedes mover de sitio elementos de la plantilla. ¡Muy personalizable!

Si pulsas en un texto, te saldrán opciones de edición como "Fuentes", "Estilos de texto", "Tamaño"...
¿Quieres agregar más texto del que estaba en la plantilla? Vuelve al signo de "+" y pulsa "Texto" entre las opciones de la parte inferior de la ventana desplegable.
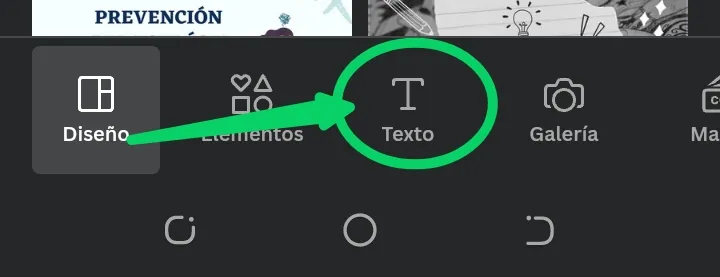
Ahí encontrarás todo lo necesario.

- Imagen #2
Aquí iniciamos de la misma forma, solo que en lugar del título, agregué los puntos a tratar.
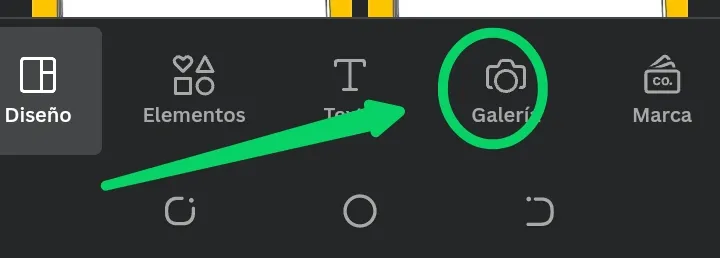
Particularmente, me gusta agregar el logo de Hive y de la comunidad Hive Learners, así que de nuevo vamos al signo de "+" y esta vez pulsamos en "Galería".
Tomamos la esquina de la imagen y la vamos ajustando hasta que tenga el tamaño que deseamos. Ahora la movemos al sitio indicado.

Después de finalizar esta sencilla miniatura, buscamos una opción que tiene una flecha en la esquina superior derecha. Pulsamos en donde dice "Descargar" cuando nos salga la ventana desplegable.

Nos va a salir una ventana y guardaremos la imagen en formato .JPG
Explica por qué el formato JPG debería ser tu formato de exportación preferido.
Cuando vamos a exportar nuestra imagen de Canva nos salen diferentes formatos entre los cuales podemos elegir.
¿Cuál elegir?
El formato ideal para fotografías en la web, sin lugar a dudas, es el JPG. Esto es porque no ocupa tanto espacio en el almacenamiento, a diferencia de, por ejemplo, el formato PNG.
Esto permitirá que las imágenes suban y carguen más rápido.
To the best of your knowledge, explain what you understand by "thumbnail". Therefore, discuss why they need to be impactful and how important they are in relation to content creation.
The thumbnail is the image next to the title of our post when we are browsing any feed.
Why should they be eye-catching?
They say a picture is worth a thousand words. All social networks strive to attract attention, and this one is no exception.
One way to do this is by creating a visually appealing thumbnail, which gives the viewer an idea of what the post is about.
This can generate more visits.
What are dimensions in relation to the creation of miniatures? What is the general size (or dimensions) of a miniature and explain why this is the case?
The dimensions of a thumbnail is the exact size of the thumbnail, both in height and width.
The perfect size for a thumbnail in Hive is 1920 x 1080 px, which is the well-known 16:9.
If we make our cover image that size, we don't have to worry about a part of it missing when we have already published.
For this task, make two thumbnails. Use one as the main one and provide the other in the post. Both images should be different but relevant to the post. Therefore, provide a step-by-step explanation of how you achieve each one. Remember that you don't need to think too much; just flow and keep it simple but creative, something that conveys enough information and is appealing.
- Image #1
To start, from your phone, open Canva and click on the "+" sign at the bottom.
When it asks for the dimensions we choose the one that says "Presentation".
Now that you have your blank page, let's find a template that you can adapt to your content. Just click on the "+" sign in the bottom left corner.
Enter a keyword in the search box.
Once you have decided on one, start editing it. Just replace the existing texts with your own. You can also move elements of the template around - very customisable!
If you click on a text, you will be presented with editing options such as "Fonts", "Text styles", "Size"...
Want to add more text than was in the template? Go back to the "+" sign and click on "Text" among the options at the bottom of the drop-down window.
There you will find everything you need.
- Image #2
Here we start in the same way, only instead of the title, I added the points to be discussed.
I particularly like to add the logo of Hive and the Hive Learners community, so again we go to the "+" sign and this time we click on "Gallery".
We take the corner of the image and adjust it until it is the size we want. Now we move it to the right place.
After finishing this simple thumbnail, we look for an option that has an arrow in the top right corner. Click on "Download" when you see the pop-up window.
A window will pop up and we will save the image in .JPG format.
Explain why JPG should be your preferred export format.
When we go to export our Canva image we are presented with different formats to choose from.
Which one to choose?
The ideal format for photographs on the web, without a doubt, is JPG. This is because it doesn't take up as much storage space, unlike, for example, the PNG format.
This will allow images to upload and load faster.
| Créditos | Credits |
|---|---|
| Traducción DEEPL | Translation DEEPL |
| Edición de imágen CANVA | Imagen editing CANVA |
✅¿Qué opinas de esto? Cuéntame en los comentarios.
✅What do you think about this? Tell me in the comments.


