Last weekend, after more than a month away from my aunt and uncle and my cousin, I came to Madrid and was able to share a very productive Sunday morning, as my cousin taught me how to make colourful bracelets with elastic bands, and all you need is a pair of scissors as an additional element to make them. Therefore, it is pure skill that is needed as you can see in the photographs and video that I am going to share with you.

Material
Small elastic bands with multiple colours.
To make our creations more colourful, I recommend you buy a set of rubber bands with a good number of colours and, if possible, bright colours such as reds, oranges, greens, phosphorescent colours, etc.
In our case we went to a general shop that was open in front of his house and bought two sets of rubber bands for 5 euros.
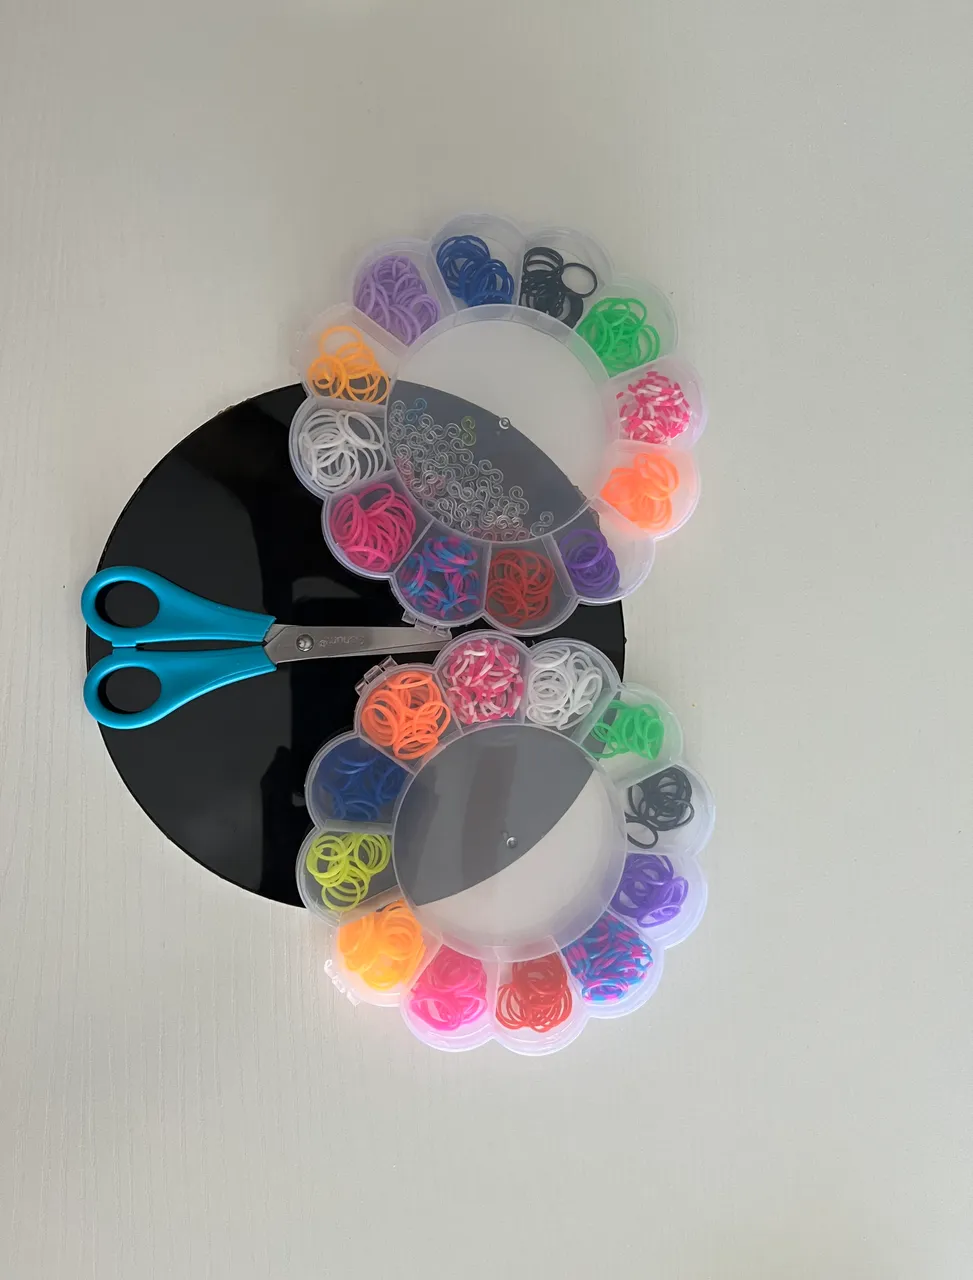
Hitches in the shape of that
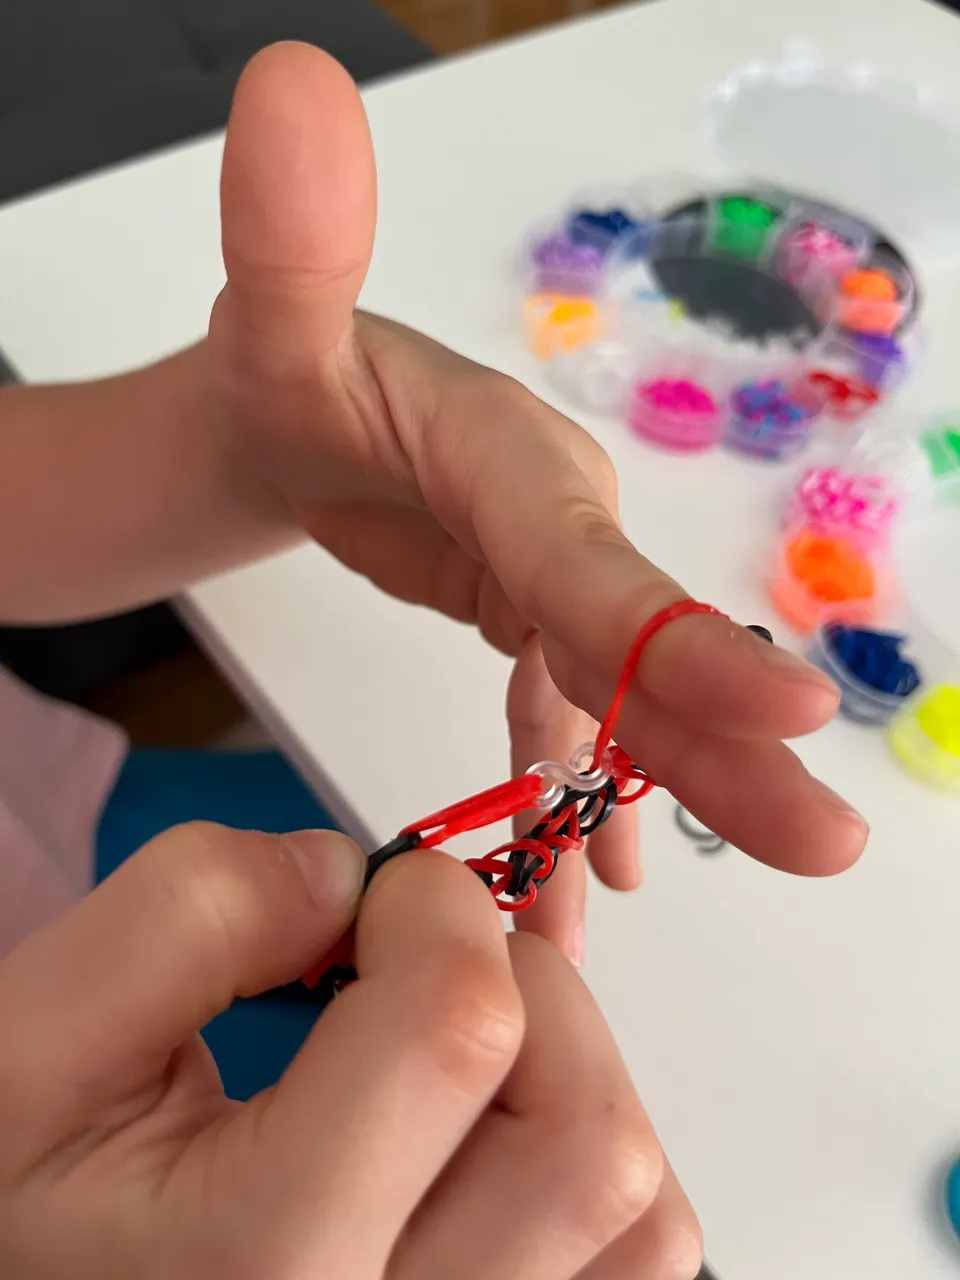
These hooks are incorporated in the rubber kits we had bought. However, an alternative in case of buying only the rubber bands would be to use thread in the colour of the rubber bands used to make a final knot.

Scissors
The scissors will only be used for the final part of the bracelet making process.

Steps to make the bracelet
Step 1.Choosing the colour combination
It seems like a trivial thing, but it is important to make a good choice of two or more colours.In this case, as the bracelet we were making was for me, I chose a black and red colour. I've always liked this colour combination even though neither of the individual colours is my favourite colour.
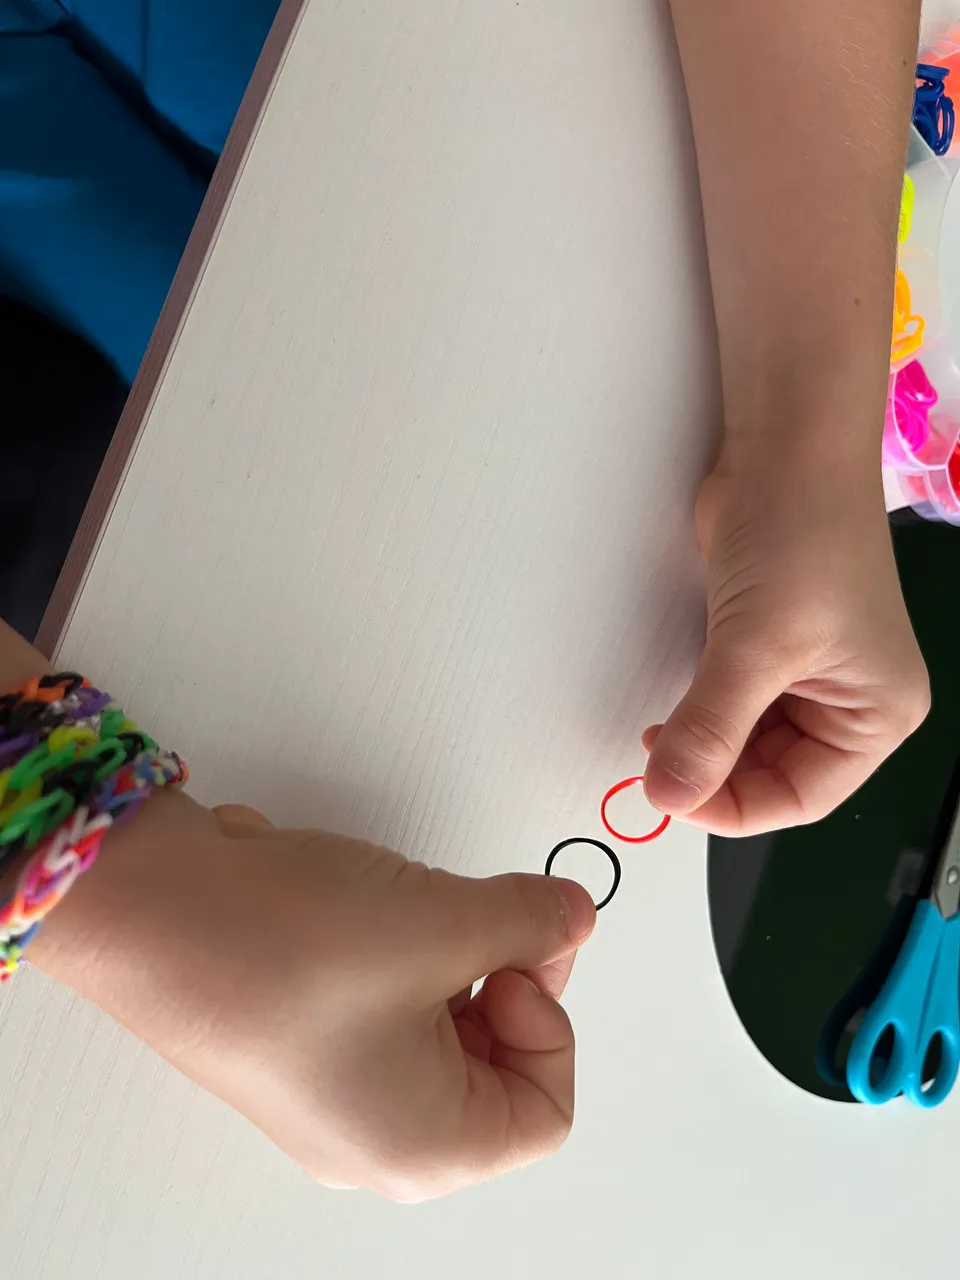
Step 2. First Ring
First we put one of the coloured rubber bands between our thumb and forefinger, stretching the band but taking care not to break it.
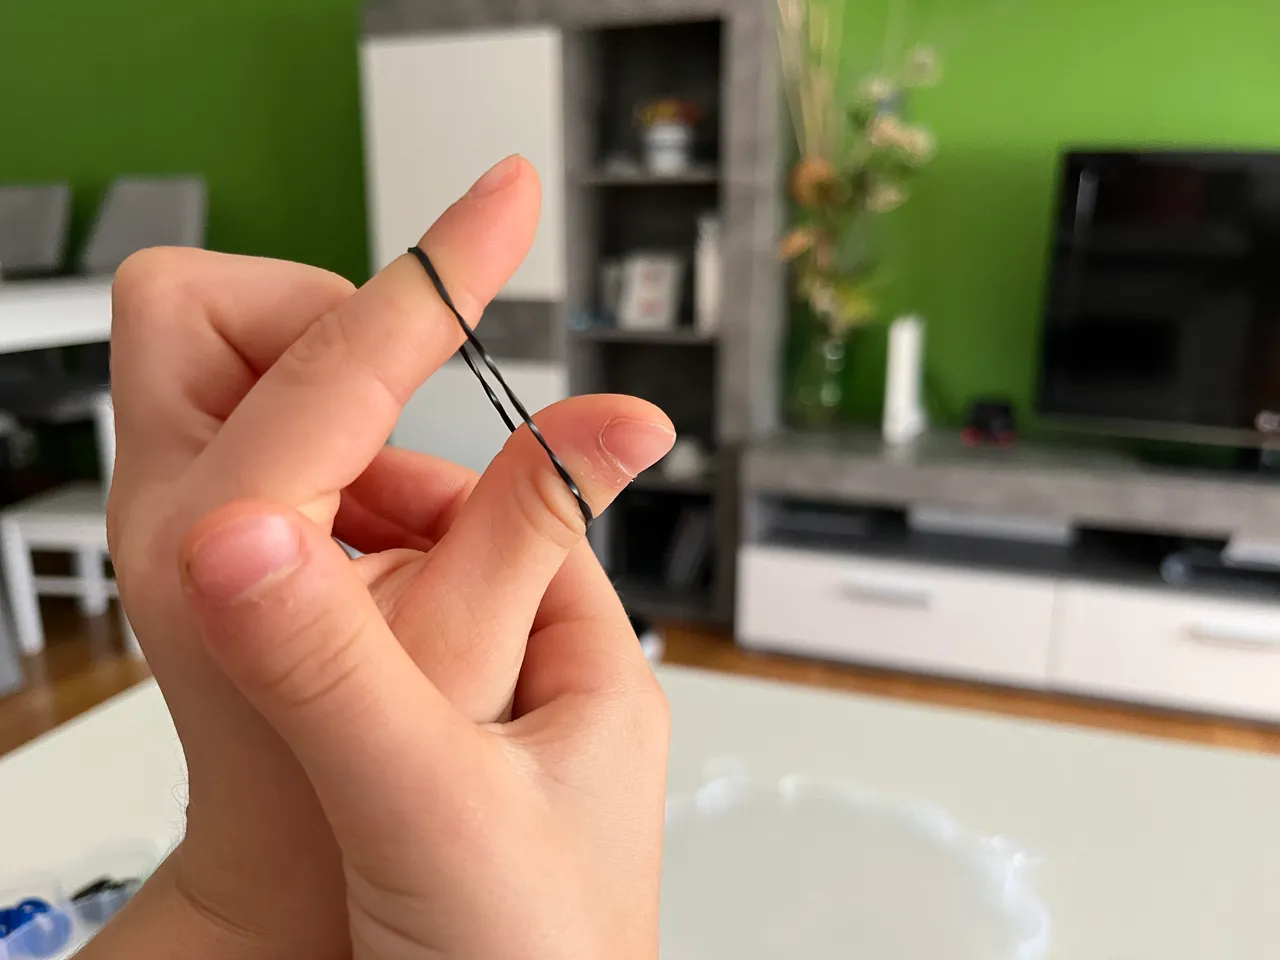
Step 3. First assembly
Next, we place one of the other coloured rubber bands as shown in the picture.

And then we stretch this second rubber.
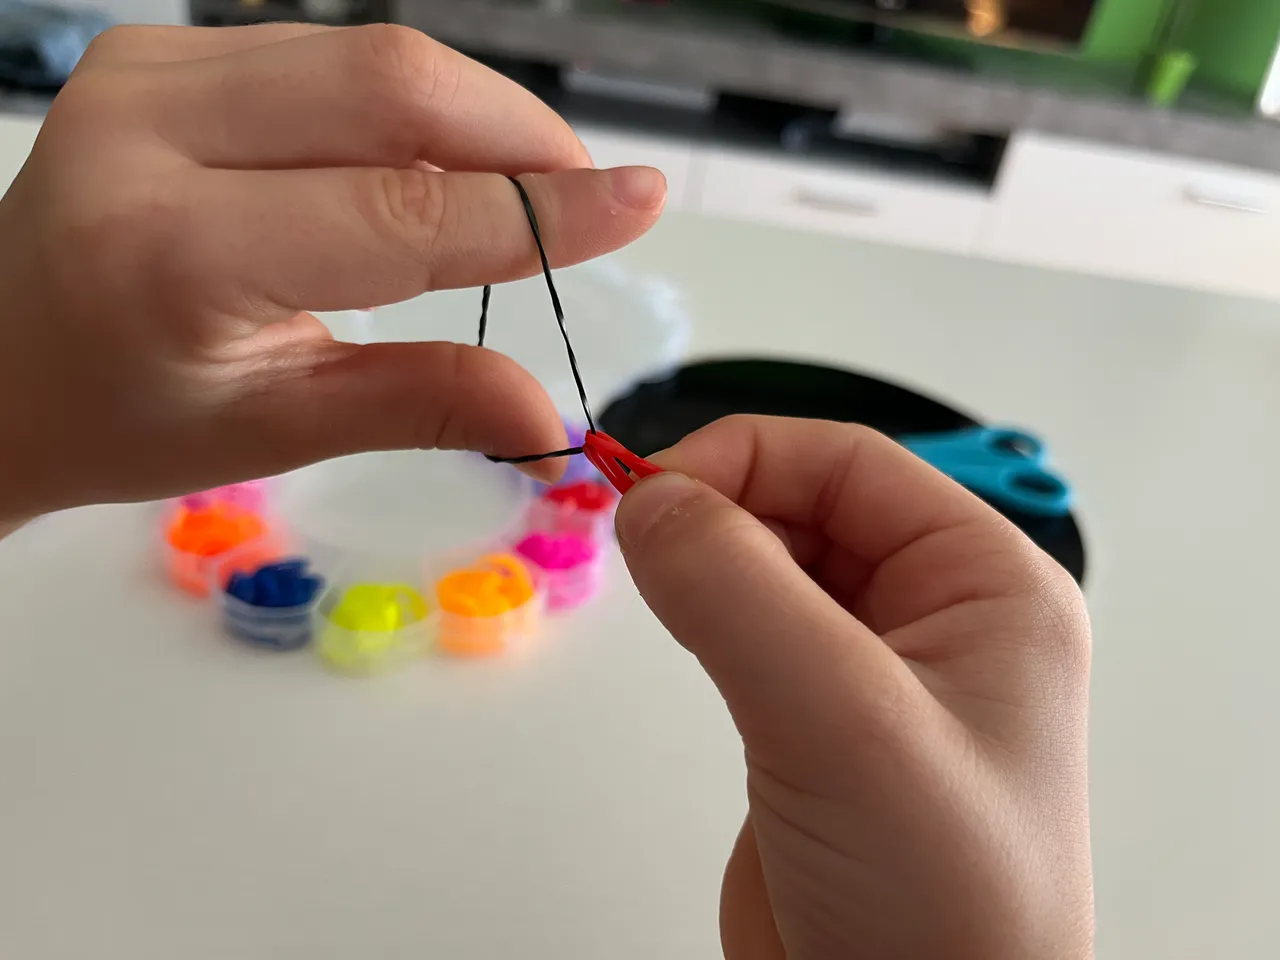
Step 4. Stretching the assembly
The next step to follow is to place the second rubber that we have placed and that was stretched over the middle and ring finger.

Step 5. Grow with more rubber bands
Next, as we had done in step 3, we place again a rubber band in the same colour as the initial rubber band.
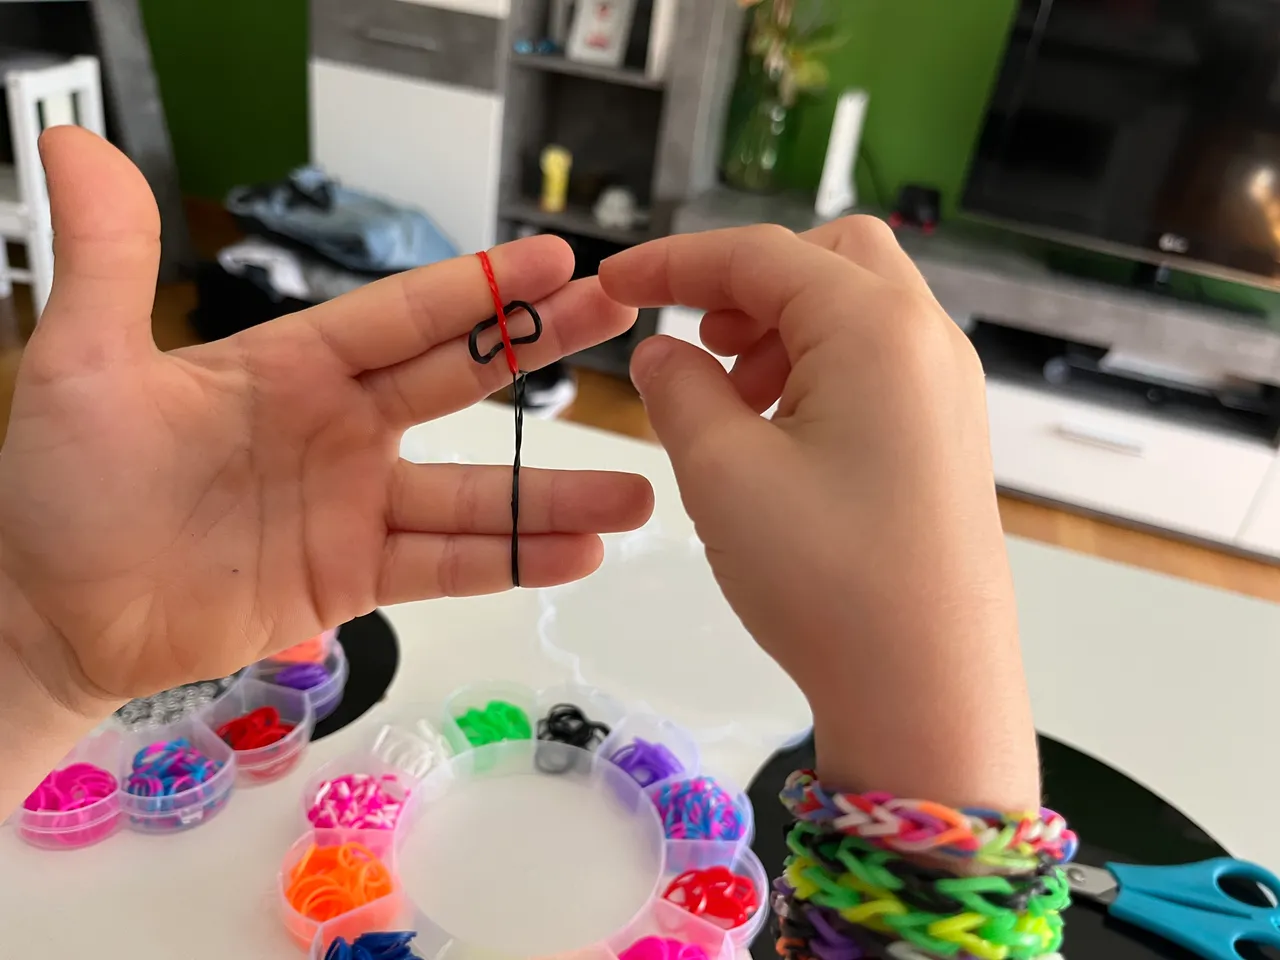
And then we stretch it.
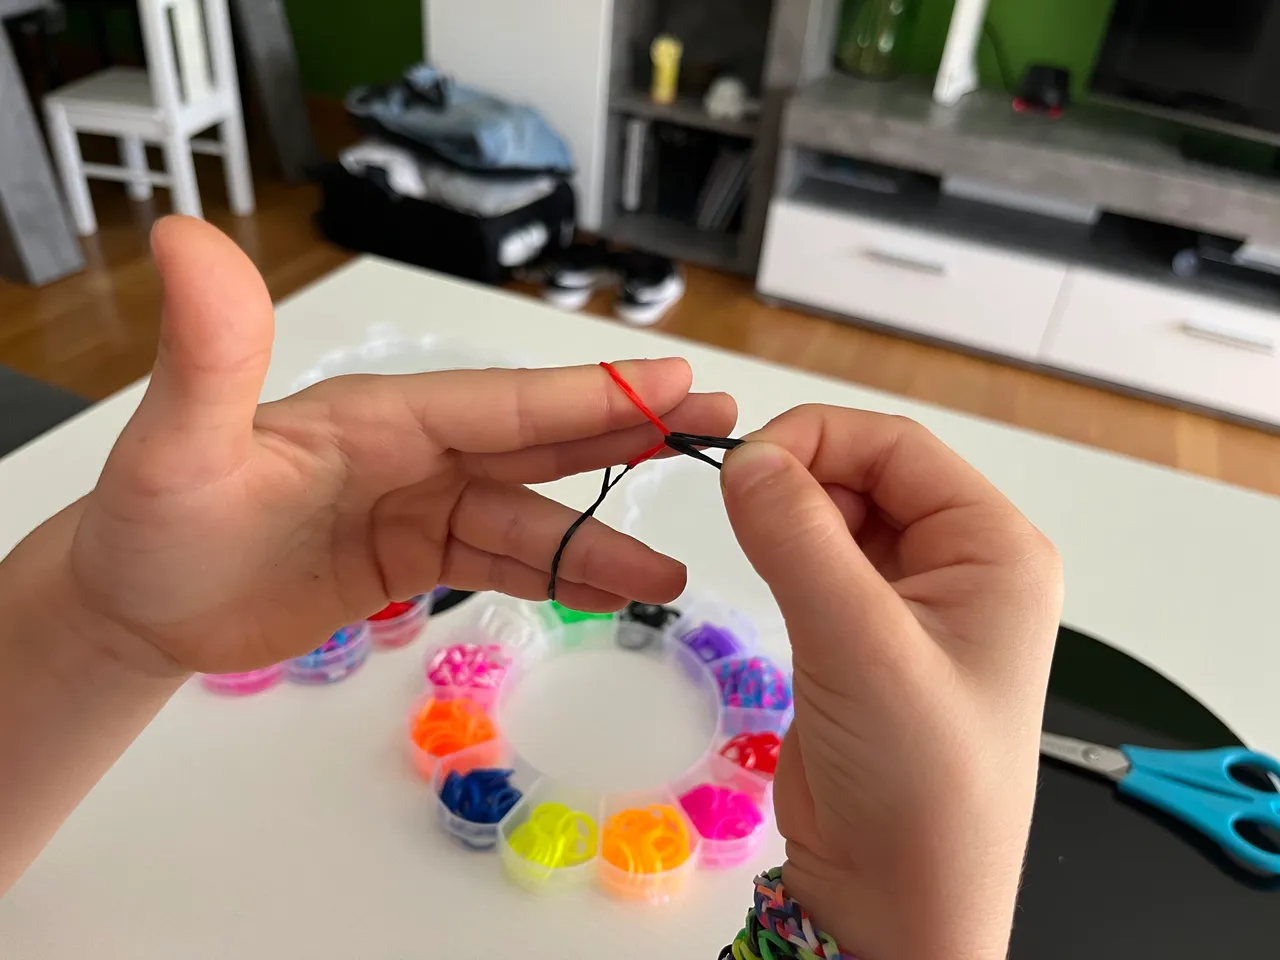
To finally place it between the middle and ring finger as in step 4.
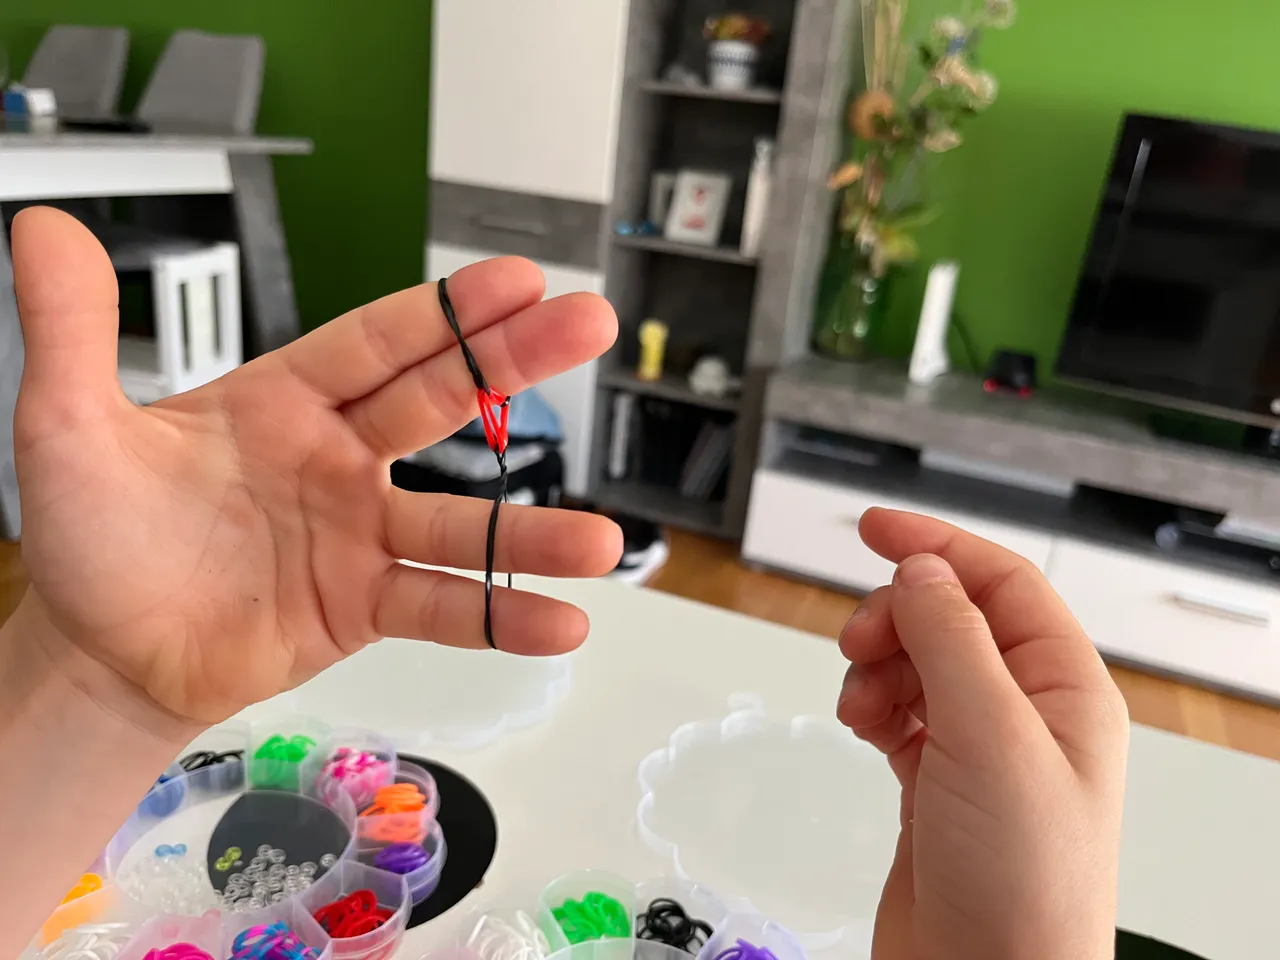
Step 6. Repeat the process until a suitable size is reached
This process is repeated several times, alternating the rubber bands, thus making the bracelet grow.

Step 7. Size check
In order to make a bracelet that is not too tight and not too loose, my cousin, when she had made some progress on the bracelet, did a size check before attaching the clasps

Step 8. Placing the clasp on one end of the bracelet
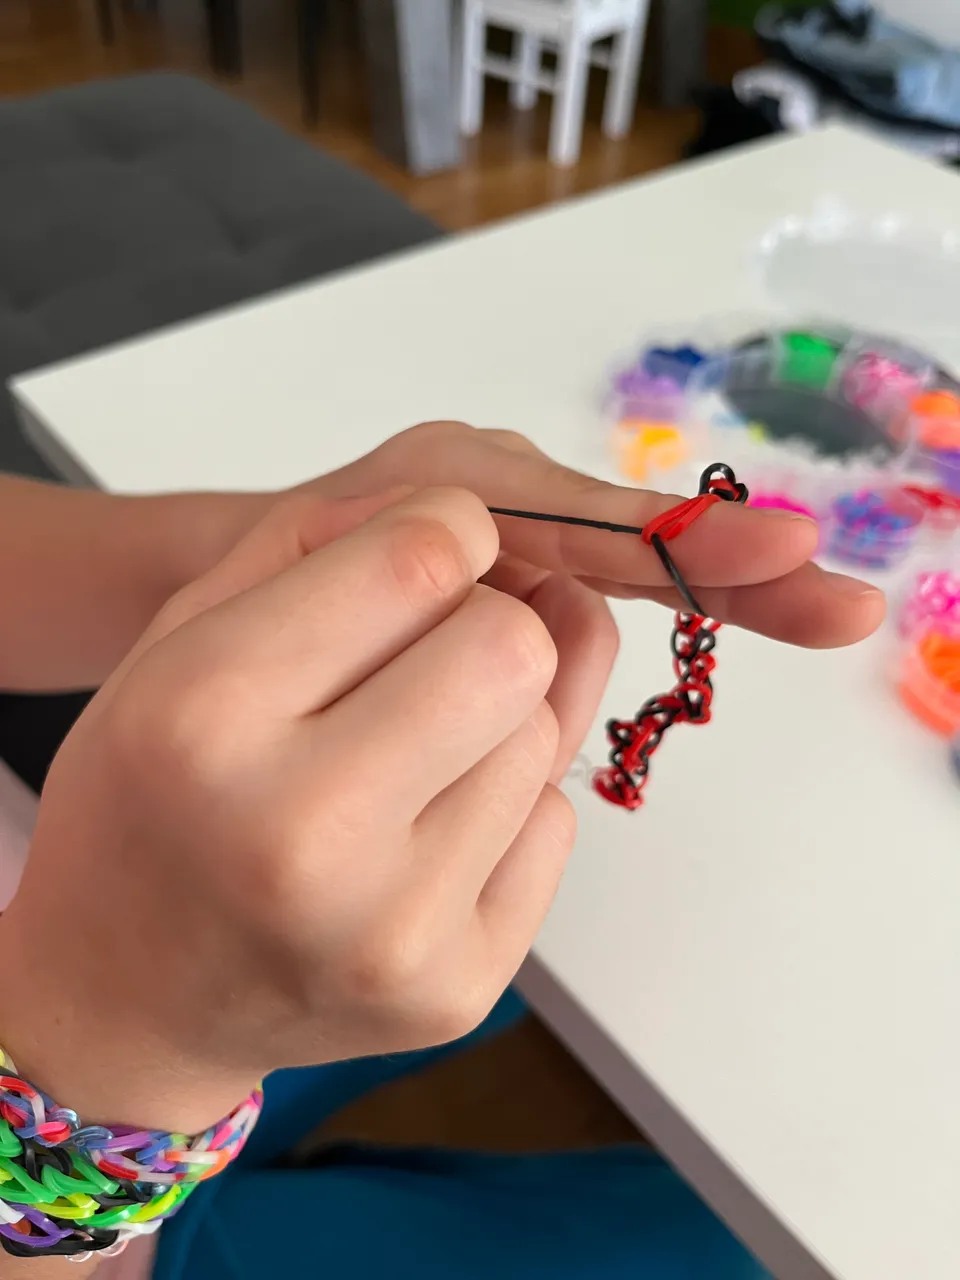
As you can see, we started the bracelet with a black rubber band. So in order to attach the clasp and make the bracelet fit properly, we have to place the clasp in the shape of a black rubber band on the second rubber band or link.
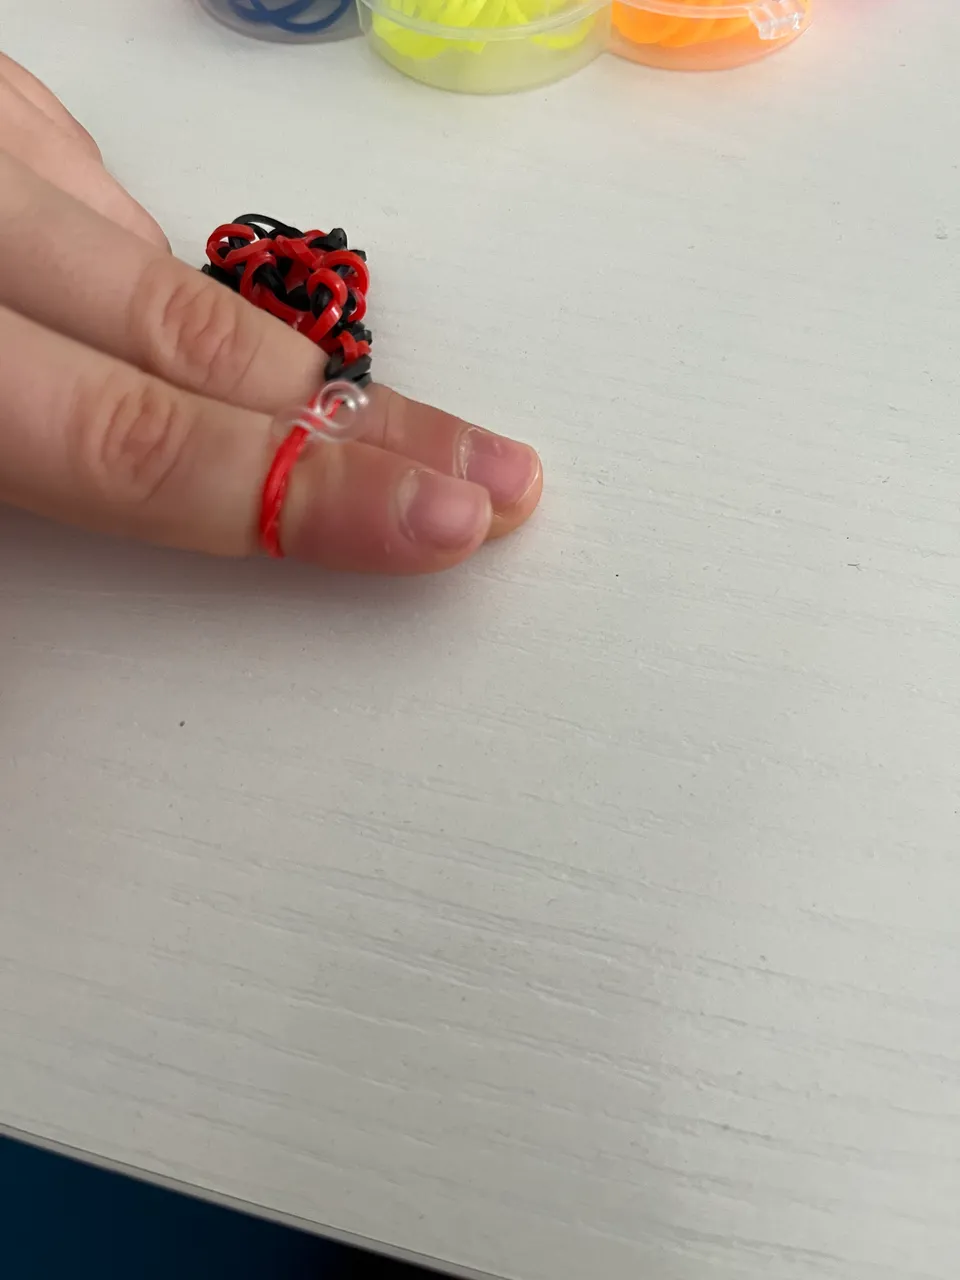
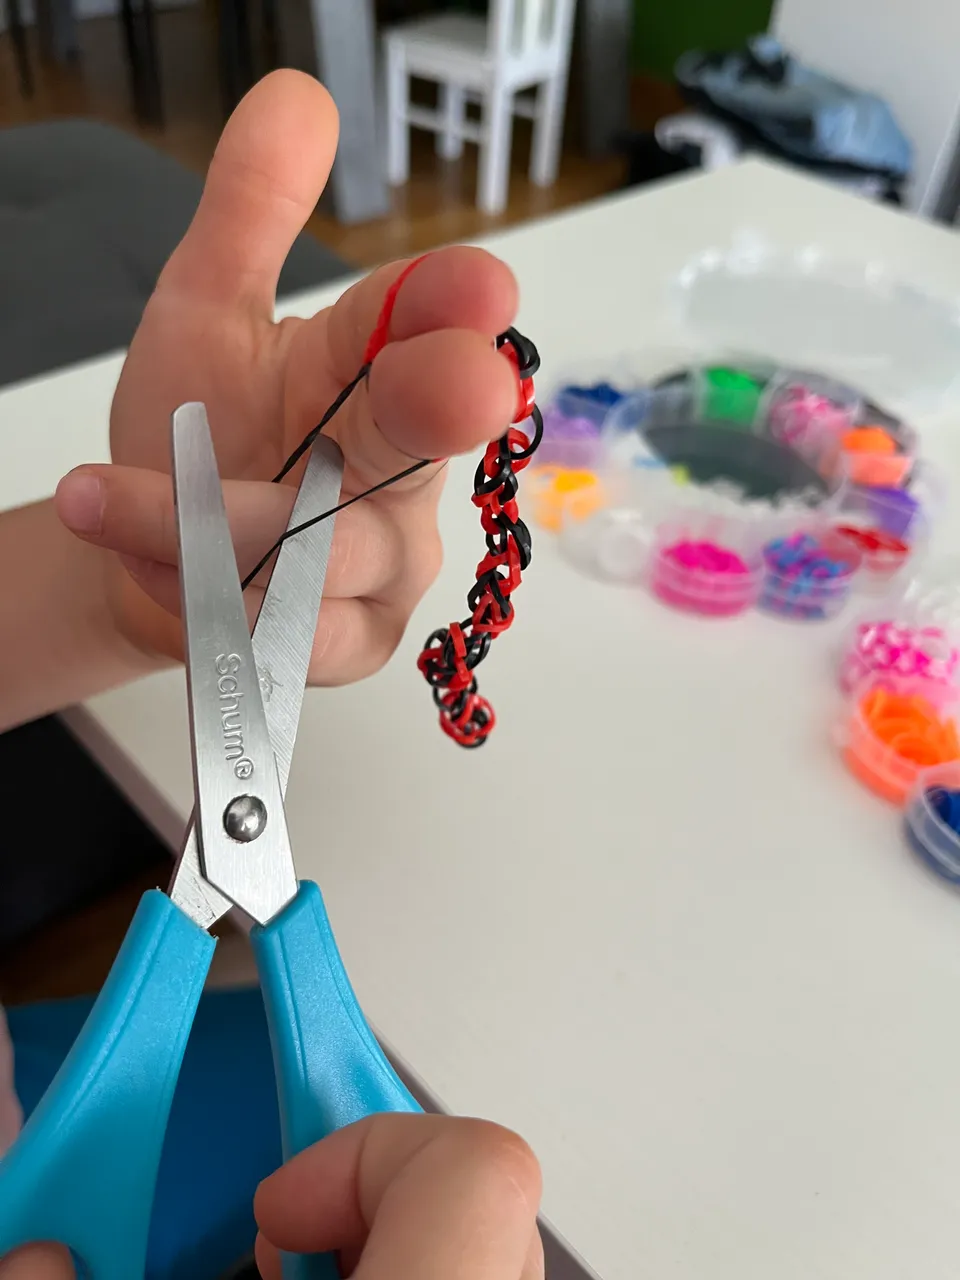
Step 9. Cutting the first black link
The first link that we had placed in step 1 must be cut with the help of scissors.
Step 10. Closing the bracelet
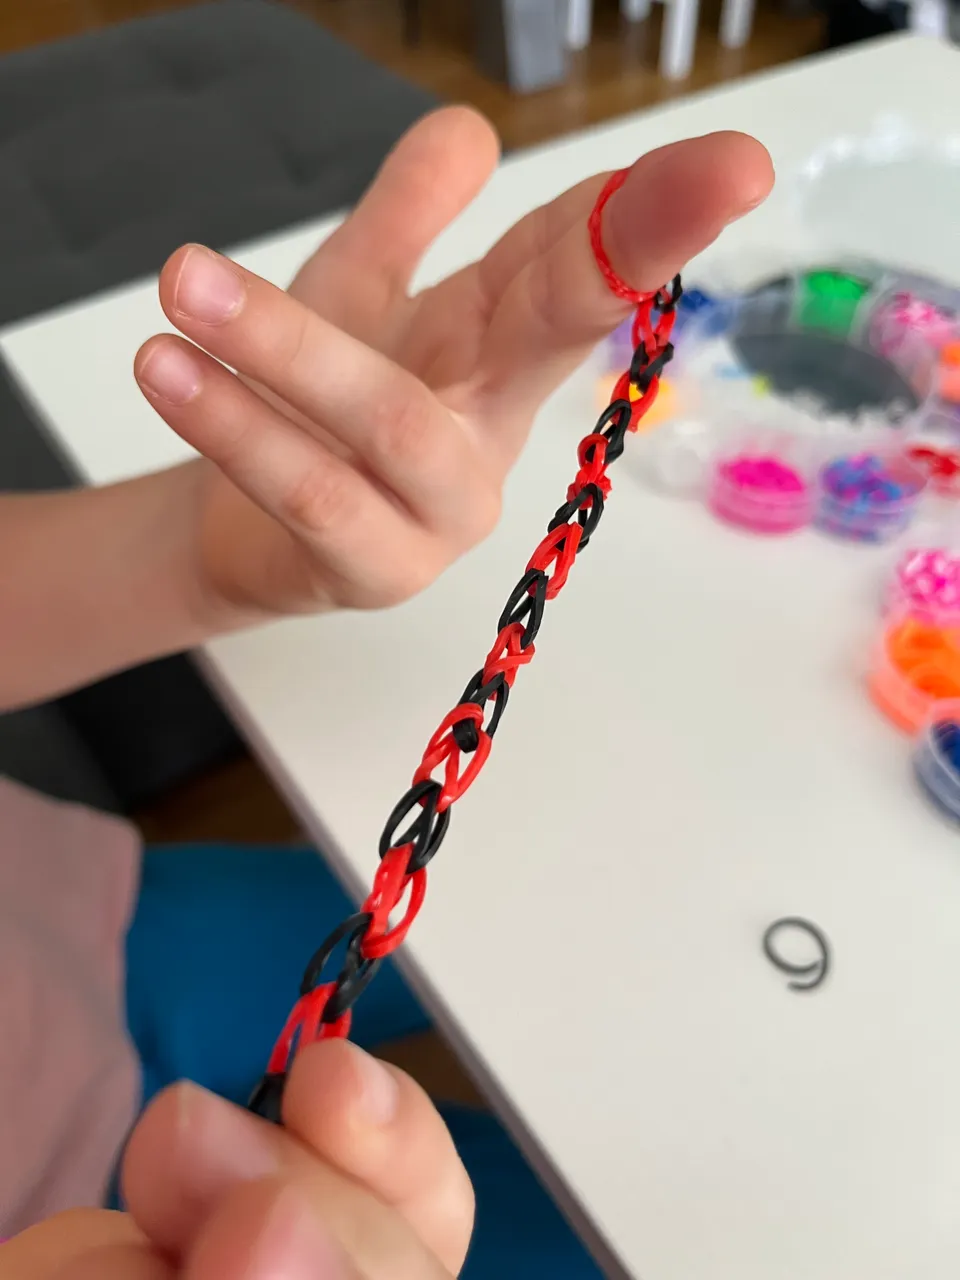
Now we stretch the bracelet so that the rubber bands are not rolled up together.And opening the last link with two fingers, we close the bracelet with the clasp in the form of that we have at the other end of the bracelet.
Step 10. Result
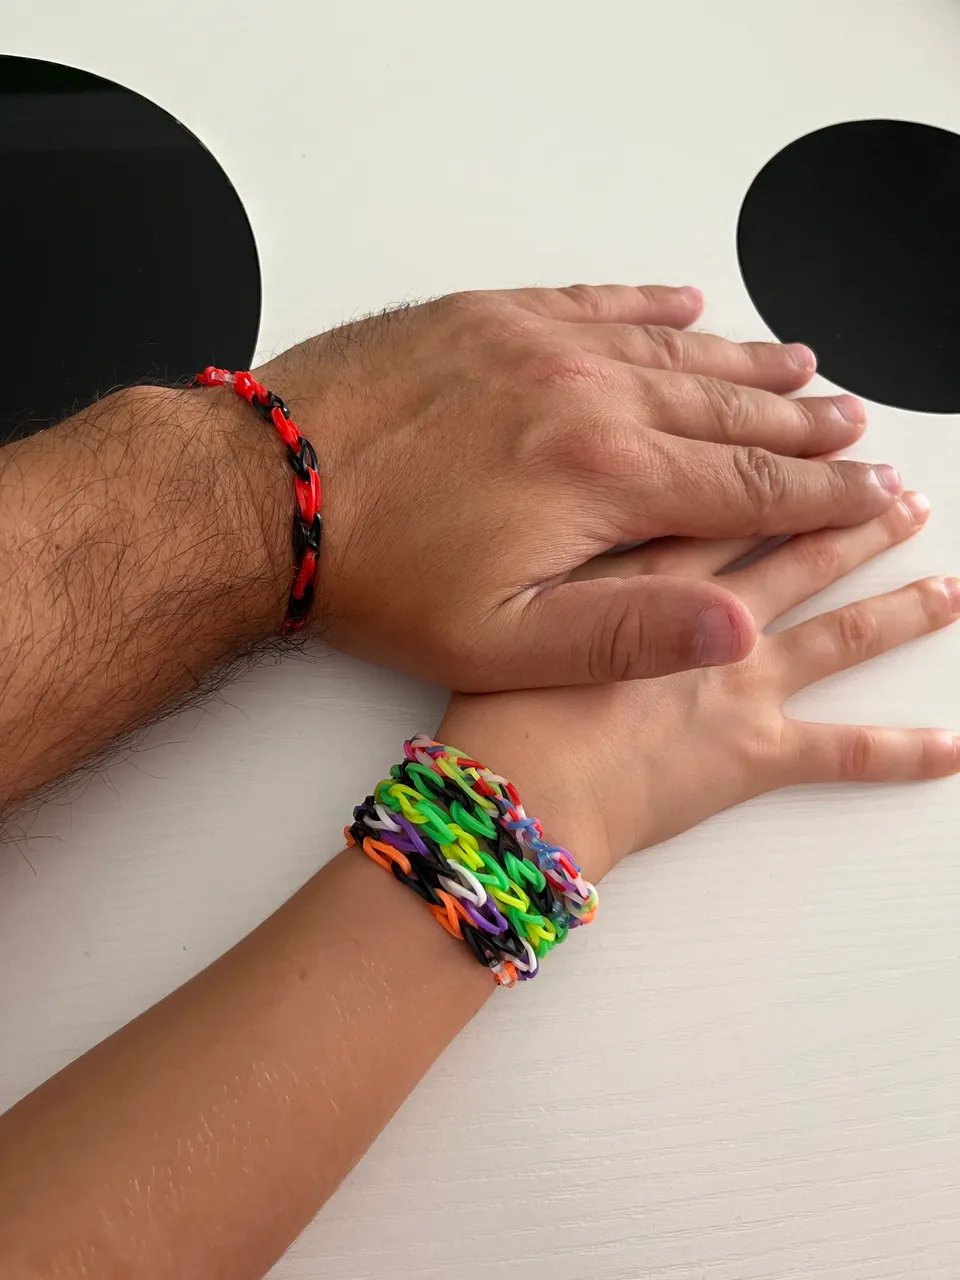
An elegant handmade bracelet that I love to wear on my wrist and remind me of my lovely cousin at every moment.
I hope you liked the tutorial.
Happy Sunday.

