There are quite a number of video editing software programs, and you have the likes of Da Vinci Resolve, Adobe Premiere Pro (which was the one I earlier made use of), Power Director, KineMaster, and many more. But among all the video editors that exist, I chose to use Capcut as my tool for video editing. I guess you will wonder why.
Before I go through those reasons, I guess it is important that you know what type of videos I edit. First, I am not a professional video editor that edits cinematic movies. I am more of a hobbyist who creates inspirational video content and loves to try out his editing skills. And for this reason, Capcut seems to provide everything I need easily, without stress or worries.
With it's easy-to-use and friendly interface, which also comes available for free,. Capcut made it to becoming my most preferred choice of video editing software.
Capcut Editing Workflow
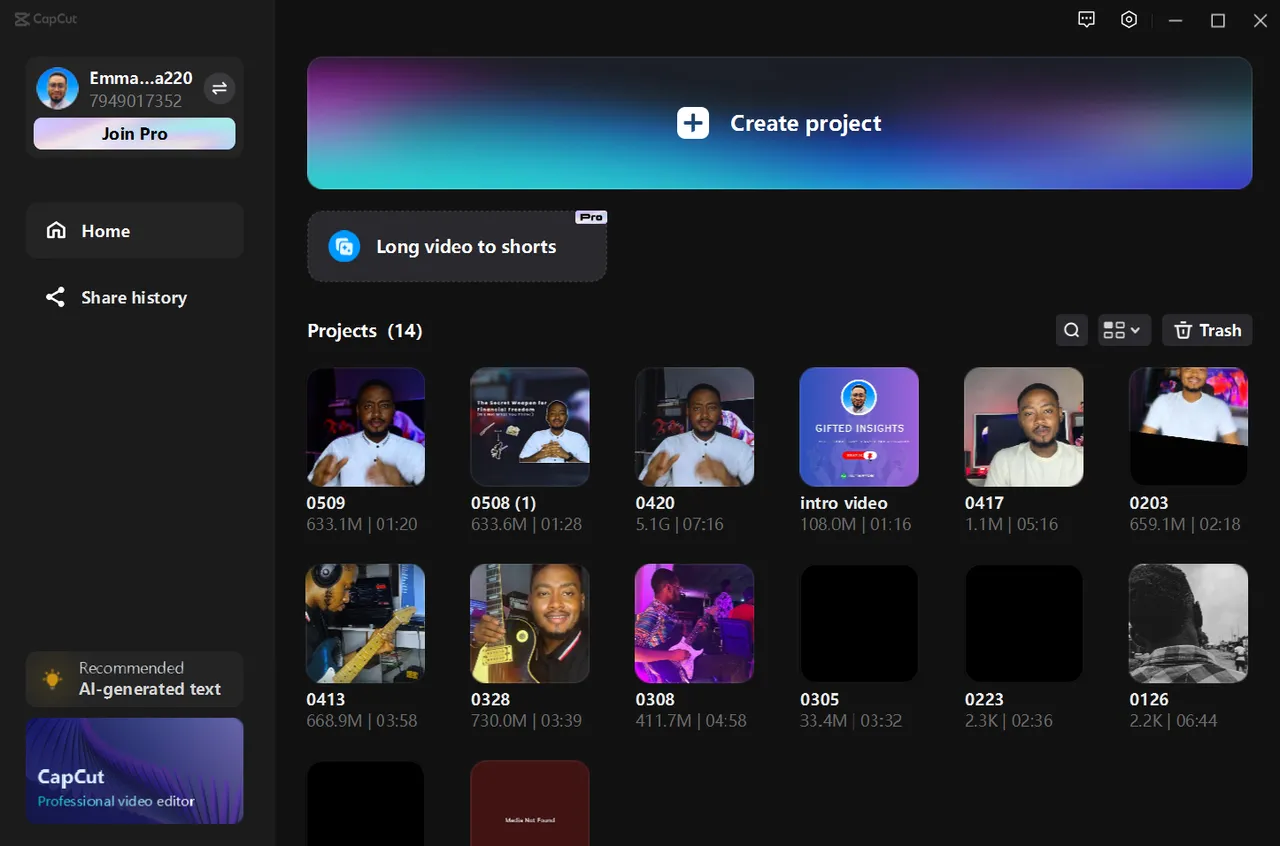
When you open your Capcut application, you get a panel like this that pops up. You only need to click on Create Project to start your new project or click on any of the existing projects you may have previously done.
If you have a video already created in 19:6 format, i.e., YouTube format, and you want to convert it to a 6:9 format automatically, you just need to click on "Long Video to Shorts.". It makes use of AI to easily transform your video into shorts.
Let me quickly show you that process. After clicking on "Long Video to Shorts," you will see the panel that shows next below.
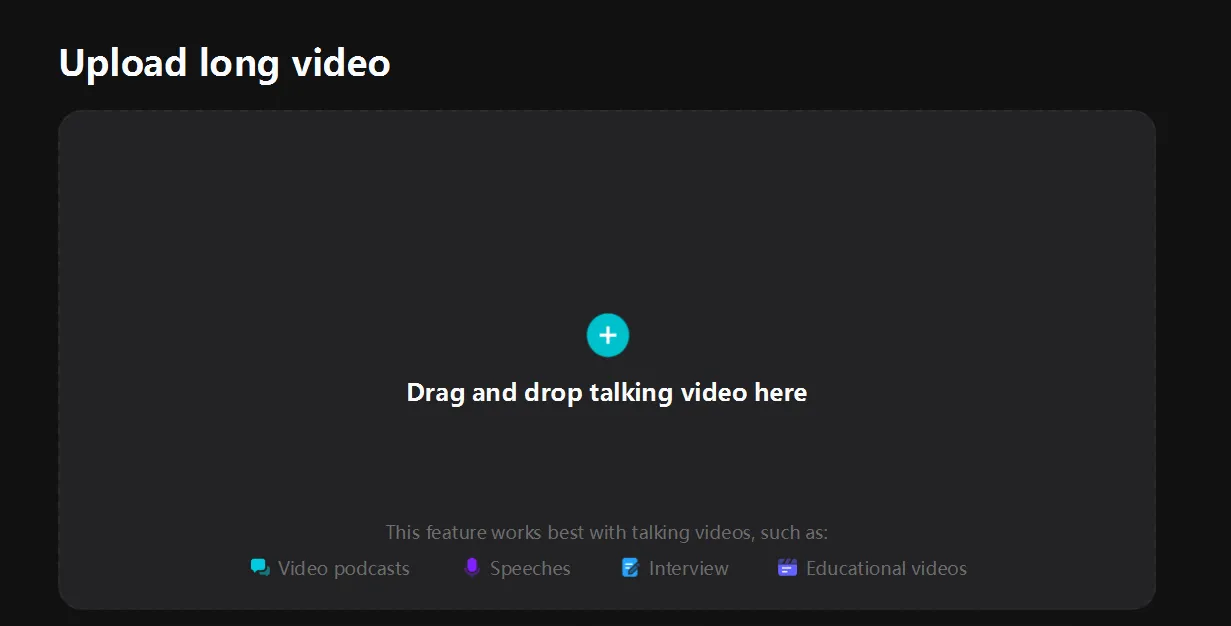
It simply requests that you upload your long-form video here.
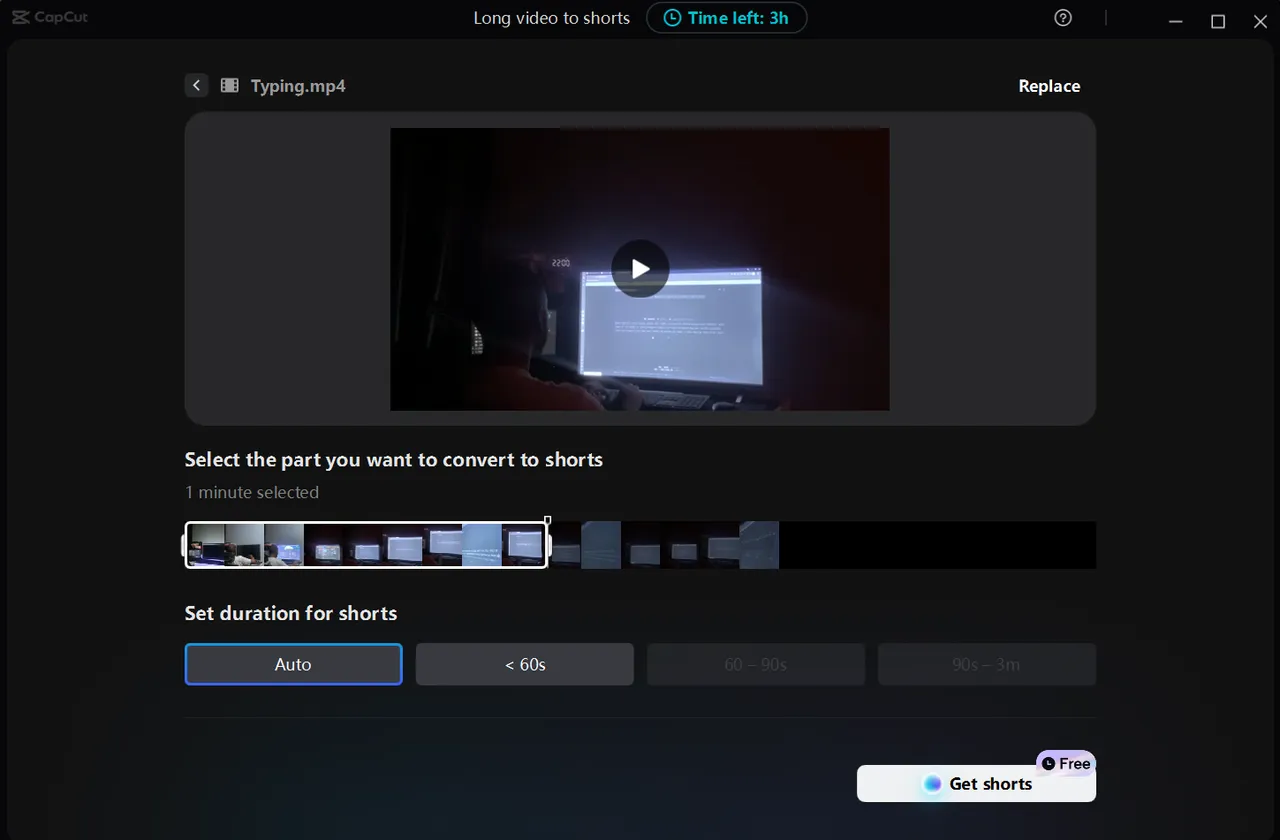
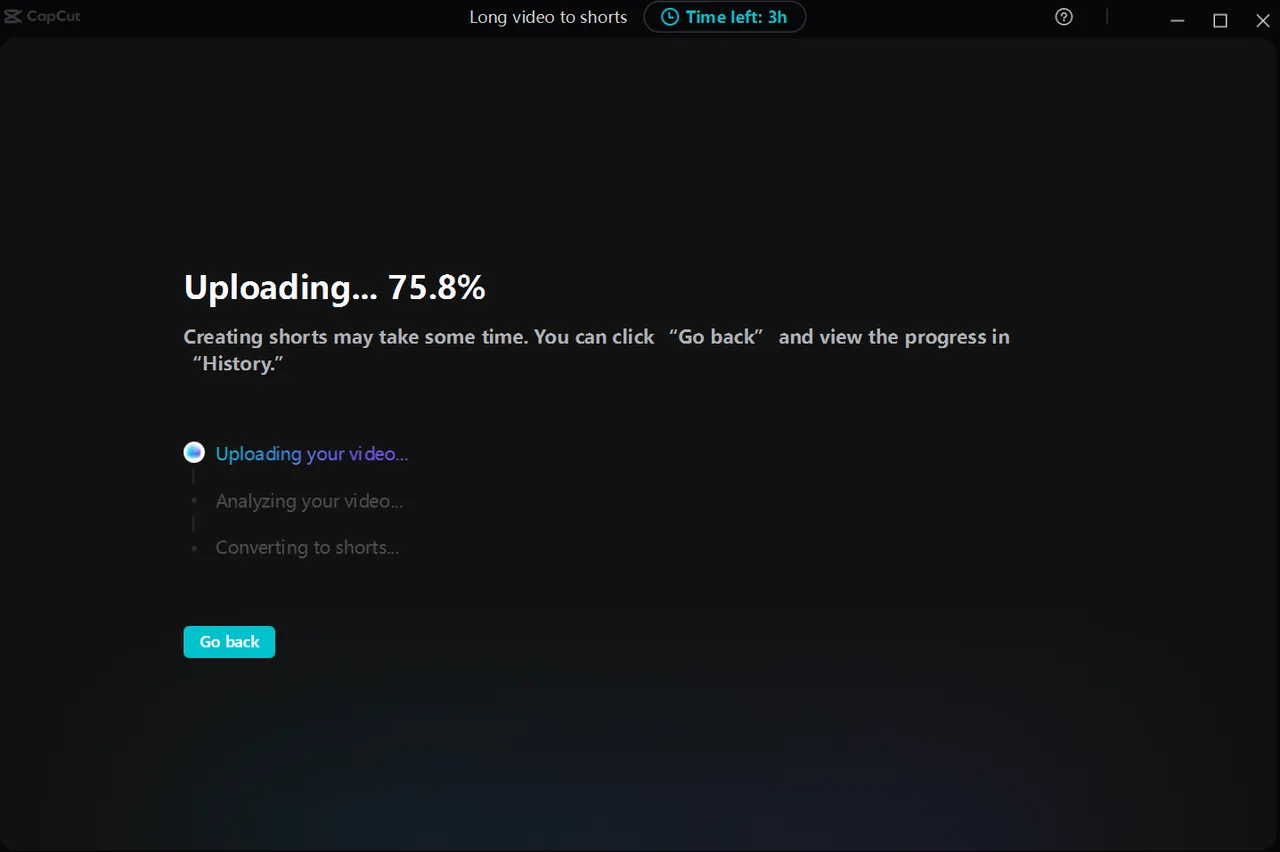
After selecting your long-form content, you can trim the video to however long you want it, either 1 minute or 30 seconds. After you click on Get Shorts, it shows the uploading image below:
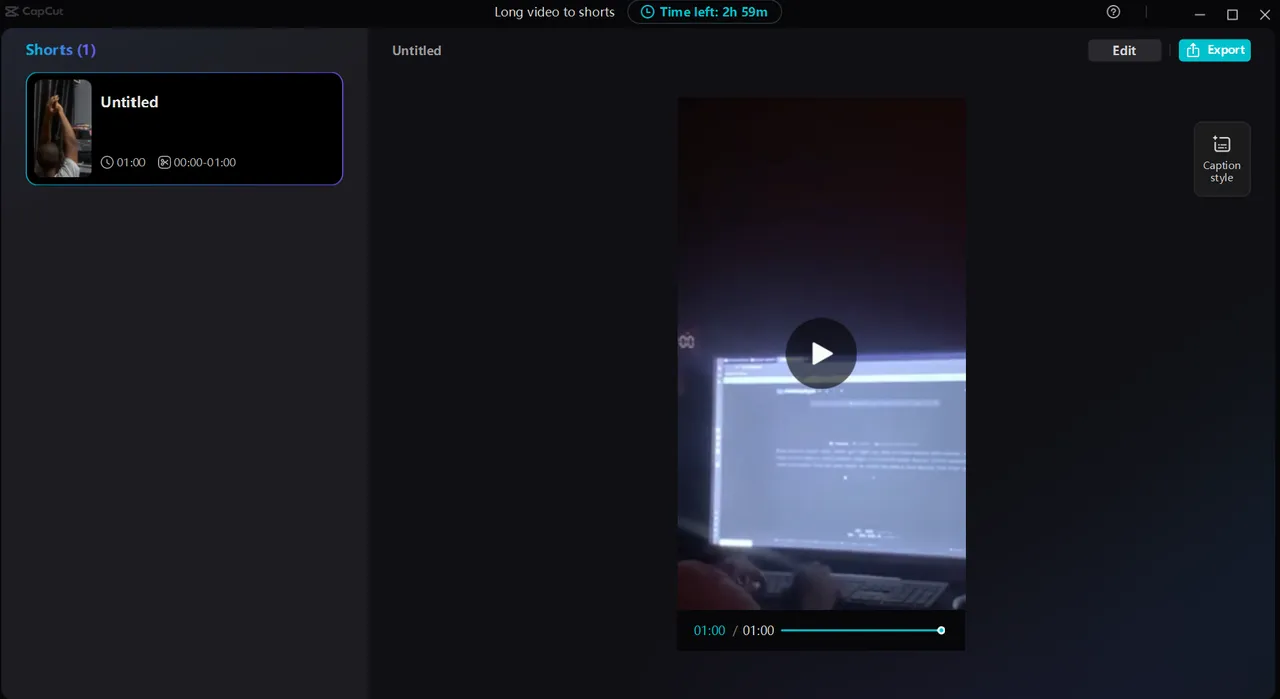
Then thereafter, you can see that my image has been transformed into a 6:19 ratio and is shown in reel format.
My Key Features In Capcut Video Editor
Capcut has many features, and an example was the one shown above. There are many other features and you can easily access them at the panel at the top left corner after clicking on Create a New Project.

With these options, you can add a lot to your video, ranging from accessing audio music to your video to text animations, stickers, video effects, transitions, adding captions automatically to your video, set filters, and also do more with color grading with the adjustment filters. Aside from all these mentioned, you can access more options when you click on your video.
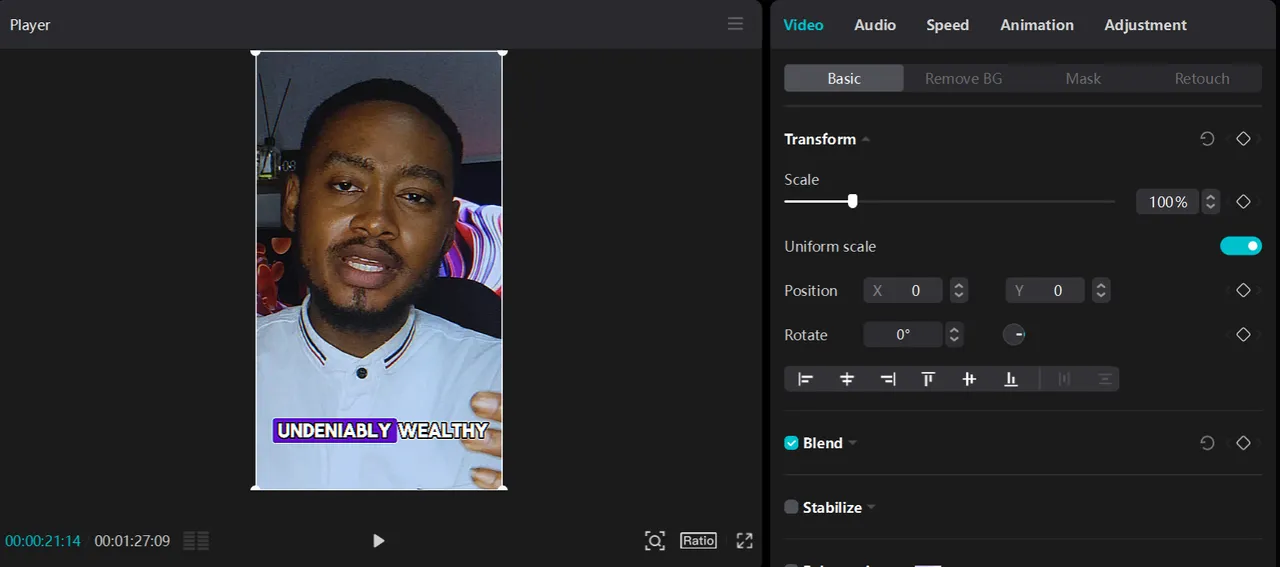
When you click on your video, you have a lot of access to more video, and audio settings, as you can see at the top right corner. There are options for video,, audio, video speed, video animation, and an adjustment filter.
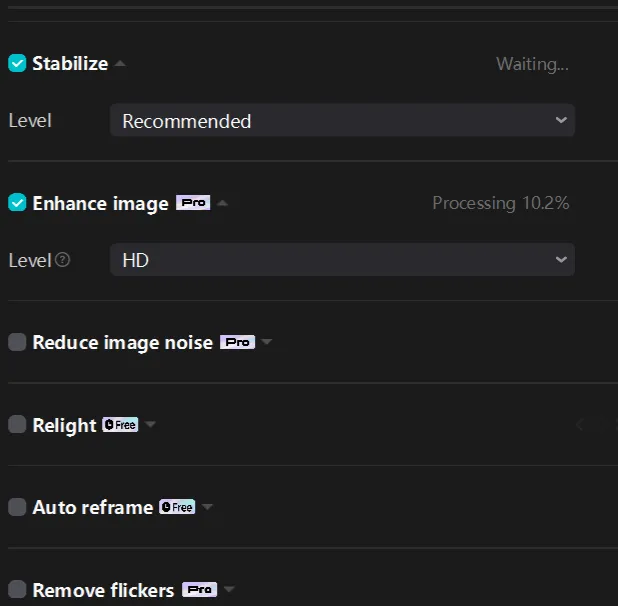
You can stabilize your video and enhance your image, and you have options to take it to HD or UHD. You can reduce image noise, which is a feature I used in the last video I edited, as there was so much noise in the video after shooting it but Capture came to save me.
Enhancing Video Voice Quality
This is a great feature that the Capcut app has. I do not use a microphone when I shoot my videos and I don't worry about it because I know I have the Capcut app to save the day.
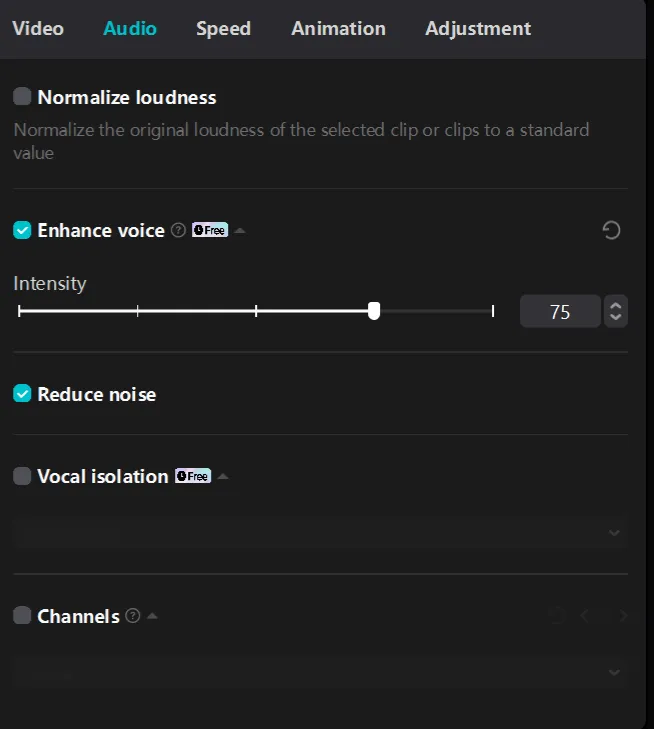
The application performs really well in its noise reduction tool and voice enhancement feature. It makes it feel as if I recorded my video with a microphone or in a studio.
Color Grading Feature
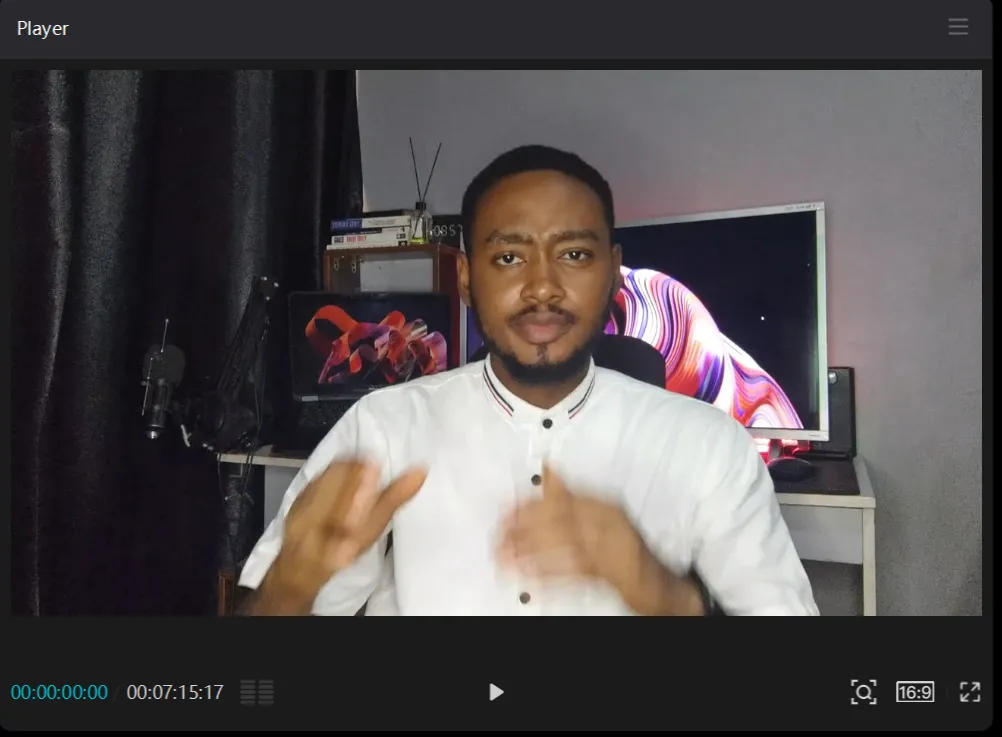
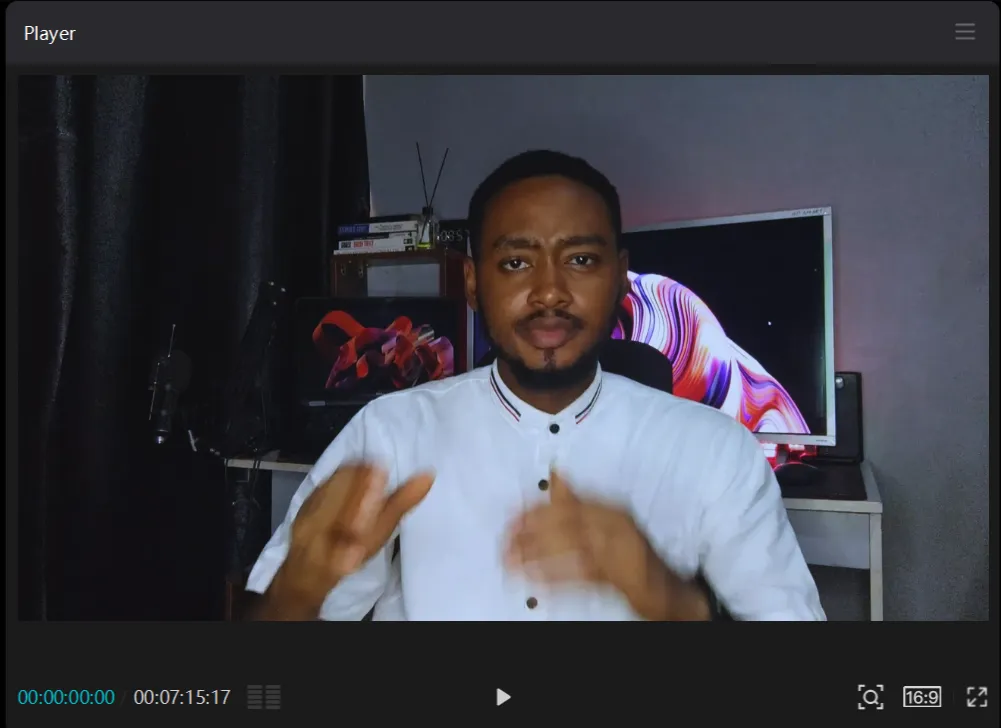
The color grading feature is a life saver. I don't always like the look and feel of my video after recording it from my phone. This is why I always make sure to color-grade my videos when editing them. Take for example, the two images below:
 |  |
|---|---|
For the color grading, I made use of an adjustment filter, and I then changed some settings to give the video the feel I love.

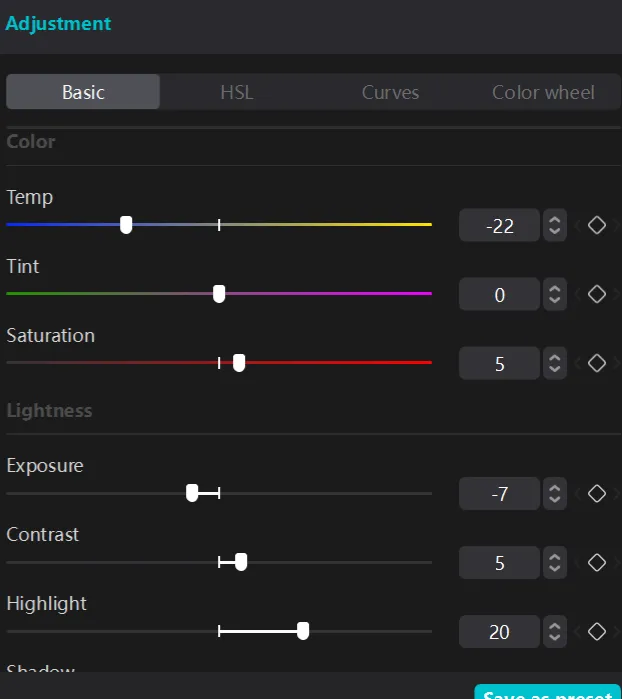
These are some of the settings I used for this video. The first image above is the adjustment layer placed above my video, where the color settings will be made, while the second image is settings available to give your video that radiant look you desire.
Other Features
Aside from these mentioned, there are many other features like transitions, voice overlays, removing video background, text overlays, object tracking, zooming effects and many more. The interesting thing about the application is that these effects are very easy to learn how to use.
The Major Advantage to Using Capcut
What makes me love Capcut app the most is that it does not use as many computer resources as other video editors I have used before such as Da Vinci Resolve and Premiere Pro. The interesting thing is that I make use of pro features without having to pay a dime on Capcut. Since I started using Capcut for editing, I have never turned my back to it.
If you are curious about the last video I edited, check out the video below:
