I have posted previously about my VW hobby/addiction. Here are some of those to review:
https://blurt.blog/powerclub/@leifasaur/the-days-of-denver-dubs
https://blurt.blog/photoblurt/@leifasaur/charlie-sheen-the-bug
https://blurt.blog/blurtafrica/@leifasaur/bucket-in-more-detail
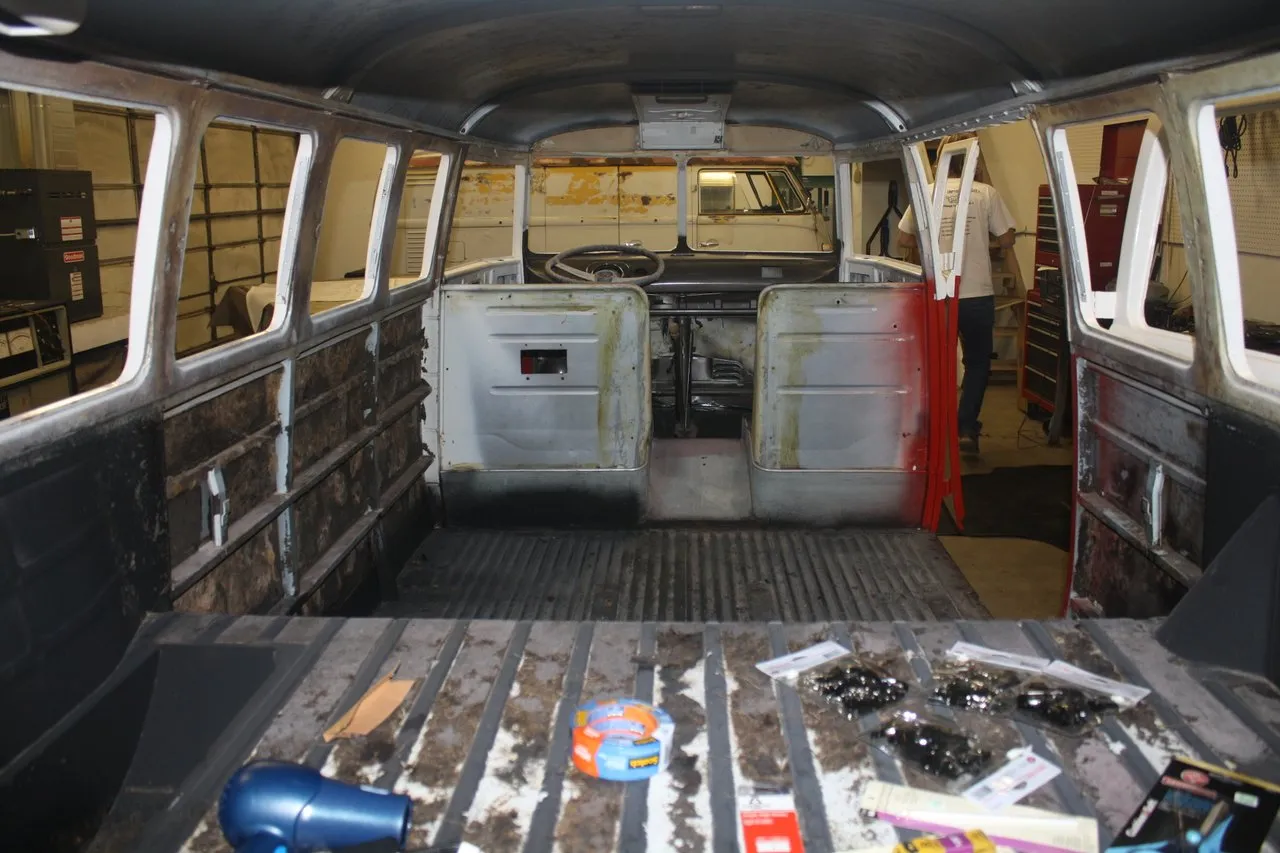
I found a great photo series I had on one of the projects I helped my friend Ian with. This was either a 1965 or 1966 Split 15 Window van with a Deluxe paint job. We did not do all the paint and body work, so don't be too critical there haha. This bus came to as as you see in the picture below.

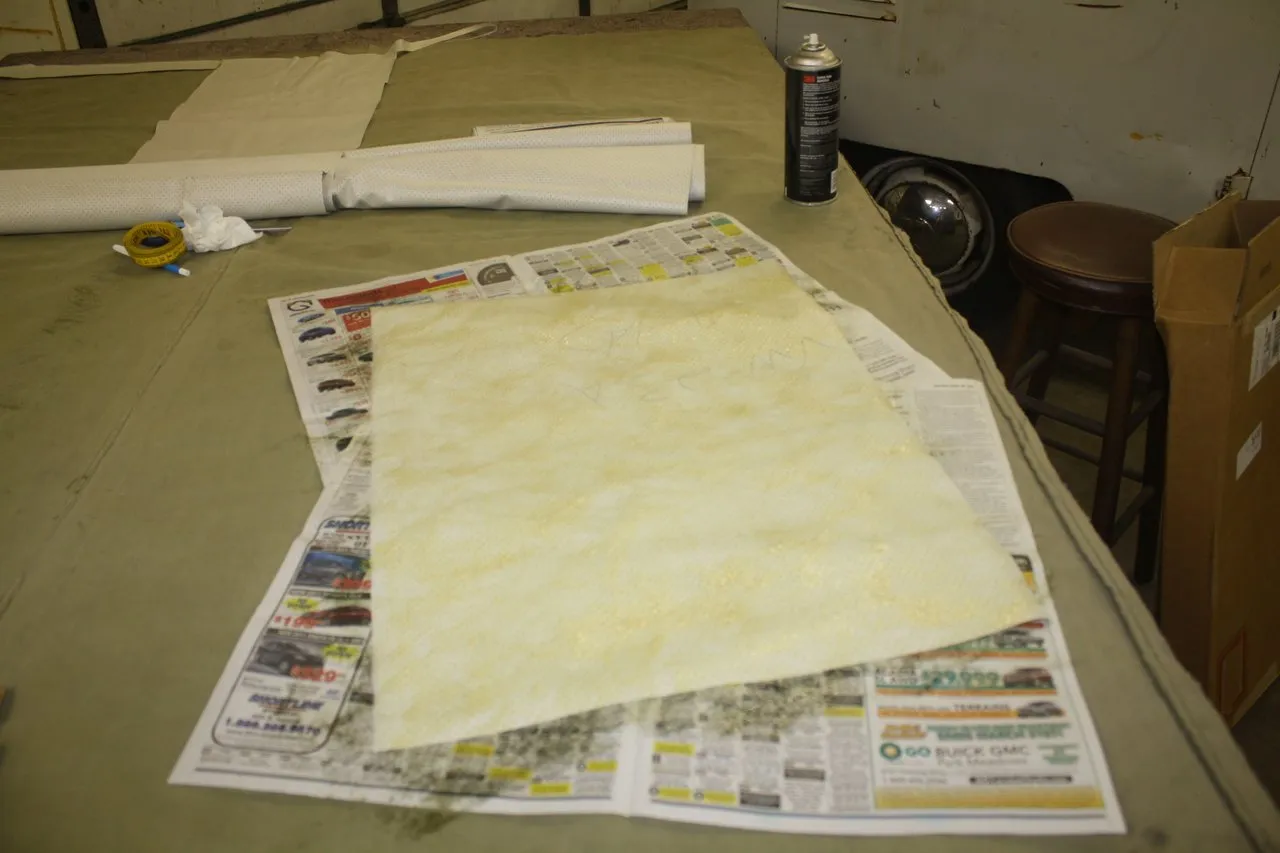
Taking your time, prepping and making sure you have everything to do the job is important in doing a project like this.

A big carpeted table with a clean surface is important for handling the headliner material and a clean space to cut it and unfold it.
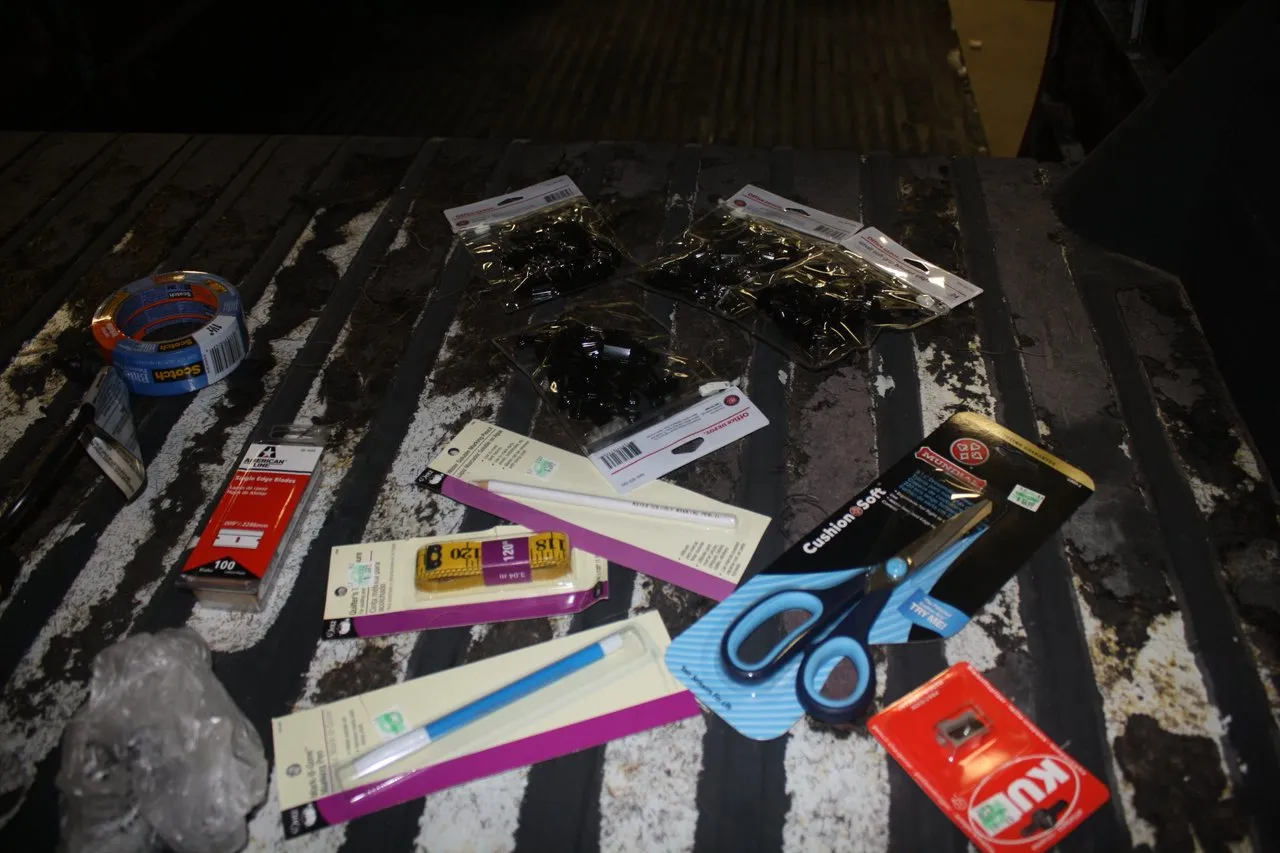
Some supplies, sharp sissors, clips to hold things in place, apolstry markers and pens. And a big picture of the work to be done.
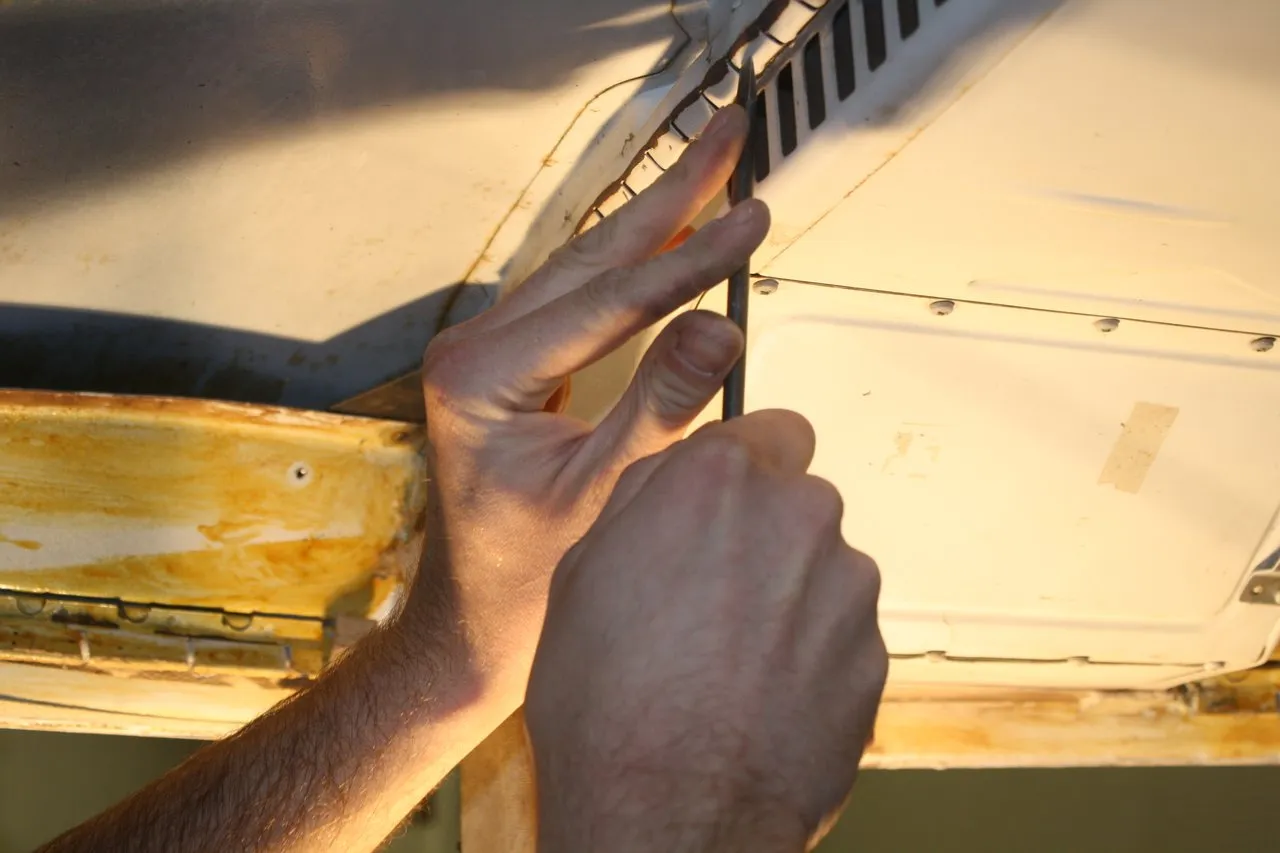
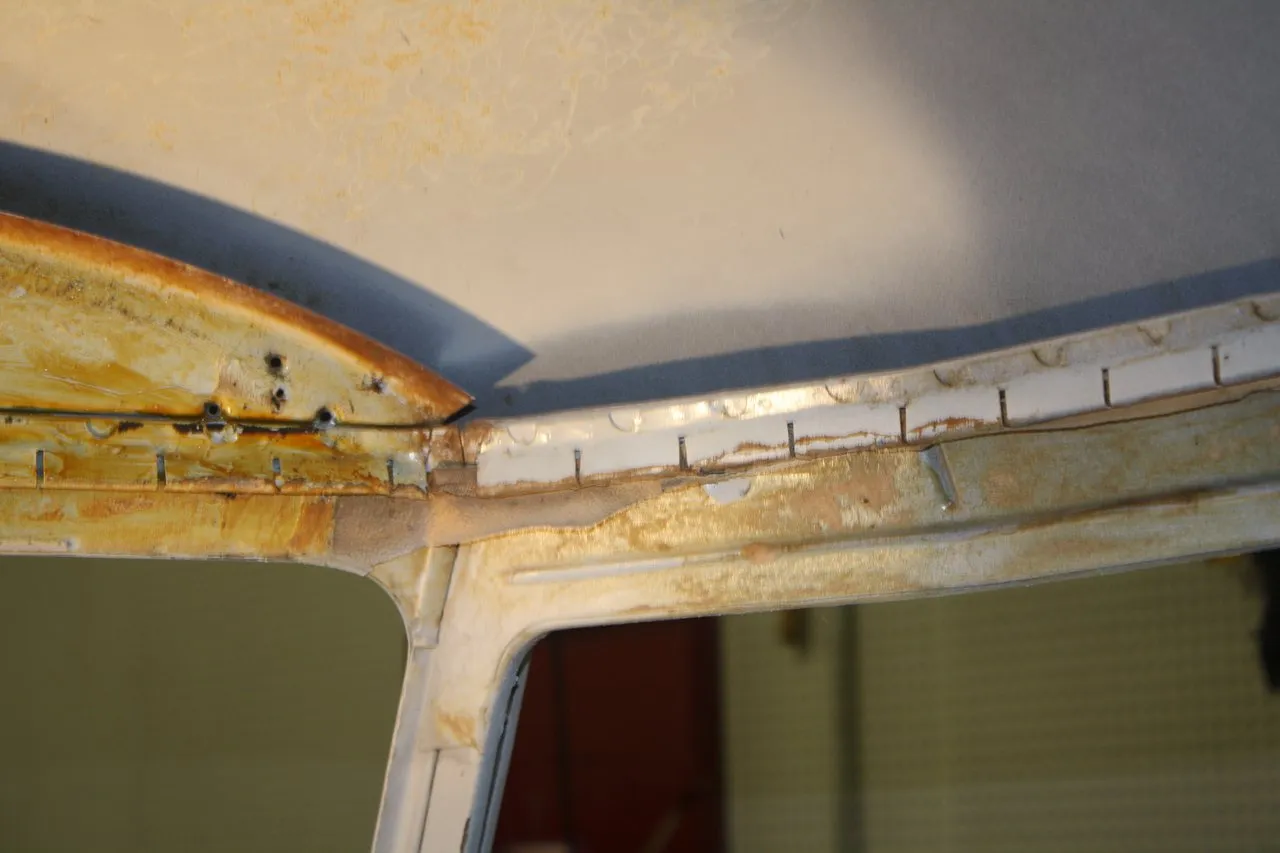
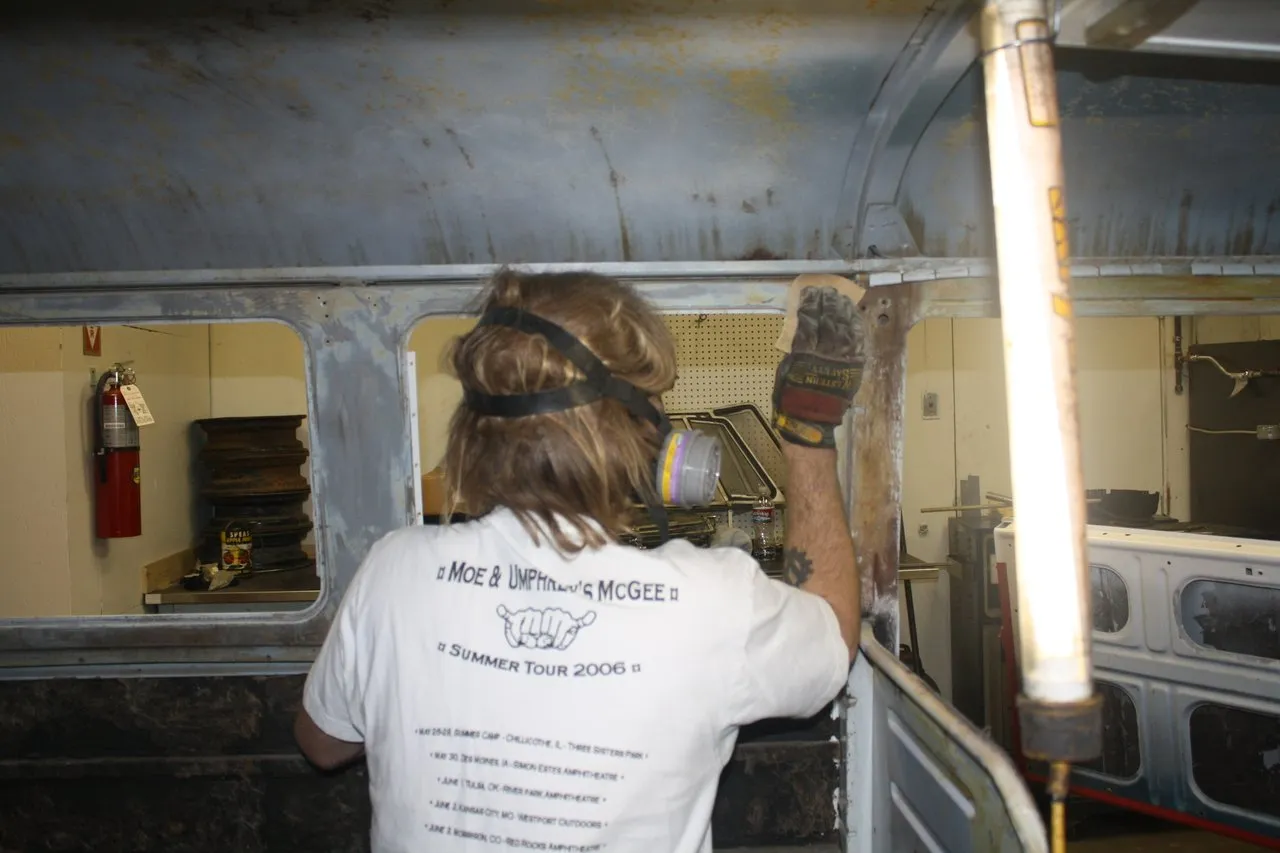
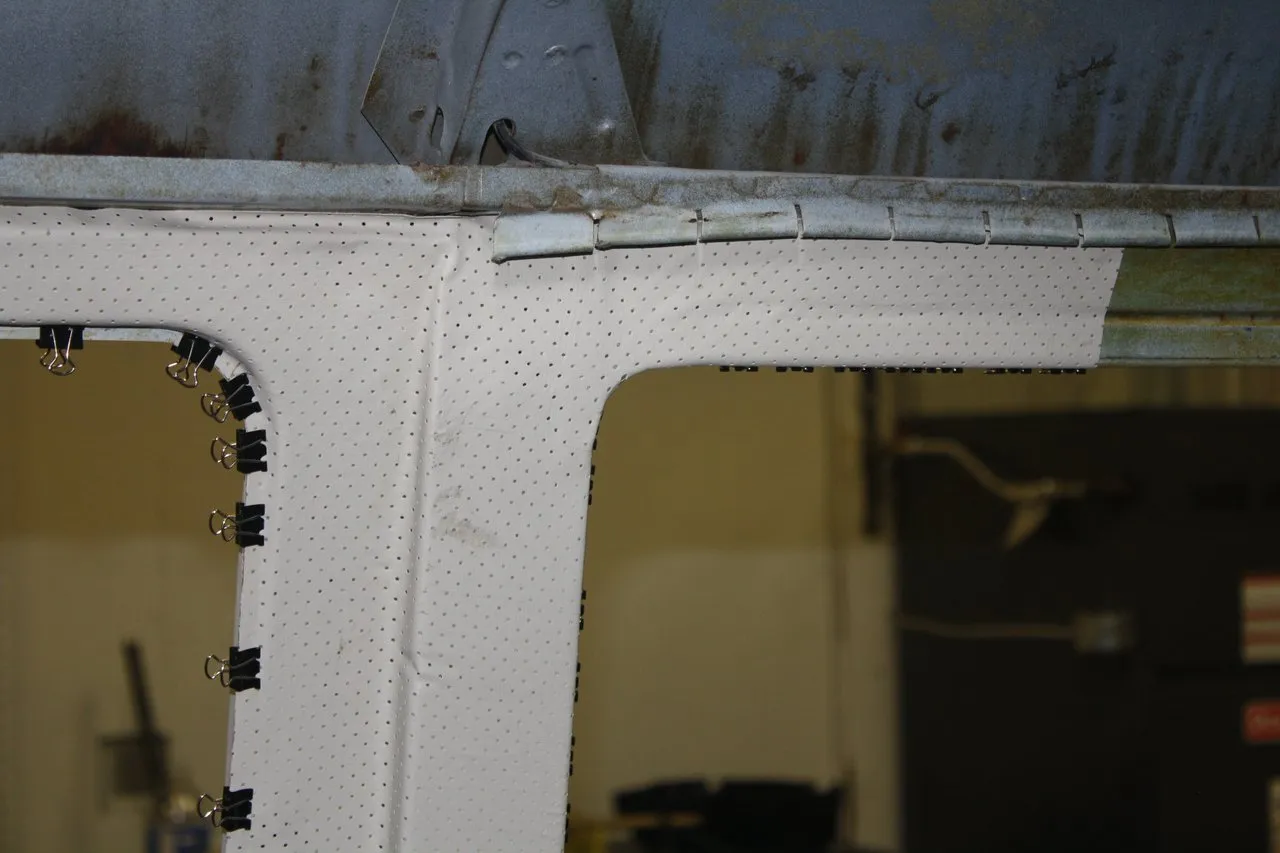
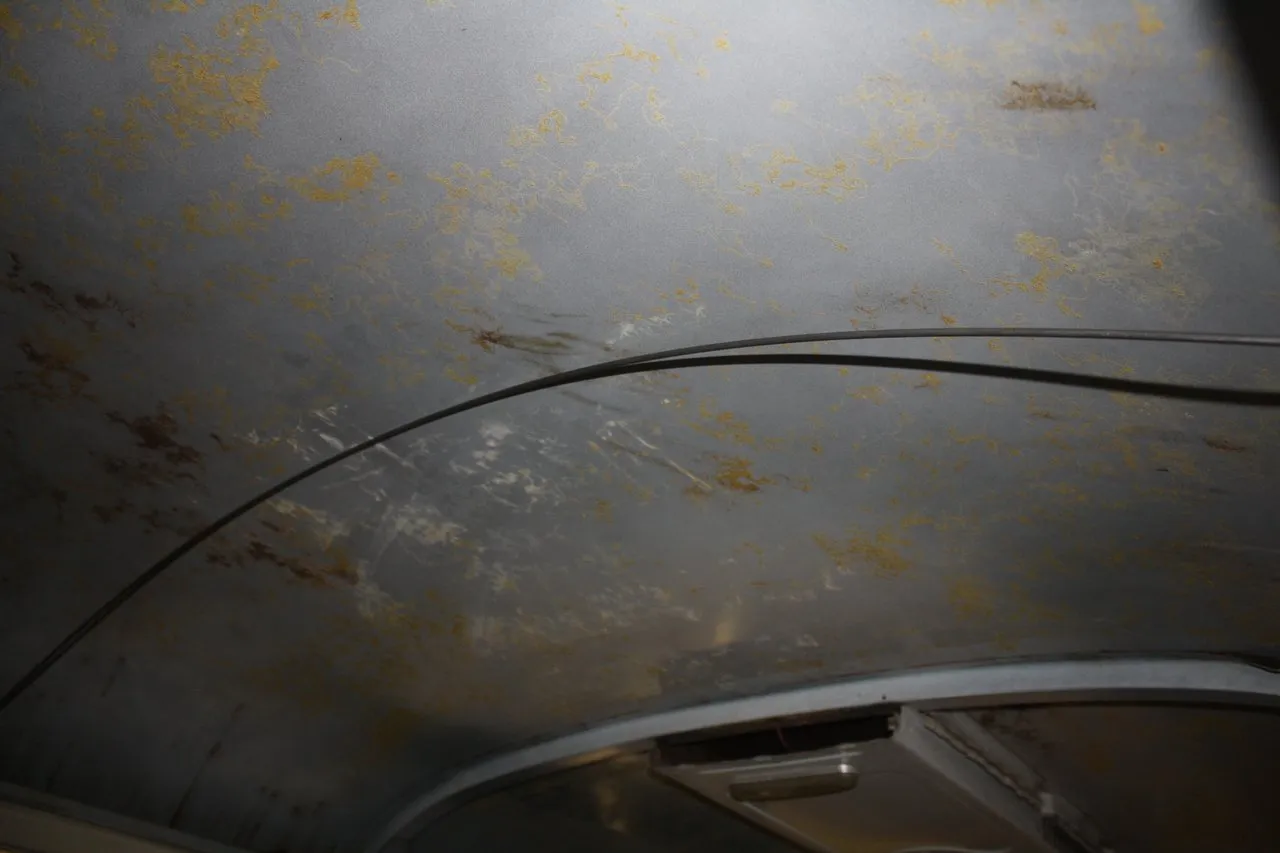
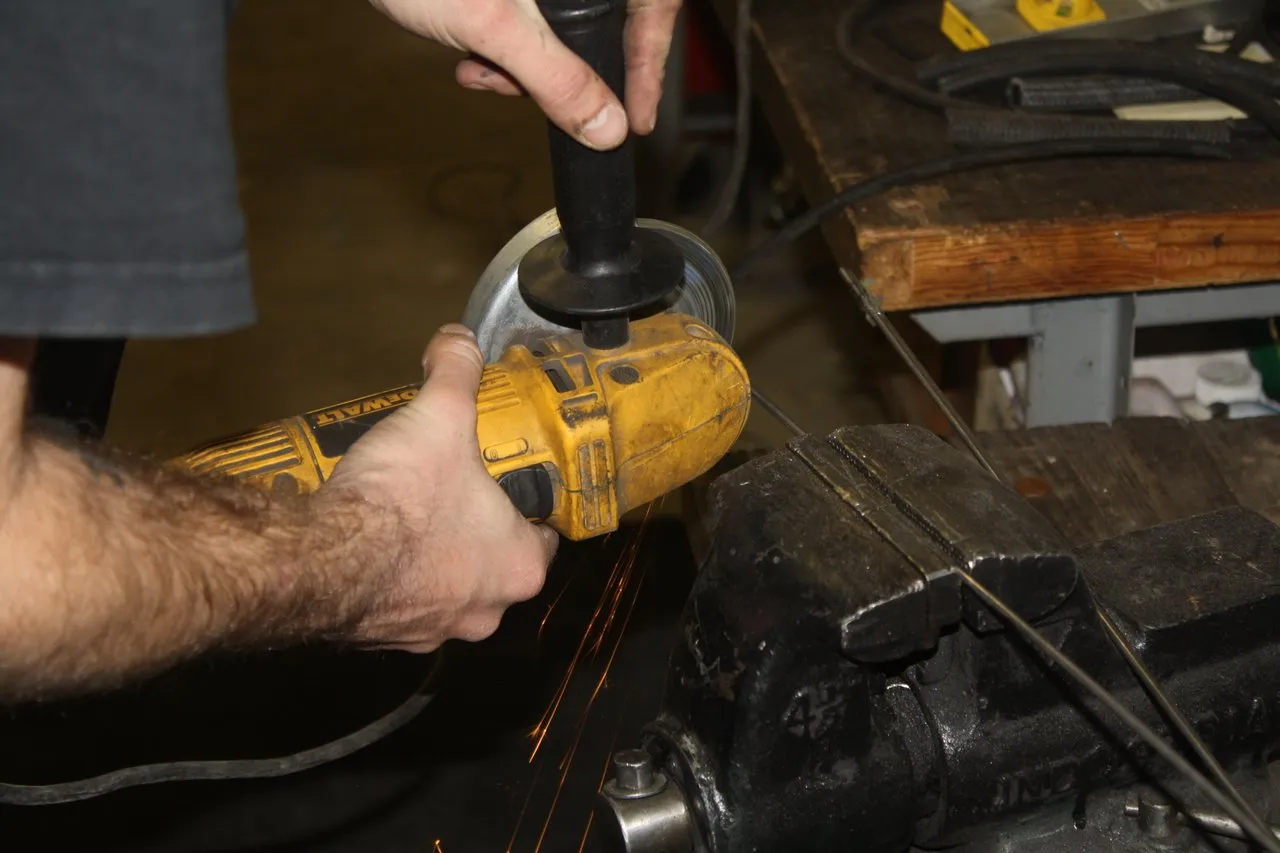
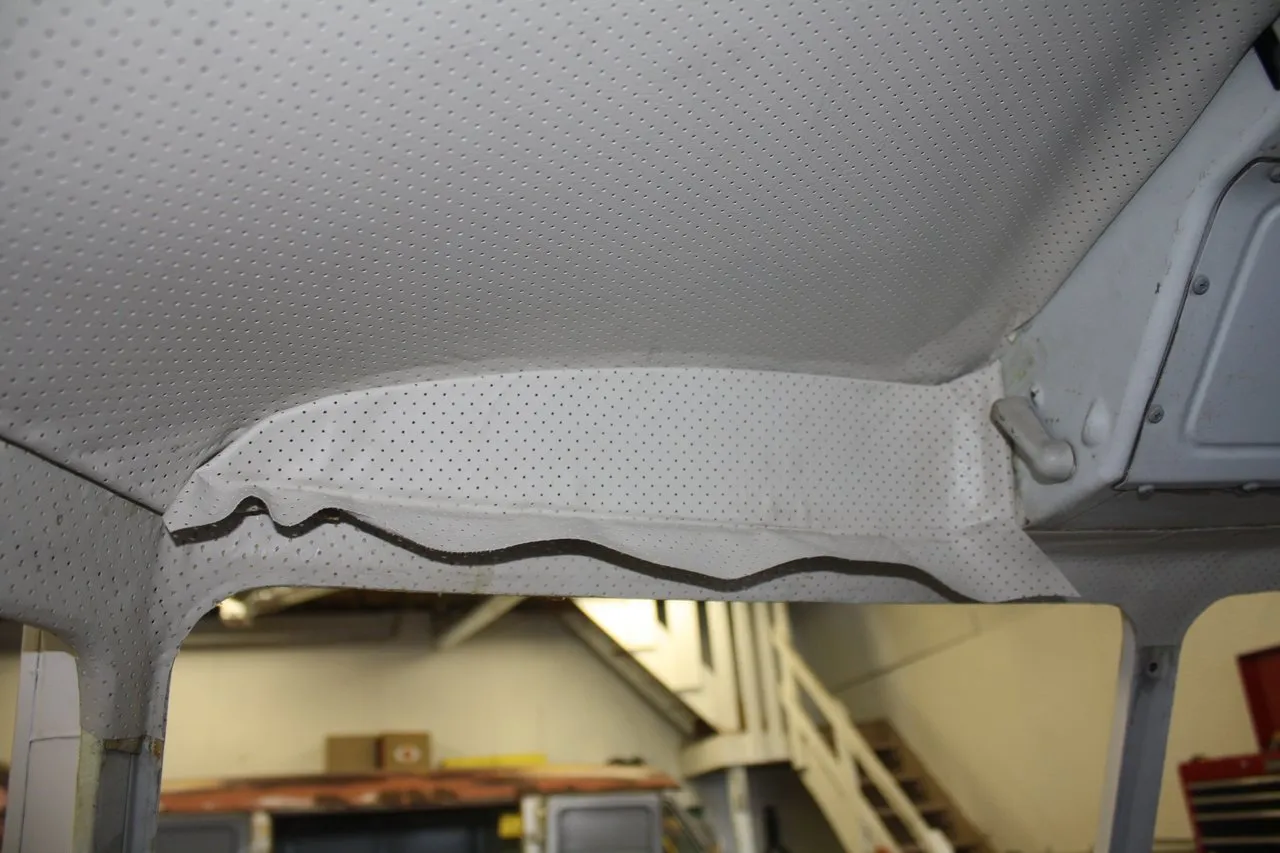
Half the work to be done is in prepping. The tabs have to be bent out where the headliner will get clamped into it. And all the old yellow hard glue from the factory install has to be sanded down to create a clean of a surface as possible to glue the headliner down to.

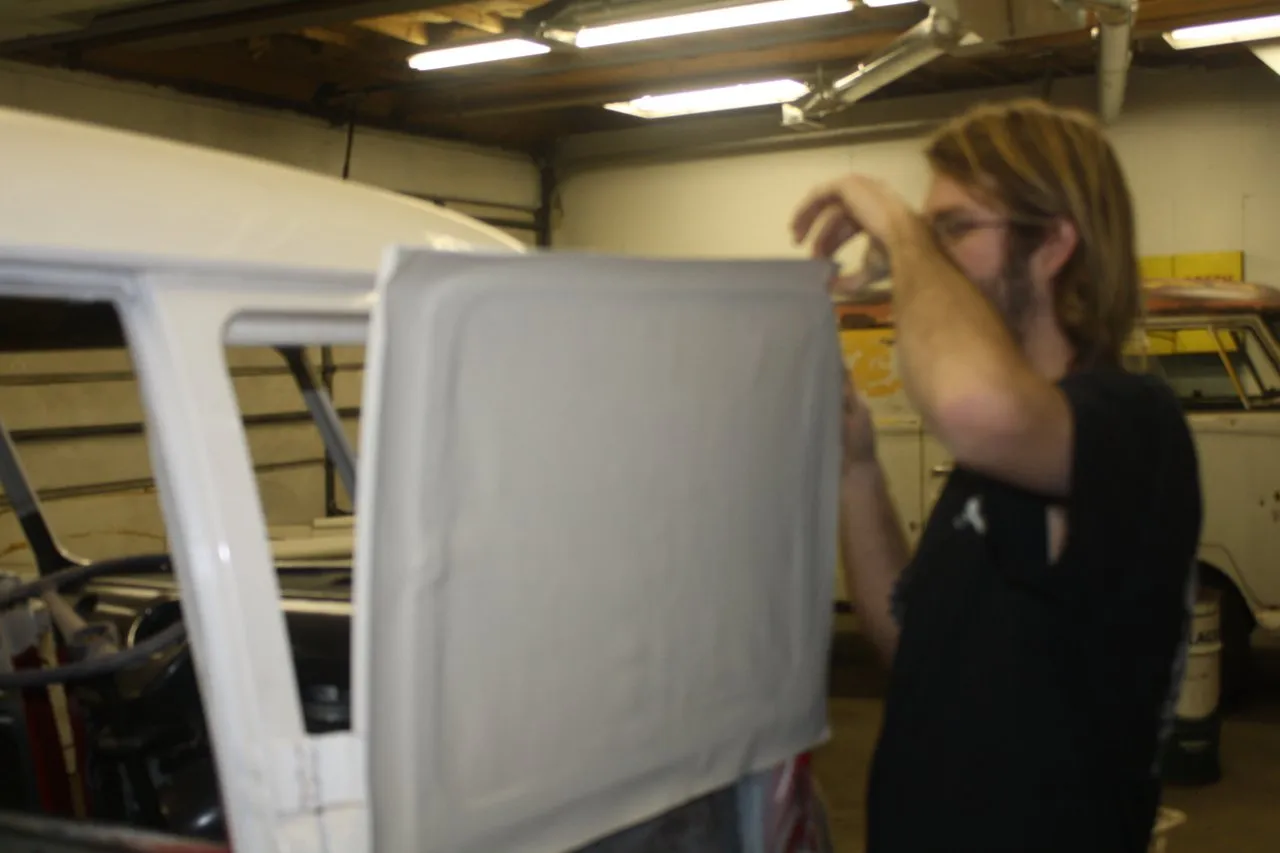
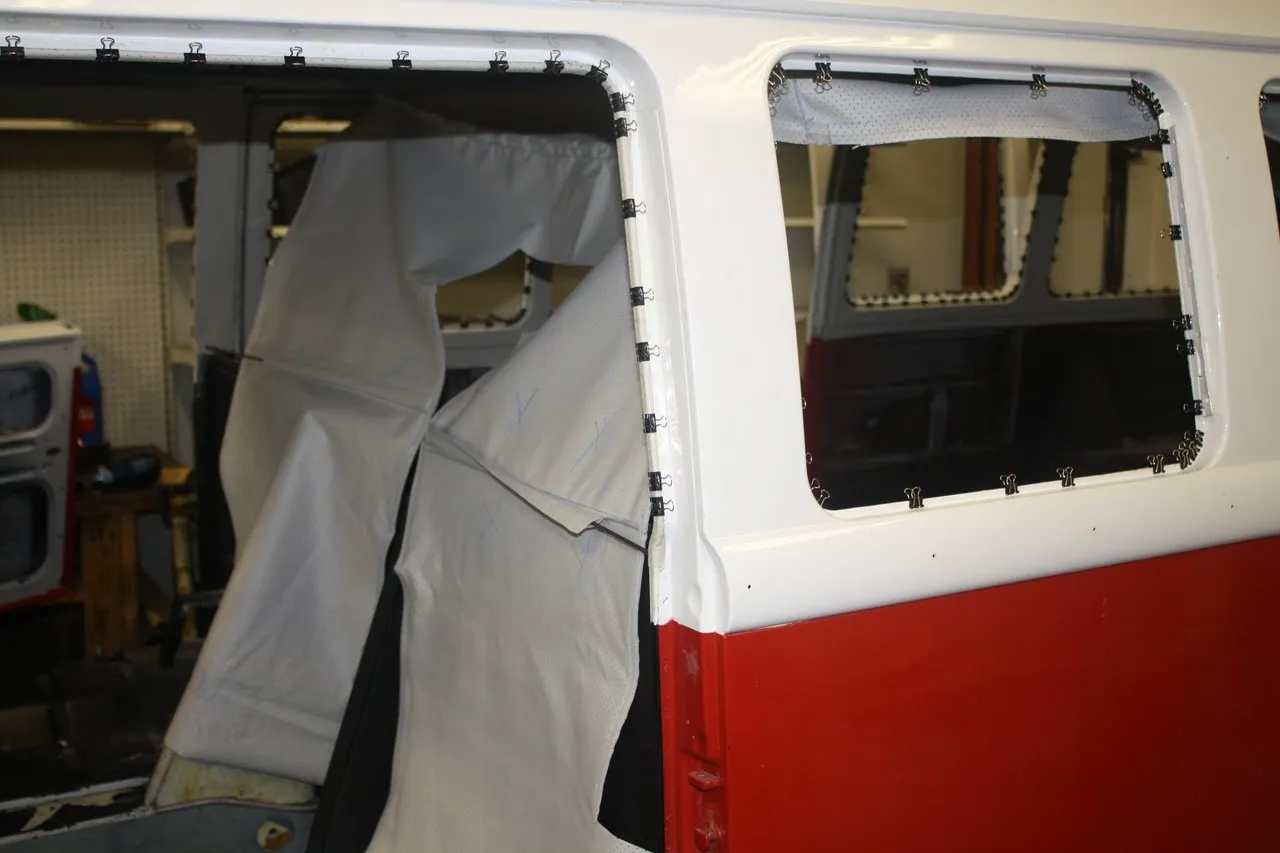
The first sheet of headliner material is laid out and cut to proper dimensions and 3M spray adhesive is applied. The headliner is two different parts kind of. There is loose fabric on the ceiling and there is the fabric that is applied directly to the metal around the windows. We start with the windows side.
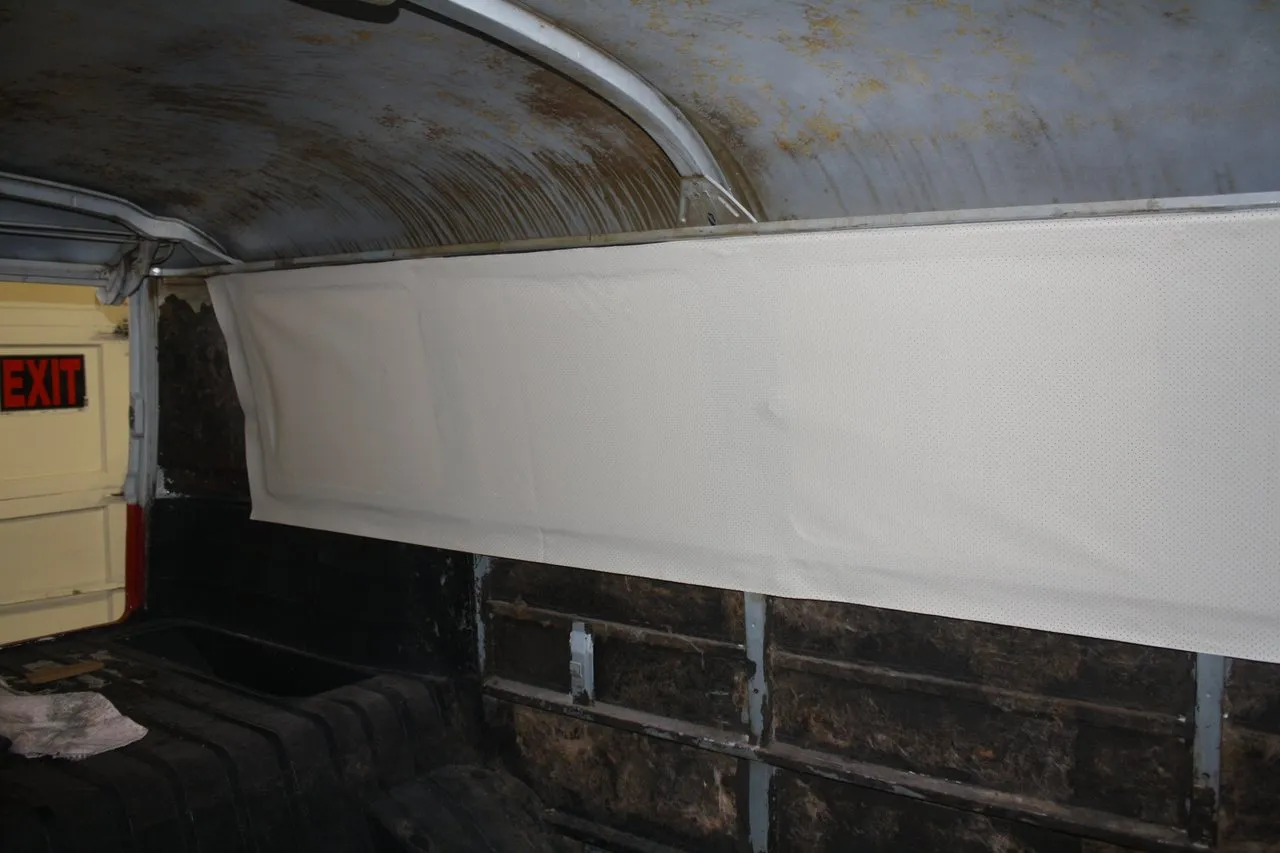

We started on the drivers side which is one long continuous piece making it the easiest. We seal it to as much of the metal surface as possible before trimming anything.
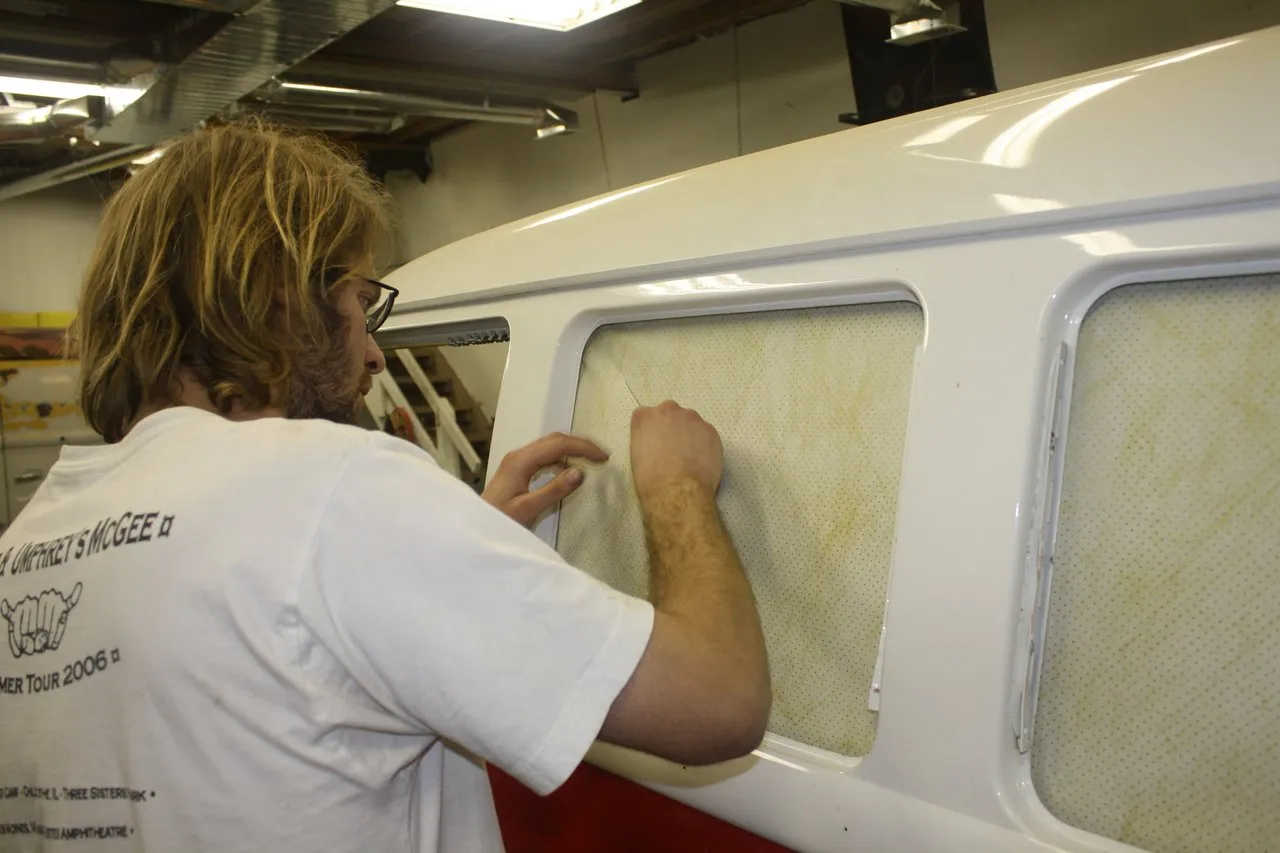


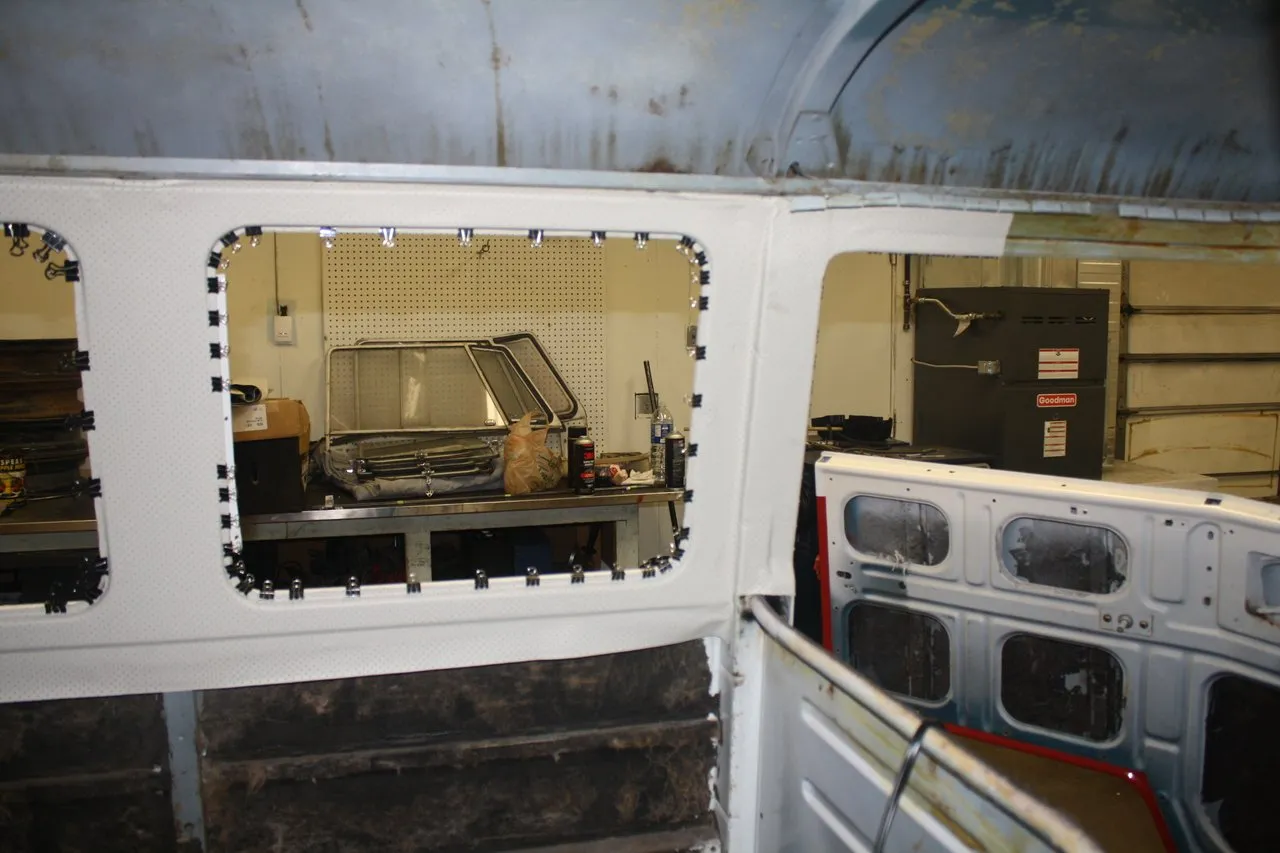
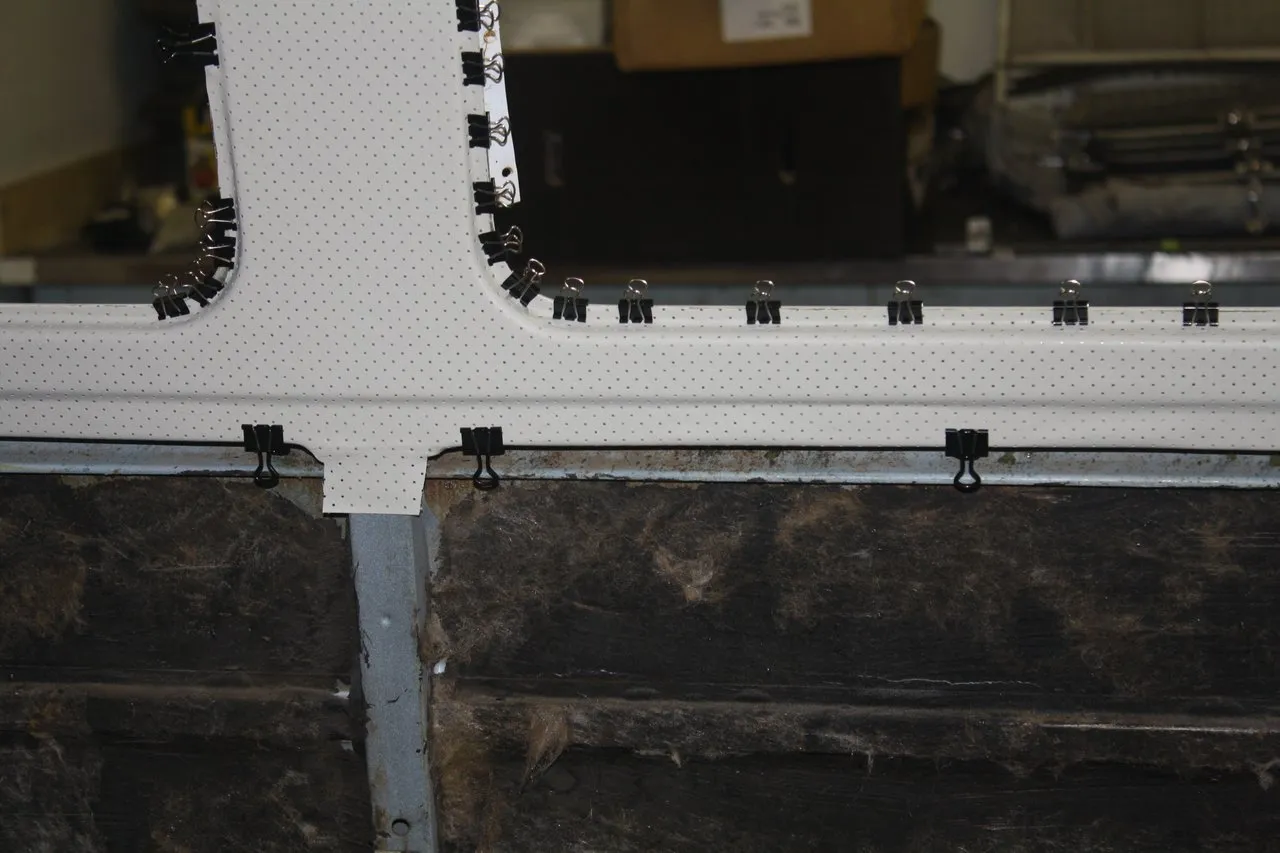
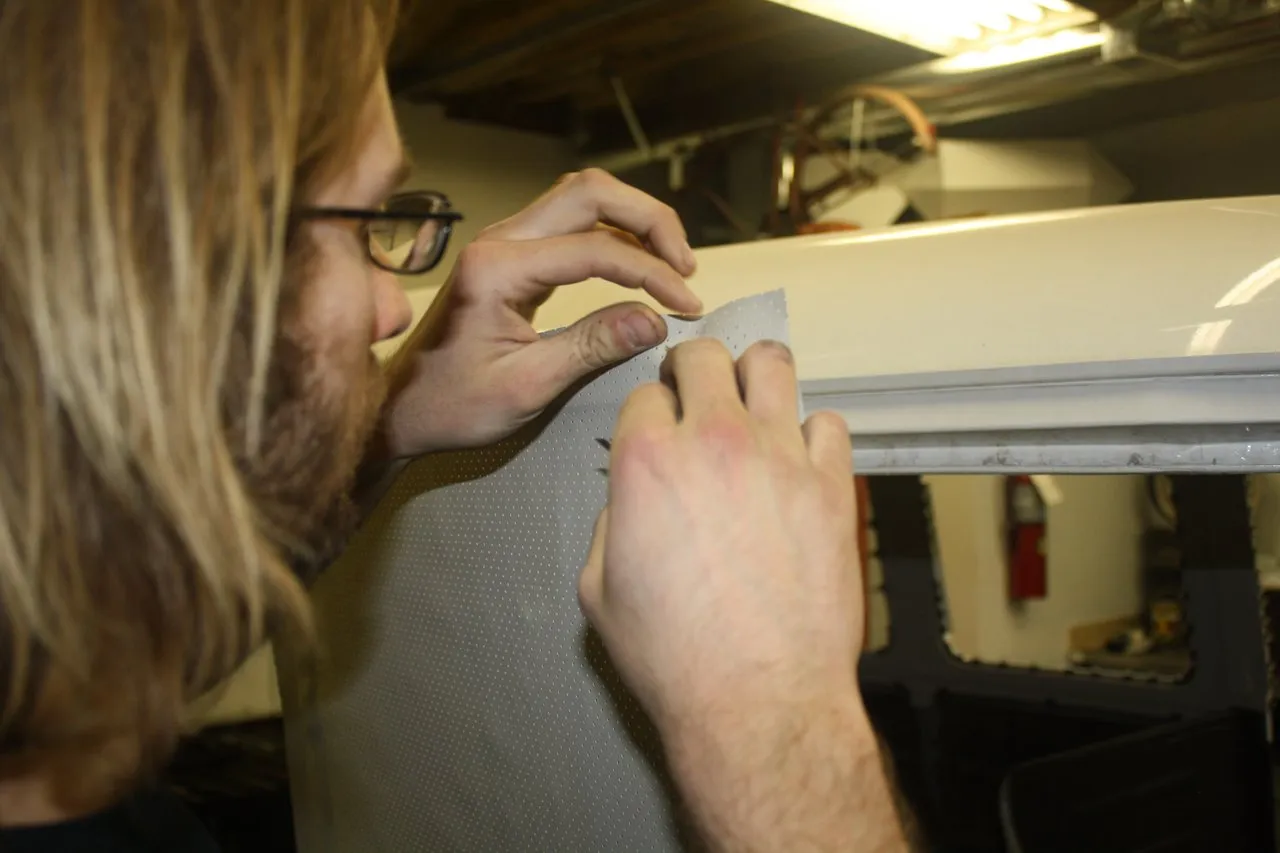
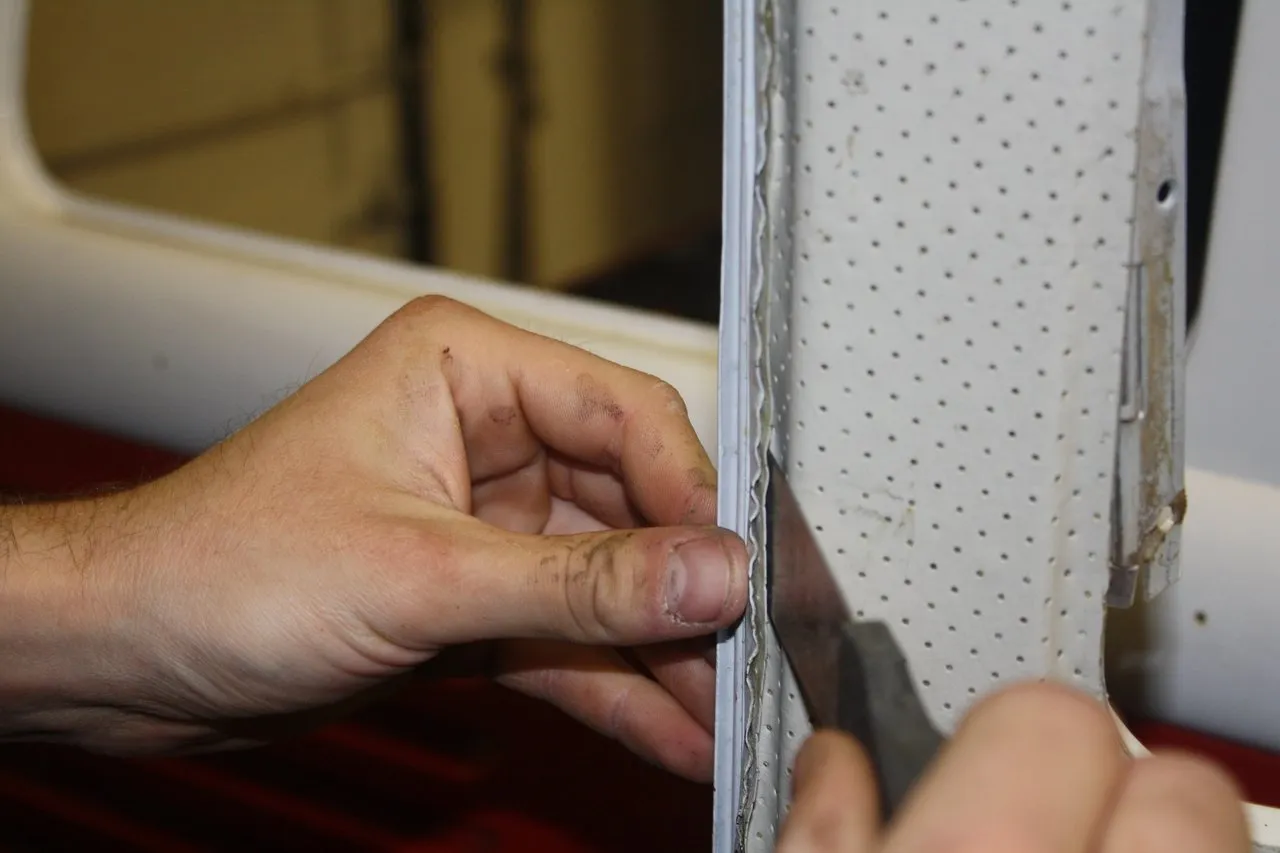
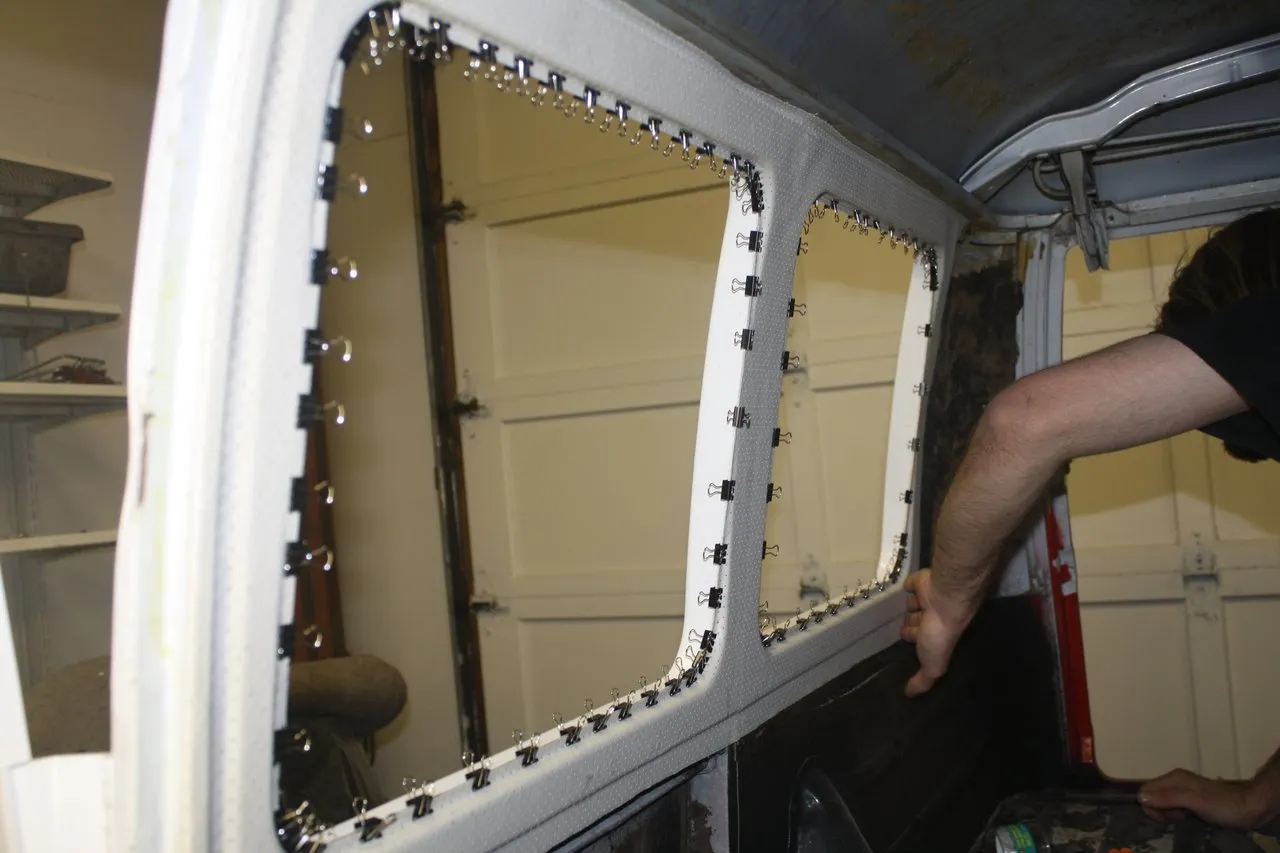
After everything is relatively stuck in place the openings are carefully trimmed out with a sharp razor blade and pinned in place. All other areas are trimmed to fit and the material is made to stick down well to all the metal. One side down.


The other side gets a little more complicated these older split window buses had barn doors that opened to the back rather than a sliding door. So we had to do each door separately.
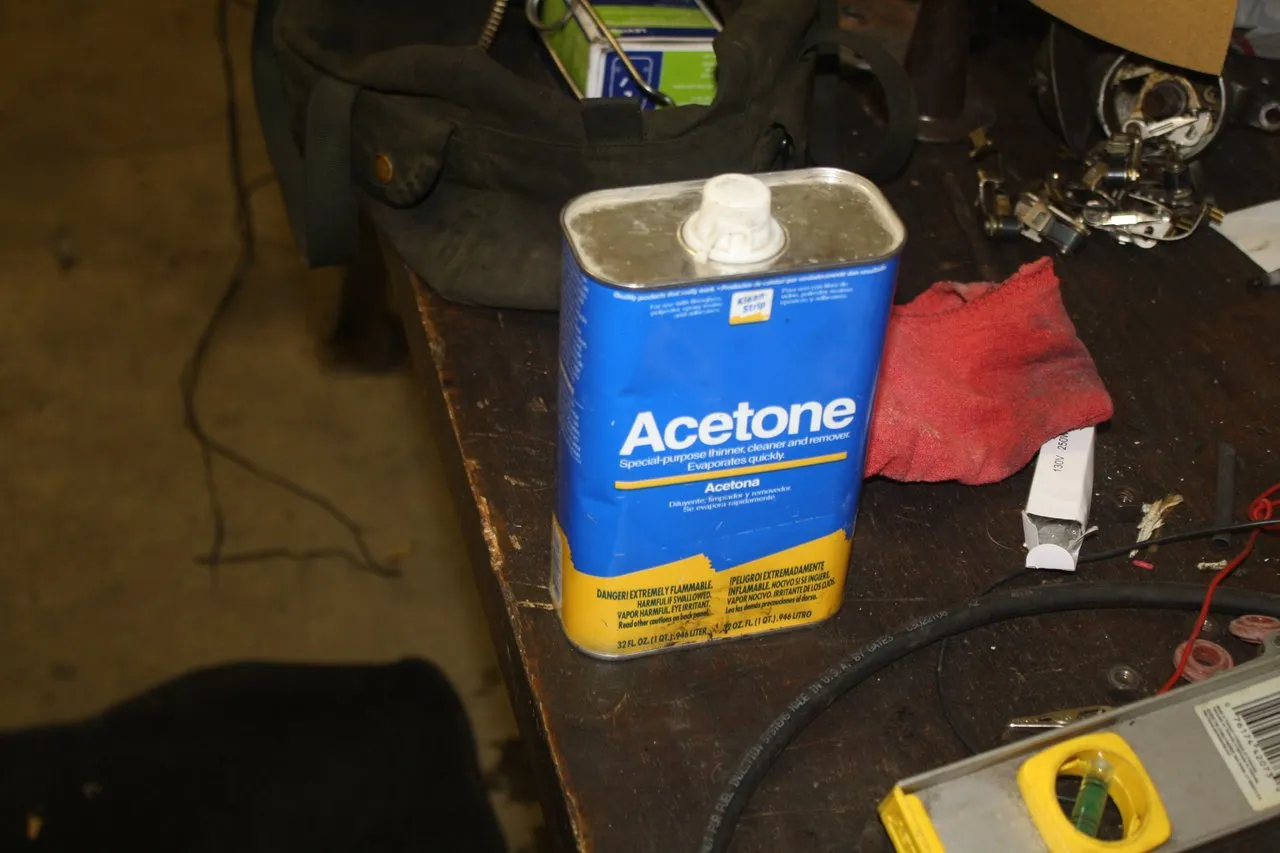
Acetone is your friend when you get spray places it shouldn't be and to keep your hands and tools clean.

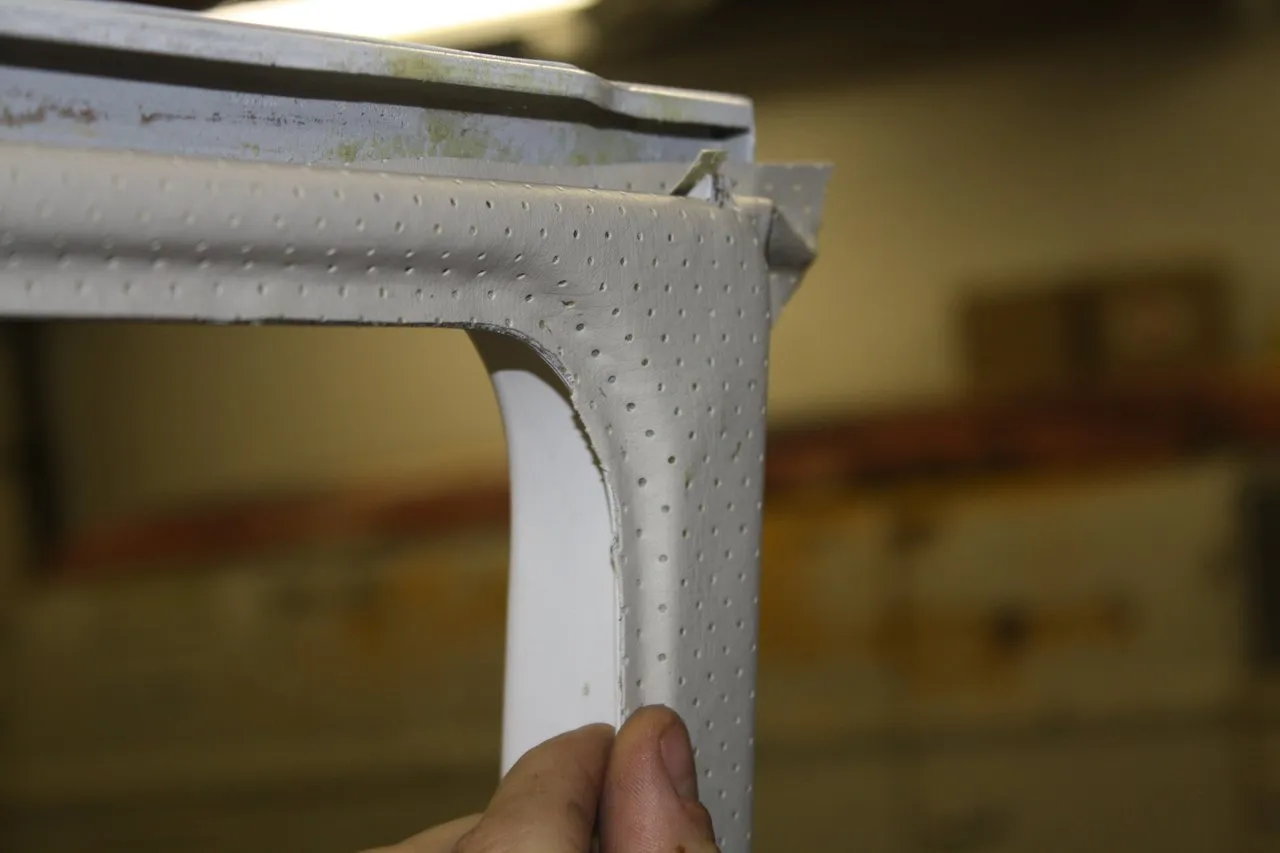
The door windows were a little trickier as they had a lot more curves and things like this latch. It is not perfect but ill mostly be covered up by the door seal when installed.

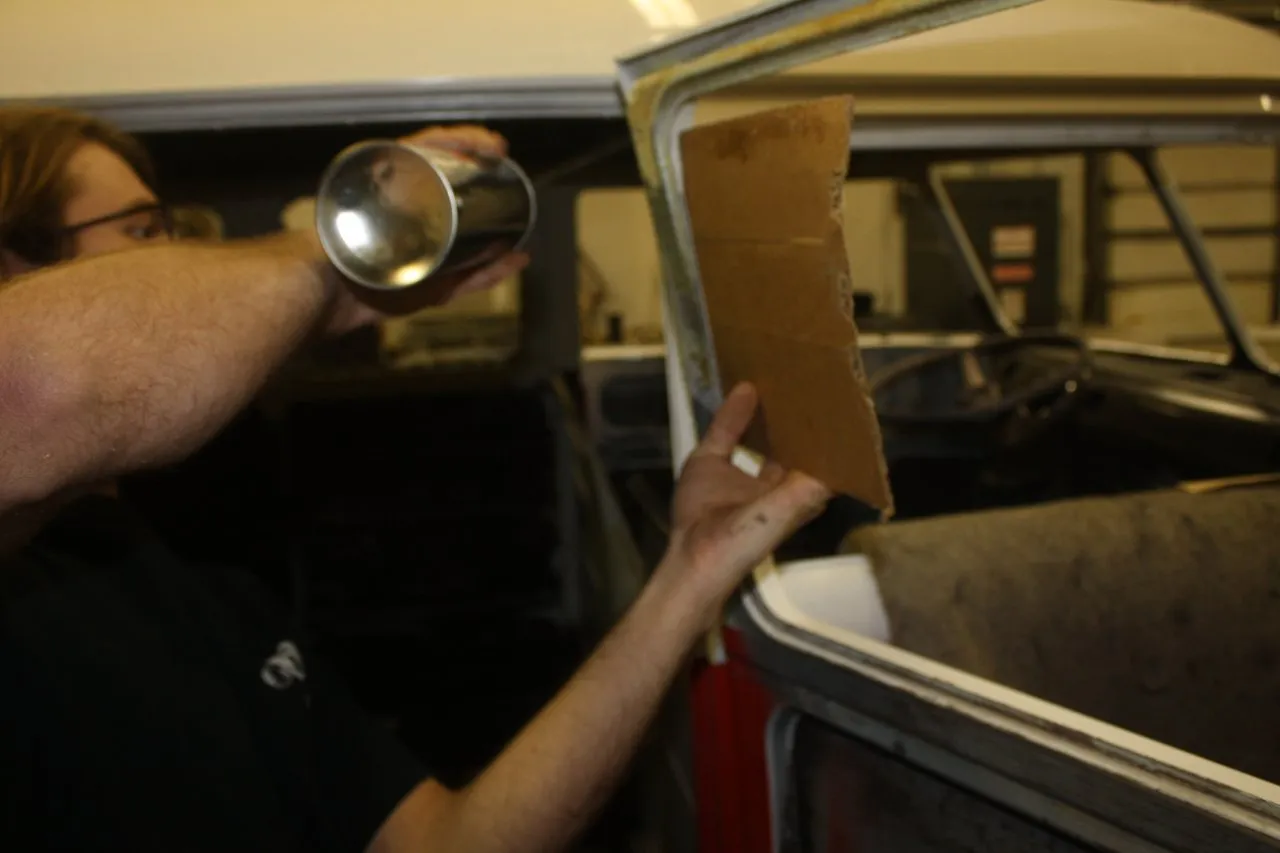
Measure and cut
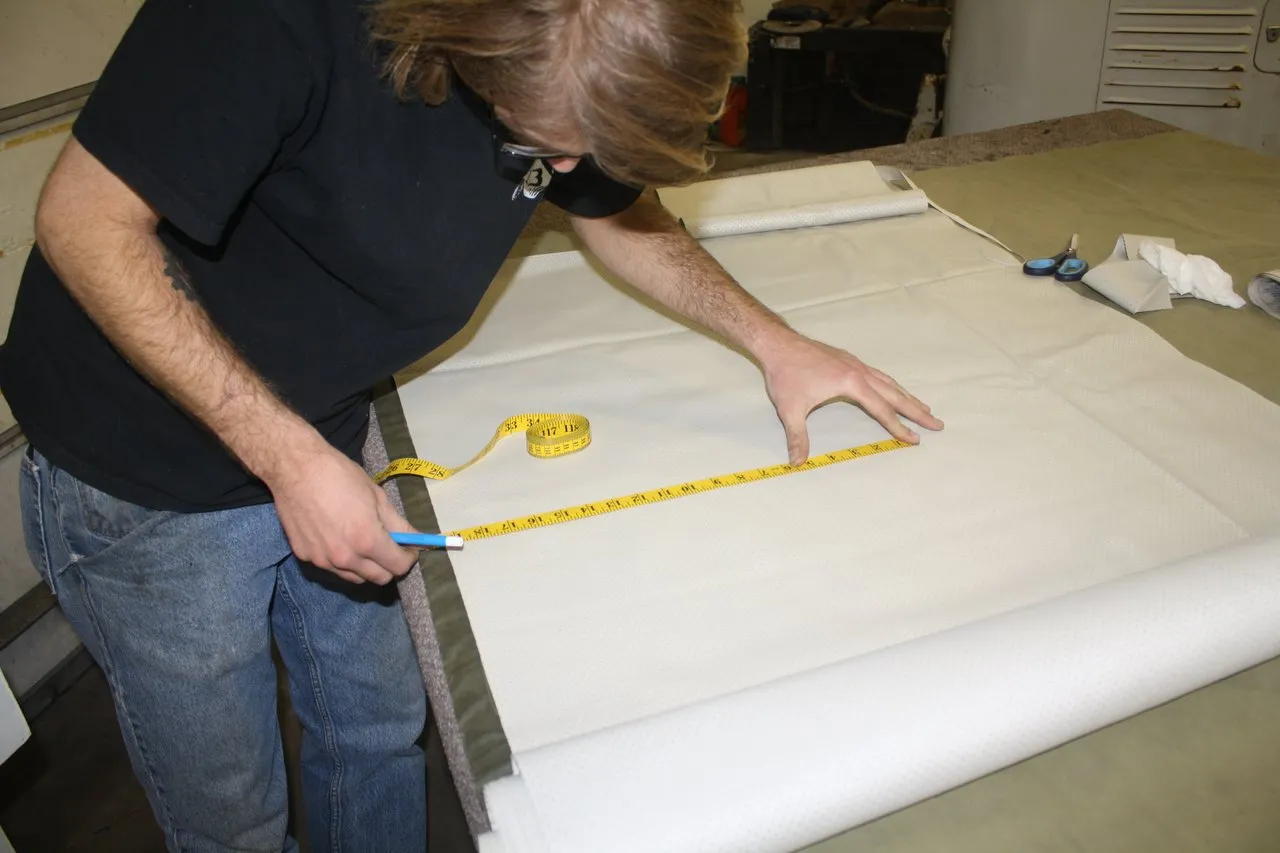
Measure again.
The material has to be pressed into all kinds of small spaces.

Pinging the metal crease back down on the door pinning the material.

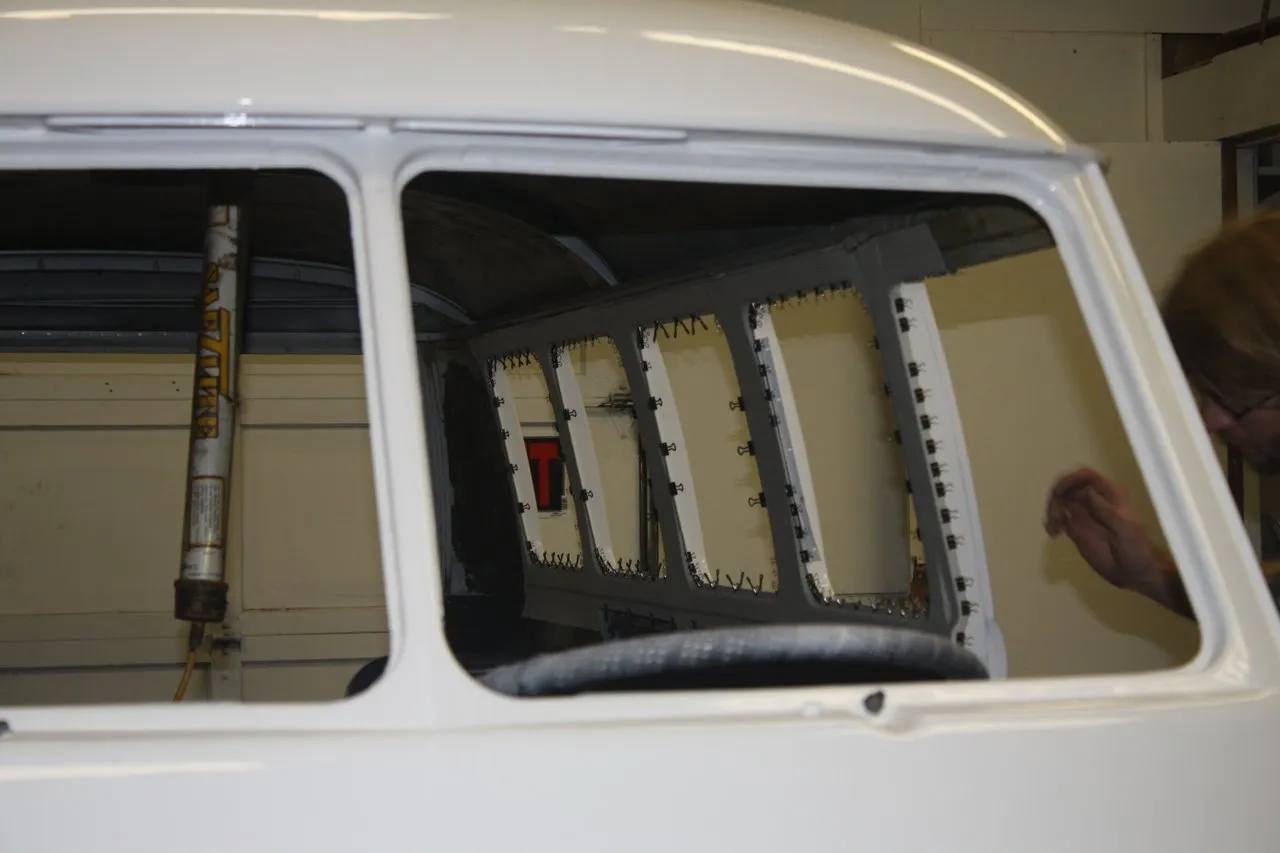
Rear quarter windows are next.
Glued Cut and pinned.
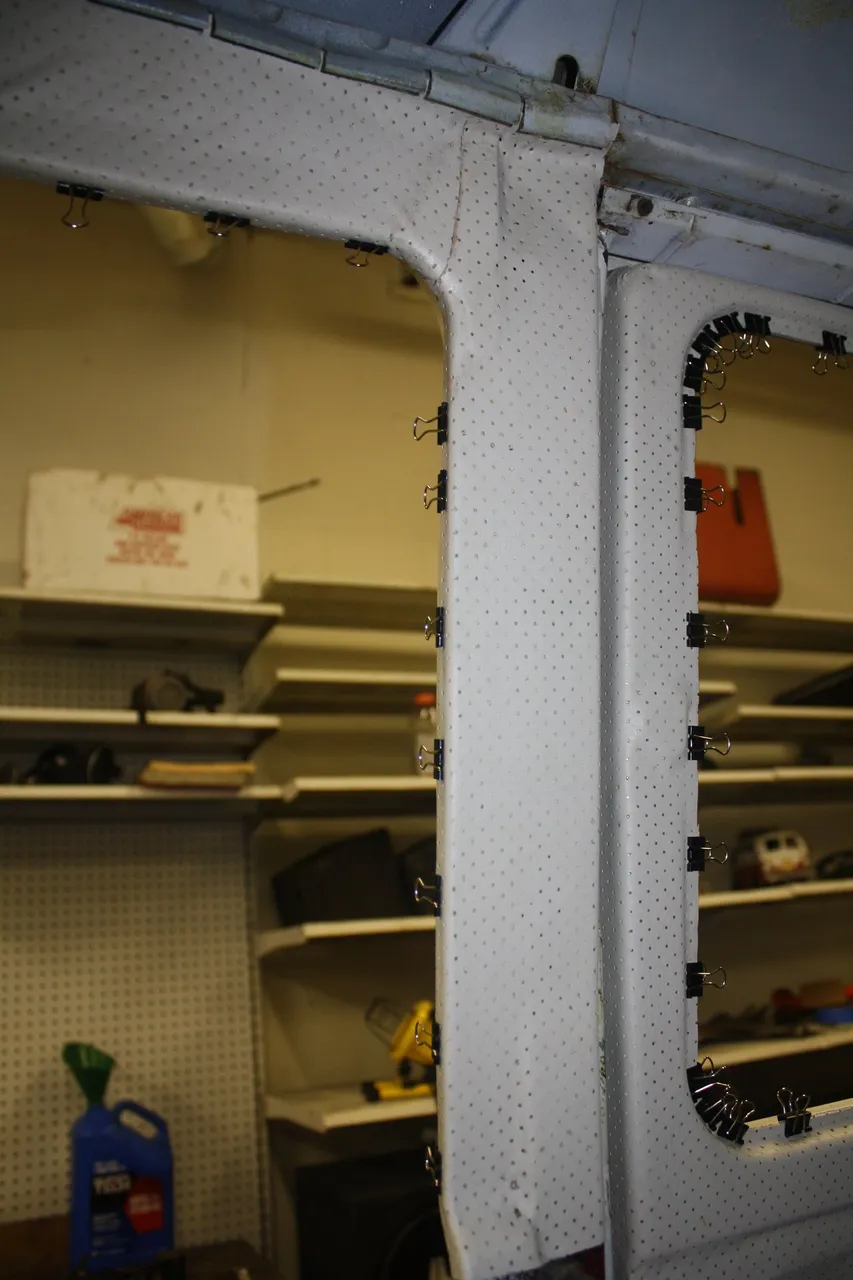
From the back we moved to the front. The A-pillar was a little ticky because we had to do a seem and some contours at the top. The more you handle the material the stickier and messier it gets and can stain from dirt and glue mixed together.

Working our way around the windshield.

Fine details.

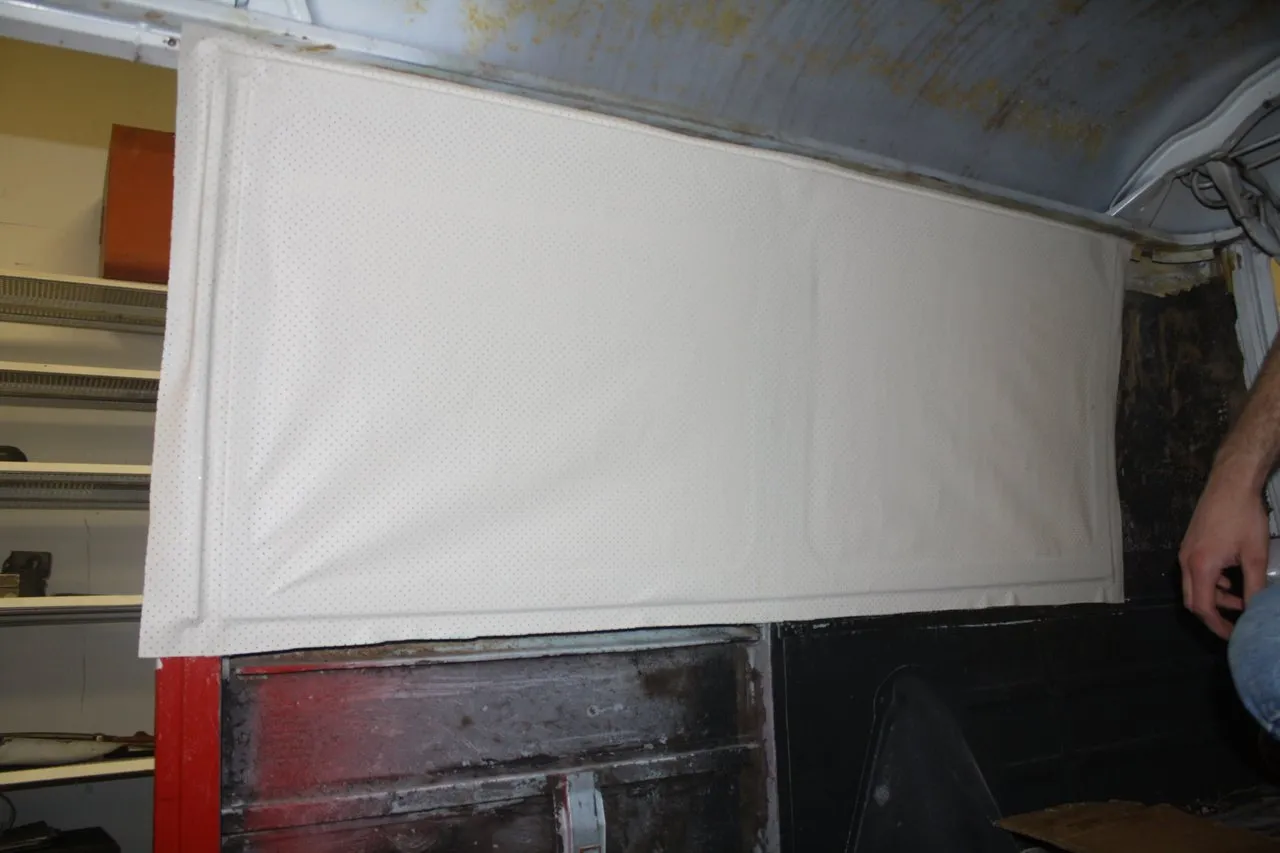
The Passenger side completed

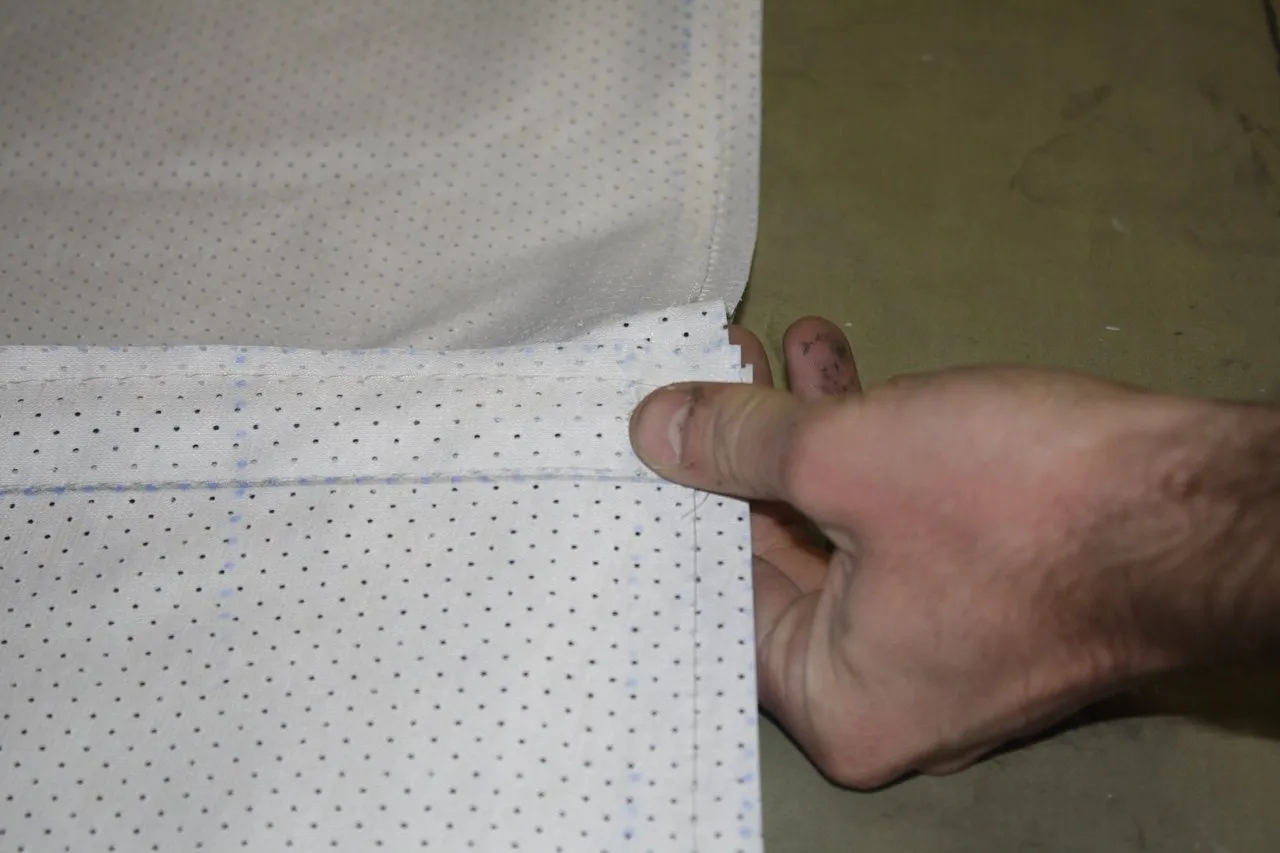

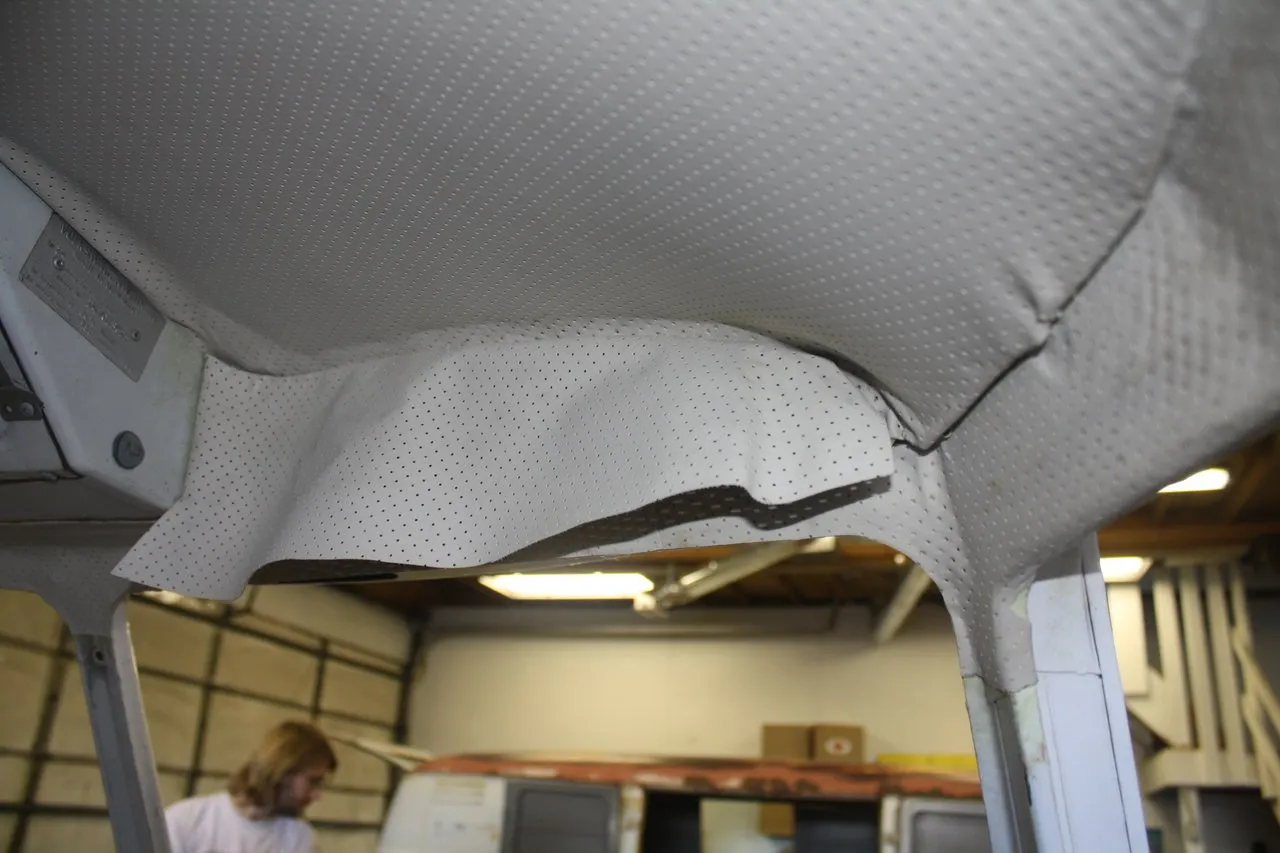
When we laid out the headliner material we learned that it was not properly prepared for the bows to run through it. So we had to make our own cuts and customization to it.
We test fitted the bows and cut them to length.
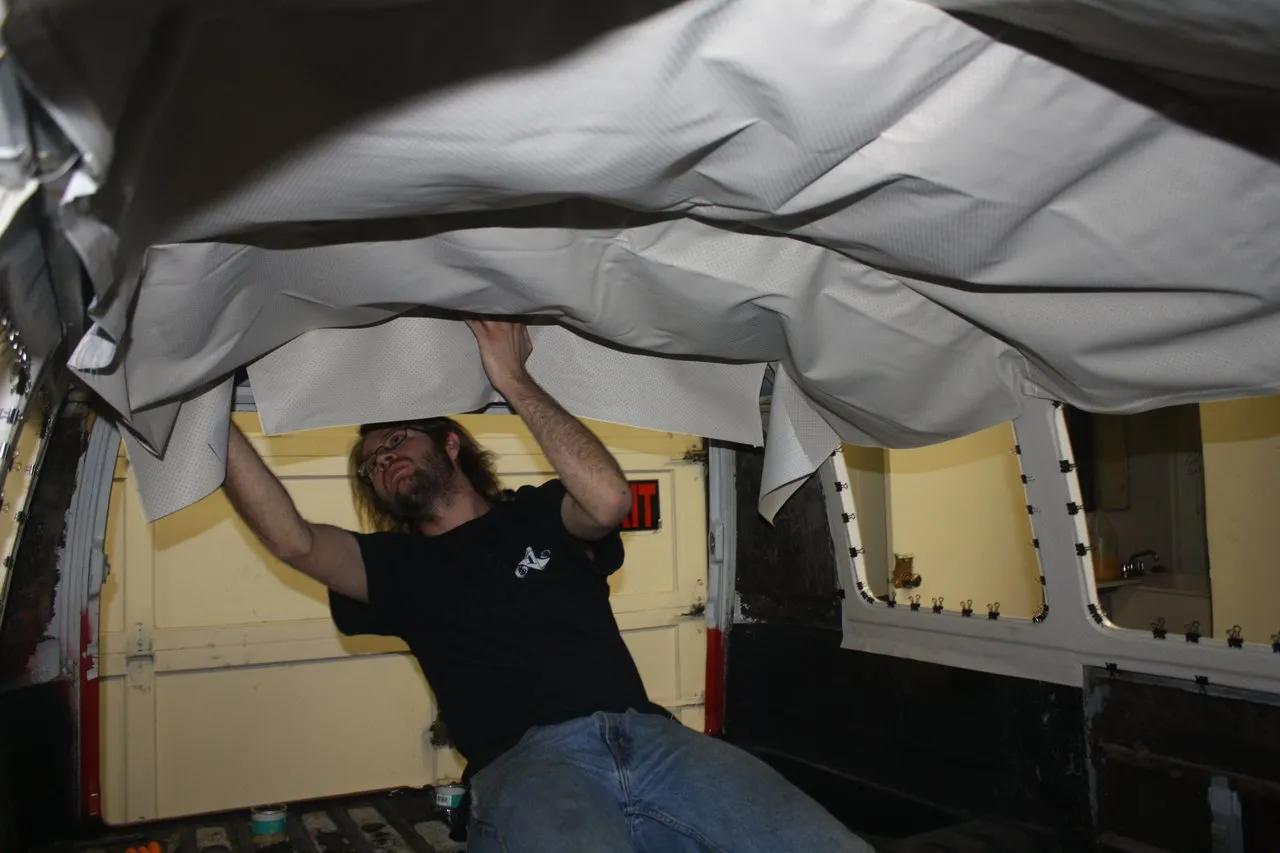

The headliner was hung then it needed to be stretched and worked into the claws all the way from the back to the front above the windows. The front was then a challenge to get all the angles stretched and in the channel of claws.

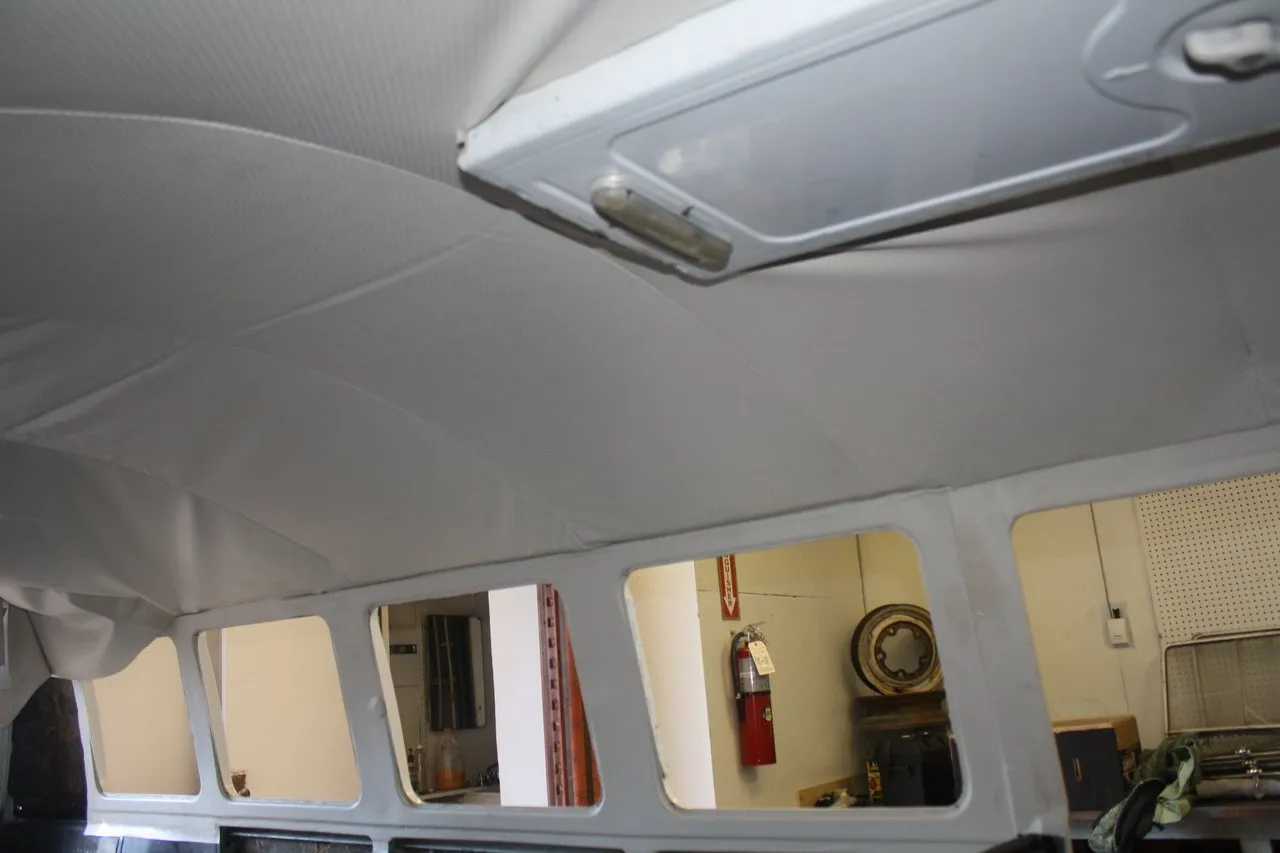


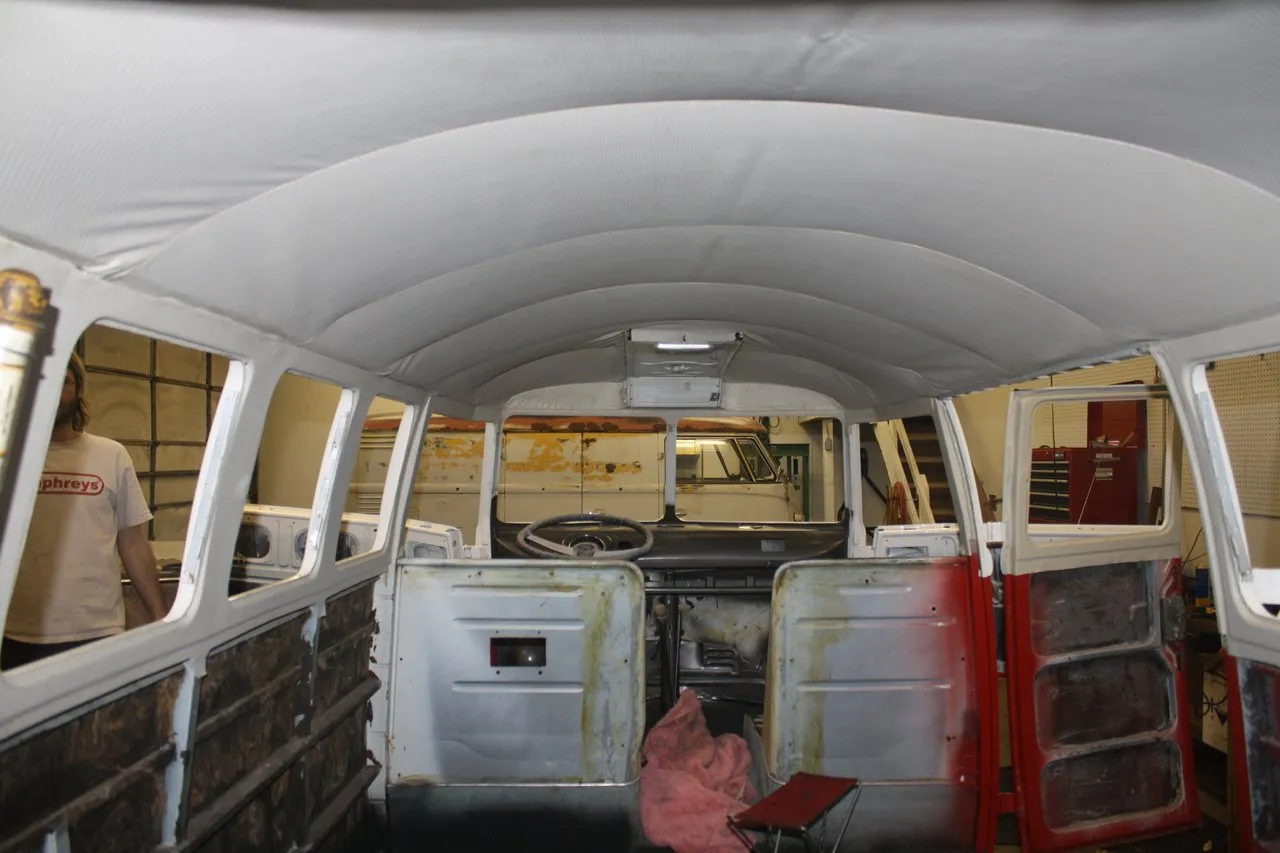
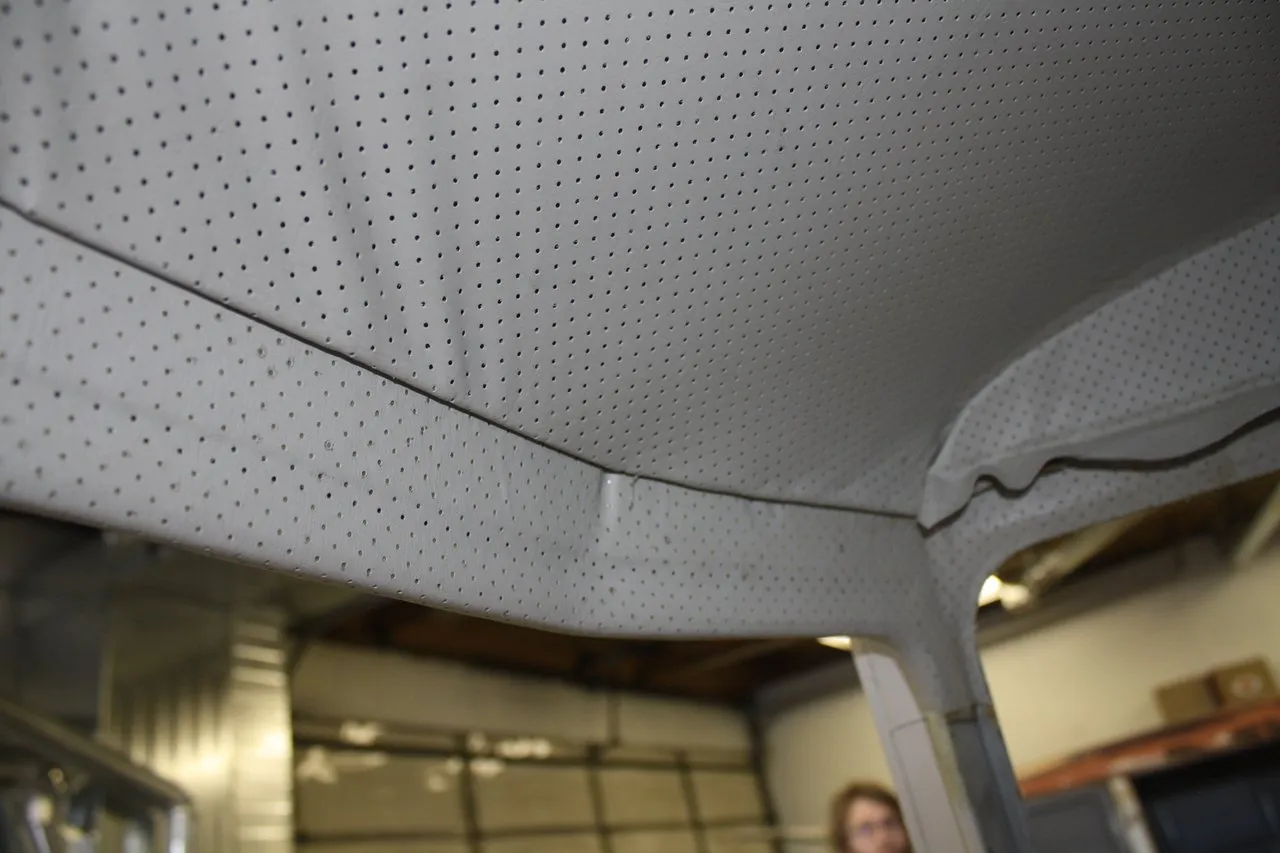
Eventually we got it all worked out and in place and tight. IT was a little wrinkled in some places but this is nothing that a hot day in the sun can't handle and the wrinkles will work themselves out.